Genshin Impact Artifact guide: set bonuses, best artifacts and more
Any role-playing game worth its salt features some equipment of some description, and in Genshin Impact one of your primary pieces of Gear is your load-out of Artifacts. In fact, you might as well basically think of Artifact equipment as your armor slots.
Artifacts are a key part of playing Genshin Impact. Any character has the option of 5 different themed Artifact slots: Flower, Plume, Sands, Goblet and Circlet. Each slot has a sort of speciality, and the five artifacts you equip in these slots are important on a lot of levels, not lease because they are one of the best ways to boost and increase the stats of a character.
Artifacts also slot into 'sets', which can only mean one thing in finest RPG tradition: set bonuses. Bringing togethert multiple artifacts from the same set can maximize the bonuses and gains each offers. Finally, artifacts can level up - and exactly how high they can level up is determined by their rarity, which is rated from one to five stars. Naturally, a rarer artifact is better - and those 5-star artifacts can be very powerful indeed.
If you want more Genshin Impact assistance, be sure to check out our guides on things like the Amenoculus and Geoculus locations, farming and grinding Adventure Rank EXP to level up fast, and Shrine of Depths locations. You might want to also brush up on Elements & Elemental Combos - a lot of these artifacts and set bonuses enhance elements.
Artifact Categories & Effects:
As previously explained, there are five categories of Artifact in Genshin Impact, represented by five symbols: Flower, Plume, Sands, Goblet and Circlet. Each does a slightly different thing, and some are more complex than others. Let us explain.
First, there are the basic 2 stats that can be consistently upgraded with a specific class of artifact:
- Flower of Life: These flower artifacts are always built around Health buffs, impacting HP no matter how high they are leveled.
- Plume of Death: The feather artifacts always impact your basic Attack stat, changing it - and this will maintain when this artifact grows.
Then, there are three additional artifacts with a more open-ended structure. They'll begin with one basic stat, but as it levels up and grows these artifacts can evolve to impact more than one type of stat through a sub-stat or simply grow their first initial stat. Below, we list which stats each can have a possibility of buffing.
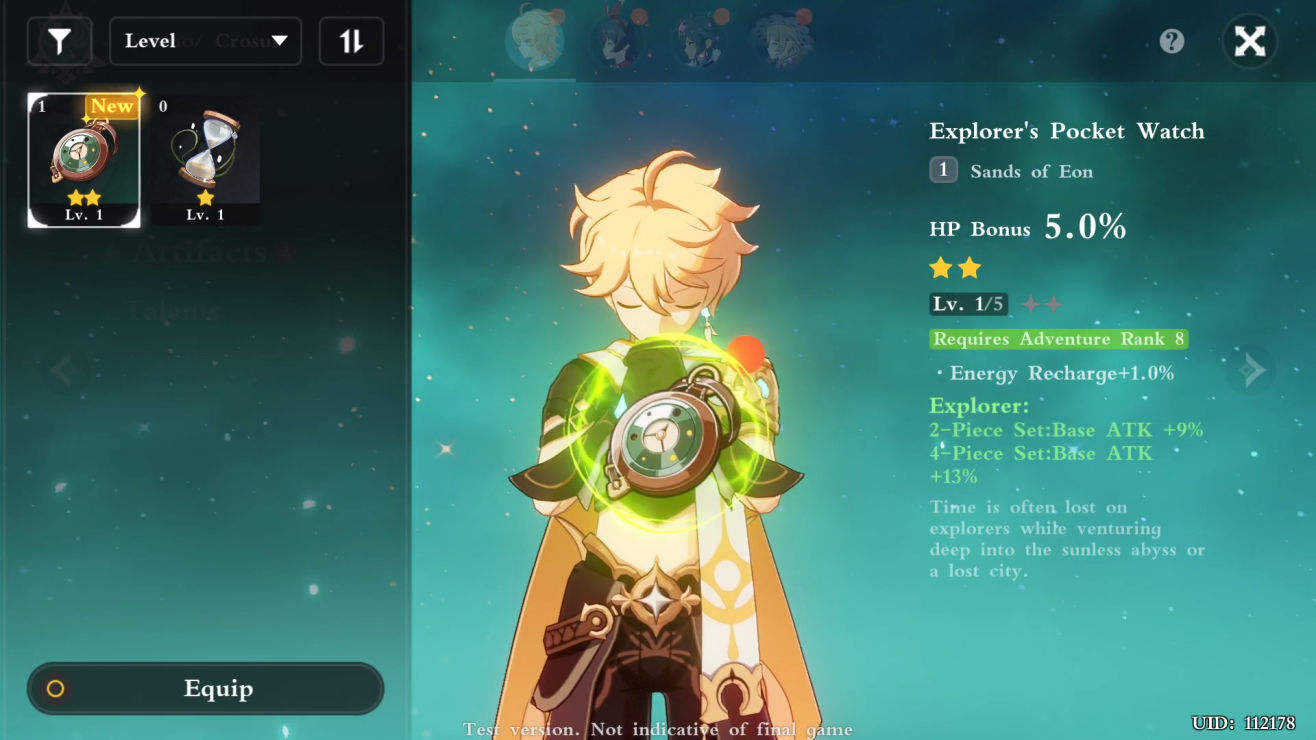
- Sands of Eon: Depending on how it grows, this class of Artifact can impact HP, Attack, Defense, Elemental Mastery or Elemental Recharge.
- Goblet of Enotherm: The goblet artifact can bestow bonuses to HP, Attack, Defense, Elemental Mastery or add bonus Elemental or Physical Damage - depending on how it grows.
- Circlet of Logos: The circlet/head artifact can impact your HP, Attack, Defense, Elemental Mastery, Critical Rate, Critical Damage, or give you a Healing Bonus.
Best Artifacts in Genshin Impact
The slightly weird, slightly complicated manner in which Artifacts are set up in Genshin Impact does have one nice associated bonus: there really isn't such a thing as the out-and-out 'best' artifacts or artifact loadout. Essentially, you and mix-and-match to create something that suits your play style and leans into your strengths and weaknesses - though you should always keep the set bonus in mind, as while not essential it can make a big difference indeed - more on that in a moment.
In the early game and when you're just starting out, we'd recommend going for the Plume of Death feather artifacts and other artifacts that boost the Attack stat as their main benefit in order to give yourself that additional damage output in early battles - then match up a set bonus that suits another area you're keen to have a buff in. As you get deeper into the game, that attack stat becomes much less important, and at that point you'll want to go for a more intricate build.
As with much of the randomly-generated side of Genshin Impact, you can at the very least rely on the ratings system to clue you in to just how good an artifact is on a base level. A 5 star artifact will always be best, and that cascades down to 4 star and 3 star and so on. Anything 4-star or higher is going to be particularly worth your while and worth trying to fit into your build.
Artifact Sets & Set Bonuses
In Genshin Impact, an Artifact Set Bonus is when you equip two or more artifacts that are from a specific 'set' - and doing so nets you a bonus. I guess the name makes that pretty clear, but still.
There's not a huge amount you need to know about Set Bonuses other than the Bonus comes in two flavors each time. Equipping two artifacts from as et will get you the 2-piece bonus, while equipping four will get you the more powerful 4-piece bonus. You can, of course, equip two artifacts each from two different sets, giving you two separate 2-piece bonuses that stack.
Also, a handful of Artifact Set Bonuses are Abyssal Domains exclusive - meaning the items that make them up can only be obtained through the Abyssal Domains dungeons.
- Adventurer
- 2-piece: +1000 Max HP
- 4-piece: Chest opening gives 30% HP generation for 5 seconds.
- Archaic Petra (Abyssal Domains exclusive)
- 2-piece: +15% Geo Damage Bonus
- 4-piece: +35% Resistance to all party members for 10 seconds when a Geo Elemetnal Reaction crystal is collected
- Berserker
- 2-piece: Critical Rate up by 12%
- 4-piece: When HP is critical (below 70%), Critical Rate boosted by an additional 24%
- Bloodstained Chivalry
- 2-piece: +25% Physical Damage
- 4-piece: +50% Charged Attack Damage & 0 Stamina Cost for 10 seconds after defeating an enemy
- Crimson Witch of Flames (Abyssal Domains Exclusive)
- 2-piece: +15% Pyro Damage Bonus
- 4-piece: +40% Overloaded & Burning Damage, +15% Vaporize and Melt Damage. Elemental Skill usage temporarily increases Pyro Damage bonus, also
- Defender's Will
- 2-piece: +30% Defense
- 4-piece: +30% Elemental Resistance for each Element present in the current party
- Gambler
- 2-piece: +20% Elemental Skill Damage
- 4-piece: Once every 15 seconds, defeating an enemy will remove the Elemental Skill Cooldown
- Glacier and Snwofield (Abyssal Domains exclusive)
- 2-piece: +15% Cryo Damage Bonus
- 4-piece: +50% Superconduct Damage, +15% Melt Damage. Elemental Burse increases Cryo Damage by 25% for a brief time
- Gladiator's Finale
- 2-piece: +18% Attack
- 4-piece: +35% Normal Attack Damage with Swords, Claymores or Polearms
- Heart of Bravery
- 2-piece: +18% Attack
- 4-piece: +30% Damage vs enemies with less than 50% HP
- Icebreaker (Abyssal Domains exclusive)
- 2-piece: +40% Cryo Resistance
- 4-piece: +35% Damage vs Frozen Enemies
- Instructor
- 2-piece: +80 Elemental Mastery
- 4-piece: +120 Elemental Mastery for all party members for 8 seconds after using Elemental Skill
- Lavawalker (Abyssal Domains exclusive)
- 2-piece: +40% Pyro Resistance
- 4-piece: +35% damage vs Burning enemies
- Lucky Dog
- 2-piece: +100 Defense
- 4-piece: Getting Mora restores 300 HP
- Maiden Beloved
- 2-piece: +15% Healing
- 4-piece: +20% Healing for 10 seconds after using an Elemental Skill or Elemental Burst
- Martial Artist
- 2-piece: +15% Normal & Charged Attack Damage
- 4-piece: +25% Normal & Charged Attack Damage for 8 seconds after using Elemental Skill
- Noblesse Oblige
- 2-piece: +20% Elemental Burst Damage
- 4-piece: +20% Party Attack for 12 seconds after using an Elemental Burst
- Retracing Bolide
- 2-piece: +35% Shield Effectiveness
- 4-piece: +40% Normal & Charged Attack Damage when Shielded
- Resolution of Sojourner
- 2-piece: +18% Attack
- 4-piece: +30% Charged Attack Critical Rate
- Scholar
- 2-piece: +20% Enery Recharge Rate
- 4-piece: Gaining energy gives +3 energy to party members equipped with a Bow ot Catalyst
- The Exile
- 2-piece: +20% Energy Recharge
- 4-piece: Elemental Burst usage regenerates 6 Energy for the party over 6 seconds
- Thundering Fury (Abyssal Domains exclusive)
- 2-piece: +15% Bonus Electro Damage
- 4-piece: +40% Overloaded, Electro-Charged and Superconduct combo damage. Triggering these combos reduces the Elemental Skill cooldown by 1 second.
- Thundersoother (Abyssal Domains exclusive)
- 2-piece: +40% Electro Resistance
- 4-piece: +35% Damage vs Enemies afflicted with Electro element
- Tiny Miracle
- 2-piece: +20% Elemental Resistance vs all elements
- 4-piece: Elemental Damage recieved increases resistance to that element by 30% for 10 seconds
- Traveling Doctor
- 2-piece: Healing recieved buffed by 20%
- 4-piece: Casting your Elemental Burst restores 20% of Max HP
- Viridescent Venerer (Abyssal Domains exclusive)
- 2-piece: +15% Bonus Anemo Damage
- 4-piece: +60% Swirl Combo Damage, plus reduce opponent's Elemental Resistance by 40% for 10 seconds
- Wanderer's Troupe
- 2-piece: +80 Elemental Mastery
- 4-piece: +35% Charged Attack Damage when equipped with a Catalyst or Bow