
Fallout 76 Power Armor Guide: where to find all power armor and station plans, and how to exit power armor
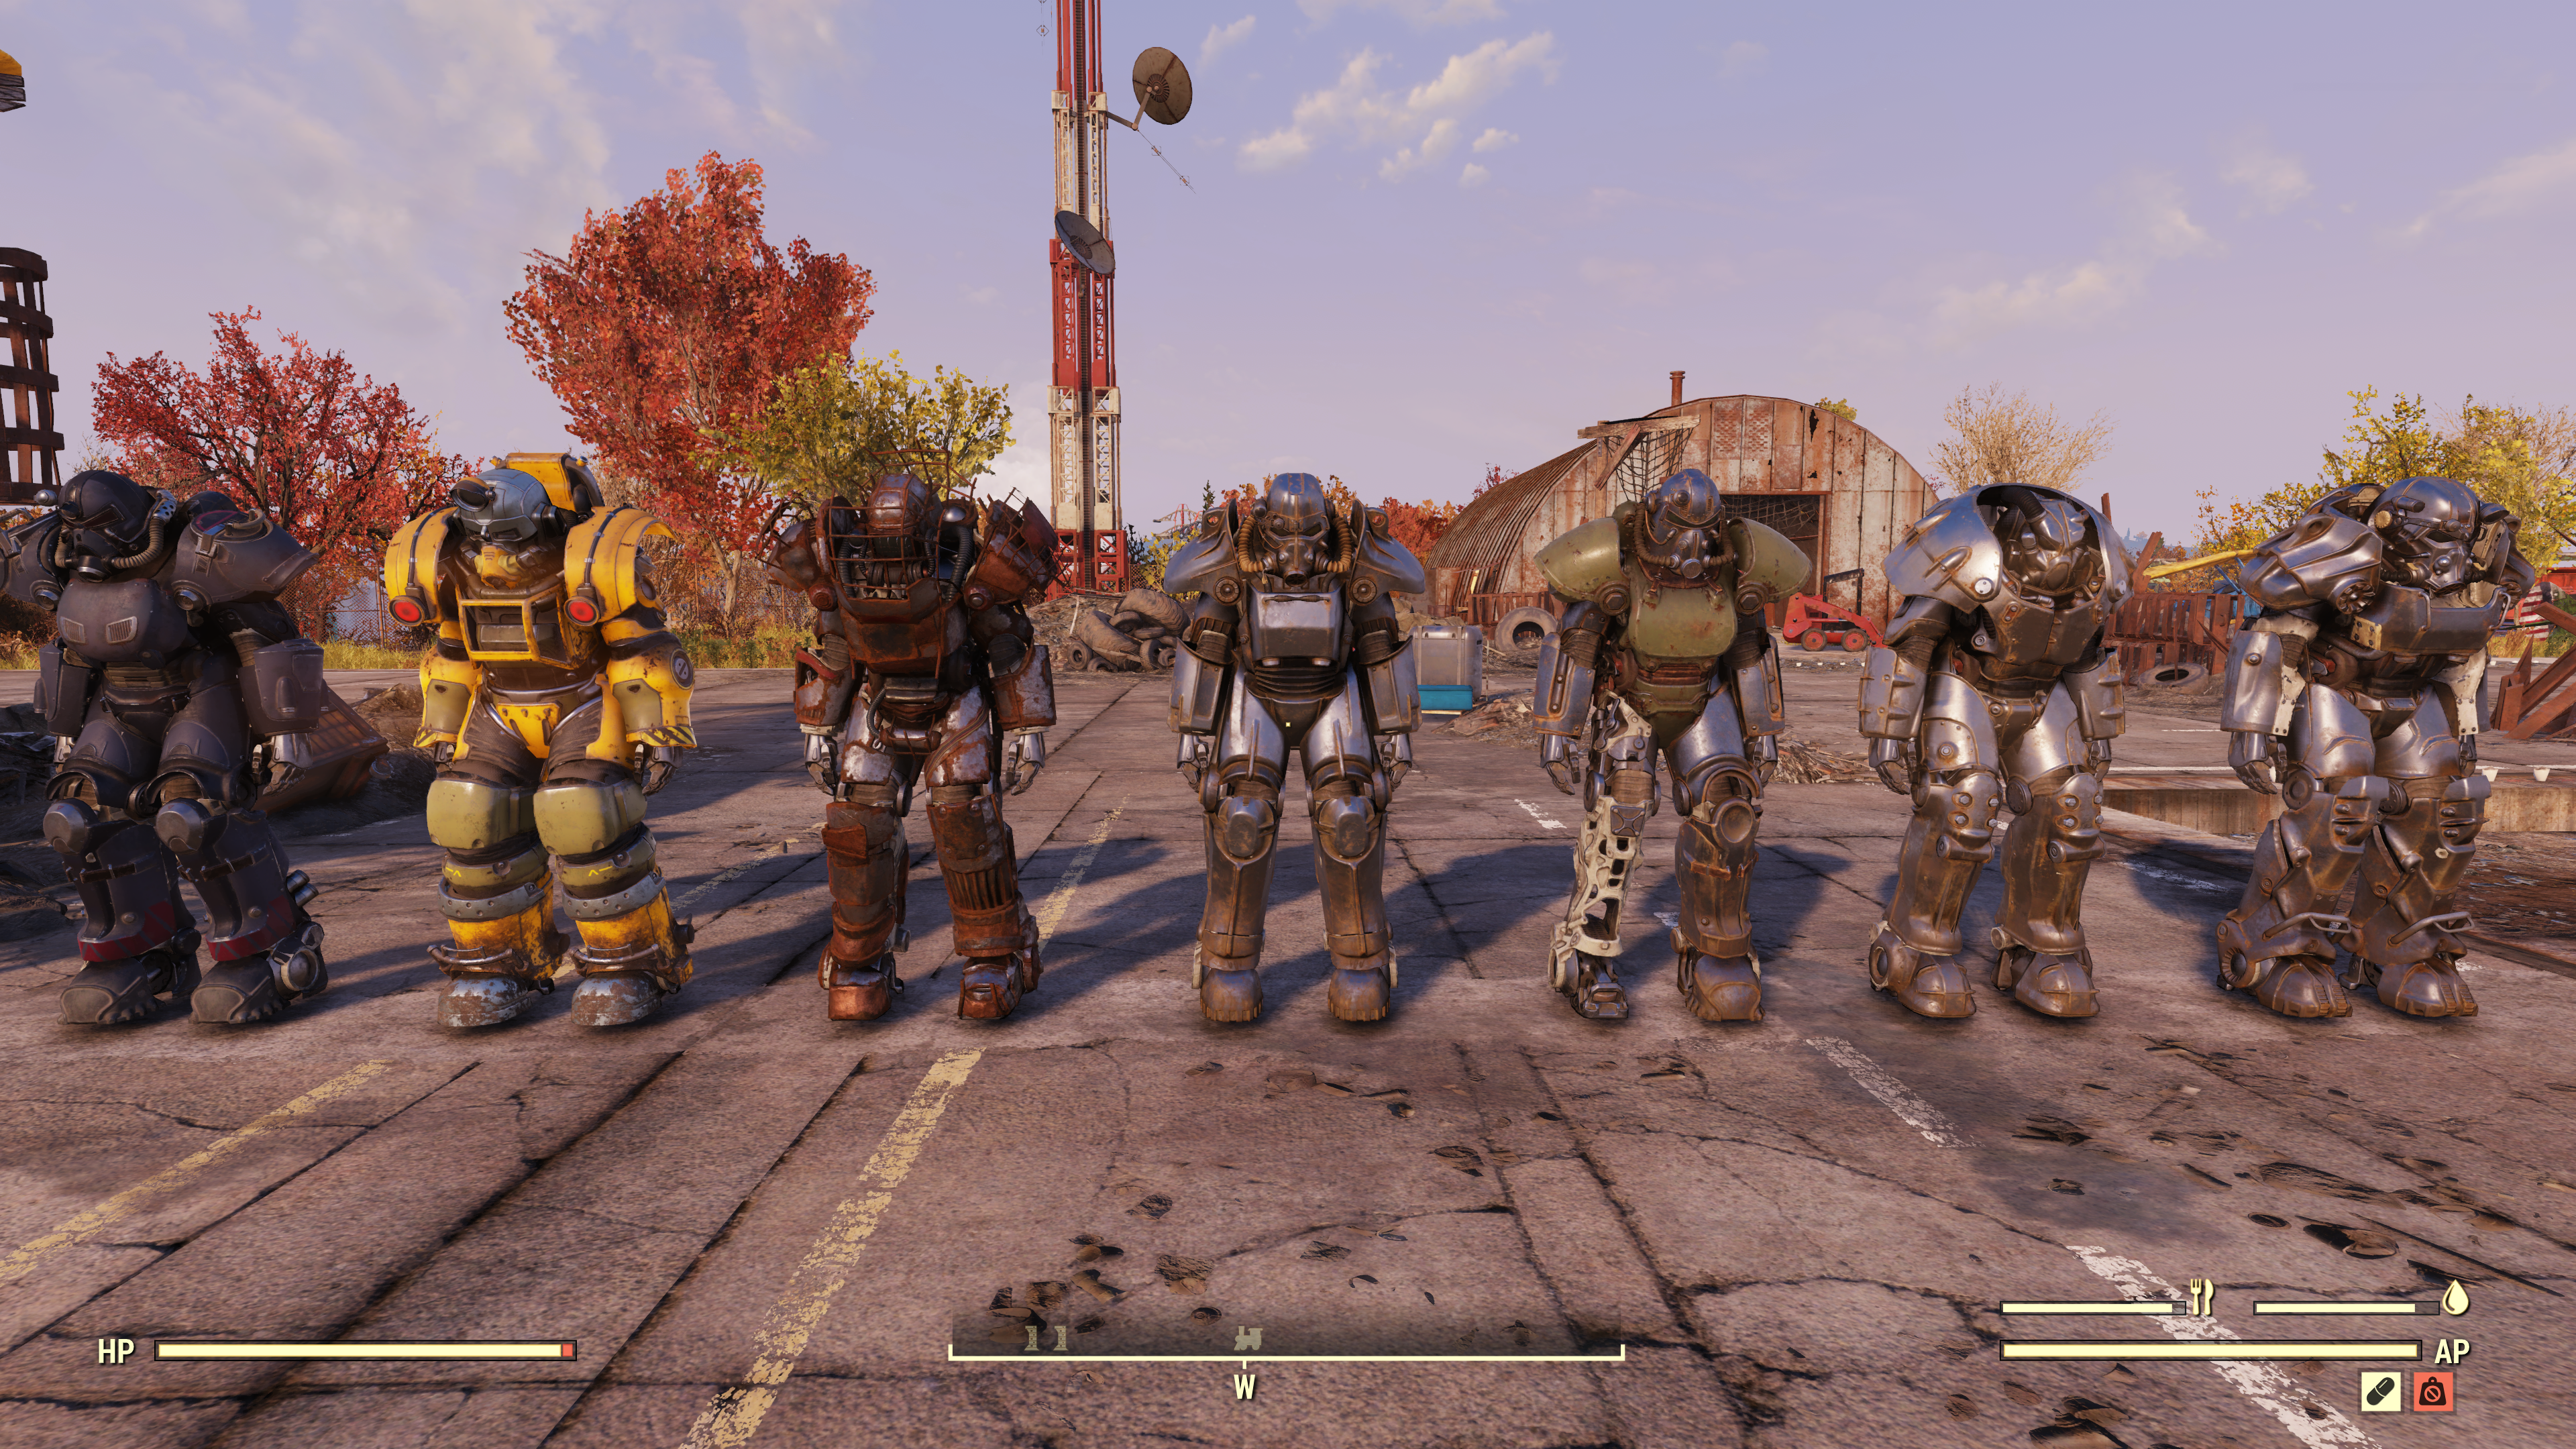
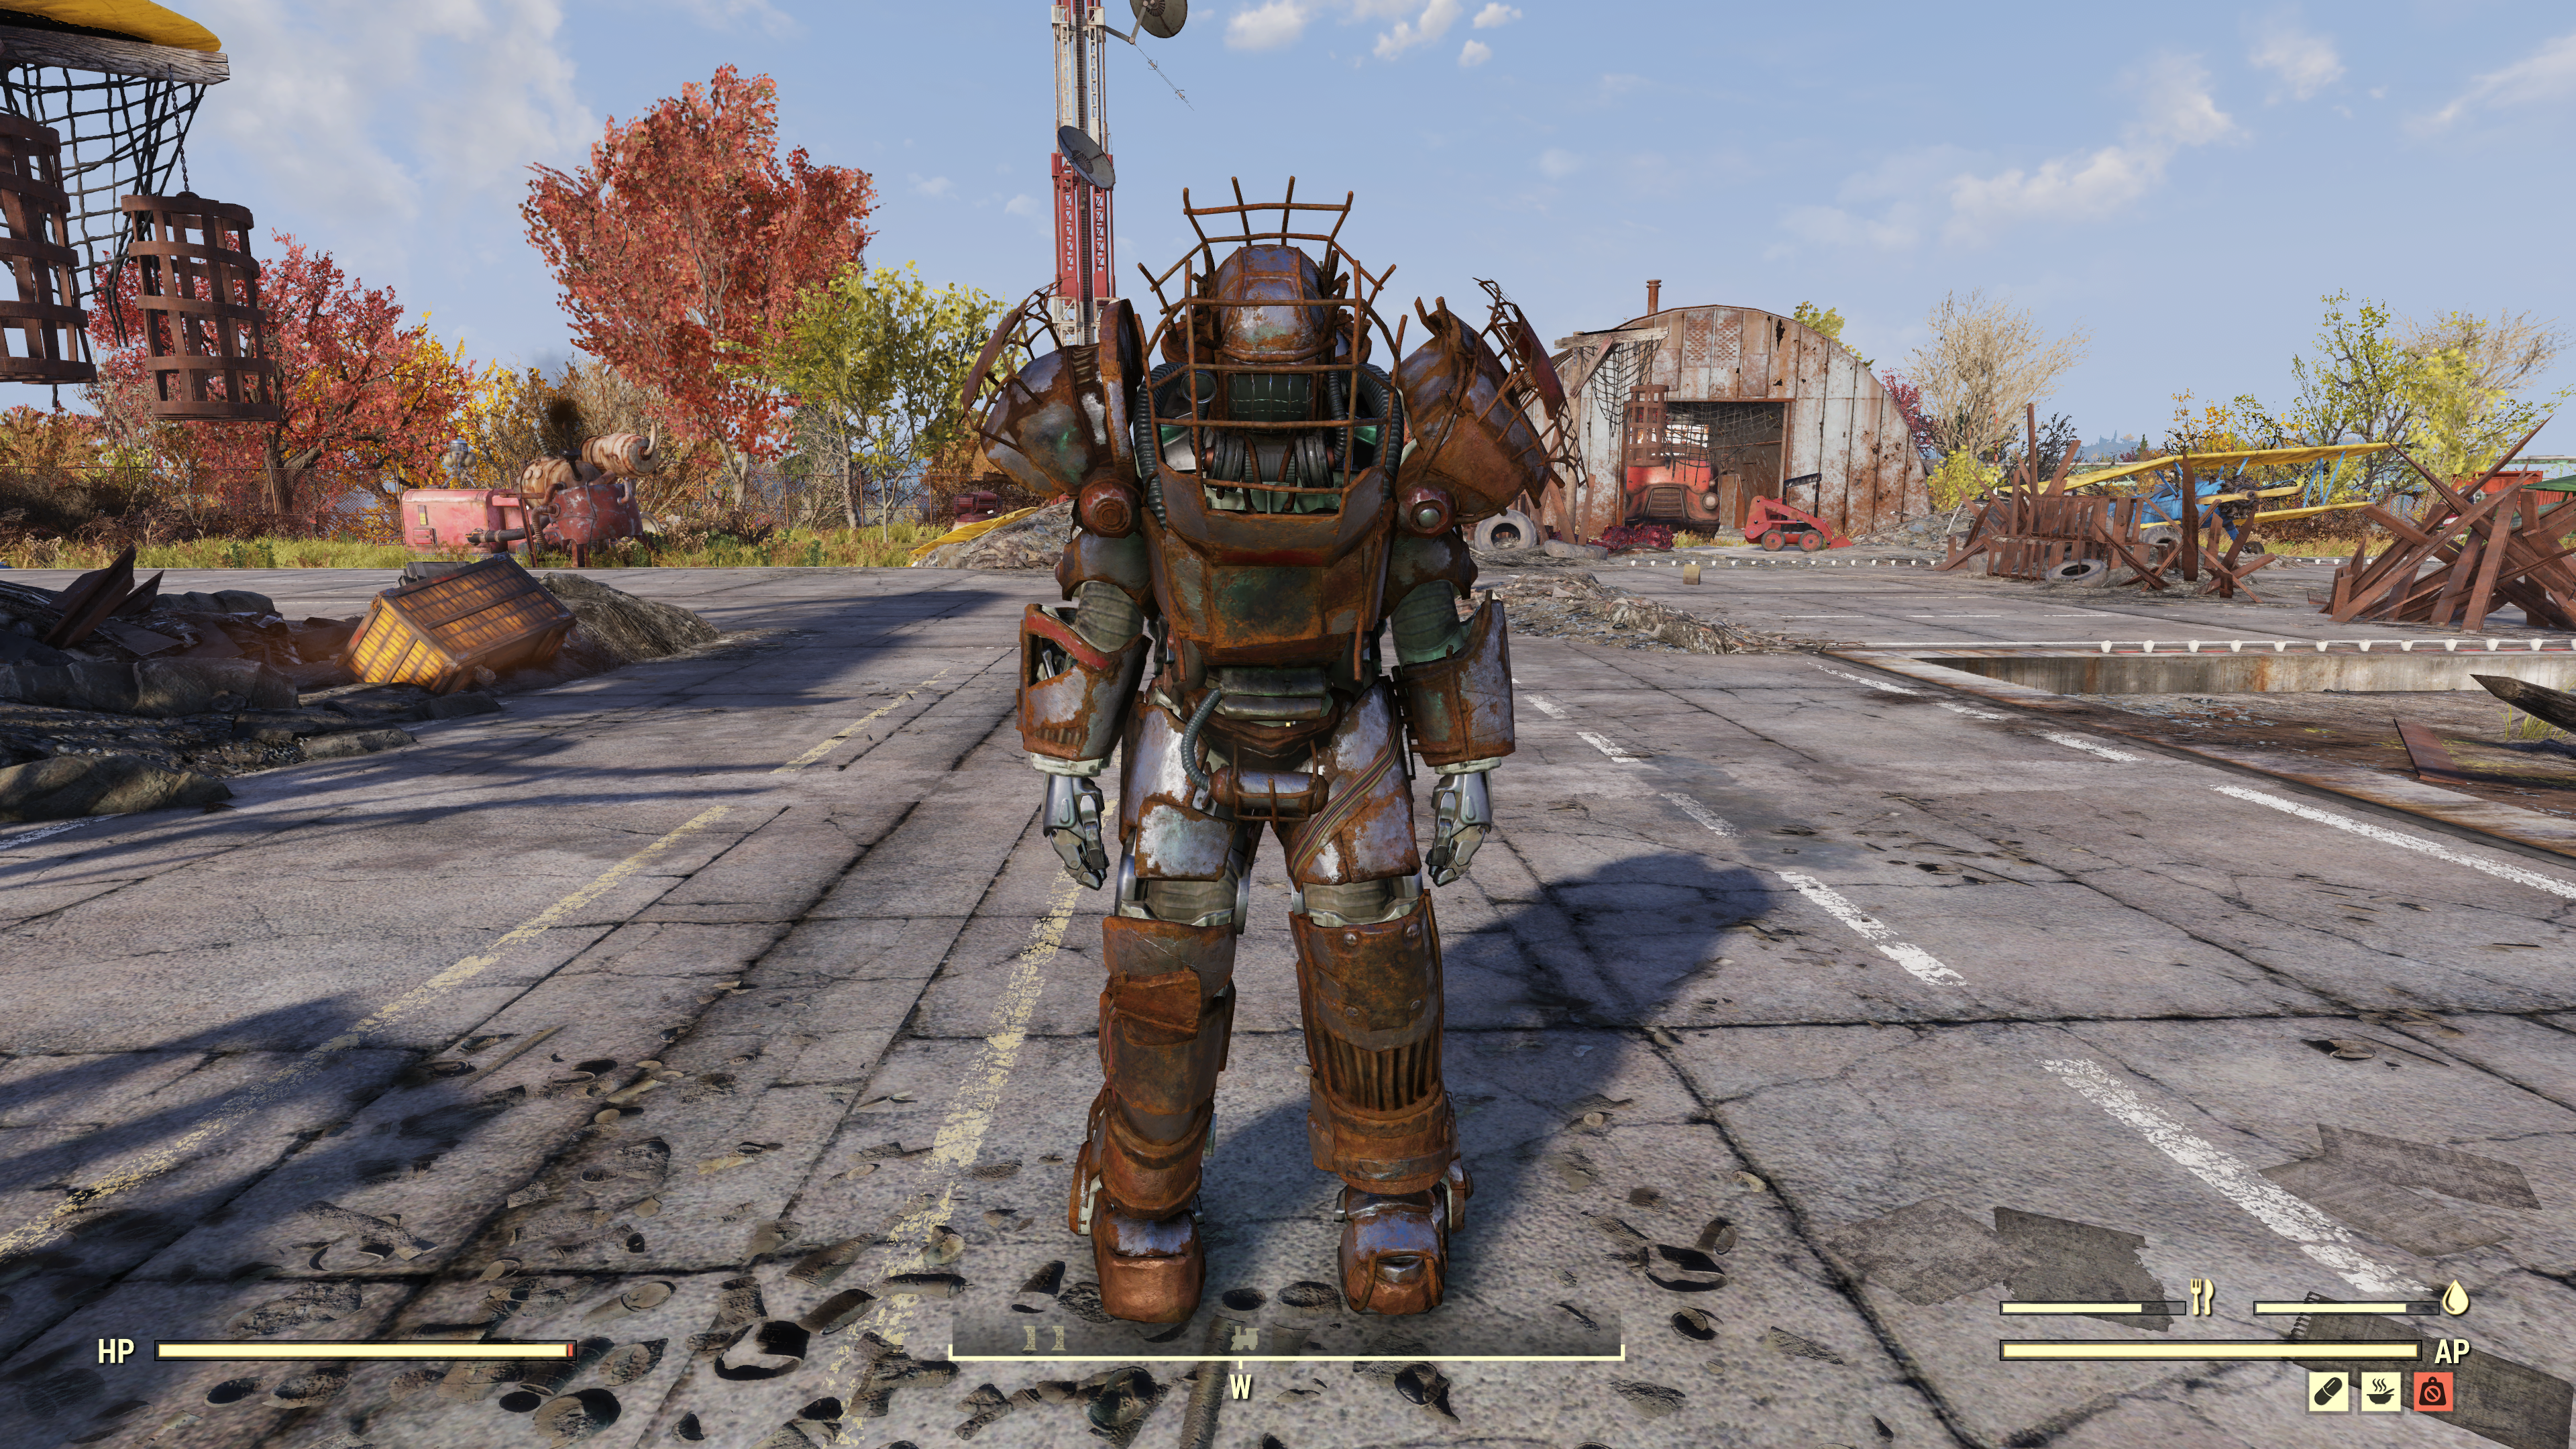
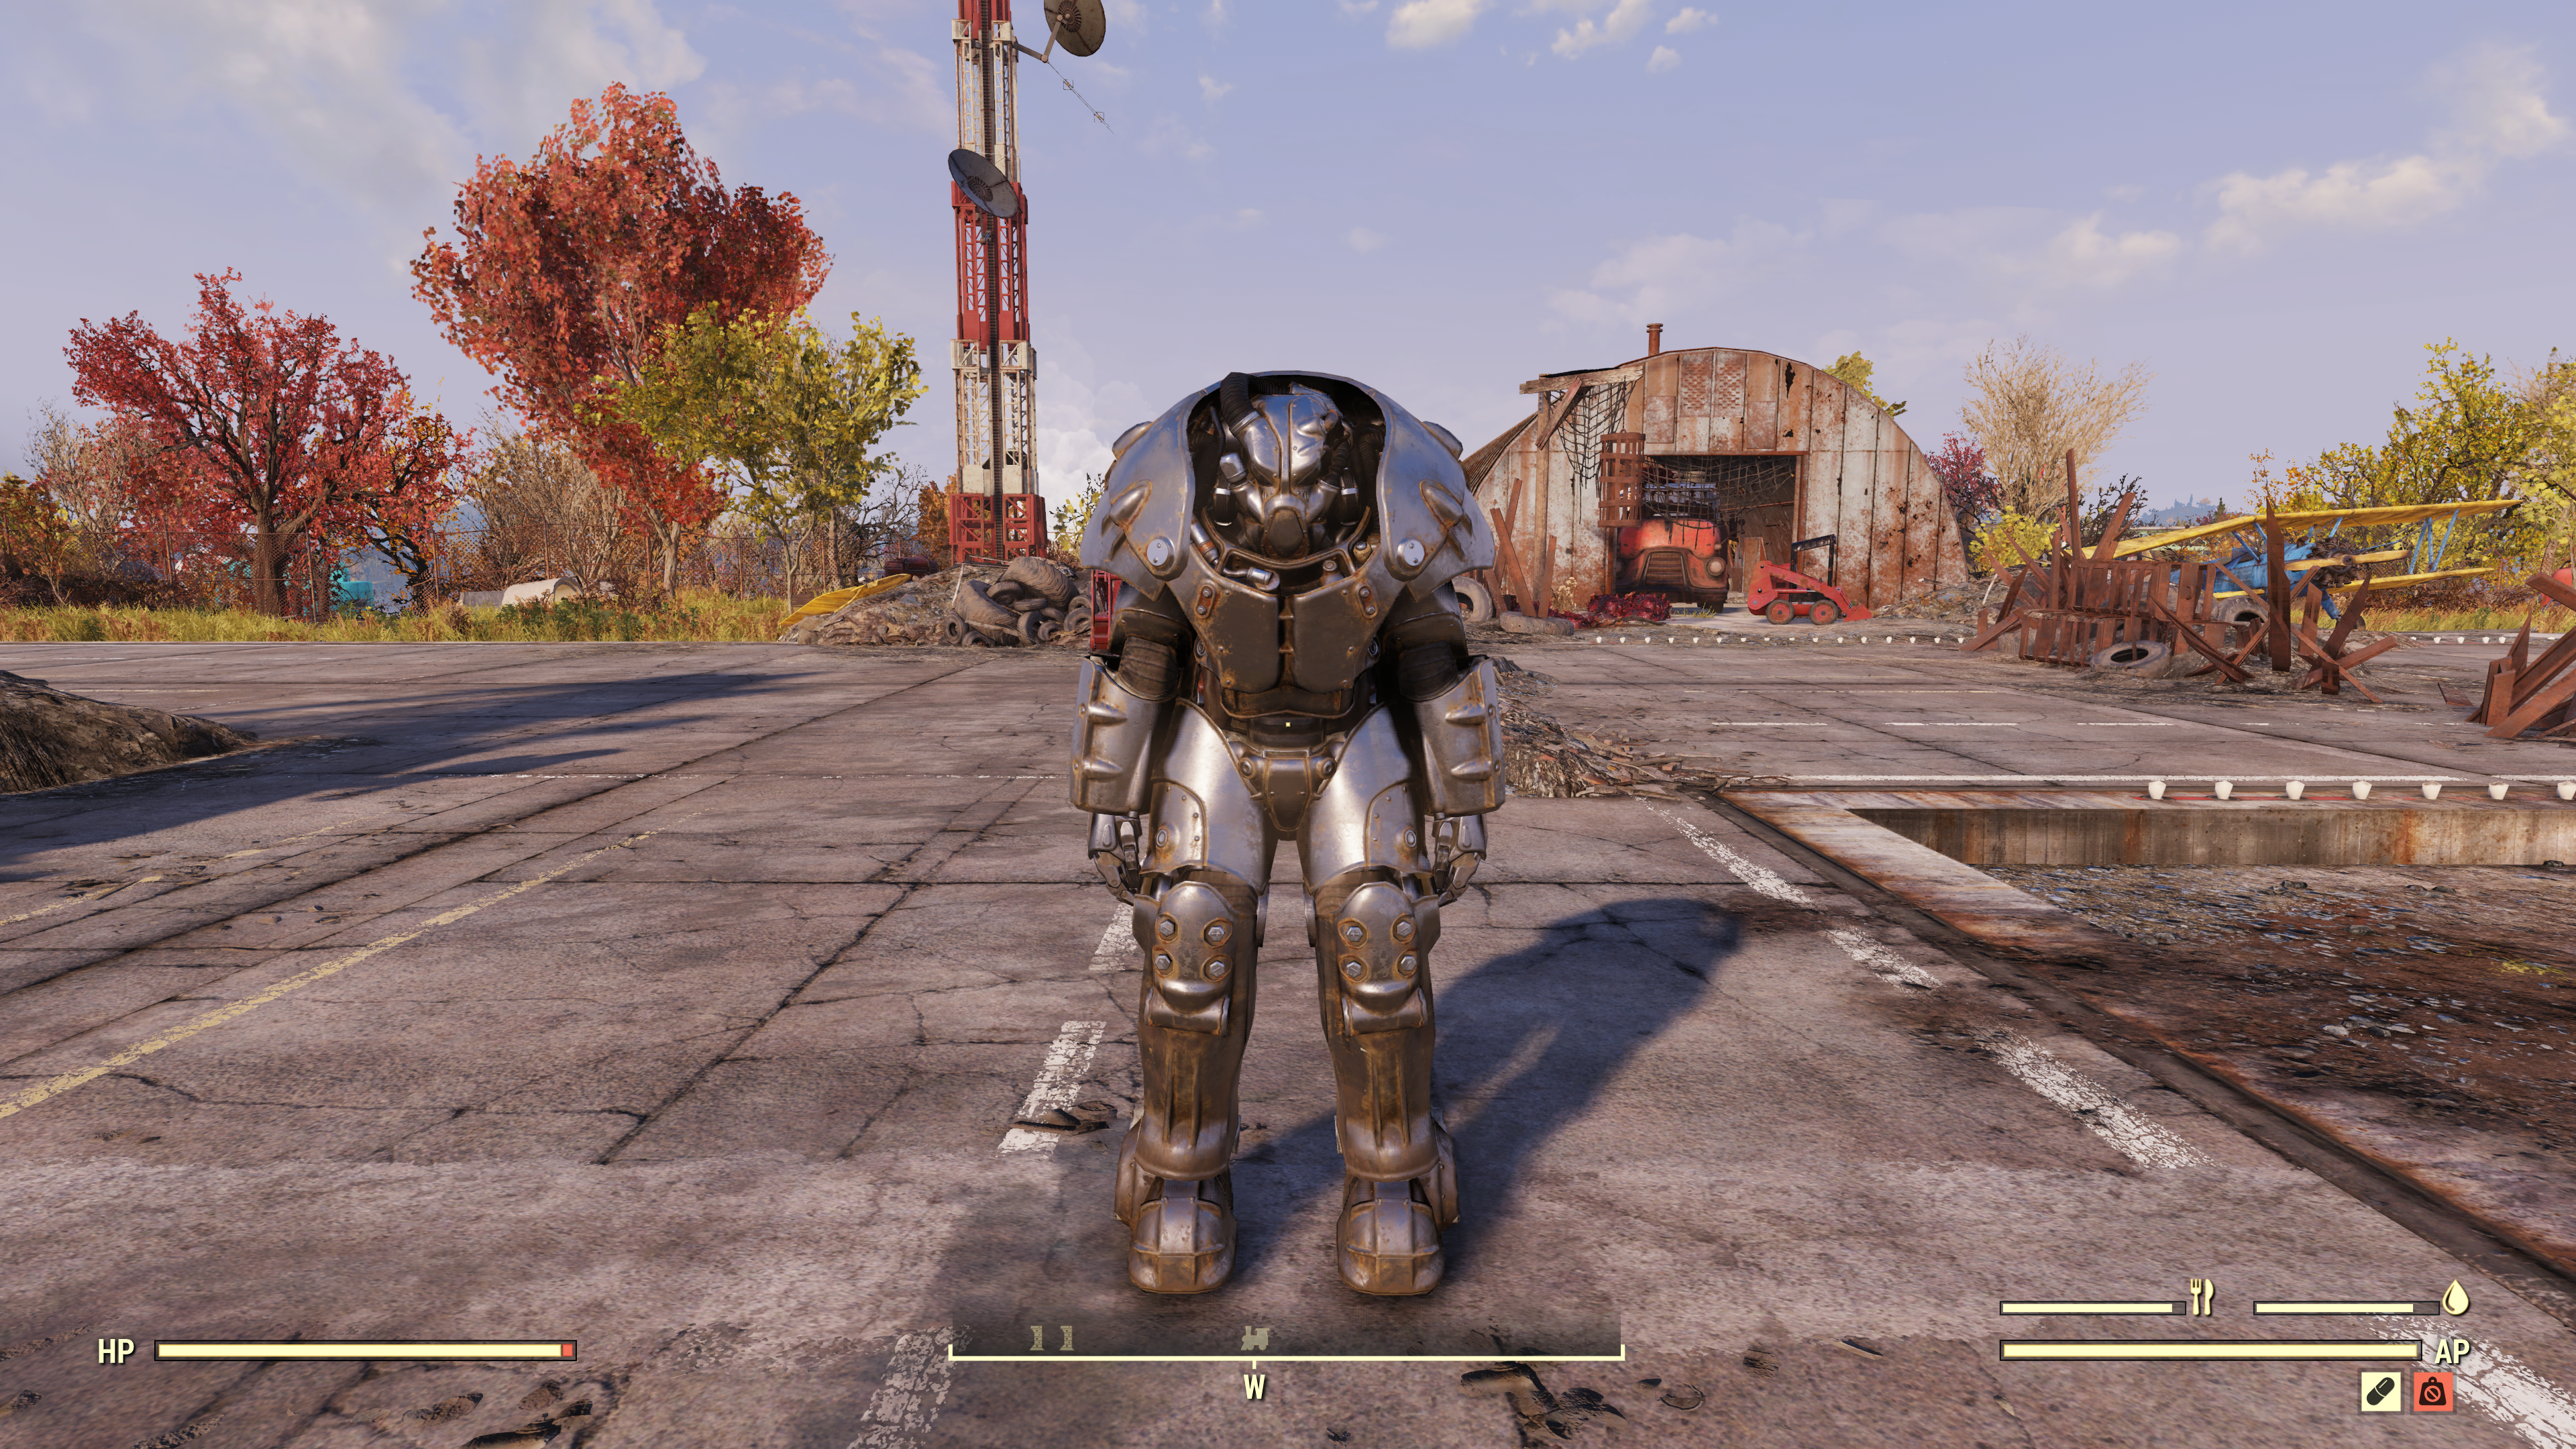
Power armor is a staple of the Fallout franchise, and Fallout 76 is no different. Worn over your regular armor, power armor can turn the tide in difficult dungeons, providing a level of defense that regular gear simply cannot match. While regular gear tends to only be effective against either ballistic fire, energy weapons, or radiation resistance, power armor is generally great against all three hazards. Not only that, but wearing power armor helmets prevents airborne and waterborne diseases, which is a nice bonus.
Some power armor can simply be found in certain locations randomly, others are rewarded for quests, and there are a couple sets that you must craft. We're going to tell you how to make each and every set we've found so far. We've also got a note at the bottom that tells you how to leave power armor, since it's surprisingly tricky the first couple times you try to figure out how to do it.
Need some more Fallout 76 assistance? We've got plenty of help for surviving in the wasteland:
Fallout 76 - All Power Armor Locations
- T-45, T-51b, and T-60 Power Armor
- Excavator Power Armor
- Raider Power Armor
- Ultracite Power Armor
- X-01 Power Armor
Before we get started, a quick primer on how power armor functions in Fallout 76. While normal armor can be equipped piecemeal in your inventory's 'Apparel' section, power armor works a little bit differently. Any power armor set you acquire must be attached to a Power Armor Chassis. While specific Power Armor pieces do appear in your apparel list, it's useless dead weight unless attached to a chassis.
From the apparel menu, simply select the chassis and place it wherever there is open space. Once out in the open, you can interact with the chassis just like any other container, and trading armor pieces into the chassis will automatically equip that piece. If you want to craft, repair, or modify sections on the chassis, however, you can only do that at a Power Armor Station, which basically functions like any old crafting bench.
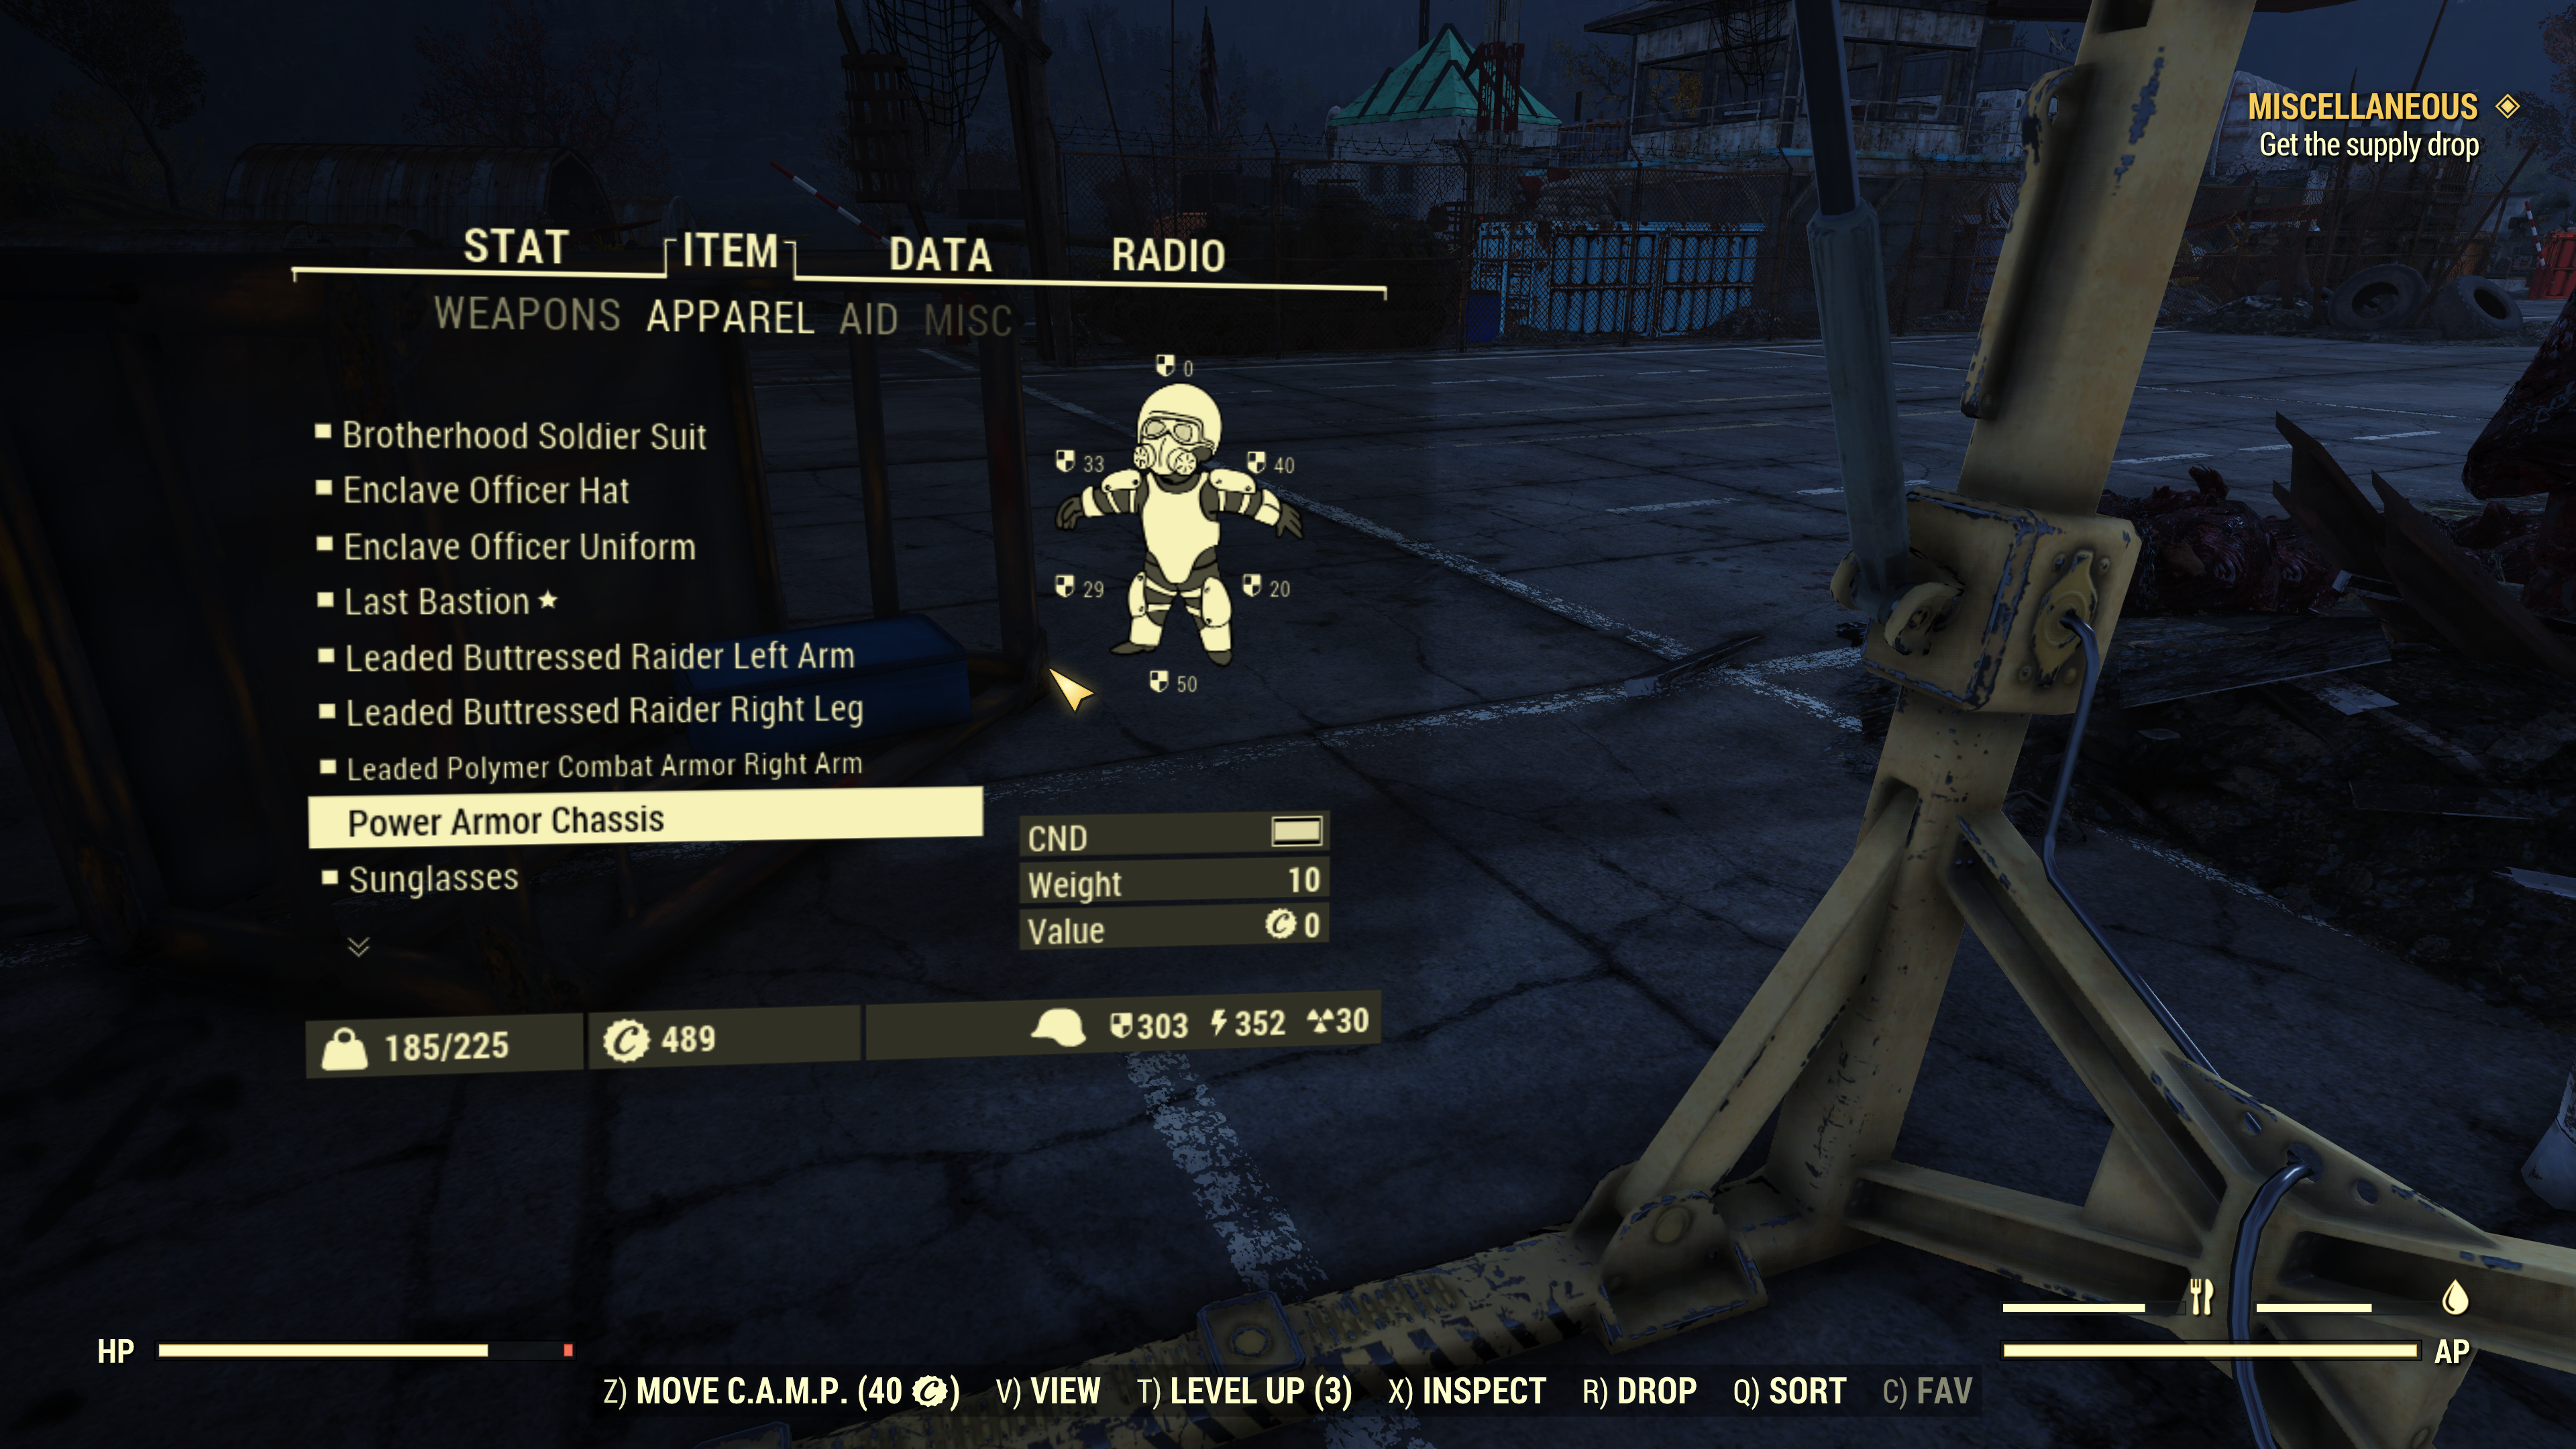
Lastly, any power armor must have a Fusion Core in order to operate. Any chassis you enter must have a core placed into it. Once a chassis is yours, it will automatically be placed into your inventory after about 60 seconds of inactivity. This is useful because any chassis you are carrying only weigh 10 units, instead of the full weight of the armor pieces. Make sure to use this tip to save some much-needed room in your stash.
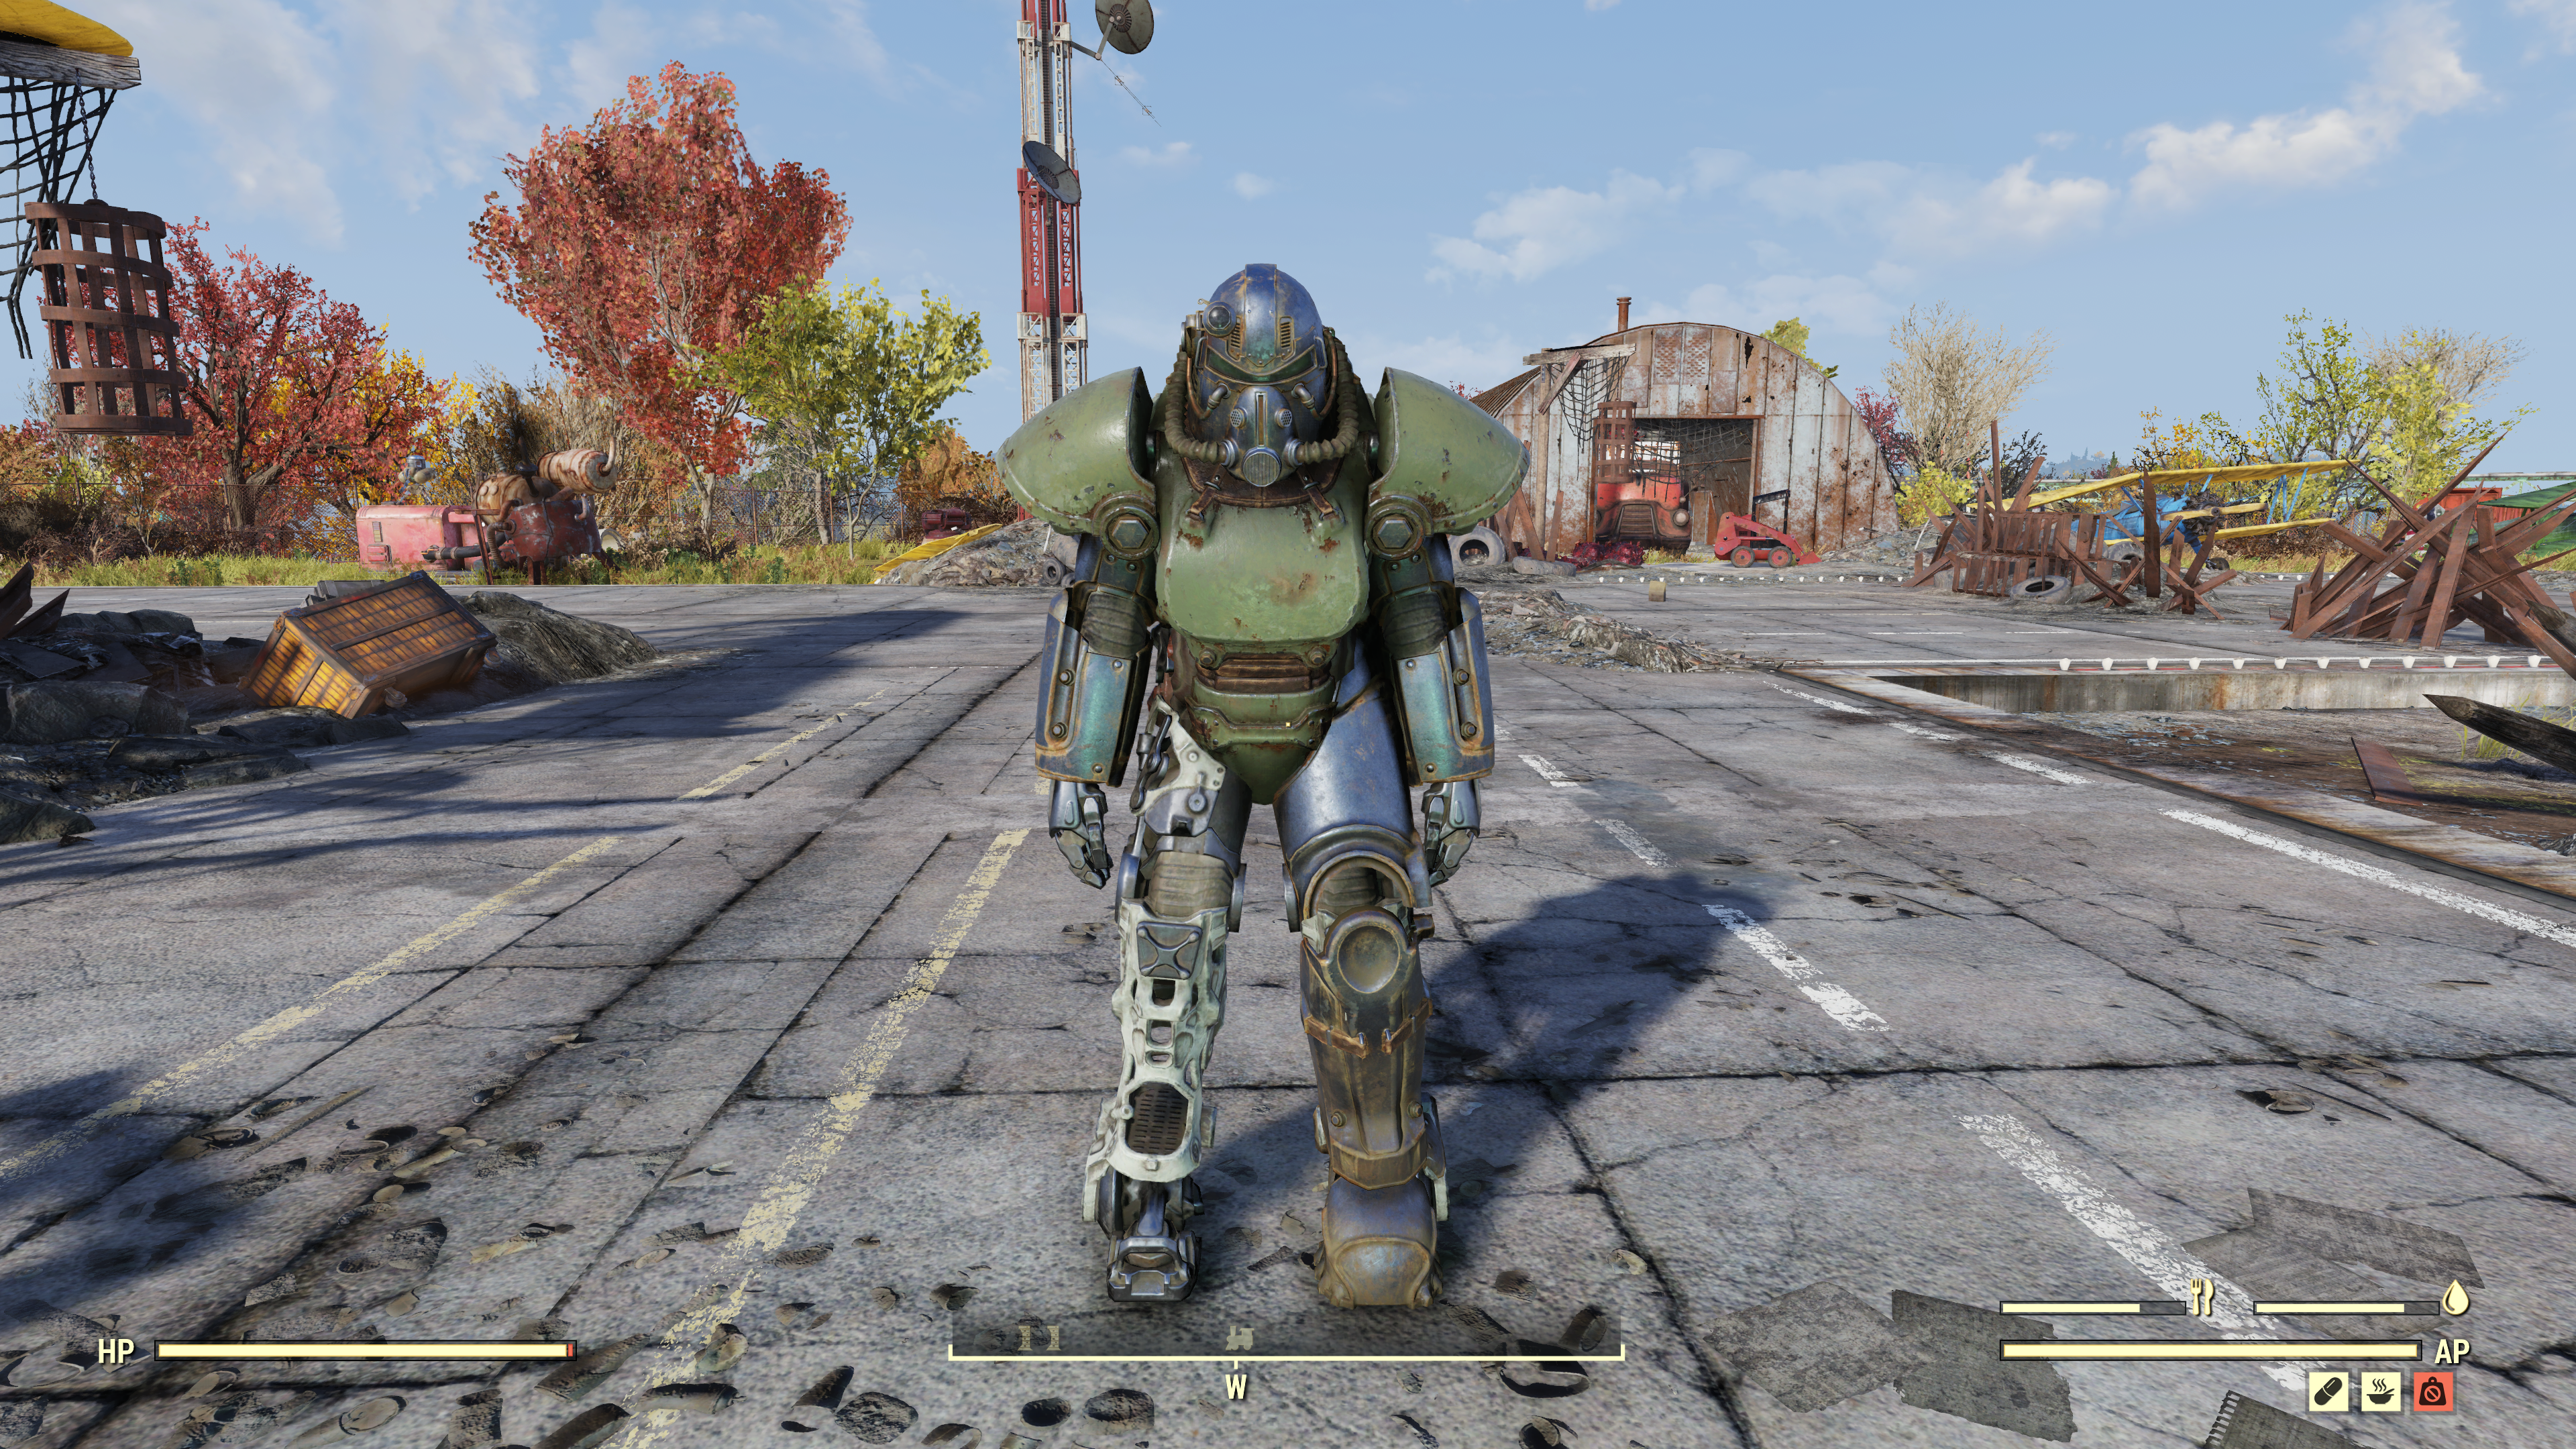
T-45, T-51b, and T-60 Power Armor
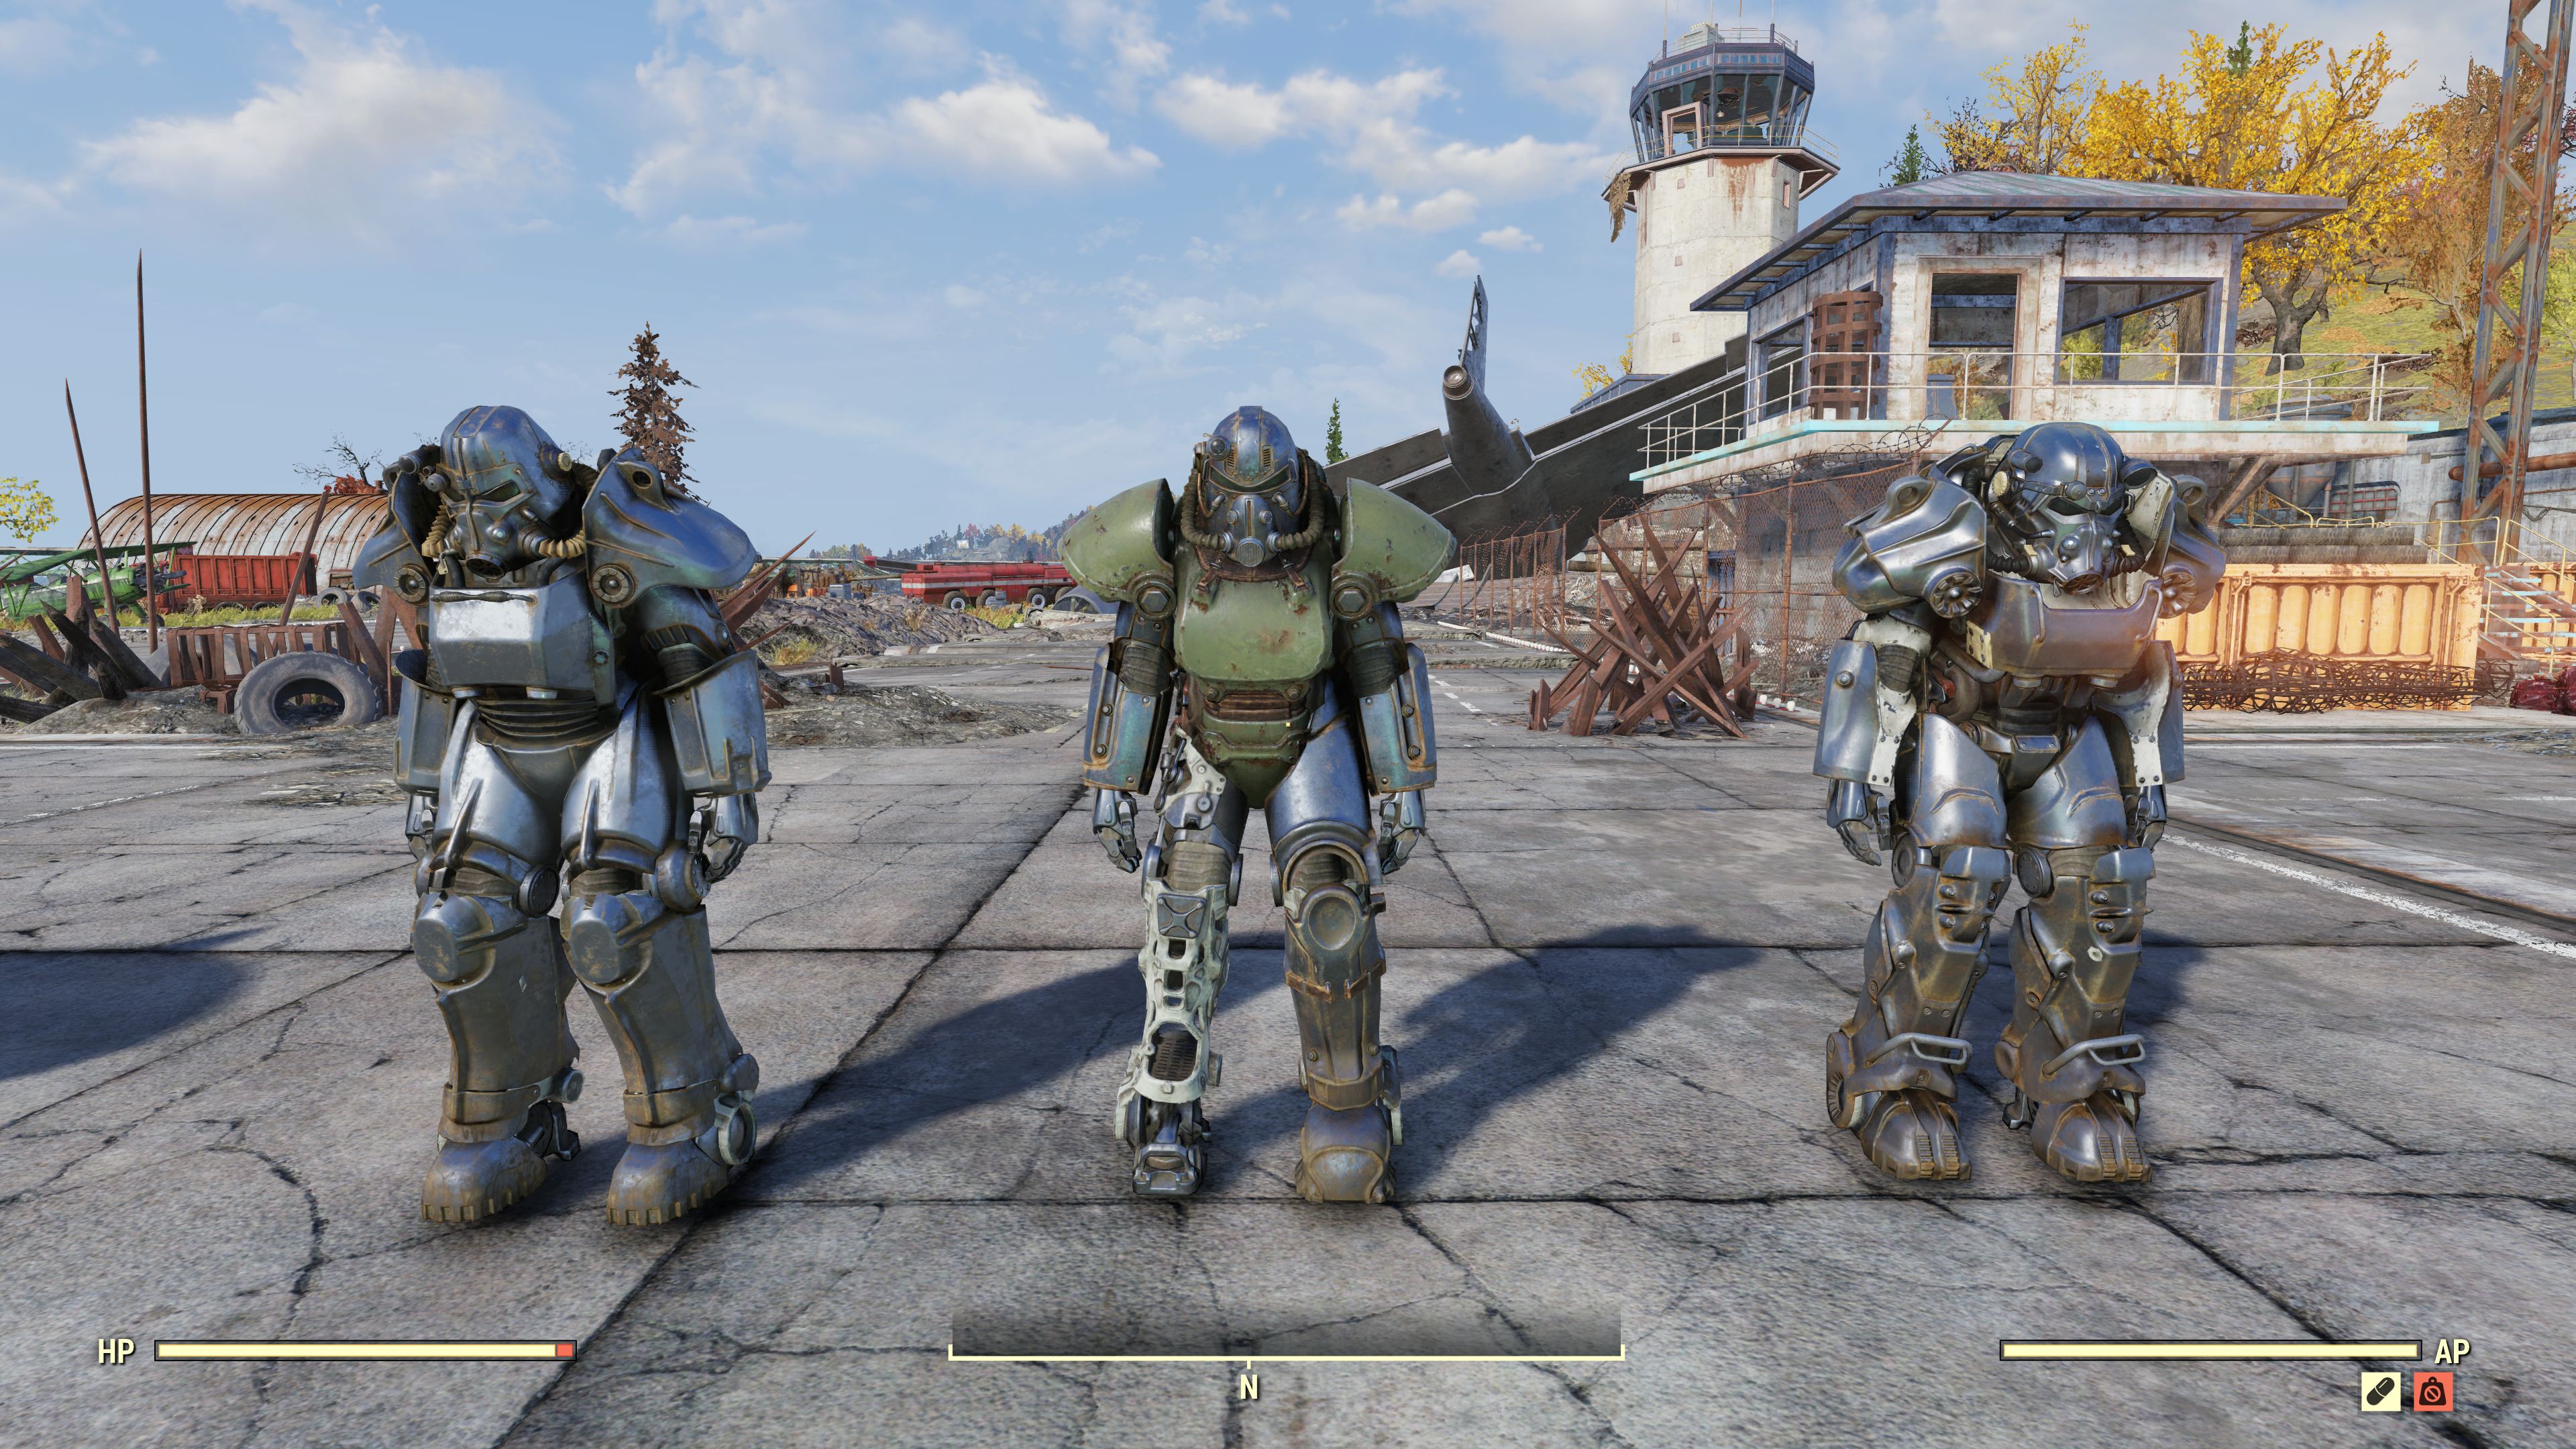
The T-45, T-51b, and T-60 armor sets are not found in any one particular location, but are instead the most random of the bunch. Certain locations in Appalachia have a chance at spawning a chassis with parts of this set on it, but it seems to be random, at least somewhat so. Certain locations are more likely than others to hold these armor sets. We recommend looking in Grafton Dam, Watoga, ARKTOS Pharma, Point Pleasant, and the Charleston Fire Department. To be honest, there are a ton more possible locations to list.
Our recommendation is that you just keep an eye out for these whenever you are exploring the wasteland, and keep tabs on which pieces you have and still need. Once you find a piece to add to your collection, simply pull your chassis out of your Stash, place the armor piece on, and put it all back in storage.
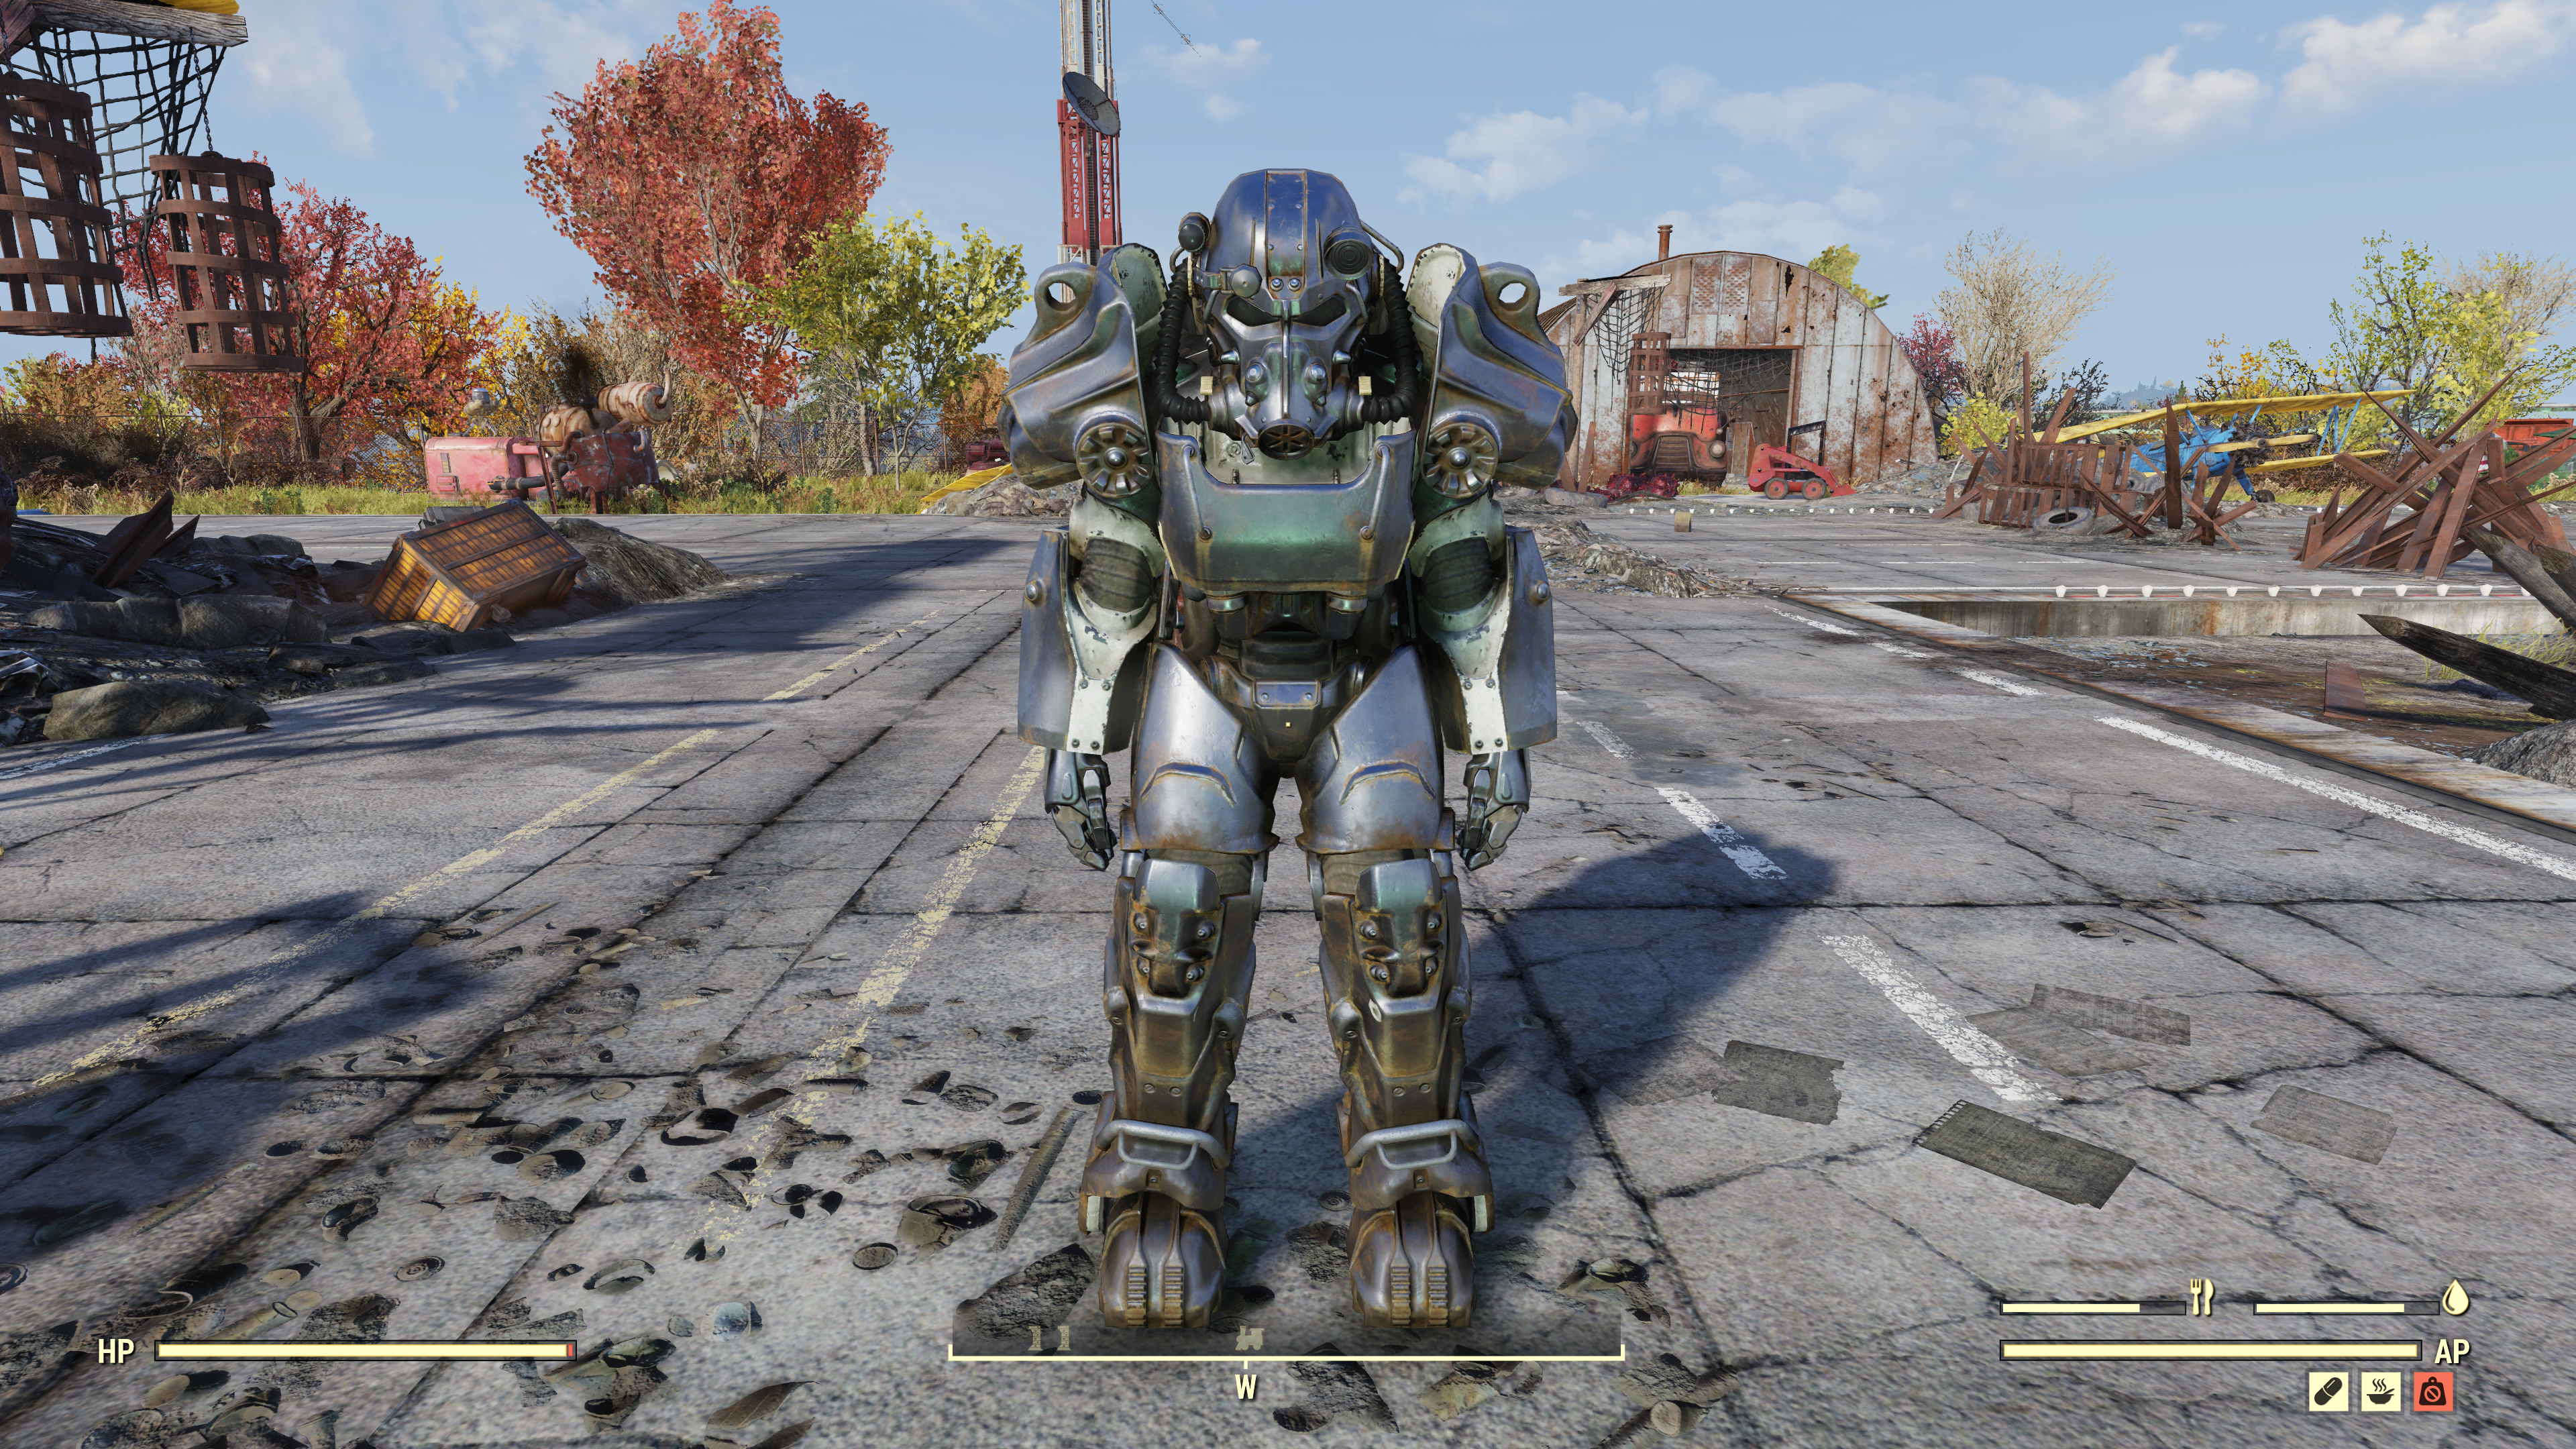
Excavator Power Armor
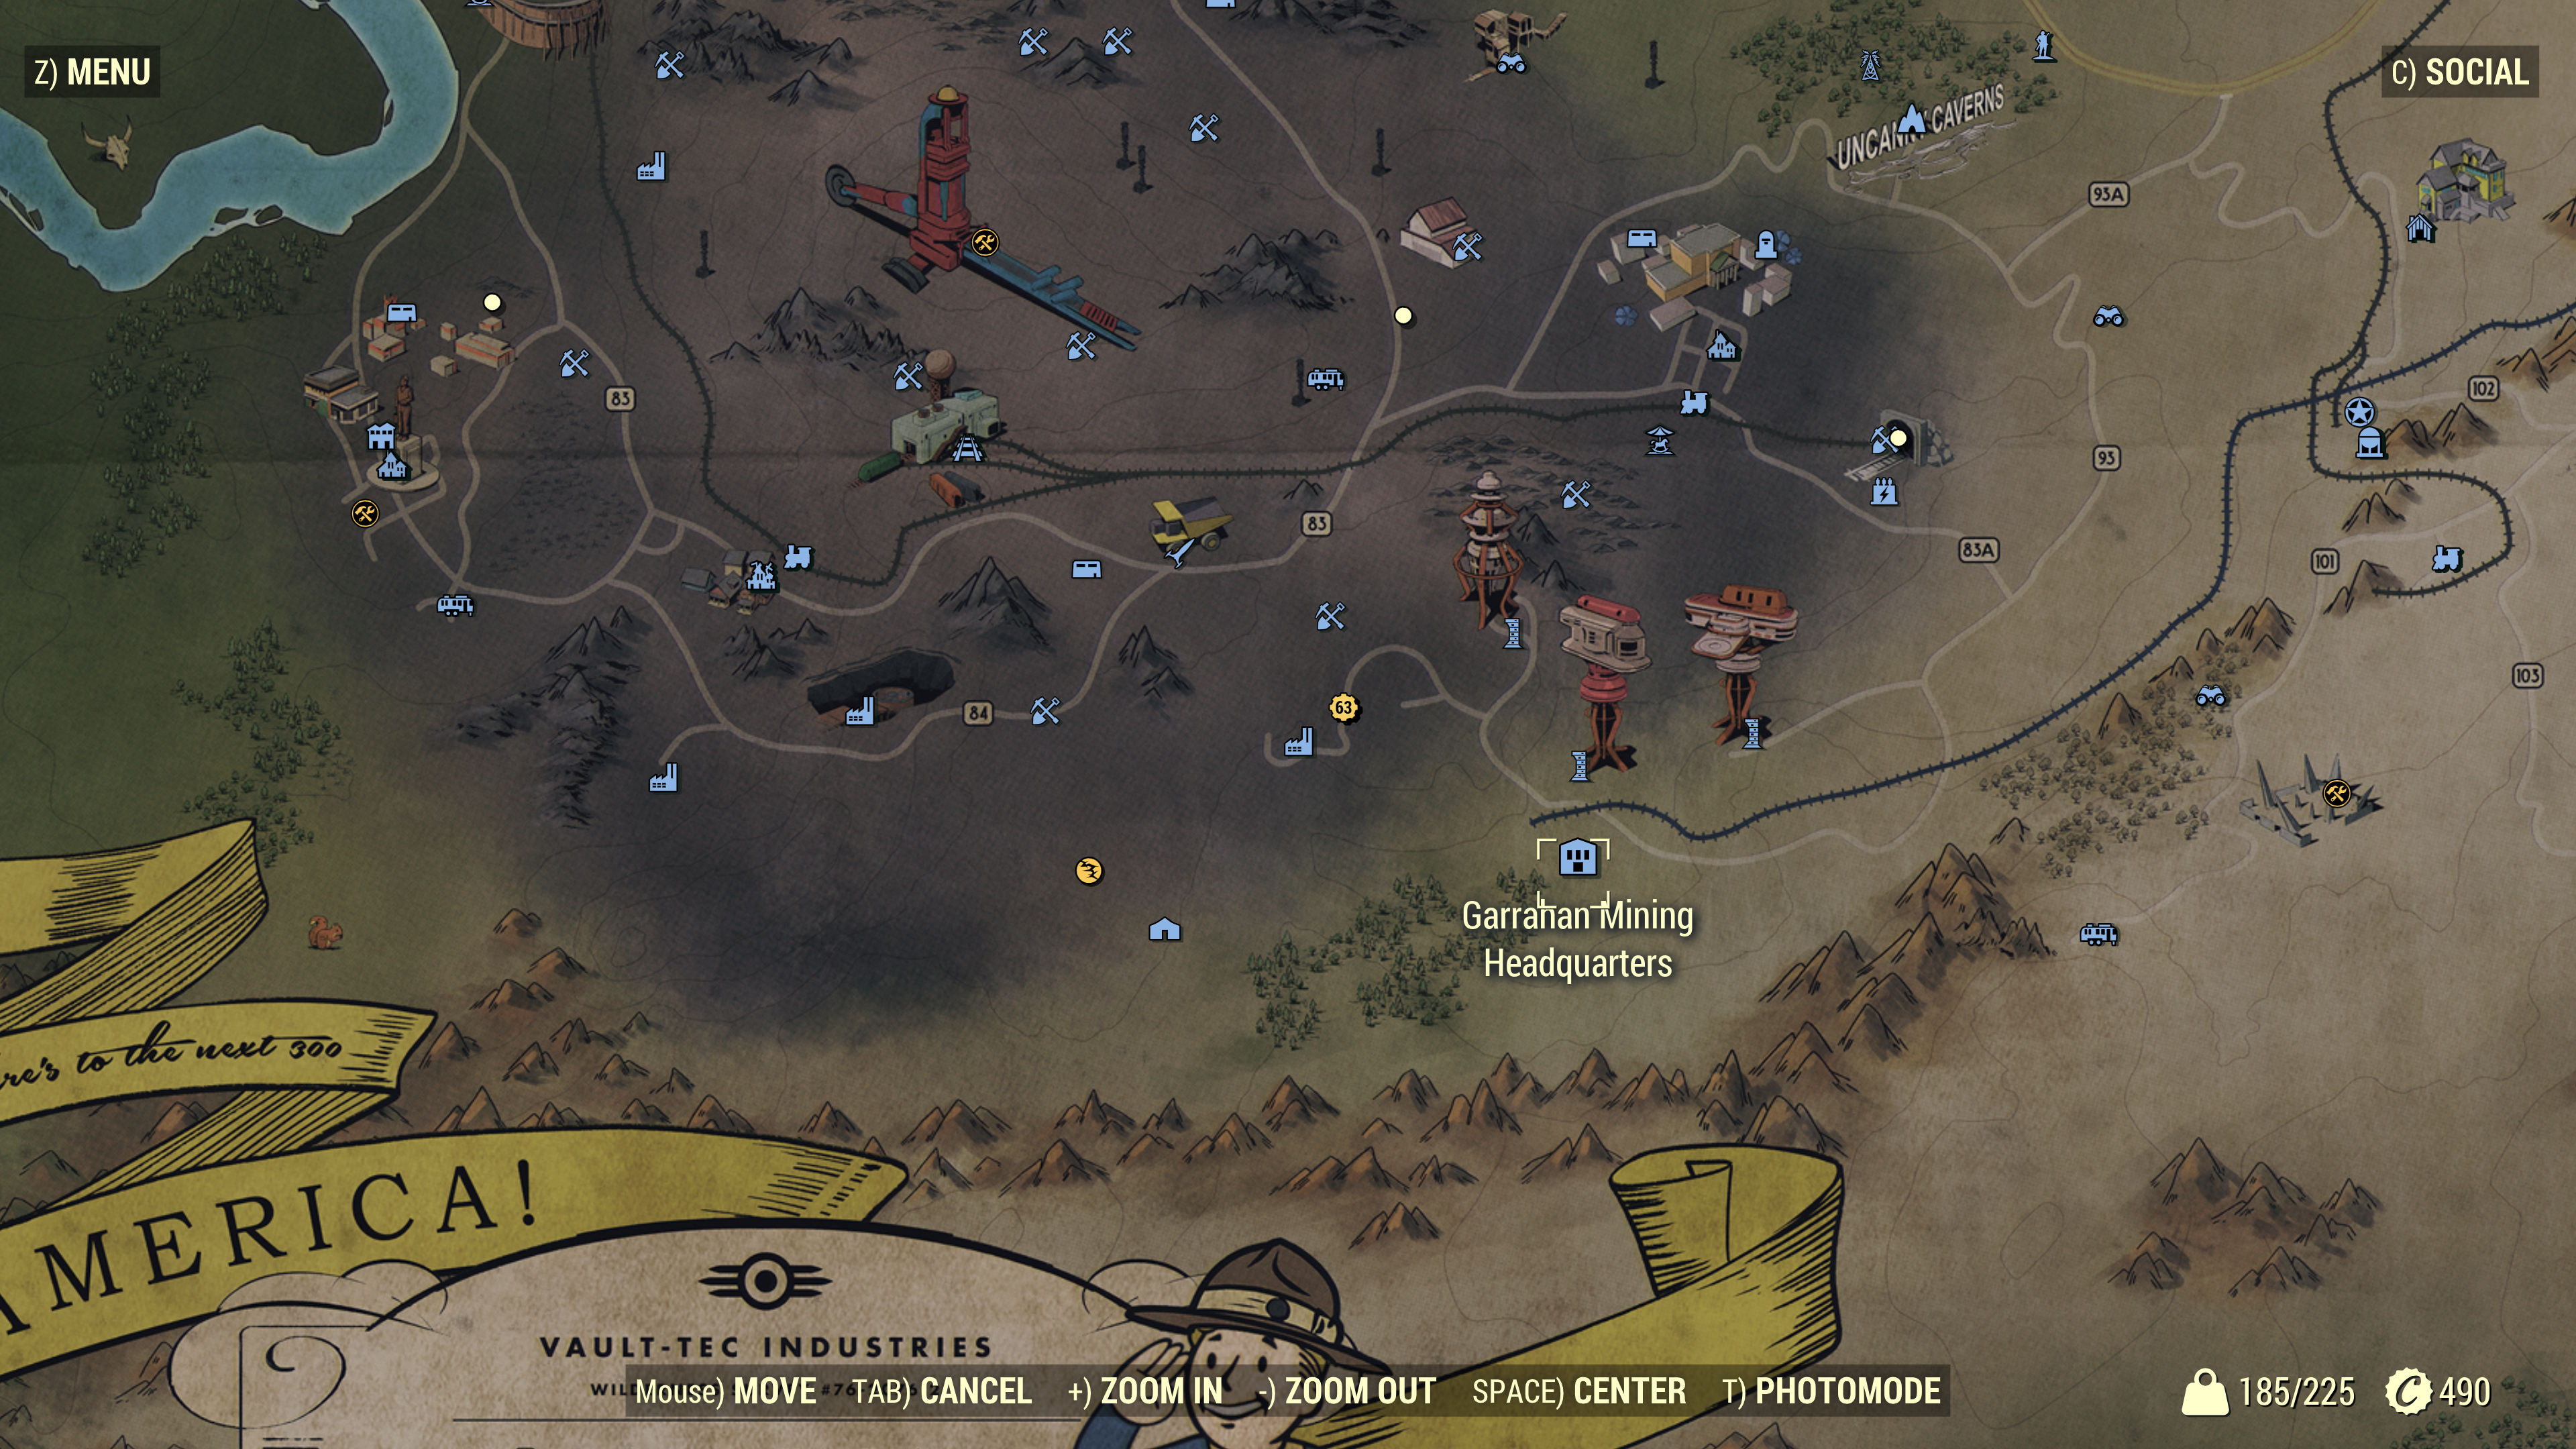
The Excavator set is a key part of the quest Miner Miracles, found at the Garrahan Mining Headquarters in the southern part of the Ash Heap at the very bottom of the map. This set of power armor isn't the reward for the quest, it's actually the objective. Once you explore the headquarters and interact with a poster showcasing the armor, you'll eventually be tasked to craft the set. This armor set can only be crafted.
The quest itself is pretty simple. You'll interact with the Reception Terminal inside, then head downstairs to interact with the Project Manager's Terminal. Simply follow the waypoints until you're tasked to craft the armor.
With a free chassis in hand, head to any Power Armor Station and get to work crafting the set. A full armor set requires a Torso, Helmet, Left/Right Arms, and Left/Right Legs. You probably won't be able to craft it all on the spot -- in order to craft the full complement of the level 25 version of the excavator armor, you'll need a lot of materials.
In total, you'll need: 36x Black Titanium, 60x Springs, 60x Screws, 38x Oil, 30x Gears, 26x Rubber, 12x Glass, and 6x Nuclear Materials. The limiting factor here will probably be the Titanium, Springs/Screws, and maybe the Oil. You can check out our Materials Guide to help find some of what you'll need, so be sure to tag what you're short on and start gathering it all up. As always, Springs and Screws can be found in relative abundance at Suger Grove or Camp McClintock via clipboards and desk fans. Remember you can get Black Titanium easily by buying the excavation maps from vending machines in the Welch area of the Ash Heap. In a pinch, you can set up Oil Excavators at workshops such as Wade Airport, which has access to three Oil locations that are easy to defend from low level enemies.
Once you finish the quest, you earn plans for a Power Armor Station, which is definitely a nice thing to have going forward. Make sure to keep it ready in your camp. Remember you can always build one and it can be stored and rebuilt for free whenever you move your camp around.
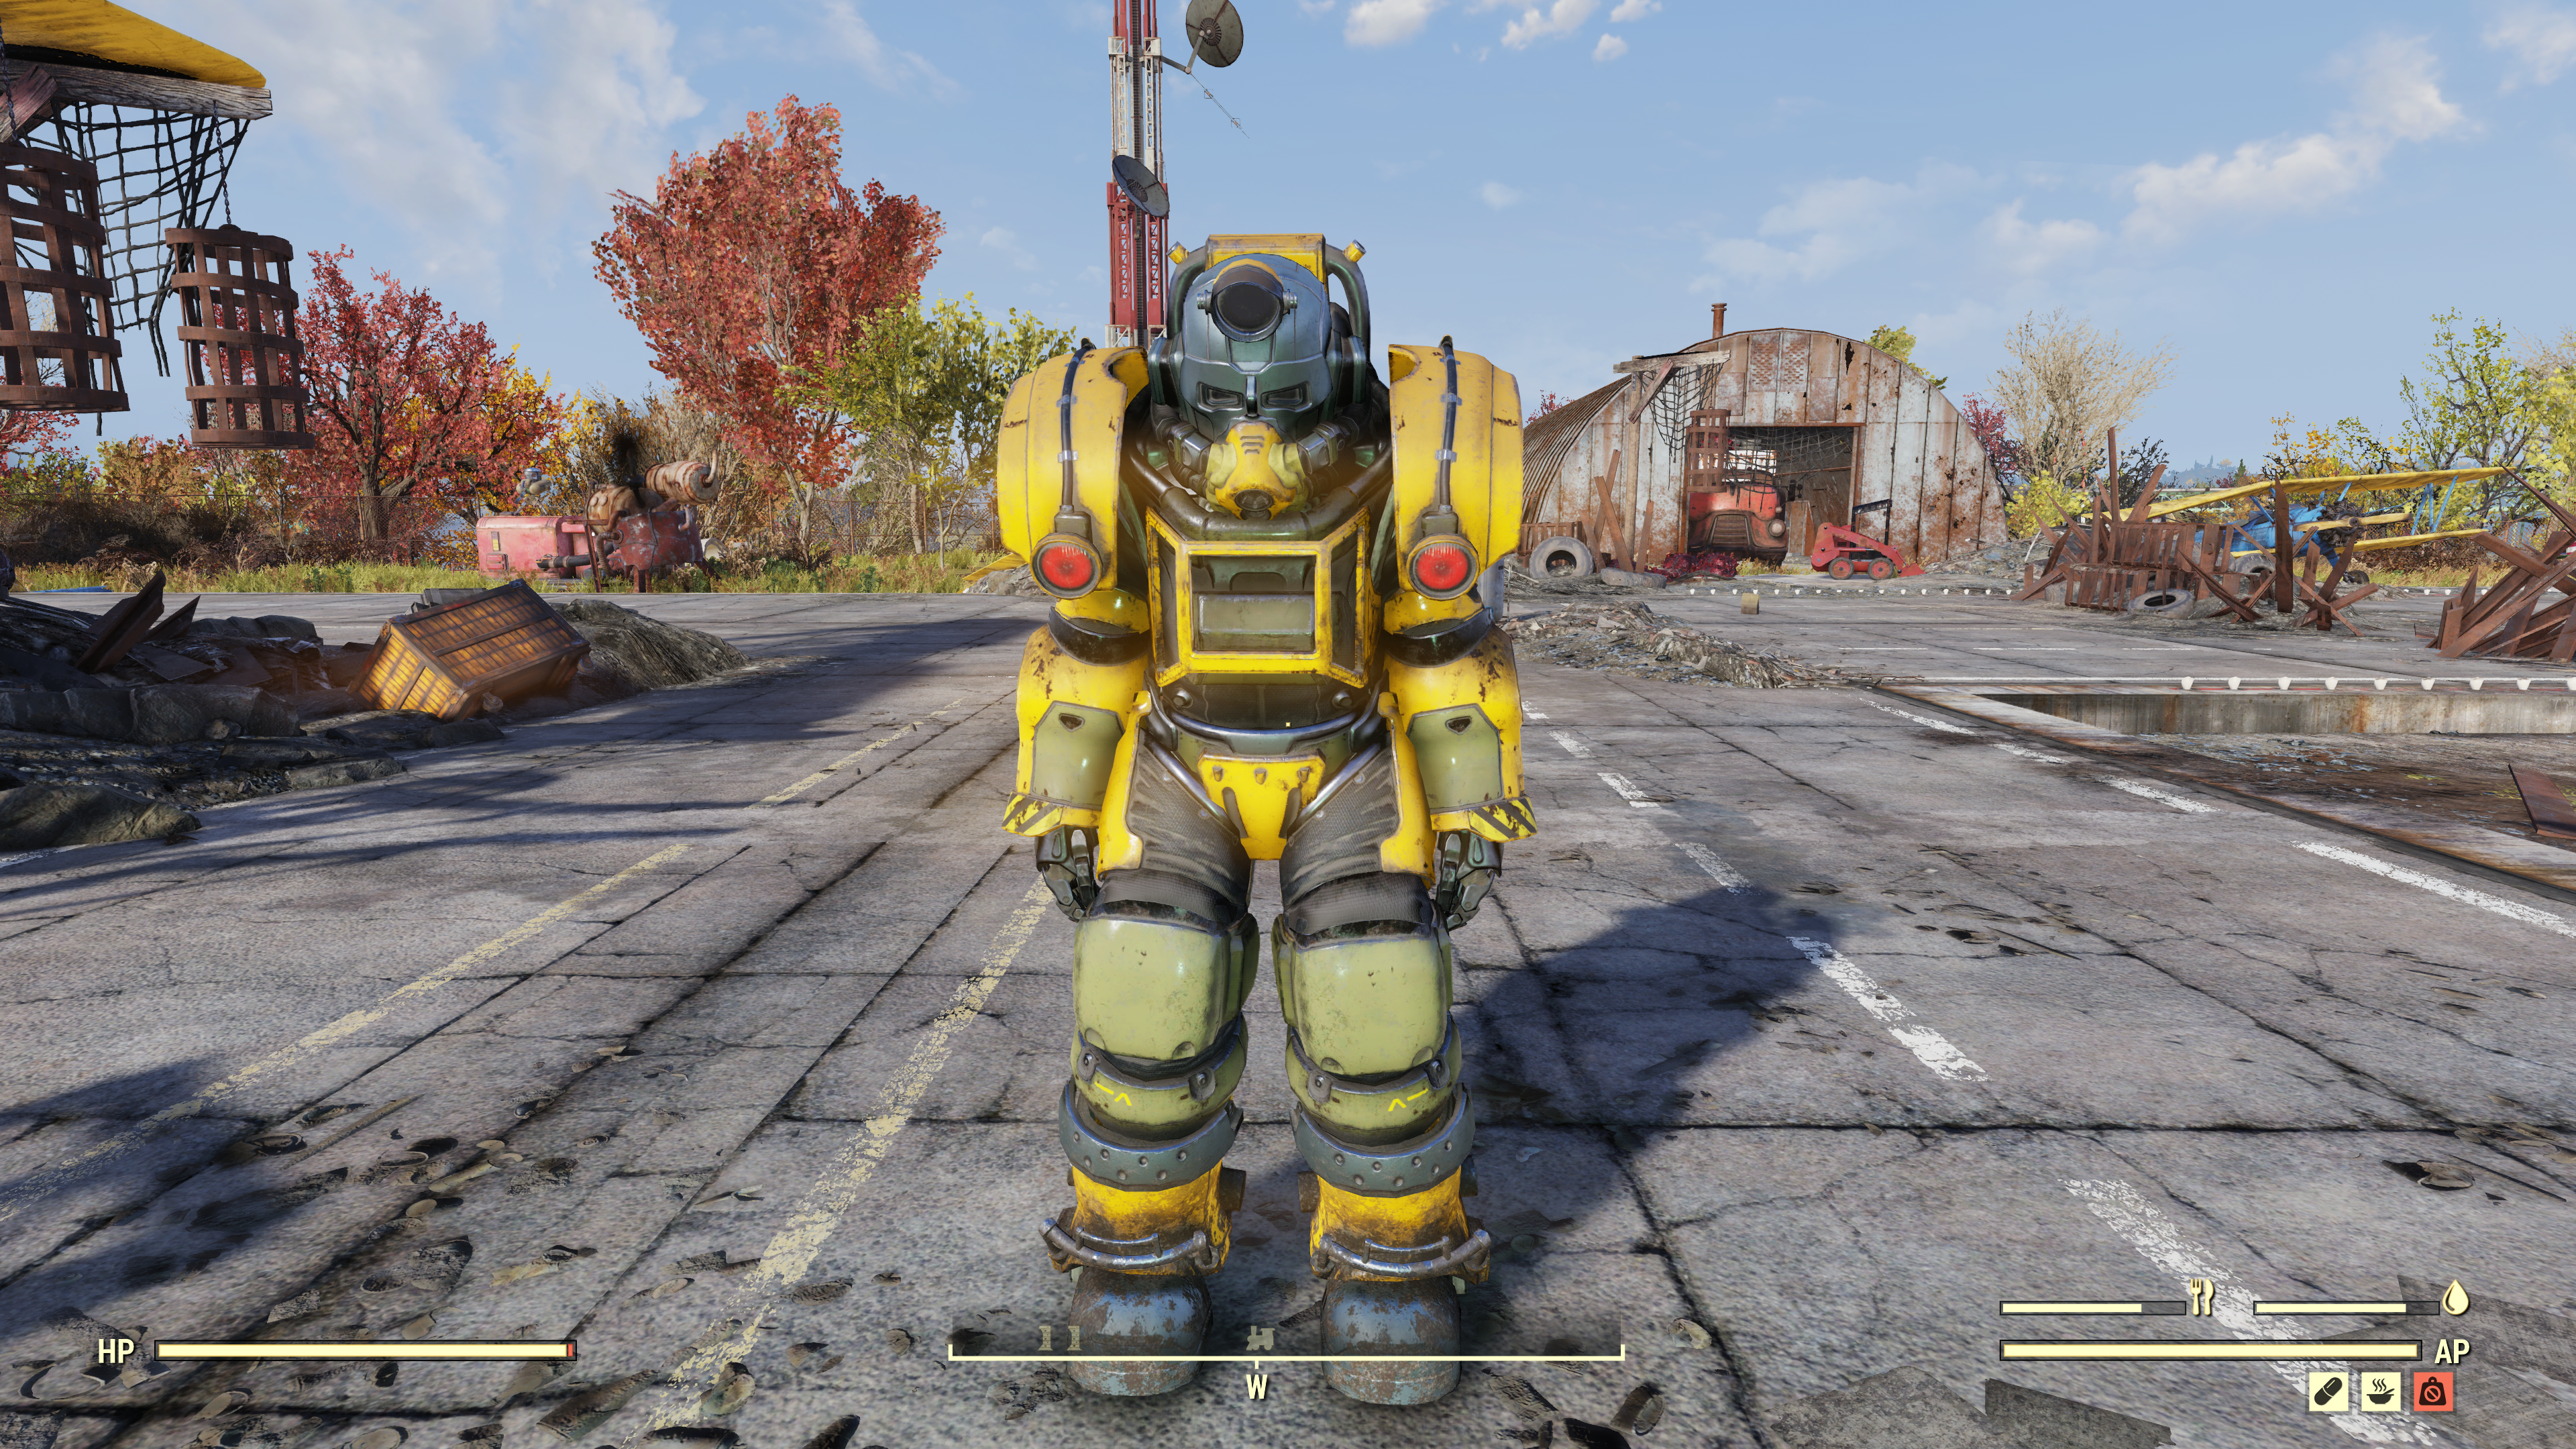
Raider Power Armor
Once you wrap up the main quest Into the Fire and continue on into The Missing Link, you'll be tasked to head to Top of the World, a big landmark located in the Savage Divide. Once there, you'll get a broadcast from the enigmatic Rose, and you'll eventually learn that she's equal parts raider and Robco robot.
What you'll want to do is complete the quests in the order of Signal Strength -> Flavors of Mayhem -> Keys to the Past. These quests are relatively lengthy, but also fairly straightforward. Not only that, but your final reward from completing all of Rose's tasks is necessary to continue the main quest The Missing Link. Simply follow your waypoints to complete the quests in sequence. You'll have to traverse a good bit of the map to finish it all.
Signal Strength
You'll need to grab three items:
- Signal Repeater Schematic - Seneca Rocks Visitor Center.
- RCX01 Duplexer - 98 NAR Regional
- SMU-97 Transponder - Horizon's Rest
Flavors of Mayhem
This quest has 4 parts:
1.) You'll need to mod Rose's Syringe gun with the Karma drug mod. All of the materials will be given to you, so you can use the workbench on the second floor of Top of the World. Go to the area the quest leads you to and fire off the weapon at the nearvby Yao Guai. It may take a couple tries for it to connect. Once you hit the bear with the drug, simply play chicken for 60 seconds waiting for the effect to wear off.
2.) You'll be directed to the Sons of Dane compound where you'll be given the materials to craft Explosive Bait. And then you'll need to use it on a creature like a mine or grenade. We just ported to Vault 76 and used it on a mongrel in one of the nearby houses.
3.) Make friends with a Deathclaw. Simply go to the marked location, get close to the Deathclaw and interact with it (as if you were talking to a merchant), and then either run away or kill it.
4.) Lastly, you'll just need to kill some feral ghouls. These can be found almost anywhere, and the quest will point you to some.
Keys to the Past
This quest is in two halves, requiring you to go to several locations. You'll need to grab 5 key fragments from the corpses or last known whereabouts of several raiders, and then head to the Raider's Cache to finally end this chain of quests.
The key fragments are located at:
- Blackwater Mine - Corpse of Freddie Lang
- Trapper's Camp -> Huntsville - A note at the campsite will lead you to Walter Griswold's corpse in Huntsville
- Bolton Greens -> Wendigo Cave - A note at the golf resort will lead you inside the cave where you'll have to fight a Wendigo and probably several Mirelurks for the key fragment.
- Diehard's Camp -> Palace of the Winding Path - Vincent's Terminal will lead you to the palace, where the fragment can be copied from the area's archive.
- Cutthroat's Camp -> Big Fred's BBQ Shack - Simply kill the named scorched holding the last fragment.
Then you'll need to press more buttons at the Charleston State Capital, and finally, you'll end up with access to the Raider Cache, and the Raider Power Armor will be your reward for completing the quest. It will very likely be your first full set of power armor, and you can wear it as low as level 15.
Ultracite Power Armor

Ultracite power armor is another quest reward to a long series of objectives, only this time related to the Brotherhood of Steel. You'll naturally be led to Abbie's Bunker in the north section of the Mire as part of the main questline, but you should also be able to start the string of quests if you head there on your own terms. Once there, read up on her terminal to start things off with Defiance has Fallen.
This quest requires you to head to Fort Defiance, but the game leads you to Camp Venture first to find the location of the fort. You'll have to poke around the camp for a bit, but eventually, you'll access the area's Command Center and be able to read up on the location you really want to get to: Fort Defiance.
The fort is a large, but mostly linear dungeon full of pretty easy ghouls. Once you make it to the end, you'll end up being stonewalled at the elevator requiring you to be a Brotherhood member in order to proceed. You'll have two quests in your log, Recruitment Blues and Back to Basics.
Back to Basics
You might have already started or finished the quest Recruitment Blues if you had been to Camp McClintock previously. Simply complete the three basic training components of Agility, Marksmanship, and Patriotism. For the Patriotism Course, you need to accuse Jimmy.
Recruitment Blues
This quest is basically a bureaucracy simulator, complete with getting the run around at the DMV. Instead of listing all of the different tasks you'll have to do to finally get your ID card for Brotherhood membership, you'll just have to suffer through the same tedium as everyone else. Nothing here is difficult, just do what you're told and eventually the horrors will end.
Once you have the ID in hand, return to Fort Defiance, register at the terminal, take the elevator to the fourth floor, and finish the quest by interacting with Knight Wilson's terminal. You'll start the final leg of this quest: Belly of the Beast.
Belly of the Beast
This part of the quest can be difficult if you are trying to complete it in the 20s or early 30s of levels. You're tasked with following the Brotherhood Emergency Transponder radio channel in order to find the whereabouts of Lieutenant Taggerdy. All of these are in what's seemingly the most difficult area of the map, in the Watoga area and surrounding Cranberry Bogs.
While you'll have to use the radio signal to find the transponders, we can at least point you in the right direction:
- First Transponder - West side of Watoga
- Second Transponder - Center Watoga
- Third Transponder - Survey Camp Alpha to the SE of Watoga.
- Fourth Transponder - Drop Site V9 in the way SE.
- Fifth Transponder - Inside of the Glass Cavern, at the very end behind a Scorchbeast.
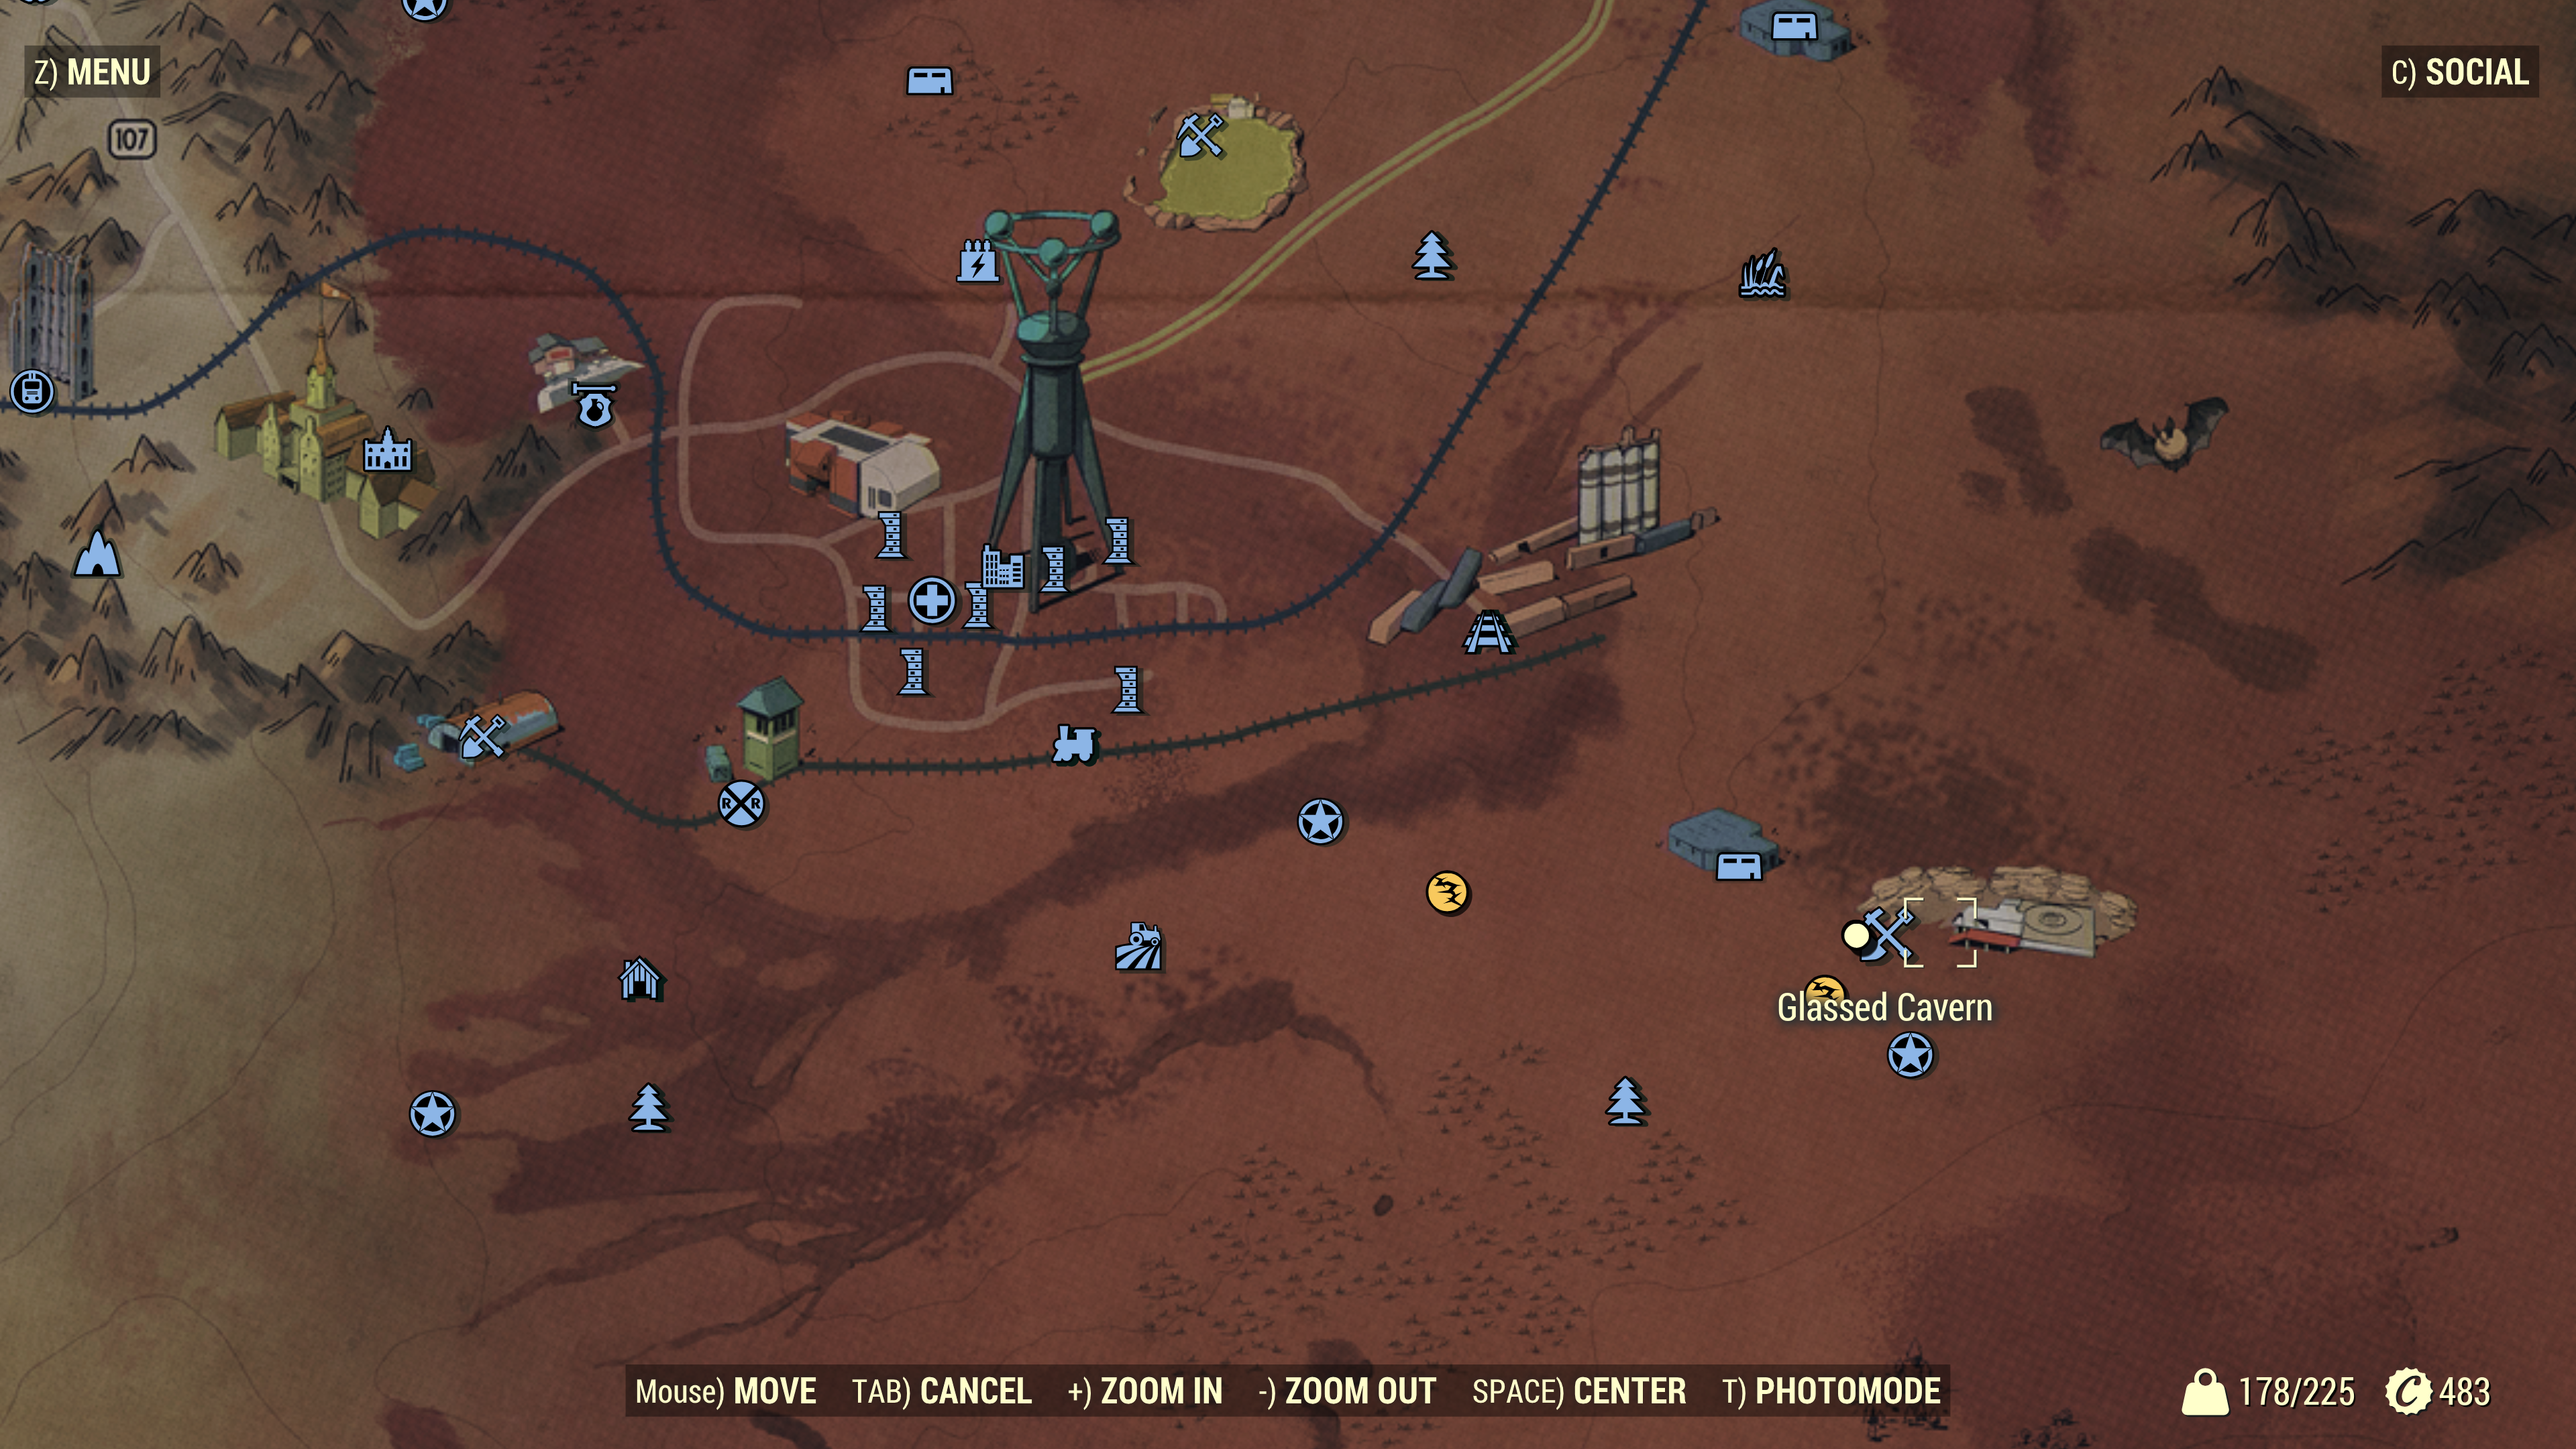
By the time you get to the entrance to the cavern, you'll probably be avoiding several Scorchbeasts flying above the various fissures in the area. Even once you're inside the glass cavern, the nightmare's not over, because Taggerdy's' corpse is behind a giant chamber where another Scorchbeast will be lurking around. You do not have to fight this boss. It is possible to sneak around the edges of the chamber and avoid combat if you desire. Just make sure to hit the Transponder and grab the Brotherhood Soldier Suit from the corpse. This is an upgradable garment that can be worn under regular armor like a jumpsuit.
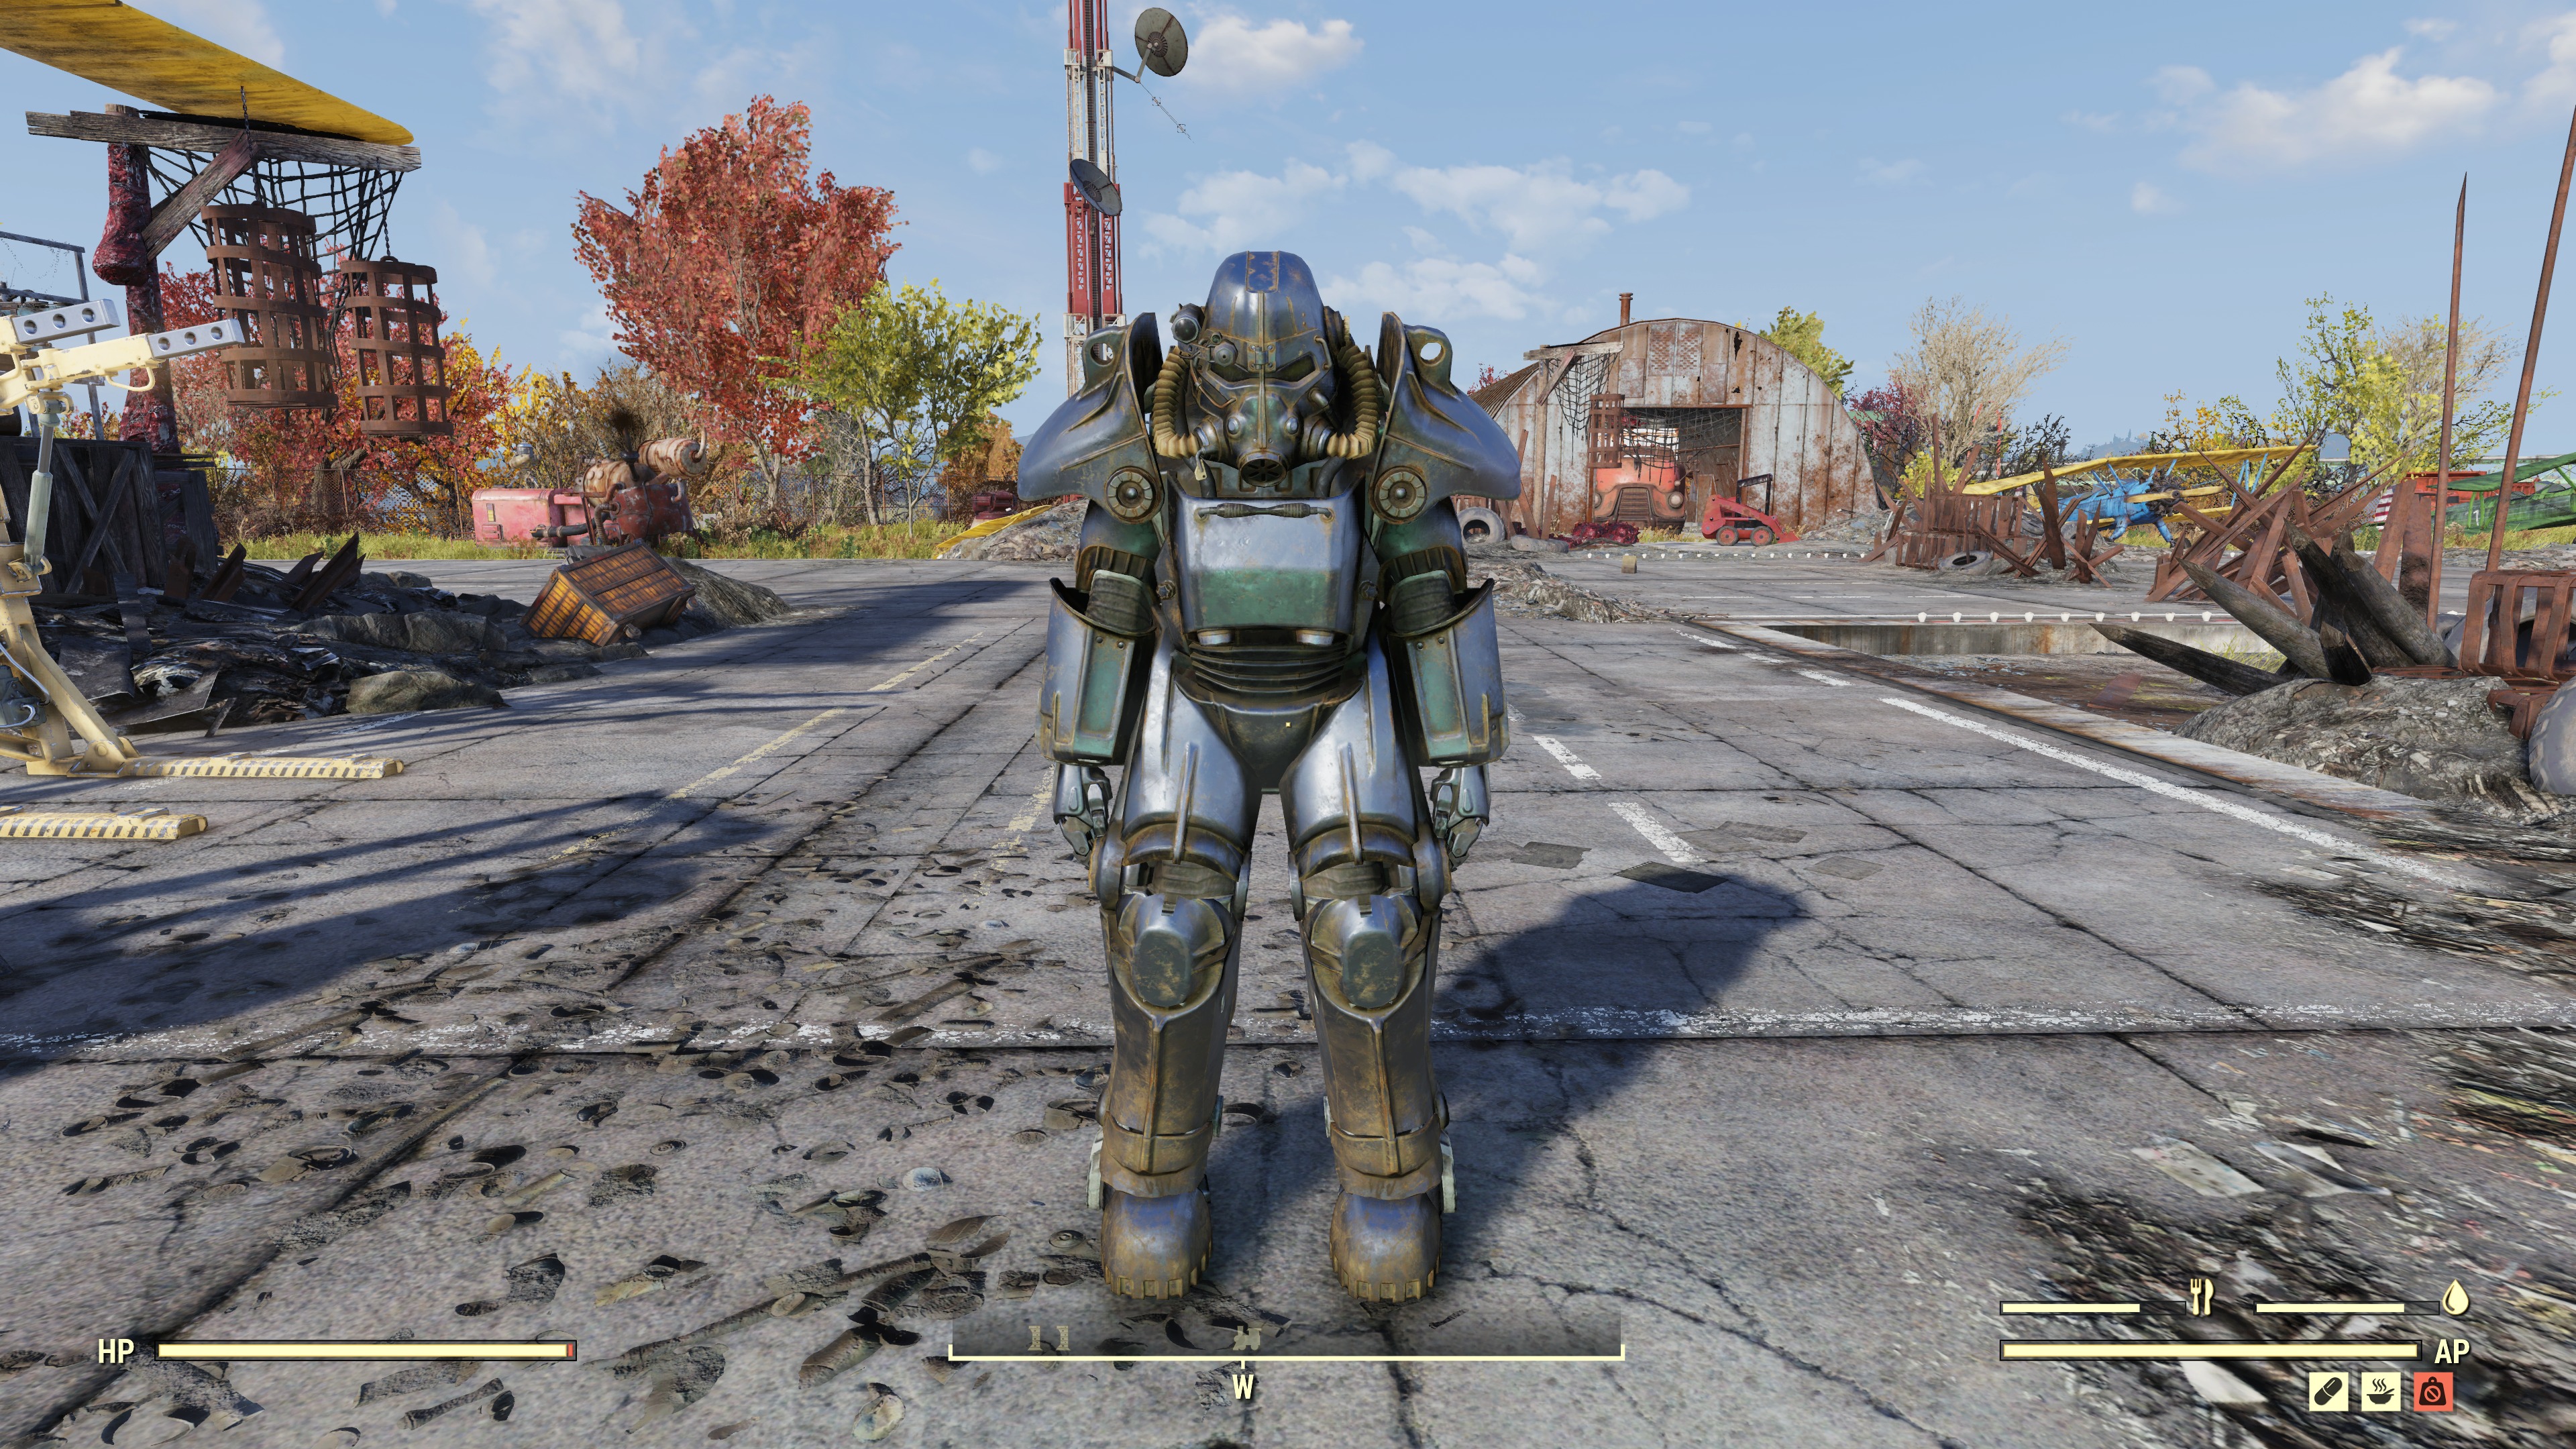
After the dangerous trip to the cavern and hitting all five transponders, return to Fort Defiance's fourth floor, head to Taggerdy's terminal, and finish the quest. Finally, you'll receive the Ultracite Power Armor. Note that Ultracite is most commonly found as the green mining locations located near Fissures, and the rare material is used in any necessary repairs.
Prototype X-01 Power Armor
The Prototype X-01 Power Armor is a reward for joining the Enclave, kinda. Luckily, this isn't nearly as tedious as the steps needed for either the Raider or Brotherhood questlines above. You can read a little bit about joining the Enclave in our guide about launching a nuke, as joining up is a requirement for both objectives. However, this armor set is similar to the Excavator armor in that it must be crafted. Once you have access to the Armory inside of the bunker under Whitesprings, simply access the plans for the armor set on the terminal there.
Note that obtaining the plans for the X-01 Armor is not explicitly a quest objective. If you've already joined the Enclave and don't have the plans, simply return to the Armory and make sure to read them off of the terminal. Similar to the Excavator Armor, this is going to cost a fair number of materials, and you'll have to pick up an extra Chassis (or unequip one you already have) and get to work at your favorite Power Armor Station.
This is going to be expensive. To make the Level 40 version of the armor, you'll need the following list of materials:
90x Springs, 88x Steel, 78x Aluminum, 78x Screws, 65x Copper, 48x Oil, 39x Gears, 34x Rubber, 24x Silver, 12x Circuitry, 15x Glass, 16x Black Titanium, and 8x Nuclear Materials.
Springs and Screws ended up being the rate limiters on our end, so you'll need to head to Sugar Grove / Camp McClintock again to gather up those Desk Fans and Battered Clipboards. You can set up a workshop to mine for materials like Oil and Copper, and you can break down random weapons for Steel and Glass.
Whats the Difference Between Prototype X-01 Power Armor and X-01 Power Armor?
You might be wondering what the 'prototype' part of the X-01 armor means. The designs that you craft based on the recipes will be for the Prototype variant of the armor. Then, if you desire, you can adjust the paint job at a Power Armor Station to the more standard silver finish. Note that this adjustment is seemingly one way only -- once you swap over from Prototype to 'standard', you can't swap it back.
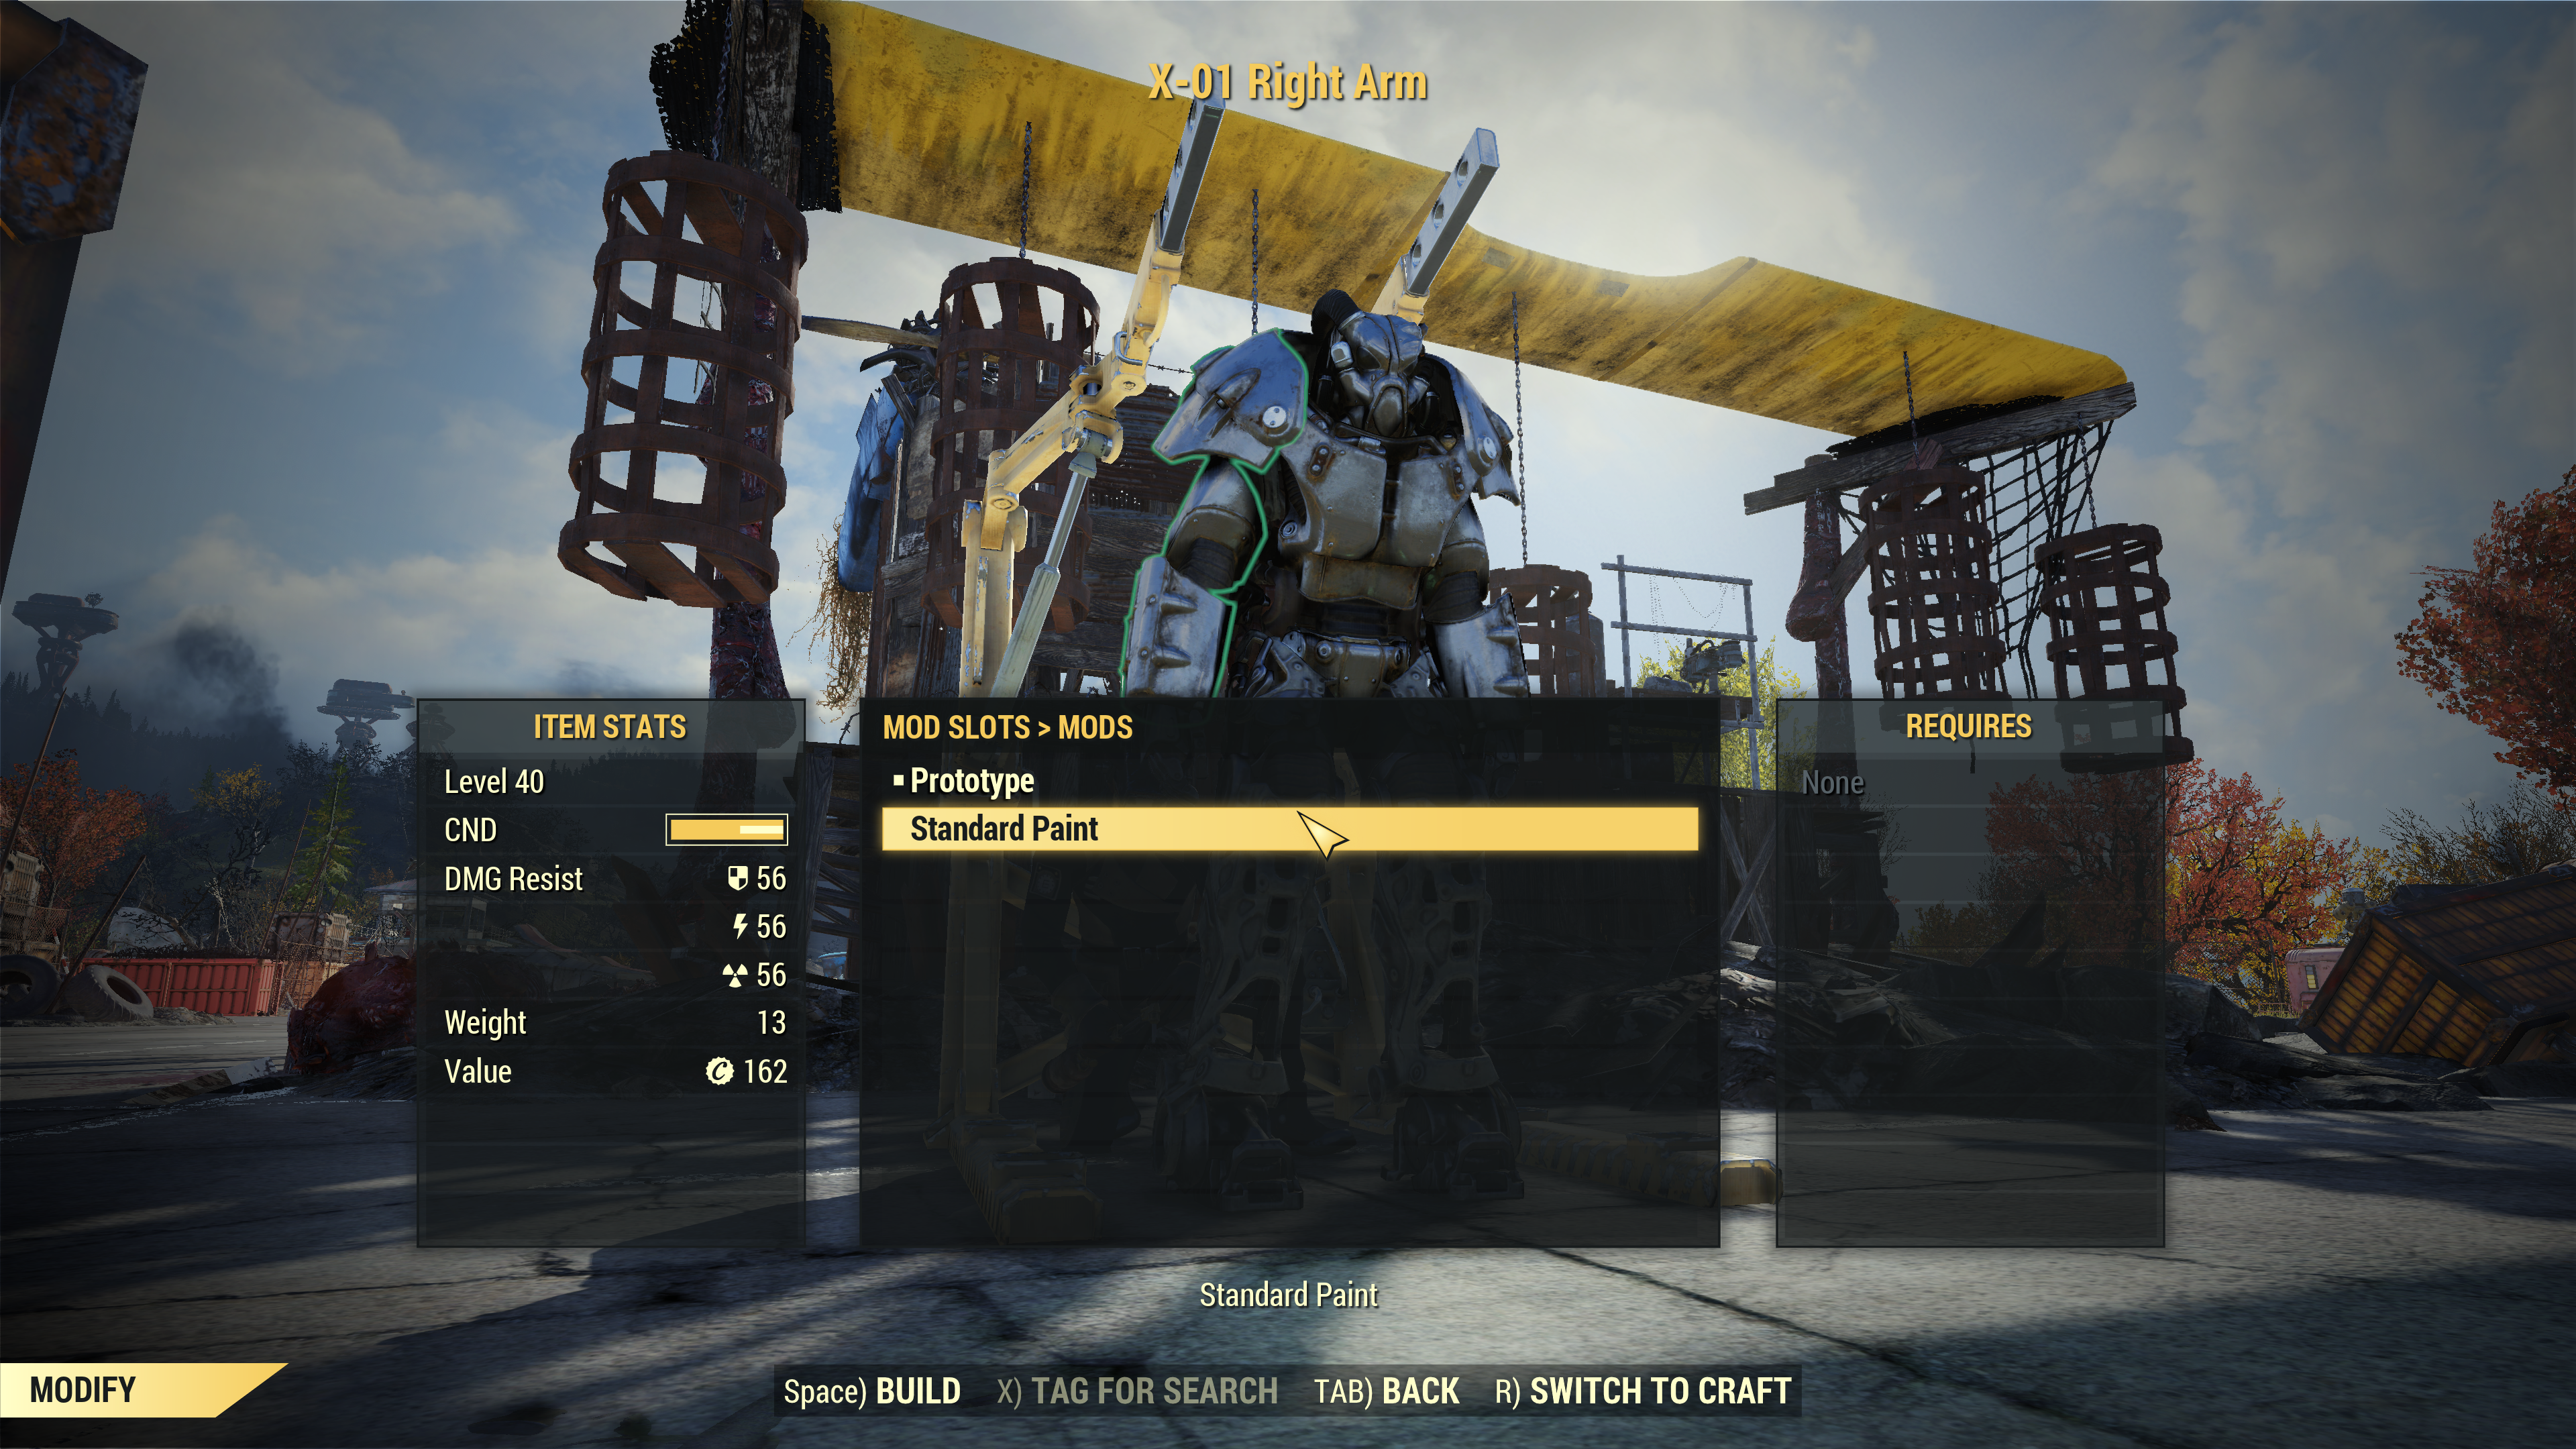
Note that changing the paint job on the armor will also drop the 'prototype' from the name. The stats are the same.
Rare Power Armor Upgrades
Just because you've grabbed all the armor sets available doesn't mean you're quite done. While it's all still emerging, we expect that Flux, a rare material acquired from Nuclear Blase Zones, will be used in future upgrades to power armor. Undershirts such as the Vault 76 Jumpsuit and Brotherhood Soldier Suit already require Flux in order to upgrade, and we expect that power armor will also be able to utilize the material in future updates.
Stuck in Power Armor? Here's how to get out of Power Armor
Surprisingly enough, it's not one hundred percent intuitive on how to leave power armor once you've entered it. There's no marker on anything on the UI that clearly marks exactly how you're supposed to leave the chassis once you've entered.
Assuming you haven't changed any of the default controls, here's what to do to leave the power armor chassis:
- Xbox: HOLD A
- Playstation/Dualshock: HOLD X
- Keyboard: HOLD E
There isn't much of anything else in the game that requires you to hold an input like that, so we're not sure why that's how it's designed here, but it is what it is. Note that once you exit your chassis, remember than any chassis that belongs to you will automatically return to your inventory after about 60 seconds. You'll have to store it away in something like your CAMP's stash if you want to put it aside longer term.