
Code Vein Regen Extension and Activation Factor Guide: How to upgrade your healing
It’s no secret that Code Vein borrows a lot from Dark Souls and the way healing works is certainly one of those things. While you have some healing items that act as consumables, these are limited and your main source of healing will come from the item called Regeneration, which acts basically as the Estus Flask from Dark Souls, being replenished at mistles and everything.
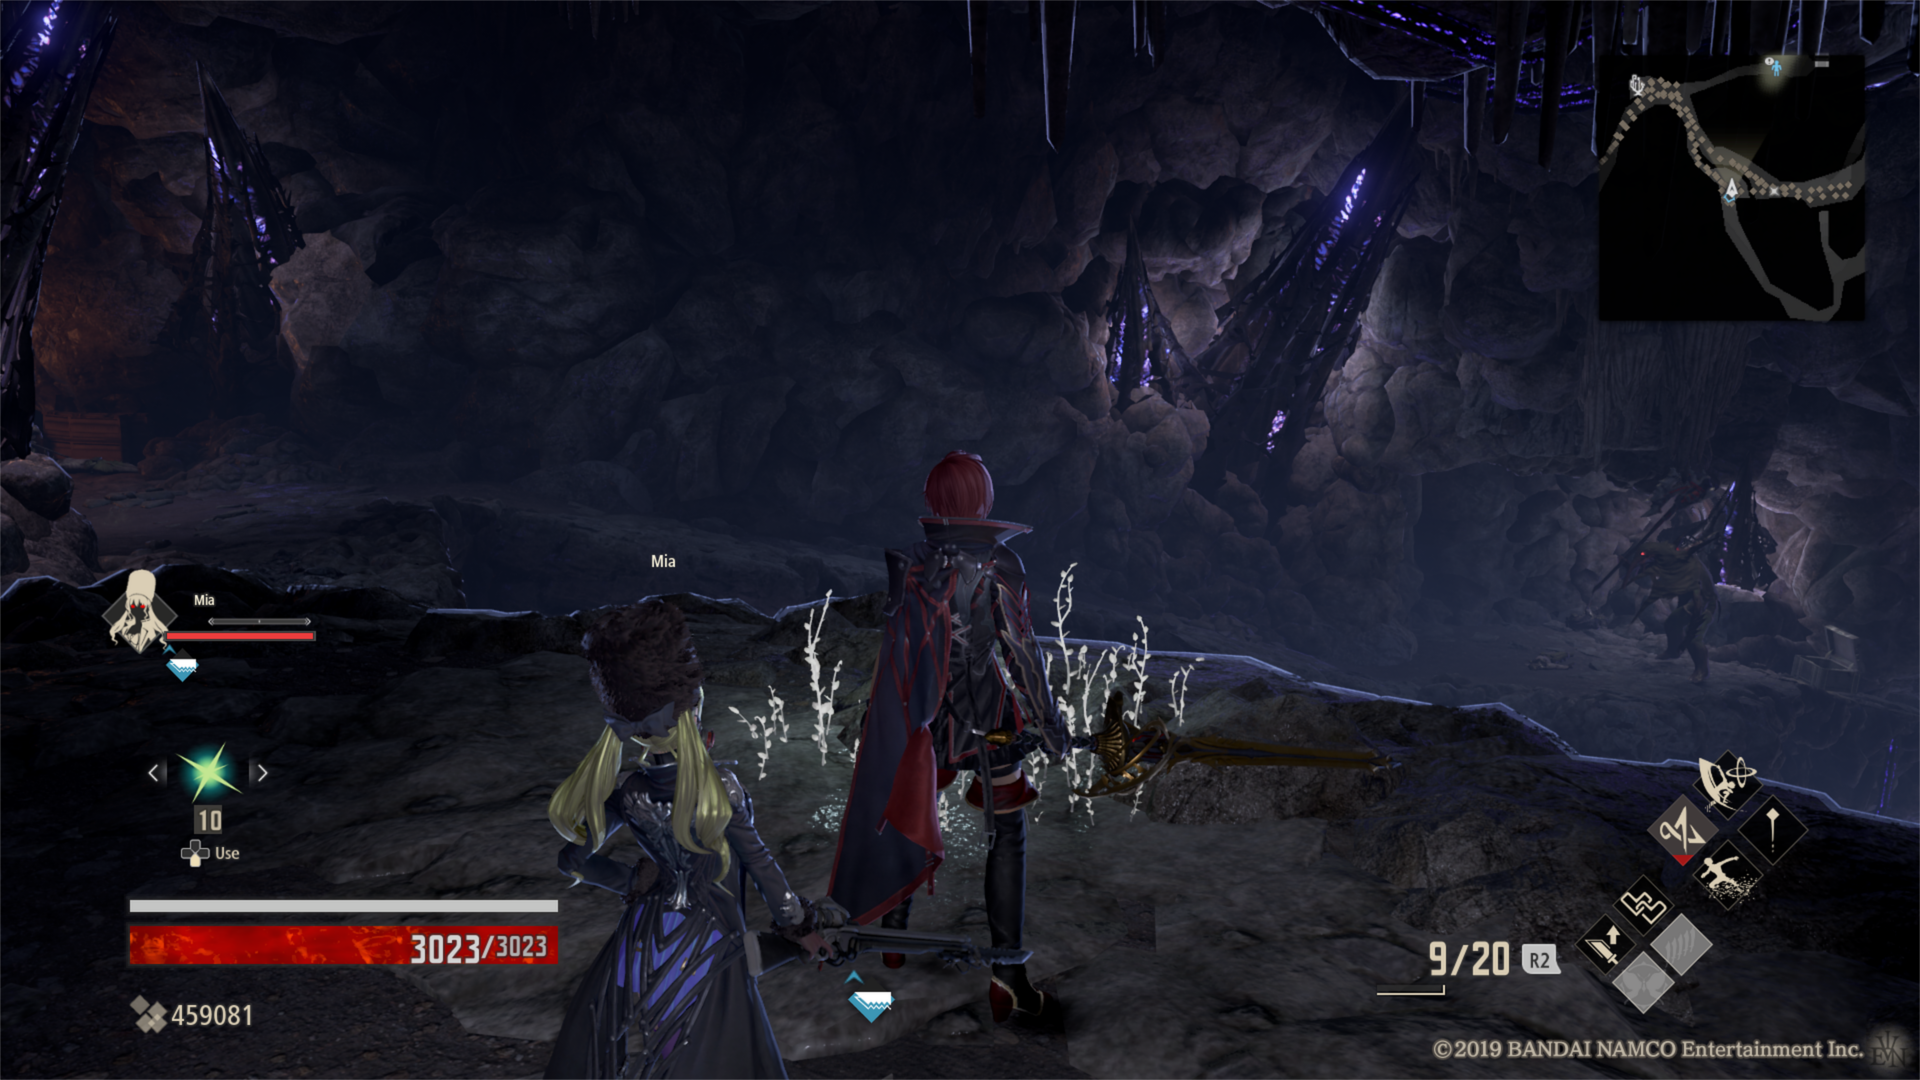
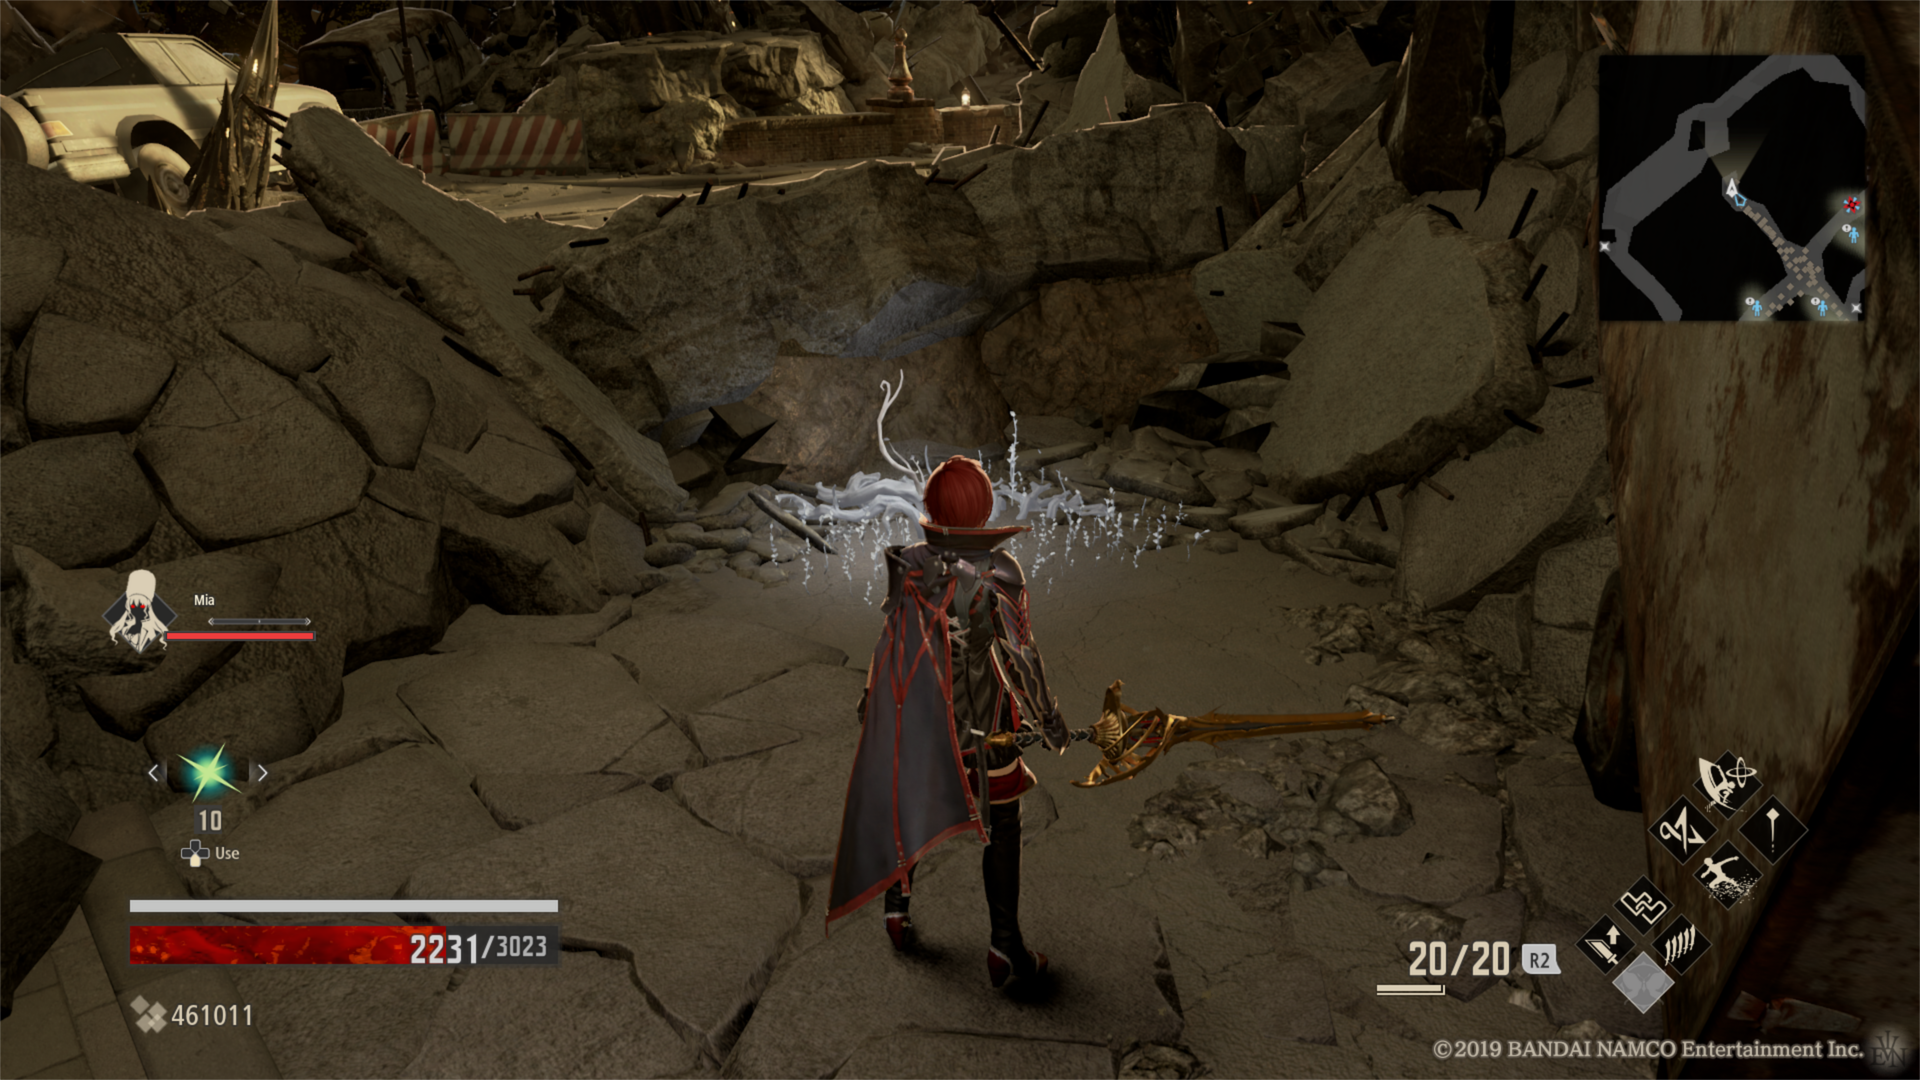
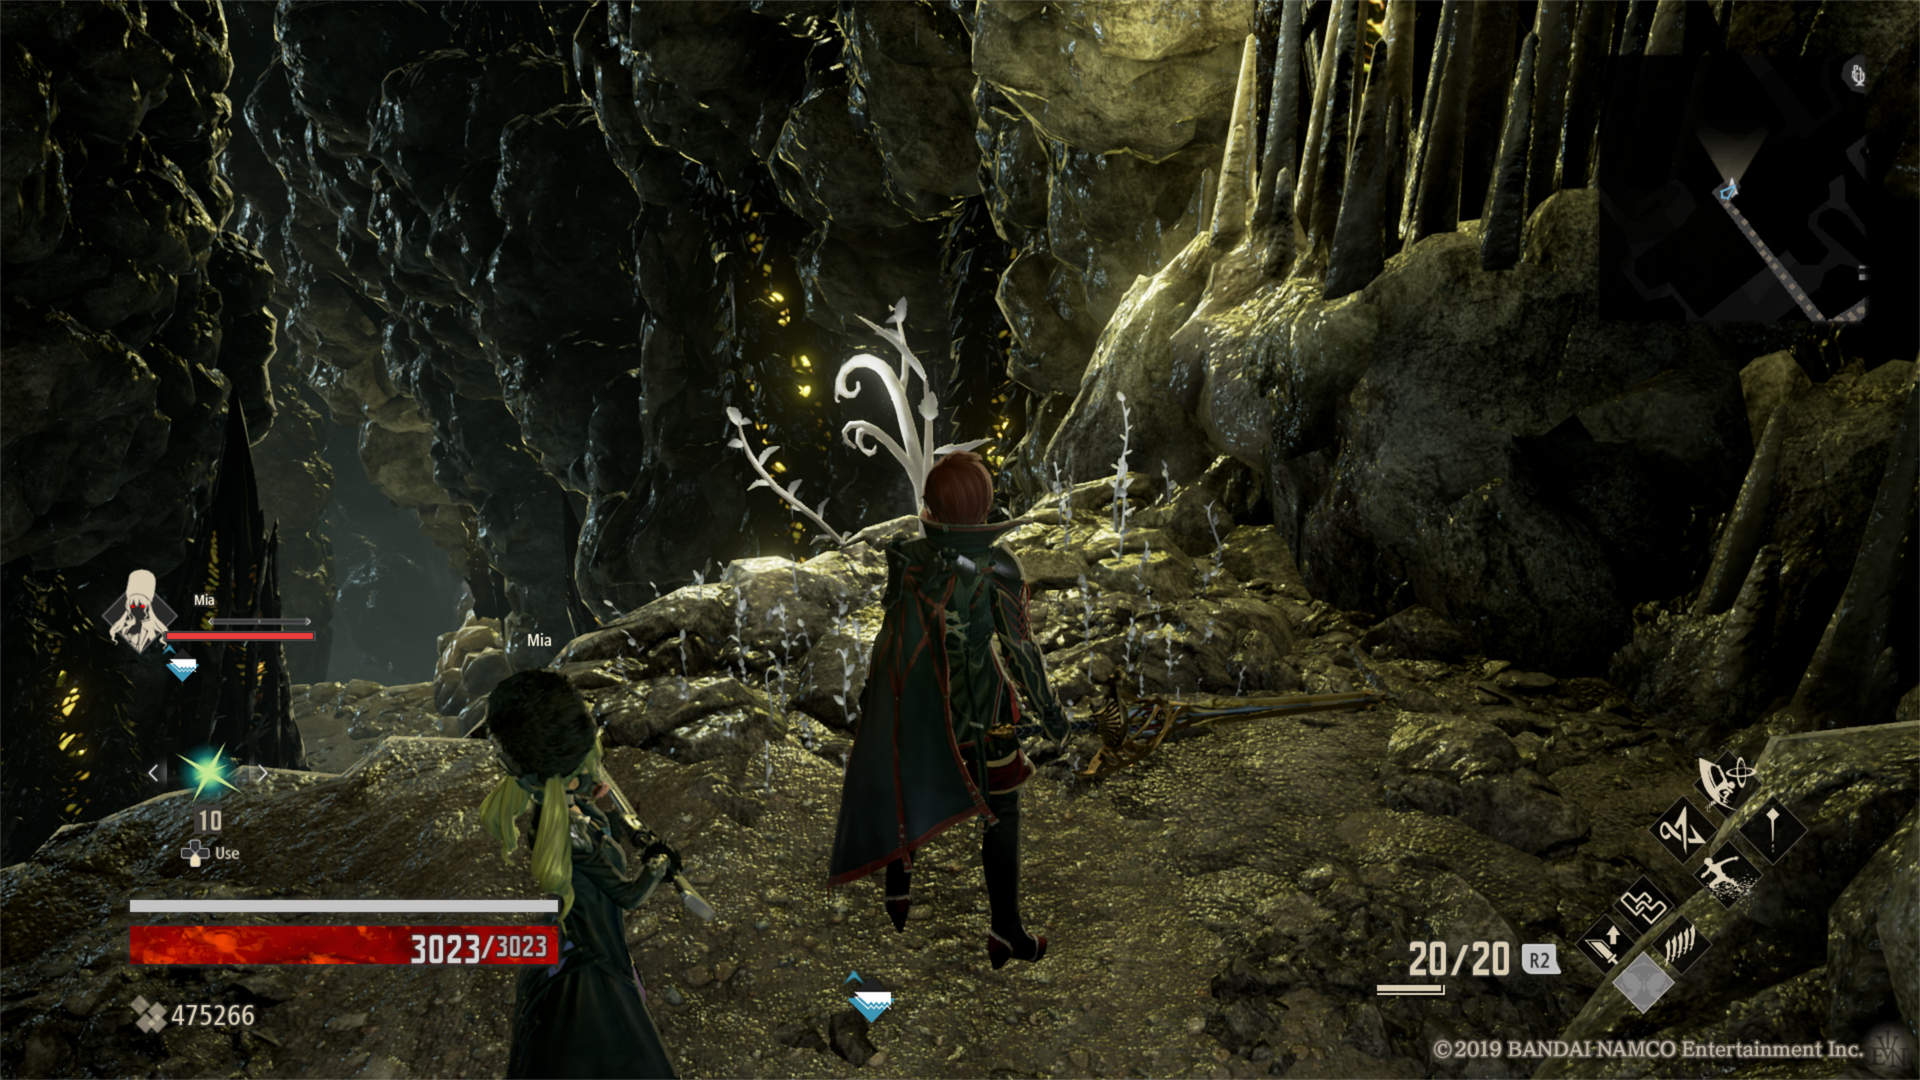
And just like the Estus Flask, the Regeneration can also be upgraded both in how many times you can use it and how much it heals. These upgrades come from specific items you find that you can use immediately to benefit from them. You will always find them near some small white branches. The Regen Extension Factor increases your Regeneration uses, while the Regen Activation Factor boost the amount it heals. Here we bring you a list of all of the upgrades for your Regeneration that we’ve found and where to get them.
Regen Extension Factor Locations
Ruined City Underground
You will probably find this one very early in the game, but in case you missed it, you can find it in the tutorial area. From the Natural Cavern mistle, you need to go back to the area with the big chasm that is being patrolled by enemies. You will see two Lost on the same level you are and two gun-wielding Lost above. You need to go up the small ramp that is near the mistle, take out the enemies and you will be rewarded with an Extension Factor.
Ruined City Center
For this one, you should start from the Parking Garage mistle, which you should unlock after a cutscene. You will need to go down the ladder, after which you will be ambushed by a few enemies. Continue down the street after dealing with them until you find an intersection being patrolled by a group of enemies. Deal with them and continue to the west (when looking the map from the pause menu) and you will see a big trailer crashed into the street. The Extension Factor is behind this trailer along with an enemy ready to ambush you.
Howling Pit
The next one is in the obligatory swamp level but it is surprisingly easy to find. Travel to the Hills of Deception mistle, which should be in the same area as the Blood Bead tree. Go east from the tree and you will see one of the big bug-like enemies below. This enemy is the one guarding your next Extension Factor. You can drop but do keep in mind that if you don’t want to use a Vivifier to instantly travel to the mistle, you will have a long way up there.
Ashen Cavern
For this Extension Factor you need to travel to the Towering Crags mistle. Drop down the ledge without alerting the enemies to the right and continue up the path taking out the enemies on your way. Ignore the opening to the left and instead take a right turn towards a bridge with an enemy at the end. Defeat it and continue until you see the Extension Factor near an edge.
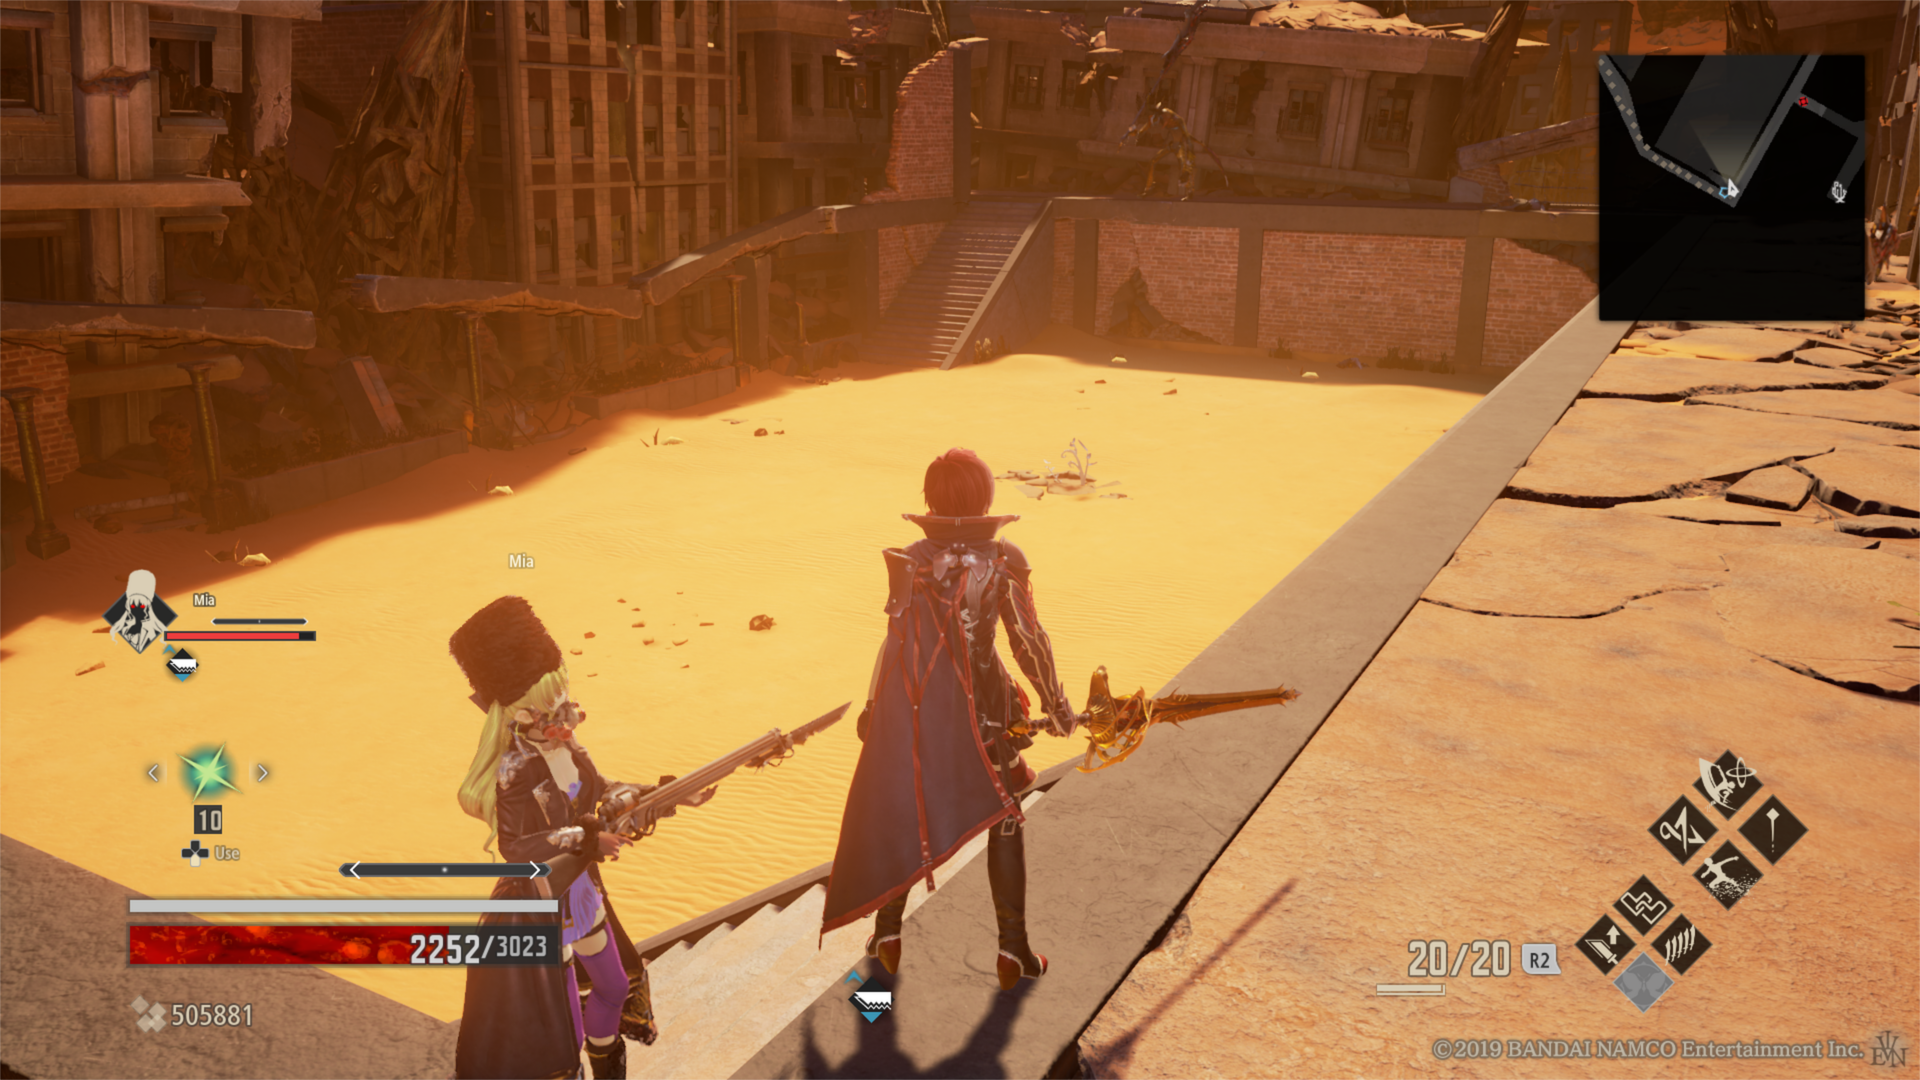
Crown of Sand
There’s not really a mistle that will take you very close to this Extension Factor so for this you should start from the entrance of the area. Good news is that you will most likely find this one as you progress through the level. When you see one of the exploding enemies guarding a ladder, go up and continue on that road until you reach a big open arena full of sand. The Extension Factor is in the center, so be prepared to fight the enemies camouflaged within the sand.
Provisional Government Outskirts
This is another one where you should start from the entrance of the area. After exploring you will eventually arrive at an area with a couple of intersections and a few cargo containers. Once you are out of there you will soon find a ladder and, just past it, a knight. This enemy is guarding your next Extension Factor but be careful, there’s quite a few of other enemies around trying to make your life harder. Alternatively, if you have unlocked the shortcut, you can get there by just going northwest after going up the ladder.
Regen Activation Factor Locations

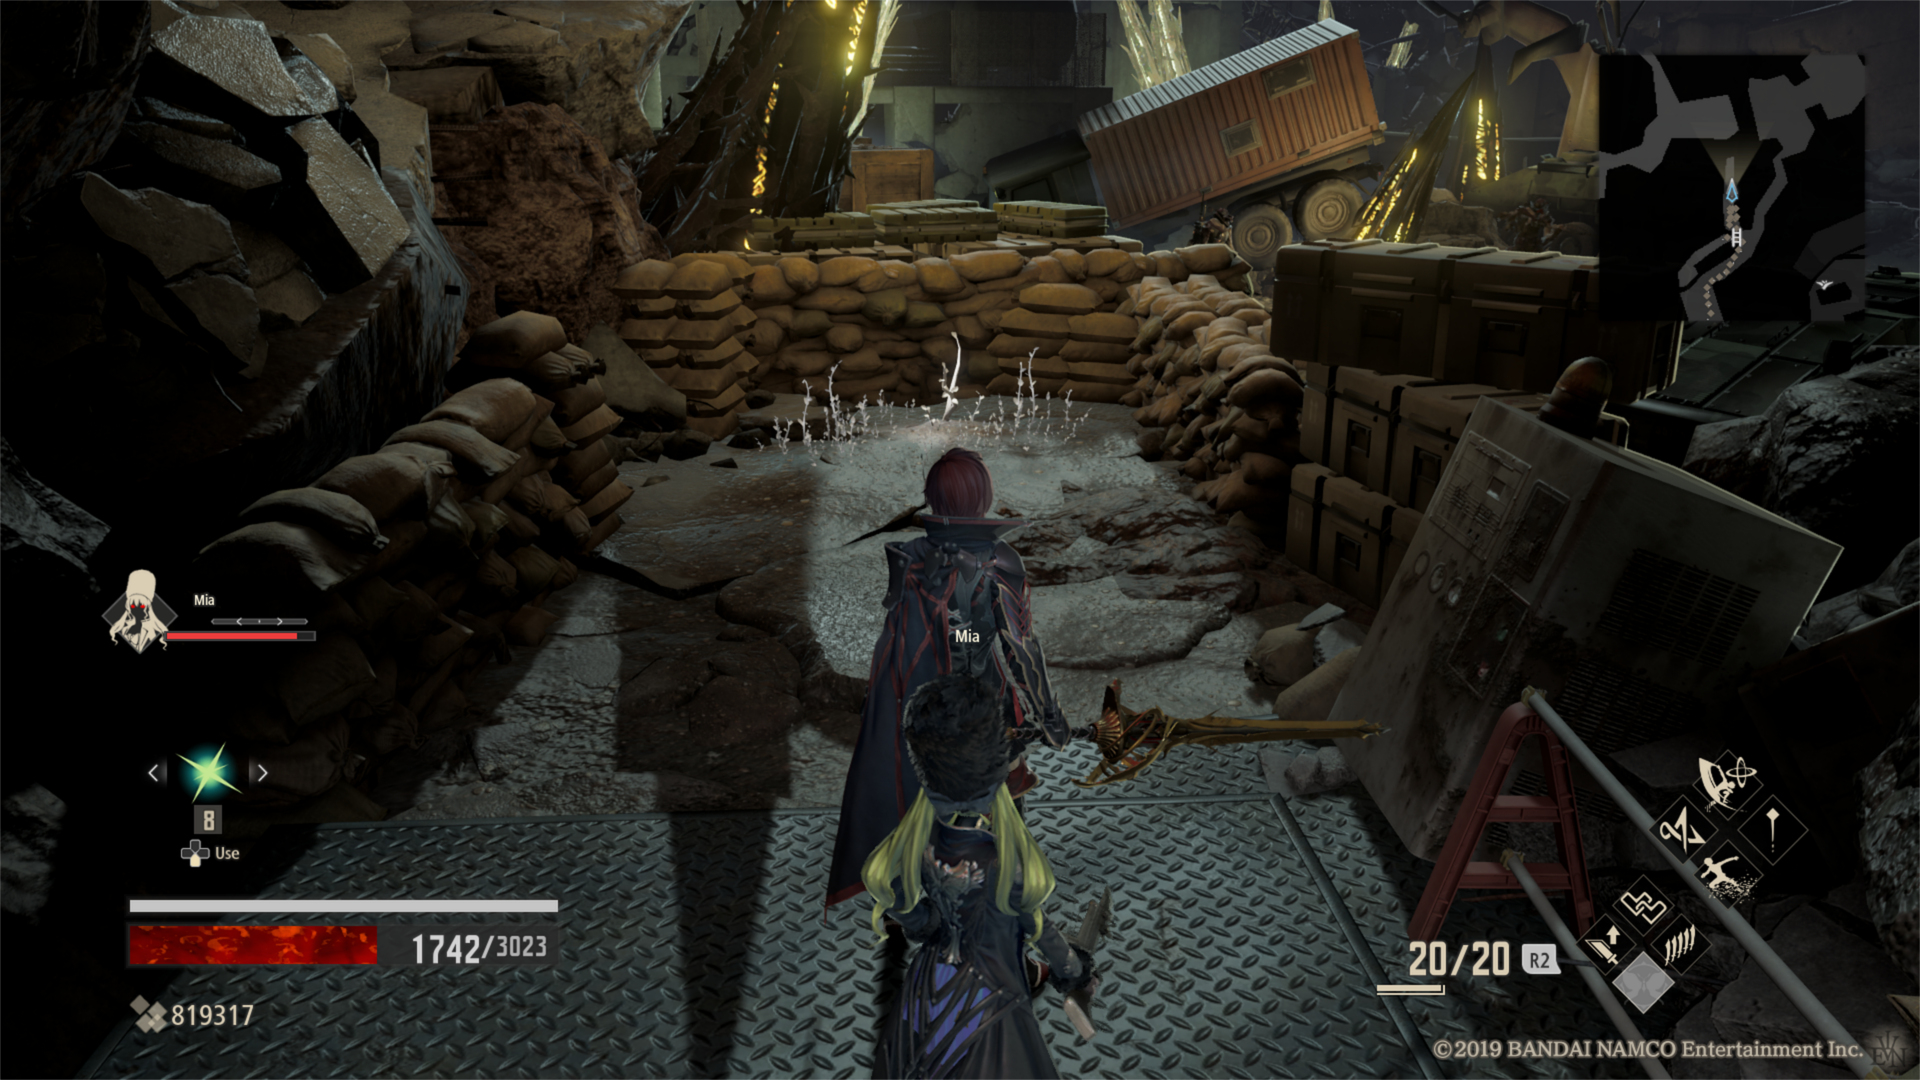
Dried-Up Trenches
Despite this being your first Activation Factor, this can be a bit easy to miss. After walking a from the entrance area, you will eventually find an opening to your left marked by a black pipe going through the floor. Follow this path without taking any of the turns that you see and you will arrive at a wall made of boxes. Defeat the enemy waiting behind them, continue through the entrance it was guarding and another enemy will ambush you from your right. Behind this enemy there is a ladder you need to take. Once you’re down you’ll find a very tough enemy that is guarding the Activation Factor.
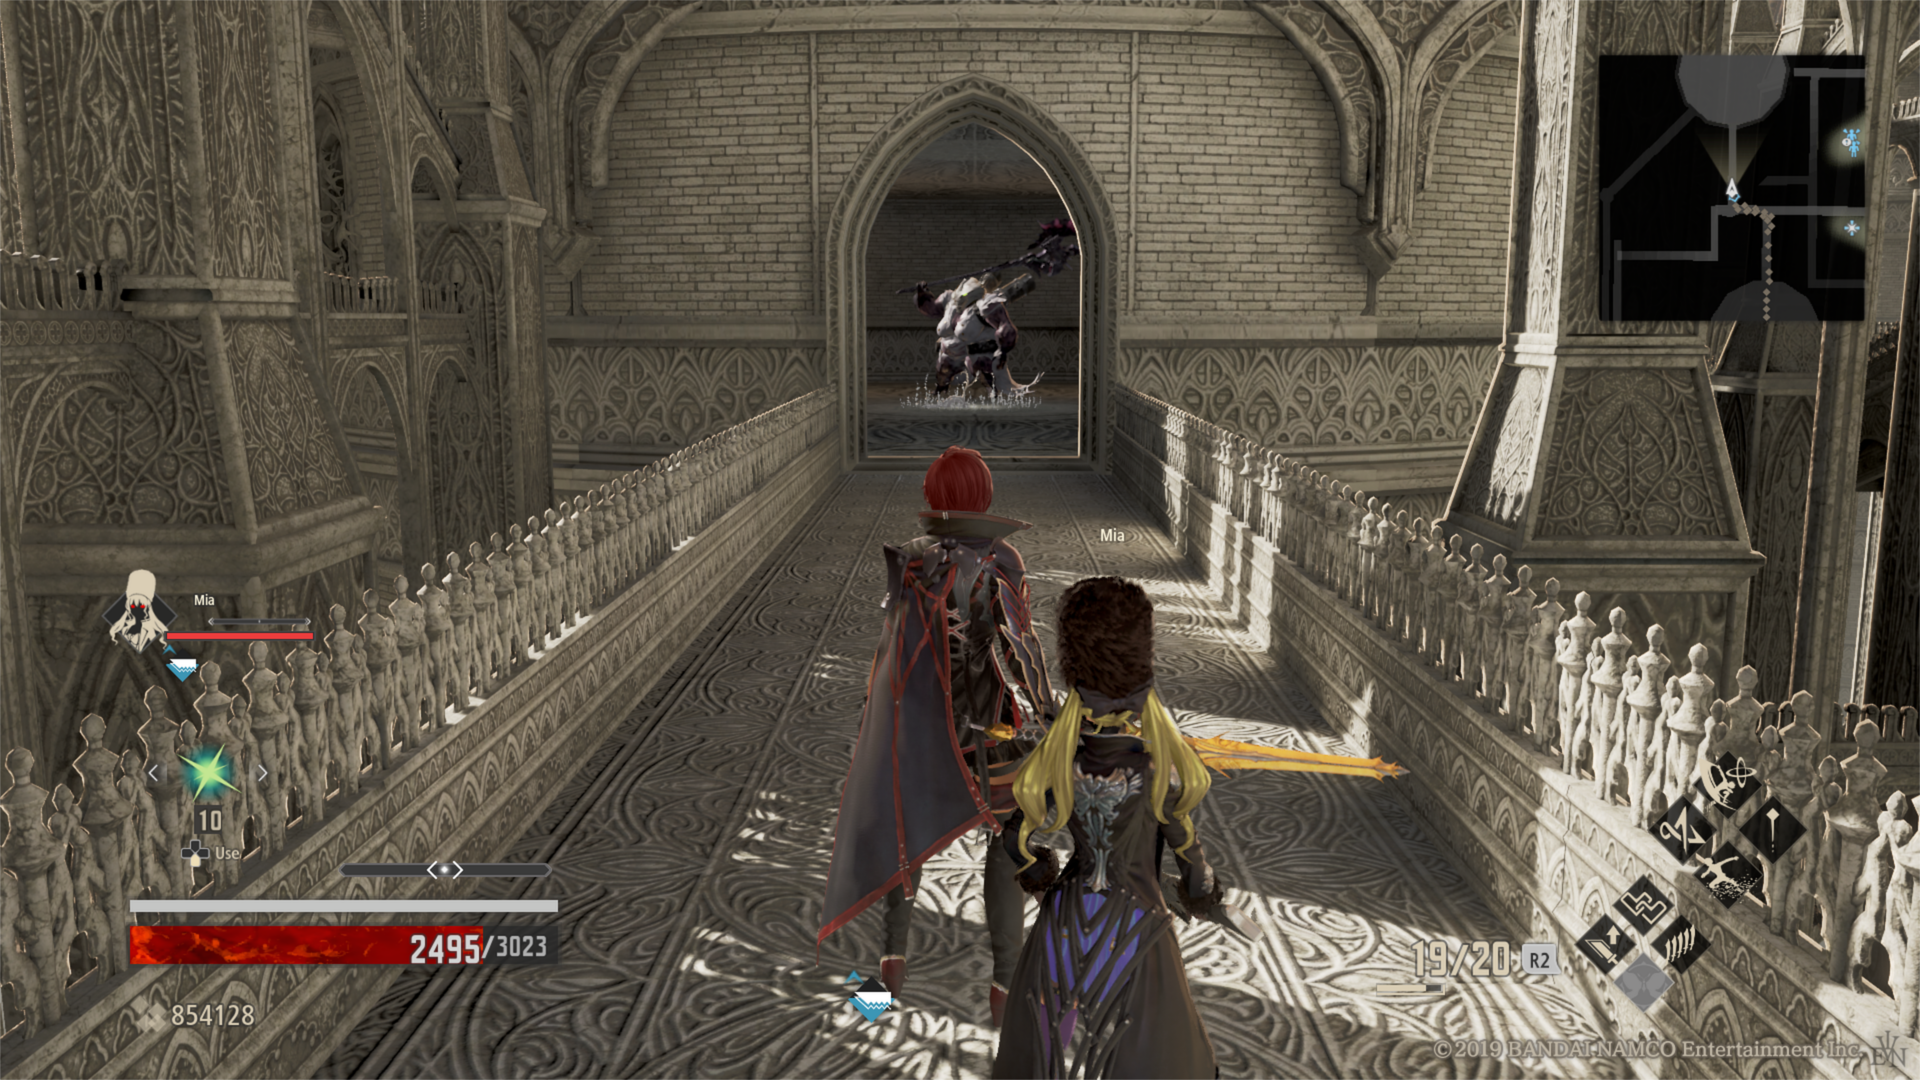
Cathedral of Blood 1
Despite how labyrinthic the Cathedral of Blood is, this Activation Factor is surprisingly easy to find. Starting from the entrance of the Cathedral, you need to take the stairs at the very first intersection. Turn left and then after a few steps turn right. You should see a room with a big enemy inside. Defeat it, and you should be able to safely claim this Activation Factor.
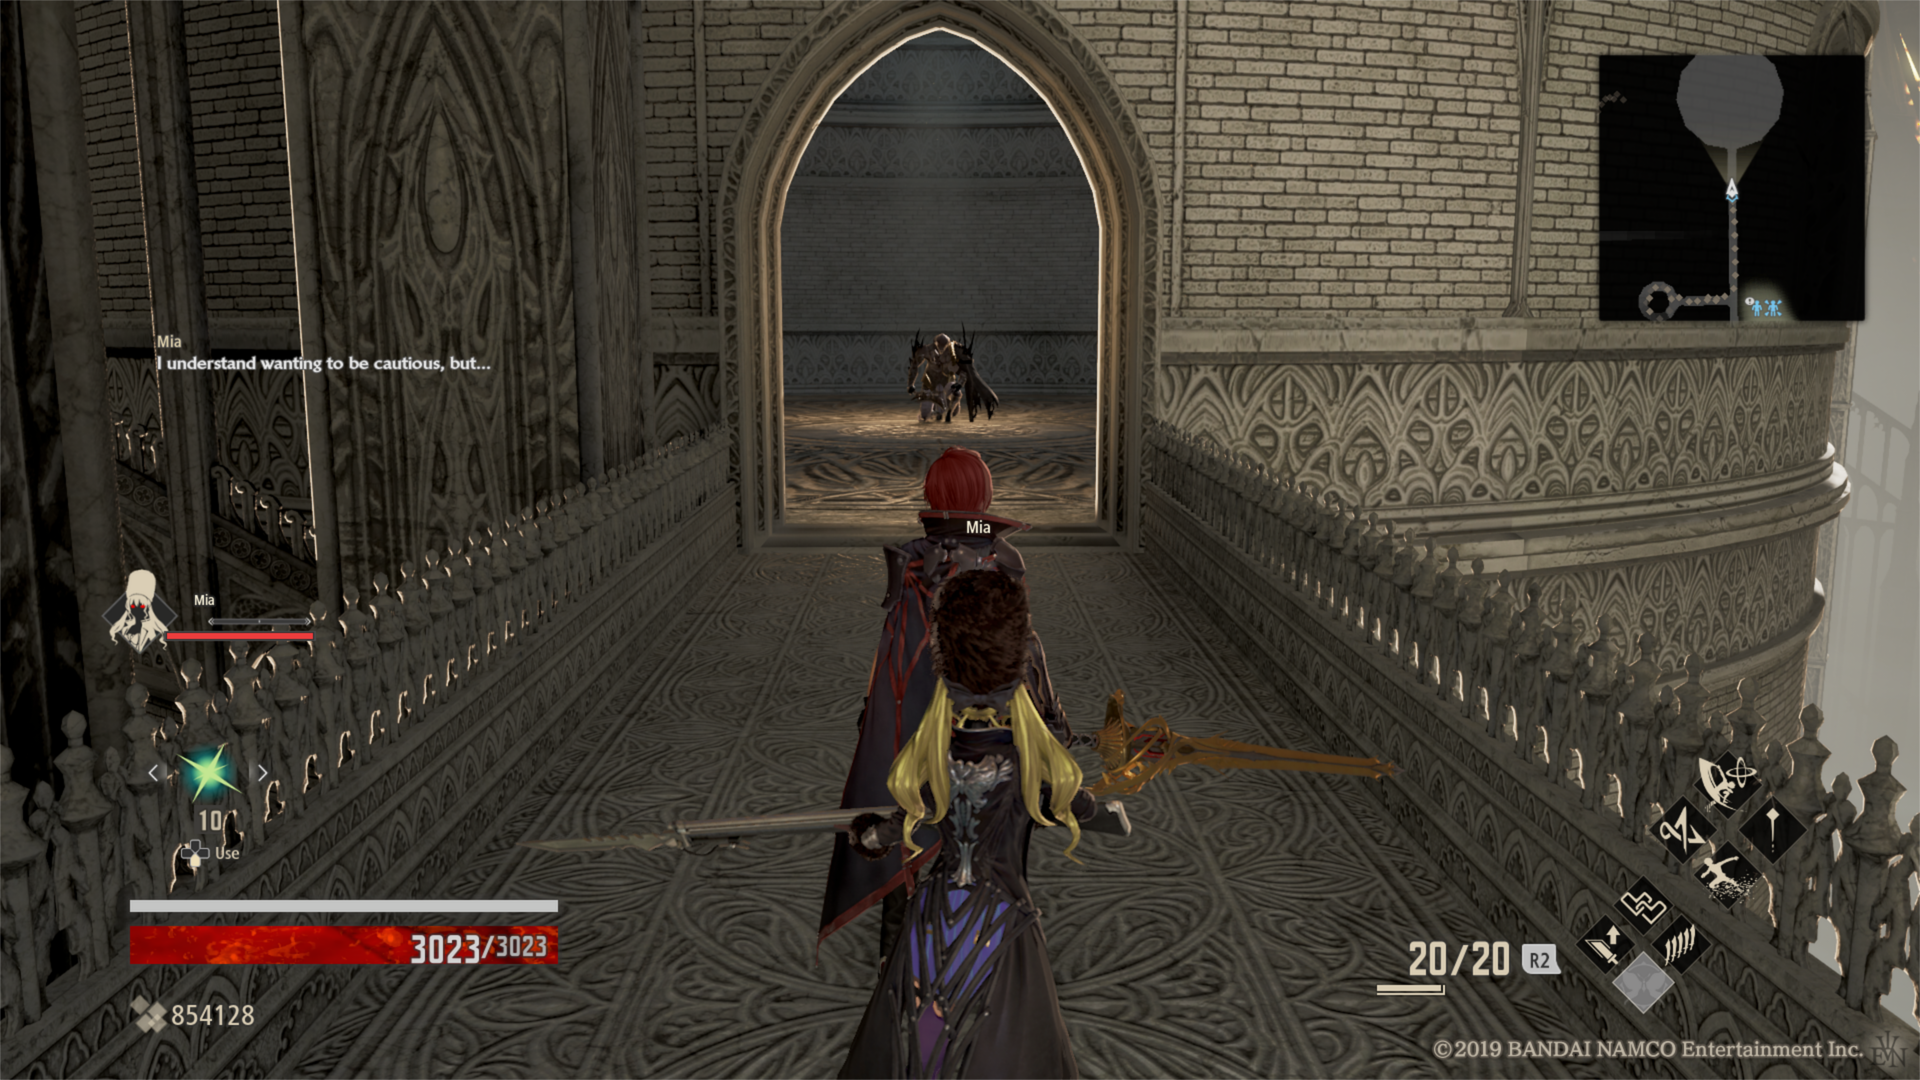
Cathedral of Blood 2
You’re not done with the Cathedral of Blood. This level is so large that there is a second Activation Factor to look for. You should start from the Outlook Tower mistle to get this one. Just continue forward, entering the tower with the staircase going down and once you’re out you will have two ways to go. Take the left path and you will see a big tower with an enemy inside. Again, you have to defeat this enemy since it will drop the Activation Factor when killed.
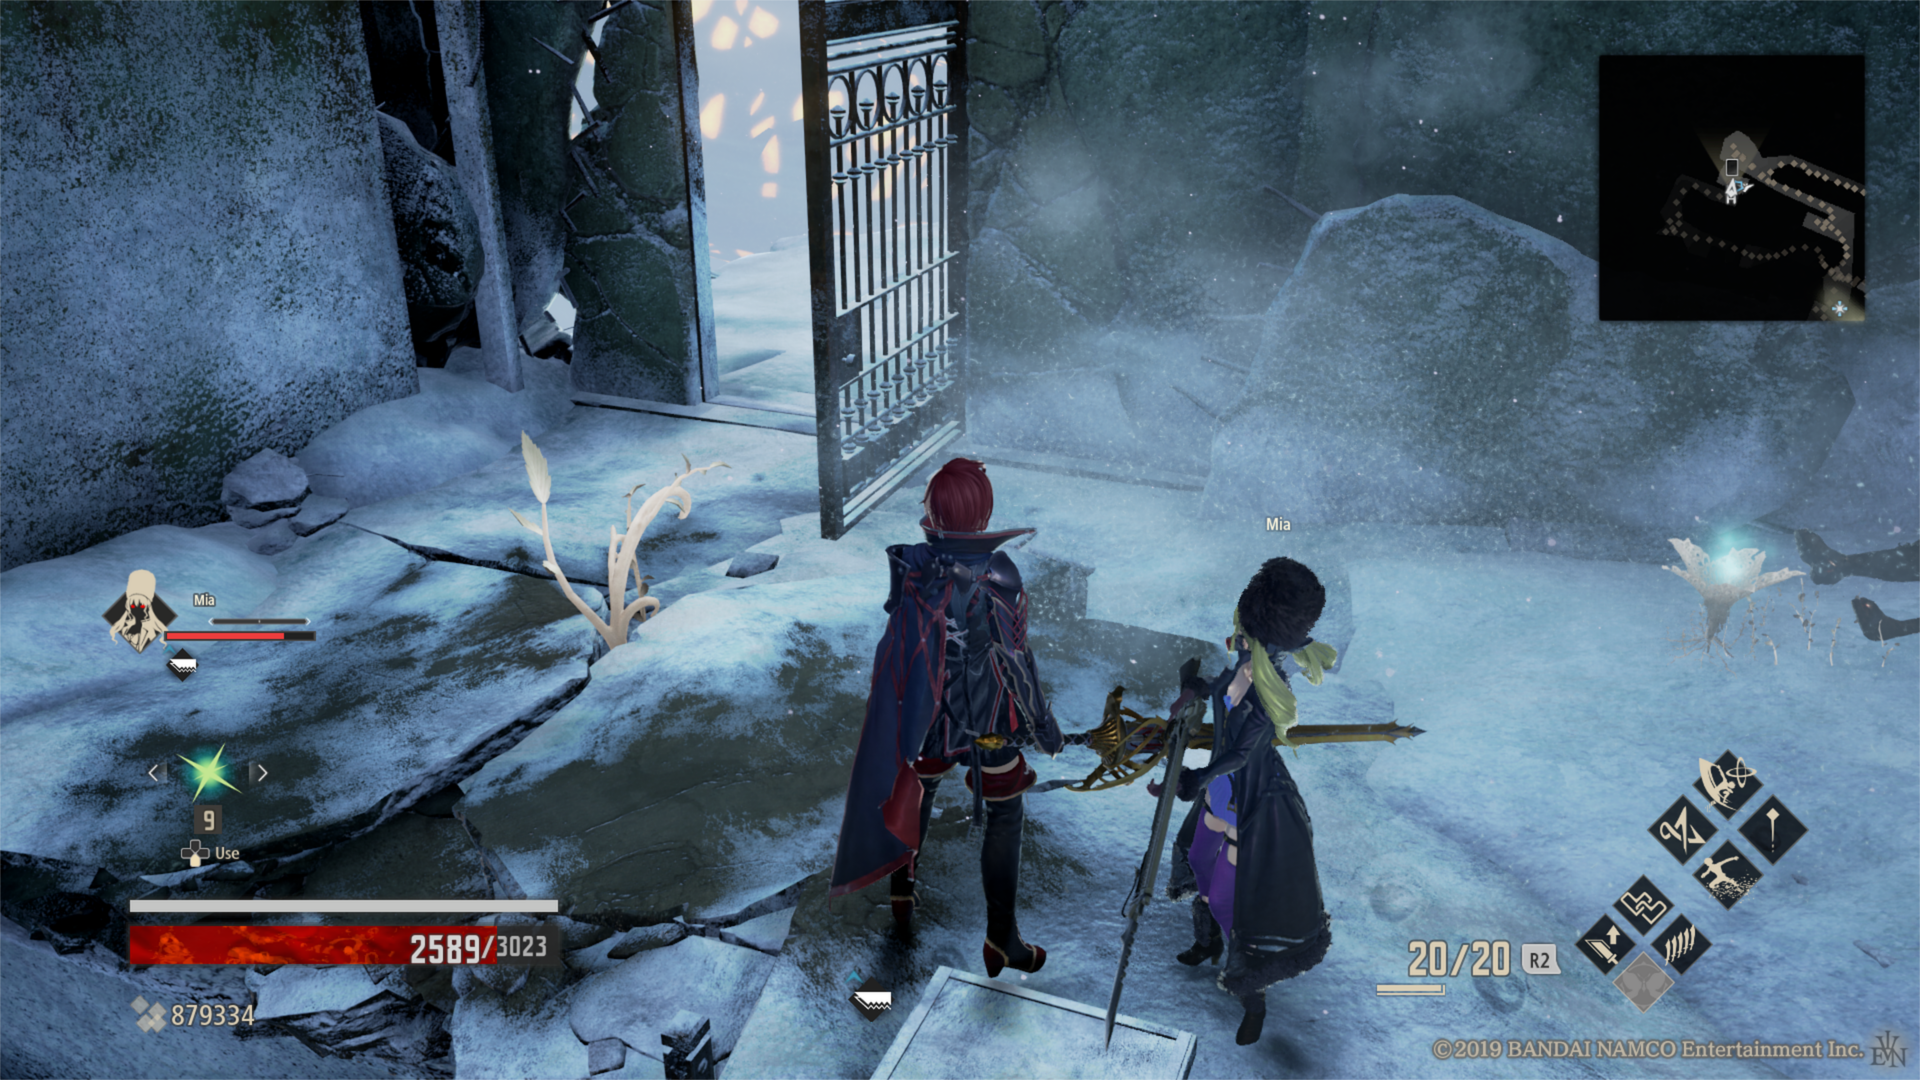
Ridge of Frozen Souls
This one is very close to the entrance and it’s very hard to miss if you are trying to unlock all of the map. After your first encounter in the open with the Lost with guns and the exploding Lost, you should see on your left a hole with platforms you can drop onto. Carefully drop all the way down and continue this path, defeating the tough enemies here. Go up the ladder at the end of the path and you will find a mistle you can purify to unlock more map and the Activation Factor you were looking for.
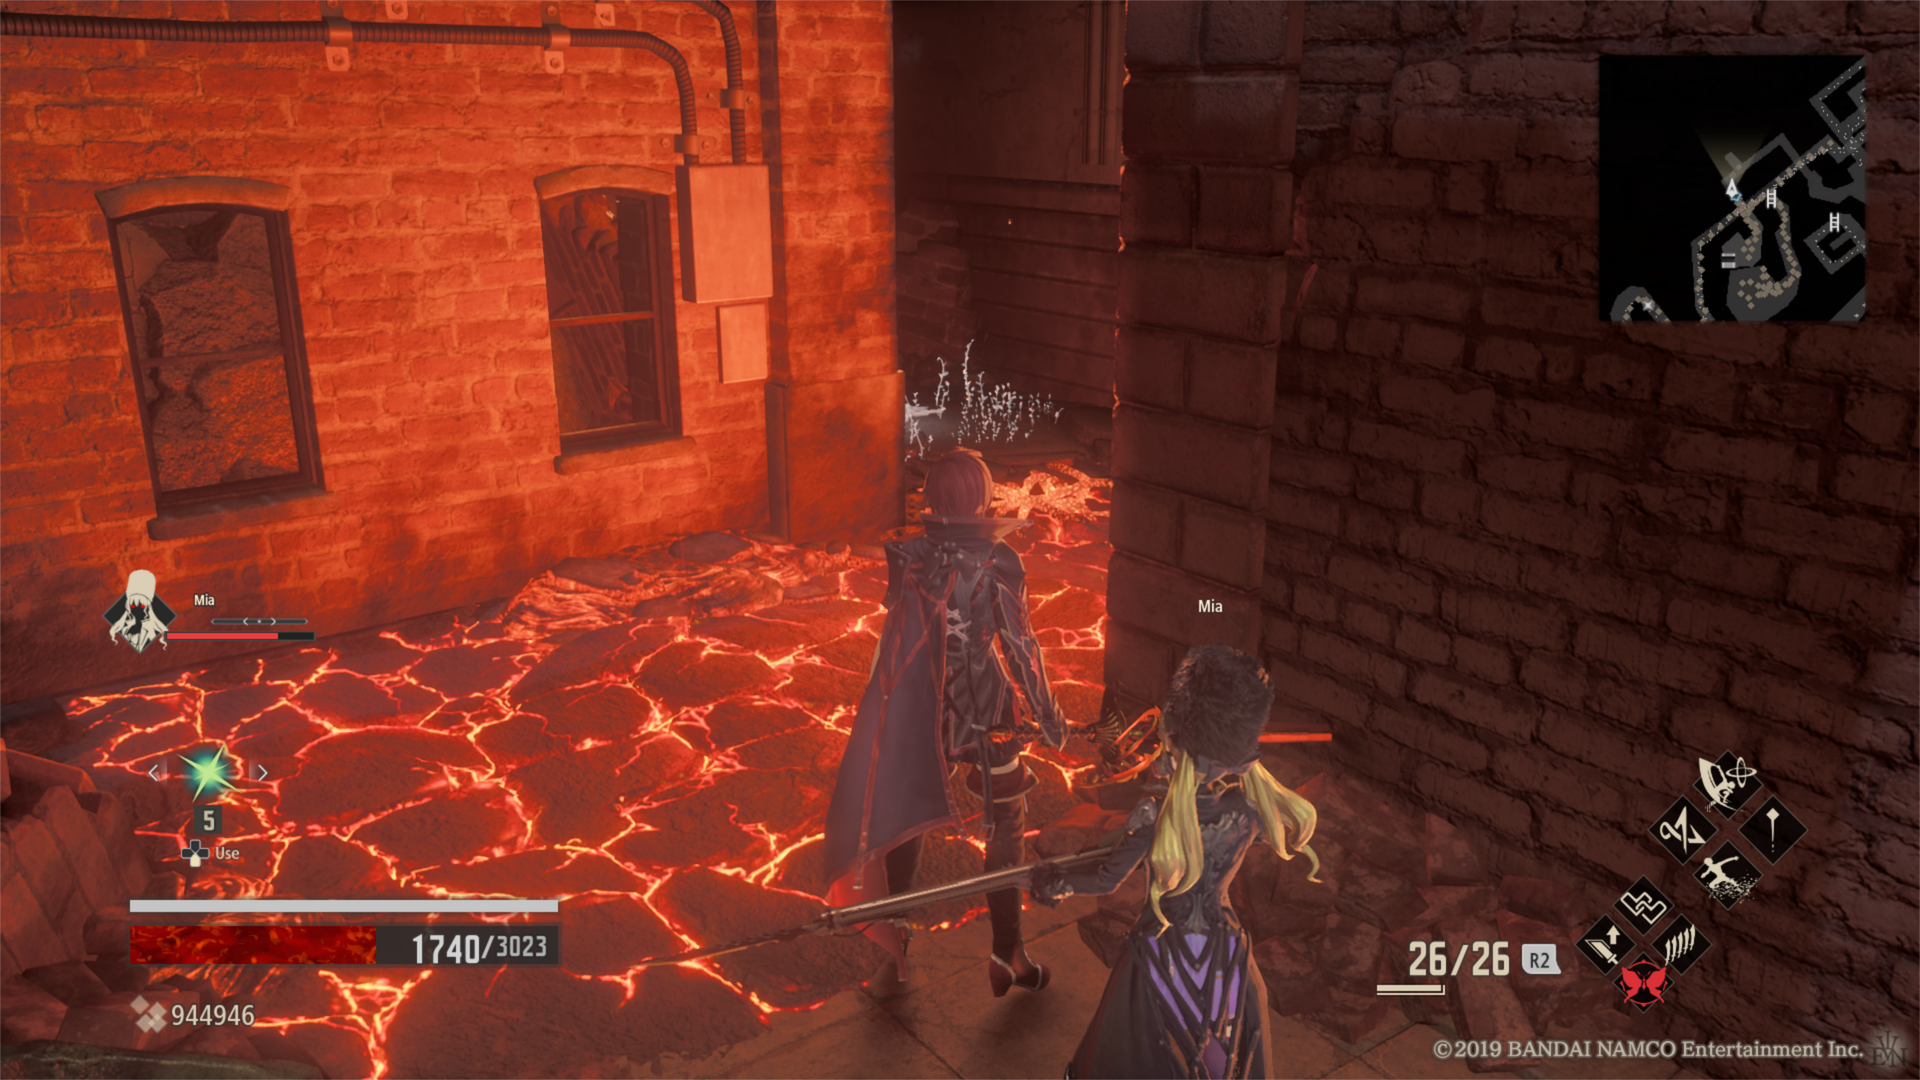
City of Fallen Flame
Since this area can be quite confusing and also very dangerous unless you have lost of Fireproof Tonic, the key thing is to not lose your patience. Once you defeat the blue flaming Lost you face after the cutscene, you’ll find a ladder that will take you to the upper level of the area. Turn left from the ladder and you will see a mistle you can purify below. Drop down, but be ready to fight lots of enemies. Once you’re done continue towards the only path you have and you will eventually go up a staircase. Walk along this upper path until you see a ladder on your right (though if you keep going to the end of this path you’ll unlock a shortcut!). Go back a few steps from the ladder and drop down the opening on the right. There will be a small alley where a Regen Activation Factor is waiting for you. You could get here before, but it’s easier this way since you will be able to unlock the shortcut on your way there.