
Kingdom Hearts III Re Mind: Limit Cut Boss Guide
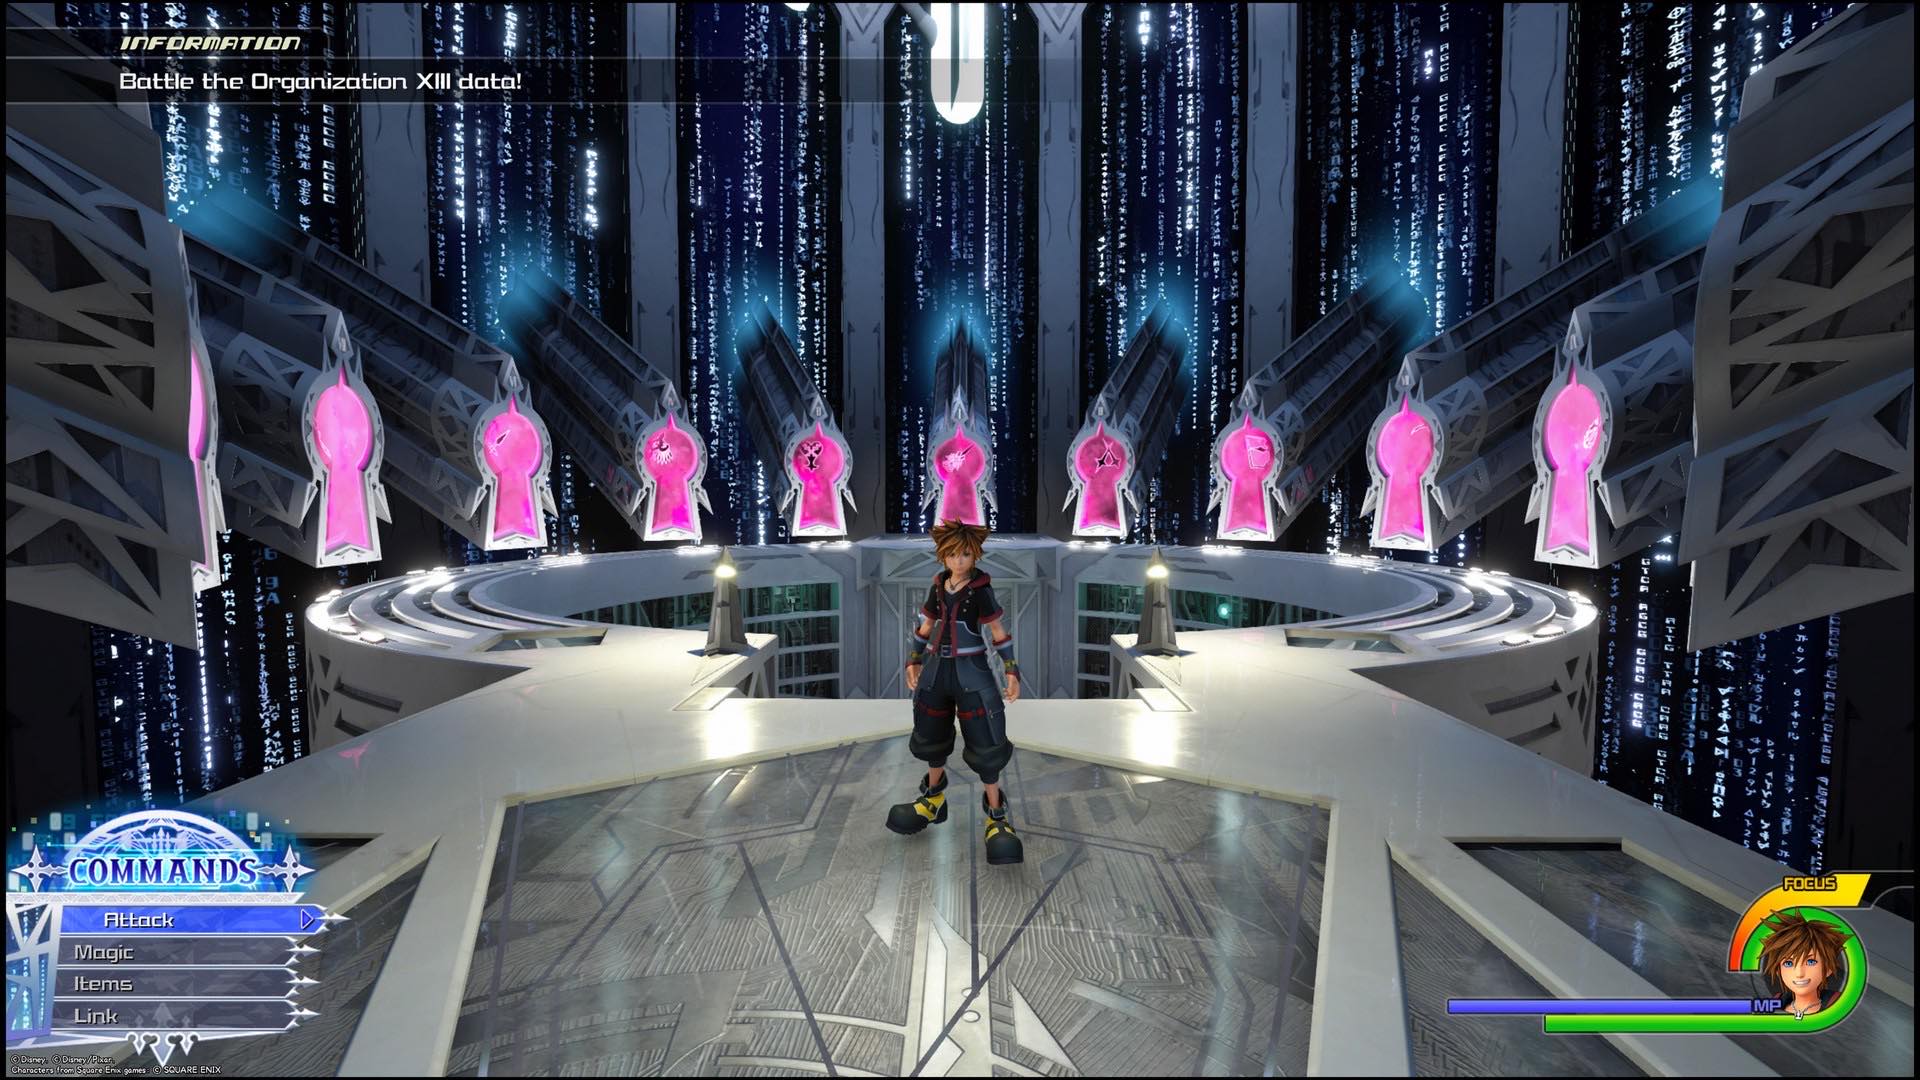
By far the most substantial piece of content in Kingdom Hearts III Re Mind are its Limit Cut boss battles. After completing the main Re Mind section of the game, you’ll gain access to this episode, which will have you fighting the data of several Organisation members.
Much like the Data Organisation battles from Kingdom Hearts II Final Mix, these are some of the most challenging enemies you’ll fight in the game, and they’ll really test how well you know Kingdom Hearts’ combat system. It isn’t just mindless challenge for the sake of it though. Each boss has different tells and methods that work best to defeat them. This guide aims to highlight them to help you beat the Organisation once and for all.
General Tips for the KH3 Re:Mind Limit Cut Bosses:
Make sure you are at Level 99. These enemies don’t hold back, so you’ll want your Sora to be as high-levelled as you can. A really good way of levelling up fast comes from doing the battlegates repeatedly, as you’ll gain a level or two each time with ease. This also applies for your equipment and Keyblade. Make sure you have the best equipment possible, and level up whichever Keyblade you like best. If you have the time, try and craft the Ultima Weapon to give you the best advantage.
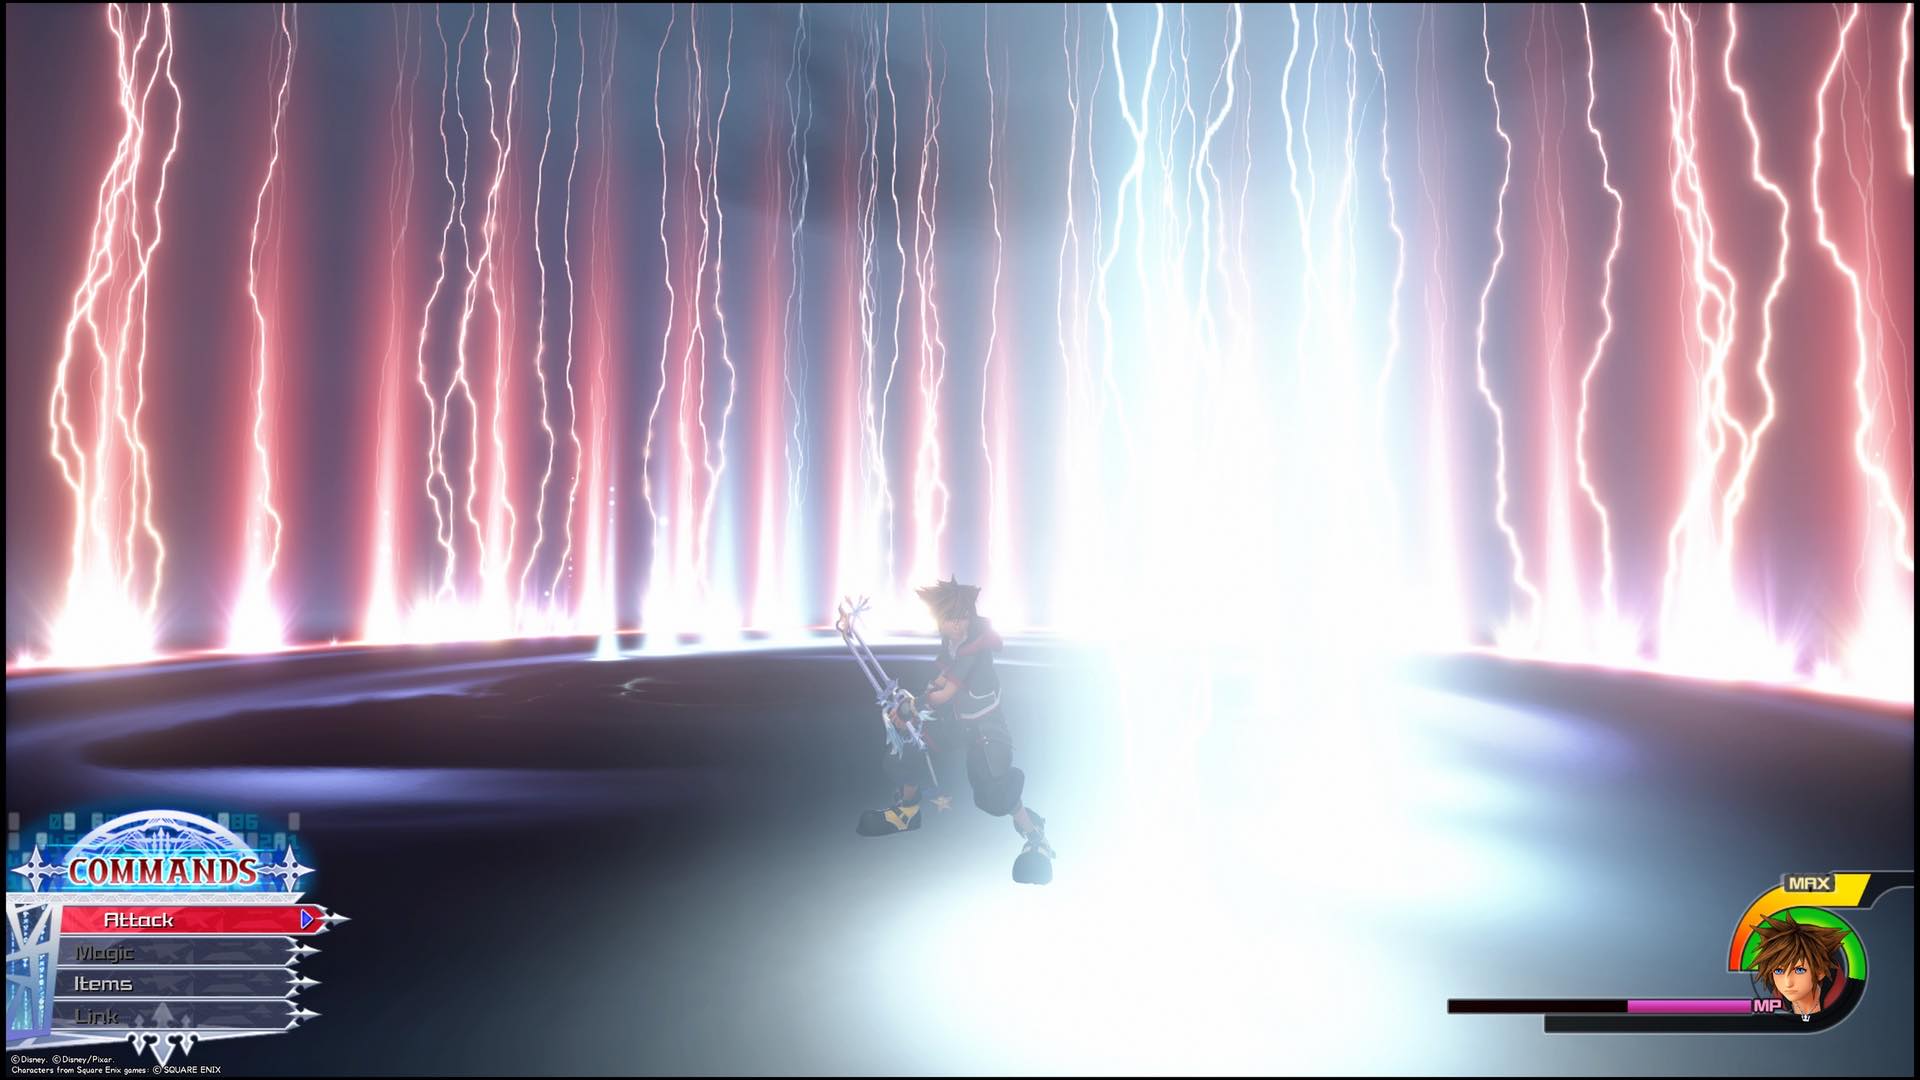
When a boss glows red before an attack, it is unblockable. The only way to avoid damage is by dodge rolling away. Several of the Organisation members have this trait.
If you’re struggling with a specific part of the battle then using a Link attack for its invincibility frames is a good way of essentially skipping it.
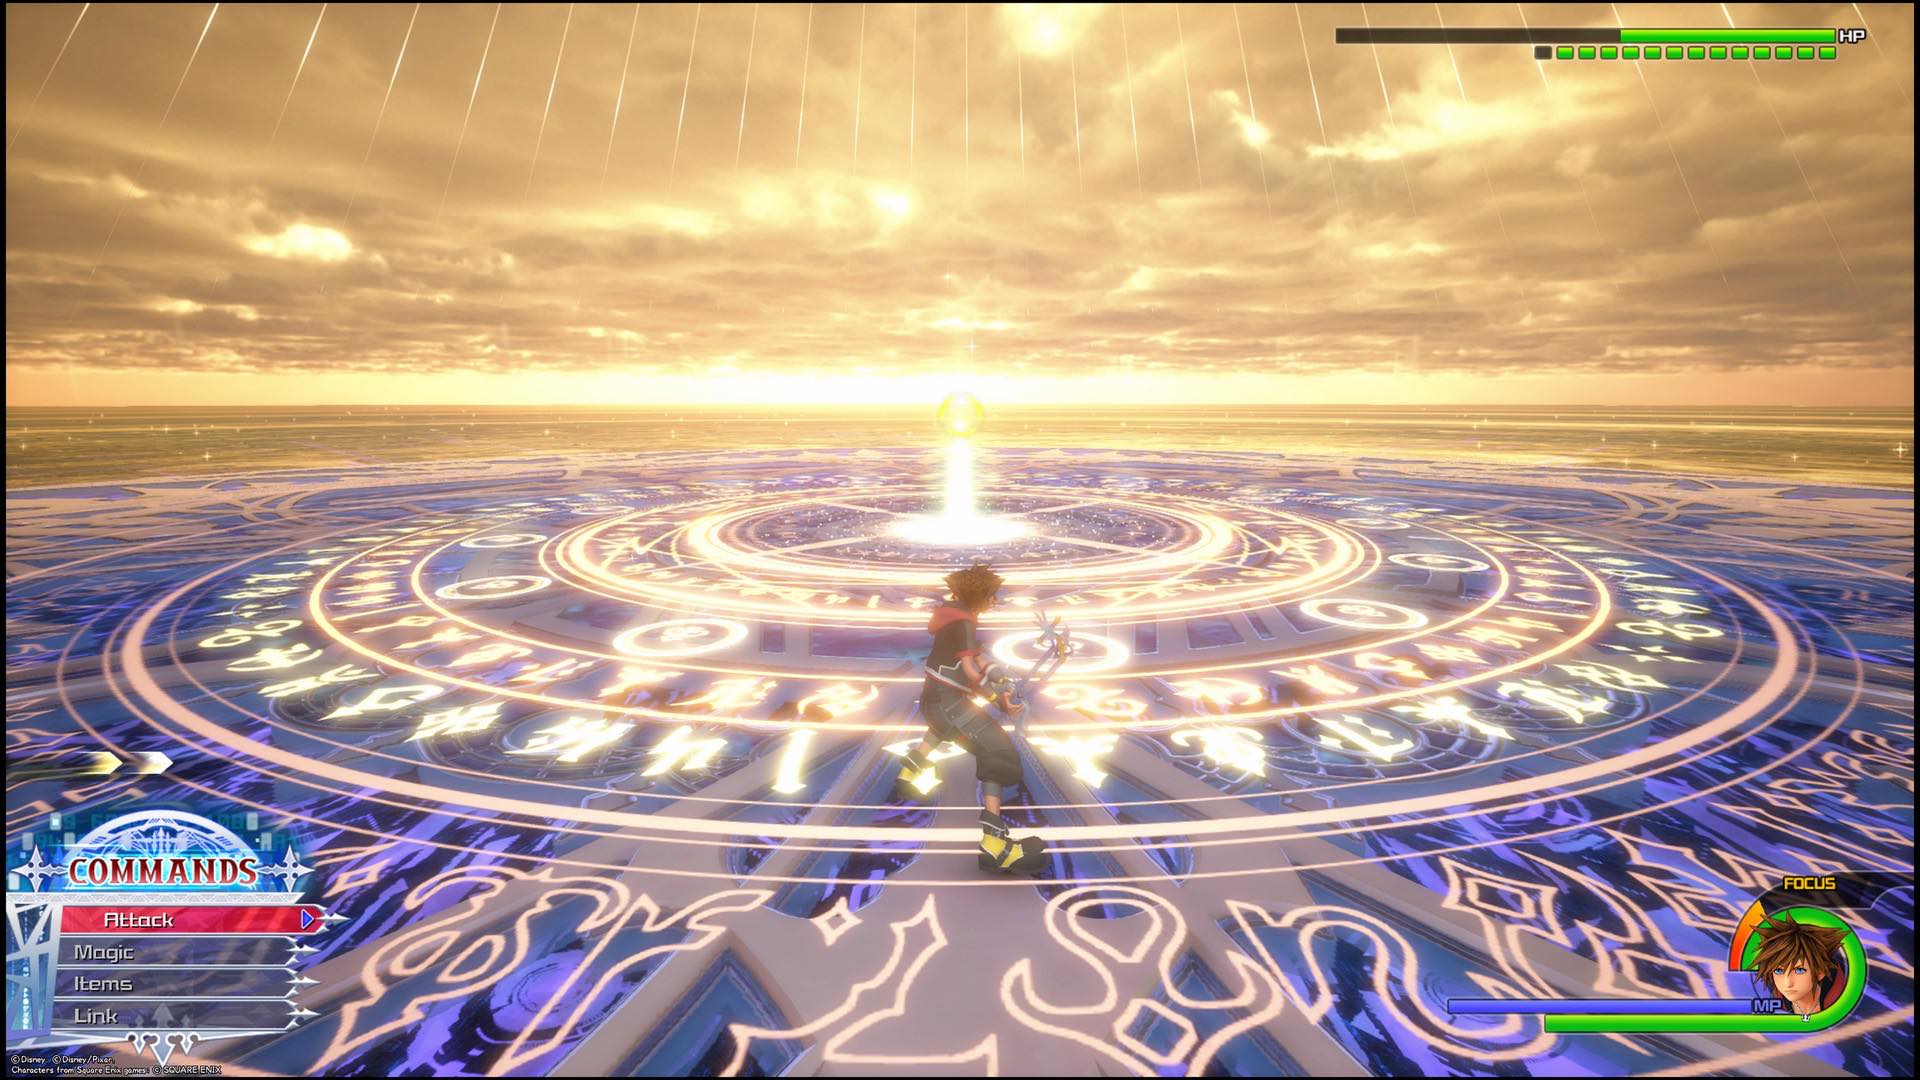
Shotlocks will especially come in handy during these battles. Being able to cause some ranged damage is always helpful, and being able to rush over to a boss is especially helpful for continuing combos.
Try and attach attack patterns to quotes. It’ll make hearing “Leaving?” a lot easier if you can then anticipate what Xemnas is going to do.
When an Organisation Member causes a cutscene, that means they are using their Desperation Move. These are their most powerful moves, and you’ll need to learn a good way of dealing with them, whether that be using a Link to skip, or just memorising the pattern.
These battles are going to take time. Just because you can’t do it the first time doesn’t mean you won’t be able to at all. Take each loss as a new attempt at learning the boss’s patterns.
If you're not wanting to learn everything the bosses can do, we'll have an "easy combo opportunities" section for each member.
Limit Cut Boss Guide - Member II: Ansem

Ansem has one of the more technical set of moves that make it hard to keep attacking him. He doesn’t use too many ground combos, but his range will make up for that. Keep on moving as much as possible when you’re facing him, and be ready to dodge and block his projectiles at any moment.
Easy Combo Opportunities- After dodging the darkness he summons underneath Sora, dodge again straight after and shotlock towards him for a full combo. Shotlock at the start of his third Dark Charge and block it to interrupt and get a combo in. Dodge or block his six small dark blasts and he'll be open to attack. During his desperation move, once he's fired two rounds of shots at you.
One of his more annoying moves comes when he summons darkness underneath Sora. It’ll take about three seconds until it attacks, which can put you off from concentrating. Stay still until the darkness comes up and attacks and you’ll get used to it pretty quickly. He’ll also summon explosives that surround and they’ll come towards you if you dodge away from the darkness, so remember to dodge twice to avoid them.
Ansem also brings back his dark charge from the first game. He'll do this in a pattern of three, and the third one will be your opportunity to counter him. Either shotlock towards him as he starts the third attack, or get close enough to block it just as it starts. Make sure you block him, as you need to interrupt him to get a chance to attack. When he tries sucking you into the middle of the stage, dodge roll away and try and time it alongside his balls of darkness to avoid getting hit. Getting hit will likely cause you to get sucked into the middle and face massive damage.
Ansem also has a move where he creates a laser barrier around himself. Blocking and using counter kick and then immediately blocking again will let you get a small amount of damage in because of how many invincibility frames the counter gives you.
His desperation move will have him surround the arena in darkness and summon massive balls of darkness that fire at Sora. The best option here is to block the smaller shots as much as possible and then shotlock over to him after he launches the bigger ball at you.
Besides his long range and moves that require timing, Ansem shouldn’t be too much trouble.
Limit Cut Boss Guide - Member III: Xemnas
Out of all of the data battles, Xemnas might get on your nerves the most. He’s quite difficult yes, but it’s mostly due to his repeating voice lines. You’ll never want to hear the word leaving again. In all seriousness, Xemnas is one of the more difficult bosses thanks to his Desperation Move and tendency to move you up and around the arena.
Easy Combo Opportunities- Counter his ground combo after the last swirling kick to get a combo in. Block his rapidly firing red shots and counter as he tries to melee attack. Block and counter as he teleports in front of you and tries to spin attack you for a full easy combo.
One of his moves has him kicking and swirling at you. This move has a lot of lock-on, but your best bet is to block it and then counter on the final swirl. You can also use counter kick’s invincibility frames but make sure you’re blocking at the end of each one. Xemnas will also summon big blue orbs and fire them in your general vicinity. These cannot be countered or blocked so make sure to dodge roll away and try and keep them as far as possible.
Another annoying attack comes when Xemnas summons up barriers and then tries to knock you into them. He’ll pull you towards him and then knock you into them, so the best thing to do is attack him as he summons them. This will break the barriers and let you get some damage in.
The one you’ll remember most is when Xemnas says “leaving?”, which will cause Sora to get dragged towards the orb. This attack doesn’t do any damage, but it can mess up your combos, especially since he uses it so much. It can be dodge rolled away, but I found that blocking afterwards prepares for any follow-up attack he might do.
His Desperation Move is easily one of the most challenging things to learn in this fight. You’ll know when he does it when the arena goes dark. He’ll start off by trying to hit you with his combo which you can block but he’ll also use his orbs to move you around. He’ll keep trying to perform his combo each time you move, so just keep on blocking and countering as you see fit.
The next phase of his Desperation move comes when he summons a bunch of lasers to shoot down on you. The first time around will have you just blocking them to avoid damage, whilst the second and third time will have you needing to dodge the blue lasers which are unblockable. Dodge them and then continue guarding straight after. Learning the pattern is essential here but if you’re especially nervous then use Dark or Light Form’s barrier-esque guard to make sure the lasers don’t hit.
Xemnas’s Desperation Move will be the biggest thing to get past because of the low amount of damage you can do in this state. Other than that, most of his attacks are blockable, and can be traversed with relative ease. Just mute the TV if you get sick of hearing him.
Limit Cut Boss Guide - Member IV: Xigbar
As you might expect from Xigbar, he’s very much focused on range and keeping his distance from you. This is very reminiscent of how he was in his Data Battle in Kingdom Hearts 2, so you might already have a few ideas to take him down.
Easy Combo Opportunities- Reflecting all of Xigbar's attacks back at him will inflict a fair amount of damage over the course of the fight. Following a successful "Showdown" command, you'll get the chance to do a significant amount of damage. Shotlock over to him whenever he tries to get away to combo him in the air. Reflect his blue shot back at him three times to stun him for a combo.
Xigbar will instantly start the battle by putting a massive amount of space between the two of you. He’ll fire at you from afar, and all of his shots can be blocked back towards him. It’s not a massive amount of damage, but it’s better than dodging it. Try and get close to him by getting in the air and shotlocking as soon as you can.
His bigger blue shots can also be reflected, but you’ll have to keep an eye as you need to block it three times in order to work. You need to be timing your blocks very specifically, as Xigbar will still keep shooting the smaller red blasts at you at the same time.
To finish off this stage of the fight, Xigbar will shoot up at the sky, causing a volley of shots to fall down in a circular motion. Although you likely won’t be close to him at this point anyway, get as far away as possible and they won’t be able to touch you.
After doing that attack the arena will turn back to normal and Xigbar will attack by teleporting around and shooting more projectiles at you. Using shotlock here is essential to catching him as much as possible.
Cause enough damage to Xigbar and you’ll get the “Showdown” option. Here you’ll have to do an old-west style showdown which requires you to attack as soon as you see Xigbar. The timing is quite specific, but it’s not too much of a challenge. This will also open him up to a combo or two before teleporting around more.
Xigbar’s desperation move should once again be familiar, as it features him turning the arena into a small circle and firing an endless barrage of shots at you. The best way to avoid this is to walk around in a circle and occasionally dodge roll. It’s a lot easier to deal with than it was in Kingdom Hearts II!
Limit Cut Boss Guide - Member V: Luxord

As you might expect from Luxord’s data battle, it’s less a straight up fight and more of a game. The rules of play are a little different this time around. The most significant similarity is the time meter at the top of the screen. You get more time by dealing damage, but you lose it if you’re taking damage and the winner is decided by who loses their meter first.
Easy Combo Opportunities- Block whenever Luxord launches more than one card at you at once and he'll be open for a combo straight away. When Luxord spreads cards around him and jumps into the air, follow him to get one of his easiest combos. Successfully complete his games to get the chance to counter him.
Luxord will open by throwing cards at you like projectiles. These can be blocked or dodged, but you’ll want to make sure you’re near him for his final double throw which leaves him open for a counter. You can also hit Luxord after he taunts you and sends four cards your way at once. You’ll want to keep close enough to him for the counter to work, but you need to keep some distance to try and gauge what attack he’s doing. This is the same for another of his attacks which has him launching into the air. If you can catch him whilst he’s airborne, you’ll get another easy combo off of him.
Now come the games. Luxord’s first game has him form a barrier around himself and summon four cards to spin around him. You have to hit the card with a circle on it until they’re all gone, which will then give you a chance to combo him. This is a pretty easy game, only made difficult by how fast Sora attacks. Make sure you’re absolutely sure of hitting the circle before you press attack.
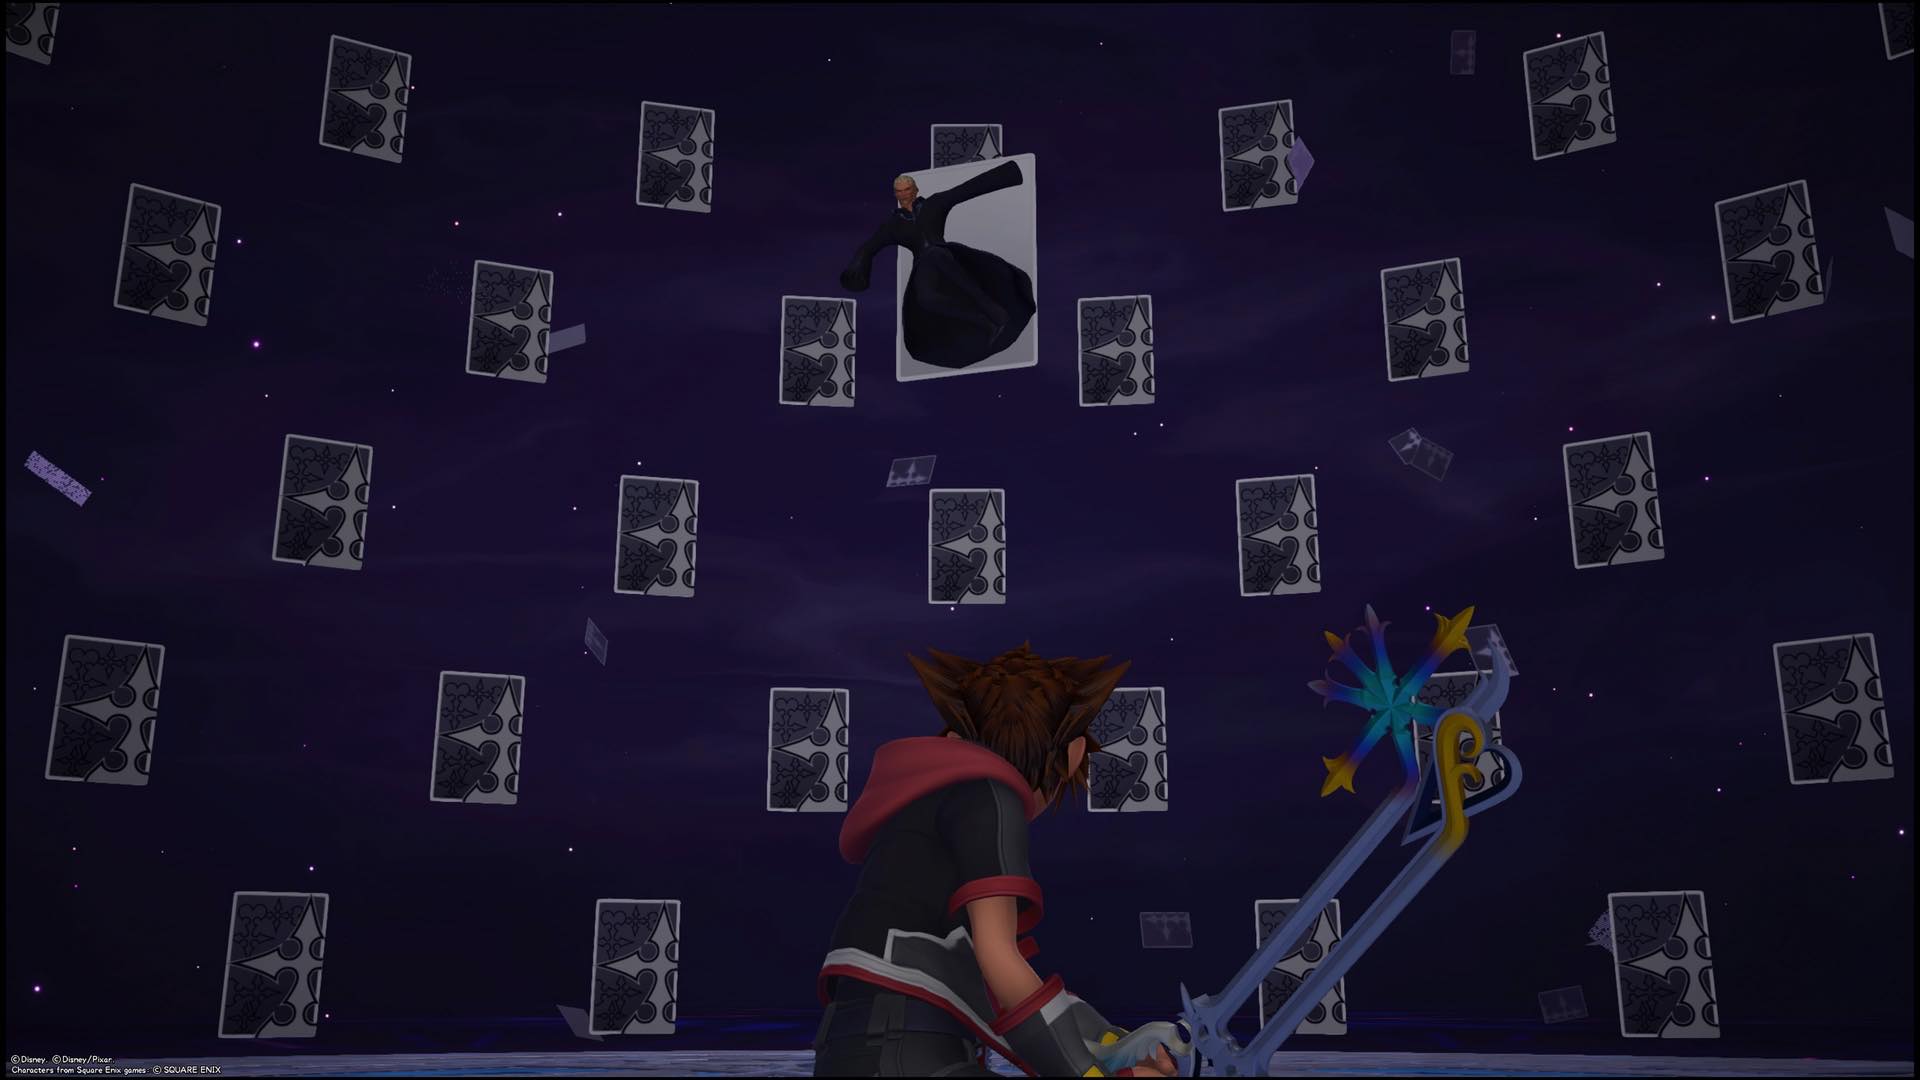
The next game has Luxord turn himself into a card and zoom around the arena. To win this, you simply have to find him amidst the other cards. You can actually track him before the game starts but he moves so fast that it’s not very easy. Instead you want to run around turning the camera, hitting the circle cards to get rid of them and waiting for some sign of him. Watch out though, as Luxord will send some explosive cards toward you every once in a while. If you take too long, Luxord will reveal all of the cards and give you a limited amount of time to attack him.
The final game is Luxord’s Desperation Move. Here he surrounds the whole arena with cards and you’re given a new prompt. You can now eliminate cards with the triangle button, and the objective is to eliminate three of Luxord’s cards at a time. Do this enough times and you’ll win the game and get another easy combo on him. The trouble comes from finding Luxord, and avoiding the explosive cards he sends your way. You need to keep moving and look at the cards as fast as possible to try and find Luxord’s cards as fast as possible.
When you understand that you need to eliminate his cards with triangle, you should be able to get past Luxord with relative ease.
Limit Cut Boss Guide - Member VI: Larxene

Larxene’s key trick here is how fast she is. Due to her lightning abilities, you’re going to have trouble keeping track of her. Once you see her patterns though, you’ll find out that she’s not really that much to deal with.
Easy Combo Opportunities- Attack Larxene when she throws her weapons in the ground and remains in the air above you for a quick combo. Avoid Larxene's second wave of thunder and attack her quickly whilst she's open. Counter her at the last second when she is rapidly hitting you from above.
Larxene’s base combo will have her run towards you and attack in a three hit combo. The best way of dealing with this is to block it and use whichever counter you have to deal some damage back. Larxene almost always follows this attack with a Kunai throw directly at the ground. You can dodge this pretty easily with a well-timed dodge roll, and the airborne Larxene will be completely open to attacking.
Another of Larxene’s attacks has her striking the ground and unleashing a wave of thunder twice in a row. You can pretty easily dodge this by rolling away, but remember that after her second strike you’ll be able to get a combo in. She’ll also send out three waves of lightning at Sora, and on the third one she will very briefly be available to attack if you shotlock her straight away.
One of the most annoying attacks Larxene has is the ability to teleport around with her lightning. She’ll also mix this with some of her other attacks, but she’ll usually dive towards Sora on the second teleport, which is your chance to counter and deal a little bit of damage.
After half of her health has been taken away, Larxene will start making copies of herself, which is where the challenge comes in. These copies can be defeated in one hit, but she’ll also do attacks using them, such as sending a line of copies straight towards you. These attacks are fast, but they can be dodged or blocked.
Finally, Larxene’s Desperation Move has her summoning copies and circling around Sora before closing in on him to deal a massive strike. The best way to deal with this is to dodge roll away from it as soon as you see her about to close in. It’s not as complex as other Desperation Moves, but it can certainly deal some damage.
Limit Cut Boss Guide - Member VII- Marluxia
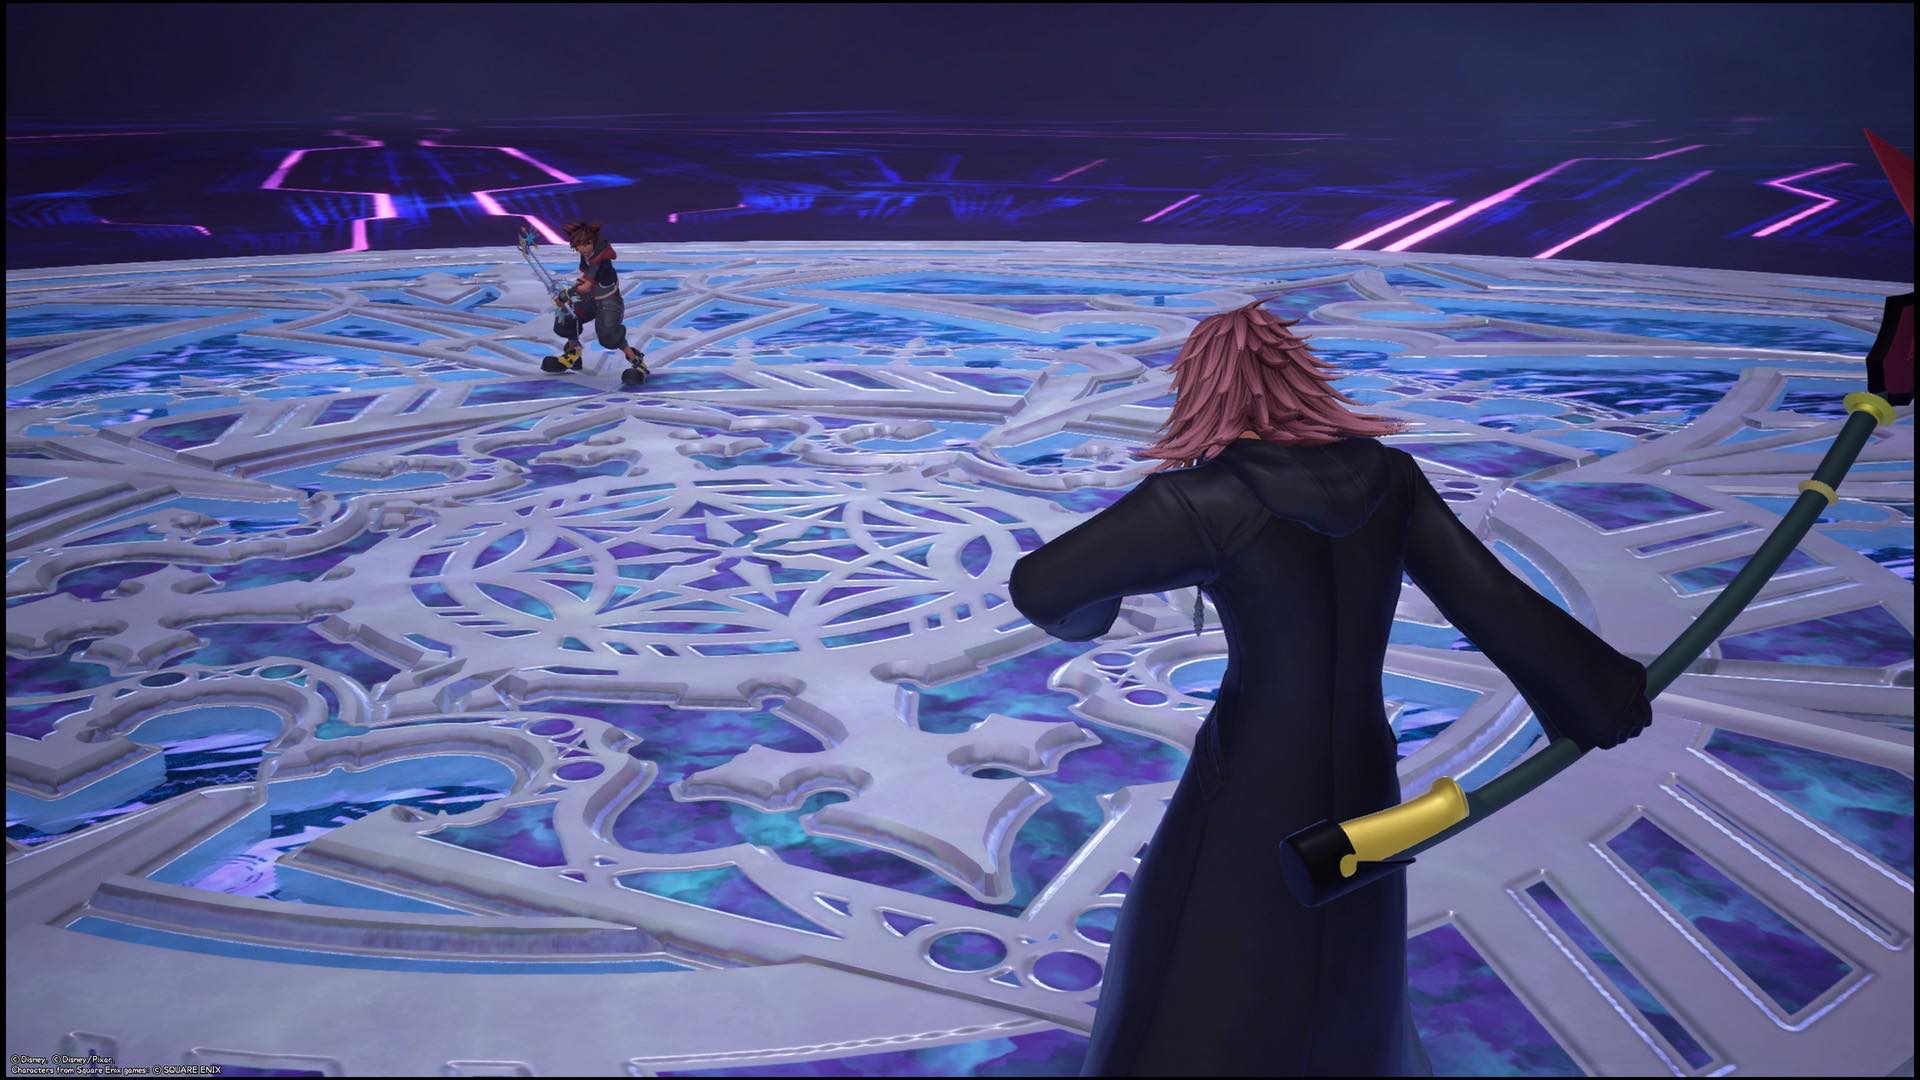
In my opinion, Marluxia is one of the easiest Data Battles in the whole game. He has some of the more telegraphed attacks, he has an elemental weakness and his Desperation Move is actually really easy to deal with once you’ve learnt what to do.
Easy Combo Opportunities- Successfully dodge Marluxia's scythe throwing move and he'll be ready to combo straifght after. Dodge his unblockable attack and quickly counter with your own. Use fire when Marluxia has armour on to get rid of it instantly and get a chance to attack back. Block Marluxia's fast multi-hit combo and counter straight away.
Marluxia’s combo is pretty easy to deal with, and should be fairly obvious when it’s going to be used. Just keep blocking and countering and make sure to dodge roll whenever he glows red. This means that the attack is unblockable, so don’t even try to block it! Marluxia’s next attack is really annoying, but easy to learn if you pay attention. He’ll jump up and chuck his scythe at you, then throw it spinning on the ground before chucking it one last time. The important thing to remember is that you can block the first two, but you’ll have to dodge roll against the last one to avoid taking damage. You’ll be able to combo him if you get it right.
Another attack has Marluxia slamming into the ground and creating little rose portals. These will deal damage to you if touched, so just dodge roll away from these attacks. He can also summon little rose drones that can shoot at you. These get destroyed within one hit, so the easiest way to get rid of them is by guarding and countering. You’ll usually get rid of these by accident, but if you don’t then just make sure to dodge as they fire at the end.
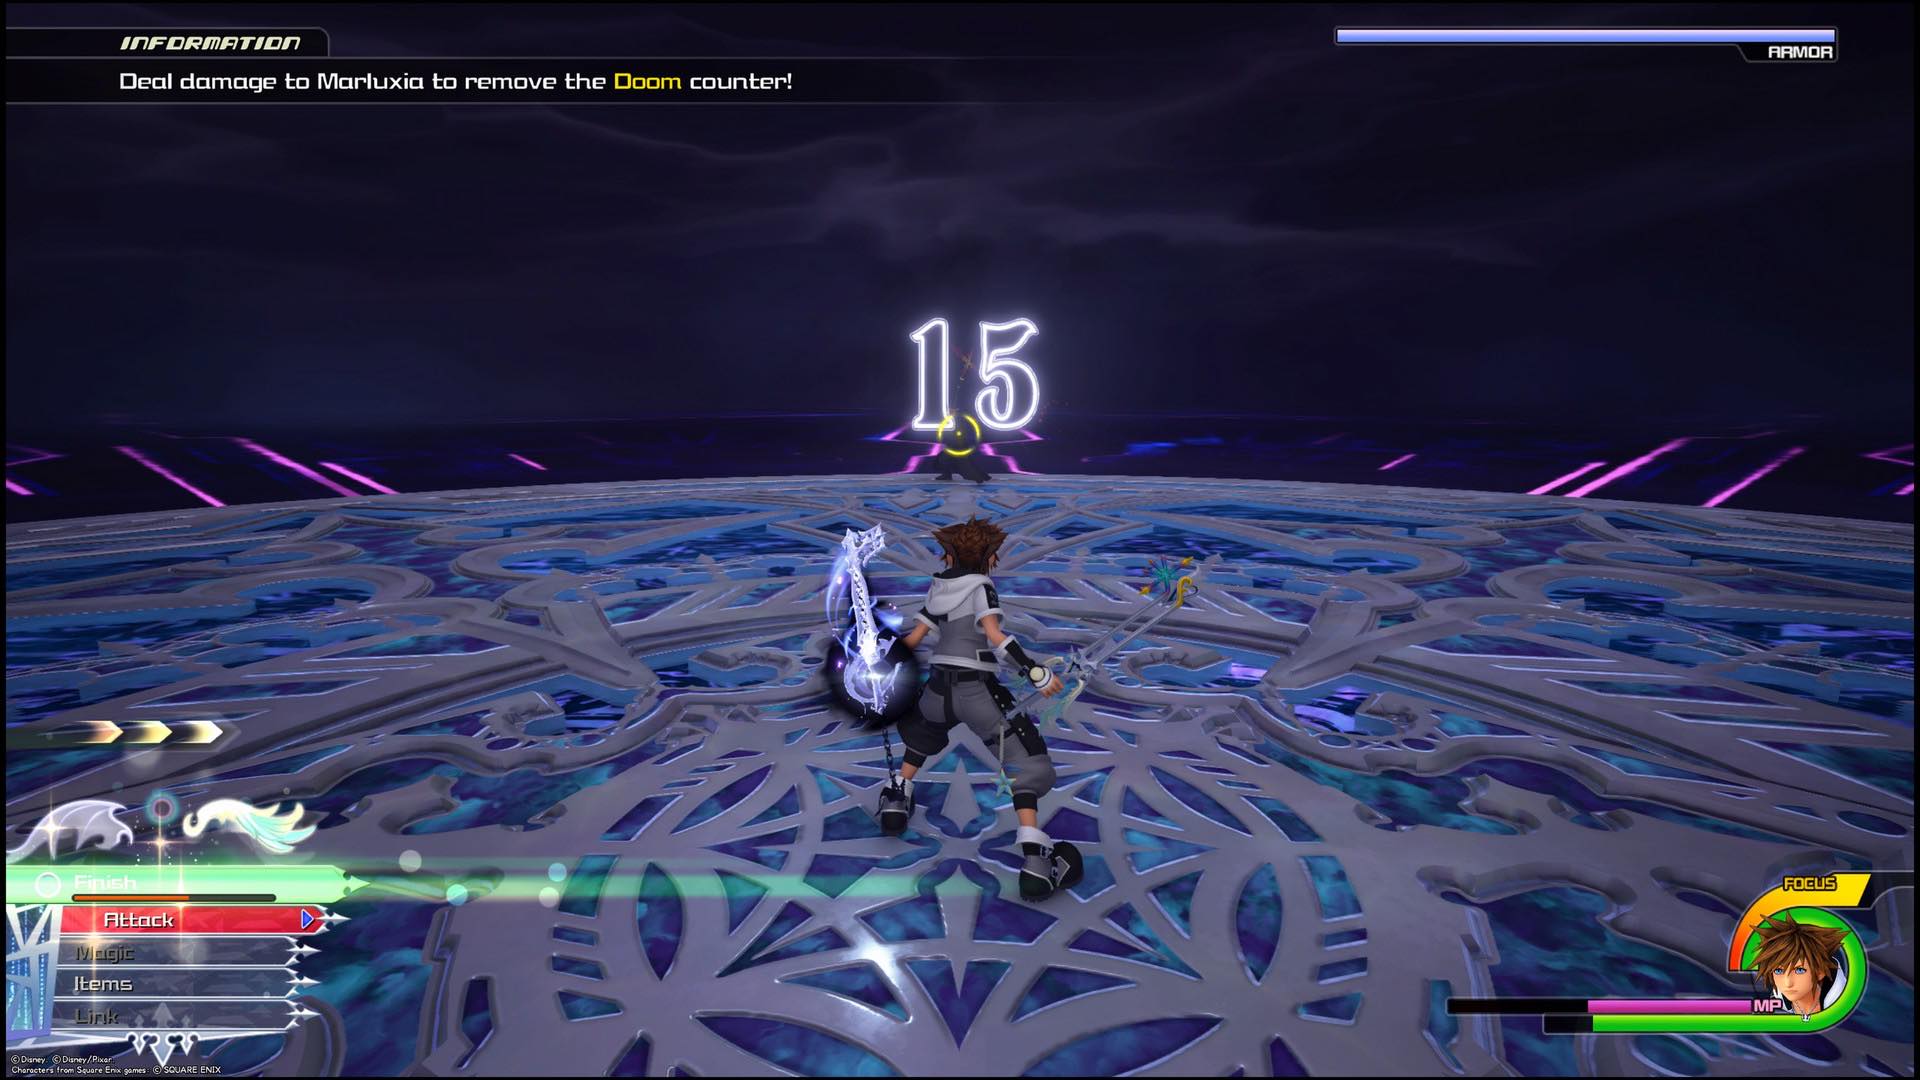
When Marluxia rises into the air, he’ll whisper in your ear and put a countdown of 15 on you. Unlike in Kingdom Hearts II, this isn’t an attack meter but a timer, and you’ll have to take away Marluxia’s armour in that time. The best way of doing this is to avoid the middle of the arena and use your shotlock to take away his armour as fast as possible. It’s pretty easy to counter his attacks and deal damage that way but using your shotlock will do it fast. You can then dispel the doom counter.
If you see Marluxia give himself armour following this move, you can instantly take it away with a blast of fire. If you don’t want to use the MP for that, then just wait it out but this is the quickest way of doing it. If you can counter his combos, avoid the pools of darkness and avoid the middle of the arena when things go dark you should get Marluxia down to no health.
Unlike any other character, Marluxia will always do his Desperation Move when he reaches zero health. He’ll put another Doom Counter on you of 99 seconds but this will go down extremely fast. You need to survive until the last ten seconds and then get one hit on Marluxia to beat him. I found that the best way is to dodge and block his scythe throws accordingly, and then very quickly use a Shotlock to deal the one bit of damage.
Limit Cut Boss Guide - Member VIII- Saix
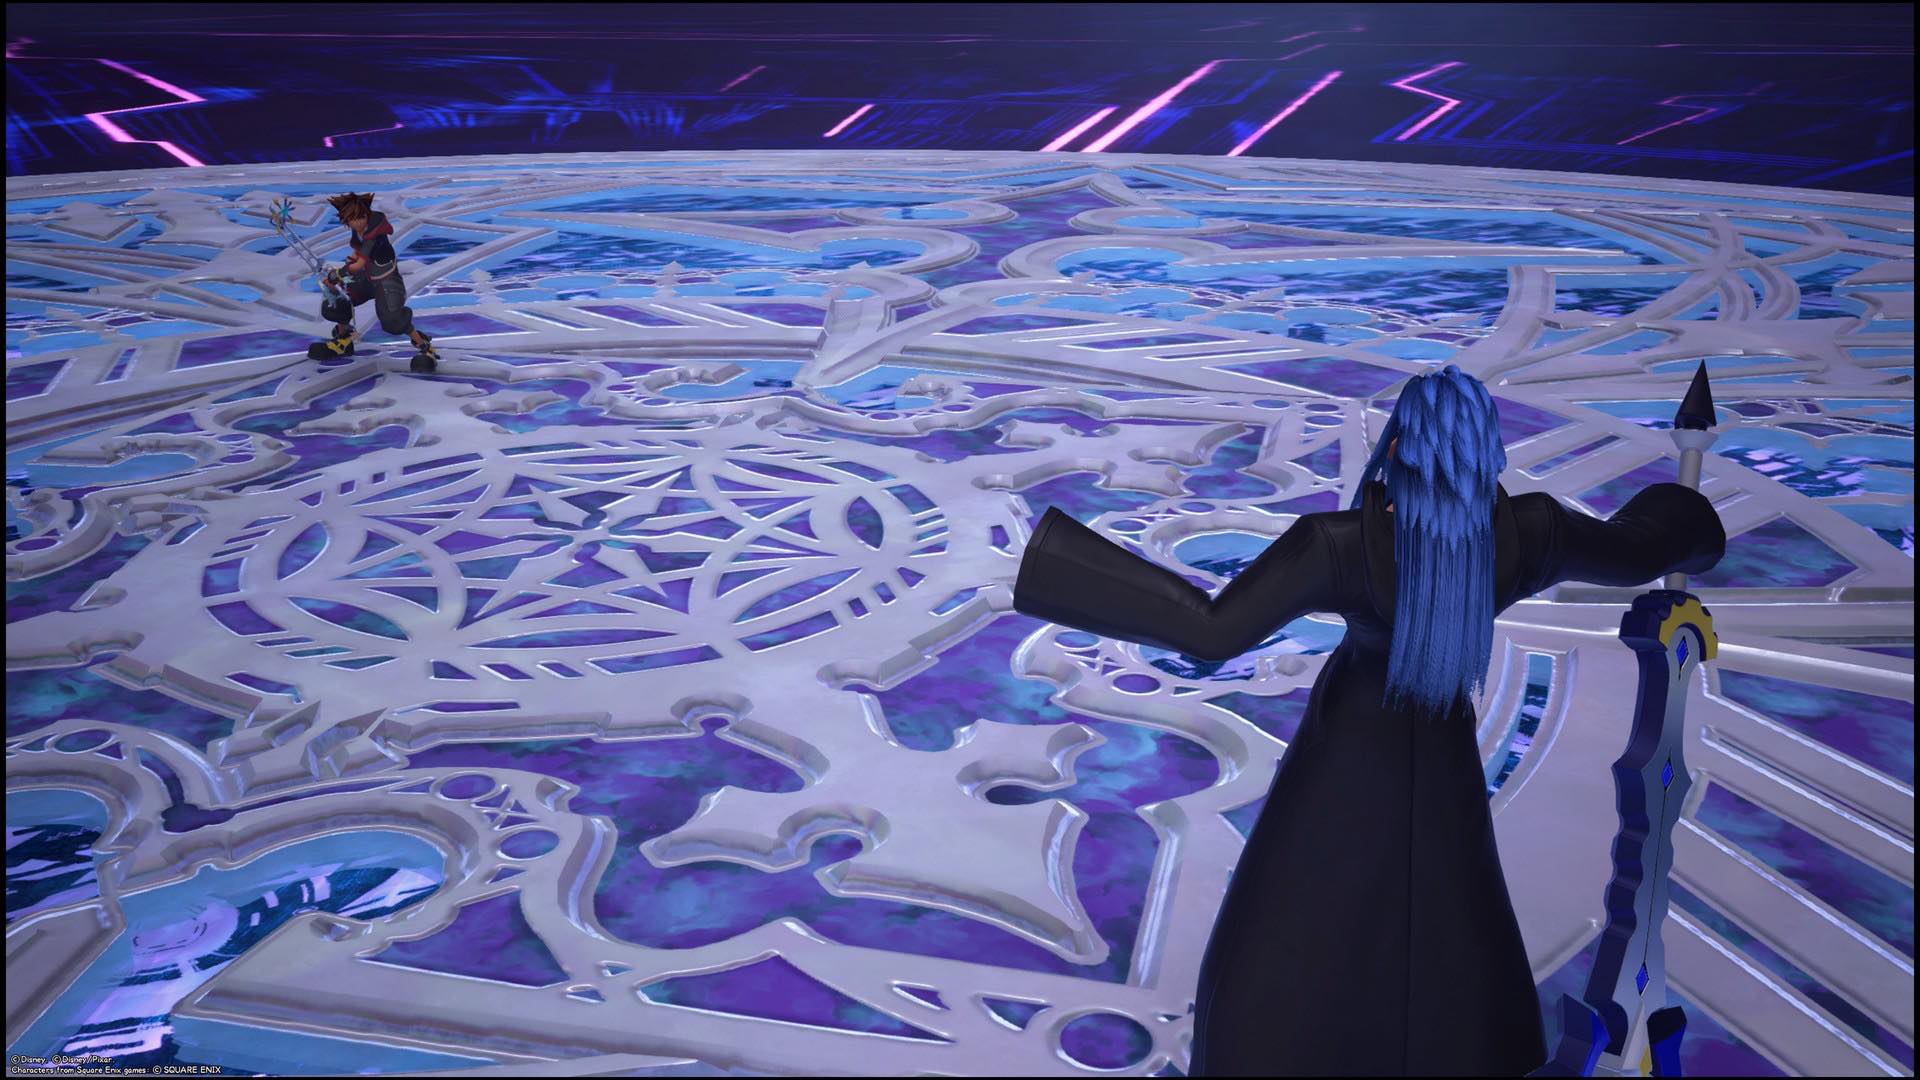
By far the Data Battle I had the most difficulty with was Saix. He has unrelenting speed, damage and an annoying mechanic that makes it hard to take him down. Here’s some of the best ways to get past Saix.
Easy Combo Opportunities- After using Berzerk for too long, Saix will either be stunned for a good while, or open whilst he tries to charge it back up, allowing you to attack him. Block and then dodge his ground thrust attack straight away for a very easy combo. Shotlock over to Saix as he throws his weapon directly at the ground to combo him. Remember to use Blizzard to stop him from charging his Berzerk too fast.
Saix’s initial ground combo is very telegraphed and easy to counter, which should be a good source for an easy combo. He’ll also do a circular attack three times against Sora, which are best countered against to avoid any damage. Saix also has a shockwave move and an attack where he throws his weapon, both of which are completely unblockable so make sure to dodge roll against them.
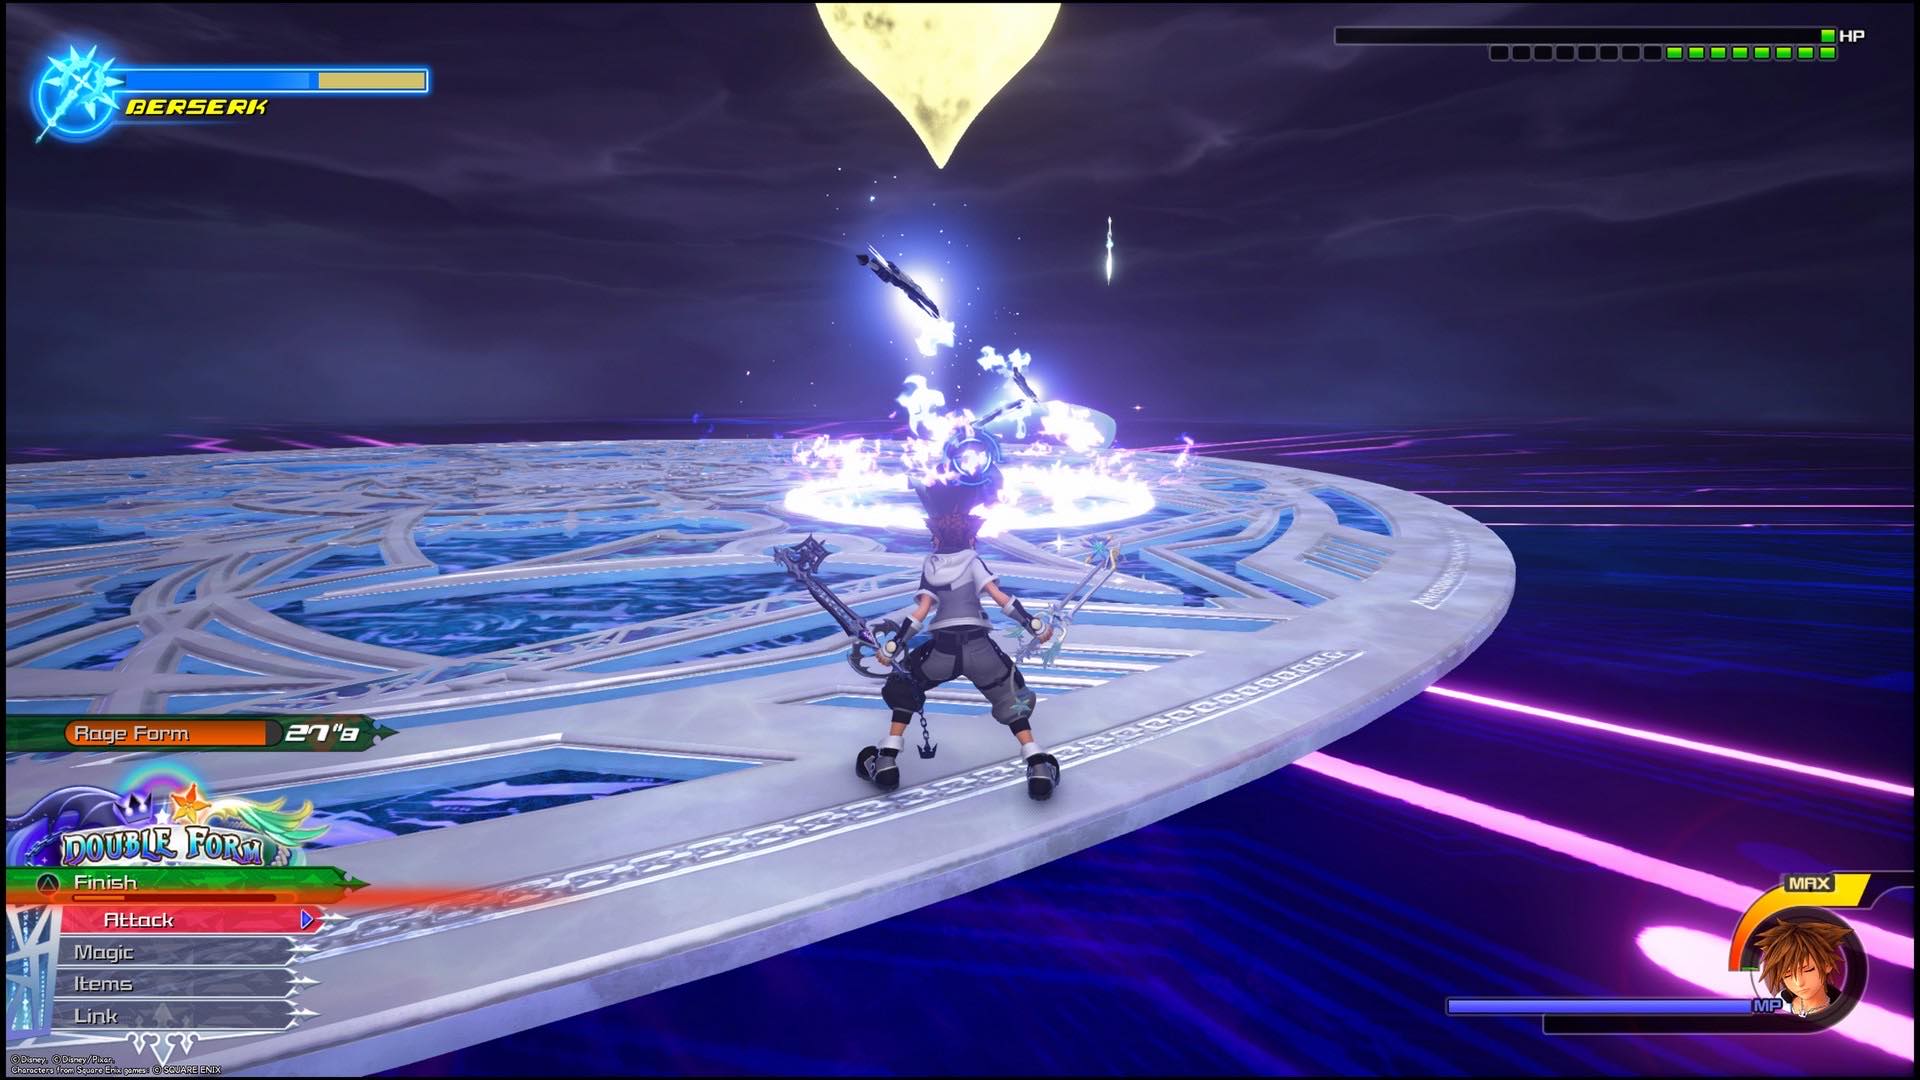
You’ll want to deal as much damage as possible to Saix before his Berserk gauge fills up and he becomes a lot more dangerous. Counter his obvious moves and do as many combos on him as possible to make the fight a lot easier in the long run.
This Berserk gauge will cause Saix to be momentarily invincible, cause him to deal more damage and his attacks will become a lot more relentless in their attempt to hit you. You want to try and stop him from getting it as many times as possible, and one of the ways to halt it is to cast Blizzard at him whenever he is charging the meter up.
In-fact, one of the best ways to attack Saix is with some distance between the two of you, which means that magic is a fantastic way of dealing small amounts to him.
Berserk mode is when Saix’s unblockable moves come in. Be prepared to do a lot of dodge-rolling here to avoid damage, as the only change you’ll get to hit Saix is when he finishes the shockwaves. To actually reach him you’ll need to quickly Shotlock, which is going to be difficult amidst all the unblockable attacks. You’ll want to damage him when he’s in Berserk mode any chance you get to lower the gauge as quickly as possible.
By far the most annoying attack that Saix can do, and the one that messed with me the most, is his ability to stun you with purple energy attacks. These circles will stun you upon hitting you, which leaves you open for a couple of seconds. This may not sound like a big deal but this is almost always how you die in this fight. You’ll need to dodge or aerial dodge to get out of the way of these as they aren’t blockable.
Saix’s Desperation Move is to run around the arena slamming his weapon into the ground and creating shockwaves. You can’t get close enough to get any damage on him in this state unless using magic, so you’ll want to stay in the air and glide around the arena until the move is over. This is the most annoying part of the fight, because you’ll be spending a lot of time doing nothing while you wait for the move to be over.
Limit Cut Boss Guide - Member IX: Terra-Xehanort

Similar to Larxene, Terra-Xehanort’s best trait is his speed. If you can keep track of him, he won’t be too much trouble though.
Easy Combo Opportunities- Block his second charge attack to easily counter him. Counter the final hit of his ground combo just as he tries to do an unblockable attack to launch him in the air for an attack. When he shoots you with dark energy, block it all and shotlock just as the attack finishes. Sending back his dark energy will have left him stunned.
Terra will spend a lot of the fight moving around the arena to try and confuse you. These moves can be blocked, which means that countering them is the best way to deal damage. If you can successfully counter then you can open Terra up with a combo.
Similarly to Marluxia, Terra also has some unblockable attacks. When he strikes with his Keyblade, he’ll more often than not glow red for some of the moves which means that it cannot be blocked. Dodge roll away from these and then counter the final attack which will be blockable. Terra will also attack the ground to cause shockwaves and the final one will glow red to indicate it can’t be blocked. The trick here is to quickly circle back once the attack has finished to get a chance to attack.
Another level to this fight is the fact that Terra has his Guardian to fight as well. The easiest move is when the Guardian slams into the ground, as this can simply be dodge-rolled away from. The Guardian will also come up from the ground to attack you, which will be done in waves of three. This move can be dodged or blocked, but there’s no opportunity to counter here so just focus on dodging.
Terra will also shoot dark energy towards Sora which can be reflected back towards him for some surprisingly strong damage. The end of the attack will also leave Terra up for a free combo if you can get there fast enough.
For Terra’s Desperation Move he will turn the arena into a swirl of light and darkness. You can’t deal any good damage here at all so you just need to dodge roll away from any of the attacks he sends your way. He’ll end this section of the fight by having his Guardian rear up for an attack on Sora. Avoid it at the absolute last second and you’ll be fine.
Limit Cut Boss Guide - Member X: Dark Riku

Oh Dark Riku. What did we ever do to you? A mix of speed, annoying attacks and a Desperation Move that can make you cry, Dark Riku is likely to be one of the hardest of the original fights.
Easy Combo Opportunities- Dodge away from his barrier burst if he blocks your attack and he'll be open for a full combo. If you successfully block his ground combo without causing him to barrier burst, he'll also be open straight after that. Block the last attack of his desperation move to get the chance to counter him. If he charges towards you twice in a row, block and counter him straight away. This move is fairly rare though, so rely more on the barrier burst and ground combo.
The move you’ll see Dark Riku use the most is his ability to summon these dark crystals that explode upon contact. He’ll be using these to try and set you up into different positions, so stay inside them or dodge roll to go through them. When you see Riku go up into the air, he’s usually going to teleport right above you for a shockwave that can thankfully be blocked and countered. He can also occasionally teleport away from you to launch dark energy that needs to be avoided or blocked.
Riku’s ground combo can cause some issues as well. He’ll mix up hitting you with swirling around you and using his barrier to block your attacks. Make sure only to hit him if he’s not using the barrier and always block afterwards in case he attacks you straight after.
The barrier is another annoying move of his, as he’ll keep on blocking your attacks until you stop, where he’ll burst it to cause damage. Once you’ve hit the barrier, your best bet is to roll away as he bursts it and use that opening to get a combo in. If you make sure to dodge away this is actually one of your best chances for a combo.
Riku’s Desperation Move is by far his most dangerous move. He’ll combine his teleporting with his shockwaves and bombard you with attacks. His shockwaves and dark crystals will still be happening in the arena even whilst you’re blocking his rush attacks, so the idea here is to dodge roll away from everything else in between blocking his physical attacks. Don’t try and counter him until he’s done.
Limit Cut Boss Guide - Member XI: Vanitas
You might have noticed that the more you look into these guides, the more difficult the fights get. Vanitas is certainly a show of that.
Easy Combo Opportunities- Counter Vanitas as he teleports above Sora and slams down into him. Shotlock towards him on the third flame fountain. Block and counter his Keyblade shockwaves to get an easy combo. Whenever Vanitas isn't attacking is when you should be.
The first of Vanitas’ moves to look out for is his teleporting. He’ll teleport above Sora and slam down into him multiple times before being open for a counter. Sometimes he’ll do this move without slamming down, which is what makes it hard to keep track of, so just be prepared to dodge or block more than once.
One of the attacks that will really mess players up is his fire fountain. He’ll teleport close to you and burst upwards, spreading fire everywhere. It’s possible to block this attack, but it doesn’t leave you much room to counter so it’s generally better to dodge away until it’s over. Vanitas also sends out shockwaves from his Keyblade that can be blocked, and countering that will be one of the best ways to deal damage to him.
Shooting out a volley of fireballs is another of Vanitas’ moves, and it can be a bit of a pain. Guarding against them is your best bet, but keep in mind that he’ll usually do this attack for quite a while. To really make it a difficult fight, Vanitas will also ride around on his storm of Keyblades, shooting blasts of ice and charging towards you. The ice can only be dodged, but the charges can be guarded against. You’ll need to dodge this ice unless you want to be frozen and open for attack.
As you probably know, Vanitas’ Desperation Move is one of the most annoying in the game. Here Vanitas floats in the air with a massive circle of Keyblades around him and he’ll send both dark blasts of energy and dark clones at you. The dark clones can be guarded against but the dark blasts have to be dodged away from. Even when the move is finished, there isn’t much chance to counter for damage.
The trick with Vanitas is to attack him whenever he isn’t in the middle of a move. When he’s not teleporting around, just try and get as many combos on him as possible.
Limit Cut Boss Guide - Member XII: Young Xehanort
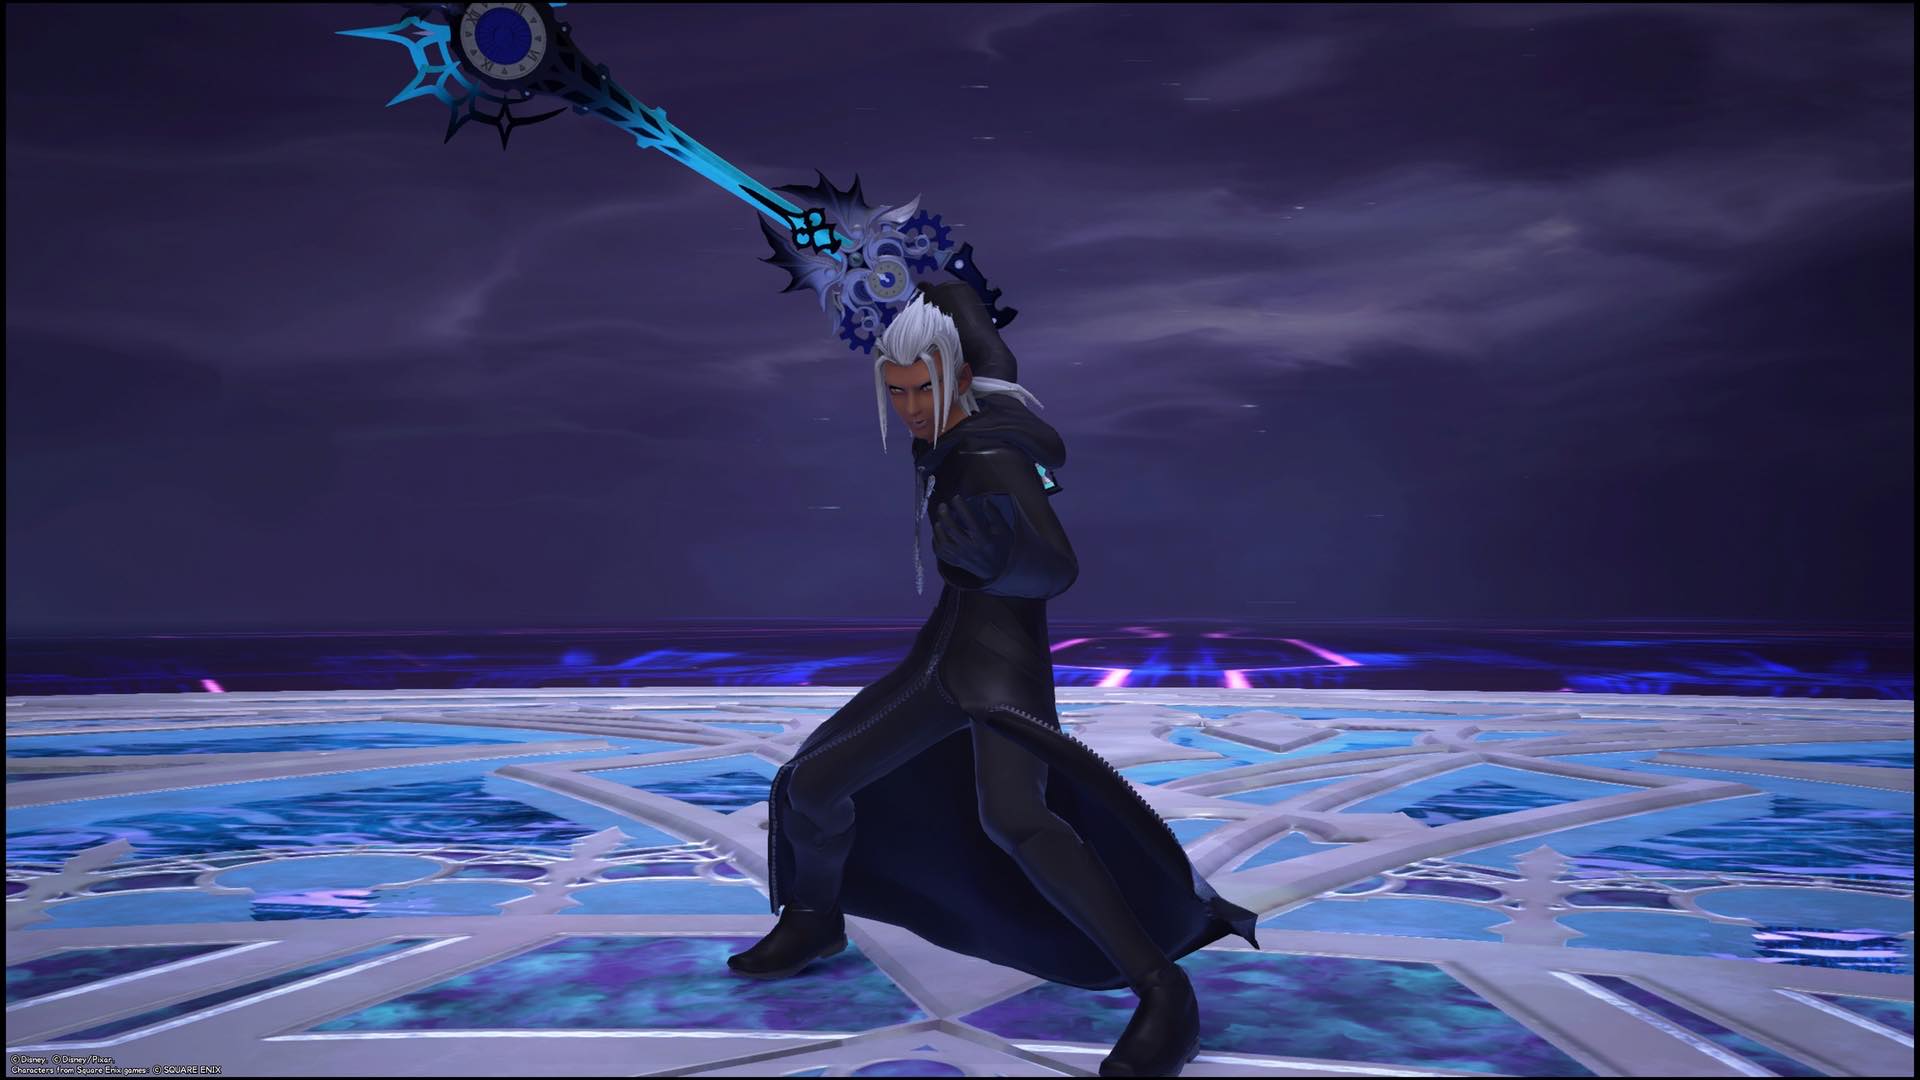
Considering how much of a pain Young Xehanort was to fight at the end of Dream Drop Distance, this fight is surprisingly painless in comparison. He’s still not easy though.
Easy Combo Opportunities- Counter his whip attacks any time you can. This is easily the best way to break him up for a combo, especially since he does the move so much. Just make sure you get in a pattern of blocking and then countering. Use shotlocks on him to get rid of his armour when he slows down time.
The first of Young Xehanort’s moves to watch out for is his teleporting. He’ll teleport three times before attacking you with a whip move that can be blocked and countered. Usually he’ll follow this up with a volley of attacks that you can block and counter each time. This’ll do a lot of damage to him but just make sure you’re blocking each time he attacks. He has a few variations of these teleporting attacks, but all of them can be blocked and countered, so just follow that pattern.
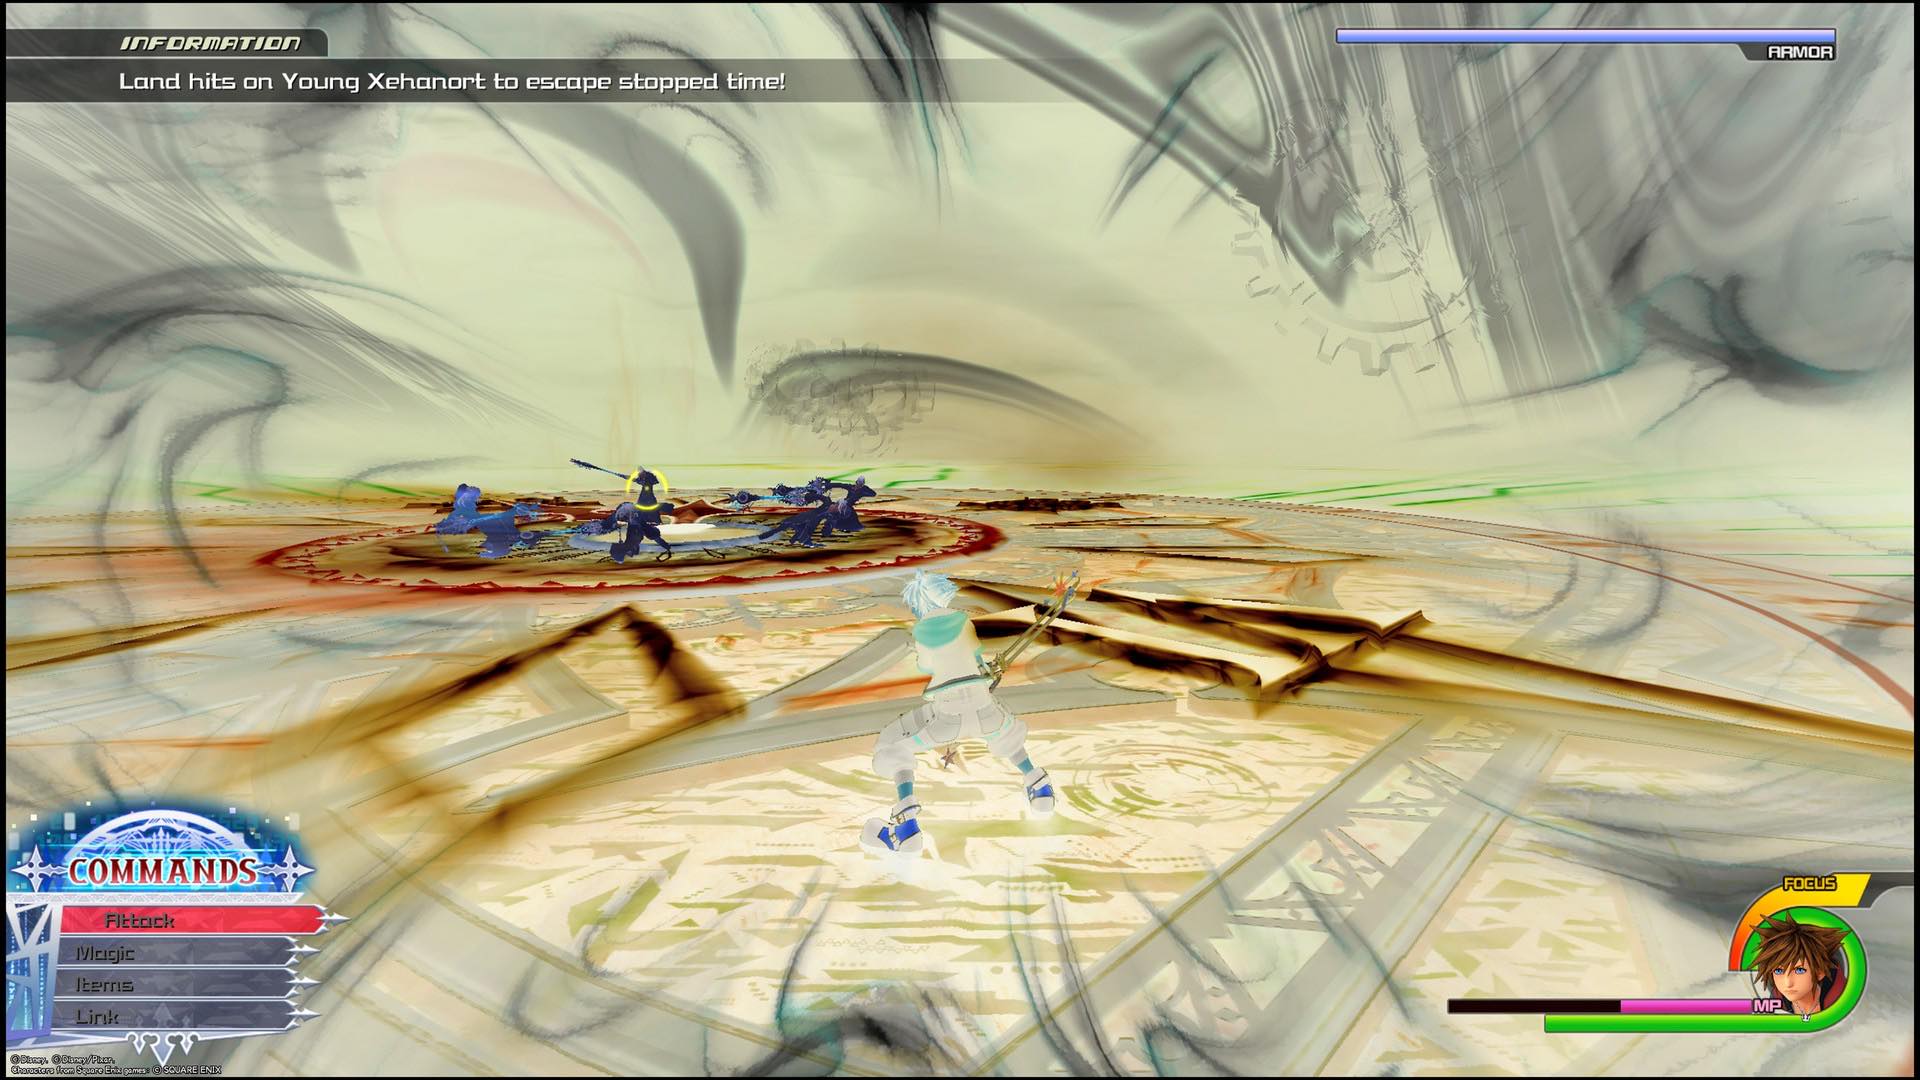
If Young Xehanort makes a clock symbol on the ground, his next hit will be a whip attack. If this attack connects he’ll slow down time for you. You want to make sure you dodge or block this attack to avoid being frozen. Speaking of frozen, Young Xehanort will also fire ice missiles at you that can freeze you. These can be both blocked and dodged, but there isn’t any chance to attack back.
The rest of his attacks are generally just repeated in patterns. He’ll roll towards you in patterns of three and use his whip in a pattern of three. Both of these can be guarded against however, so they’re not too much trouble.
When you’ve dealt enough damage to Young Xehanort, he’ll use his Desperation Move. This will make you go into a slowed down version of time, where the objective is to get rid of his armour to get things back to normal. A good way to do this quickly is to use your Shotlock, but if you counter his whip attack enough times you’ll also get an easy chance at stopping him. This move will be repeated once he’s lost all but a tiny bit of health.
Limit Cut Boss Guide - Member XIII: Xion

Once you’ve beaten the first 11 members of the True Organisation, you’ll unlock the ability to fight both Xion and Xehanort in two of the hardest, but most fun, Data Battle fights.
Easy Combo Opportunities- With Xion it's all about blocking her Keyblade throws and ground combos. Keep blocking and countering them to deal a lot of damage. If you dodge instead, get over to her whenever she is open for an attack. Xion doesn't have many other chances to attack, but she'll be doing these moves a lot over the course of the fight.
Xion will start off pretty simply. She’ll use a mix of melee attacks that can be countered, and a Strike Raid that will leave her wide open for attack. These are two of the most reliable ways of dealing damage to her and are good bets at the start.
You better be prepared to block a lot during this fight, as in-between attacking you with Keyblade throws and melee attacks, Xion will also summon beams of light that lock in on Sora and hit him. You can block or dodge these, but the biggest problem comes with keeping an eye on Xion as she continues to move around.
The most dangerous part of Xion’s moveset is her ability to essentially take health away from Sora semi-permanently. Her beams of light will reduce Sora’s health bar to wherever he was last damaged, which means that if he’s hit whilst at really low health, the bar will stay that low even if he heals. This effect only lasts 30 seconds, but it’s still dangerous nonetheless.
After dealing some damage to her, Xion will gain some armour and glow yellow, which signifies a change in her moveset. She’ll now strike the ground around you repeatedly, summon pillars of light around you and use more brutal and fast melee attacks. She’ll be mixing these attacks around a lot as well so you really need to learn her patterns and keep on blocking and dodging above all else. Countering her is essential here to deal damage, but if you can manage a Shotlock then that will get rid of the armour pretty easily.
The yellow glow isn’t even Xion’s Desperation Move. She’ll transform the arena into a stage of light, and this bit is actually a little bit easier to deal with, even if she does get another load of armour. Xion will rise into the middle of the stage and send pillars of light around to separate the arena. If you stand in the middle of two sections she’ll charge towards you which makes for a very easy change to counter her.
Xion’s previous beams of light move makes a brutal return here as well. They’ll pelt you relentlessly if you’re not blocking, but to make sure this bit gets over as fast as possible, focus on Xion and countering her to get rid of her armour as fast as possible. Once this section is over, the fight should be over pretty easily.
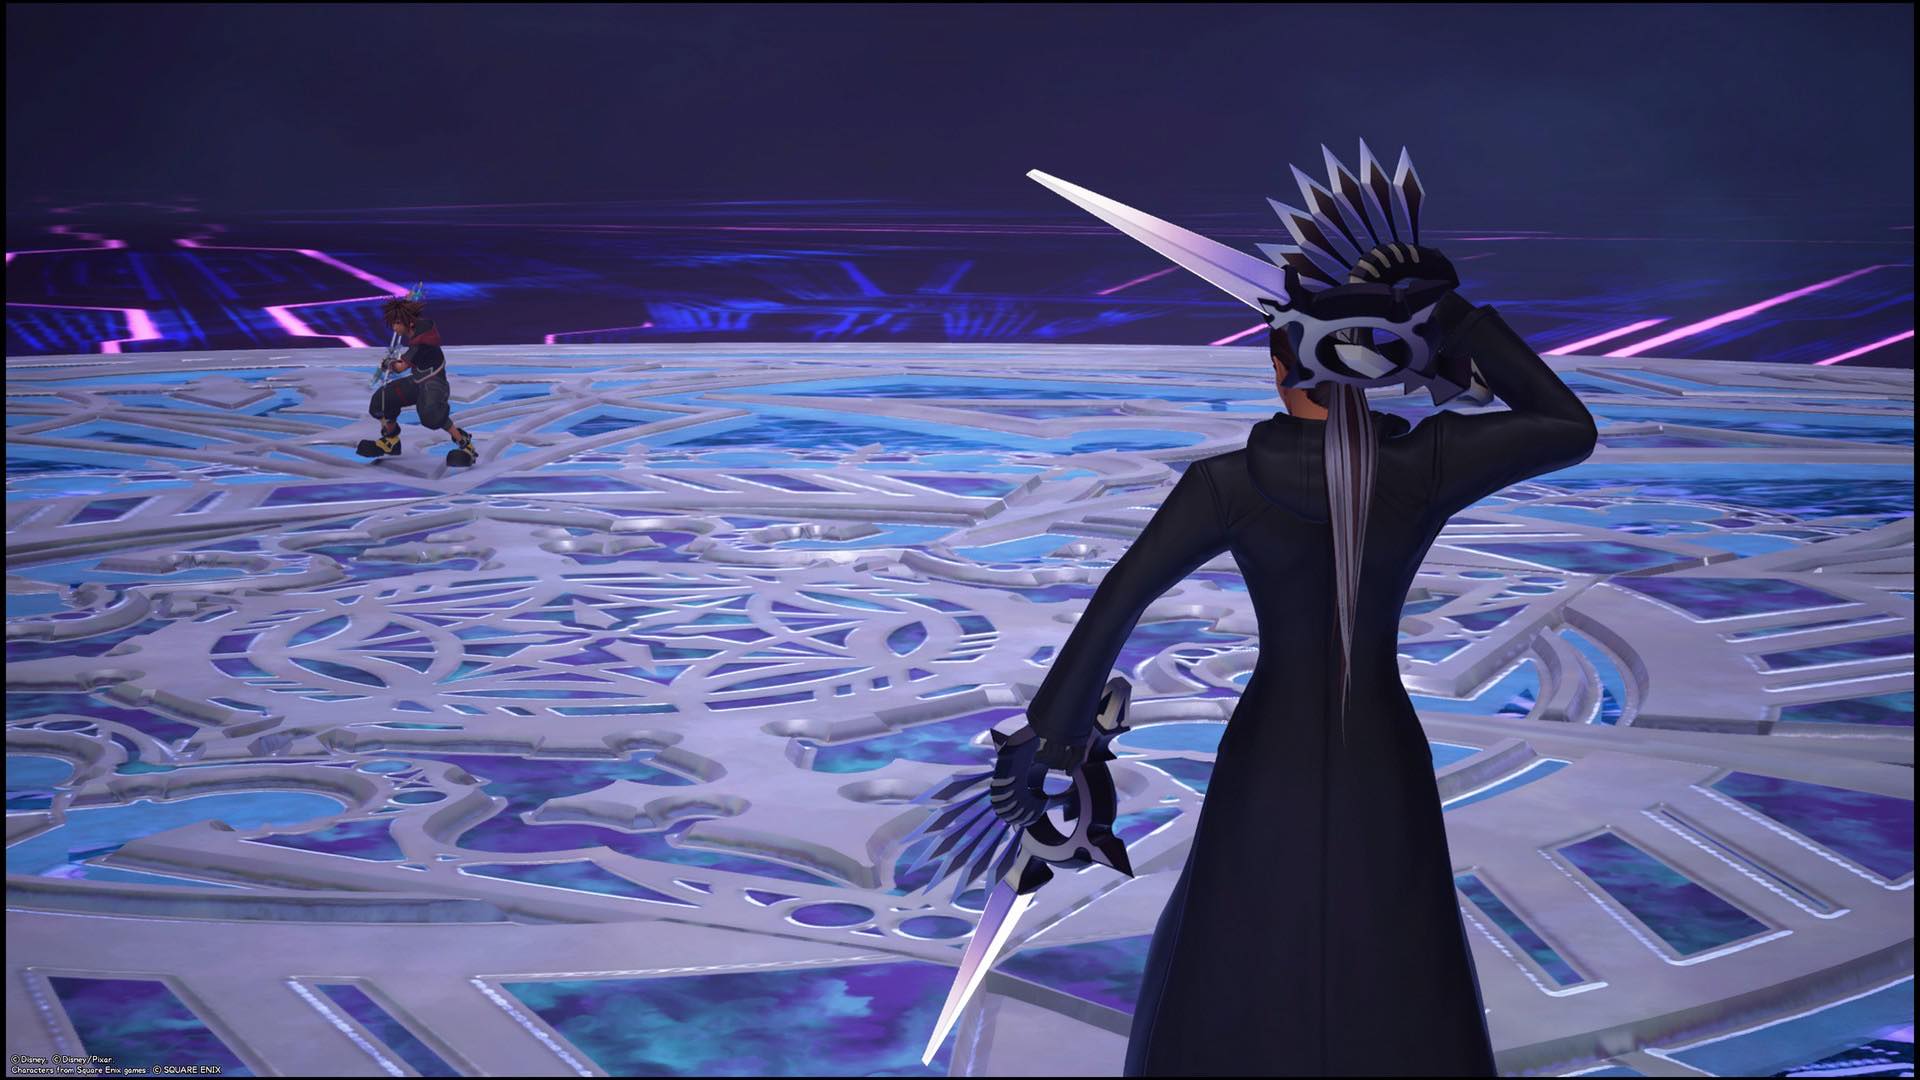
Limit Cut Boss Guide - Member I: Xehanort
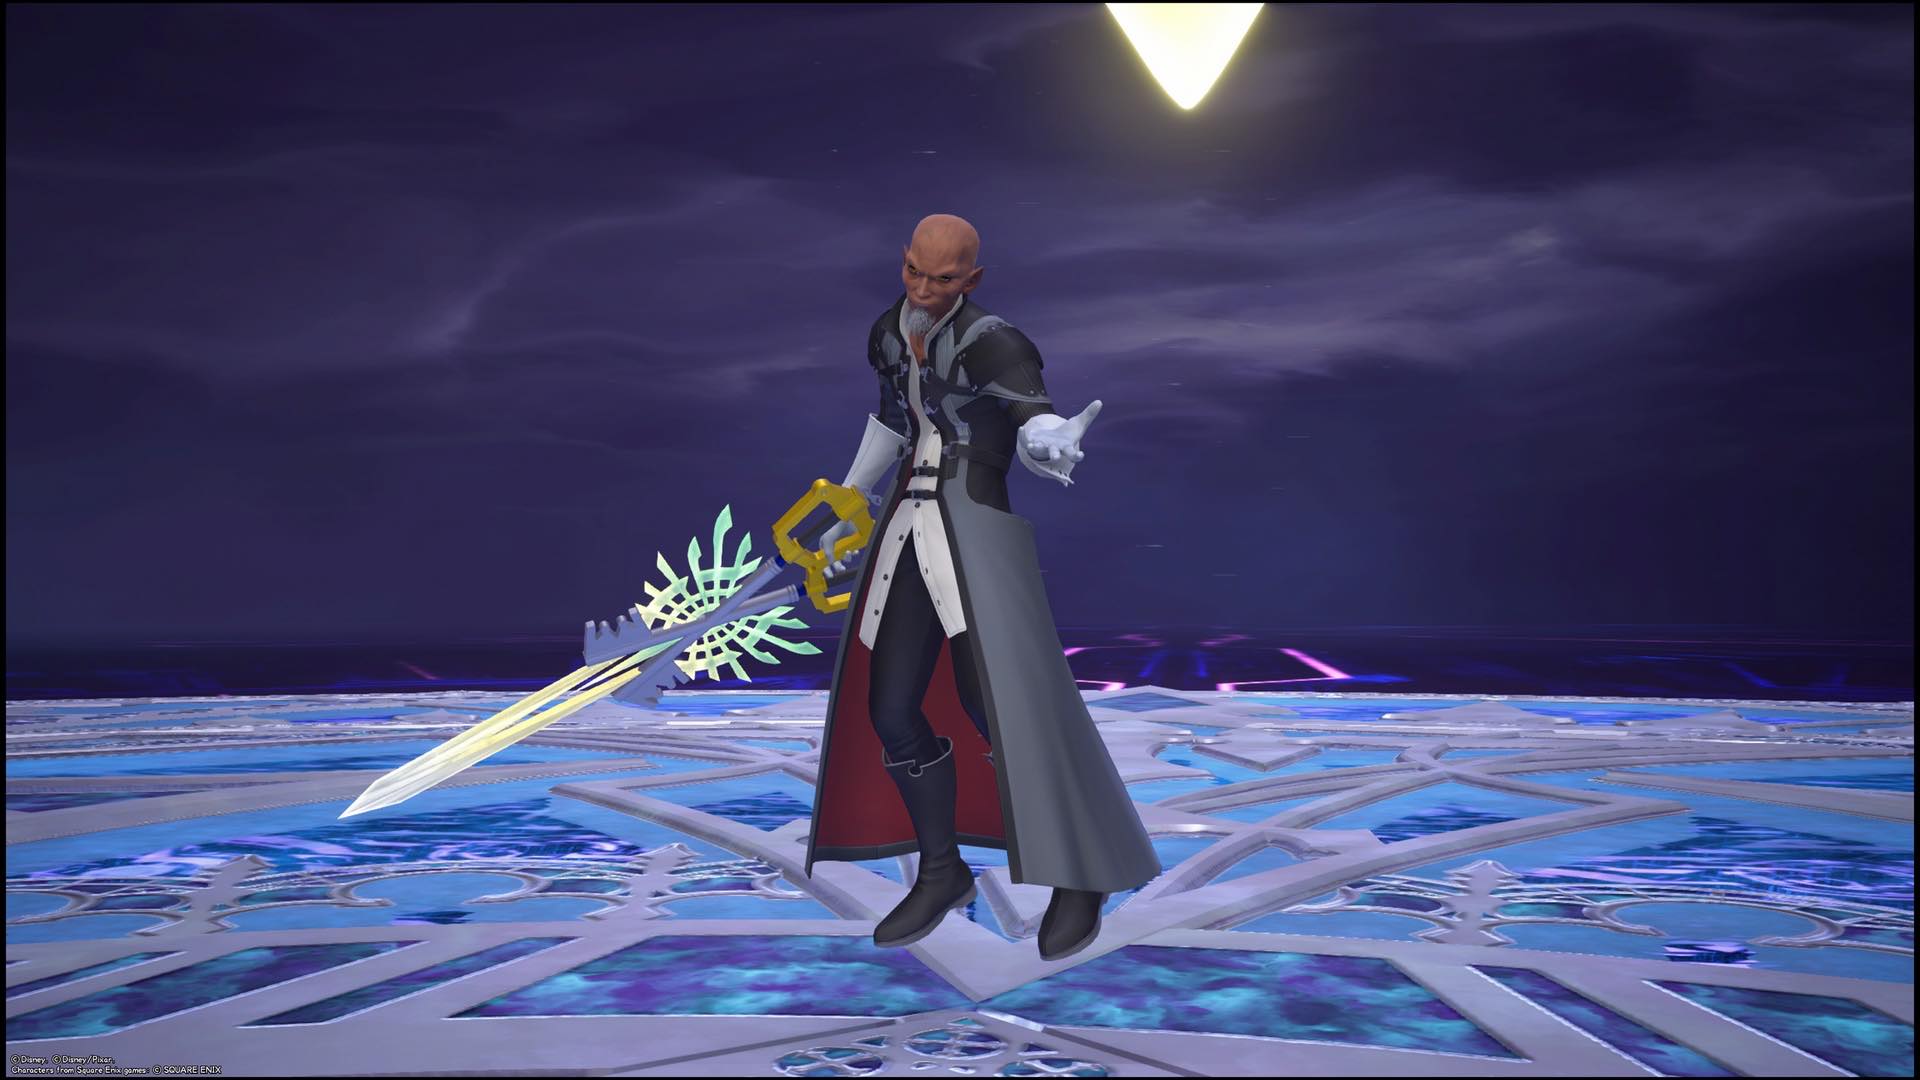
Last but certainly not least is Master Xehanort. You’ll want to take everything you’ve learnt from every other fight into account here, as he absolutely doesn’t hold back.
Easy Combo Opportunities- Get in close and block Xehanort's attempt to throw the Keyblade and freeze you. He'll catch the Keyblade but be open for an attack. When he fires four red cannons at you, he'll briefly stand in the middle of the arena for a chance at comboing him. Shotlock over to him after his fifth sphere of light for a combo. Use link attacks to avoid his desperation move and focus on these two attacks.
The first thing Xehanort will do is shoot some dark balls of energy at you. These can be blocked so they aren’t much trouble, so the real enemy here is the shots of light coming from the X-Blade. These cannot be blocked so you must dodge roll to avoid getting hurt. They will be a constant threat throughout this fight.
Another annoying attack is when Xehanort throws his ice-covered Keyblade at you. This will freeze you in place, leaving you open for attack, but the attack can be blocked and sent back at him if timed well. This is a good chance for a combo, but the timing on blocking the Keyblade is extremely precise and you need to be close for it to work.
Xehanort will also launch spiky spheres at Sora, which are best dodged by moving away from them as fast as possible. Although he will sometimes only throw one, if he throws more than that then he will open for attack right after the fifth one, provided you Shotlock over to him as fast as possible. As he did in his original fight, he’ll also teleport around the arena through keyholes, which is best dealt with by blocking, countering and then blocking again until he is done.
Similarly to the lasers from the X-Blade, Xehanort also has an attack where he has big cannons shoot beams at you. This also cannot be blocked, and you need to dodge roll, but if you see more than one then Xehanort will appear in the middle of the arena right before the last one. To get a combo out of him, attack him and then dodge the last one before continuing the combo fully. Finding the right rhythm here is difficult, but definitely doable.
Getting to the next phase of the fight will have Xehanort cover the arena in light and summon pillars of light similarly to Xion. They’re not too difficult to avoid, but this is usually where he’ll introduce the spiky spheres for the first time, which will take some getting used to. Keep blocking and dodging to find openings and this phase will soon be over.
You’ll know when Xehanort’s real Desperation Move is coming when he puts his sigil on the ground. Again, much like his original fight, he’ll send versions of himself to hit you whilst firing beams of light from the X-Blade and even trying to hit you with some melee attacks. He’ll unleash all he has on you here, so if you’re finding it really difficult it might be best to use a Link attack to try and skip it. If not, block the copies and avoid every other attack he sends your way. If you get hit by his third melee attack that resembles a spear, you’ll notice that it takes your health away for a bit like Xion’s attacks. In a fight that’s already this hard, you don’t need that.
If you’ve made it this far, congratulations! You’re in for an even bigger challenge next....