
Nioh 2 Combat Tips: Burst Counter, Yokai Shift and more strategies to Beat any Boss
Nioh 2 is a difficult game. There’s no denying that. This game will test your patience but it will also test your skill. The thing is, if you know what you’re doing you can beat any enemy in the game. Of course, it’s easier said than done and in some cases it will take you some practice.
However, here we offer you a handful of strategies and ideas that you can start implementing to become the ultimate yokai hunter. From how to use certain new mechanics to general advice you might not know about, this guide will make it so that you have an easier time fighting the many obstacles in Nioh 2.
Burst Counter
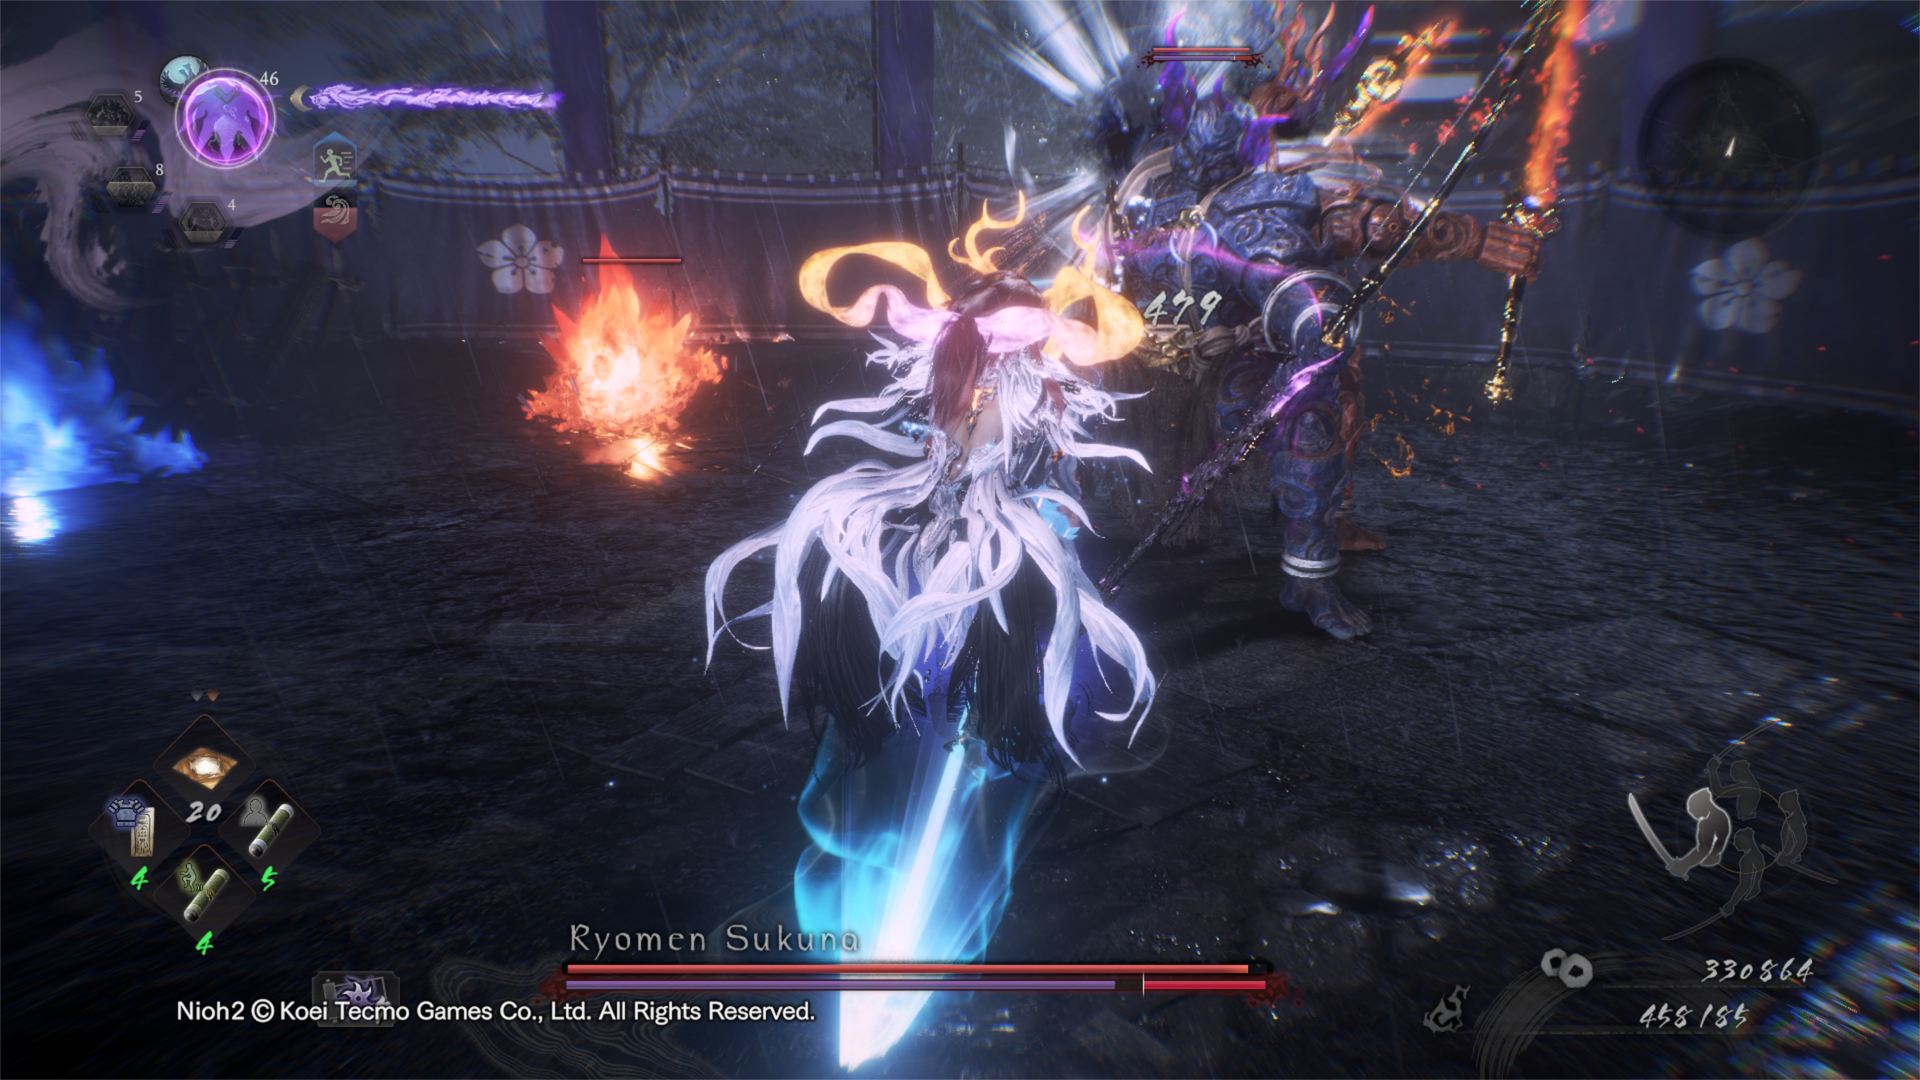
This new mechanic in Nioh 2 is one of the first things you’ll need to master in order to survive. Burst Counter works similar to a parry but only for specific attacks. Did your enemy just glow red while preparing a huge attack? That means you can (and should) use the Burst Counter. Using the default controls, you activate this ability by holding down R2 and pressing the Circle button at the right time. Keep in mind that to use it you need at least 1 Anima, which you can see in that purple bar right under your Ki.
Your Burst Counter will be slightly different depending on which yokai form you have chosen, but if successful the outcome will be the same: you will deal massive Ki damage to your enemy and, if you deplete their Ki with the counter, you can follow up with a special attack of your own that will even give you back the Anima you’ve used. If you don't deplete their Ki, then you can always just hit them normally. Mastering the timing of this ability is key for any boss fight.
Yokai Shift
The Yokai Shift is another new mechanic, similar to the Living Weapon from the first Nioh. In your HUD, to the left of your life and Ki, you’ll find an icon that represents your Guardian Spirit. This acts as your Amrita Gauge and it slowly fills everytime you absorb Amrita (the equivalent to Souls in Nioh). When full, and if using the default controls, you can press Triangle and Circle at the same time to shift into the yokai form designated by your Guardian Spirit.
While all three different types of yokai forms have different movesets, the basics are the same: once you transform, your health and Ki will be replaced by a Yokai Shift timer, and il will go down on it’s own as time goes on. Any action you perform that would normally consume Ki will also subtract from this timer, and so will taking damage. Still, there’s one major benefit to this form that might not be immediately apparent.
While in Yokai Shift, you’re invincible. Since your health is replaced by the timer, you won’t take any damage and, as such, you can’t die unless you fall to your death in the environment. This makes this ability a great panic button when things are going really poorly, and the great thing the game doesn’t tell you about is that you can still use items while in Yokai Shift. You’re in the middle of a battle, have almost zero life but a full Amrita Gauge? Use Yokai Shift and immediately consume a healing item. Since you won’t be taking damage, when the timer runs out and you go back to normal, you’ll be healed and back in action.
You should also keep in mind that there are multiple skills in the Shiftling tree that increase the time you can spend transformed!
Soul Cores and Yokai Abilities
Yokai Shift isn’t the only thing your Guardian Spirit will allow you to do. When you defeat an enemy there’s a chance you will get a Soul Core. After resting in a Shrine, you can equip these to your Guardian Spirit in order to use Yokai Abilities. Essentially, this will make it so that you can unleash an attack from the moveset of that enemy you defeated. This includes bosses too!
Every Yokai Ability is different, and they also come with specific buffs you can get if you equip them. Some of these, like Enemy Sensor, are really useful. Others are a bit more situational but still good to have, like Anima Bonus (Damage Taken), which increases your Anima as you take damage. Since Anima is the resource you need to activate these Abilities, having that specific one can be really useful.
As such, here are some of our recommendations: the Enki Soul Core, the one that has the Anima bonus as you take damage, is one of the best in the game. Not only because of its passive, but because the Yokai Ability itself deals massive Ki damage and it can be just what you need to go on the offensive against a boss. Another particularly useful one is the Skeleton Warrior Soul Core. It’s Yokai Skill is just a ranged attack and nothing to write home about, but one of its passive buffs is that it gives you a 10% chance of recovering your grave immediately when you die, meaning you have a chance to not lose anything upon death.
Ki Pulse, Ki Damage and Ki Management
You probably already realized it, but Ki is one of the most important aspects of the game. Not only does it work like a stamina bar does in many other similar games, but understanding how to properly manage it can allow you to win any fight without much effort. This is because it’s not just you who has a Ki bar, but also every enemy in the game, including bosses.
When it comes to your character, you will need to master the Ki Pulse. After you use Ki to perform an attack, you’ll notice a light enveloping your character and a chunk of the Ki bar flashing white. If you press the R1 button (or the stance button if you change the controls) with the right timing, you will instantly recover that part of your Ki bar. This also has other effects, like Purifying puddles of Yokai Realm that some enemies leave to slow down your Ki Recovery Speed. Also, there are some skills in the Samurai skill tree that give you buffs upon performing a successful Ki Pulse, like increased attack of increased Ki Recovery Speed.
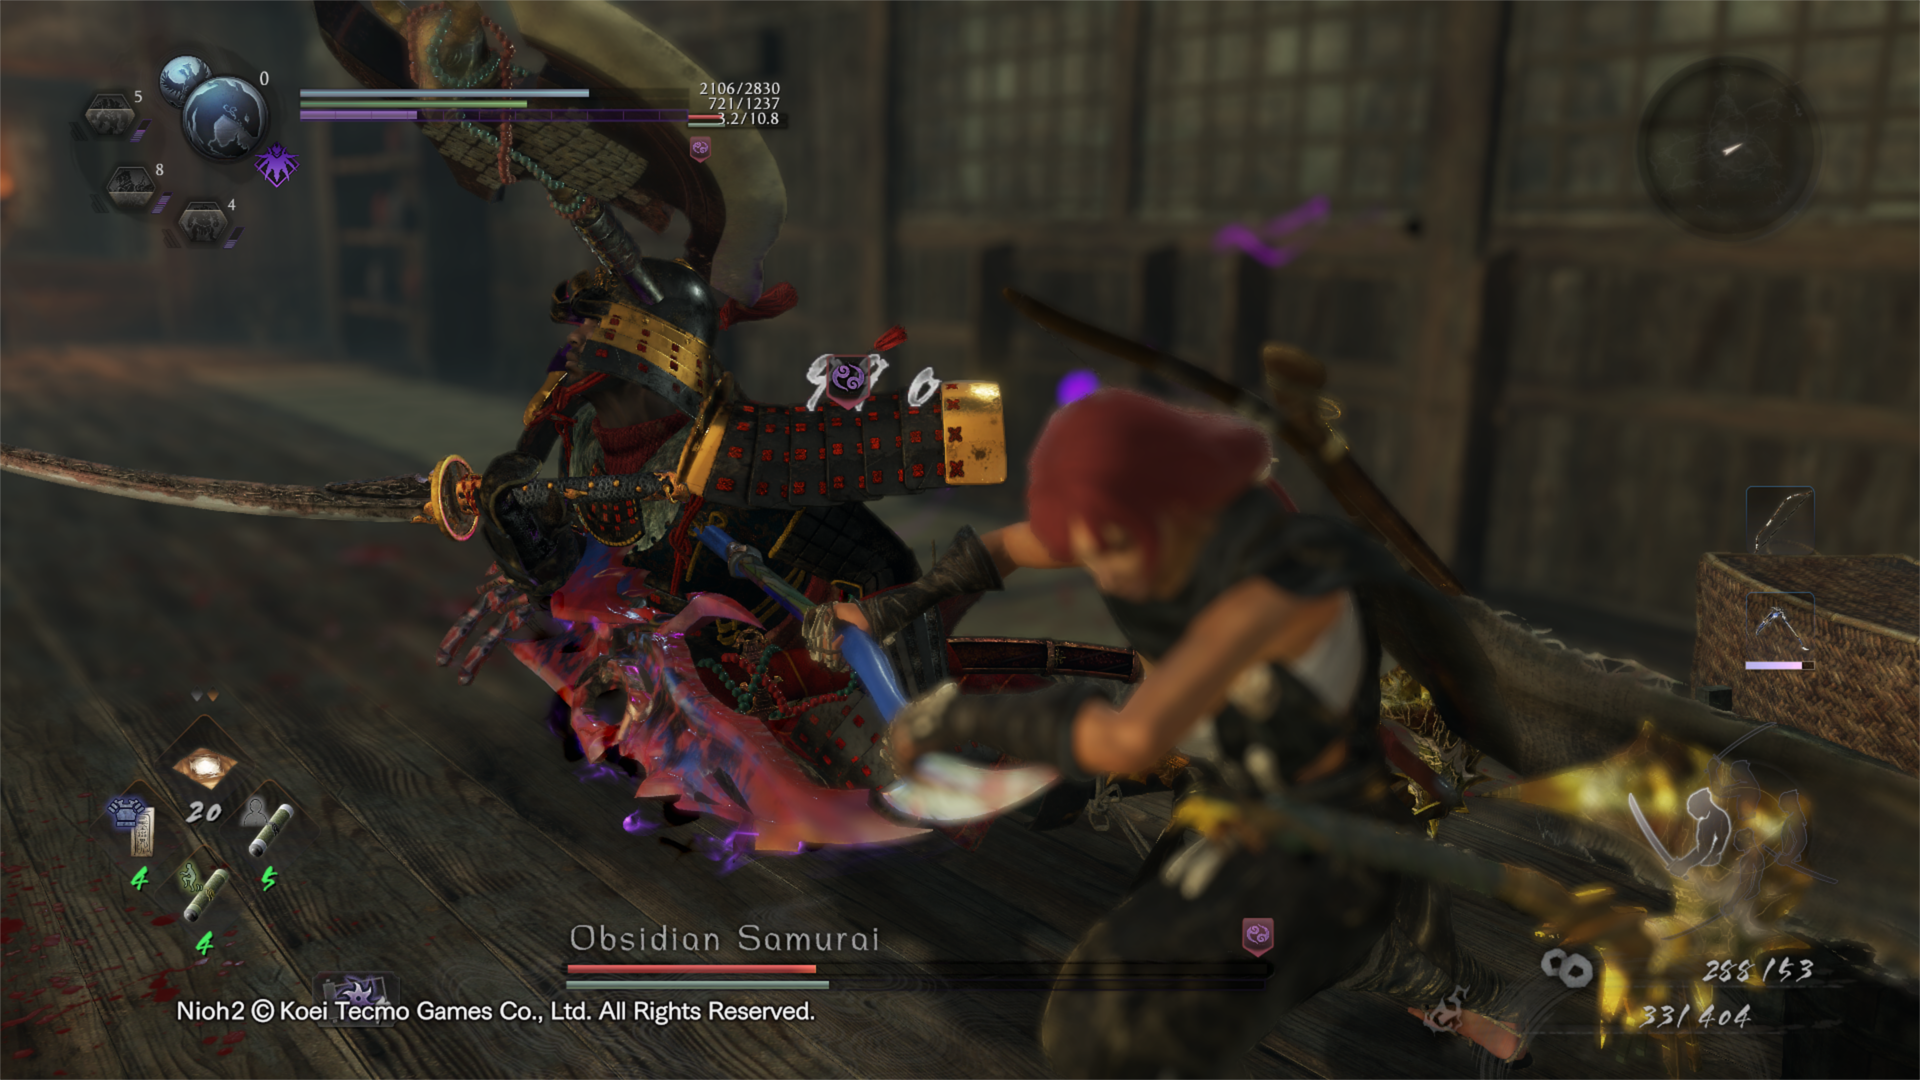
When it comes to the enemies, Ki Damage is the name of the game. Everytime you attack an enemy you are also inflicting Ki Damage, even more so if you enemy is guarding. If you deplete their Ki gauge, what happens next depends on the enemy type: humans can be grappled for massive damage, while yokai can now be staggered by all of your attacks and their Ki gauge starts shrinking with your attacks. When a yokai runs out of their maximum Ki, you can perform a Final Blow for huge damage. This strategy works even on bosses and it’s key to any successful fight.
The same goes for you, however. If you run out of Ki, you will be stuck in a long, winded animation. Some human enemies can even grapple you and if you’re not careful this can mean an almost instant death. If you want to take less Ki damage, make sure the armor you’re using has a high Toughness value. This usually comes with heavier armor, and the idea is simple: the higher the Toughness number, the less Ki damage enemies inflict to you.
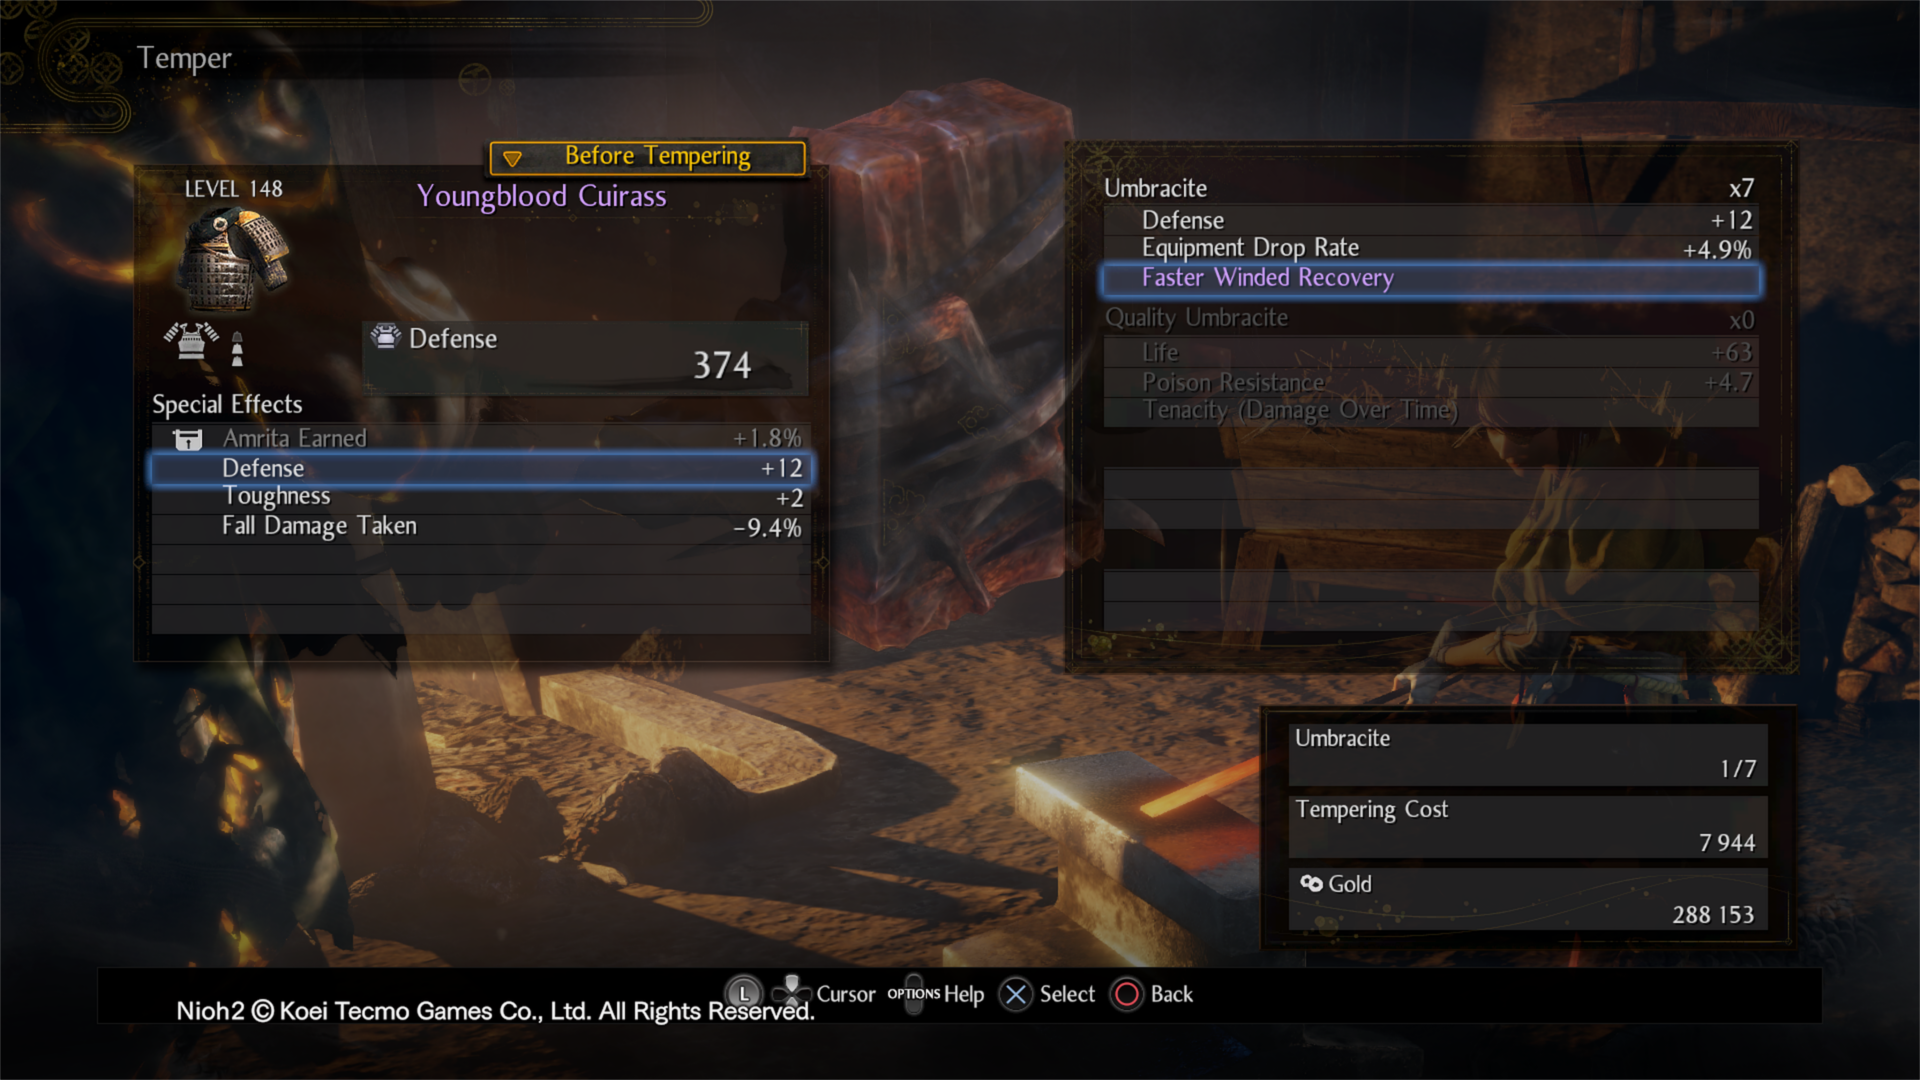
Blacksmith: Soul Matching, Tempering and Equipment Effects
You might think that the most important stat in your equipment is its attack or defense value, and you would be wrong. Those numbers are important but even so, if you keep all of the previous advice in mind you could beat any mission with severely underleveled equipment. Of course, it won’t all come down to your own skill as a player, but that’s where the Equipment Effects come in.
Every piece of equipment, be it weapons, armor or accessories, has a rarity. This determines the amount of effects a piece of equipment has: Common equipment usually won’t go higher than two effects, while Exotic sometimes have five or even six. There are many different effects, but if you don’t like what a specific piece of equipment gives you, the Blacksmith is there to help you.
First there’s the Inherit system, that works through Soul Matching. If you have a piece with maximum Familiarity (which you increase simply by using it) and one of its effects has an Inherit icon, you can feed it to another piece to transfer that specific effect. Second, there’s Tempering. By spending some gold and Umbracite, a material you get by dismantling equipment, you can essentially reroll any effect on your equipment that doesn’t have a special icon next to it. Since you will be getting Exotic equipment constantly and from very early on, one useful strategy to always have resources for these two options is to sell any equipment of Uncommon or lower rarity, and dismantle any Rare and Exotic equipment you won’t use.
The list of effects you can get by tempering is massive and they also have their own rarity system. Some of these are very useful to the point that you should always try to have them in at least one piece of equipment: Faster Winded Recovery is a rare effect that makesyou recover almost instantly when you run out of Ki; Enemy Sensor marks enemies in your radar, while Kodama Sensor does the same for Kodama; Elixir Efficacy increases the amount you heal when using an elixir; the Untouched effects give you a chance to use an item without consuming it, and they can affect ammo, elixir, Ninjutsu or Magic items; Break makes it easier in general to deplete an enemy’s Ki, and so do the different versions of Increased Ki Damage that cover specific actions like Strong Attacks or different stances.
It's important to note that if an effect has a percentage number next to it, that means it stacks with other equipment with the same effect. If it doesn't have any number, like Enemy Sensor or Faster Winded Recovery, then having just one is enough.