Scarlet Nexus Side Quests: quest list & walkthroughs
Scarlet Nexus has 34 side quests for each of the two protagonists' storyline routes, meaning 34 for Yuito and 34 for Kasane. These quests are admittedly a bit unremarkable, but completionists will probably want to finish each one as they process through the game.
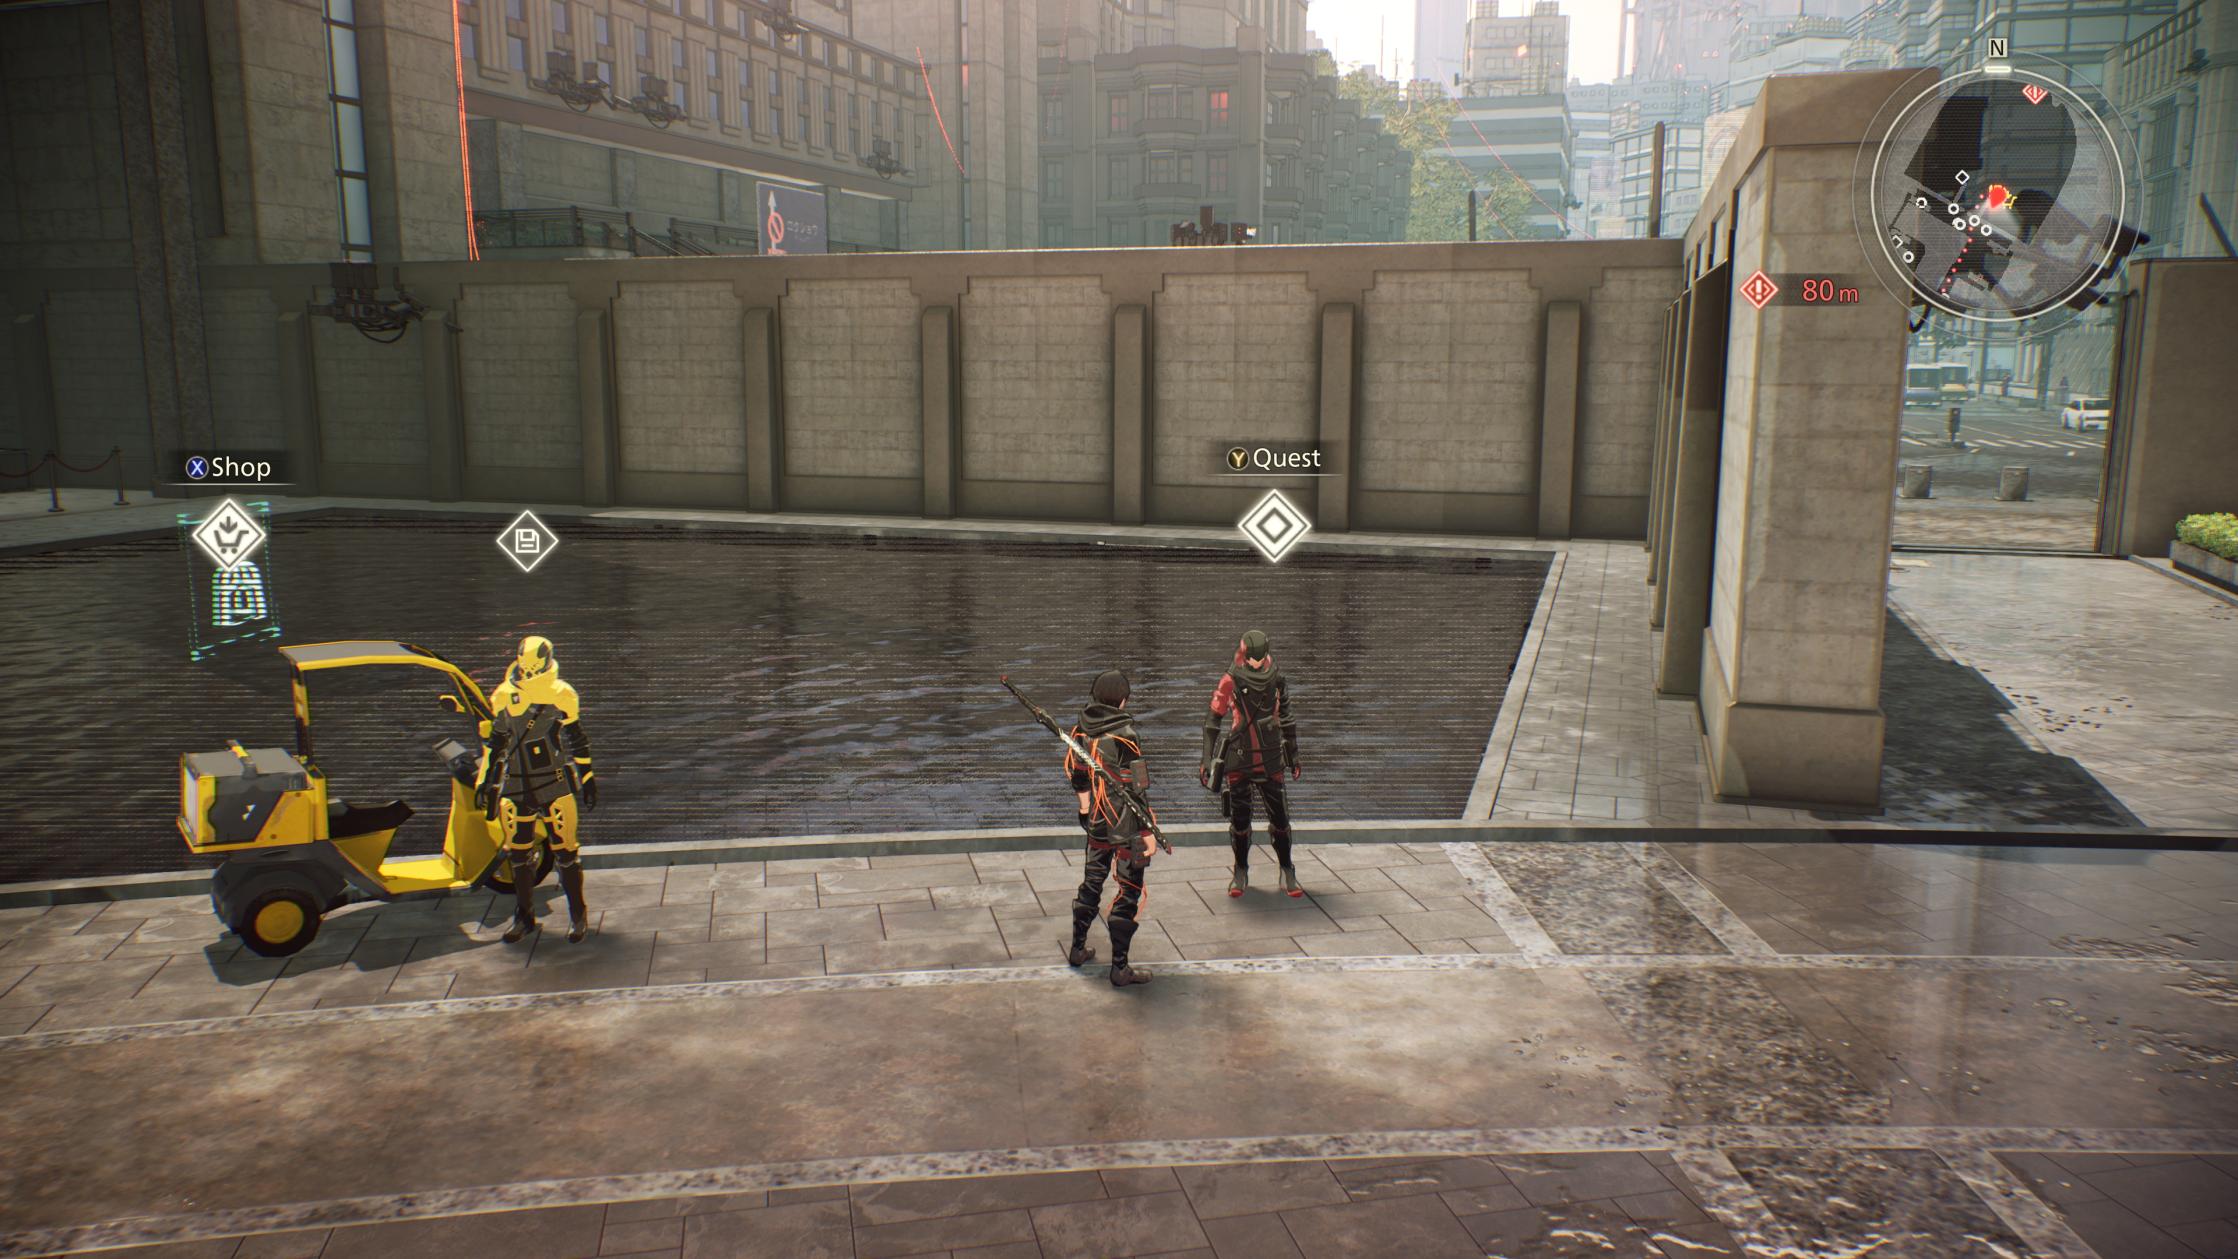
Quests will appear on the world map around Phase 1 or so, depending on the character. They will look like diamonds when you view the map. The game doesn't really direct the player towards quests right away, so these can be overlooked if you are not paying attention. Side quests are worth it if you want the rewards, however, just like redeeming the Musubi codes from the TV anime. Additionally, many of these quests reward items that are important for giving the right gifts to your companions.
Most of the quests are very straightforward, with the vast majority asking the player to defeat certain enemies in a certain way. You can always look up where to find enemies within the Library section of the main menu, so you should never be lost on where to go. Still, on this page, we list all side quests in Scarlet Nexus alongside rewards and completion instructions with mini quest walkthroughs.
Importantly, we believe no sidequests are missable, meaning you can always save quests for later if you don't want to tackle them right away.
The list of Quests can be found below, separated by the Phase (chapter) in which they appear - leaving us with two unique lists of quests & walkthrough completion instructions. Remember, most quests appear during the Standby portions in-between phases.
Yuito Side Quests in Scarlet Nexus
Standby Phase 1
Don’t Get Cocky
- Location: Suoh City Ryujin Ward
- Objective: Get two Kikuchiba Environment C
- Reward: Oil-Proof Coating: Generic
Surprise Test!
- Location: Suoh City Ryujin Ward
- Objective: Defeat 2 Vase Paws in mid-air (found in Kikuchiba)
- Reward: All: Light Jelly x3
Trouble with Fire
- Location: Suoh City Ryujin Ward
- Objective: While SAS pyrokinesis is active, defeat 2 Fuel Pool (found in Kikuchiba)
- Reward: Prometheus Torch Type 2
Phase 2
Because It’s Good!
- Location: Suoh City Ryujin Ward
- Objective: Obtain 2 Medium Jelly - You can get this from the next quest, available after the next mission.
- Reward: Bunny Ear Device [Red]
Surprise Test Cont.
- Location: Suoh City Ryujin Ward - across street from World Map exit
- Objective: With Brain Crush, defeat 2 Wither Sabbat. Found in Mizuhagawa, break shell, attack when down, etc.
- Reward: Medium Jelly x 3
- Note: Appears after the ‘capture the flag’ training exercise and boss fight. Probably requires 'Surprise Test!' done
Standby Phase 2
Human-like, but Not
- Location: Suoh City Ryujin Ward
- Objective: During Brain Drive, defeat 5 Buddy Rummy. Found in MIzuhagawa.
- Reward: All: Normalization Tablet
Standby Phase 4
Responsibility Issue
- Location: Suoh City Ryujin Ward
- Objective: Get 1 Max Jelly
- Reward: Fire-Proof Barrier: Generic
Steel Body
- Location: Musubi’s
- Objective: While SAS sclerokinesis is active, defeat 1 Auger Sabbat
- Reward: Gauntlets: Peerless Adam. T3
Phase 5
Eyes That See All
- Location: Stairs near OSF HQ
- Objective: While SAS Clairvoyance is active, defeat 2 Saws Paws. In Abandoned Subway
- Reward: Blank Plant Observation Journal
Destroy the Shell
- Location: Suoh City Ryujin Ward - Neat world map exit
- Objective: With Charge Attack, defeat 3 Rat Rut (Kunad Highway)
- Reward: Water-Proof Coating: Generic
- Note: Appears after Old OSF Hospital dungeon
Standby Phase 5
The Urge to Train
- Location: Suoh City Ryujin Ward
- Objective: While SAS Sclerokinesis is active, defeat 3 Brawn Yawn
- Reward: Famous Select Alcohol Set
For a Teammate
- Location: OSF Hospital
- Objective: While SAS Teleportation is active, defeat 4 Marabou Pendu.
- Reward: Weight Hammer v4
Fire with Fire
- Location: Musubi’s
- Objective: Use a Combo Vision with Hanabi, defeat 3 Kitchen Rummy
- Reward: Luxury Oil
Environmentalism
- Location: Musubi’s
- Objective: Use a Combo Vision with Gemma, defeat 1 Auger Sabbat
- Reward: Cat Ear Head [Red], Animal Paw [Red], Animal Foot [Red]
Standby Phase 6
Infinite Multiplying
- Location: OSF Training Hall
- Objective: While SAS Clairvoyance is active, defeat 2 Doppel Pool
- Reward: Lily Bell M20-4 C
Brain Field Data
- Location: OSF Hospital
- Objective: In the Brain Field, defeat 3 Wither Sabbat
- Reward: Confusion Ward: Generic x 1
- Note: Use a Brain Field Gear to make this easier
Standby Phase 7
Vision and Reflexes
- Location: Musubi’s
- Objective: Use a Combo Vision with Tsugumi, defeat 1 Barrista Santa
- Reward: Electric-Proof Barrier: Generic
Standby Phase 8
Growing Other
- Location: Musubi’s
- Objective: Use a Combo Vision with Luka, defeat 2 Base Paws.
- Reward: Drone and Controller x1
- Note: This can be tricky. I just got the enemy health low, broke its legs, and then had Luka attack at the last moment. Sometimes the Brain Crush icon came up, sometimes seems to invalidate the Combo, but sometimes now.
Going to Togetsu
- Location: Musubi’s
- Objective: During Brain Drive, defeat 5 Session Pound
- Reward: Full-Face Mask [White]
- Note: You have to kill the enemies, you can’t let them explode. I attached the “System “Double-Edged Sword” plug in, the Psychokinesis Attack Specialization plug in, used a Psy attack, then a Psy finish (top left of Brain Map), then I could Brain Crush. Basically get your Psy Attack as high as possible to be able to lower the enemy crush gauge with two throws, before they explode. You can always save the quest for later when you are stronger or have better SAS abilities to help.
Standby Phase 9
Counter Research
- Location: Suoh City Ryujin Ward - On the bridge
- Objective: With intercept, defeat 3 Cushion Pound
- Reward: Breastplate [White]
Totally Lost
- Location: Suoh City Ryujin Ward
- Objective: With Psychokinesis Finish, defeat 3 Missin Poun
- Reward: OSF Armband Vision [Red]
Ruins Fan
- Location: Suoh City Ryujin Ward
- Objective: Deliver 2 Abandoned Subway Environment C
- Reward: SAS Recovery Support Mk 1
Help With Coverage
- Location: OSF Hospital
- Objective: With Psychokineses Follow-up Attack, defeat 5 Scummy Rummy
- Reward: Ogre Horn [White]
Standby Phase 10
Inspiration
- Location: Seiran City
- Objective: Using a Combo Vision with Kyoka, defeat 2 Rat Rut
- Reward: Room Fragrance
Photo Model Request
- Location: Seiran City
- Objective: Using Combo Vision with Shiden, defeat 3 Bile Pool
- Reward: Nature Landscape Photograph
Veteran Experience
- Location: Musubi’s
- Objective: With Psychokinesis Read Attack, defeat 2 Slippy Chinery
- Reward: Brain Field Gear, SAS Refueling Drink
- Note: Go to the last section of BABE, turn around to previous section, get Slippy to a sliver of health, use SAS Clairvoyance, dodge + RT
Standby Phase 11
Trouble With Flying
- Location: Suoh City Ryujin Ward
- Objective: Use a Combo Vision with Kagero, defeat 3 Marabou Pendu
- Reward: Rare Vintage Alcohol
Rooting for the Hero
- Location: Seiran City
- Objective: While SAS psychokinesis is active, defeat 3 Barrista Santa
- Reward: Passionate Flower Painting
Mini-Boss Strat
- Location: Seiran City
- Objective: Use a Combo Vision with Arashi, defeat 3 Bandeau Pendu
- Reward: Ranch Escape “Poppoko Adventure”
Post-game, after Credits
Important Mission
- Location: Suoh City Ryujin Ward
- Objective: While SAS pyrokinesis is active, defeat 4 Fuel Pool. With Brain Field Super Armor, defeat 2 Buddy Ruddy
- Reward: Phantom Art: Monkey
- Note: 'Brain Field Super Armor' seems to be a mistranslation, or at least I had no idea what it was referring to. What you actually need to do is defeat 2x Buddy Ruddy at the same time with Brain Crush. Break two of their armors from a distance and use Brain Crush when both are in view.
Suppression Support
- Location: Suoh City Ryujin Ward
- Objective: Use a Combo Vision with Kasane, defeat 2 Winery Chinery
- Reward: Bond Assist
For the Exhibition
- Location: Sumeragi Tomb Grounds
- Objective: While SAS teleportation is active, defeat 3 Saliva Santa. With Slam Attack, defeat 4 Marabou Pendu
- Reward: Phantom Art: Elephant
Verifying the Secret
- Location: Seiran City
- Objective: While SAS clairvoyance is active, defeat 2 Vine Yawn. With Psychokinesis Finish, defeat 3 Missin Pound.
- Reward: Phantom Art: Swallow
No Interference!
- Location: Seiran City
- Objective: While SAS sclerokinesis is active, defeat 2 Auger Sabat. With Charge Attack, defeat 2 Booger Sabat.
- Reward: Phantom Art: Turtle
Kasane Side Quests in Scarlet Nexus
After taking on first Major Other with Shiden
Top Cadet’s Prowess
- Location: Suoh City Ryujin Ward
- Objective: Deliver 2 Mizuhagawa Environment C
- Reward: Water-Proof Coating Generic
Standby Phase 1
Trouble With Moisture
- Location: Suoh City Ryujin Ward
- Objective: While SAS electrokinesis is active, defeat 2 Bile Pool
- Reward: Special Baton Type R-2
Surprise Test!
- Location: Suoh City Ryujin Ward
- Objective: Defeat 2 Vase Paws in mid-air
- Reward: All: Light Jelly x3
Phase 2
Collecting Donations
- Location: Sumeragi Tomb Grounds
- Objective: Deliver 2 Medium Jelly
- Reward: Bunny Ear Device [Black]
Surprise Test Cont.
- Location: Suoh City Ryujin Ward
- Objective: With Brain Crush, defeat 2 Wither Sabbat. Found in Mizuhagawa, break shell, attack when down, etc.
- Reward: Medium Jelly x 3
- Note: Appears after the ‘capture the flag’ training exercise and boss fight, probably requires 'Surprise Test!' done
Phase 3
Brain Drive Training
- Location: Suoh City Ryujin Ward
- Objective: During Brain Drive, defeat 5 Rainy Rummy
- Reward: All: Normalization Table x3
Missed Deadline
- Location: Suoh City Ryujin Ward
- Objective: While SAS Duplication is active, defeat 3 Plateau Pendu
- Reward: Fun Snack Set
Standby Phase 4
Environmentalism
- Location: Musubi’s
- Objective: With Brain Crush, defeat 3 Auger Sabbat
- Reward: Cat Ear Head [Black], Animal Paw [Black], Animal Foot [Black]
Standby Phase 5
Incredible Speed
- Location: Seiran City
- Objective: While SAS hypervelocity is active, defeat 2 Bandeau Pendu
- Reward: Innocent Rabbit hug4
In Need of Meds
- Location: Seiran City
- Objective: Deliver 1 Max Jelly
- Reward: Electric-Proof Barrier: Generic
Barrage Attack
- Location: Seiran City
- Objective: Use a Combo Vision with Kyoka, defeat 2 Rat Rut
- Reward: Pronghorn 94
Standby Phase 6
Power Analysis
- Location: Seiran City
- Objective: While SAS invisibility is active, defeat 4 Marabou Pendu
- Reward: Invisible Dancer v4+
Brain Field Data
- Location: Seiran City
- Objective: In the Brain Field, defeat 2 Brawn Yawn
- Reward: Confusion Ward: Generic
Standby Phase 7
Easy Victory
- Location: Seiran City
- Objective: With Charge Attack, defeat 3 Rat rut
- Reward: Oil-Proof Coating: Generic
Aerial Attack
- Location: Seiran City
- Objective: With Slam Attack, defeat 3 Barrista Santa
- Reward: Fire-Proof Barrier: Generic
Fast and Quick Prep
- Location: Seiran City
- Objective: Use a Combo Vision with Arashi, defeat 1 Winery Chinery
- Reward: Hanging Scroll “Speed”
What’s in the Box?!
- Location: Seiran City
- Objective: Use a Combo Vision with Shiden, defeat 2 Saliva Santa
- Reward: Lightning Photograph
Standby Phase 8
Busy Bee
- Location: Seiran City
- Objective: Use a Combo Vision with Kagero, defeat 3 Bandeau Pendu
- Reward: Printed Photo Stand
Help with Coverage
- Location: Seiran City
- Objective: With Psychokinesis Follow-up Attack, defeat 5 Scummy Pendu
- Reward: Ogre Horn [Luminous]
Going to Togetsu
- Location: Musubi’s
- Objective: During Brain Drive, defeat 5 Session Pound
- Reward: Full-Face Mask [Luminous]
- Note: You have to kill the enemies, you can’t let them explode. I attached the “System “Double-Edged Sword” plug in, the Psychokinesis Attack Specialization plug in, used a Psy attack, then a Psy finish (top left of Brain Map), then I could Brain Crush. Basically get your Psy Attack as high as possible to be able to lower the enemy crush gauge with two throws, before they explode. You can always save the quest for later when you are stronger or have better SAS abilities to help.
Standby Phase 9
Please Collect Intel
- Location: Suoh City Ryujin Ward
- Objective: Deliver 2 Kunad Highway Environment C
- Reward: Health Boost: Mk IV
Power to Repel
- Location: Seiran City
- Objective: With intercept, defeat 3 Kitchen Rummy
- Reward: Breastplate [Luminous]
Seeking Your Advice
- Location: OSF Hospital
- Objective: With Psychokinesis Finish, defeat 5 Cushion Pound
- Reward: OSF Armband Vision [Black]
Standby Phase 10
Even a Small Guy...
- Location: Seiran City
- Objective: Use a Combo Vision with Luka, defeat 1 Booger Sabbat
- Reward: Adjustable Dumbbell
Disaster Prevention
- Location: Seiran City
- Objective: Use a Combo Vision with Hanabi, defeat 3 Fuel Pool
- Reward: Simple Candle
Forecaster’s Hunch
- Location: Musubi’s
- Objective: Use a Combo Vision with Tsugumi, defeat 1 Winery Chinery
- Reward: Brain Field Gear, SAS Refueling Drink
Standby Phase 11
Psychokinesis x Psychokinesis
- Location: Suoh City Ryujin Ward
- Objective: Use a Combo Vision with Yuito, defeat 2 Barrista Santa
- Reward: Baki Floor Light
Multiplier
- Location: Suoh City Ryujin Ward
- Objective: While SAS clairvoyance is active, defeat 3 Doppel Pool
- Reward: Meditative Flower Painting
Good Ol’ Iron Wall
- Location: OSF Hospital
- Objective: Use a Combo Vision with Gemma, defeat 2 Auger Sabbat
- Reward: Home Medicine “Health for Tomorrow”
Post-game, after Credits
For the Exhibition
- Location: Suoh City Ryujin Ward
- Objective: While SAS electrokinesis is active, defeat 3 Session Pound. In mid-air, defeat 3 Rainy Rummy.
- Reward: Phantom Art: Catfish
Want to Learn More
- Location: Suoh City Ryujin Ward
- Objective: While SAS duplication is active, defeat 2 Juttie Chinery. With Psychokinesis Follow-Up Attack, defeat 2 Winery Chinery.
- Reward: Phantom Art: Honey bee
Enchanted by Weapons
- Location: OSF Training Facility (Suoh)
- Objective: While SAS hypervelocity is active, defeat 2 Grin Yawn. With a Perfect Dodge Attack, defeat 4 Vase Paws.
- Reward: Phantom Art: Horse
The Other in a Dream
- Location: Musubi’s
- Objective: While SAS psychokinesis is active, defeat 3 Saliva Santa
- Reward: Combat Experience Assist
Help with a Report
- Location: OSF Hospital
- Objective: While SAS invisibility is active, defeat 3 Base Paws. With Brain Crush, defeat 3 Saw Paws.
- Reward: Phantom Art: Lizard