
Nier Replicant Side Quests guide - quest walkthroughs, locations & rewards
Nier Replicant has a whole lot of very effective world building, and there’s some awesome optional stories - most of which can be discovered by undertaking the game’s many side quests, which are home to impactful little tales you’ll certainly want to discover. Side quests lead to unique side stories and loot, including a handful of weapons and very useful upgrade materials - so you'll want to get involved.
These side quests are broadly the same with minor story differences in both Nier Gestalt and Nier Replicant for the original release, and likewise in the new remaster NieR Replicant ver.1.22474487139. There is one all-new quest in the new remastered version of the game, also included here - this is a complete set of side quest list and quest walkthroughs.
Nier Replicant is basically a game split in half by the way its story unfolds - and as a result, there’s two different sets of side quests to suit the two different positions you find yourself in during each half of the story. Because the world state changes somewhat between the first and second halves of Nier Replicant, you’ll want to make sure you complete any side quests given to you in the first half before advancing to the second half; almost all of the part one side quests are rendered inaccessible when you progress to the second half of the game.
For the record, the point of no return is when you’re asked to get Vapor Moss. We have more details in our endings guide.
We’ve structured our guide appropriately, breaking it into halves, listing each side quest alongside where you pick them up and how to complete each quest. Do remember, also, that if you're struggling to activate side quests, try talking to Devola in the Village Tavern; at any stage she'll offer you a smattering of suggested side quests.
Nier Replicant Side Quests List & Guide: Part 1
As mentioned above, these quests are available in the first half of the game. You’ll be introduced to side quests early on by Popola, and from there you can pick up quests from a variety of NPCs. Remember, you’ll want to clear as many of these quests as you want before advancing to part two of the story, because aside from one you won’t be able to complete them in part two.
In addition, it’s worth noting that this is a true point of no return for these quests. While Nier Replicant has a New Game+ mode, it starts you after the events that divide part 1 and part 2 - which means that you’ll only be able to tackle these quests on your first time through the game - short of creating an all-new save.
Hit a link of scroll to get to a specific quest. We’ve highlighted some ones we particularly recommend tackling, too:
- Herbal Remedies
- The Gatekeeper's Errand
- The Lost Eggs
- Old-Fashioned Home Cooking
- Shopping List
- Book Smarts
- The Tavern Keeper’s Grandmother
- A Return to Shopping
- Boar Hunt! [Recommended]
- Yonah’s Home Cooking [Recommended]
- On the Wings of Eagles
- Fragile Delivery
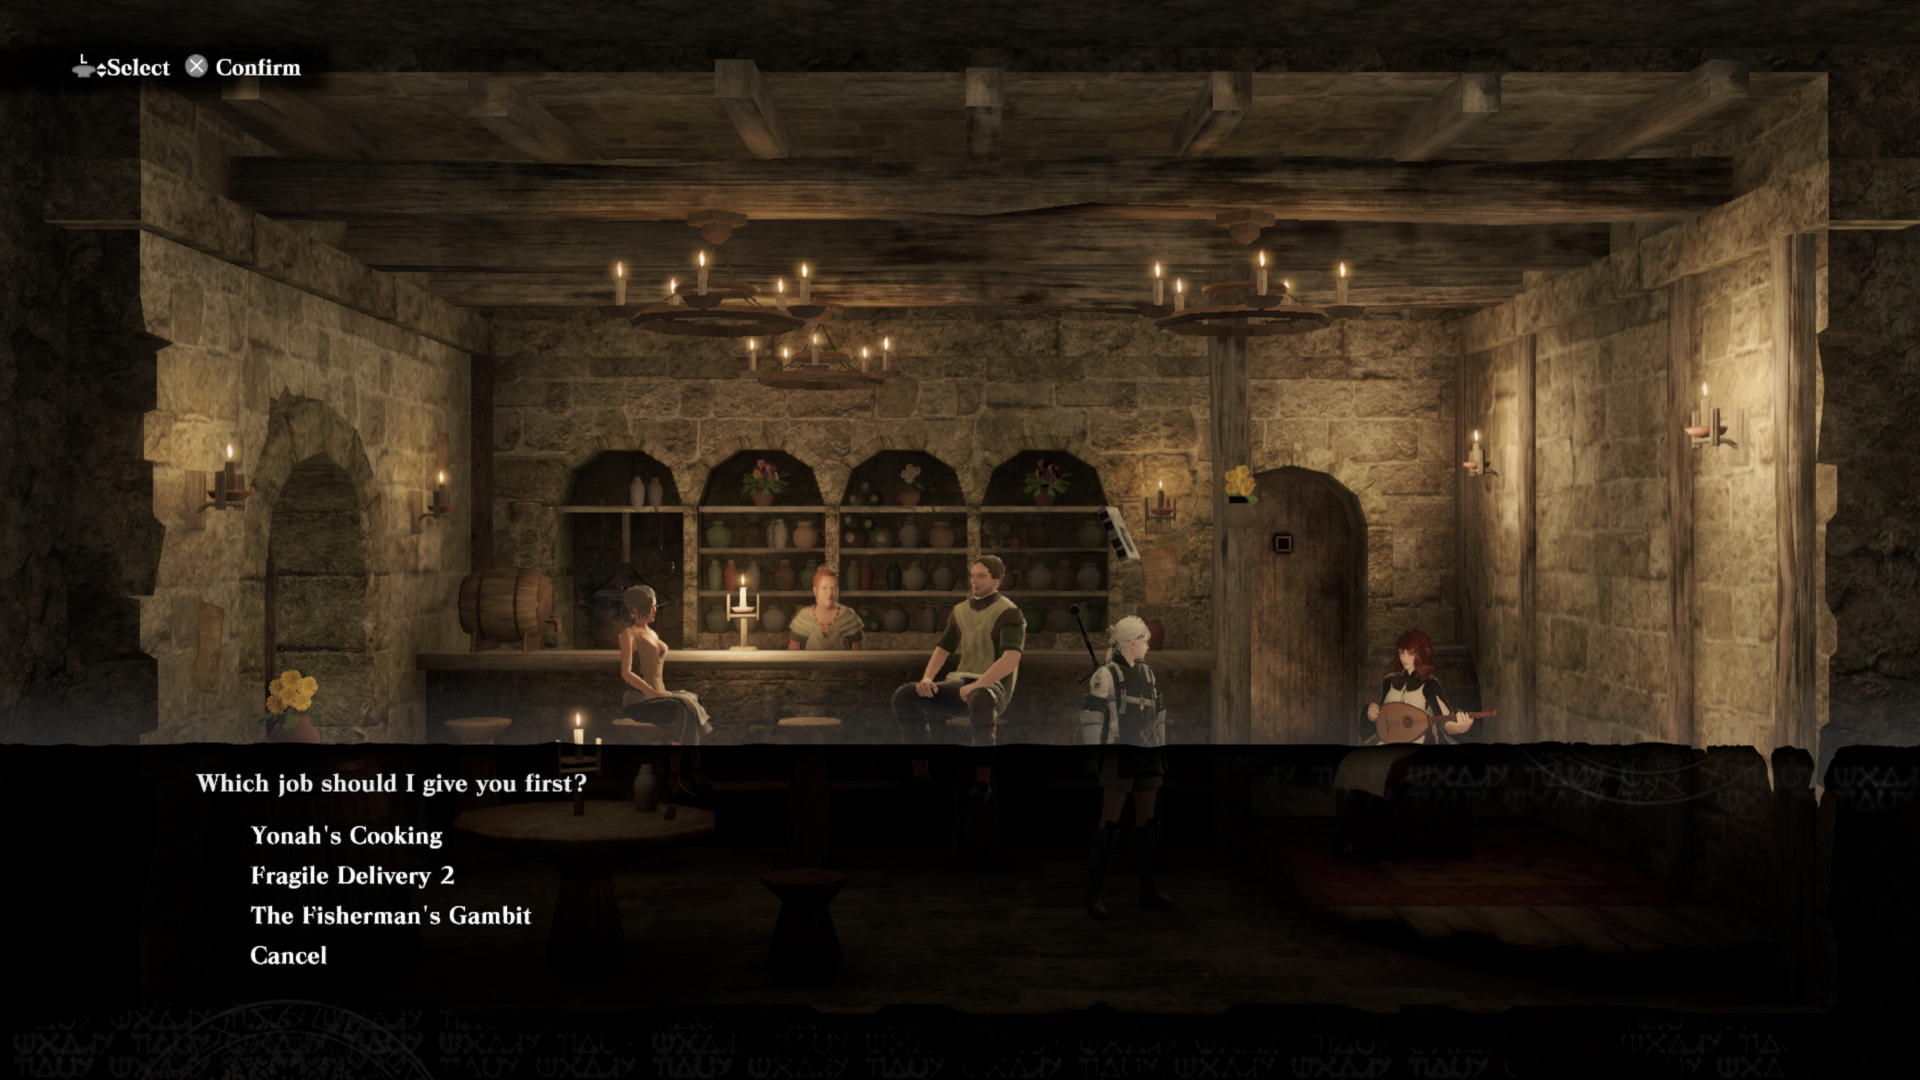
- Fragile Delivery 2
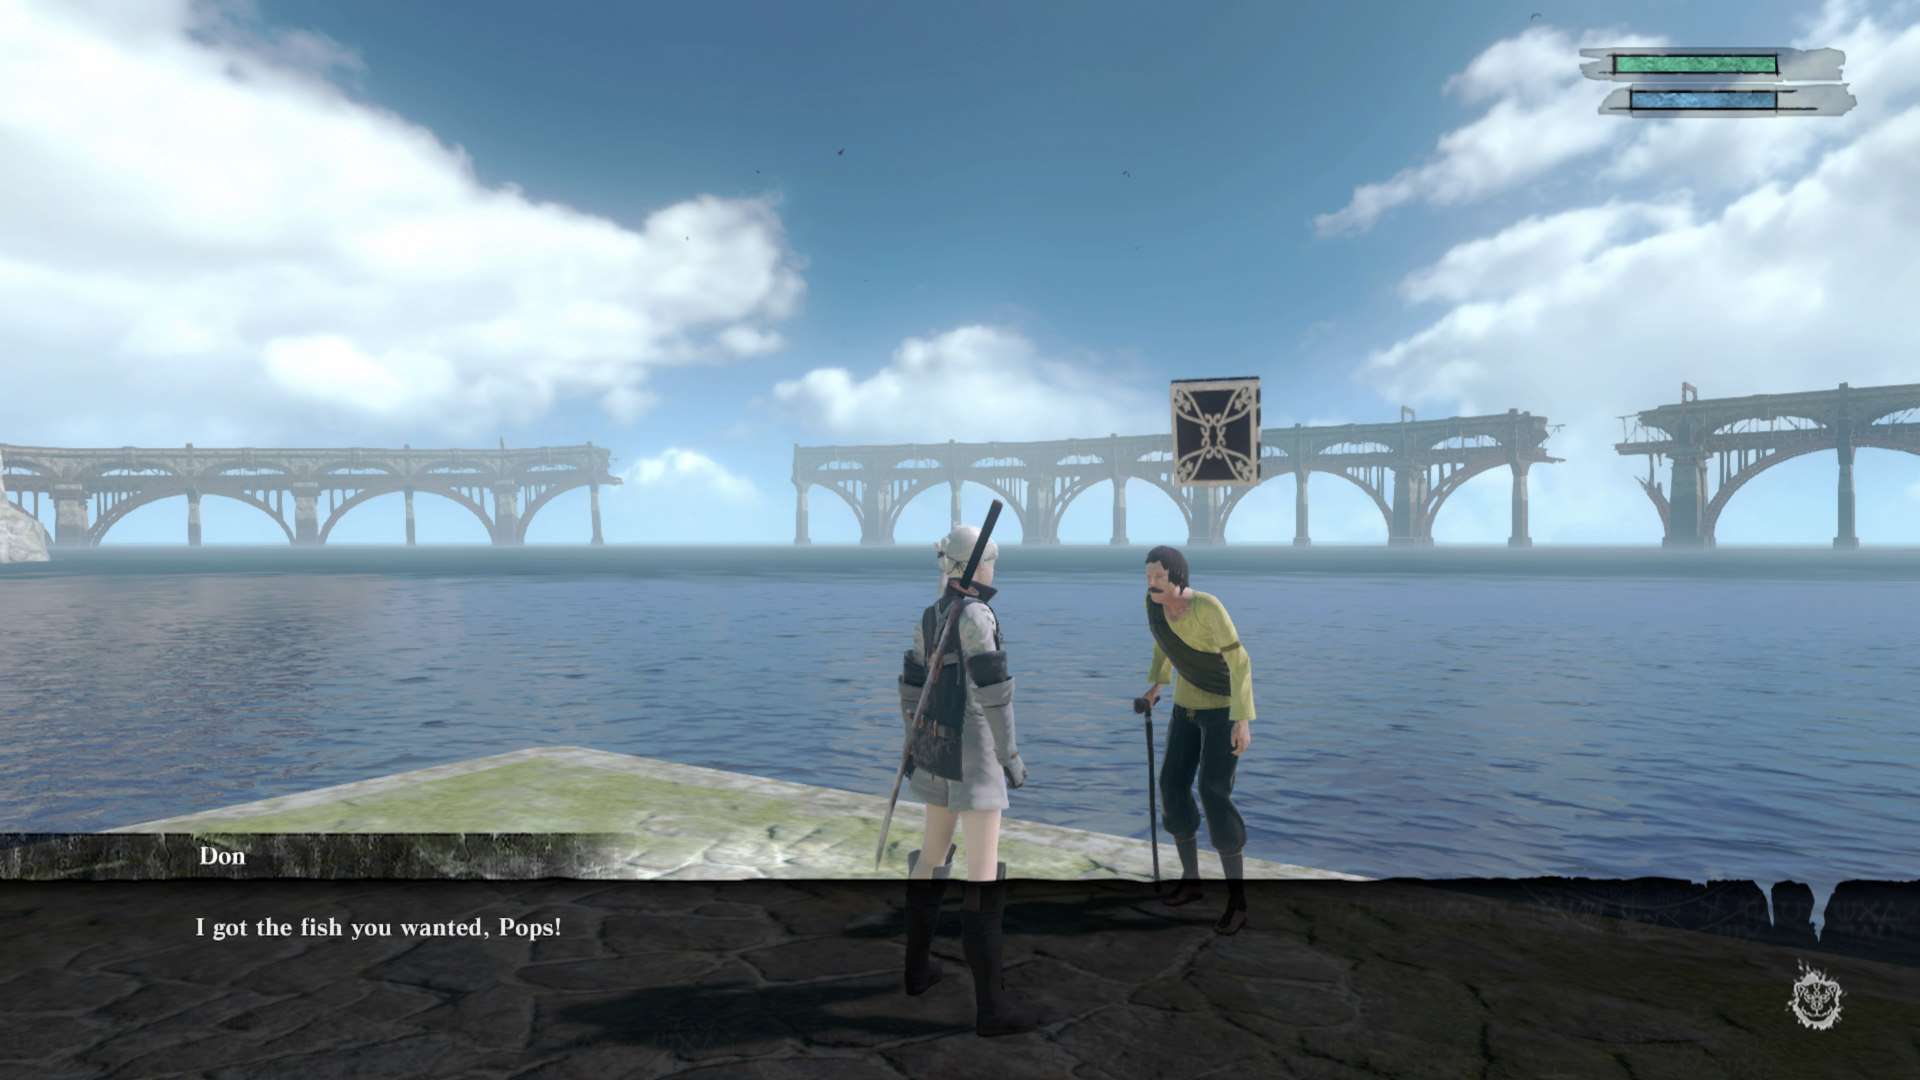
- The Fisherman’s Gambit (Parts 1-5)
- The Ballad of the Twins [Recommended]
- A Dog Astray
- The New Merchant in Town
- The Postman’s Request [Recommended]
- The Lighthouse Lady’s Wrath [Recommended]
- Closure [Recommended]
- Yonah’s Gift [Recommended]
- Letter to a Lover
- A Signature Dish
- Bon Appetit!
- Fragile Delivery 3
- The Tangled Message
- Item Unknown
- The Runaway Son
- Apology from a Fool
- The Pride of a Lover
- The Littlest Hero
- The Missing Girl
Herbal Remedies
- Obtained: Your Village, from Popola
- Sidequest Guide: You must search the Northern Plains for 2 medicinal herbs and return them to Poppola. These are common items, and you might even already have them when you get the quest. Alternatively, you can buy them from a store right near the quest giver.
- Reward: 500 Gold
The Gatekeeper's Errand
- Obtained: Your Village, from one of the Guards at the gate to the Northern Plains.
- Sidequest Guide: Deliver a message to the Blacksmith’s Wife, who is found in the very same village, in the shopping area by the Blacksmith.
- Reward: 500 Gold
The Lost Eggs
- Obtained: Your Village, from the Item Shopkeeper.
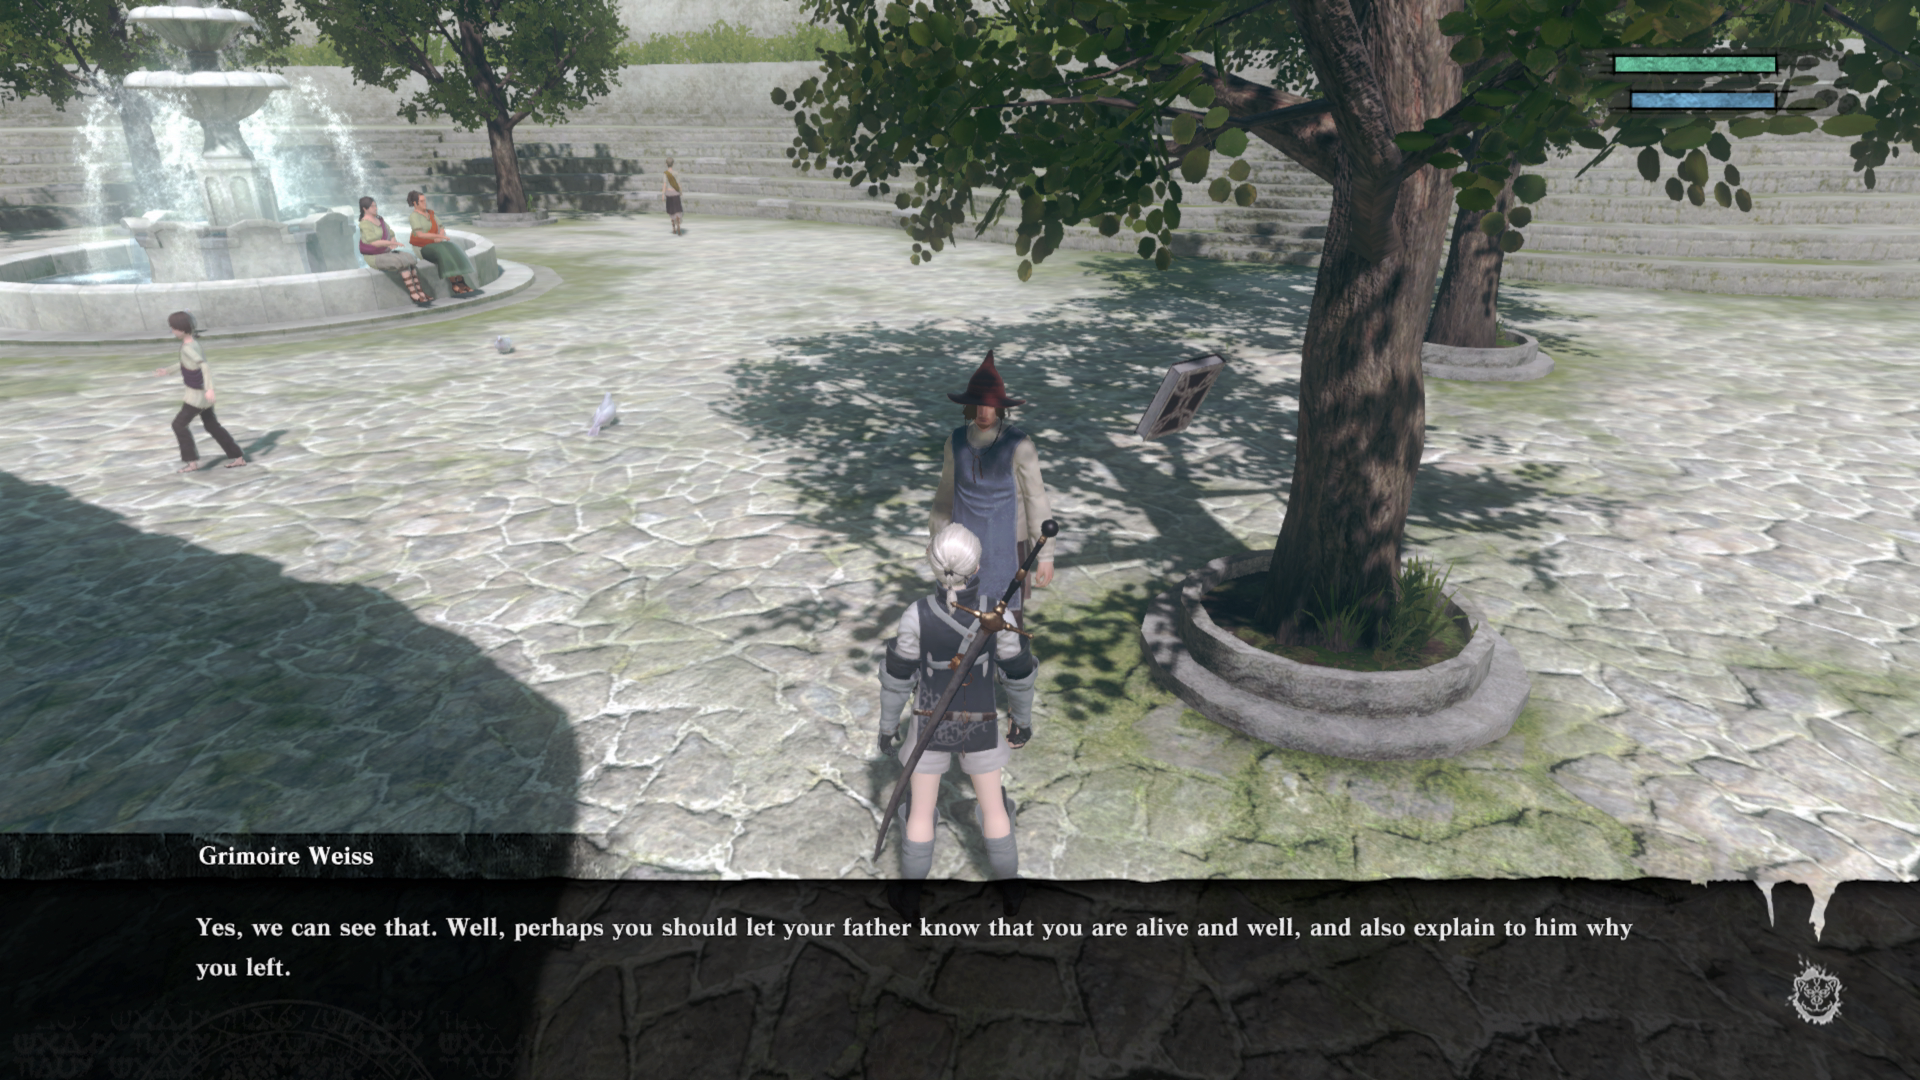
- Sidequest Guide: Find a hidden chicken egg and return it to the quest giver. Speak to the boy (now with the quest icon over his head) by the fountain right in front of the Item Shopkeeper. Then speak to the villager with a quest icon by the pigs right outside the marketplace area. The egg is located at the base of one of the structures surrounding the fountain out in the open in the Village, towards the northern exit. It’s not as clearly marked as most item pick-ups.
- Reward: Health Salve
Old-Fashioned Home Cooking
- Obtained: Your Village - from a woman sitting near the fountain in the market area.
- Sidequest Guide: You need to collect and provide 10 pieces of Mutton, which can be obtained by killing and then carving/looting Sheep. There’s an abundance of them in the Northern Plains. Once you have 10, which you could even have before the quest begins, you can sell them to the woman to complete the quest.
- The quest will remain marked as complete, but you can continue to sell bundles of 10 mutton afterwards to grind out cash.
- Reward: 1500 Gold
Shopping List
- Obtained: Your Village, from a woman in the market area.
- Sidequest Guide: This is a simple quest; you have to pick up 3 Tulip Bulbs and bring them back to the quest giver. The Tulip Bulbs are sold by the Grocer in Seafront, which is the north-western most vendor. Bring them back to your village to complete the side quest.
- Reward: 500 Gold, and the ability to plant Seeds in the Garden next to your house.
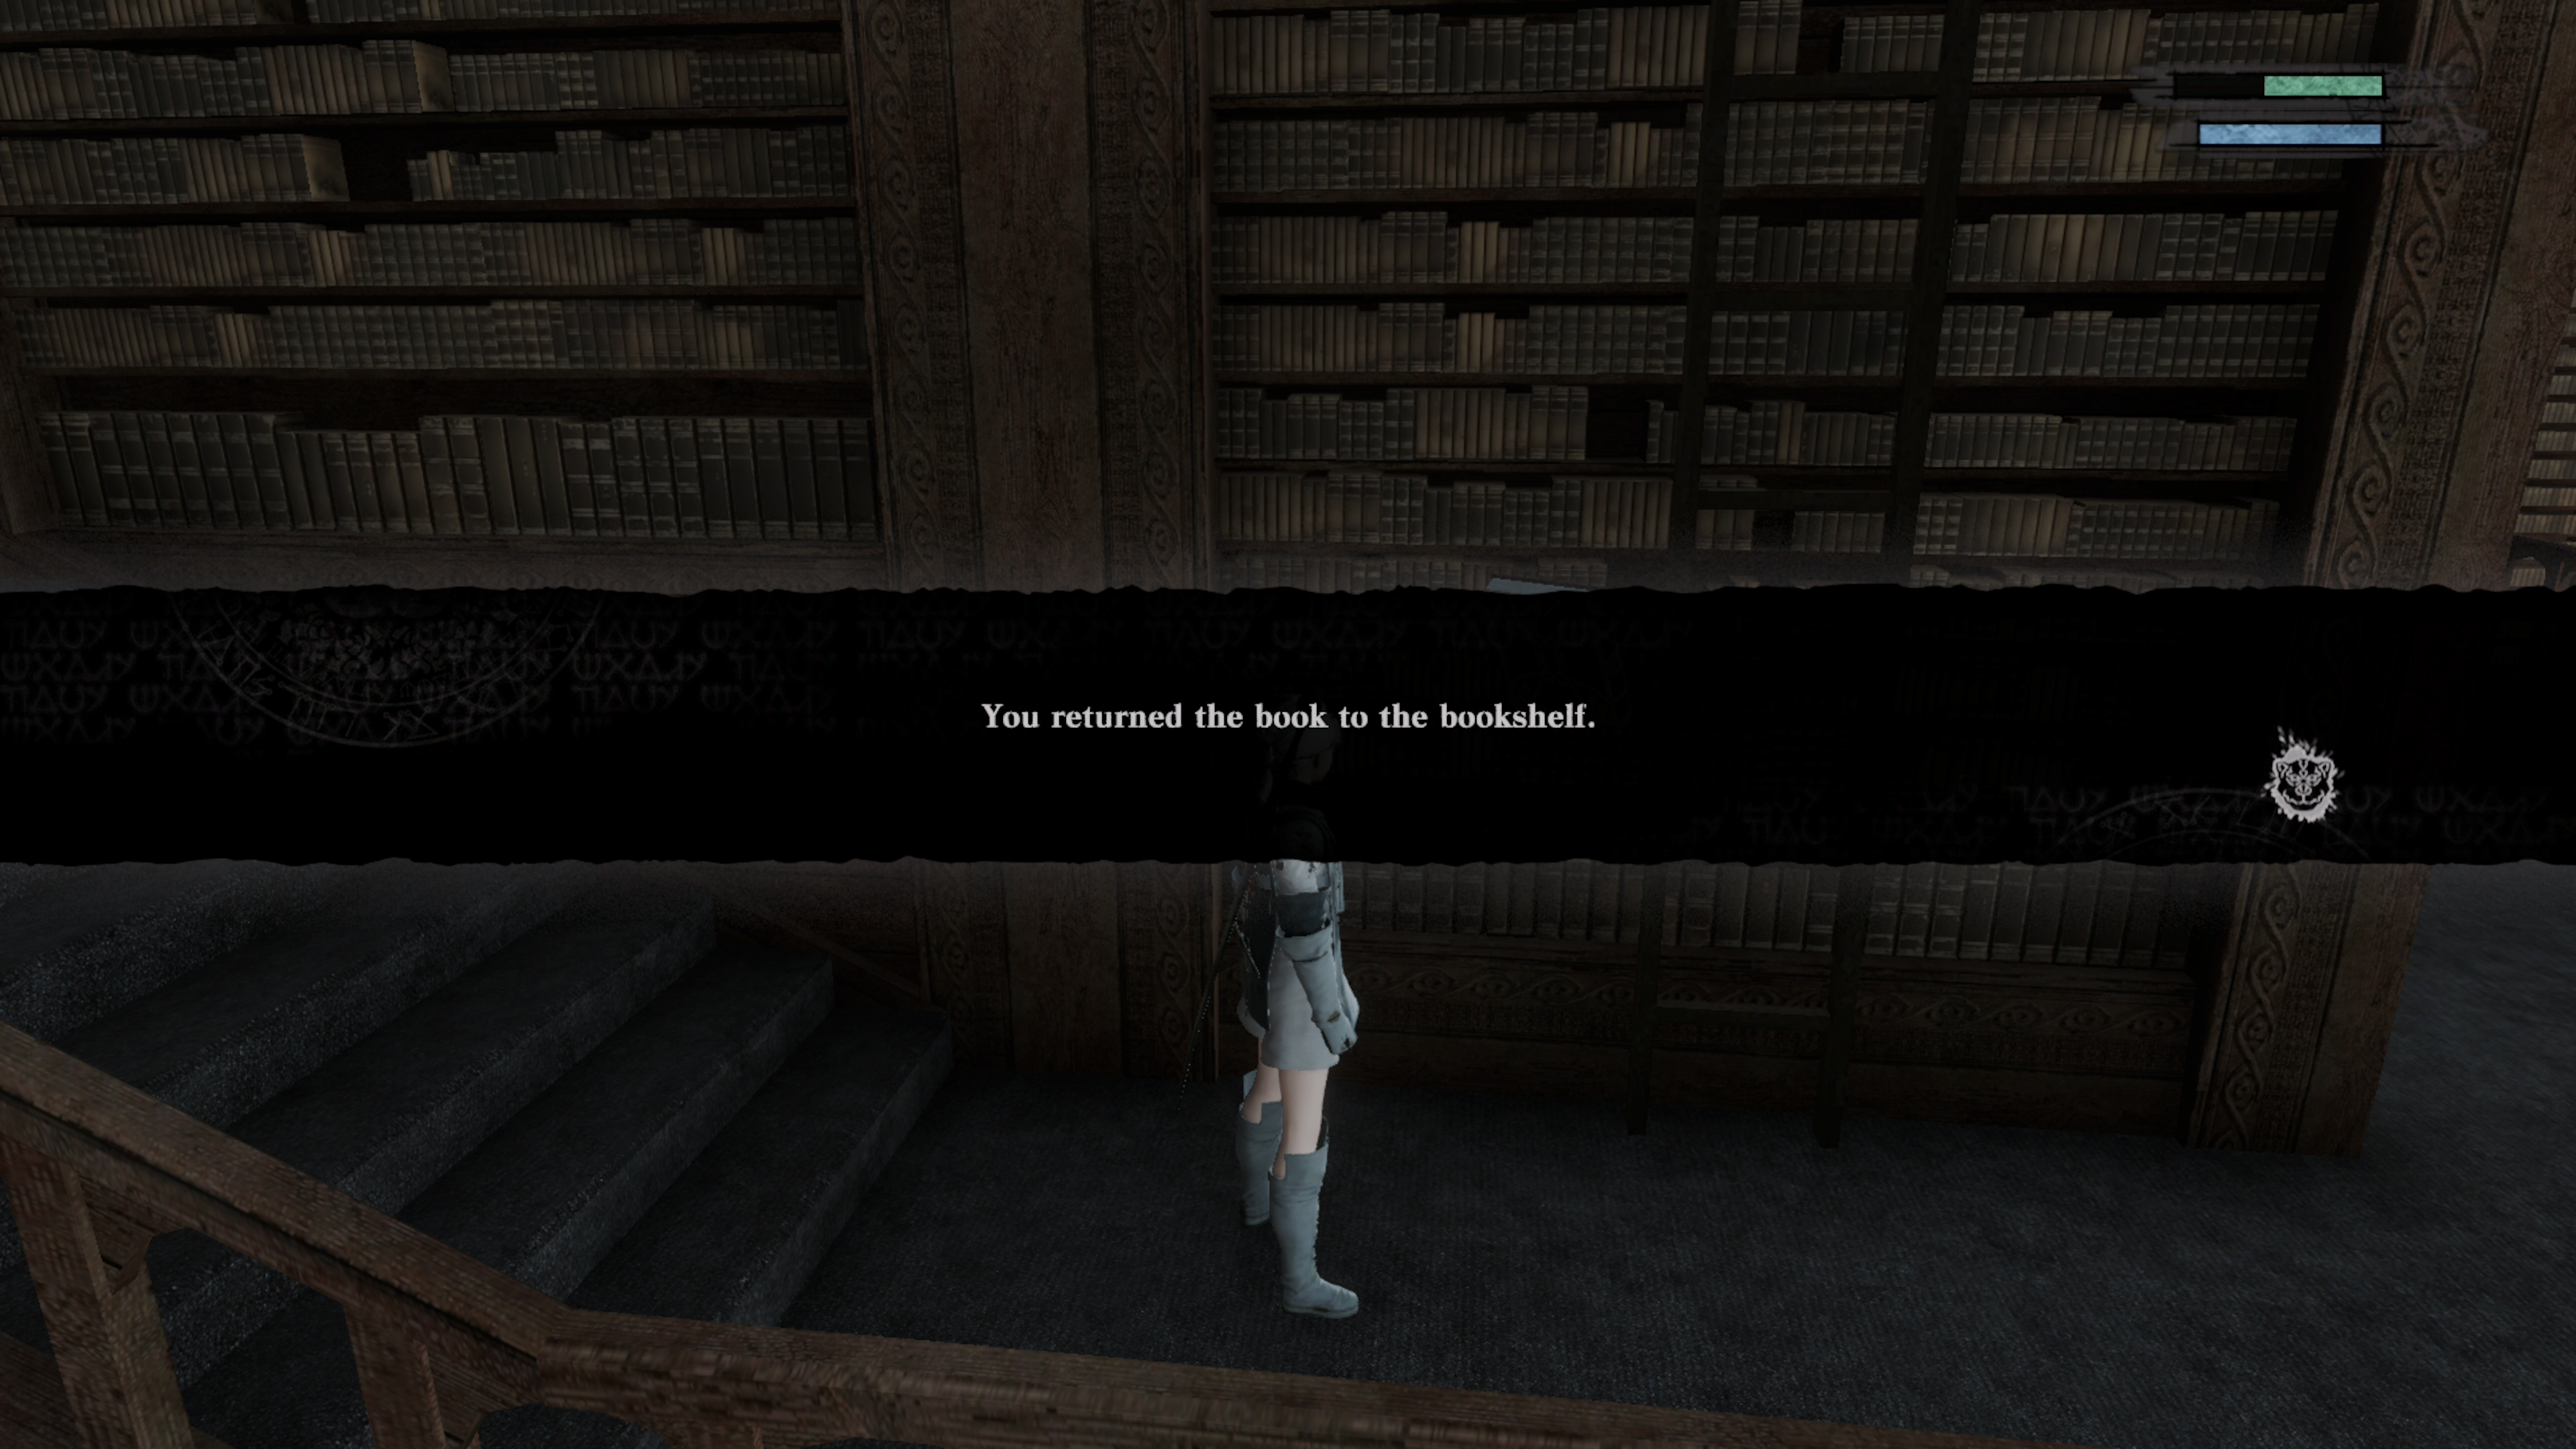
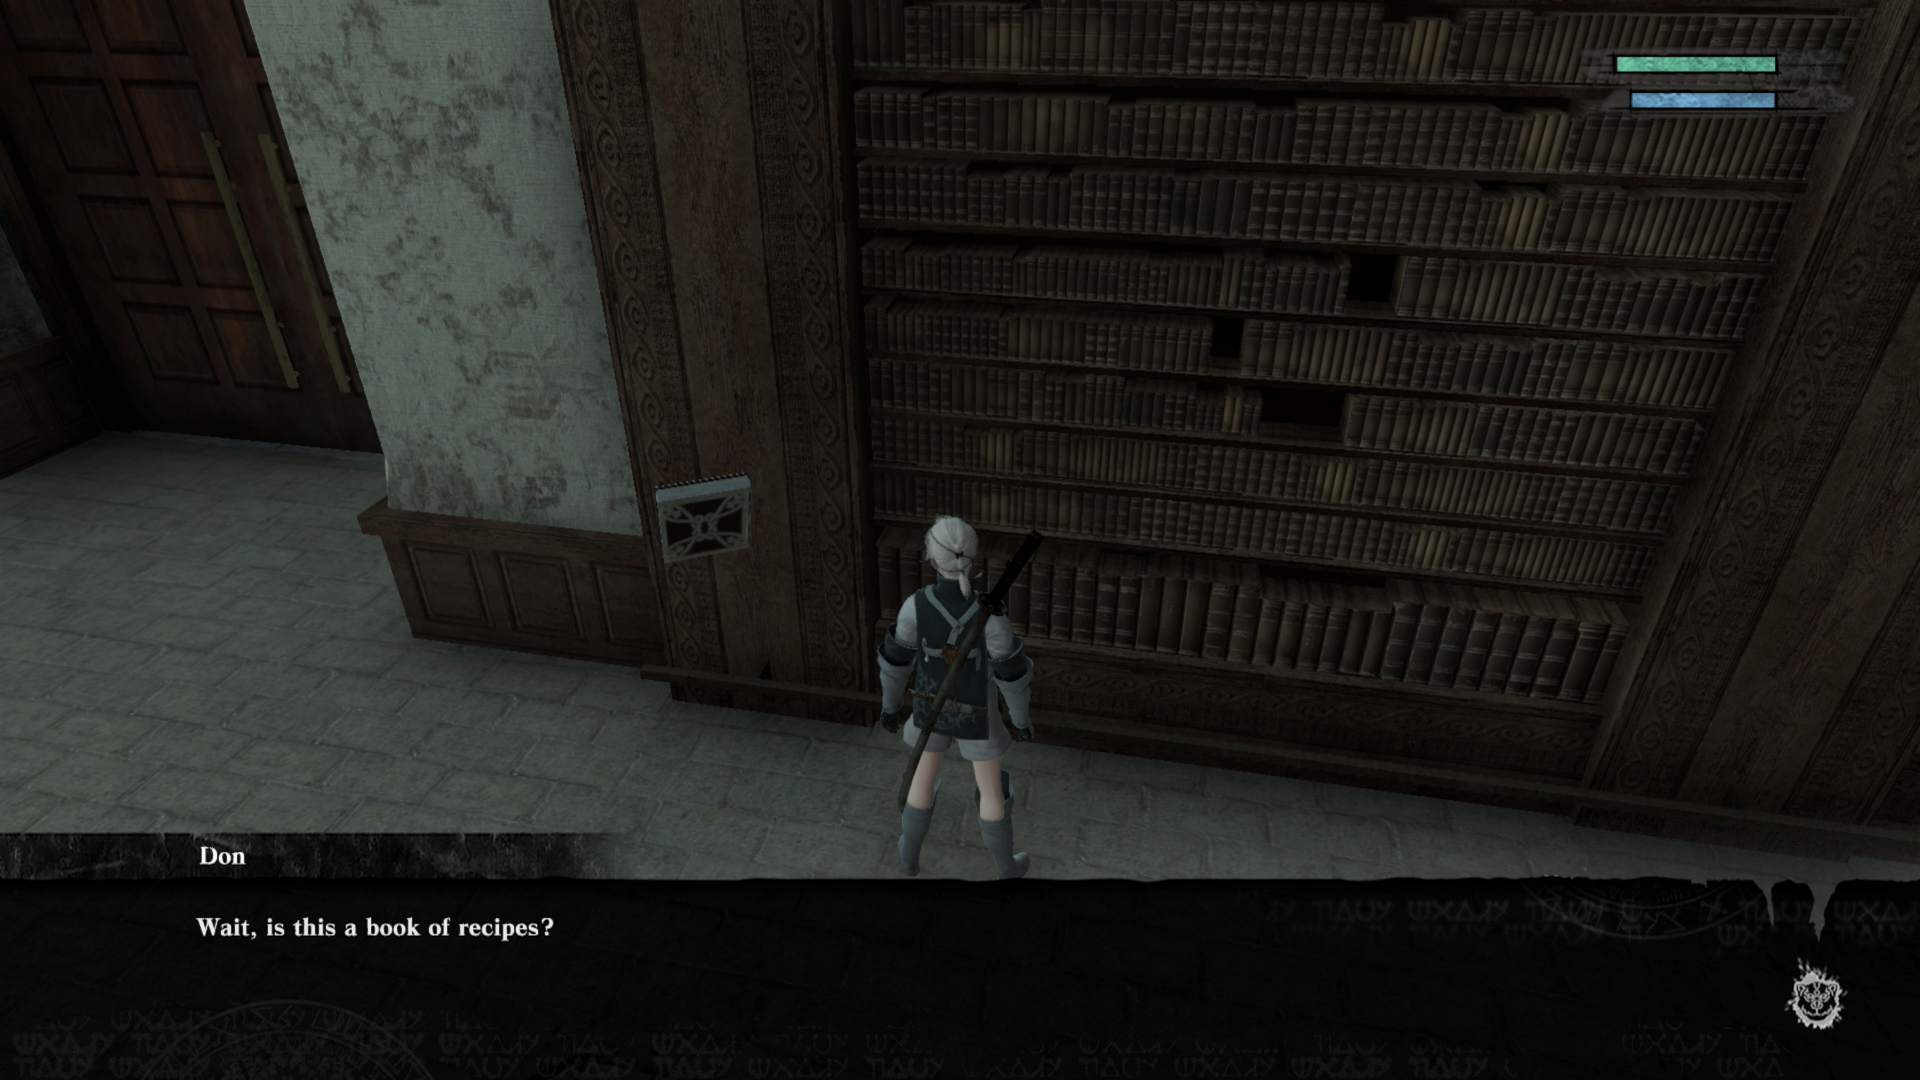
Book Smarts
- Obtained: Your Village, from a Girl on the upper level of the Library.
- Sidequest Guide: You’ll be given books, one at a time, and asked to place them back into the shelves of the library. The girl gives you detailed instructions on where they belong, but you can also just walk around the shelves until you see the orange interact arrow appear for each book. Return to her after placing each.
- The first book is directly behind you, on the left side near the stairs down from the second floor.
- The second is on the right-hand side of the ground floor from where you enter the library.
- Reward: 500 Gold
The Tavern Keeper's Grandmother
- Obtained: From the owner of the Tavern in Your Village.
- Sidequest Guide: A simple gathering task; you’ll need to bring the Tavern Keeper 3 Medicinal Herbs, 3 Berries, and 3 Royal Ferns. Turn them in to an elderly woman at the Village Fountain for your reward. As for where to find them:
- Medicinal Herb: common in the Village & Surrounding Plains, and in shops.
- Berries: found in the Village & Plains, and also some stores - the Material Shopkeeper in the Village sells these
- Royal Fern: a much rarer drop in the plains, but you can also buy it from the Grocer in Seafront.
- Reward: 2000 Gold
A Return to Shopping
- Obtained: The Florist in your Village, but only after completing the ‘Shopping List’ quest.
- Sidequest Guide: Retrieve 3 Bounty Fertilizers for the florist’s seeds. You can buy them from the Seafront Item Shop.
- Reward: 2000 Gold, Tulip Bulb, Bounty Fertilizer, & additional Garden Space
Boar Hunt!
- Obtained: From a man near the Item Shop in Your Village.
- Sidequest Guide: Kill a Wild Boar out in the Northern Plains in order to obtain a Boar Tusk. Once the Boar is dead, return to the man for your reward. Early in the game, the Boar will be a challenging enemy that especially early on can even two-hit KO you - but there are ways to cheese it.
- The easiest way to do this is use Dark Lance, your magic move that’s on L1 by default. Even one charge of this can interrupt the Boar’s charges. So just charge up, unleash as it charges, maintain distance, repeat.
- Alternatively, you can hide behind the rocks in the northern plains; the Boar will get downed briefly when it charges into a rock, giving you a window to attack. Do not just rush in!
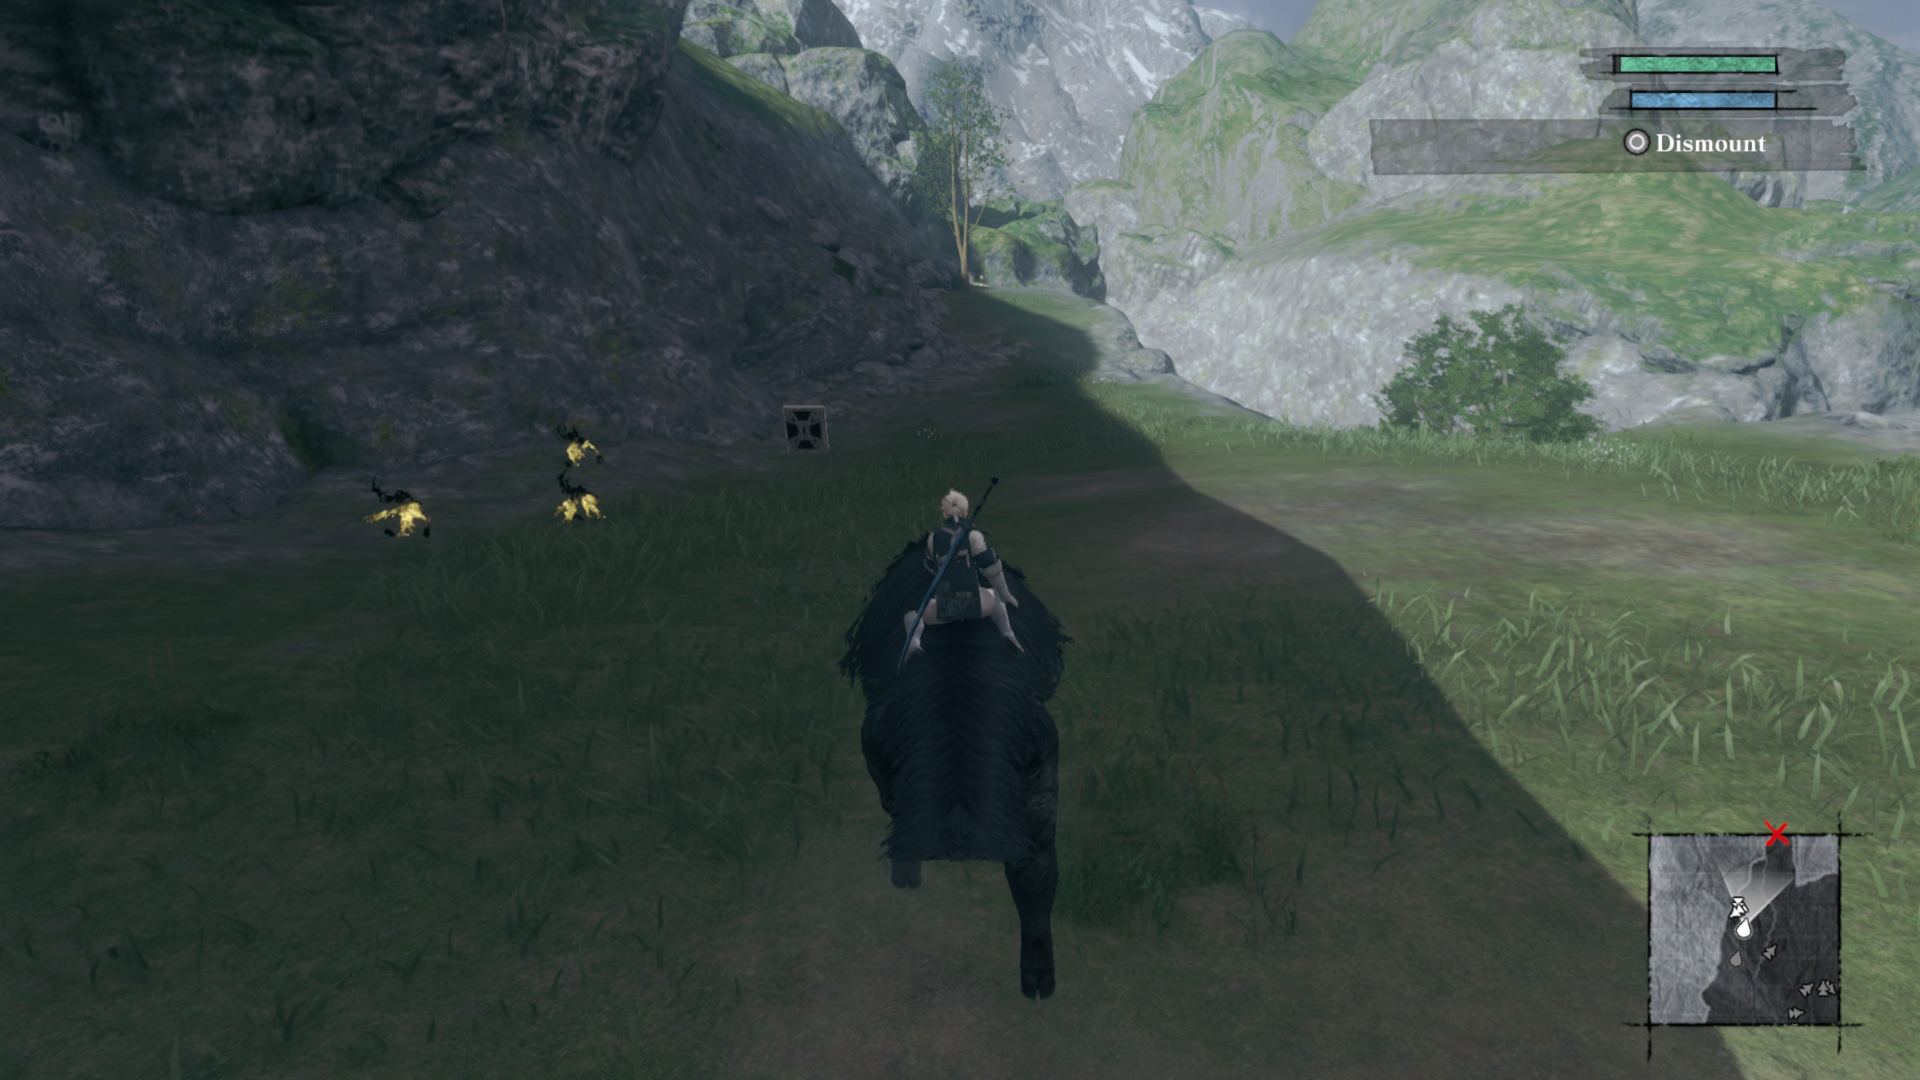
- Reward: 500 Gold, Boar Tusk, and the ability to ride Wild Boars
Yonah's Home Cooking
- Obtained: From Yonah in Your Village.
- Sidequest Guide: Another classic fetch quest; Yonah needs Venison and Wheat for cooking.
- You can get Venison from the Deer found in the Southern Plains just outside the village.
- You can harvest Wheat, or just buy it from the Grocery Store in your village.
- Reward: Dialogue Scene
On the Wings of Eagles
- Obtained: From the Tavern Keeper in Your Village, but only after completing ‘The Tavern Keeper’s Grandmother’ above.
- Sidequest Guide: Even more ingredients are required; this time an Eagle Egg. Think of this as a cross between the Egg and Medicine quests we encountered earlier. The Eagle Egg is found on a pathway beneath the Elder’s House in The Aerie. Take the egg to the Tavern, then take the resultant potion back to the old lady near the marketplace fountain.
- Reward: 2000 Gold
Fragile Delivery
- Obtained: Your Village, off a guard at the gate to the Northern Plains.
- Sidequest Guide: You have to deliver a parcel, but it’s fragile. If you get hit, dodge roll, fall from a height, ride into a wall on a boar, etc, it will break. You can get into combat - you just can’t get hit. Run over to the Aerie, and deliver the fragile package to the Elder’s house. If you do get hit, return to the guard for a do-over.
- Reward: 1250 Gold
Fragile Delivery 2
- Obtained: From an old man near the Marketplace Fountain in Your Village. Only after completing ‘Fragile Delivery’.
- Sidequest Guide: This is the same as the previous quest; if you get too rough, the package will break. This time, you have to deliver it to the Tavern in Seafront Village.
- Reward: 1500 Gold
The Fisherman's Gambit
This quest actually comes in five parts - The Fisherman’s Gambit, and then The Fisherman’s Gambit Part 2, 3, 4, and 5. While these are counted as separate quests, we’ve listed them all here in one entry, as they follow sequentially, one after the other.
Additionally, this quest line is the only one that is available in both parts of Nier’s story - it’s available all game from when you first go to Seafront. So you can save these for the second half of the game if you want - but if you do so, you’ll miss out on another quest, ‘Bon Appetit’, that is only in the first part of the game but can’t be completed without first finishing Part 5 of this quest line. In the second half of the game, the quest adds parts 6-9, too.
- Obtained: From the Old Fisherman NPC found on the docks of Seafront.
- Sidequest Guide: Catch certain fish - which varies depending on the exact quest. If you're struggling to get fihsing right, check out our Nier Replicant fishing guide.
- The Fisherman’s Gambit: Catch 10 Sardines, which are available on the Seafront beach using Lugworms as bait.
- Part 2: Catch 7 Blowfish, best caught with Lugworm from the Seafront Pier, right by the old fisherman NPC.
- Part 3: Catch 7 Rainbow Trout - find them in the water off the dock that’s in the Northern Plains, beneath the bridge leading to the junk heap. Use a Lure.
- Part 4: Catch 5 Bream - right on the Seafront Pier, next to the quest giver. Use a Lure this time.
- Part 5: Catch 5 Black Bass - which can be caught in the lake of your Village by using a Lure.
- Reward: Each quest completed in this line improves your fishing ability, and adds the fish you had to catch as part of the quest to the Fish Shop.
The Ballad of the Twins
- Obtained: In Your Village, talk to Devola in the Tavern and then Popola in the Library.
- Sidequest Guide: Get a drink for Popola from Seafront’s Tavern. The Tavern needs ingredients to make it, though:
- 5 Mouse Tails can be found around the entrance to the Junk Heap, and only there.
- 5 Lizard Tails can be found around the Northern Plains or Eastern Road. It looks a little weird as you’ll be actively picking up the creatures, rather than slaying them. When the drink has been made, take it to Popola.
- Reward: A Story Scene
A Dog Astray
- Obtained: In the Merchant area of Your Village, from an NPC near the Blacksmith.
- Sidequest Guide: The dog you need to find is in the Northern Plains, beneath the bridge that leads towards the Junk Heap. Report back after finding the dog.
- Reward: 1000 Gold
The New Merchant in Town
- Obtained: From an NPC on the Boat in Seafront Town’s port.
- Sidequest Guide: Another classic fetch quest. This time you need to deliver several Wool, Goat Hide, and Natural Rubber. These items can be difficult to get, but here’s our advice:
- Wool is a rare drop from sheep in the Northern Plains. You’ll probably have to kill many, many sheep to get it, collecting many Mutton along the way.
- Likewise, Goats rarely drop Goat Hide - what a shocker. But, again, it’s uncommon, so expect to slay many goats, collecting many useless Goat Meat at the same time. You can find Goats in the Northern Plains too, but it’s better to farm them on the Eastern Road, as there’s no Shades to bother you.
- Natural Rubber can be purchased from the materials specialist shop in Seafront Town.
- Reward: 10,000 Gold. You may need to speak to the NPC more than once, reloading the area, to get your reward.
- Note: This quest’s completion unlocks a follow-up quest in the second half of Nier Replicant, ‘Learning a Trade’.
The Postman's Request
- Obtained: Seafront Town, from the Post Office.
- Sidequest Guide: Deliver the letter; it has to go to the old lady on the top of the Lighthouse, which is reached from a side-street in Seafront.
- Reward: 1000 Gold
The Lighthouse Lady's Wrath
- Obtained: Can come from the Seafront Postman, or from Devola at your home Village tavern after clearing many other quests - but only after completing ‘The Postman’s Request’.
- Sidequest Guide: This is a story-driven quest; you’ll need to visit the old lady in the lighthouse, then the postman multiple times, then sneak to the back room of the post office, solving a block-pushing puzzle along the way. Examine the item in the hidden back room, speak with the postman, and return to the old lady.
- You’ll be faced with a gut-punch decision during this quest; what you choose doesn’t affect anything other than the story of this ongoing side story. Go with your conscience.
- Reward: 1000 Gold
Closure
- Obtained: From the Seafront Post Office once again, or from Devola in your home Village Tavern after clearing many other quests.
- Sidequest Guide: Go to the Post Office in Seafront and chat to the Postman.
- Reward: Story Scenes
Yonah's Gift
- Obtained: From Yonah in your Village, after Kaine joins your quest.
- Sidequest Guide: You can find the items you need from Grocery stores; Melons can be had from Seafront’s Grocery, and Watermelons/Pumpkins from Facade’s Grocery. Or, you can harvest them yourself using seeds.
- Reward: Story Scenes
- Note: You'll want to try to take on this quest early, before the normal cutoff point for Part 1. Try to knock it out before heading to the Manor.
Letter to a Lover
- Obtained: From a man near the Fountain in Seafront Village.
- Sidequest Guide: Act as postman again, delivering the letter. The recipient lives in The Aerie, in a house to the left of the Elder’s House. The house is empty, but as you leave town you’ll enter combat. The combat yields a key item - take that back to the quest giver.
- Reward: 3000 Gold, Unlocks ‘Freesia’ quest, in the second half of the game
- Note: This quest was known as 'The Belated Letter' prior to Nier Replicant 1.22474487139...
A Signature Dish
- Obtained: Seafront Tavern, from the Tavern Keeper.
- Sidequest Guide: Fetch back ingredients again; 10 Medicinal Herbs, which are common. 10 Wheat can be purchased in your Village or grown yourself. 10 Sardines can be fished from Seafront Beach with Lugworms, or purchased if you’ve completed ‘The Fisherman’s Gambit’.
- Reward: 5000 Gold
Bon Appetit!
- Obtained: From the Tavern Keeper in Seafront, but only after completing ‘A Signature Dish’
- Sidequest Guide: Go to the Library in your Village. You can pick up a book of recipes/cookbook for the Tavern Keeper. He now needs ingredients.
- Rice and Mushrooms can both be purchased from Seafront Grocery Store, if you don’t want to harvest them.
- You can catch 5 Sharks by using a Sardine as bait and fishing at the Pier in Seafront Village. However, to catch Sharks you must have first completed ‘The Fisherman’s Gambit Part 5’.
- Reward: 5000 Gold
- Note: Completing this will much later unlock 'Bon Appetit! 2' in the second half of Nier Replicant.
Fragile Delivery 3
- Obtained: In Your Village, from a guard at the Eastern Gate.
- Sidequest Guide: Another fragile package - you know the deal. No taking damage, no falls from great heights, no dodge rolling. Deliver it to the weapon shop in Facade.
- Reward: 3000 Gold
The Tangled Message
- Obtained: In Facade - grab the side quest from a soldier in the middle of the city.
- Sidequest Guide: You’ll be joining a game where you pass messages on, getting clues of who the next person you need to speak to is. You then need to say the right thing to them to progress. If you mess one up, you have to start over again. Here’s the five people you need to talk to, in order:
- Message #1 “the person guarding the left side of the exit” - “The Masked People respect their rules.”
- Message #2 “the king's right-hand man” - “The Men of the Mask Work for the King.”
- Message #3 “the person taking care of the children” - “Child care can be difficult.”
- This NPC can be found on the north side of town on the upper level.
- Message #4 “the southeastern guardian” - “Only nobility may enter the treasury.”
- Message #5 “the long-winded person” - “Quicksand.”
- This NPC is found on the northwest side of town.
- Reward: 10,000 Gold
Item Unknown
- Obtained: In Facade, from the Masked Person near the King’s Mansion.
- Sidequest Guide: She asks for 10 “round, striped food objects”. She’s talking about Watermelons. Harvest them or buy them - they’re nearby, in the Facade Grocery Store.
- Reward: 3000 Gold
The Runaway Son
- Obtained: Back in your home Village, from a man in the Marketplace area.
- Sidequest Guide: You have to chase down a runaway. This is a multi-step process:
- In Seafront, talk to a Resident in the Town Square, near the fountain.
- Investigate in the Tavern. The Tavern keep wants 5 mutton and 3 goat meat; gather and turn these over.
- Return to the Village and speak to the quest-giver again.
- Head back to Seafront and talk to the man at the entrance to the town.
- Go to Facade. Talk to the two villagers above the weapon shop, then check the nearby door.
- Chase the son through the desert. Defeat the wolves. Then return to his father.
- Reward: n/a
Apology from a Fool
- Obtained: From the Strange-Thing Shopkeeper in Facade.
- Sidequest Guide: You just have to kill Wolves out in the desert and loot them until you have 10 Wolf Hides. Return them to the quest giver, and then talk to his wife.
- Reward: 20,000 Gold
The Pride of a Lover
- Obtained: From Seafront - though easily missed. After visiting Facade for the first time, speak to the Resident at the base of the Seafront Lighthouse 3 times. You’ll have to exit & re-enter Seafront to force his conversation options to progress.
- Sometimes, Devola will point you towards this side quest if you’ve cleared most others.
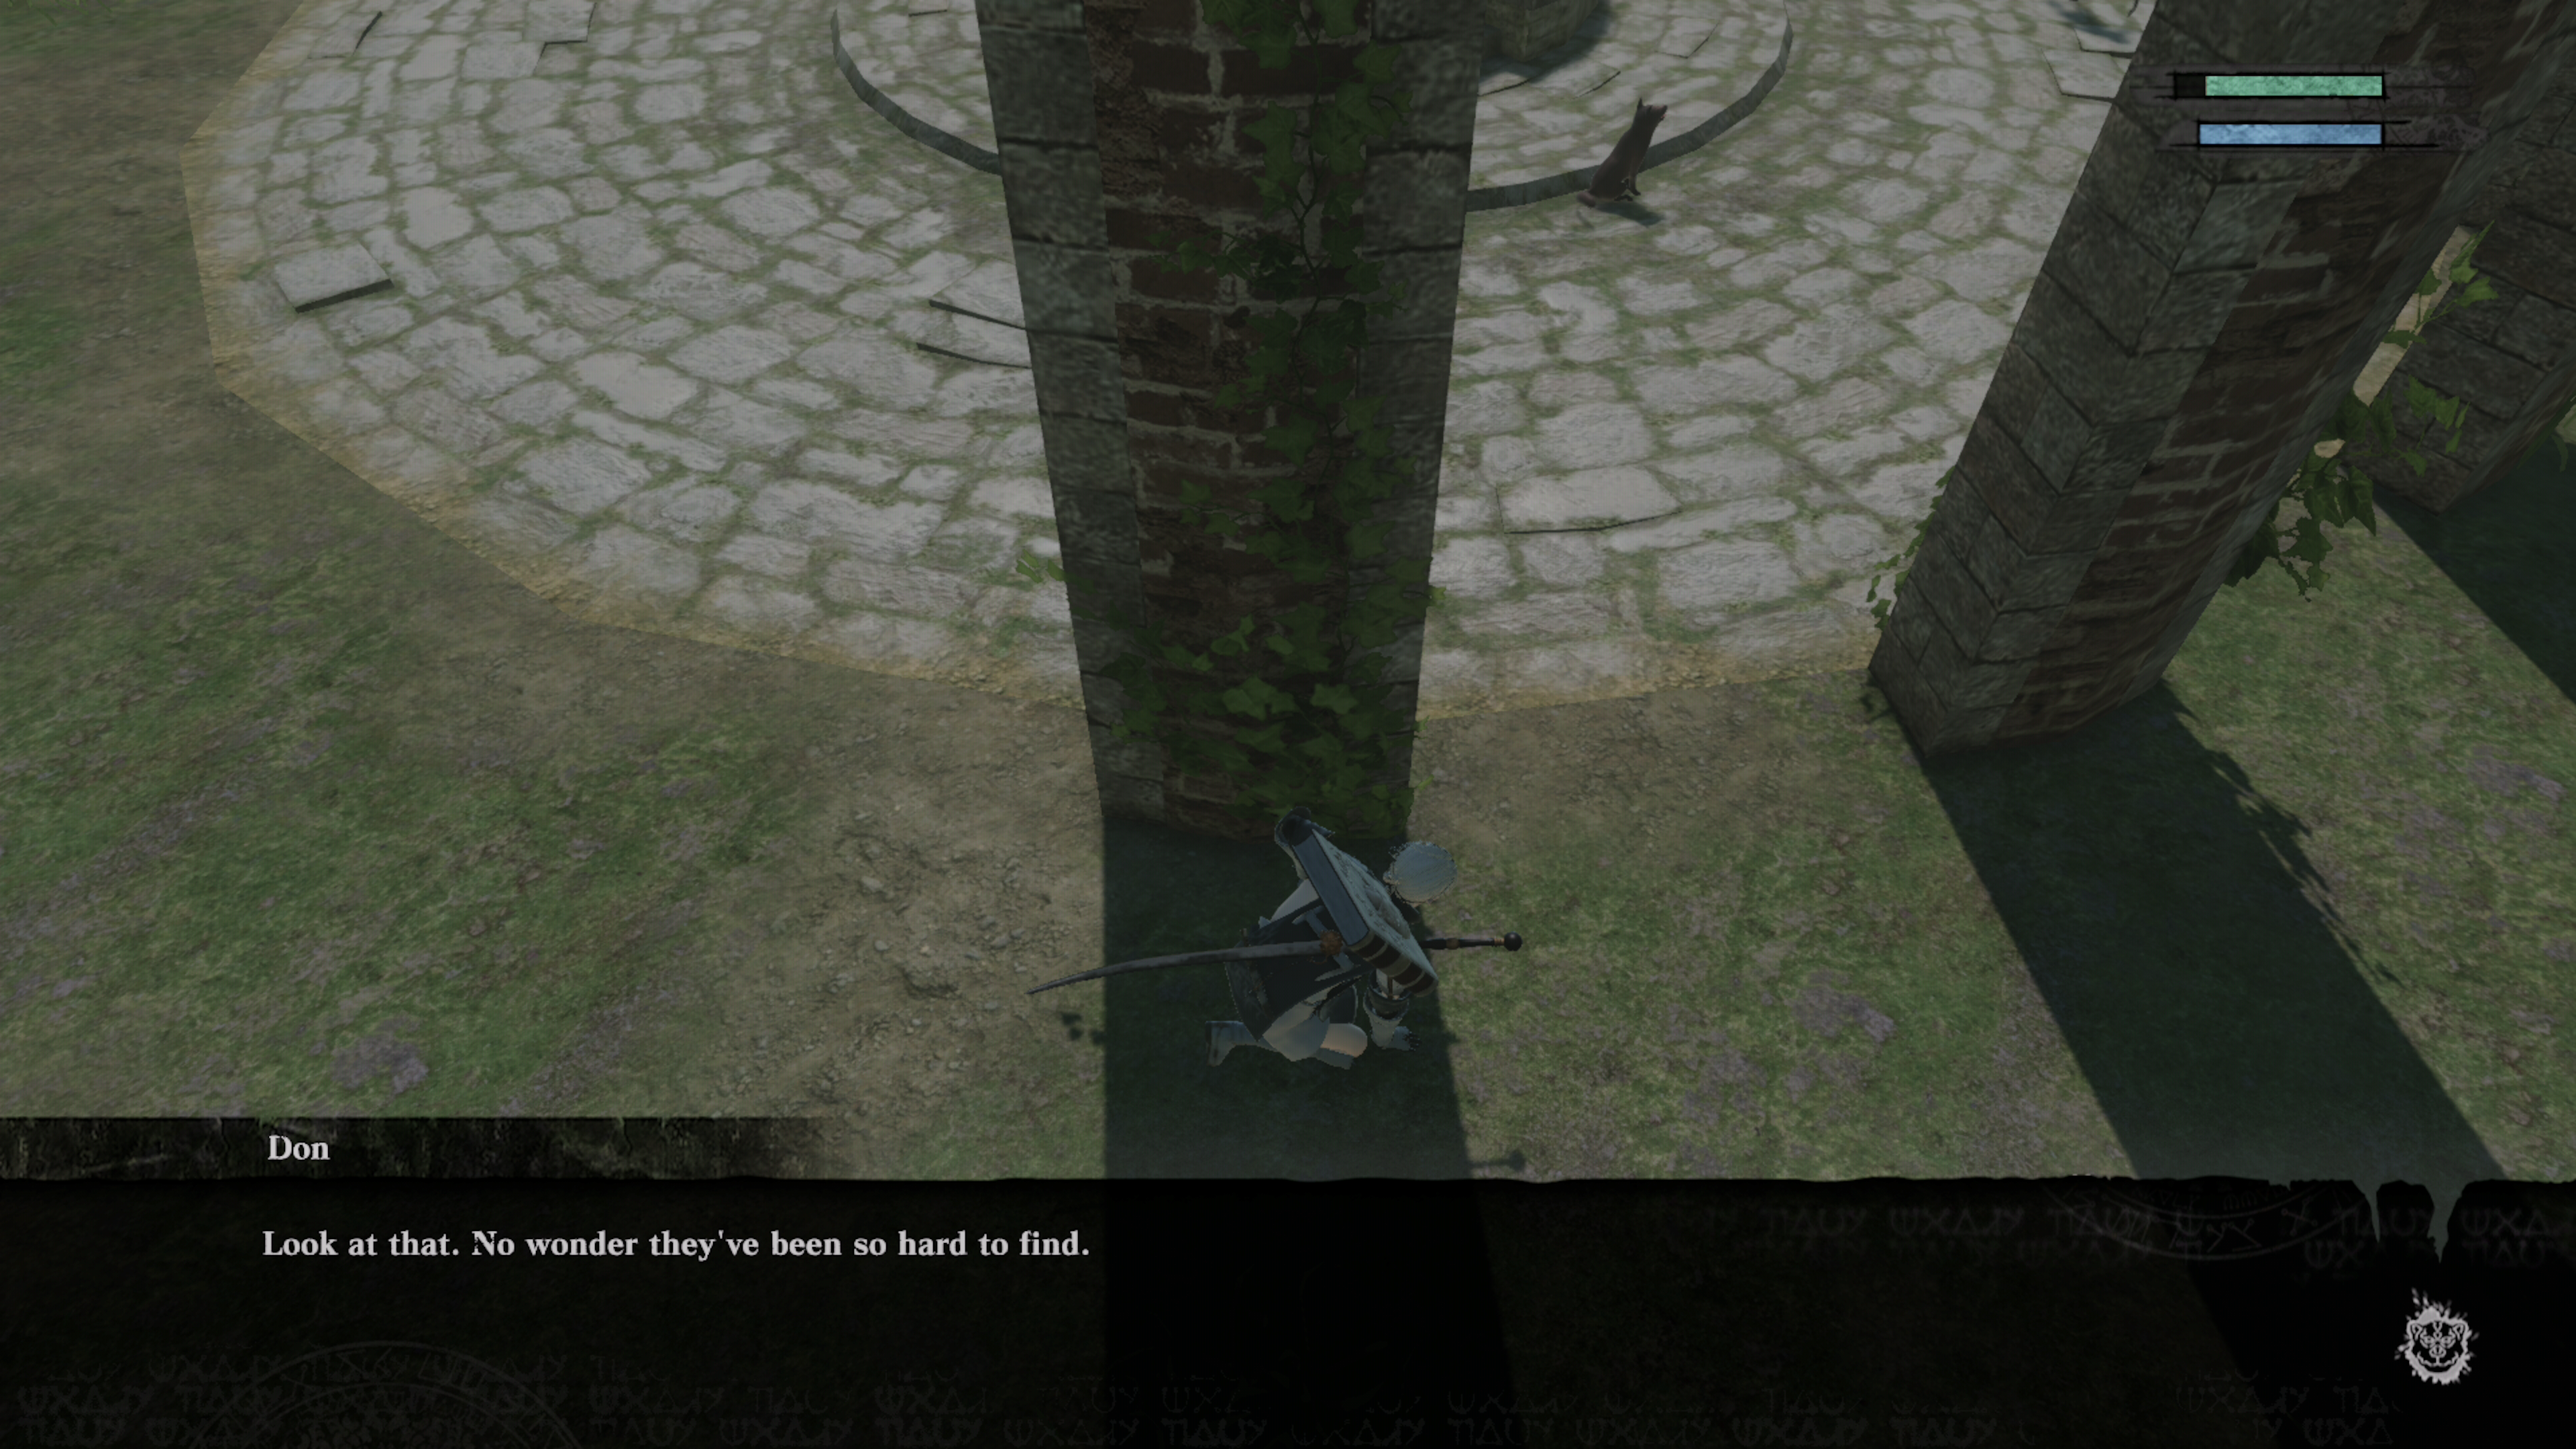
- Sidequest Guide: You need Fluorite. Try the Strange-Thing Shopkeeper in Facade; he’ll direct you to the Barren Temple. There’s Fluorite throughout the Temple, such as on the bridge before the room where you fought the boss. It can also spawn in the side rooms with spiders -- it will look like a normal white item pickup, often next to broken pillars. Return it to the quest giver.
- Reward: 30,000 Gold
The Littlest Hero
- Obtained: From the Facade Weapon Shop Owner.
- Sidequest Guide: First, you’ll need the Royal Compass, which you can get off the guard to the right of the King’s Mansion. Then go into the Desert and Sandstorm. You'll find an NPC (marked on your map) near the Sandstorm, but he'll run off. Make your way through the Sandstorm. When you find Wolves, you know you’re in the right place - go down the stairs and through the door, and kill the wolves.
- Reward: 10,000 Gold.

The Missing Girl
- Obtained: In Facade, from a woman near the Strange Shop.
- Sidequest Guide: Take several steps in and around Facade to locate the girl. In particular:
- Speak to a Masked Person outside the King’s Mansion.
- Then talk with another Masked Person near the Strange-Thing Shop.
- Your third target to speak to is on a roof, again not far from the Strange-Thing Shop.
- Once that’s done, head to the lower level of the town; there’s a Bloodstain down here. Examine it.
- The bloodstain is on the northwest side of town, just below the Strange-Thing Shop.
- Talk to the masked Treasury guard, then go talk to the watchman to the right of the town entrance.
- Walk out into the desert, run towards the first sandspout just outside of town, then return to the NPC north of the Strange-Thing Shop.
- Reward: 10,000 Gold
- Note: This is required to unlock Shadows of the Desert in Part 2.

As stated in our endings guide, you'll want to make sure to complete all the quests you want to in Part 1 before picking up the Vapor Moss for Popola. The Quests menu will list 50% completion if you've completed everything in Part 1.
Nier Replicant Side Quests List & Guide: Part 2
The second half of the game takes place after a little time skip, and unlike the first half of the game you can pick these up in New Game Plus - NG+ starts you off here, at the start of the second half of the game, meaning all of these quests will be reset and ready to be done.
A handful of insignificant quests here require you to have completed certain quests from the first half of the game, however, and all five parts of 'The Fisherman's Gambit' side quest will be available here too - they're the only part one side quests that carry over.
A few key side quests here have weapons as rewards - and these weapons are vital as they’re required to see three of the game’s endings. We’ve noted those below. Hit a link or scroll to see the quests and their guides:
- The Masterless Lighthouse
- The King’s Mask
- The Scattered Cargo
- The Strange Fate of the Jewel
- Thieves in Training
- The Fisherman’s Gambit Part 6-8 & The Fisherman’s Final Gambit
- Staying Afloat
- Contract for a Contractor
- The Creaky Waterwheel
- The Faded Fountain
- Life in the Sands
- The Damaged Map [Vital, Weapon Reward]
- A Bridge in Peril [Vital, Weapon Reward]
- Master of the Southern Plains
- A Child’s Final Chance
- A Tale of the Study
- Research Project
- The Great Tree
- The Promised Gift
- Learning a Trade
- Bon Appetit! 2
- A Memorable Knife
- The Shade Army
- A Shade Entombed [Vital, leads to Weapon Reward quest]
- A City Reborn
- Nightmares and Dust
- Disturbing the Sleep of Kings [Vital, Weapon Reward]
- Shadows of the Desert
- Search for the Shade
- Freesia
- The Despicable Man
- The Magical Stone [Recommended]
The Masterless Lighthouse
- Obtained: From a resident NPC outside the Lighthouse at Seafront town.
- Sidequest Guide: Obtain 10x Broken Lenses, 10x Broken Batteries, and 10x Mysterious Switch items, then return them to the NPC in question. All can be found as drops from enemies in the Junk Heap. To get them:
- Broken Lenses are rare to drop or find, but can be purchased from the Two Brothers Weapon shop near the Junk Heap, once it reopens.
- Broken Batteries drop from the flying robot enemies. They can be found in a hallway on 1F.
- Mysterious Switches drop from the boxy red-eyed robots you fight throughout the dungeon.
- Reward: 30,000 Gold
The King's Mask
- Obtained: In Facade, from the guard hanging out on the right-hand side of the entrance to the King’s Mansion.
- Sidequest Guide: Another fetch quest; the NPC needs Titanium Alloy and a Crystal. Get the Alloy from the robots in the Junk Heap, and the Crystal from inside the Barren Temple - or buy it from the Facade Material shop.
- Reward: 10,000 Gold
The Scattered Cargo
- Obtained: From an elderly NPC near the Seafront Town fountain - but only after getting Emil’s Letter from Popola.
- Sidequest Guide: You must recover 3 pieces of Cargo from a ship that was lost at sea; the Cargo will be found on the shoreline. Once done, you have a choice of where to return the cargo, which impacts your reward. They’re not difficult to spot, as they’re big boxes. Find them:
- On the Larger Beach in Seafront
- At the edge of the lake near the market in your Village,
- In the Northern Plains, on the shore at the lower level, below the bridge that leads to the Junk Heap.
- Reward: Differs depending on where you return the Cargo--
- If you return to the Client, you’ll get 20,000 Gold, a Discount at Seafront Item Shop, and a bunch of useful items added to that shop’s inventory.
- If you return to the Authorities, you’ll get 50,000 Gold.
The Strange Fate of the Jewel
- Obtained: From a woman at Seafront’s port, but only after getting Emil’s Letter from Popola.
- Sidequest Guide: You must find a treasure known as the Mermaid Tear. This is a step-by-step quest where you must follow leads to get a solution:
- First, talk to a woman near the Seafront Fountain.
- Then go to the Lighthouse - inside there are two letters relevant, left by the Lighthouse Lady.
- Now visit the Postman. Go into his back room by solving the crate puzzle. Examine the back of the room to Find the Mermaid Tear!
- After learning about the history of the Jewel, you’ll have a choice: bury it forever, or return it. This impacts your reward, but either way completes the quest -- it’s a question of conscience.
- Reward: Varies depending on if you Bury the Jewel or Deliver it-
- If you bury the jewel and act as if you didn’t find it, there will be no reward other than the quest being marked as complete.
- If you return the jewel, you’ll be given 10,000 Gold.
- If you sell the jewel to a store, you’ll also get 10,000 Gold for it, and you can then act as if you didn’t find it to the quest giver.
Thieves in Training
- Obtained: In your Home Village, from the Item Shopkeeper NPC, after getting Emil’s Letter from Popola.
- Sidequest Guide: You need to find the people who robbed the item store. Again, follow the breadcrumb trail of clues before returning to the shopkeep:
- Speak to the 3 villagers with quest speech bubbles in the marketplace. Each gives a clue.
- Go to the Waterwheel area behind the market; there’s two kids. Talk to them.
- Now speak to the father of the children in the tavern, and return to the shopkeep.
- Reward: 3000 Gold
The Fisherman's Gambit, Part 6 - 9
The Fisherman returns with more quests for those of you (there have to be some of you, right?) that love Nier Replicant’s glorious fishing mechanic. If you didn’t finish The Fisherman’s Gambit parts 1-5 in the first half of the game, they’ll still be available here. After they’re completed, The Fisherman’s Gambit parts 6-9 become available here in the second half.
- Obtained: From the Old Fisherman NPC found on the docks of Seafront.
- Sidequest Guide: Catch certain fish - which varies depending on the exact quest. If you're struggling to get fishing right, check out our Nier Replicant fishing guide.
- Part 6: Catch 3 Sandfish. Catch these at the desert ocean with a Lure. The fishing spot is near the fast travel boat on the west side of the desert.
- Note that unlike the fish so far, in order to catch the sandfish you need to hook the fish after the first bob/wiggle of the lure, not when it goes completely under. If you wait too long, you'll fail instantly.
- Part 7: Catch 3 Royal Fish - find them at the little Pond in the Eastern Road. Clear the area of goats before trying to fish, then use Earthworm bait.
- Part 8: Catch 2 Blue Marlin, which you can get by fishing at the Seafront Pier and using Sardines as bait.
- Note that this is caught like the Sandfish. That is, try to hook the fish with the first movement of the lure.
- The Fisherman’s Final Gambit (Part 9): Catch a Legendary Fish. You’re looking for a Hyneria. Catch one by using a Sardine as bait and fishing from the fast-travel boat in the Desert.
- Part 6: Catch 3 Sandfish. Catch these at the desert ocean with a Lure. The fishing spot is near the fast travel boat on the west side of the desert.
- Reward: Each quest completed in this line improves your fishing ability, and adds the fish you had to catch as part of the quest to the Fish Shop.
Staying Afloat
- Obtained: From a resident at Seafront’s port area.
- Sidequest Guide: The NPC needs certain materials to fix his boat. You need to get 5 Logs, 20 Dented Metal Boards, and 10 Stripped Bolts. Most of these sound like a Junk Heap job:
- In the Junk Heap, simply go on in and kill enemies and break open crates; you’ll get Stripped Bolts and Dented Metal Boards as fairly common drops.
- For the Logs, go to the Materials Shop in your home Village - you can buy them there.
- Reward: 20,000 Gold

Contract for a Contractor
- Obtained: From a man near the north gate of your Village, any time after you get Emil’s Letter from Popola.
- Sidequest Guide: Another materials fetching quest; you need a Memory Alloy, 10 Titanium Alloys, and 10 Broken Motors. As you’d expect, these are Junk Heap loot items, dropping from the robots there:
- Broken Motors are a common drop. One place to get them are from the flying enemies on 1F.
- Titanium Alloy & Memory Alloy drop from the larger enemies - but very rarely. They’re a more common drop from the same enemies on the 2nd floor of Junk Heap, which will open up later in the game. So you may want to leave this quest until then.
- Reward: 30,000 Gold
The Creaky Waterwheel
- Obtained: From a woman standing near the item shop in your home Village. Only available after getting Emils’ Letter from Popola.
- Sidequest Guide: Another material gathering quest! Joy of joys. Step-by-step:
- Go to Facade’s Strange-Thing shop. The shopkeep asks for 10 Iron Ore and 10 Logs to make the parts you need.
- You can get Iron Ore in the desert, or just buy it from Two Brothers Weaponry at the Junk Heap.
- Logs can be purchased from the Materials Shop in your Village.
- Return these items to the Strange-Thing Shop, get the parts, and then return to the quest giver.
- Reward: 10,000 Gold
The Faded Fountain
- Obtained: From a guard in your home Village - he’s near the marketplace fountain. Only available after completing ‘The Creaky Waterfall’ above.
- Sidequest Guide: Now you need to gather materials to fix the fountain. The flow is much the same as the previous quest:
- Go to the Strange-Thing Shop in Facade for the materials. The shopkeep needs materials to make the materials. Of course.
- You need 10 Broken Motors and 10 Severed Cables - Junk Heap drops. Head to the Junk Heap and kill a bunch of robots ‘til you have what you need.
- Both of these can be found from the swarm of flying robots on 1F.
- Return to the Strange-Thing Shop, get the items you need, and then return to the quest giving NPC.
- Reward: 20,000 Gold
Life in the Sands
- Obtained: From a Masked Woman near the mailbox at Facade’s Entrance, but only after getting Emil’s Letter from Popola.
- Sidequest Guide: You need to get the quest giver 10 Pink Moonflower Seeds. You can obtain these through crossbreeding flowers in your garden. There’s always an element of chance to this, however, so a lot of it is just down to pure dumb luck.
- To get Hybrid Flowers, you need to plant seeds next to each other in the same row. Watering and Fertilizer will impact the number of seeds, but not the outcome in general.
- First, plant Blue & Gold seeds in a row, alternating. Blue-Gold-Blue-Gold, repeat. As these grow, you’ll have a roughly 20% chance to get Indigo Seeds.
- Now, plant a row of Red & Indigo Seeds in the same way, alternating. This gives you a 5% chance to get the Pink Moonflower Seeds you need. You may have to repeat this several times to get what you need.
- Flower planting is based on the real world time on your console clock, but in the classic version of Nier Replicant/Gestalt you could game this by changing the console clock/system time to trick the game. Otherwise, you might be waiting for real-world days to pass.
- If you missed it in the first half of the game, you can get the ‘Cultivator’s Handbook’ item to unlock the garden from the Florist for 5000 Gold.
- Reward: 10,000 Gold
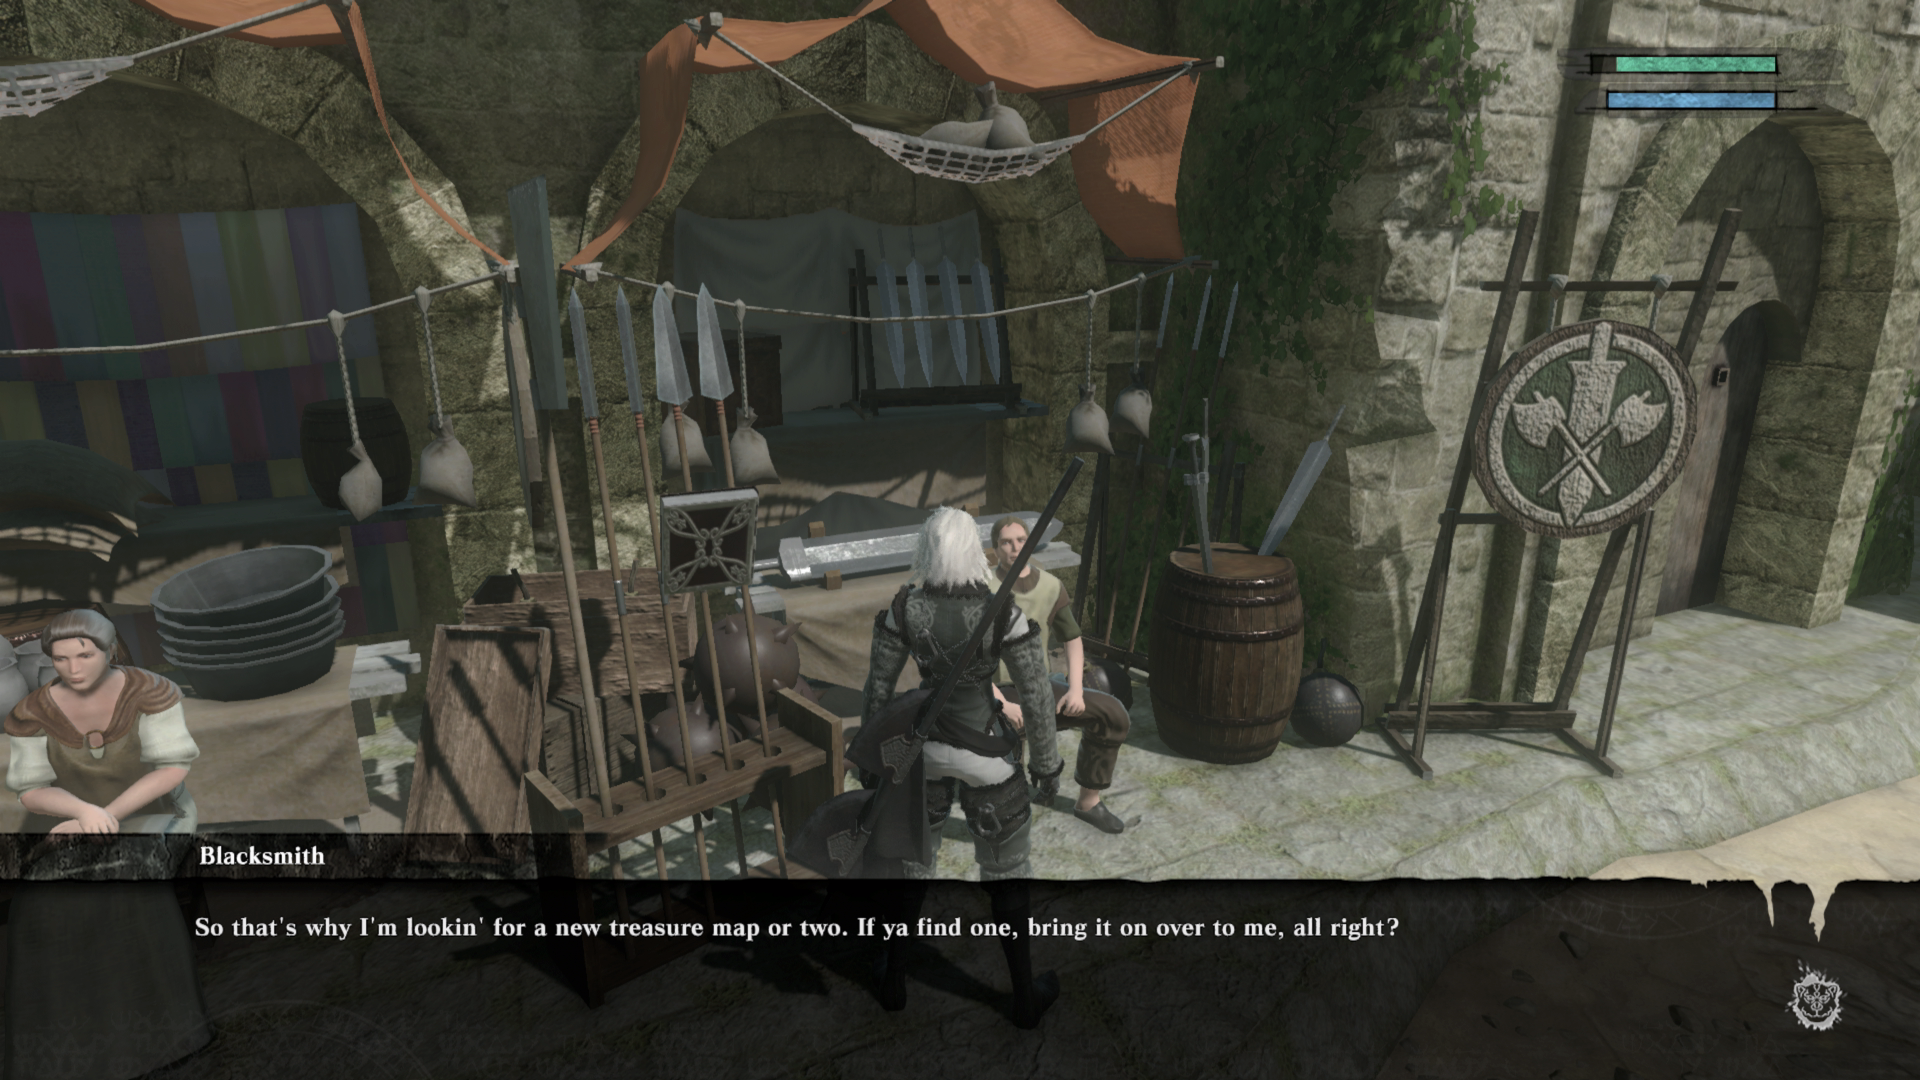
The Damaged Map
- Obtained: From the Blacksmith NPC in your home Village. Available any time after you free Kaine.
- Sidequest Guide: You’re asked to find a treasure map, leading to a lengthy step-by-step quest…
- First, try the Library. Among the bookshelves on the 2nd floor you’ll find a Treasure Map.
- Take the map to the Strange-Thing shop in Facade. The shopkeeper, as ever, needs some materials to repair the map: 3 Machine Oil, 3 Eggplant, and 3 Goat Hide.
- Eggplant can be purchased from the Village Grocer.
- Goat Hide can be obtained by slaughtering goats on the Eastern Road.
- Machine Oil drops from the flying robots in the Junk Heap dungeon. They are unfortunately quite a rare drop; we've got a guide to show how to get the Machine Oil you need.
- Return to the Strange-Thing Shop, hand over the materials, and have the Damaged Map restored to its former glory.
- Now go to the Blacksmith’s wife in your village. She sends you to find the treasure. Check-in with Popola, so she can read it.
- Go to the Lost Shrine. You’ll find the treasure in a room on the 2nd Floor.
- The treasure is a glowing object to the northwest side of 2F. It's the opposite direction of the string of rooms with blue cubes leading to the ladder to 3F.
- Return this treasure to the Blacksmith’s wife. She trades it with you for a Hair Ornament.
- Sell the Hair Ornament to Facade’s Strange-Thing shop to get a Gold Coin.
- Trade the Gold Coin with the Blacksmith for another treasure map, the Marked Map.
- Have Popola decipher the Marked Map at the Library.
- Head to the Northern Plains, where the bridge starts out. Under the bridge, there’s a glowing spot - this is your reward.
- Reward: Labyrinth’s Shout, a weapon which is required for the later endings of Nier Replicant.
A Bridge in Peril
- Obtained: From a guard near the Northern Gate, after you get the key fragment from the Lost Shrine in the main story.
- You can actually accept this quest as soon as you take the boat to the Lost Shrine's rear entrance. Simply return by speaking to the ferryman at the dock.
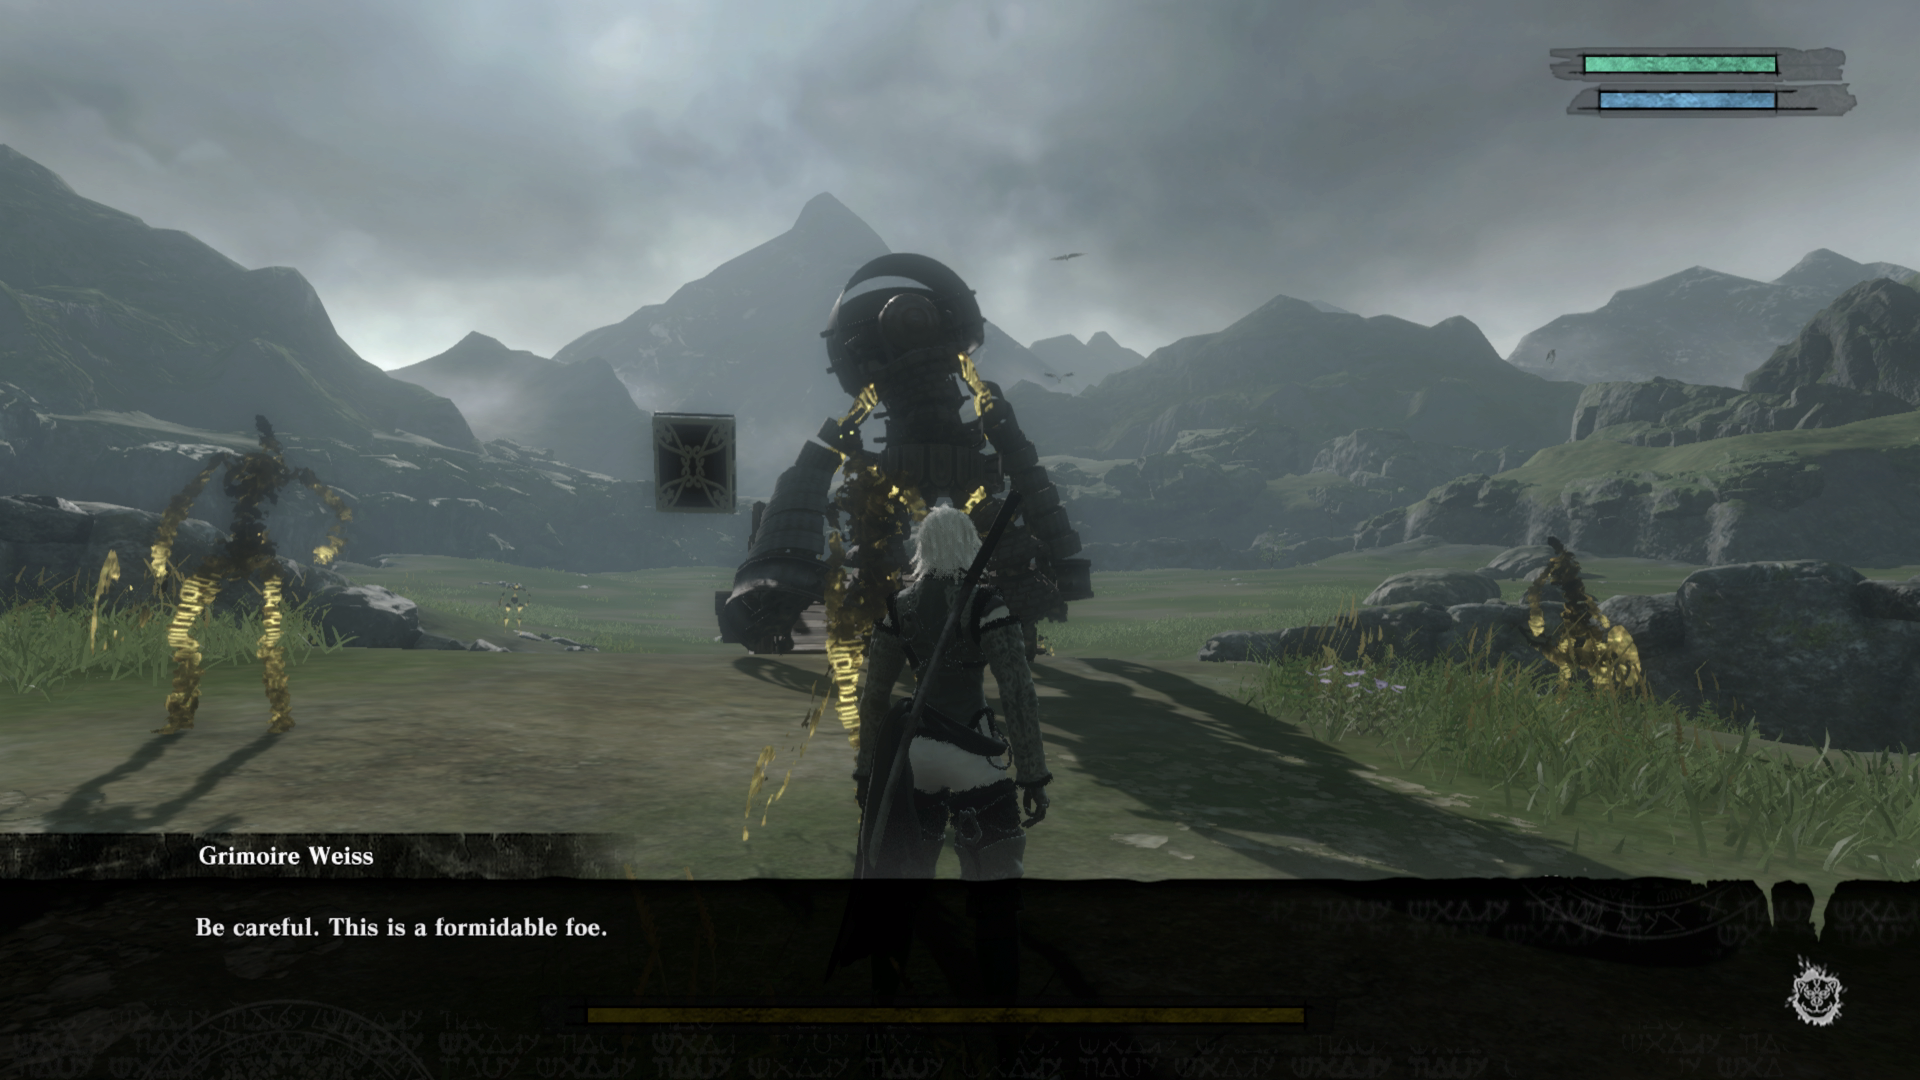
- Sidequest Guide: Kill the Large Shade that shows up near the Northern Plains Bridge. The shade doesn’t always spawn - it usually only appears in Cloudy Weather. You can keep exiting and re-entering the area to force its appearance. Time may play a factor, too, so it may be better to simply leave and try again later on.
- Reward: 30,000 Gold & Labyrinth’s Whisper, a weapon that you’ll need to see some of Nier Replicant’s endings.
Master of the Southern Plains
- Obtained: Yet another quest from the Seafront Postman. Only available after getting the key fragment from the Lost Shrine in the story.
- You can actually accept this quest as soon as you take the boat to the Lost Shrine's rear entrance. Simply return by speaking to the ferryman at the dock.
- Sidequest Guide: Slay another large shade. This appears in the Southern Plains, but again, isn’t always guaranteed to spawn. Overcast weather appears to make its appearance more likely, and sometimes leaving and re-entering the area can force a spawn. Generally, we recommend you grab the quest and just keep playing - and kill it when you happen upon it.
- Reward: 30,000 Gold
A Child's Final Chance
- Obtained: From the Grocer in your home Village, once you take the boat to the Lost Shrine's rear entrance. Simply return by speaking to the ferryman at the dock.
- Sidequest Guide: Follow the clues to uncover the mystery of the mysterious illness:
- Talk to the three kids in the Village - two around the market, and one on the bridge by the Waterwheel.
- Go to the Forest of Myth. Examine the glowing spot at the large tree, you'll discover Poisonous Berries.
- Try to leave for a cutscene.
- Take the resultant Antidote back to the quest giver.
- Reward: 10,000 Gold, discount at the Grocer
A Tale of the Study
- Obtained: From Sebastian the Butler at Emil’s Mansion, the Manor. after you get the key fragment from the Lost Shrine in the main story.
- Sidequest Guide: Make your way to the study of the mansion (marked on your map), and defeat the shade there. Simple.
- Reward: 15,000 Gold
- Note: Consider equipping a weak one-handed sword to get the trophy for a 100-hit combo here, though you might get it just in the effort of beating him.
Research Project
- Obtained: From the Butler of Emil’s Mansion, but only after you’ve completed ‘A Tale of the Study’. You'll have to leave and re-enter the building if you haven't.
- Sidequest Guide: You must explore the underground basement of the Manor. Return to the dungeon, heading down to the B2F level; check the rooms down here in the center section to find a list as a glowing loot item. From here, go to Seafront and check a house above the entrance - speak to the NPC inside to get a letter. Return that letter to the Butler.
- Reward: Story scene
The Great Tree
- Obtained: From an NPC in Seafront standing right by the Item Shop - but only after you acquire the Lost Shrine key fragment.
- Sidequest Guide: This guy wants a piece of the root from the Lost Shrine’s great tree. Return to the Lost Shrine, engage in some battles, and grab the tree root piece.
- Reward: 20,000 Gold
The Promised Gift
- Obtained: From the ferryman after you acquire the Lost Shrine key fragment and have visited either the Forest of Myth or Junk Heap.
- Sidequest Guide: The ferryman will want to get a gift for his wife, and you'll go through some dialogue options to arrive at needing to fetch a Red Jewel from the Strange-Things Shop in Facade. Talk to that shopkeeper, then return to the ferryman and go to Seafront. The man's house is near the Item Shop.
- Reward: 3,000 Gold and a scene
- Note: It's best to do this quest soon as soon as you first accept it because the ferryman will be unavailable shortly thereafter. Also, in order to take the boat again afterward, you'll have to leave and re-enter Seafront.
Learning a Trade
- Obtained: From a man aboard the ship that’s docked at Seafront. However, this quest has two prerequisites; you must one key fragment and have visited the Junk Heap B2, and you must have completed ‘The New Merchant in Town’ in the first half of the game.
- Sidequest Guide: Acquire a Mandrake Leaf for the quest giver. This can be purchased from the Strange-Thing shop in Facade. Then, he’ll ask for Toad Oil. Buy this from the brother in the Junk Heap shop - keep in mind that he’s absent from the shop in the early part of the game’s second half, so you might have to wait for his return.
- Reward: 20,000 Gold
Bon Appetit! 2
- Obtained: From the Seafront town Tavern Keeper once you have two key fragments. You also must have completed ‘Bon Appetit!’ in the first half of the game, however.
- Sidequest Guide: You need to gather 10 Giant Catfish and 10 Bags of Rice:
- To get 10 Catfish, fish at the pond on the Eastern Road, using Carp as your bait. You can get Carp from the Village Lake using Earthworms, which are an easily buyable bait item. Catfish is like the Sandfish and Marlin in that you have to hook it after the first bob, which will be a harder tug at the lure.
- To get 10 Bags of Rice, buy it from the Seafront Grocery Store. Alternatively, you can buy at the Village Florist and harvest it yourself.
- Reward: 20,000 Gold
The Shade Army
- Obtained: Speak to Gideon at the Junk Heap - only available after getting the Law of Robotics key fragment.
- Sidequest Guide: You need to get Broken Batteries and Broken Motors to repair the Elevator. You know where this is headed… go into the Factory and gather the loot by killing robots. Go back to Gideon, and then go up to 2F of the factory. Kill all the shades, and return. Once again, head to your favorite hallway in the Junk Heap.
- Reward: 30,000 Gold
A Memorable Knife
- Obtained: Speak to the Seafront Tavern Keeper, after you’ve acquired the Law of Robotics key fragment.
- Sidequest Guide: Go to the Junk Heap Weapon Shop to purchase the weapon the Tavern Keeper wants. The brother needs items to make it - 10 Titanium Alloys, which can be had off the large robots on the B2 floor of the factory dungeon as a rare drop. Hand them over to get the Elite Kitchen Knife, then return it to the Tavern Keeper.
- Reward: 20,000 Gold
A Shade Entombed
- Obtained: From a guard standing near Facade’s entrance, but only after you get the Loyal Cerberus key fragment during the story.
- Sidequest Guide: There’s a bunch of Bandits in the Barren Temple. Return to the temple and work through it again, only this time in combat arenas. At the end, defeat a boss Shade.
- Reward: 20,000 Gold, unlocks the 'Disturbing the Sleep of Kings' quest.
A City Reborn
- Obtained: From a guard at the King’s Mansion in Facade after getting the Loyal Cerberus key fragment.
- Sidequest Guide: Another damn fetch quest! Ahhh! This time, you need 20 Iron ore, 20 Clay, and 20 Logs. You may as well buy them, as it saves time and you stand to earn way more than you’d spend.
- Buy the Iron ore from Gideon at the Two Brothers Weapon shop near the Junk Heap. You can also collect it from the desert, if you want to waste time.
- Logs can be purchased from the home Village Material Shop, or collected in the plains.
- Clay can be purchased from the Facade Material shop, or found in the desert.
- Reward: 50,000 Gold
Nightmares and Dust
- Obtained: From an NPC near the entrance of Facade, after getting the Loyal Cerberus key fragment.
- Sidequest Guide: You’ll need to investigate disappearances by heading to the sandstorms in the desert. Walk around until you find a Shade. Defeat it, and report back.
- Reward: 30,000 Gold
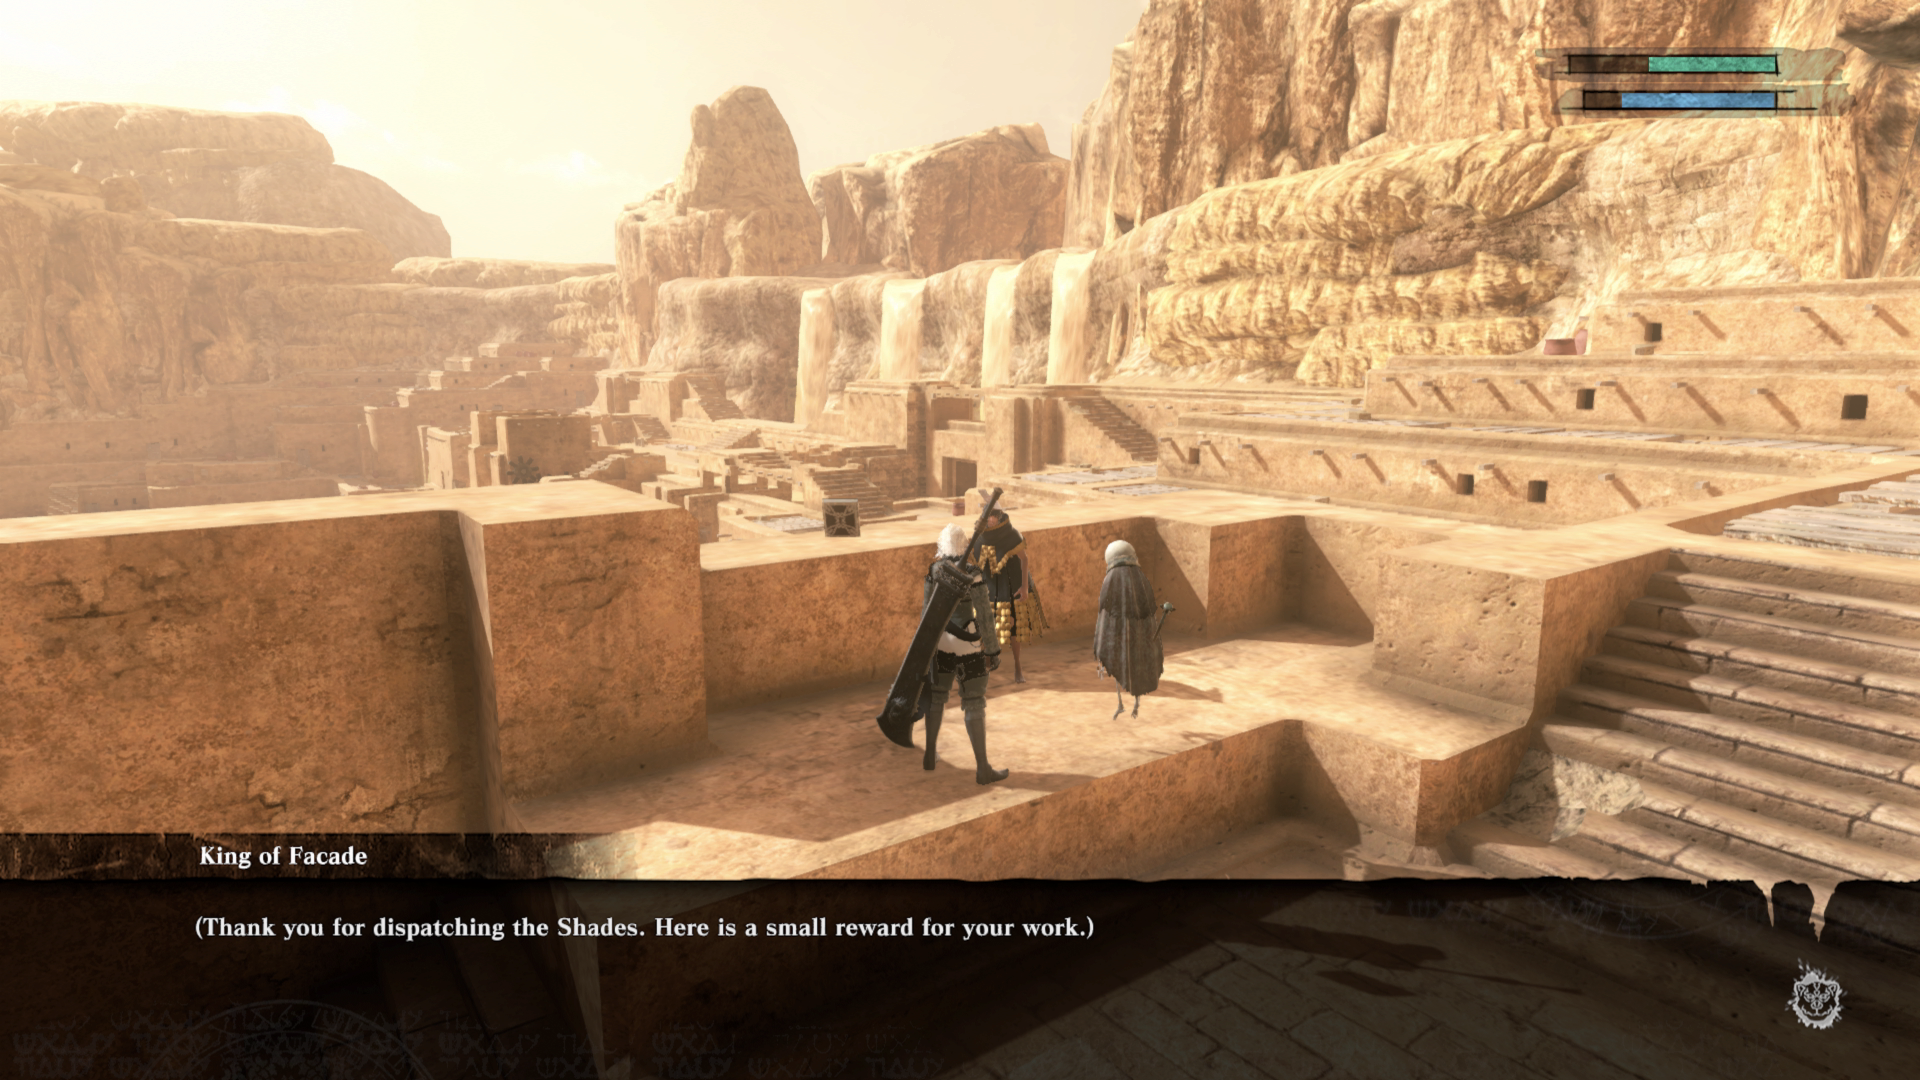
Disturbing the Sleep of Kings
- Obtained: From the King of Facade, who can be found on the roof of his mansion after getting the Loyal Cerberus key fragment in the story. You also must have completed ‘A Shade Entombed’ from earlier in this list.
- Sidequest Guide: There’s a bunch of Shades in the Barren Temple; you need to go and kill all of the shades within. Travel through the whole dungeon and beat the shades. You won't have to reclear the rooms from the prior quest, at least. There's a more in-depth Disturbing the Sleep of Kings walkthrough if you need it.
- Reward: Labyrinth’s Song, a weapon which is required for the later endings of Nier Replicant.
Shadows of the Desert
- Obtained: Speak to the masked person standing near the Ferry in the Desert - but only after acquiring the Sacrifice Key Fragment in the story and completed The Missing Girl in Part 1. Keep in mind, this quest doesn’t appear in Grimoire Weiss until after it is completed.
- Sidequest Guide: After speaking to the girl near the boat, if you leave and re-enter the desert you’ll now find the woman in front of Facade. Try entering the desert fro, Facade to get her to show. Leave and re-enter the area again, and talk to her one last time. She’ll turn into a shade, and spawn a bunch of friends. Defeat them all.
- Reward: 30,000 Gold
Search for the Shade
- Obtained: At your home Village, talk to the guard that’s near the southern exit. We could not accept this quest until getting the Sacrifice fragment.
- Sidequest Guide: There’s supposedly a shade in the village. To track it down, you need to follow some basic steps-
- First, go check the mouth of the village river, straight north from the north gate to town.
- Now go back and talk to the little girl, who sends you to the front of the library. Go there.
- Head to the market, and chat to three villagers there - then back to the little girl.
- Through deduction and a spot of reverse psychology, you’re now sent to the hill atop the village - there’s stairs near the market entrance. At the cliff edge, you’ll find the shade. Then return to the guard.
- Reward: 5000 Gold
Freesia
- Obtained: In Seafront Town, from a man on the roof above the Blacksmith. Only available after acquiring the key fragment found at The Aerie as part of the story. You also must have completed ‘Letter to a Lover’ in part 1.
- Sidequest Guide: You must deliver a Freesia Flower to the Facade Material shop. Take the flower there, and return for a reward.
- Reward: 10,000 Gold
The Despicable Man
- Obtained: From a woman in the market of your home village, after you’ve got three or four key fragments in the main story. We had the Law of Robotics and The Memory Tree fragments.
- Sidequest Guide: You’re asked to track down a man wearing a golden necklace, which means it’s time to play detective and follow a trail of clues:
- Speak to people in the village to gather clues, in particular the guard at the northern gate.
- When suggested to head there, go to the Forest of Myth. Talk to an NPC near the big tree here.
- Now go to Seafront town, and speak with a female resident standing near a barrel on the east side of the town.
- Next, talk to the Apprentice Postman, who can be found right outside the Post Office; he’s in a red hat.
- Now got to the main high street of Seafront. There’s an NPC sitting on a crate above the Materials Shop - talk to him.
- Finally, go to the Junk Heap and speak to the brother in the Weapon Upgrade shop.
- Return to the woman in your home village.
- Reward: 15,000 Gold
The Magical Stone
- Obtained: From a Fortune Teller NPC in the Forest of Myth - but only right towards the end of the game, after getting all 5 key fragments in the story.
- Sidequest Guide: This is a very unique end-game quest, with a few different steps to follow...
- After talking to the quest, giver, go to Popola in the Village about the task at hand.
- This directs you to the Lost Shrine; you’ll need to make your way back to the roof.
- You can use a blue box that’s on the right-hand side of the Shrine's roof- push it towards the big root against the broken wall and climb up to find another block and some shades.
- Kill the shades and jump on the block to get higher.
- Kill the big shade that you find to get the Eye of Power. Double back to the woman, and enjoy the following scene.
- During the scene, you can pick up the Iron Pipe weapon in a familiar place from the very start of your adventure.
- Reward: 10,000 Gold