
Radical Dreamers Walkthrough Guide
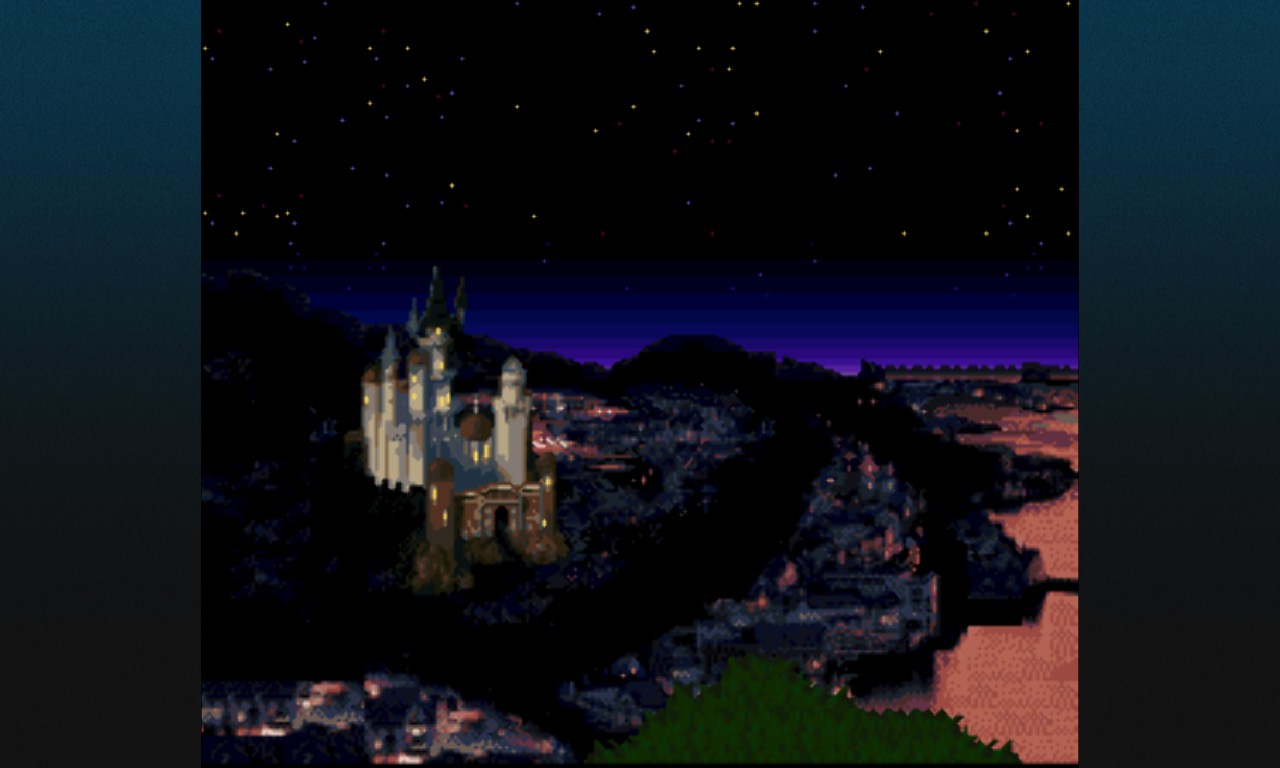
Radical Dreamers finally has an official release in the West. Originally only available in Japan via a satellite download service for the Super Famicom, this unique piece of the Chrono Cross and Chrono Trigger series has finally been repackaged for gamers outside Japan as a part of a new HD Remaster of Chrono Cross, which is appropriately subtitled The Radical Dreamers Edition.
Radical Dreamers is an interesting beast; a visual novel sequel to Chrono Trigger developed in a very short period of time by key staff on that title. Chrono Trigger and Cross writer Masato Kato has in the past described the development as being driven by the feeling of there being “unfinished business” from Chrono Trigger.
It’s a short experience, lasting only a couple of hours - but we know a fair number of you will just want to push through this to experience the story in order to get to the proper RPG, Chrono Cross. This full Radical Dreamers walkthrough will help you with just that - providing the answers for a critical-path playthrough of this story. Before we get to that, a few notes on where this sits in the canon…
How Radical Dreamers fits into the Chrono Chronology
Do you need to play Radical Dreamers to Chrono Cross? Well, no. We barely talk about Radical Dreamers in our guide on how Chrono Cross connects to Chrono Trigger, for instance - and that’s because this is ultimately a non-canon adventure.
While Radical Dreamers was conceived as a way of tying up loose ends from Chrono Trigger, it was also a rushed development - and that led Kato and other key staff to consider how they could follow-up on its ideas with a full-blown game. That led to Chrono Cross, which is a full sequel.
Chrono Cross lifts many ideas from Radical Dreamers including characters, story elements, and post-Trigger lore revelations - but the two are not connected in a timeline sense. In fact, they outright contradict each other in many ways.
With that said, Radical Dreamers is interesting for three reasons. First, it was initially written as a canon sequel to Trigger, only to later be usurped by Cross. Second, it features multiple small narrative reveals that are relevant to both of the main Chrono games. Finally, in a series about time travel and multiple dimensions, one can assume any story is still true, just in a parallel universe - and indeed, Chrono Cross hints that Radical Dreamers does still take place - just in another dimension. To an extent, it even sheds a little light on some aspects of the Chrono Cross endings.
More than anything, though, it’s an amazing story, brilliantly delivered - and it’s well worth playing. Heading in to play now? Well, then it’s time to read our walkthrough…
Radical Dreamers Walkthrough
Radical Dreamers takes the form of a classic text-based adventure, so you’ll be navigating around a dark mansion and making choices in text to advance things. Your choices will help determine the path of the story, and can lead to your death if you’re not careful.
This walkthrough presents a guide to the main ‘critical path’ of Radical Dreamers, which leads to the true ending of the story. Beyond that, there’s also a range of optional endings you can reach after finishing the story once - these offer various skits and bonuses, but do not advance the actual story.
There are two important stats to be aware of throughout Radical Dreamers: your HP, and a stat that tracks Kid’s opinion of Serge. If your HP falls too low, it’s Game Over, meanwhile Kid’s opinion of you can affect the end of the story. This guide will ensure both remain at the correct level, so long as you follow it precisely.
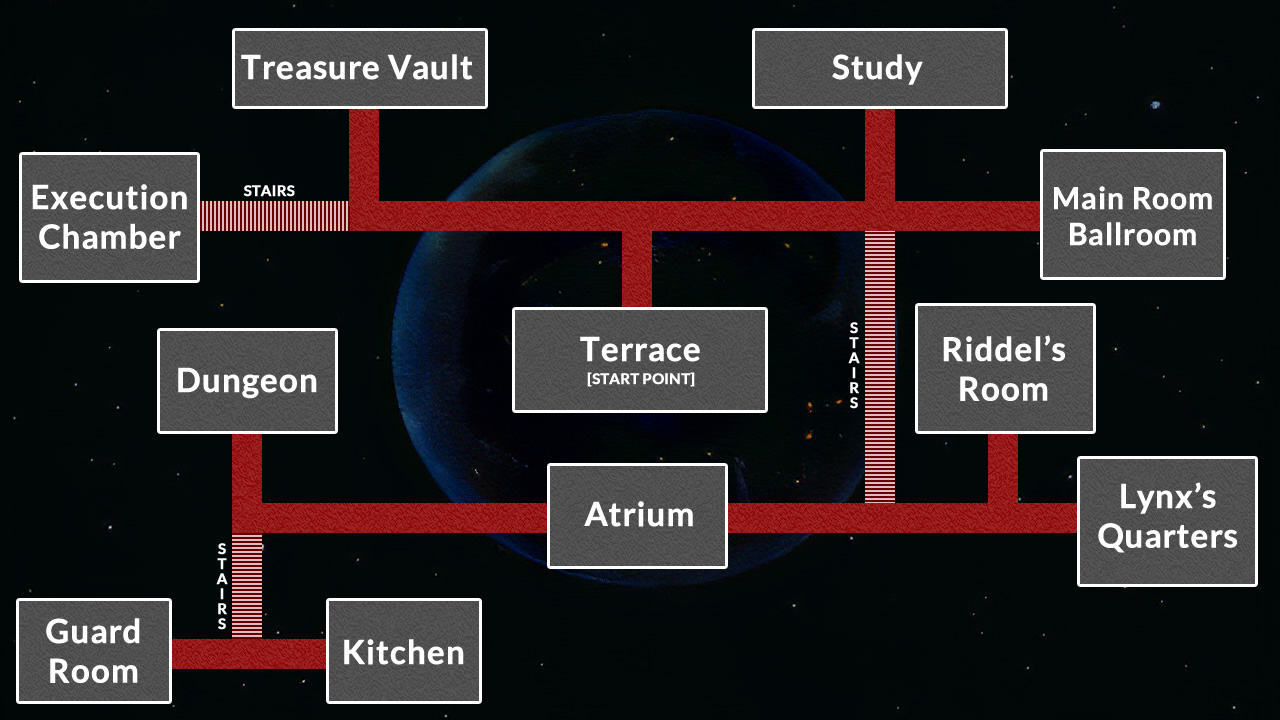
While not required, as we give directions at each step, here's a Radical Dreamers map:
A Note about Random Encounters
Because Radical Dreamers is related to Chrono Cross and Trigger, it does keep one traditional RPG element intact - random encounters. As you explore the mysterious manor, there’s a chance that you’ll be flung into one of a few types of random battle encounters. Battles play out like everything else - with dialogue choices that determine your fate.
This guide can’t predict random encounters, so while it does contain battles, it only contains compulsory ones. If you end up in a battle the guide does not mention, that means you’ve either taken a wrong turn, or ended up in a random encounter. At the very end of the guide, we’ve got some suggestions for dialogue choices to beat each random encounter, too. Even following this guide, it pays to save often in case a random encounter trips you up.
Battle VS Feral Wildcats
- On the first option, attack - this deals damage, and increases Kid’s opinion of you.
- On the second option, attack again - both dealing and taking damage, but also raising Kid’s opinion again.
- After the battle, say “We’re just getting started!”, raising your relationship stat with Kid further still.
Entering the Manor & Riddel’s Room
- You’ll now be inside the manor. On the map, you will be exiting the TERRACE. The choices continue, but now it’s about what direction to head in. We’ll give you directions, but you can also use the map to navigate.
- First, go left; “We decided to go left down the corridor”.
- Now, at the 3-way branch, go down the stairs; “We went down the stairs.”
- At the bottom of the stairs, go right; “We took the passageway to the right.”
- You’ll come across an ornate door - go inside; “We went inside.” This is RIDDEL’S ROOM on the map.
- When choosing where to search, try the chest of drawers; “I opened the chest of drawers.” This results in an extra conversation that raises Kid’s opinion further.
Lynx’s Quarters and the Mirror
- When you leave RIDDEL’S ROOM, you’ll be given a choice of directions.
- Choose to go right; “We took the passage to the right.”
- At the immaculately polished door, choose to go inside; “We went inside.” This is LYNX’S QUARTERS.
- To the mirror, focus on Kid; “I asked about Kid.” This results in an optional story scene. Despite how this seems, it does not negatively impact your relationship with Kid.
Visit to the Library
- After leaving LYNX’S QUARTERS, you’ll end up back outside RIDDEL’S ROOM.
- At that room, choose to carry on down the corridor; “We continued on our way.”
- Next, you’ll want to head back up the stairs; “We took the left passage toward the stairs leading upward.”
- At the top of the stairs, take the side passage; “We took the side passage.”
- At the immaculately polished door, go inside; “We went inside.” This room is the STUDY
- When given the chance, look at the desk; “I checked the desk.”
- Choose to hide beneath the desk; “Hide under the desk!”, unlocking some dialogue that raises your relationship at the cost of a few HP.
The Clocktower and the Crone
- After Kid leaves the STUDY, you’ll end up back at the same intersection at the top of the stairs.
- This time, go right, in the direction of the TERRACE; “We took the right branch to the terrace.”
- When asked, keep on going the way you are; “We kept following the corridor.”
- You’ll now come across an ancient-looking door - enter it; “We opened the door.” This leads to the CLOCKTOWER STORAGE.
- When accosted by the old lady, tell her the truth; “Defiantly tell her she was right.” This will make you an ally, with a story told.
- When offered, agree to be healed, and the woman will heal some of the HP you’ve lost up until now.
A Close Shave
- After those events, you’ll be back in the corridor.
- Choose to go right; “We went right down the corridor.”
- You’ll reach a door meant to keep something safe - open them; “We went inside.”
- The door is locked, so move on; “We continued on.”
- You’ll go up some stairs and reach an old, heavy door - open it; “We went inside.” This, I’m afraid, is the EXECUTION CHAMBER.
- When things get hairy, go for the door; “We tried to barge the door down!”
The Mirror’s Answer
- At your next choice, you’ll be back at the big door we couldn’t open before. Ultimately, we want to retrace our steps back to LYNX’S QUARTERS. Here’s how:
- You still can’t open the heavy door, so keep moving; “We continued on.”
- Keep moving again when you’re asked; “We kept moving on.”
- When you reach the Terrace, ignore it and keep going; “We kept following the corridor.”
- At the stairs, choose to go down them again; “We went down the stairs.”
- At the bottom of the stairs, go right; “We took the passageway to the right.”
- At RIDDEL’S ROOM, don’t enter - just keep moving down the corridor.
- Back at LYNX’S QUARTERS, enter; “We went inside.”
- Inside, you’ll want to ask the mirror about the key to the door upstairs; “I asked it where the key to the vault was.”
Time for Treasure
- Your goal now is to head back to the STUDY, which also doubles as a library. You might already know the way, but for the record:
- Go past RIDDEL’S ROOM.
- Turn left at the intersection and head up the stairs.
- Take the side passage, toward the study.
- Enter the Study.
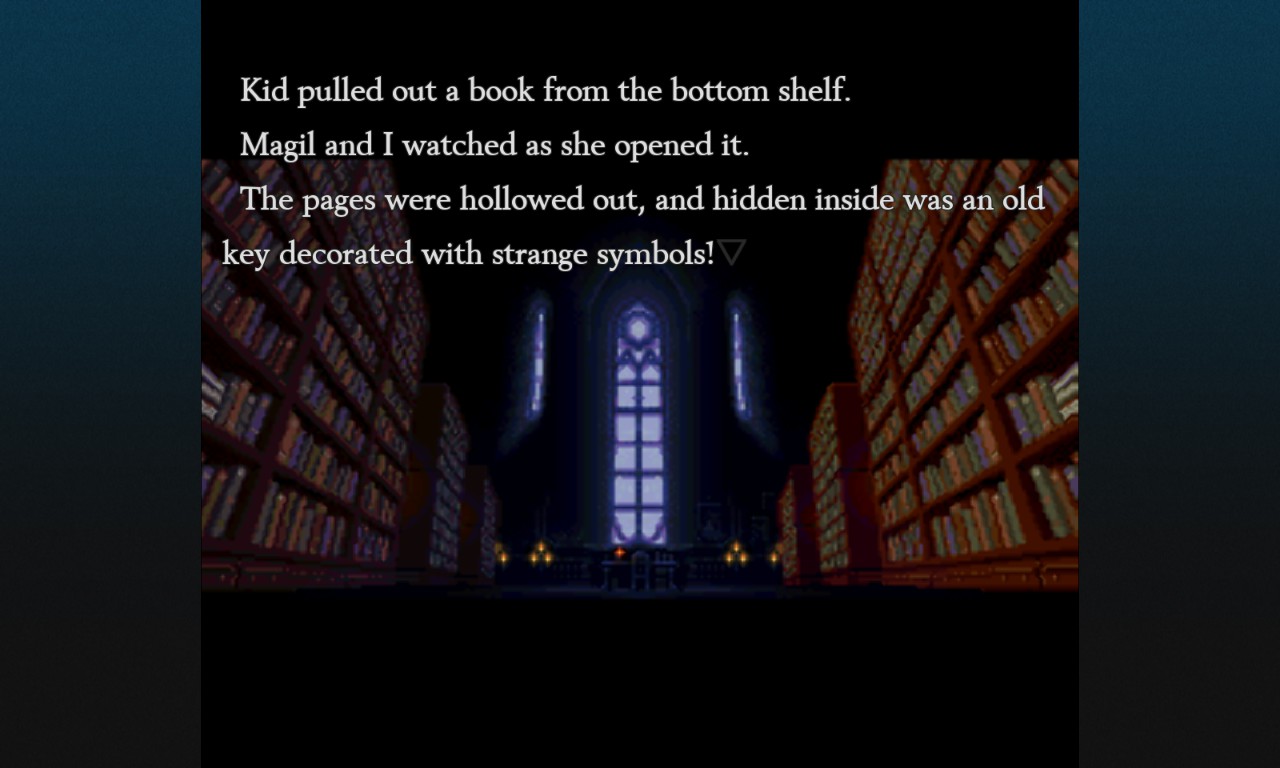
- What you’re after is the purple book in the back of the room; “The book with a purple cover in the far bookcase.” Selecting the wrong book worsens your relationship with Kid.
- Next up, you need to head back to the locked door. Head down the corridor in the direction of the Terrace.
- At the TERRACE, keep moving past it. Likewise for the ancient door leading to the CLOCKTOWER STORAGE.
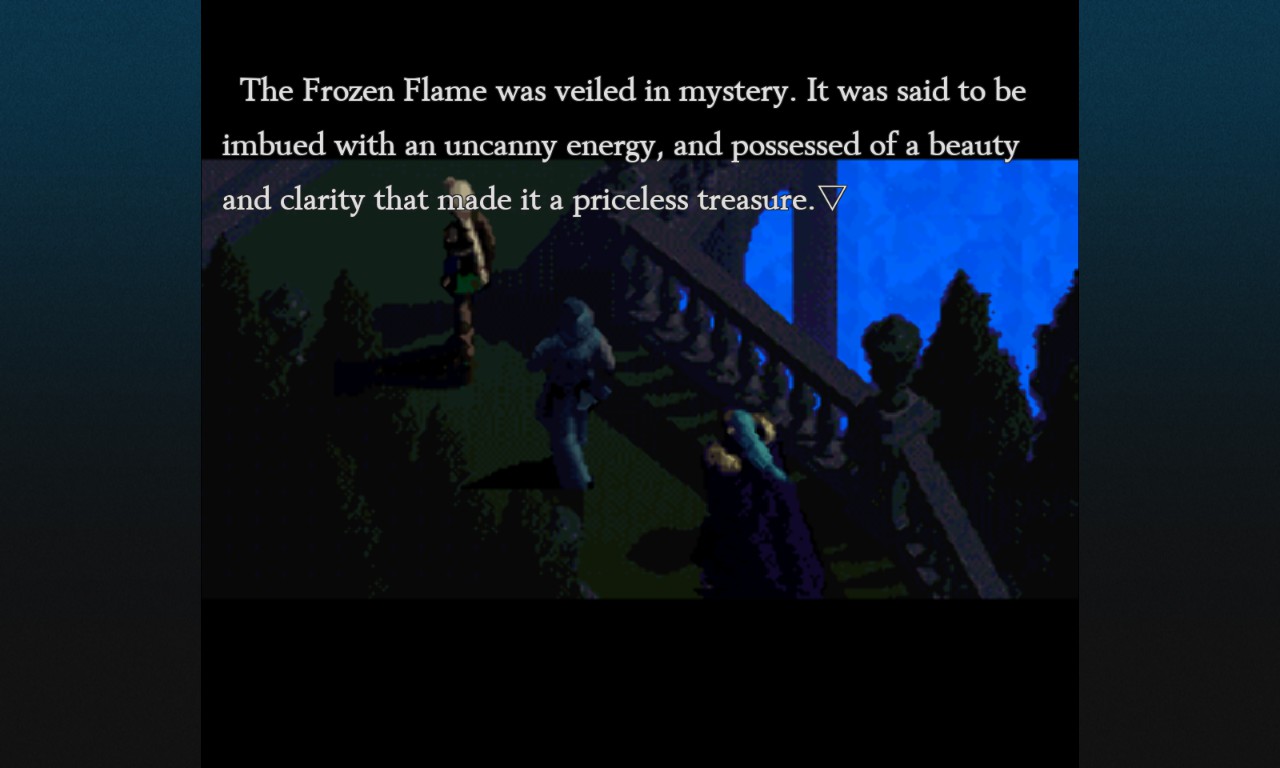
- At the rather sturdy looking door, use the key to get in; “We went inside.” This is the TREASURE ROOM.
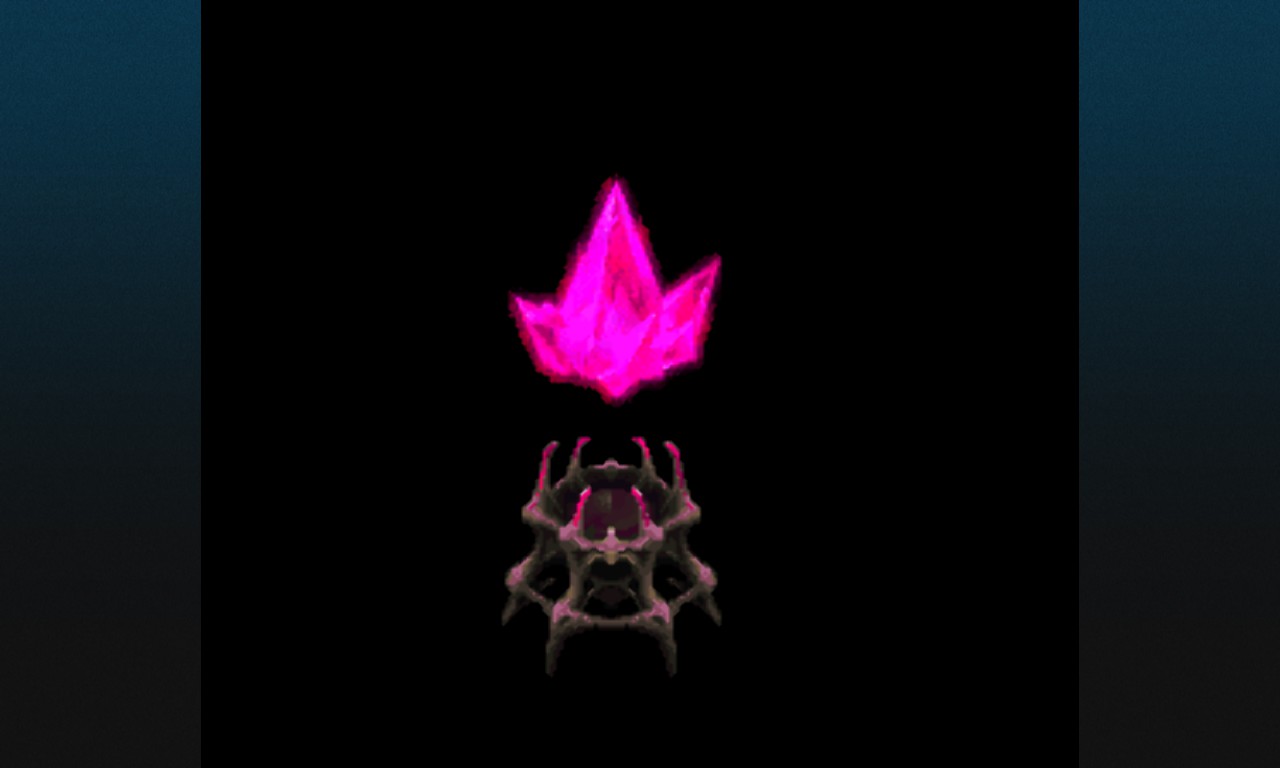
- At the flame, choose whatever you like - grab it fast or be careful; it makes no difference.
- Similarly, you can choose either of the next two choices - but have a heart, say; “I had to save Kid!”
Battle VS Gob Squad
- “Gobstrike Incomin’!” A goblin rushed toward me, swinging its weapon overhead!”
- This battle isn’t like random encounters; there’s no set way through it. It’s basically random what the Goblins will do; so choose whatever you feel right.
- This battle can be tough, and can really eat into your health, but it’s how the game is designed.
A Fishy Predicament
- After the battle, you’ll leave the TREASURE ROOM . You’ll be back in the corridor. You want to head downstairs again.
- With this in mind, go towards the TERRACE, then at the Clocktower door, keep moving.
- Continue on even when you reach the TERRACE; “We kept following the corridor.”
- At the stairs, you know the drill - take yourself down ‘em; “We went down the stairs.”
- This time, you want to go towards the Atrium; “We went toward the atrium on the left.”
- Things get bad right away. You need to escape, back the way you game; “We rushed back the way we came!”
- After the ordeal with the statue, you have to make a choice. Choose to give the Hand-shaped Plate that you got from the Goblin battle earlier; “...the hand-shaped plate.”
A Story and a Key
- What you did to the statue drained the water in the ATRIUM, meaning you can cross it without dying. Your heroes do just that, and come to a fork in the road.
- When given the chance, go left; “We went left.” You’ll find another locked door here, and turn around.
- Once turned around, go straight at that last intersection.
- You’ll then come across some stairs - down you go; “We went down the stairs.”
- At the bottom of the stairs, go left; “We took the left path.”
- At the door at the end of this corridor, go inside; “We went inside.” This is the GUARD ROOM.
- As you meet someone new, choose to sit down; “I sat down next to Magil.”
- As you drink the tea, your HP will be healed.
- You need to give something in return to get the key; “I suppose that means you want something in return.”
- Tell a story about a girl insect hunting; “She was out hunting for bugs.”
- Reveal that “She caught a beetle and painted it gold.” The story is told, and the key is yours.
The Mouse and the Griffon
- At the intersection, keep going; “We pressed on.”
- At the small door with the good smell, enter; “We went inside.” This is the KITCHEN.
- Say “I was feeling Hungry” and then say “It’s delicious” to eat some food and recover some HP in for the bargain.
- Show some mercy and help the mouse; “I freed the mouse.”
- Things go bad - get down by ducking; “I ducked to dodge the attack!”
- Its life spared, the Griffon passes some advice to remember - Right thrice, Left twice, Right twice. Remember that. Or we’ll remember it for you.
Riddel and the Prisoner
- After automatically exiting the kitchen, you’ll end up back at the corridor intersection from before. Go up the stairs, which are on your left.
- At the next intersection, go straight; “We continued straight on toward the cell.” Kid will automatically open the door into the DUNGEON.
- When Magil asks, say that you understand; “I… think so…”
- Just ignore Kid when she makes a suggestion by saying nothing; “...”
- In order to continue, you need to head back to Riddel’s room. The way, in brief:
- Go right towards the ATRIUM, then continue through that room.
- Continue along the path ahead - and after that, you’ll find the door to RIDDEL’S ROOM, with its ornate door.
- Inside, there’s a dump of lore, but no dialogue choices.
The Trap-foiling Sword
- Your next goal is to grab the sword you previously saw in the CLOCKTOWER STORAGE ROOM. One of these swords is also related to one of Glenn's side quests over in Chrono Cross, by the way. Anyway, we’re heading back there. Directions:
- Take the passage left, in the direction of the ATRIUM. But, at the intersection, take the left passage, up the stairs.
- At the top of the stairs, go left towards the TERRACE, and then past it. Choose to open the door and head into the CLOCKTOWER.
- Inside, try not to get too excited about the references to Chrono Trigger and choose the second option to agree to take the sword for Kid; “My jaw dropped.”
- Back outside the CLOCKTOWER, head right, deeper into the manor. Then continue on, which ultimately leads up the stairs.
- When given the chance, choose to slam the sword into the floor; “I plunged the sword into the ground!” You’ll get an item.
Back to the Dungeons
- You’ll now head downstairs. Go past the door, then past the door to the CLOCKTOWER, and past the TERRACE.
- At the three-way path where the stairs are, instead continue on forwards, past the stairs and Study. At the Ornate Double Doors, enter the room; “We went inside.”
- This is the MAIN HALL. See a short scene in here, then you go back to the main intersection. This time, head down the stairs; “We went down the stairs.”
- We’re trekking back to the old man in the DUNGEON. To get there:
- At the bottom of the stairs, take the left path towards the ATRIUM. Press on through that room. Then go left, towards the DUNGEON. Go inside.
- As you interact with the old man, you have a choice to stop Kid or let her carry on;0 it doesn’t matter which you choose - he’ll give up the valuable information you need.
The Secret of the Ballroom
- Once you leave the DUNGEON, take the path right when you have the chance, back to the ATRIUM, and then, once again, through it.
- If you want, you can go straight to LYNX’S ROOM here to get an optional scene - or you can head upstairs by turning right; “We took the path to the right, toward the stairs.”
- At the top of the stairs, take the path towards the MAIN ROOM, aka the BALLROOM. When you reach the doors, go inside.
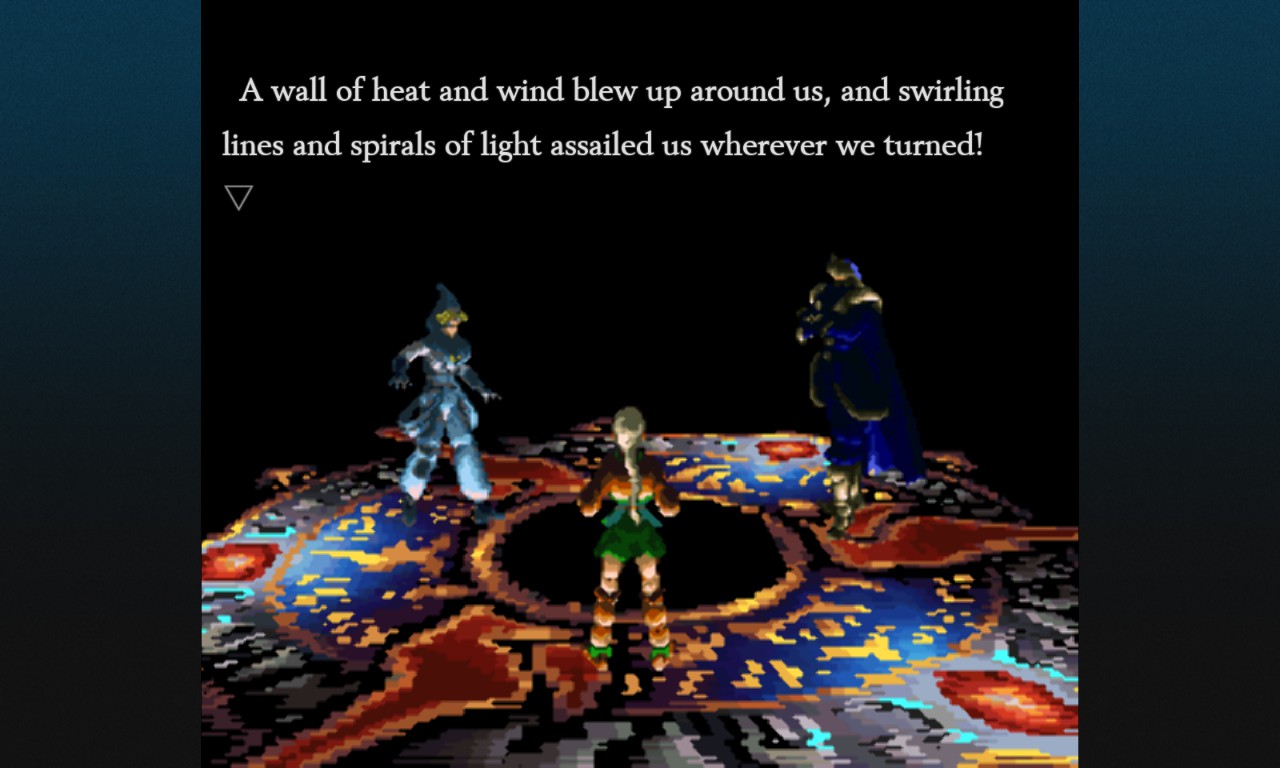
- Events unfold in this room, including information that makes much clearer the connections to Chrono Trigger. While there are dialogue options, nothing you say here effects anything.
- When you trigger The Devil’s Circle, remember what the Griffon told you: 3 steps right, then 2 steps left, then 2 steps right.
- From here, you’re on a rollercoaster ride to the end of this wonderful experience. While there are choices along the way, just go with your heart: none have any meaningful impact on the events that now transpire. Enjoy the ending.
Random Battles in Radical Dreamers
As mentioned above, Random Encounters can take place anywhere throughout Radical Dreamers. When these happen, you have to navigate them. Here’s guides to a few that we know get you out of the encounters without taking much - or any - damage:
WALL GOBLINS
“The next goblin charged in, swinging its morning star toward me!”
- “I tried to copy Kid’s trick.”
- “I threw my knife, using the opportunity to steal the mace from the goblin’s belt and get behind it.”
GOBLIN GUARDS
“We heard the clinking of metal from just up ahead. Goblin guards. It wasn’t likely there’d be anyone else going for a nighttime stroll around the manor wearing armor…”
- “I drew my knife and readied myself.”
- “I met the charge with my knife.”
- “I grabbed the fallen Goblin’s morningstar…”
- “I looked at Kid.”
- “I attacked it with the Morningstar I picked up.”
RATTLING SKELETON
“It’s a skeleton! We readied ourselves for a fight. What was I going to do!?”
- “I assessed the situation.”
- “I attacked!”
SPEEDY SKELETON
“The skeleton and I stood face-to-face, its empty eye sockets staring straight at me (or seeming to, at least). What was I going to do!?”
- “Tackle the skeleton!”
- “Catch it!”
- “...and slammed it into the floor!”
DEMON WARLOCK
“I pulled out my knife and readied myself to confront it.”
- “I waited to see what it would do.”
- “I bravely slashed it with my knife.”
GRIFFON
“A scream pierced the darkness, turning my blood to ice! I realized then that a pair of crazed, blood-red eyes was staring into the depths of my soul. It was a griffon! In a panic, I tried to slip the knife from my belt.”
- This encounter is random and different every time, so just try your luck.
GHOST
- “I jumped behind Magil”