
Zelda Tears of the Kingdom: Call from the Depths Quest walkthrough to restore the statue
The Great Plateau has seen better days; what was once the tutorial zone has now become a dangerous, mid to late-game area in The Legend of Zelda: Tears of the Kingdom. Crucially, it’s home to a rather substantial Side Adventure - one that will grant you an additional Heart Container or Stamina Vessel, as well as access to one of the Depths’ Bargainer Statues.
Starting A Call from the Depths
There are two ways that players might run into this Side Adventure, and it depends how they make their way onto the Great Plateau for the first time; if your first foray is by gliding onto it from a distance, you’ll likely figure out something is up when or if you decided to pay the Goddess Statue in the Temple of Time a visit; not only will it sound odd compared to the Goddess Statues in the rest of the game, it will beg you to “save it” from being stuck underwater, near the “stone gate” of the Great Plateau.
If you entered the Great Plateau from the ground, you’ll know what’s up much earlier - there’s a set of breakable rocks near the base of the plateau that you can destroy, which will drain water and create a path to walk up into the rest of the region from below; found buried below both the rocks and water is a Bargainer Statue, not unlike the one you can find in Lookout Landing. Speaking with it will direct you towards the Temple of Time, where it will give you a clue to what’s actually going on here.
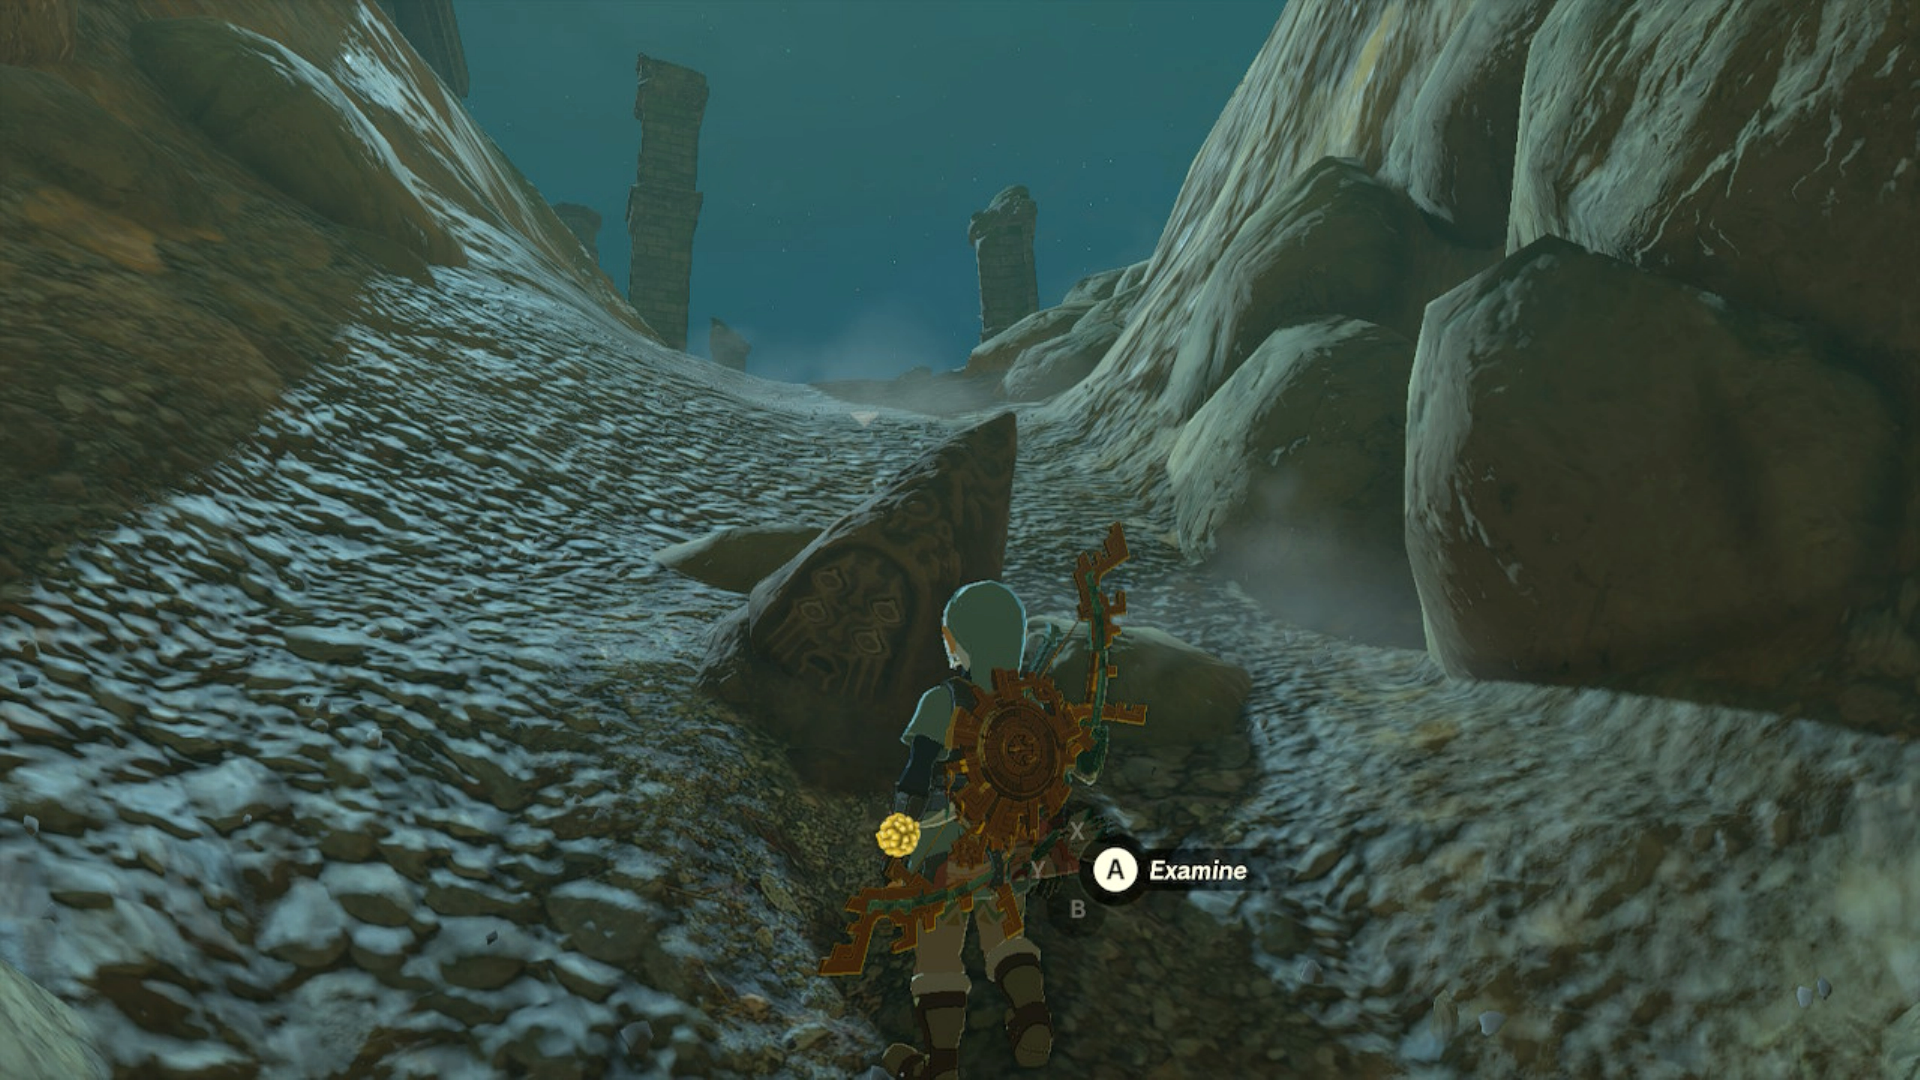
Simply put; both of these statues above-ground were merely used as vessels for a Bargainer statue below-ground to ask for help to regain its strength, by finding and recovering its 4 missing eyes. The Great Plateau has 4 Chasms, roughly at each of the cardinal directions; and near each of the Chasms you can find an eye. Your task is to chuck them back below the depths, and then deliver them to the giant Bargainer Statue below the Great Abandoned Central Mine. If you haven’t already unlocked the Autobuild hand ability, now would be a good time to do so before continuing with this Side Adventure.
The Northern Eye
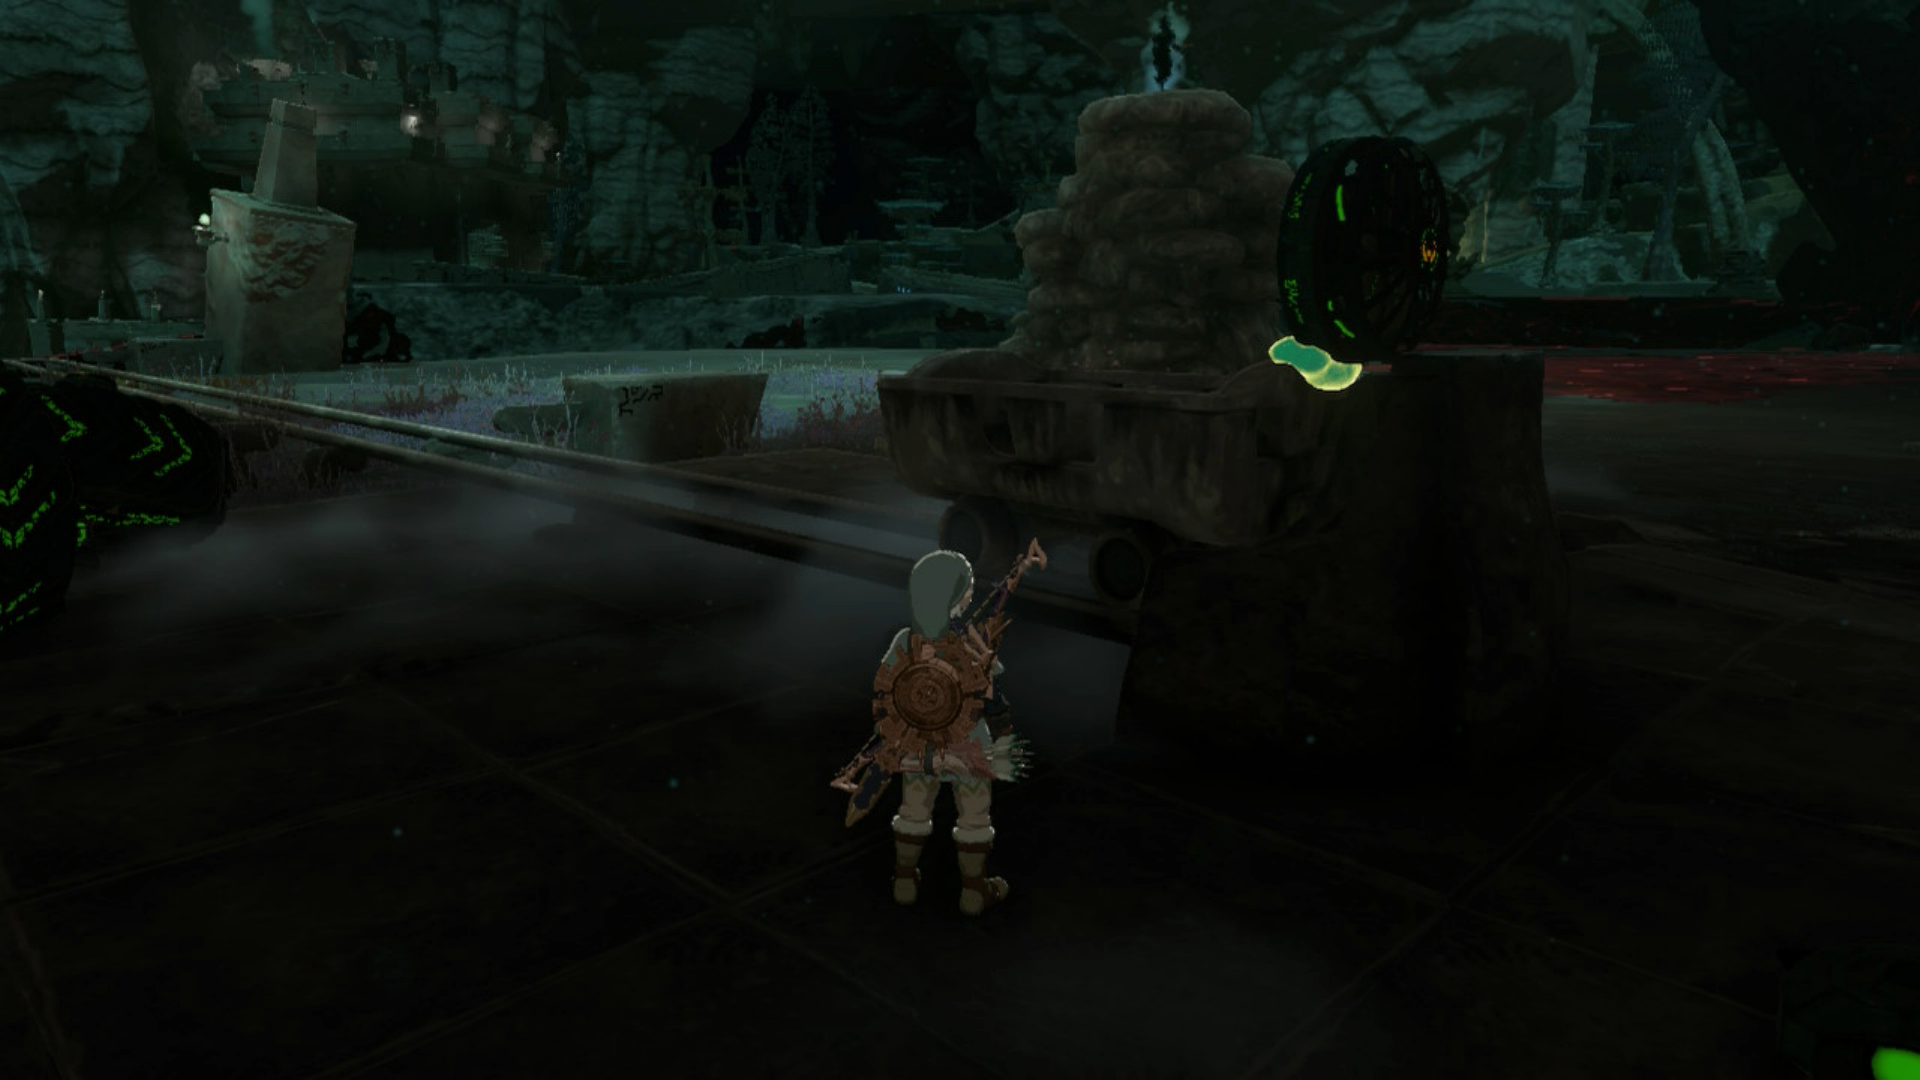
The eye for the Northern Chasm can be found submerged in a pond directly south of the Chasm entrance; fish it out with Ultrahand and toss it down below to the Depths. Once you’re below-ground yourself, take the opportunity to light the Nogukoyk Lightroot if you haven’t yet already; it will make the rest of your work delivering these eyes much, much easier.

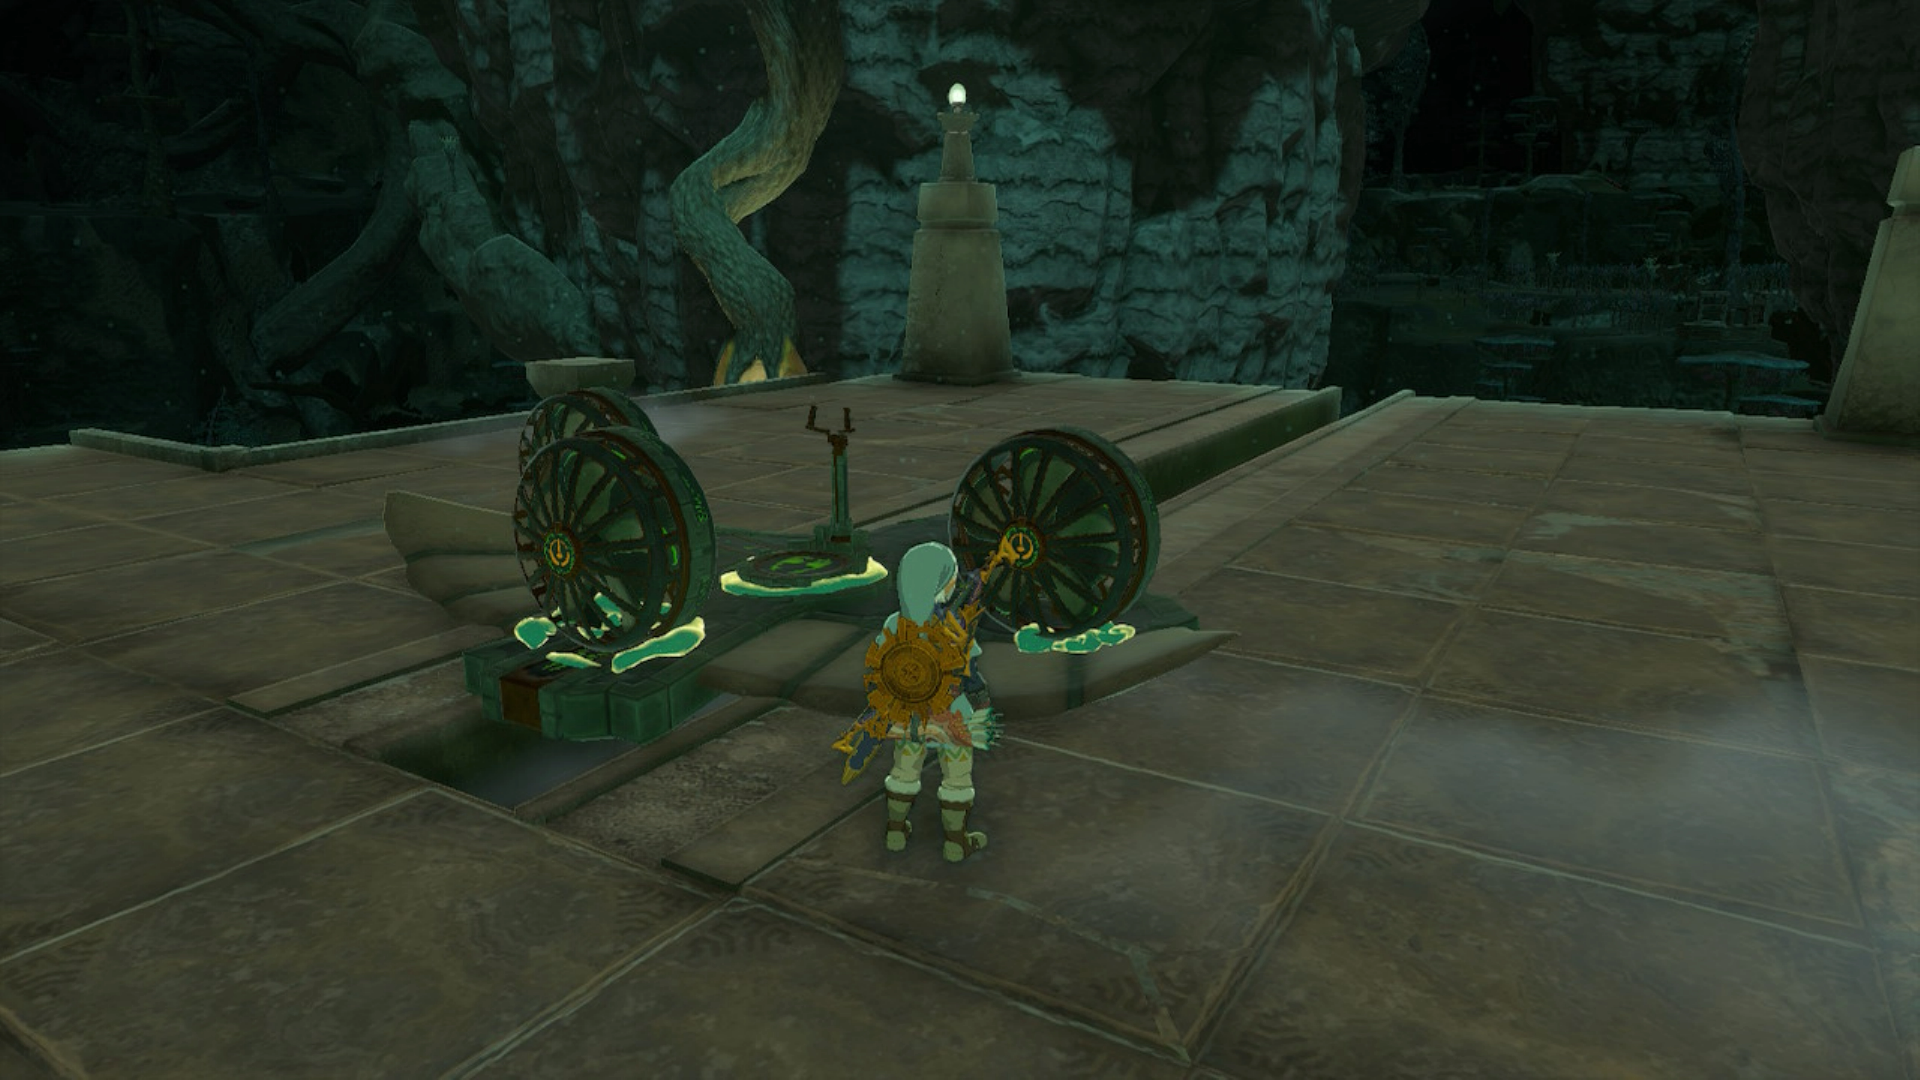
The trick to delivering the Bargainer Statue’s eyes is similar regardless of which you start with; you’ll need to make use of a Zonai vehicle to bring it from the drop-off point of the Chasm to the Bargainer Statue below the mine. For the Northern Chasm, this means you’ll want to great a car with the parts nearby. Once you’ve set up the vehicle (I’d recommend using the eye as a makeshift light at the front of the car), you’ll want to follow the broken-up strips of what appears to be a lightly paved road. It will lead to a set of stairs that directly leads to the Bargainer Statue.
Once you’ve arrived, shake the Eye off the vehicle and drag it to one of the empty eye sockets. 3 of the 4 left to go!
The Eastern Eye
The eye for the Eastern Chasm is originally trapped under some destructible rocks near the Chasm. As with the Northern Eye, simply drop it down the hole and meet it below.
Unlike the Northern Eye, delivering this one is considerably simpler; you’ll find a track of rails for a minecart; attach a fan to the back of the card, the eye to front, and then set it on the track and jump in; with a single whack to get things going, you’ll be delivered directly to the chamber where the Bargainer Statue is. Bring the eye up to any of the remaining sockets, rinse, and repeat.
The Southern Eye
The Southern Eye can be found under a piece of Zonai Ruins that had fallen down to the surface; use Ultrahand to throw it aside, and then grab the eye to chuck down the Chasm.
In the depths, you’ll need to create a plane to fly towards the Bargainer Statue this time. As always, make sure the eye is firmly attached and fly towards the Abandoned Central Mine. It’s pretty much a straight shot toward it, and you even have a set of controls you can use to make the maneuvering a breeze. As with the other eyes, once you’ve reached the Bargainer Statue’s chambers, shake it off the vehicle and bring it to one of the statue’s remaining eye sockets.
The Western Eye
The Western Eye is found frozen in a pillar of ice, right next to the Chasm’s entrance. Melt the pillars until you find the eye, and then drop it down to the Depths below.

Delivering the Western Eye is going to be incredibly similar to the Eastern eye; your first minecart is already built for you, and once you get to the pit stop you’ll simply want to emulate the configuration from the first minecart to proceed. Once you’ve reached the bargainer statue, slot the final eye into position and talk to it again.
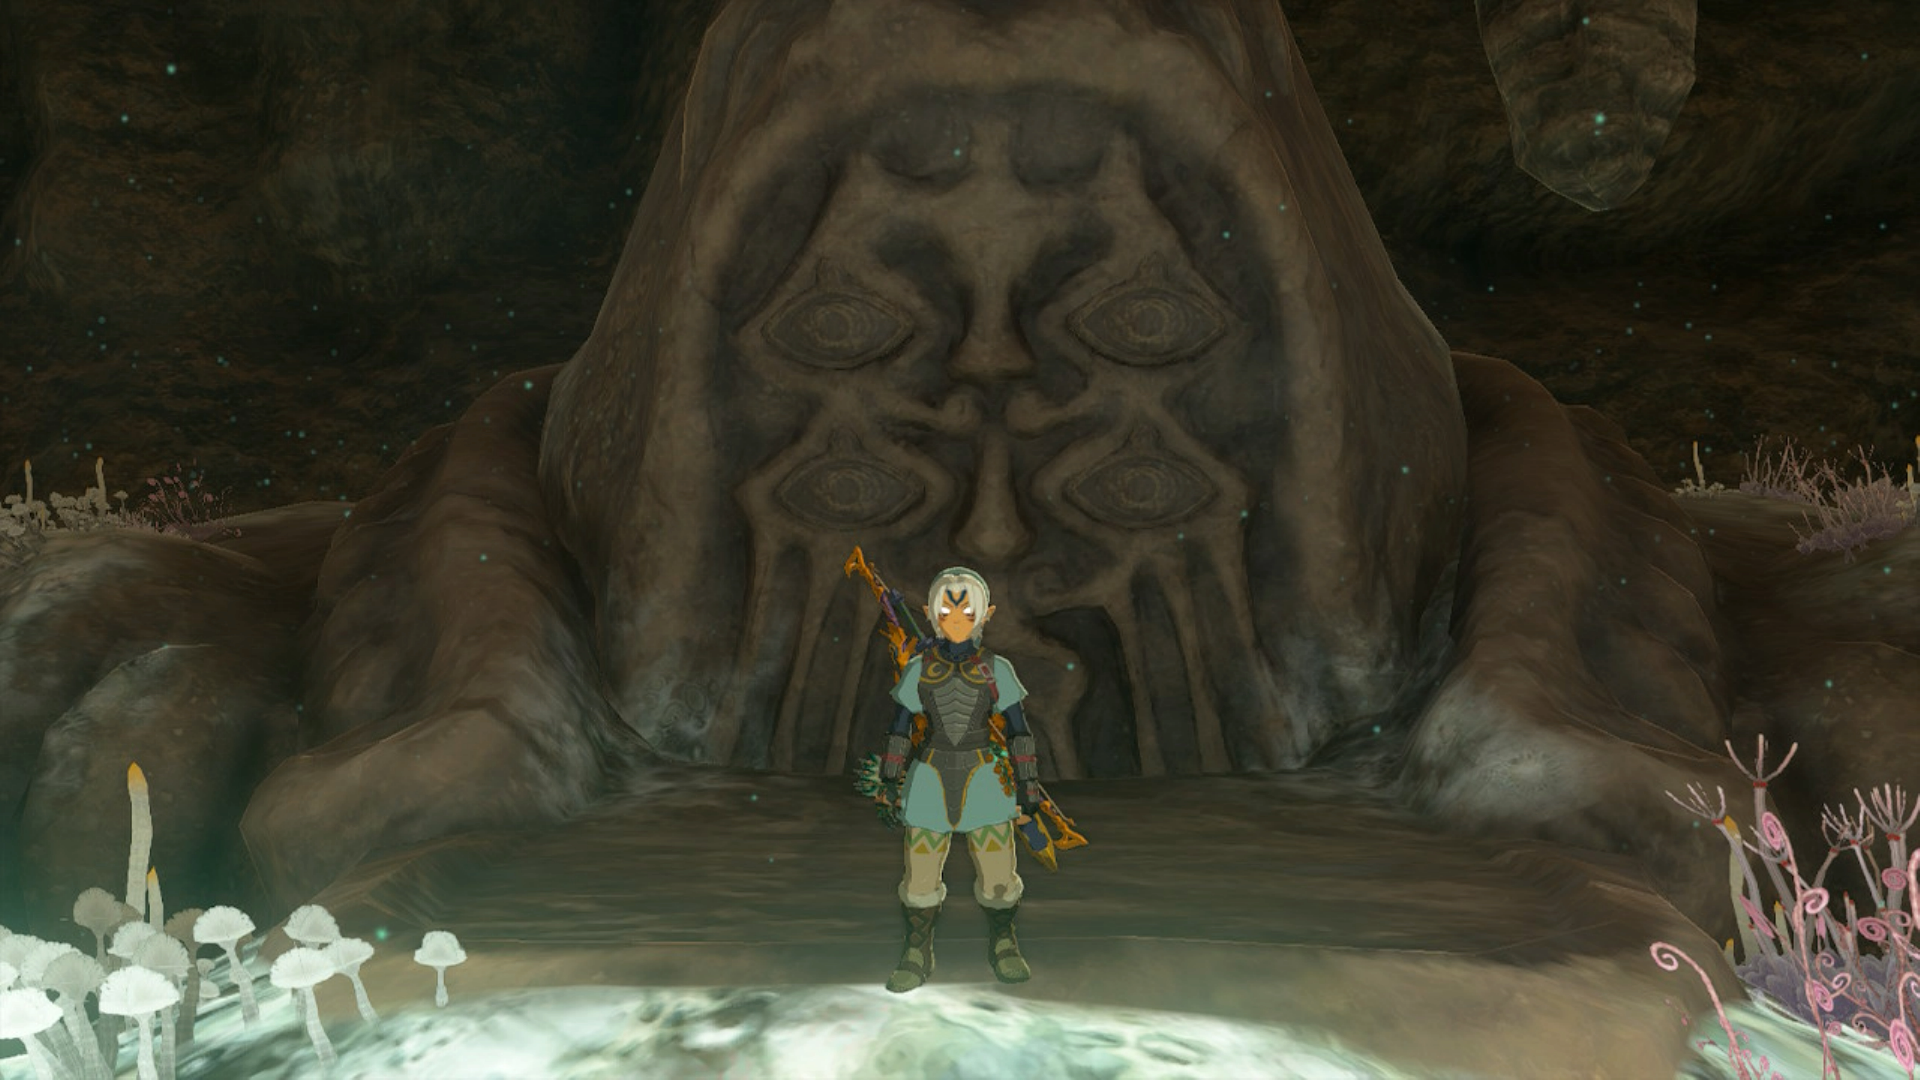
You’ll be thanked for your help, and offered the choice of either a Heart Container or a Stamina Vessel. After you’ve received your reward you can talk to it again to link it with any of the other Bargainer Statues you’ve found below in the depths, increasing the wares you can trade Poes for. Congrats on restoring the Bargainer Statue, and enjoy your justly earned rewards!