
Starfield: All Skills and Rank-Up Rewards, and what we recommend investing in
Booting up Starfield, you'd be forgiven for finding yourself paralyzed when it comes to choosing how to build your character - the game's multi-layered skill tree system is nice, but with so many skills to choose from, not to mention the rewards you get from increasing their Rank, it can be incredibly difficult to keep track of what skills are available to you, and whether investing the number of required skill points in a tree to reach the higher tiers will actually be worth it at the end of the day. Thankfully, we've taken the time to catalog every skill in the game, and what each Rank will bring to the table.
Physical Skill Tree
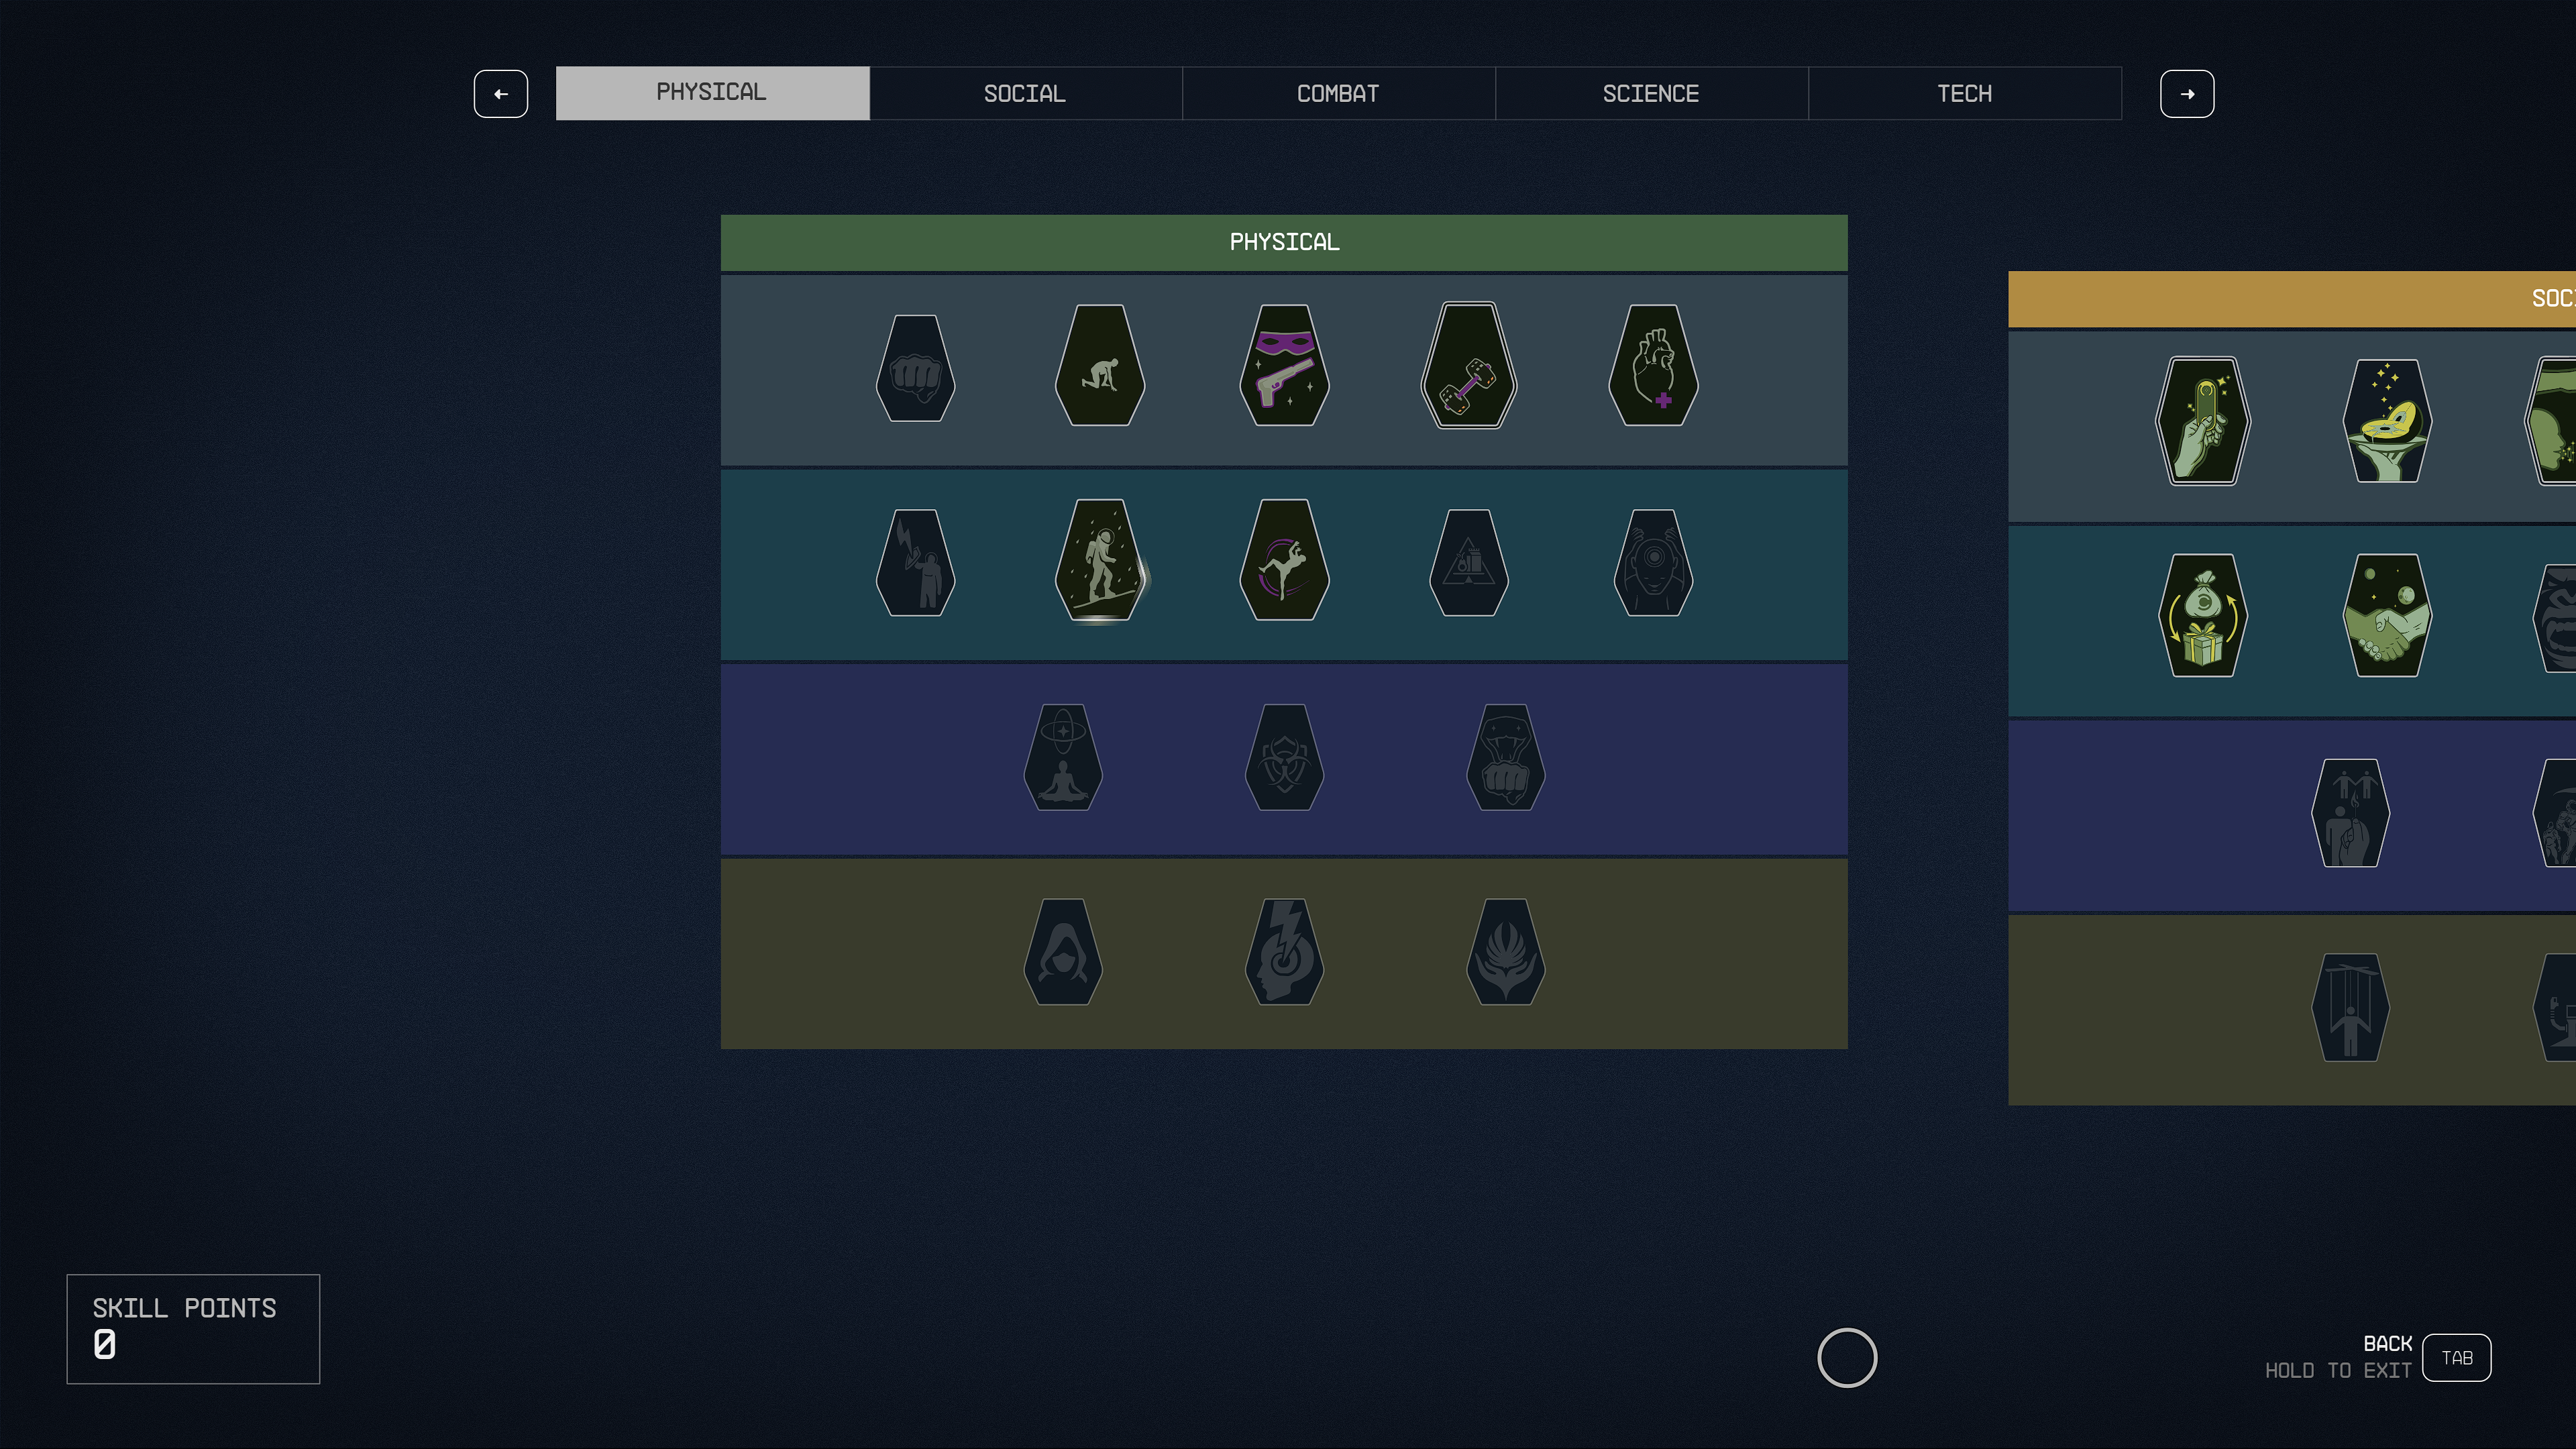
The Physical skill tree, unsurprisingly, deal with physical attributes - basic buffs for your character, completely separate from your gear. Because of this, most of these skills are easily worth investing in. We'll point out which you'll want to prioritize, and which skills you can wait until later to spend your skill points on.
Tier 1 Skills
Of the initial physical skills players will likely want to consider Fitness, Stealth and Weightlifting. Boxing is situational, and most players will likely be using weapons of some kind - and while extra health is nice, it's less likely to have a significant impact to anyone playing the game, considering the moderate boost the skill provides.
Boxing
- Rank 1: Unarmed attacks do 25% more damage, 25% less O2 used when using a power attack.
- Rank 2: Unarmed attacks do 50% more damage, 50% less O2 used when using a power attack.
- Rank 3: Unarmed attacks do 75% more damage. While in a fight and unarmed, running consumes 30% less O2.
- Rank 4: Unarmed attacks do 100% more damage and have a chance to knock down opponents.
Fitness
- Rank 1: You have 10% more oxygen available.
- Rank 2: You have 20% more oxygen available.
- Rank 3: You have 30% more oxygen available.
- Rank 4: Sprinting and power attacks now use significantly less oxygen.
Stealth
- Rank 1: Adds a Stealth Meter. You are 25% more difficult to detect when sneaking,.Suppressed weapons do an additional 5% sneak attack damage.
- Rank 2: Upgrades the Stealth Meter. You are 50% more difficult to detect when sneaking. Suppressed weapons do an additional 10% sneak attack damage.
- Rank 3: You are 75% more difficult to detect when sneaking. Suppressed weapons do an additional 15% sneak attack damage.
- Rank 4: You are 100% more difficult to detect when sneaking. Suppressed weapons do an additional 20% sneak attack damage. Doors you interact with while in stealth no longer alert enemies.
Weight Lifting
- Rank 1: Increase total carrying capacity by 10 kilograms.
- Rank 2: Increase total carrying capacity by 25 kilograms.
- Rank 3: Increase total carrying capacity by 50 kilograms.
- Rank 4: Increase total carrying capacity by 100 kilograms. Gain 50% resistance to stagger.
Wellness
- Rank 1: Increase your maximum health by 10%.
- Rank 2: Increase your maximum health by 20%.
- Rank 3: Increase your maximum health by 30%.
- Rank 4: Increase your maximum health by 40%.
Tier 2 Skills
With Tier 2, the only skill we would consider a priority is Gymnastics. The rest of the skills are very situational, and not that effective considering the cost required to invest in them.
Energy Weapon Dissipation
- Rank 1: Energy damage is reduced by 5%.
- Rank 2: Energy damage is reduced by 10%.
- Rank 3: Energy damage is reduced by 15%.
- Rank 4: 25% chance to reflect energy damage back to an attacker when your health is below 50%.
Environmental Conditioning
- Rank 1: Gain 10 resistance to Airborne environmental damage.
- Rank 2: Gain 10 resistance to Thermal environmental damage.
- Rank 3: Gain 10 resistance to Corrosive and Radiation environmental damage.
- Rank 4: REduced chance to gain afflictions from environmental damage sources.
Gymnastics
- Rank 1: Unlock the ability to combat slide. Take 15% less fall damage.
- Rank 2: Move faster in Zero-G. Take 20% less fall damage.
- Rank 3: Become more stable while firing in Zero-G. Take 30% less fall damage. Replenish some O2 after mantling.
- Rank 4: Increased jump height. Run faster after combat sliding or mantling.
Nutrition
- Rank 1: Food and drink are 10% more effective.
- Rank 2: Food and drink are now 20% more effective.
- Rank 3: Food and drink are now 30% more effective.
- Rank 4: Food and drink are now 50% more effective.
Pain Tolerance
- Rank 1: Physical damage is reduced by 5%.
- Rank 2: Physical damage is reduced by 10%.
- Rank 3: Physical damage is reduced by 15%.
- Rank 4: 5% chance to ignore physical damage when your health is low.
Tier 3 Skills
While all 3 of Tier 3's skills are situational, all of them might be worth investing in depending on the build you wish to go with, and how much of an emphasis you want to place on exploration. Having an increased chance to recover from ailments is nice, and if you're going for a melee-focused build then Martial Arts is essentially a necessity.
Cellular Regeneration
- Rank 1: Slightly increased chance to recover from injuries naturally.
- Rank 2: Moderately increased chance to recover from injuries naturally.
- Rank 3: Noticeably increased chance to recover from injuries naturally.
- Rank 4: 20% chance of not gaining an injury when you otherwise would.
Decontamination
- Rank 1: Slightly increased chance to recover from infections naturally.
- Rank 2: Moderately increased chance to recover from infections naturally.
- Rank 3: Noticeably increased chance to recover from infections naturally.
- Rank 4: 20% chance of not gaining an infection when you otherwise would.
Martial Arts
- Rank 1: 15% increased chance to crit with a melee or unarmed attack.
- Rank 2: 15% chance to disarm an opponent with a melee or unarmed power attack.
- Rank 3: While unarmed or wielding a melee weapon, take 10% less damage.
- Rank 4: Reflect 50% damage back when blocking a melee or unarmed attack.
Tier 4 Skills
Realistically, all of these skills might be useful depending on the builds that you're making - Concealment and Rejuvenation are the real stars of the show, especially as the latter allows players to have much less of a reliance on Heal Packs.
Concealment
- Rank 1: You no longer set off enemy mines. Ranged sneak attacks do 2.5x normal damage and your melee sneak attacks do 4x normal damage.
- Rank 2: Running while sneaking doesn’t affect stealth. Ranged sneak attacks do 3x normal damage and your melee sneak attacks do 5x normal damage.
- Rank 3: You gain a Chameleon-like ability when completely still and sneaking. Ranged sneak attacks do 3.5x normal damage and your melee sneak attacks do 8x normal damage.
- Rank 4: Engaging stealth causes distant enemies to lose you. Ranged sneak attacks do 4x normal damage and your melee sneak attacks do 10x normal damage.
Neurostrikes
- Rank 1: 10% chance to stun an NPC with an unarmed attack.
- Rank 2: Unarmed attacks now do additional EM damage.
- Rank 3: 20% chance to stun an NPC with an unarmed attack.
- Rank 4: After stunning an enemy, you also knock down any enemies within close range.
Rejuvenation
- Rank 1: Slowly regenerate health outside of combat.
- Rank 2: Regenerate health more quickly outside of combat.
- Rank 3: Regenerate health much faster outside of combat. You can now slowly regenerate health while in combat.
- Rank 4: Regenerate health even faster outside of combat. You can now regenerate health quickly while in combat.
Social Skill Tree
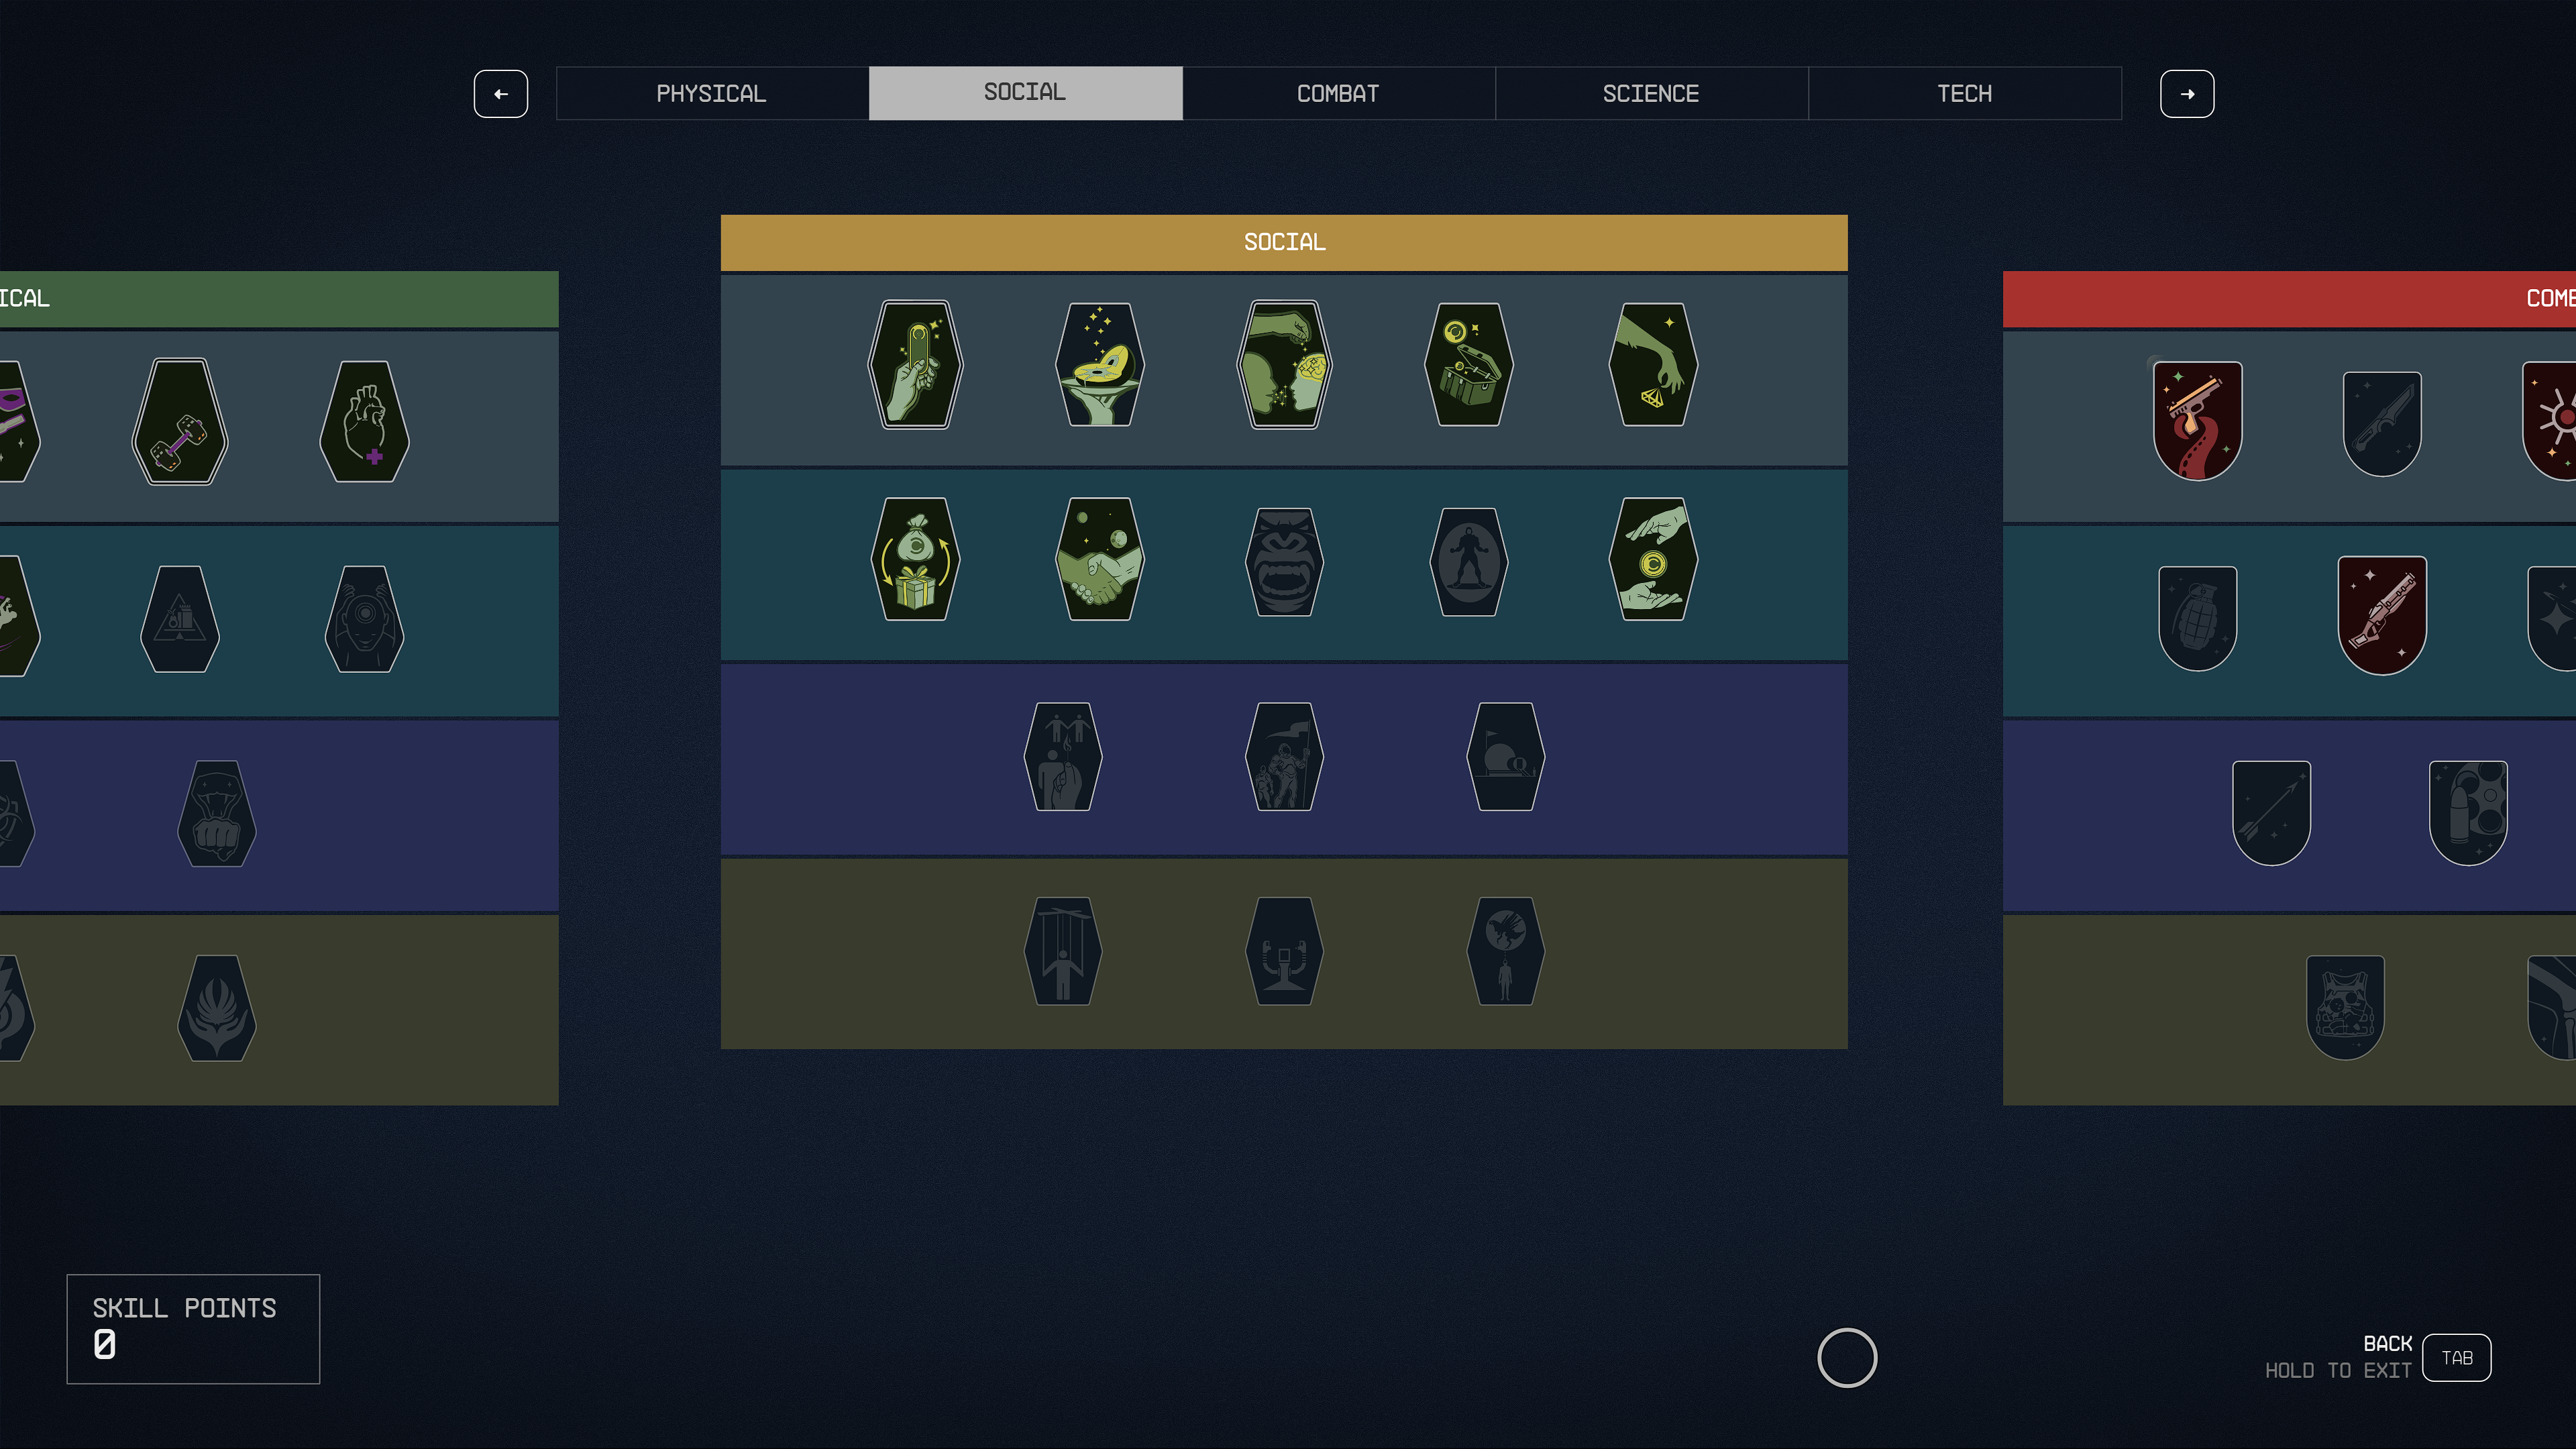
When it comes to the Social skill tree, it's a bit of a medley of abilities - with the main focus being on your character's interactions with others, and a few stragglers. Most players will likely want to invest heavily in this tree, if even only for some essential early-game skills that will be useful through your entire playthrough.
Tier 1 Skills
Of the Tier 1 skills, Commerce, Persuasion, Scavenging and Theft are all general-use skills most players will want to use; Commerce greatly helps anyone who wishes to engage in buying and selling goods, Persuasion can be especially helpful to defuse situations during quests and attempt to convince others to help you, while Scavenging and Theft are both invaluable when searching for items and resources.
Commerce
- Rank 1: Buy for 5% less and sell for 10% more.
- Rank 2: Buy for 10% less and sell for 15% more.
- Rank 3: Buy for 15% less and sell for 20% more.
- Rank 4: Buy for 20% less and sell for 25% more.
Gastronomy
- Rank 1: You can craft specialty food and drinks, and research additional recipes at a Research Lab.
- Rank 2: You can research and craft gourmet food and drinks.
- Rank 3: You can research and craft food and drink delicacies.
- Rank 4: Crafting food and drinks occasionally doesn’t use up resources. You can research and craft exotic recipes.
Persuasion
- Rank 1: 10% increased chance of success when persuading someone.
- Rank 2: 20% increased chance of success when persuading someone.
- Rank 3: 30% increased chance of success when persuading someone.
- Rank 4: 50% increased chance of success when persuading someone.
Scavenging
- Rank 1: There’s a chance you’ll find extra credits when searching containers.
- Rank 2: There’s a chance you’ll find extra ammo when searching containers.
- Rank 3: There’s a chance you’ll find extra aid items, like Med Packs or chems, when searching containers.
- Rank 4: Tracked resources will get highlighted when using the hand scanner.
Theft
- Rank 1: Unlock the ability to pickpocket targets.
- Rank 2: 10% greater chance to successfully pickpocket.
- Rank 3: 30% greater chance to successfully pickpocket.
- Rank 4: 50% greater chance to successfully pickpocket. Can now pickpocket holstered weapons.
Tier 2 Skills
While most of the skills from the first group were useful, Tier 2 is a bit more situational. Deception will be useful if you want to be a pirate, while Diplomacy and Intimidation are even more situational than that. Isolation is incredibly useful if you plan to fly solo during your adventure, while Negotiation is almost essential if you're willing to pay off speech checks during quests.
Deception
- Rank 1: Ships 10% stronger will automatically surrender to piracy demands. Enemy contraband scans are 10% less effective.
- Rank 2: Ships 20% stronger will automatically surrender to piracy demands. Enemy contraband scans are 20% less effective.
- Rank 3: Ships 30% stronger will automatically surrender to piracy demands. Enemy contraband scans are 30% less effective.
- Rank 4: Ships 50% stronger will automatically surrender to piracy demands. Enemy contraband scans are 50% less effective.
Diplomacy
- Rank 1: You can force a target NPC at or below your level to stop fighting for a while.
- Rank 2: You can force a target NPC up to 10 levels higher than you to stop fighting for a while.
- Rank 3: You can force a target NPC up to 20 levels higher than you to stop fighting for a while.
- Rank 4: You can force target NPCs to permanently stop fighting (unless they’re attacked again).
Intimidation
- Rank 1: You can force a target NPC at or below your level to flee for a limited time.
- Rank 2: You can force a target NPC up to 10 levels higher than you to flee for a limited time.
- Rank 3: You can force a target NPC up to 20 levels higher than you to flee for a limited time.
- Rank 4: Intimidated targets now flee for substantial amount of time.
Isolation
- Rank 1: Do +10% weapon damage and gain 15 Damage Resistance for each Spacesuit and Helmet equipped when you don’t have a companion or any crew.
- Rank 2: Do +20% weapon damage and gain 30 Damage Resistance for each Spacesuit and Helmet equipped when you don’t have a companion or any crew.
- Rank 3: Do +30% weapon damage and gain 45 Damage Resistance for each Spacesuit and Helmet equipped when you don’t have a companion or any crew.
- Rank 4: Do +40% weapon damage and gain 60 Damage Resistance for each Spacesuit and Helmet equipped when you don’t have a companion or any crew.
Negotiation
- Rank 1: You now have access to Bribery in speech challenges.
- Rank 2: Reduces bribery cost by 25%.
- Rank 3: Reduces bribery cost by 50%.
- Rank 4: Occasionally, bribery won’t cost any money.
Tier 3 Skills
Continuing the trend from the previous tier, many of these skills are quite situational. Instigation feels like the black sheep of the group, while Leadership is helpful when raising companion affinity... if gaining affinity through the story wasn't easy enough as it is. Later ranks are more useful, so it still might be worth considering for a long-term build. Outpost Management is essential if you'll be building Outposts, but if you won't bother feel free to ignore it.
Instigation
- Rank 1: You can force a target NPC at or below you level to attack their allies for a limited time.
- Rank 2: You can force a target NPC up to 10 levels higher than you to attack their allies for a limited time.
- Rank 3: You can force a target NPC up to 20 levels higher than you to attack their allies for a limited time.
- Rank 4: Enemies affected by Instigation will attack their allies until they are dead.
Leadership
- Rank 1: Companions gain affinity 25% faster.
- Rank 2: Companions have 50 more health and 50kg more carrying capacity.
- Rank 3: Companions will occasionally heal you when you get low health.
- Rank 4: Doubles the bonuses of Combat and Physical Crew Skills on Companions. Companions have a chance to pick themselves up from a downed state.
Outpost Management
- Rank 1: Additional cargo links can be placed at outposts.
- Rank 2: Additional robots can be constructed at outposts.
- Rank 3: Additional crew can be assigned at outposts.
- Rank 4: Outpost extractors produce twice as fast.
Tier 4 Skills
Of the 3 final Social skills, Manipulation might be interesting, and Ship Command may be beneficial for tougher dogfights - but otherwise the tier is fairly disposable. Your skill points will likely be spent better elsewhere.
Manipulation
- Rank 1: You can force a target NPC at or below your level to obey commands for a limited time.
- Rank 2: You can force a target NPC up to 10 levels higher than you to obey commands for a limited time.
- Rank 3: You can force a target NPC up to 20 levels higher than you to obey commands for a limited time.
- Rank 4: Manipulated targets now obey commands for a substantial amount of time.
Ship Command
- Rank 1: You can have up to four active crew members.
- Rank 2: You can have up to five active crew members.
- Rank 3: You can have up to six active crew members.
- Rank 4: You can have up to eight active crew members.
Xenosociology
- Rank 1: You can force a target alien creature up to 10 levels higher than you to stop fighting for a limited time.
- Rank 2: You can force a target alien creature up to 10 levels higher than you to flee for a limited time.
- Rank 3: You can force a target alien creature up to 10 levels higher than you to attack their allies for a limited time.
- Rank 4: You can force a target creature up to 10 levels higher than you to obey commands for a limited time.
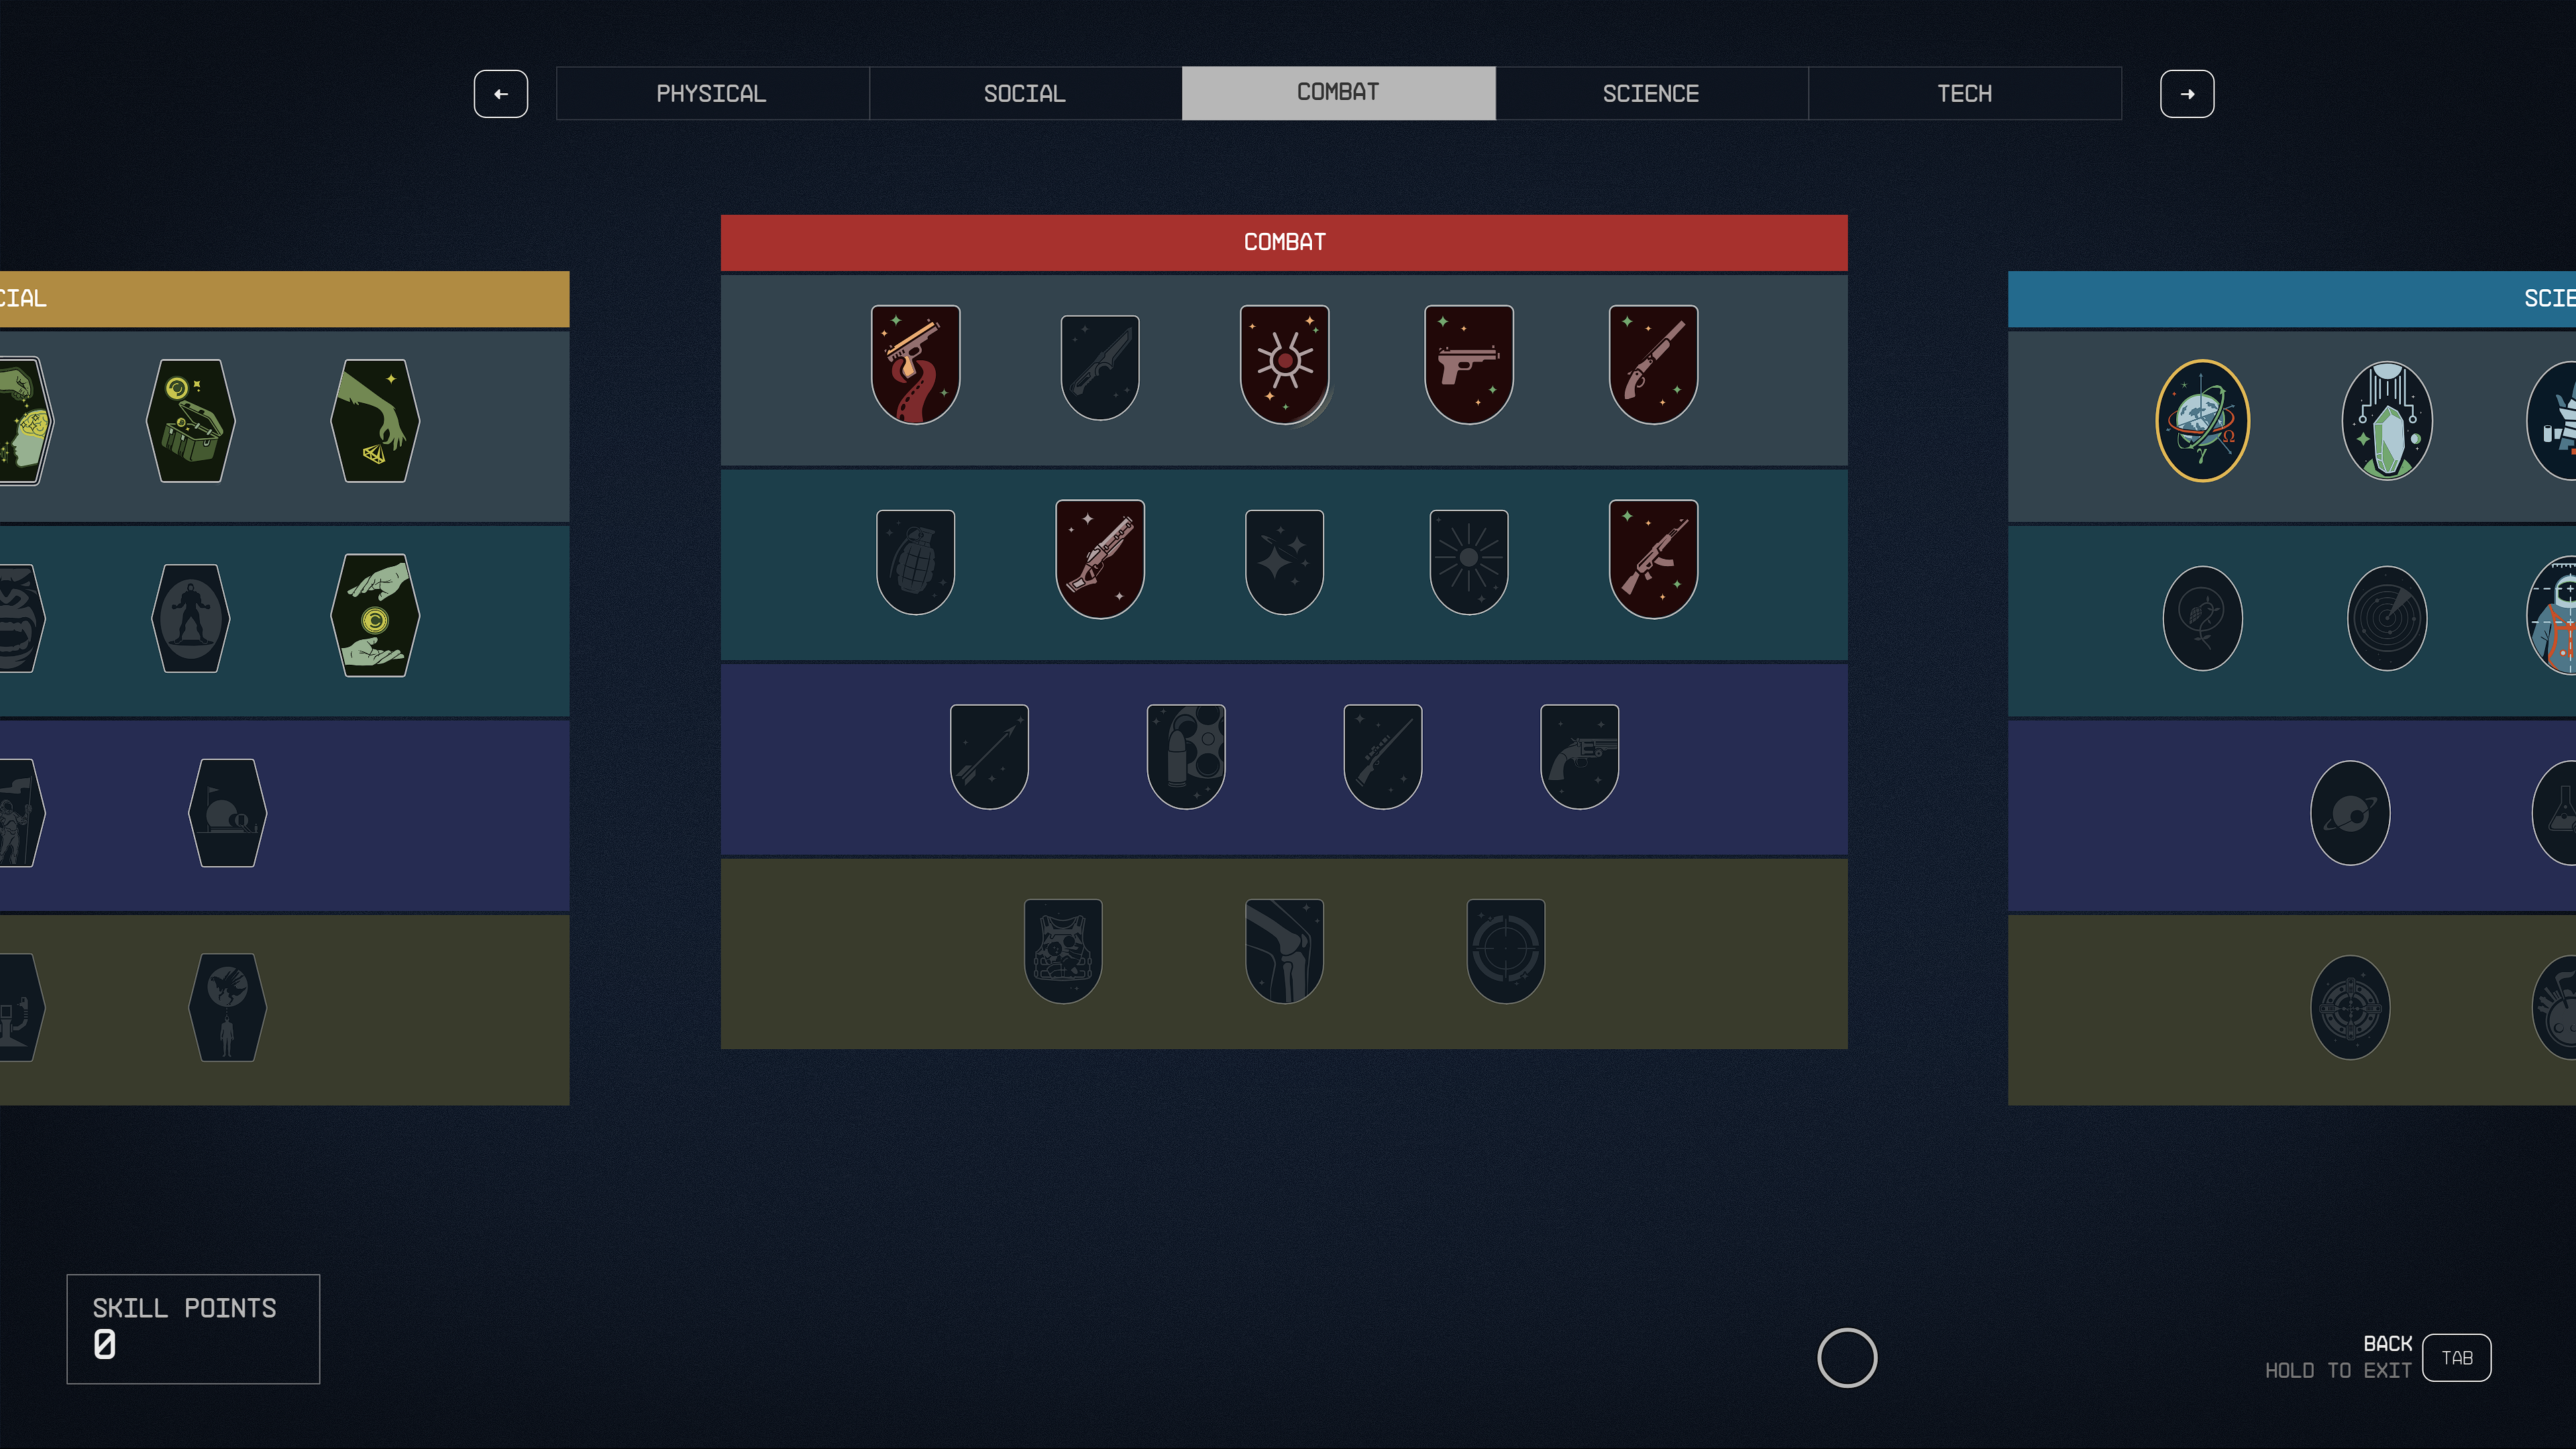
Combat Skill Tree
Unsurprisingly, based on its name, the Combat skill tree is focused on approving your affinity with weapons and overall combat. Since these skills mostly apply to specific weapon types early on, by their very nature they'll be incredibly situational - so even more so than other skill trees, what any individual player would want to invest in will be a highly personal matter.
Tier 1 Skills
Besides Ballistics and Lasers, which will unilaterally buff weapons using ammo of that attribute, all skills for the beginning of the skill tree are very situational. Dueling is cool for anyone aiming for a melee-focused build, but otherwise invest in the weapons you like using.
Ballistics
- Rank 1: Ballistic weapons do 10% more damage.
- Rank 2: Ballistic weapons do 20% more damage.
- Rank 3: Ballistic weapons do 30% more damage.
- Rank 4: Ballistic weapons range is increased by 30%.
Dueling
- Rank 1: Melee weapons do 25% more damage. Take 10% less damage while wielding a melee weapon.
- Rank 2: Melee kills make you run 20% faster for 10 seconds.
- Rank 3: Melee weapons do 50% more damage. Take 15% less damage while wielding a melee weapon.
- Rank 4: Melee kills heal you for 10% of your health.
Lasers
- Rank 1: Laser weapons do 10% more damage.
- Rank 2: Laser weapons do 20% more damage.
- Rank 3: Laser weapons do 30% more damage.
- Rank 4: Laser weapons have a 5% chance to set a target on fire.
Pistol Certification
- Rank 1: Pistols do 10% more damage.
- Rank 2: Pistols do 25% more damage.
- Rank 3: Pistols do 50% more damage.
- Rank 4: Pistol kills grant +25% critical hit chance for 5 seconds.
Shotgun Certification
- Rank 1: Shotguns do 10% more damage.
- Rank 2: Shotguns do 20% more damage.
- Rank 3: Shotguns do 30% more damage.
- Rank 4: Shotgun kills grant a small chance to stun additional targets with shotguns for a limited time.
Tier 2 Skills
Much like the last tier, the same goes here; pretty much everyone would benefit from unlocking Demolitions for the trajectory arc alone, however.
Demolitions
- Rank 1: Throwing grenades now shows a trajectory arc. Explosions have a 25% larger radius.
- Rank 2: Explosives do 25% more damage.
- Rank 3: Reduces damage taken from explosives by 25%.
- Rank 4: All previous bonuses are doubled.
Heavy Weapons Certification
- Rank 1: Heavy weapons do 10% more damage.
- Rank 2: Heavy weapons do 20% more damage.
- Rank 3: Heavy weapons do 30% more damage.
- Rank 4: Gain 25% Physical resistance while aiming down sights with a heavy weapon.
Incapacitation
- Rank 1: EM weapons do 5% more damage.
- Rank 2: EM weapons do 10% more damage.
- Rank 3: EM weapons do 15% more damage.
- Rank 4: EM weapons have a 15% chance to do 300% EM damage.
Particle Beams
- Rank 1: Particle beam weapons do 10% more damage.
- Rank 2: Particle beam weapons do 20% more damage.
- Rank 3: Particle beam weapons do 30% more damage.
- Rank 4: Particle beam weapons have +5% crit chance.
Rifle Certification
- Rank 1: Rifles do 10% more damage.
- Rank 2: Rifles do 20% more damage.
- Rank 3: Rifles do 30% more damage.
- Rank 4: Reload rifles 30% faster while you’re standing still.
Tier 3 Skills
Of these skills, Rapid Reloading is head and shoulders above the rest of the tier. As before, the rest of the skills you will want to invest in will depend on the weapons that you like to use. Targeting is useful for accuracy while not aiming down sights, but truth be told I never personally felt that the accuracy was particularly bad to begin with.
Marksmanship
- Rank 1: Increase critical hit chance with non-automatic ranged weapons by 3%
- Rank 2: Increase critical hit chance with non-automatic ranged weapons by 8%
- Rank 3: Increase critical hit chance with non-automatic ranged weapons by 15%.
- Rank 4: Critical hits using a non-automatic ranged weapon without a scope do double damage and those with scopes knock down enemies on the next shot.
Rapid Reloading
- Rank 1: Reload Ballistic weapons 30% faster.
- Rank 2: Reload Energy and EM weapons 30% faster.
- Rank 3: Reload Particle Beam weapons 30% faster. 50% chance to avoid getting interrupted while reloading.
- Rank 4: Chance on hitting enemies to increase reload speed for all weapons by 50% for 15 seconds.
Sniper Certification
- Rank 1: Scoped weapons are steadier and have less sway.
- Rank 2: You can hold your breath longer with scoped weapons.
- Rank 3: Headshots while aiming with a scoped weapon have a +25% critical hit chance.
- Rank 4: Scoped weapons do 50% more damage while using the scope.
Targeting
- Rank 1: Increased accuracy and range when shooting without aiming. Marks up to one enemy within 25m that damages you.
- Rank 2: Notably increased accuracy and range when shooting without aiming. Marks up to two enemies within 50m that damage you.
- Rank 3: Greatly increased accuracy and range when shooting without aiming. Marks up to three enemies within 75m that damage you.
- Rank 4: 10% chance to disarm targets hit when shooting without aiming. Marks up to four enemies within 100m that damage you.
Tier 4 Skills
Ironically enough, considering how the rest of the Combat skill tree went, I would recommend literally every one of these skills from Tier 4 - assuming you'll be engaging in a ton of combat. Go nuts.
Armor Penetration
- Rank 1: Attacks ignore 15% of a target’s armor.
- Rank 2: Attacks ignore 30% of a target’s armor.
- Rank 3: Attacks ignore 50% of a target’s armor.
- Rank 4: Enemy armor is decreased by 25% for 6 seconds after a critical hit.
Crippling
- Rank 1: Human enemies have a 30% increased chance to enter a downed state after taking enough damage.
- Rank 2: Humanoid enemies have a 50% increased chance to not naturally recover from a downed state.
- Rank 3: Human enemies now can enter a downed state earlier.
- Rank 4: Previous ranks now apply to all enemy types. You now do 100% more damage to downed enemies.
Sharpshooting
- Rank 1: Increase headshot critical damage by 50% with ranged weapons.
- Rank 2: Increase critical damage to enemy legs by 50% with ranged weapons.
- Rank 3: Increase all critical damage to enemies by 50% with ranged weapons.
- Rank 4: Ranged critical hit kills increase your critical hit chance with all ranged weapons by 25% for 20 seconds.
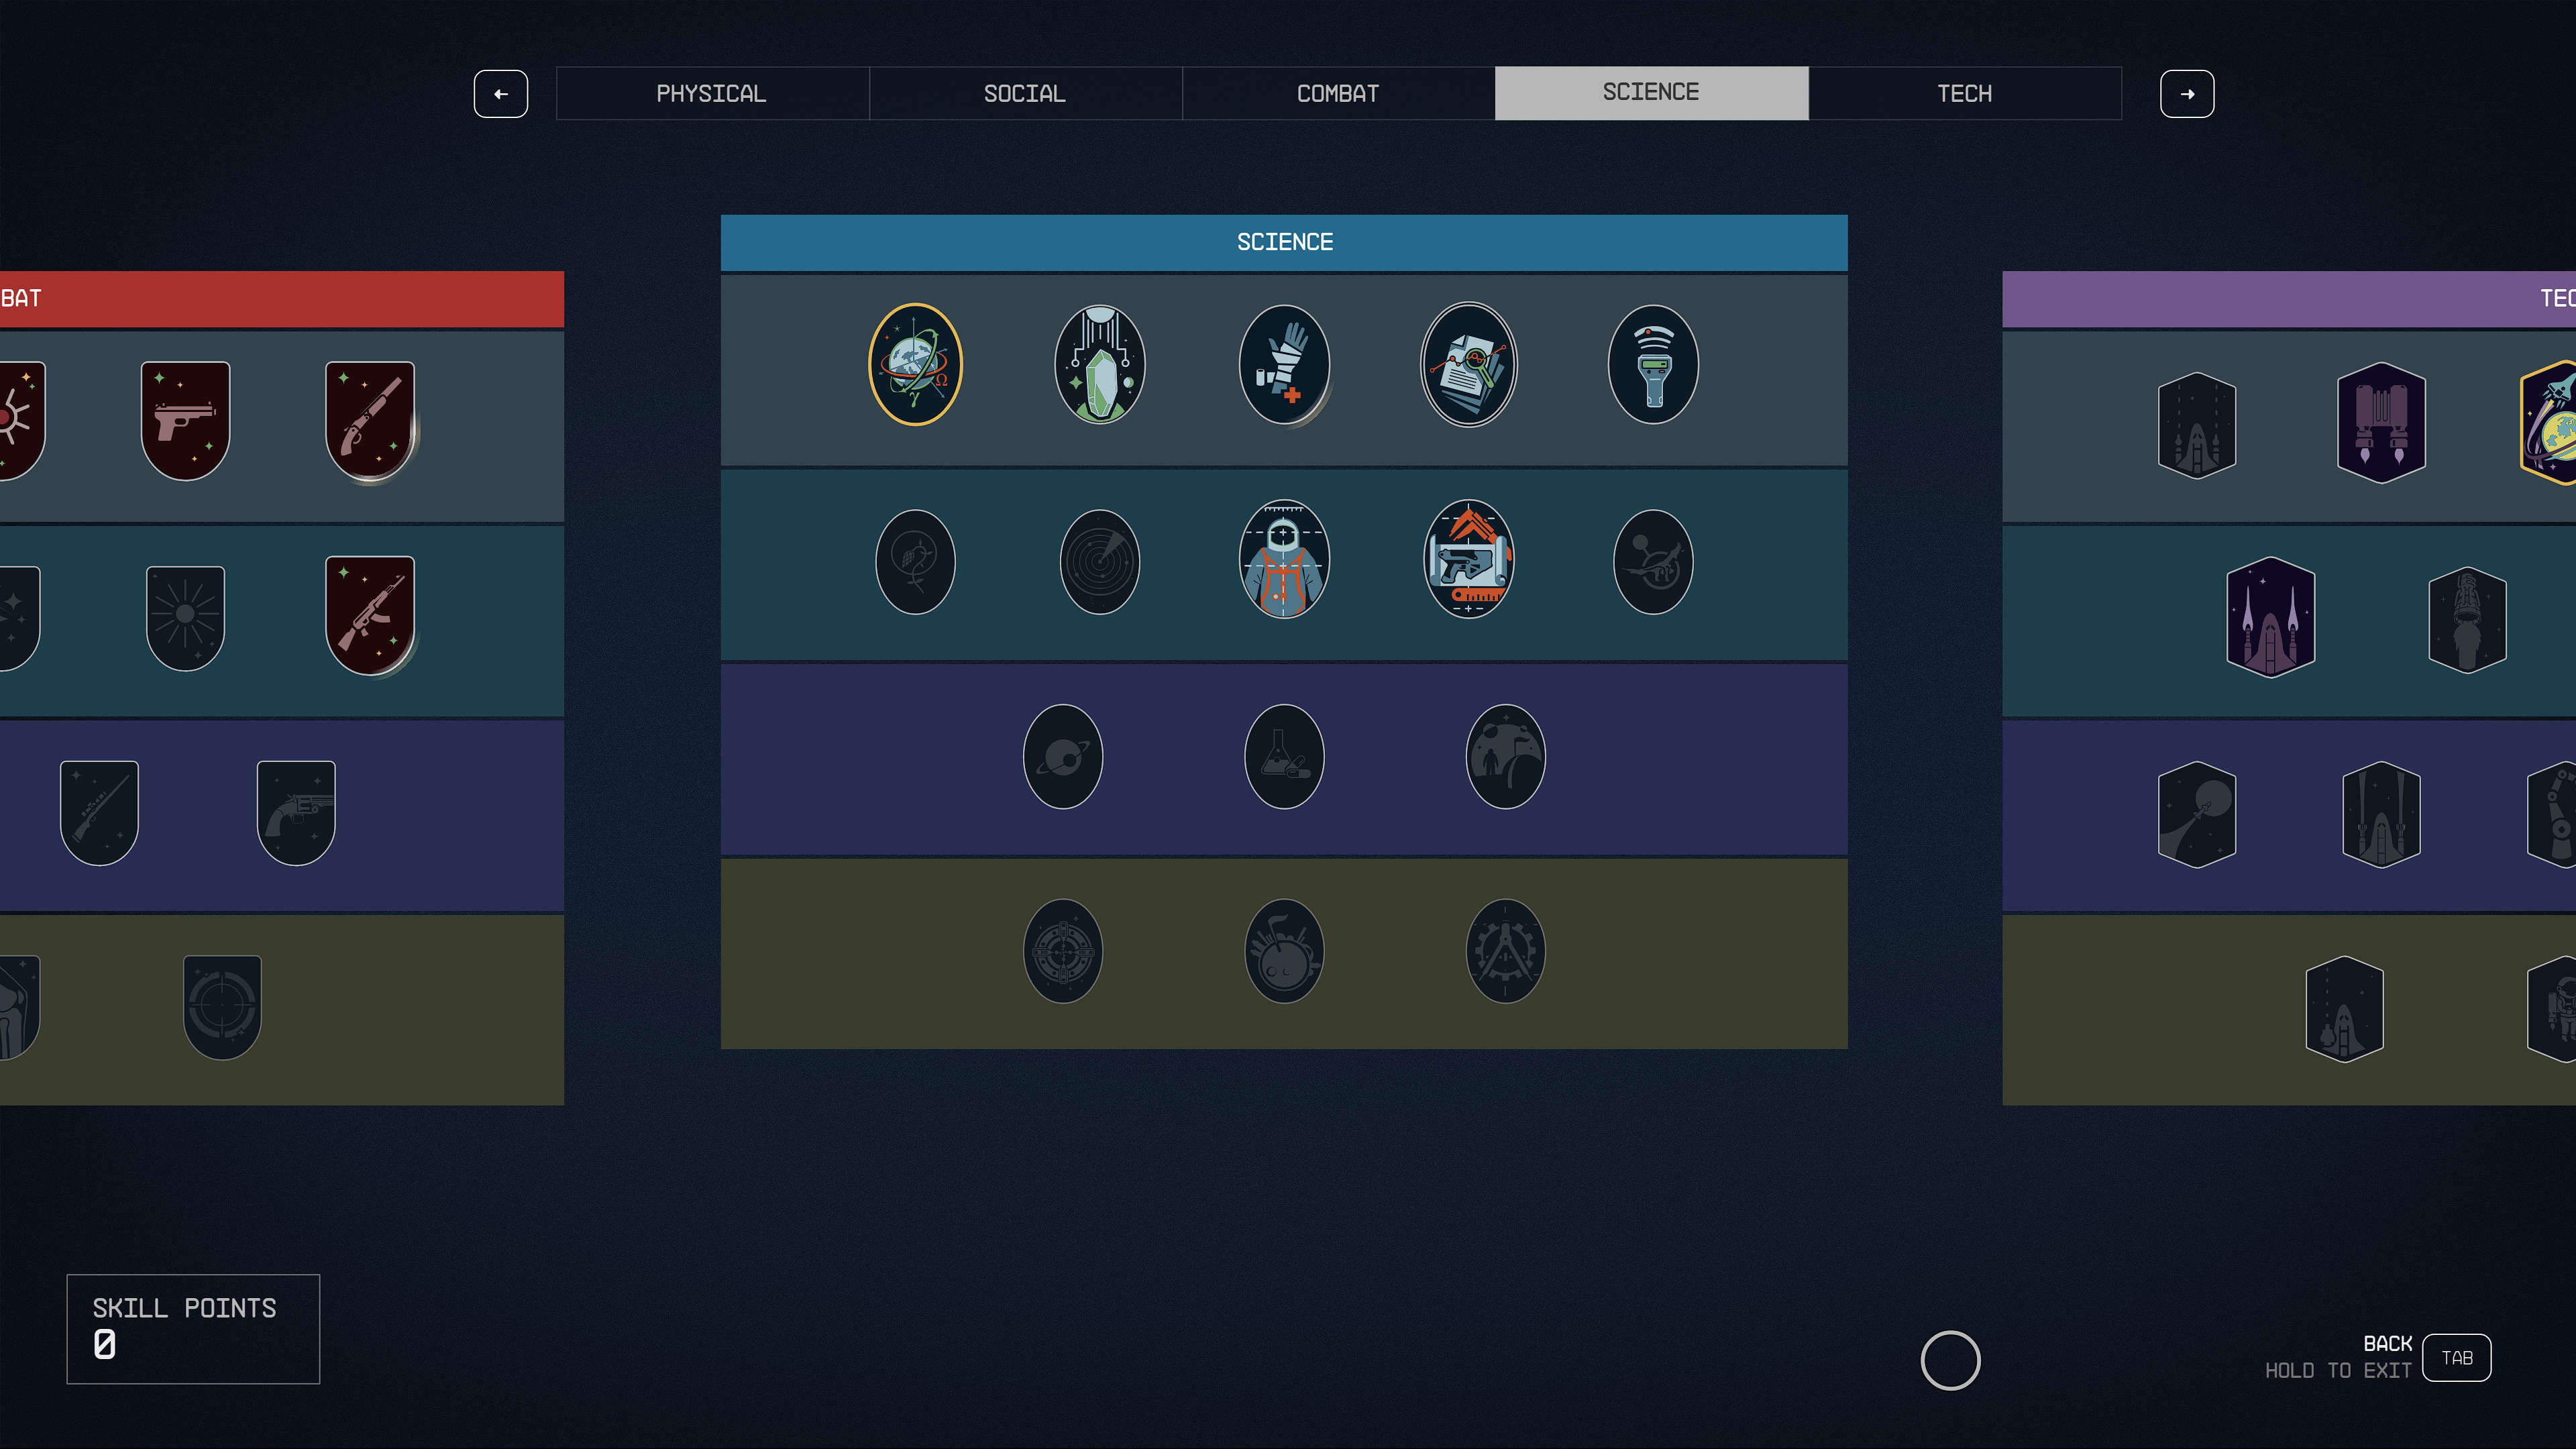
Science Skill Tree
With the Science skill tree, players will focus on skills dealing with technology in some form - improving the viability of scanning planets, whether from the atmosphere or the surface, the efficiency of research and the scope of what you can research and develop, and more. Players will likely become very well acquainted with the skills on offer in this tree.
Tier 1 Skills
The Science skill tree immediately hits the ground running with a set of skills where you could very easily argue for all of them being essential in their own way. Astrodynamics is perfect for allowing you to explore more of the Settled Systems quickly, while the rest - Geology, Medicine, Research Methods and Surveying - all are useful for anyone trying to explore the breadth of Starfield's universe.
Astrodynamics
- Rank 1: Increase grav jump range of jump drives by 15%.
- Rank 2: Reduced fuel cost of jump drives by 15%.
- Rank 3: Increased grav jump range and reduced fuel cost of jump drives by 30%.
- Rank 4: Reduced fuel cost of jump drives by 50%.
Geology
- Rank 1: Get more common and uncommon inorganic resources from surface objects.
- Rank 2: Get more rare inorganic resources from surface objects.
- Rank 3: Get more exotic inorganic resources from surface objects.
- Rank 4: Occasionally harvest additional rarer resources from surface objects.
Medicine
- Rank 1: Med Packs, Trauma Packs, and Emergency Kits restore 10% additional Health 10% faster.
- Rank 2: Med Packs, Trauma Packs, and Emergency Kits restore 20% additional Health 20% faster.
- Rank 3: Med Packs, Trauma Packs, and Emergency Kits restore 30% additional Health 30% faster.
- Rank 4: Med Packs, Trauma Packs, and Emergency Kits restore 50% additional Health 50% faster, and have a chance to cure an affliction.
Research Methods
- Rank 1: Resources required to craft items and complete research projects is reduced by 10%.
- Rank 2: Resources required to craft items and complete research projects is reduced by 20%.
- Rank 3: Resources required to craft items and complete research projects is reduced by 40%.
- Rank 4: Sudden developments during research are twice as common. Resources required to craft items and complete research projects is reduced by 60%.
Surveying
- Rank 1: Adds an optional zoom to the hand scanner, and scan distance is increased to 20 meters.
- Rank 2: Adds another level of zoom to the hand scanner, and scan distance is increased to 30 meters.
- Rank 3: Adds another level of zoom to the hand scanner, and scan distance is increased to 40 meters.
- Rank 4: Adds another level of zoom to the hand scanner, and scan distance is increased to 50 meters.
Tier 2 Skills
This tier is split into two categories of skills; those that will make it easier to find better resources from the environment, and those that are actually essential for crafting stronger mods for your equipment. Spacesuit Design and Weapon Engineering are both almost a requirement, but the rest of the skills are worth considering down the road as well.
Botany
- Rank 1: Get more common and uncommon organic resources from plants, learn additional info about them from the scanner, and allows some plants to be cultivated at your outpost.
- Rank 2: Get more rare organic resources from plants, and learn information about them more quickly using the scanner.
- Rank 3: Get more exotic organic resources from plants, and learn information about them more quickly using the scanner.
- Rank 4: Occasionally harvest additional rarer resources from plants, and learn information about them more quickly using the scanner.
Scanning
- Rank 1: You can detect uncommon inorganic resources on planet and moon surfaces, and more information about ships in space.
- Rank 2: You can detect rare inorganic resources on planet and moon surfaces, and more specific information about ships in space.
- Rank 3: You can detect exotic inorganic resources on planet and moon surfaces, and gain better combat information on ships in space.
- Rank 4: You can detect unique inorganic resources on planet and moon surfaces, and gain a complete list of cargo on ships in space.
Spacesuit Design
- Rank 1: You can craft improved spacesuit, helmet, and pack mods, and research additional mods at a Research Lab.
- Rank 2: You can research and craft superior spacesuit, helmet, and pack mods.
- Rank 3: You can research and craft cutting-edge spacesuit, helmet, and pack mods.
- Rank 4: Construction of spacesuit, helmet, and pack mods occasionally doesn’t cost resources.
Weapon Engineering
- Rank 1: You can craft improved weapon mods at a Weapon Workbench, and research additional weapon mods at a Research Lab.
- Rank 2: You can research and craft weapon mods.
- Rank 3: You can research and craft cutting-edge weapon mods.
- Rank 4: You can research and craft master-level weapon mods.
Zoology
- Rank 1: Get more common organic resources from creatures and harvest from them without harming them, learn additional info about them from the scanner, and allows you to produce animal resources at your outposts.
- Rank 2: Get more uncommon organic resources from creatures, and learn information about them more quickly using the scanner.
- Rank 3: Get more rare organic resources from creatures, and learn information about them more quickly using the scanner.
- Rank 4: Occasionally harvest additional rarer resources from creatures, and learn information about them more quickly using the scanner.
Tier 3 Skills
It had to happen eventually, but this tier of skills is fairly situational. Astrophysics can be nice to scan planets without directly flying to them, but both it and Outpost Engineering are mostly useful for those who would like to really sink their teeth into the mechanic. Chemistry is nice for making buffs, but for most of the game there's not too much reason to use them.
Astrophysics
- Rank 1: You can scan the moons of your current planet. You have a 10% chance to discover a trait when scanning.
- Rank 2: You can scan any planet or moon in this system. You have a 20% chance to discover a trait when scanning.
- Rank 3: You can scan any planet or moon within 16 Light Years. You have a 30% chance to discover a trait when scanning.
- Rank 4: You can scan any planet or moon within 30 Light Years. You have a 50% chance to discover a trait when scanning.
Chemistry
- Rank 1: You can create improved chems, and research additional chems at a Research Lab.
- Rank 2: You can research and create superior chems.
- Rank 3: You can research and create cutting-edge chems.
- Rank 4: Crafting chems occasionally triples the amount created.
Outpost Engineering
- Rank 1: You can construct improved outpost modules, and research additional modules at a Research Lab.
- Rank 2: You can research and construct superior outpost modules.
- Rank 3: You can research and construct cutting-edge outpost modules.
- Rank 4: Outpost modules now cost 50% fewer resources to build.
Tier 4 Skills
Having the ability to produce more power from reactors is incredible, if not for the fact that you'll essentially want to spend 4 skill points before it becomes especially useful. Planetary Habitation is essential for anyone making outposts, while Special Projects is the same for anyone who might be a research nut.
Aneutronic Fusion
- Rank 1: Ship reactors produce 1 extra unit of power.
- Rank 2: Ship reactors produce 2 extra units of power.
- Rank 3: Ship reactors produce 3 extra units of power.
- Rank 4: Ship reactors produce 5 extra units of power.
Planetary Habitation
- Rank 1: You can build outposts on planets with extreme temperatures (Deep Freeze and Inferno). Increase the maximum number of Outposts you can build by 4.
- Rank 2: You can build outposts on planets with extreme pressure. Increase the maximum number of Outposts you can build by 8.
- Rank 3: You can build outposts on planets with toxic or corrosive atmospheres. Increase the maximum number of Outposts you can build by 12.
- Rank 4: You can build outposts on planets with extreme gravity. Increase the maximum number of Outposts you can build by 16.
Special Projects
- Rank 1: You can research experimental projects at a Research Lab.
- Rank 2: You can craft rare manufactured components at an Industrial Workbench.
- Rank 3: You can craft exotic manufactured components at an Industrial Workbench.
- Rank 4: You can craft unique manufactured components at an Industrial Workbench. Outpost extractors have a chance to produce additional resources.
Tech Skill Tree
Last, but certainly not least, the Tech skill tree mostly focuses on your ships - an ever-present companion in Stafield. Almost every skill on the tree will likely be worth investing in, regardless of your playstyle, accordingly.
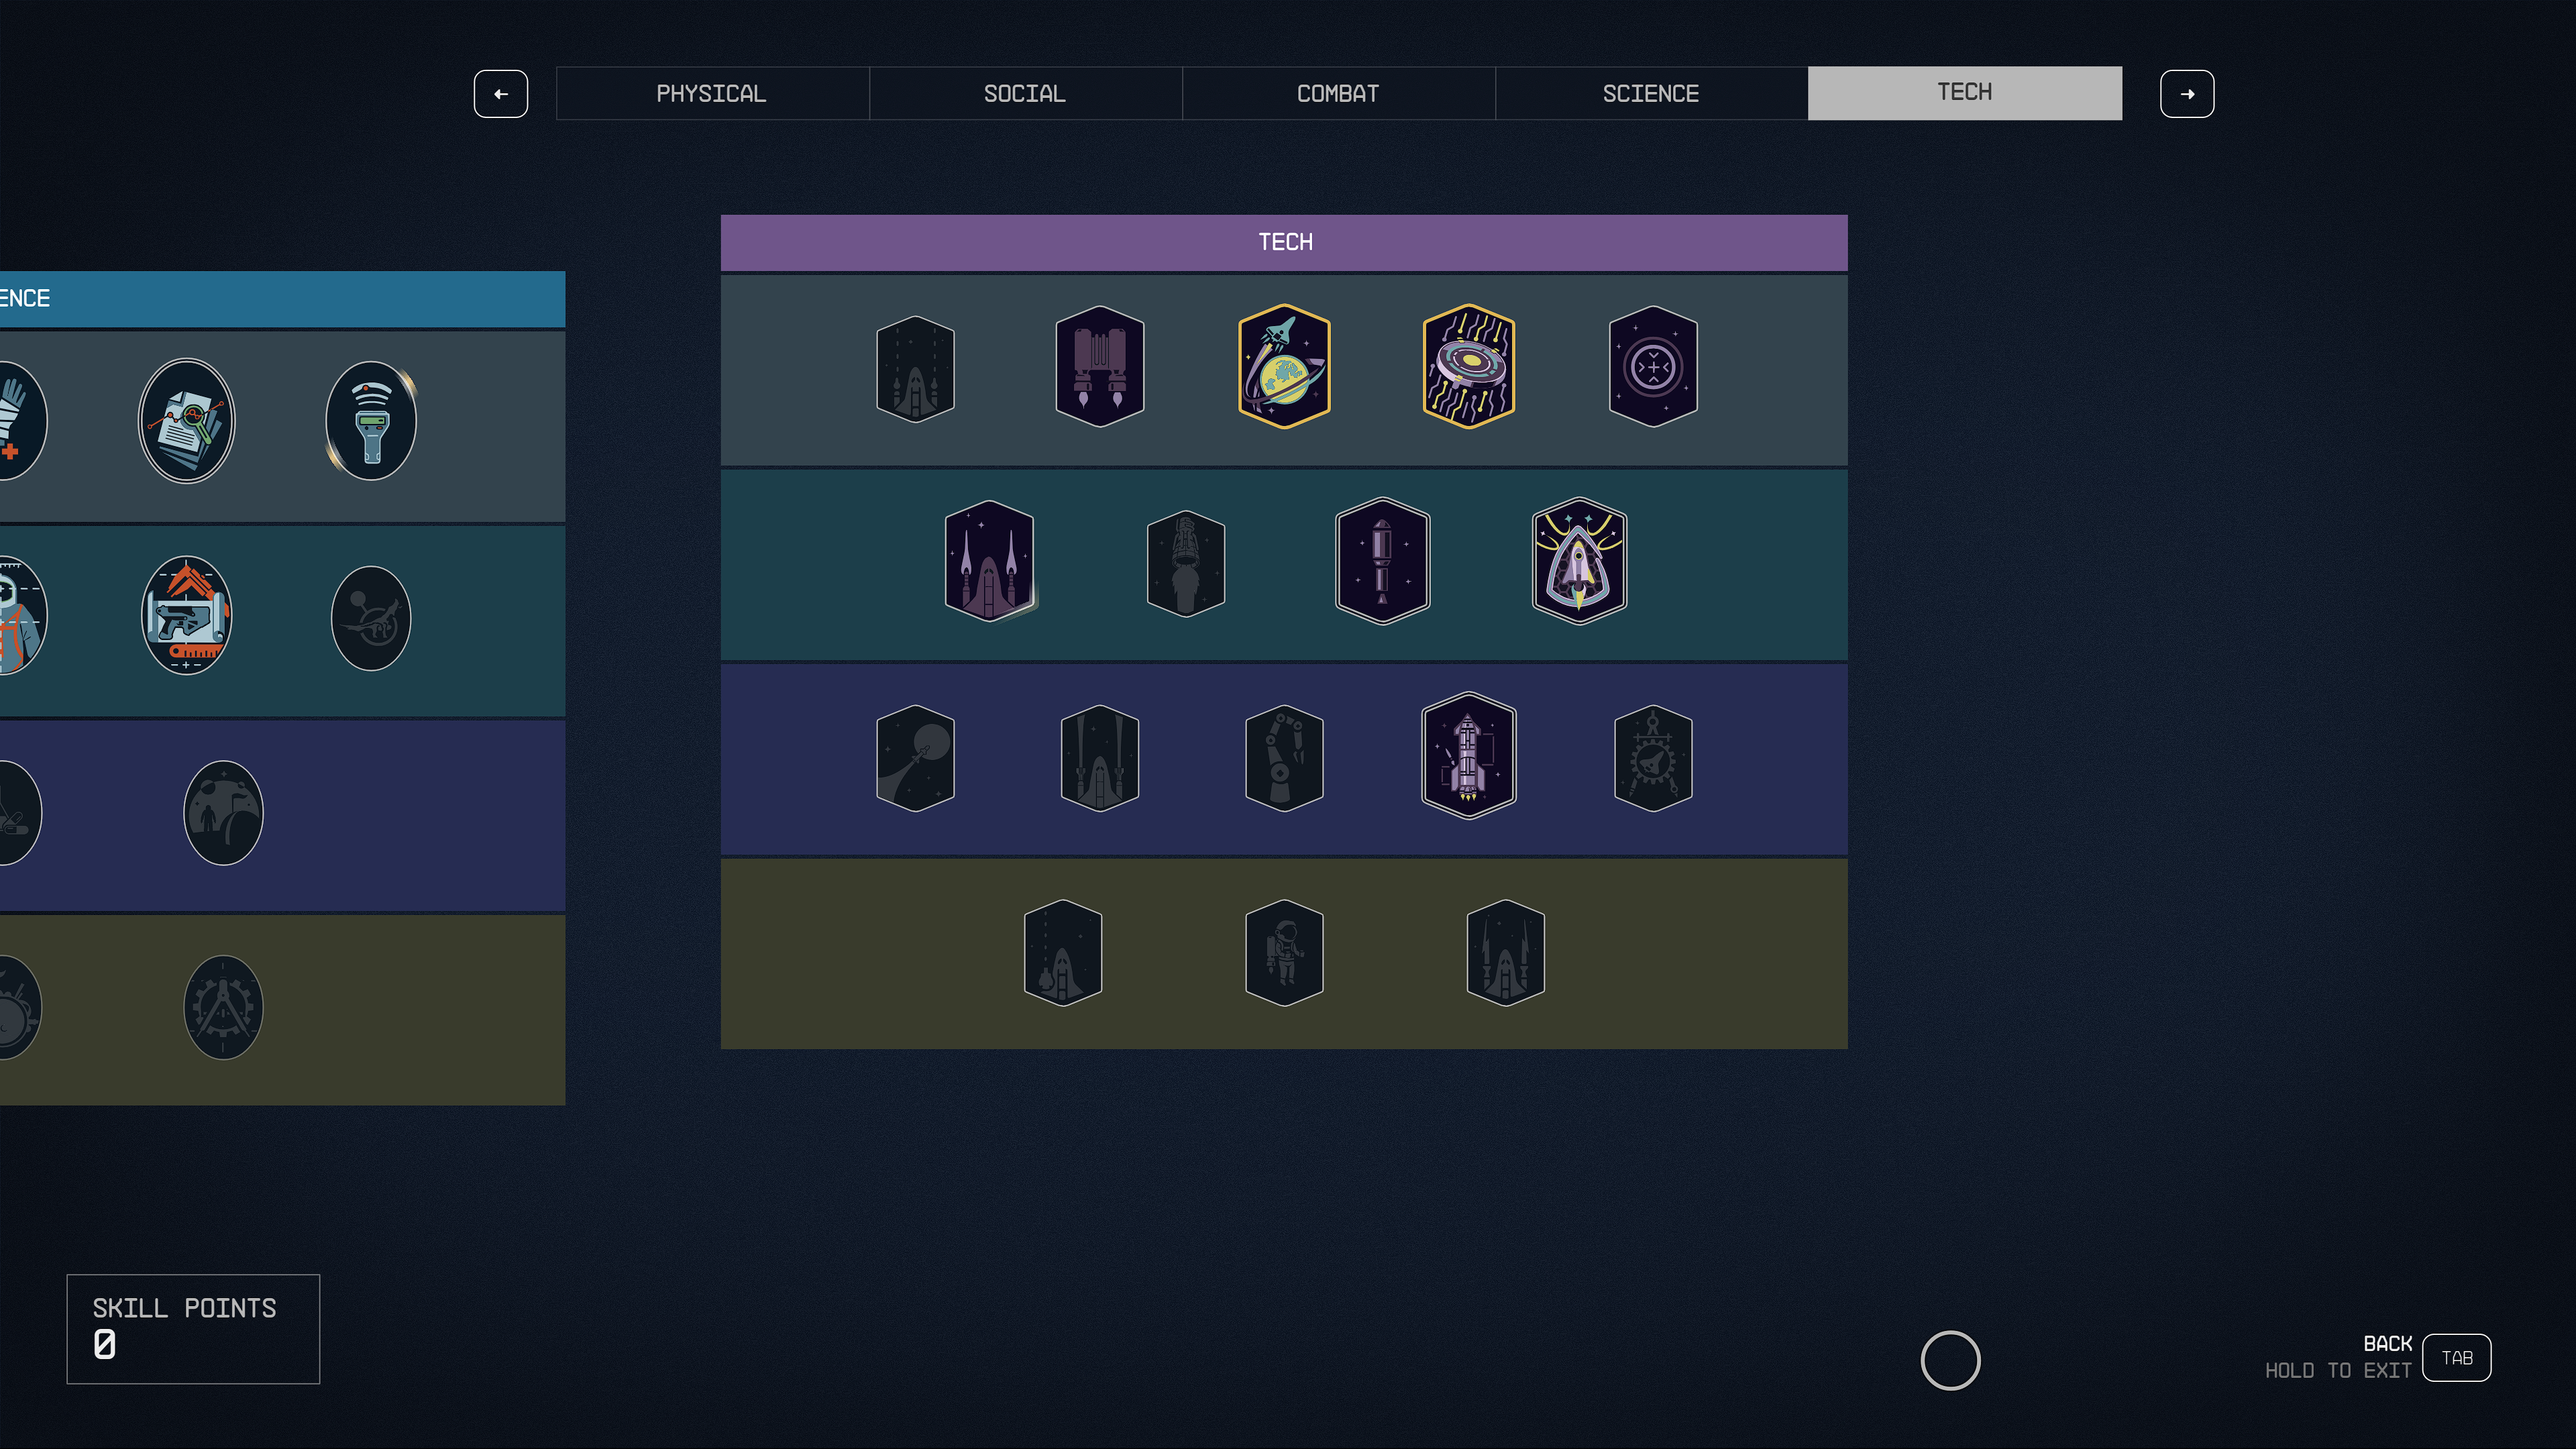
Tier 1 Skills
Literally every skill in this tier besides Ballistic Weapon Systems is essential and should be unlocked almost immediately, with many of them benefiting greatly from further investment. Piloting especially is essential for further customization of ships.
Ballistic Weapon Systems
- Rank 1: Ballistic ship weapons have 10% increased damage and cost 20% less to use in Targeting Mode.
- Rank 2: Ballistic ship weapons have 20% increased damage and recharge 15% faster.
- Rank 3: Ballistic ship weapons have 30% increased damage and recharge 30% faster.
- Rank 4: Ballistic ship weapons do 50% more damage to individual systems.
Boost Pack Training
- Rank 1: You can now utilize boost packs.
- Rank 2: Using a boost pack expands less fuel.
- Rank 3: Boost pack fuel regenerates more quickly.
- Rank 4: Doubles previous bonuses.
Piloting
- Rank 1: You can now utilize ship thrusters.
- Rank 2: Increased ship turning rate and maneuverability.
- Rank 3: Unlock the ability to pilot Class B ships.
- Rank 4: Unlock the ability to pilot Class C ships.
Security
- Rank 1: You can attempt to hack Advanced locks, and 2 auto attempts can be banked.
- Rank 2: You can attempt to hack Expert locks, and 3 auto attempts can be banked. Rings now turn blue when the pick can be slotted.
- Rank 3: You can attempt to hack Master-level locks, and 4 auto attempts can be banked.
- Rank 4: Expend a digipick to eliminate keys that aren’t required to solve the puzzle. 5 auto attempts can be banked.
Targeting Control Systems
- Rank 1: Unlock ship targeting functionality.
- Rank 2: Time to lock onto enemy ships is reduced by 15%. Target-locked ships fire at you 25% slower.
- Rank 3: Time to lock onto enemy ships is reduced by 30%. You have a 10% increased chance of critically hitting a target-locked ship.
- Rank 4: Time to lock onto enemy ships is reduced by 60%. Deal 20% increased system damage in targeting mode.
Tier 2 Skills
Payloads is a very essential skill for anyone who hoards items to store in their cargo hold, and one that will naturally scale with the base capacity of whatever ship you'll be piloting. Everything else here is situational, though having additional shield capacity is very nice.
Energy Weapon Systems
- Rank 1: Energy ship weapons have 10% increased damage and cost 15% less to use in Targeting Mode.
- Rank 2: Energy ship weapons have 20% increased damage and cost 30% less to use in Targeting Mode.
- Rank 3: Energy ship weapons have 30% increased damage and cost 45% less to use in Targeting Mode.
- Rank 4: Energy ship weapons recharge 30% faster.
Engine Systems
- Rank 1: Your ship’s top speed is increased by 10%.
- Rank 2: Ship boosts last longer and the cooldown is shorter.
- Rank 3: Your ship’s top speed is increased by 20%.
- Rank 4: While boosting, all enemies disengage the player and can only reacquire them as a target after the player stops boosting.
Payloads
- Rank 1: Ship cargo holds have 10% more capacity.
- Rank 2: Ship cargo holds have 20% more capacity.
- Rank 3: Ship cargo holds have 30% more capacity.
- Rank 4: Ship cargo holds have 50% more capacity.
Shield Systems
- Rank 1: Your ship has 20% increased shield capacity.
- Rank 2: Your ship has 40% increased shield capacity.
- Rank 3: Your ship has 60% increased shield capacity.
- Rank 4: Your shields will occasionally resist 100% of all damage received.
Tier 3 Skills
If you really want to chew through ships in fights, improving your offensive capabilities is worth it - but Starship Design is the real star of the show, for much the same reasons that Piloting was before.
Missile Weapon Systems
- Rank 1: Ship missile weapons do 10% more damage, and their Targeting mode cost is reduced by 20%.
- Rank 2: Ship missile weapons do 20% more damage, and their Targeting mode cost is reduced by 40%.
- Rank 3: Ship missile weapons do 30% more damage, and their Targeting mode cost is reduced by 60%.
- Rank 4: Ship missiles have a 20% increased Range, Travel Speed, and Reload Speed.
Particle Beam Weapon Systems
- Rank 1: Ship particle beam weapons do 10% more damage, and Targeting mode cost is reduced by 10%.
- Rank 2: Ship particle beam weapons do 20% more damage, and Targeting mode cost is reduced by 20%.
- Rank 3: Ship particle beam weapons do 30% more damage, and Targeting mode cost is reduced by 30%.
- Rank 4: Increased critical hit chance with ship particle beam weapons.
Robotics
- Rank 1: You deal 10% more damage to Robots and Turrets. You can force a target robot up to 10 levels higher than you to stop fighting for a limited time.
- Rank 2: You deal 20% more damage to Robots and Turrets. You can force a target robot up to 10 levels higher than you to flee for a limited time.
- Rank 3: You deal 30% more damage to Robots and Turrets. You can force a target robot up to 10 levels higher than you to attack their allies for a limited time.
- Rank 4: You can force a target robot up to 10 levels higher than you to obey commands for a limited time.
Starship Design
- Rank 1: Allows the installation of improved ship modules.
- Rank 2: Allows the installation of superior ship modules.
- Rank 3: Allows the installation of cutting-edge ship modules.
- Rank 4: Allows the installation of experimental ship modules.
Starship Engineering
- Rank 1: All ship systems repair 10% faster.
- Rank 2: Ship systems have 25% increased damage mitigation.
- Rank 3: All ship systems repair 25% faster.
- Rank 4: Occasionally, repairing one block of a system will repair the entire system.
Tier 4 Skills
Much like before, these ship weapon type skills can be useful for combat - but the real star of the show with the finale of the Tech tree is Boost Assault Training. Rocketing yourself out of a group of enemies and having a chance to leave them burning from the backblast is hilarious and well worth the cost of admission; not to mention the further permutations of the skill.
Automated Weapon Systems
- Rank 1: Automated ship weapons do 10% more damage and reduce all targeting mode costs by 20%.
- Rank 2: Automated ship weapons do 20% more damage and reduce all targeting mode costs by 30%. Your ship takes 20% less damage while in targeting mode.
- Rank 3: Automated ship weapons do 30% more damage and reduce all targeting mode costs by 40%. Increases crit chance against targeted sub-systems by 20%.
- Rank 4: Ship turret weapons recharge 40% faster and do 20% more damage to targeted sub-systems.
Boost Assault Training
- Rank 1: Nearby enemies take damage when you boost and have a chance to catch on fire.
- Rank 2: Chance to knockdown nearby enemies when you boost.
- Rank 3: Aiming down sights while boosting will let you hover in place. Fuel is still expended until empty.
- Rank 4: While hovering, time slows down and the world moves 70% slower around you.
EM Weapon Systems
- Rank 1: EM ship weapons have 10% increased damage and cost 15% less to use in Targeting Mode.
- Rank 2: EM ship weapons have 20% increased damage and cost 30% less to use in Targeting Mode.
- Rank 3: EM ship weapons have 30% increased damage and cost 45% less to use in Targeting Mode.
- Rank 4: EM ship weapons have a small chance of instantly disabling enemy engines.
That was a lot to go over; but we hope it helped inform whatever builds you intend to you during your playthrough! Really, though - it's really hard to have a "wrong" way of playing the game, so above all remember to enjoy yourself! Best of luck, Constellation!