
Surviving Dangerous Dungeons in Demon Gaze: Tips for Demon Gazers
Looking to get into the dungeon-crawler Demon Gaze, but have no clue where to start? No worries, this handy-dandy guide has got you covered with tips to help make your dungeoneering trips less painful (though, of course, not painfree... this is a dungeon crawler after all). Let's get started:
Be careful about your second party member choice. Since it costs a sizable amount of money to rent a room to obtain more party members, your second member might be the only other member you get in a while. Therefore, picking a squishy class such as Mage or Ranger may not be the best idea, since they will be taking significant damage during until there are more members. A Healer might be an alright choice, but they aren't good at dealing damage and the recovery items you find about will be sufficient for a while. Typically, a good option would be a physical attacker that can take a few hits, such as a Warrior or Paladin.
Pick up a Healing Staff as soon as possible. A Healing Staff is a cheap pick up, clocking in as 450 gold, and is an item that can be used in and out of battle as a free healing item. While your Healer will eventually out-class the staff, the Healing Staff still provides unlimited free healing outside of battle, so you can heal up in between fights! [Thanks to Adam for this tip!]
Races matter in terms of stats... and maximum stat increases. While many games do not enforce a big difference between races, Demon Gaze is not one of them. Each race starts with a hard set of base stats, and the maximum amount you can raise a stat is 20 above the base. So, that means that Neys will always have the highest base Agility, Migmys the highest base Mysticism, and so on. It's important to keep this in mind if you are worried about getting the most out of your party members, but if you're dead set on using (or not using) certain races, most of the difference can be mitigated via equipment and furniture.

Holy Shield is your friend. Once your Healer learns Holy Shield, it's a very good idea to use it all the time... 'all the time' being 'every single turn'. Holy Shield absorbs a set amount of damage until it breaks, and the amount it absorbs increases when level increases. This is incredibly helpful in making sure your party doesn't get wiped in boss battles, or lessening (or sometimes flat out negating) damage in normal battles. The icing on the cake, though, is that the skill doesn't even cost any HP, making it spammable whenever you want. The Assassin has a somewhat similar skill called Mirage, but said skill only absorbs a single attack (of any strength) per party member, so if a character gets hit more than once, it fails to help much.
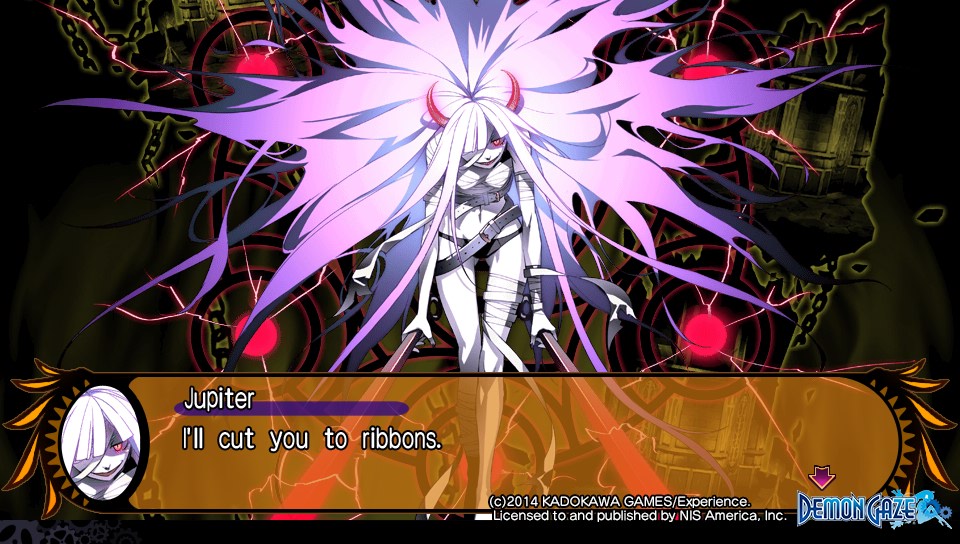
It's always a good idea to keep Comet and Chronos with you. Comet allows you to see most of the hidden doors throughout the game, taking a lot of guesswork out of finding hidden areas. Chronos, on the other hand, makes it so you don't take damage from damagerous floor tiles, and is very important when exploring some of the earlier dungeons. As an aside, Jupiter protects against wall traps and other nasty effects, but the time you get her in the game, you'll be able to very easy switch Demon Keys (due to Return Door and the frequency of Demon Circles) that you don't need to always keep her around.
Don't be afraid to use your demons in normal battles. The Demon Gauge doesn't deplete all that quickly, and the amount it increases each turn usually offsets the cost. So if a battle is looking like it'll be tough, summon a demon to take and dish out some damage!
If a battle looks too tough, run. Not only does Comet have an ability to run away from almost all battles successfully, but Smoke Balls and even some equipment ensure that it's easy to run away. Make sure to do so if the going gets tough, even if it's an enemy symbol in the way; if you run, you can re-group and try again with a different enemy mob.
Make sure to cast your Force spells. Throughout the course of the game, your magic users will learn 'Force' spells. These spells can be cast once, and their effects will remain until you return to the inn (or save and quit). These spells have helpful benefits, such as raising evasion or lessening damage from breath attacks, and makes a dungeon crawl that much safer.
Hit and evasion rates are important. Can't hit Hermes? Yeah, he's a jerk like that. What his battles enforce, however, is that hit and evasion play an important role in battles. Hit and evasion increasing/decreasing spells are useful and should be cast if you have the time during a boss battle; if you don't, you could be missing left and right while taking massive damage, making battles that much harder.
Get ready for a difficulty spike in Grimador. When you first enter Grimador castle, be prepared to warp or run at any time. This is the first time in the game that enemies have instant death attacks, and the typical enemy gets a huge boost in attack.
Happy demon hunting!