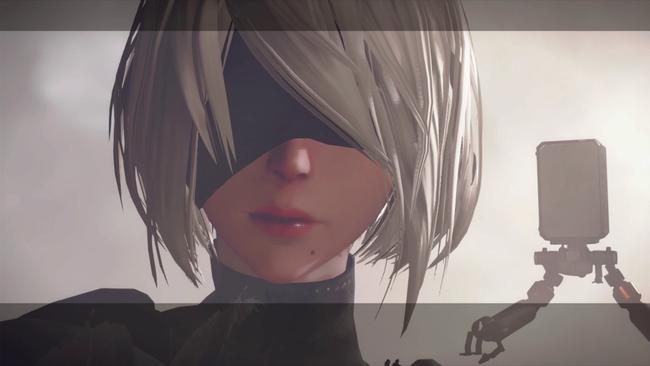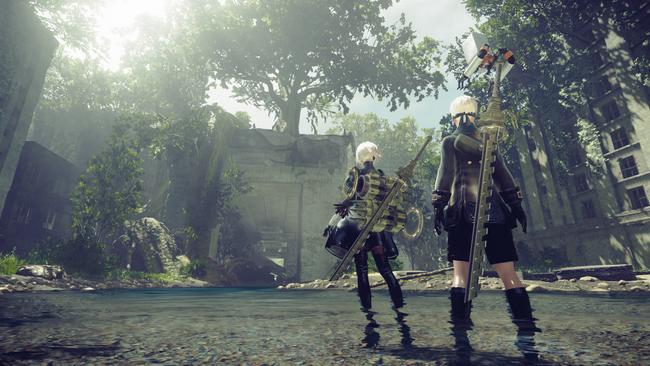
Nier Automata Endings guide: How to get All Endings
One element the Nier series is quite well known for is its propensity for having a lot of different Endings, and NieR Automata shows exactly how that reputation was earned. Seeing them all can be a challenge, however - as many must be triggered in surprisingly obscure ways. Luckily for you, this endings guide explains how to get every ending in Nier Automata, allowing you to get all 26 endings, including the 5 main endings to Automata's story.
This is a spoiler-free guide, which means it'll help you to find all 26 endings, including the 5 'true' endings, without risking you ruining any of the story. If you're going deep on the Nier series, we also have a Nier Replicant Endings guide - if you go off to play this game's predecessor next, be sure to bookmark that page. But for now, let's talk Nier Automata:
Nier Automata Endings: The Five Main Endings

It might seem overkill that there's 26 different endings to Nier Automata, but in truth most of these endings aren't that important. The majority of them are in-jokes and references. For the main story, there are just five main endings.
These five endings make up the main 'routes' through the game - Ending A, B and C being the bulk of it, with ending D and E coming off the back of that as optional extras, offering more story insight and minor twists and turns. The 'optimal' ending - the best ending - is arguably ending E, but you need to have seen every previous ending in order to access it. Playing the game through this many times will give you plenty of chances to soak up the story, plus grab all weapons.
Basically, think of the main game as being endings A, B, and C - seeing those three, in order, one after the other. Consider Endings D and E as a sort of 'post-game' which leads to the true ending, of a sort. If the Nier developers declare a canon ending in years to come for a sequel, it's overwhelmingly likely that they will choose Ending E to be the canon.

How to see All Main Endings to Nier Automata
- Ending A - flower for m[A]chines: Beat the main story of Nier Automata to complete 'Route A' and see Ending A.
- Ending B - or not to [B]e: After rolling credits on Ending A, load that save file up and continue to beat the main story a second time.
- Ending C - meaningless [C]ode: Load the save file that reached Ending A and Ending B to begin Route C. During the final battle in this play through, select A2.
- Ending D - chil[D]hood's end: Load the save file that reached Ending A and Ending B to begin Route C. During the final battle in this play through, select 9S.
- Ending E - the [E]nd of yorha: After you've seen both Ending C and Ending D, defeating the final boss one more time will see the Pods will make you an offer. Accept the request, and then say you "wish for them to survive". Keep in mind that if you choose to be a helper, this will delete your save file.
All Alternative Endings

As well as the core five endings, there are a massive 21 alternative endings that are mostly little in-jokes the developers added. These can be accessed at various points throughout the game through specific actions.
These endigns are all weird, quirky and non-canon ways for the story of Nier: Automata to come to an end. These are definitely less essential, because for the most part they're dumb jokes, like what happens when you choose to Self Destruct. However, some of them also carry achievements to unlock by seeing them. These endings are a little more hidden - but we've got you covered.
The below list deals with endings F through Z, with brief descriptions on how to get each ending. As ever, we try to keep spoilers light, but there will be minor ones.
- Ending F : Mission Failed - When 9S tries to restore his OS for the first time, simply run out of time.
- Ending G : HunGry for Knowledge - Leave the mission area when controlling 9S for the first time.
- Ending H : A Mountain too HigH - When the Goliath appears for the second time, flee from the battlefield.
- Ending I : No I in Team - After defeating the boss in the Copied City, abandon 9S.
- Ending J : Bad Judgement - Kill the religious machines in the Abandoned Factory when first meeting them.
- Ending K : Aji Wo Kutta - Eat the mackerel given by Jackass.
- Ending L : Lone Wolf - Abandon the battle area in the final battle of either Route A or Route B.
- Ending M : Break TiMe - Choose to not help Pascal's Village near the end of Route C.
- Ending N : No Man's Village - Kill every machine in Pascal's Village.
- Ending O : Just YOu and Me - Abandon the battlefield during the beginning of Route C.
- Ending P : CorruPtion - Get fully infected by the logic virus in Route C.
- Ending Q : Questionable Actions - Abandon 2B in Route C when controlling 9S.
- Ending R : MaveRick - Attack Pascal's villagers with A2 inside the Abandoned Factory.
- Ending S : City EScape - Abandon Devola and Popola during the Tower sequence.
- Ending T : FaTal Error - Unequip the OS plug-in chip.
- Ending U : DebUnked - Self Destruct inside the Bunker.
- Ending V : Wreckless BraVery - Do not hack into the Tower and wait for the accompanying NPCs to die.
- Ending W : Broken Wings - Die during the intro level in Route A.
- Ending X : Time to RelaX - Abandon helping 2B with A2.
- Ending Y : HeadY Battle - Fight the secret boss and let it Self Destruct.
- Ending Z : OverZealous: Kill Pascal with A2 in their first encounter.