
Mass Effect: Andromeda Guide - Top Multiplayer Tips & Tricks
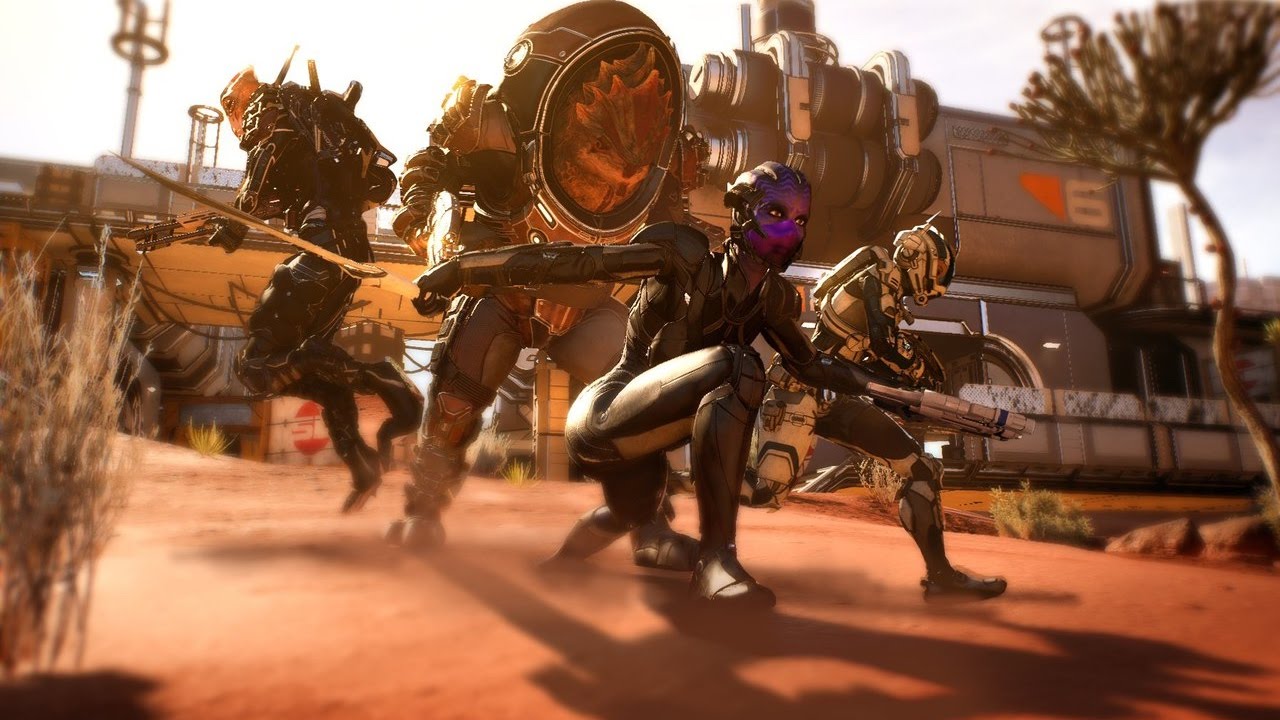
Even if you've finished with Mass Effect: Andromeda's single-player campaign, its multiplayer mode is something you can definitely look forward to for some fun. With an extensive and growing selection of characters to pick from and already one of many multiplayer events to get excited for, it's a great way to still immerse yourself in the Andromeda galaxy while waiting for any future single-player content.
Even though it's similar to Mass Effect 3's multiplayer mode, there are gameplay differences that allow for this game's multiplayer mode to still feel fresh and pose a variety of challenges. In this guide, we're going to give you all our top five tips for Andromeda's multiplayer mode so that you can have a better experience both as an individual player and as a team member.
Want more Mass Effect: Andromeda help? Be sure to check out our hub - it's full of quest walkthroughs, tips, tricks, system explanations and more.
Mass Effect: Andromeda - Top Multiplayer Tips & Tricks
Prepare for Every Wave's Objective
Make yourself familiar with the waves of each game. Every game will consist of 7 waves that will follow the same format with its Objective every time. The formats are:
- Wave 1: Survival
- Wave 2: Survival
- Wave 3: Time limited random objective (Take out specific enemies, lock down a hack zone, upload data from three points, or enable/disable four devices)
- Wave 4: Survival
- Wave 5: Survival
- Wave 6: Time limited random objective (Take out specific enemies, lock down a hack zone, upload data from three points, or enable/disable four devices)
- Wave 7: Extraction
You want to focus on completing the objective as fast as possible. In the Survival waves, this is simply taking out enemies and making it to the next round. It's on the random objective waves with time limits that this gets tricky: you want to concentrate on quickly fulfilling the objective so that enemies stop spawning. The longer you take to finish the objective, the more enemies will spawn, and thus it will be easier for you and your team to get overwhelmed and fail to finish under the time limit.
Prioritize the Weaker Enemies
It's easy for a round to get overwhelming, especially on the waves that have a time limit. You may have a team of four in total, but there's plenty of aggressive enemies ready to make you fight hard to win the round. We know it's tempting to go for the big ones because they pose the most immediately noticeable threat, but it's probably best for you to go always after the small fry first.
When you're busy fighting off a large and powerful enemy, it's usually the smaller and weaker but persistent enemies that land the kill shots when you're not taking notice or can't escape in time to regenerate your shields.
Once this happens, a team mate will try to make their way revive you, but unless they have Tactical Cloak, they'll probably be unable to because they'll be surrounded by enemies both large and small, ready to take them down should they get near the area. Taking down those smaller but annoying enemies before you go for the bosses will help you do some crowd control and finish the wave faster and more efficiently.
Play to Your Class Strength
It's easy to feel a bit of pressure over having a well-balanced team in a co-operative multiplayer. Let's use a scenario: Say you're on a time-limited objective wave in which you have to enable or disable four devices; this is one of the trickier objectives because it's easy for the enemies to overwhelm your team. While a well balanced team is important, if you're a confident Biotic who is great at doing some crowd control, don't feel like you have to play an Infiltrator to most effectively enable or disable devices if you're not comfortable with the class.
In this scenario, you'll be a useful contributor to the team through your effectiveness in reducing the amount of enemies, making it easier for the person who is handling the devices to get the job done. Stick with what you feel most comfortable as and play accordingly. Chances are, you'll do a better job as the class you're most confident in than the class you think the team needs but that you don't have much experience with.
Memorize the Locations of Ammo Crates in Each Map
There's always a bit of panic and frustration that sets in when you're picking away at an enemy's health and have nearly killed it only for you to run out of ammo at that last moment. After every wave, and whenever necessary during each wave, you should take the opportunity to restock your ammo. It never hurts and is better than the alternative of running out during an inopportune moment.
During every match, fixate yourself on one or two ammo crates and take note of where they are. Eventually, memorize the locations for the ammo crates on each map so that you don't have to spend time running around searching for one.
You don't need to necessarily memorize where every single ammo crate is -- this will probably happen on its own if you play enough of the multiplayer -- but it's a great idea to rely on one or two specific boxes to constantly run to in order to restock your ammo and power cell supply.
Don't Immediately Head to the Extraction Point on the Extraction Wave
This was a common thing in the Bronze level of Mass Effect 3's multiplayer and one that also happens often in the Bronze level of this game's multiplayer, so we think this will be a vital tip for all those who are just starting out their Mass Effect multiplayer experience. When the extraction wave begins, you want to stay away from the extraction point for as long as possible.
If you and all your other team members head to the extraction point upon the start of the wave, the enemies that spawn will all immediately make their way towards you. This will make staying alive long enough until you actually get extracted far more difficult than it could otherwise be because you'll be in a limited space and have the attention of all your foes.
When the extraction wave starts, you want to stay away from the extraction point so that it's mostly clear for when you are extracted later on. Every map has corridors, corners, rooms, and open spaces for you to travel to -- use the space and don't be afraid to move around! Just make sure to keep your eye on the timer so that you don't cause your team to have a Partial Extraction because you got distracted with fighting off enemies on the other side of the map. Generally, if you're not close to the point, it's a good idea to start making your way to the point when there are roughly 20 seconds left.
There are more useful tips for Mass Effect: Andromeda's multiplayer mode, but we think these are the top five most useful ones we can share so that you and your team can improve your odds at having a successful extraction. If you have any more useful tips that have helped you have a more successful and enjoyable multiplayer experience in the Andromeda galaxy, feel free to share them in the comments section with others.
Want more Mass Effect: Andromeda help? Be sure to check out our hub - it's full of quest walkthroughs, tips, tricks, system explanations and more.