
Final Fantasy XII: The Zodiac Age Espers Guide: where to find them and which Job License Board to use them on
Summoned creatures are a mainstay in the Final Fantasy series. In Final Fantasy XII, these are known as Espers and there are 13 in all, based off of the 12 Zodiac signs plus a special 13th spirit. Espers can be summoned by the party once they are defeated in combat. Five espers are necessarily obtained during the plotline while the other 8 are obtained in optional areas of the game. Firstly, we want to describe where each Esper can be met in the game.
Gaining the ability to summon an Esper is not their only function, however. Espers also act as "bridge nodes" on each of the 12 new Zodiac License boards, and behind each Esper node are a few extra nodes you could not otherwise reach until you activate that Esper on the board. However, it is very important to note that Espers can only be assigned to one character only, so not every character can access all the nodes on their license boards locked behind Espers. So deciding which class to give which Esper to requires a decision to be made. We're here to help.
This guide will give a quick summary on where to find each of the game's thirteen Espers, as well as information on which nodes they unlock on each of the license boards. We will also offer our own suggestion on which jobs benefit most from which Espers based on the skills they unlock for each job. This guide will not offer strategies on how to beat each of the Espers in combat.
Note: The guide lists the Espers in the earliest possible order you can obtain them. However, none of the optional Espers are missable and can be gotten at any time later in the game.
Getting Started - understanding Espers on the FF12 License Board
- Each job has a unique license board, and on those boards are some nodes 'locked' behind Espers. Each Esper can only be assigned to one character, so choosing which character to give an Esper to requires some planning and thought.
- The Zodiac Age adds the capability for each character to wield two jobs simultaneously, meaning they have two license boards. If a node is activated on one of the characters licenses board, then it is already activated on that character's second license board as well. This means that, depending on your job pairs, you might already have activated nodes locked away behind an Esper on one board because you've already activated those nodes on that character's other board.
- Similar to the last point, assigning an Esper to a character will unlock that Esper's node on both of the character's license boards. Consider this when choosing who to give an Esper to, and remember that characters also have jobs they're naturally going to be better at.
- Our suggestions are just that, suggestions. Free free to consider your own playstyle and party set-up to deter which Espers to give to which character based on their classes.
Have your own suggestions? Let us know in the comments.
Belias, the Gigas
Acquisition
Story-related. Belias will always be the first Esper acquired by the party. He is encountered at the bottom of the Tomb of Raithwall. Acquiring Belias is also what enables the ability to assign a second job to each character.
License Board Unlocks
- Knight: Potion Lore 1
- Foebreaker: Horology technick
- Bushi: Libra technick
Suggestion: As Belias is the first Esper in the game, his License Board unlocks are not great and will not add much to your skillsets. Libra is found in many other classes already, and Horology is an awkward Technick based on your game clock, so Potion Lore 1 is our best recommendation.
Adrammelech, the Wroth
Acquisition
Optional. Adrammelech can be found in the Zertinan Caverns after completing the Tomb of Raithwall. Enter the caverns via the Dalmasca Westersand (Galtea Downs). You'll find Adrammelech in [Athroza Quicksands]. Be careful to avoid the Archeoavis in [The Balamka Fault], as they have been powered up significantly in International Zodiac Job System.
License Board Unlocks
- White Mage: Souleater technick, Battle Lore
- Uhlan: Battle Lore
- Time Battlemage: Cura, Raise magicks
- Foebreaker: Battle Lore
- Black Mage: Fumarole, Tumulus equippable
- Bushi: Souleater technick
- Shikari: Shades of Black technick
Suggestion: There is no obvious pick here. Time Battlemages do not get access to White Magick otherwise, so giving them Cura and Raise could be useful in a pinch or some additional healing. An extra Battle Lore for you Foebreaker or Uhlan never hurts. Hand Bombs on your Black Mage is probably only useful in very specific builds. Consider if you have a character that can benefit from Adrammelech twice, such as an Uhlan/Time Battlemage.
Zalera, the Death Seraph
Acquisition
Optional. Zalera can be found in a hidden area of Barheim Passage after completing the Tomb of Raithwall. In order to get back into the Barheim Passage at this point in the game, you need to obtain the Barheim Key. In order to get Barheim Key, you need to:
- Complete the Hunt "Dalmasca's Desert Bloom"
- Reopen the Dalmasca Estersand ferry service. Talk to Tchigri in Estersand [South Bank Village]. Ride the ferry and talk to Ruksel in [North Bank Village]. Tale to Dantro's Wife in [South Bank Village]. Go behind the hut and interact with "Dran?". Return to Tchigri.
- Heal the patient: Dantro's Wife in [South Bank Village] needs several items to heal her patient. Semclam Shells (5x) can be found close to the river in [South Bank Village] and [Banks of the Nebra]. Small Phials (2x) can be found in [Outpost]. Valeblossom (3x) can be found in [Broken Sands] (north of the river).
- Once the patient is healed, he will give you Barheim Key.
Note: Getting a Great Serpentskin for Dantro's Wife from the "Marauder in the Mines" hunt, will allow you to get an extra Golden Amulet (double LP accessory) for this quest, although it is optional.
Once that is done, go to [Murmuring Defile] in the Estersand. You can now explore new areas in Barheim Passage. Zalera is found in [Terminus No. 7].
License Board Unlocks
- Monk: Traveler technick
- Time Battlemage: Ether Lore 3
- Foebreaker: Traveler technick
- Black Mage: Steal tech, Poach technick
- Bushi: Blood Sword, Karkata equippable
- Shikari: HP+435
Suggestion: Traveler deals damage based on the number of steps you've taken since you last used it - not very useful. Having another character able to Steal isn't useful either. HP+'s aren't as valuable in late-game because Bubble will likely bring your character to 9999 HP regardless. We suggest going with Bushi for additional access to weaponry or Ether Lore for your Time Battlemage. (Blood Sword causes Sap and Karkata causes Confuse on hit)
Edit: As noted in the comments, your HP can actually exceed 9999 even if the gauge does not show it. So an additional 435 base HP isn't such a bad deal if you don't need the weapon unlocks.

Cúchulainn, the Impure
Acquisition
Optional. After completing Tomb of Raithwall, Cúchulainn is found in a new area of the Garamsythe Waterway. You need to have first completed the Hunts "Waterway Haunting" and "Lost in the Pudding", which will reward you with the Sluice Gate Key. You need to make your way to the south-most room in the waterway. Assuming you have never messed with the gates prior, the order is:
- At [Central Waterway Control] there are four switches labels 4, 11, 10, and 3. Turn on No. 3 Waterway Control (3 and 10 are lit)
- Go SW to [No. 3 Cloaca Spur] and flip the switch there
- Back at [Central Waterway Control], turn off 3 and 10 and turn on 11 and 4.
- Go SE to [No. 4 Cloaca Spur] and slip the switch there
- Back at [Central Waterway Control], turn off 11 and turn on 3. You can now make your way to [No. 1 Cloaca]
License Board Unlocks
- White Mage: Libra technick
- Uhlan: Wither technick
- Machinist: Magick Lore
- Red Battlemage: Firaga, Thundaga, Blizzaga, Sleepga magicks
- Knight: Battle Lore
- Foebreaker: Shades of Black technick
- Bushi: Stamp technick [Also unlocked by Ultima]
- Shikari: Protectga, Shellga magicks
Suggestion: The most enticing selection here is more Black Magick for your Red Battlemage. If your Red Battlemage is also your Black Mage (and thus already has those magicks), then we suggest giving Cúchulainn to your Shikari for additional protective buffs.
Mateus, the Corrupt
Acquisition
Story-related. Mateus is encountered in the Stilshrine of Miriam.
License Board Unlocks
- Uhlan: Magick Lore (x2)
- Knight: Curaga, Esuna, Cleanse, Regen magicks
- Time Battlemage: HP+230
- Black Mage: Caldera, Volcano equippable
- Shikari: Gil Toss technicks
Suggestion: Knights do not gain access to White Magick on their own, and another character able to use Esuna/Cleanse/Regen is probably your best option (unless your Knight is also your White Mage). Gil Toss has its uses, but you probably have plenty of characters who can do that already. The HP+ node is there if nothing else is valuble to your setup.
Exodus, the Judge-Sal
Acquisition
Optional. After the events at Stillshrine of Miriam and Mt. Bur-Omisace, you can speak with Moogle Boss and his crew in Salikawood to fix the gate leading to Phon Coast. Once this is done, return to Mosphoran Highwaste.
- Talk to Learned Man. Activate Shrine of the South Wind.
- Feed the chocobo in [Rays of Ashen Light] a gysahl green. Head to [Empyrean Way], then [Skyreach Ridge] (need chocobo here). You can now access a new area in [Babbling Vale]
- Activate Shrine of the West Wind. Hit the Weathered Rock. Activate Shrine of the Northwest Wind.
- You can now encounter Exodus at [Empyrean Seat].
License Board Unlocks
- White Mage: Battle Lore
- Machinist: Oil, Decoy magicks
- Red Battlemage: Platinum Helm, Giant's Helm, Dragon Helm, Platinum Armor, Carabineer Mail, Dragon Mail equippable
- Knight: HP+350
- Monk: Souleater technicks
- Time Battlemage: Battle Lore
- Foebreaker: Magick Lore (x4) [Also unlocked by Zeromus]
- Black Mage: Platinum Helm, Platinum Armor equippable
- Shikari: Stamp tech
- Bushi: HP+500
Suggestion: There is no clear winner here. All those heavy armors for your Red Battlemage look enticing, but for end-game purposes, they probably aren't going to be as useful as high-end robes. Still, other options are not much better. The 4 Magic Lores are worth a look if your foebreaker is also a mage and does not already have access to them. As always, consider if you have any job pairings that can benefit from Exodus twice.
Zeromus, the Condemner
Acquisition
Optional. After the events at Stillshrine of Miriam and Mt. Bur-Omisace, talk to Nu Mou Acolyte at [Temple Grounds] in Mt. Bur-Omisace. You will obtain Stone of the Condemner. Back at the Stillshrine on Miriam, you can use this stone on the first waystone you see to access a new area with Zeromus.
License Board Unlocks
- White Mage: HP+270
- Machinist: Makara equippable
- Red Battlemage: Channeling
- Monk: Sight Unseeing technick
- Time Battlemage: Addle technick, Shear technick
- Foebreaker: Magick Lore (x4) [Also unlocked by Exodus]
- Black Mage: Giant's Helm, Carabineer Mail equippable
- Bushi: Magick Lore (x2)
Suggestion: Channeling reduces MP cost by 10%, and that's a good thing for your Red Battlemage to have (especially if you gave them Cúchulainn for higher level Black Magicks). Otherwise, Addle and Shear are especially good debuff technicks you can give to your Time Battlemage. Bushis already get plenty of Magick Lores, but they can get two more if you choose. Plenty of good options here.
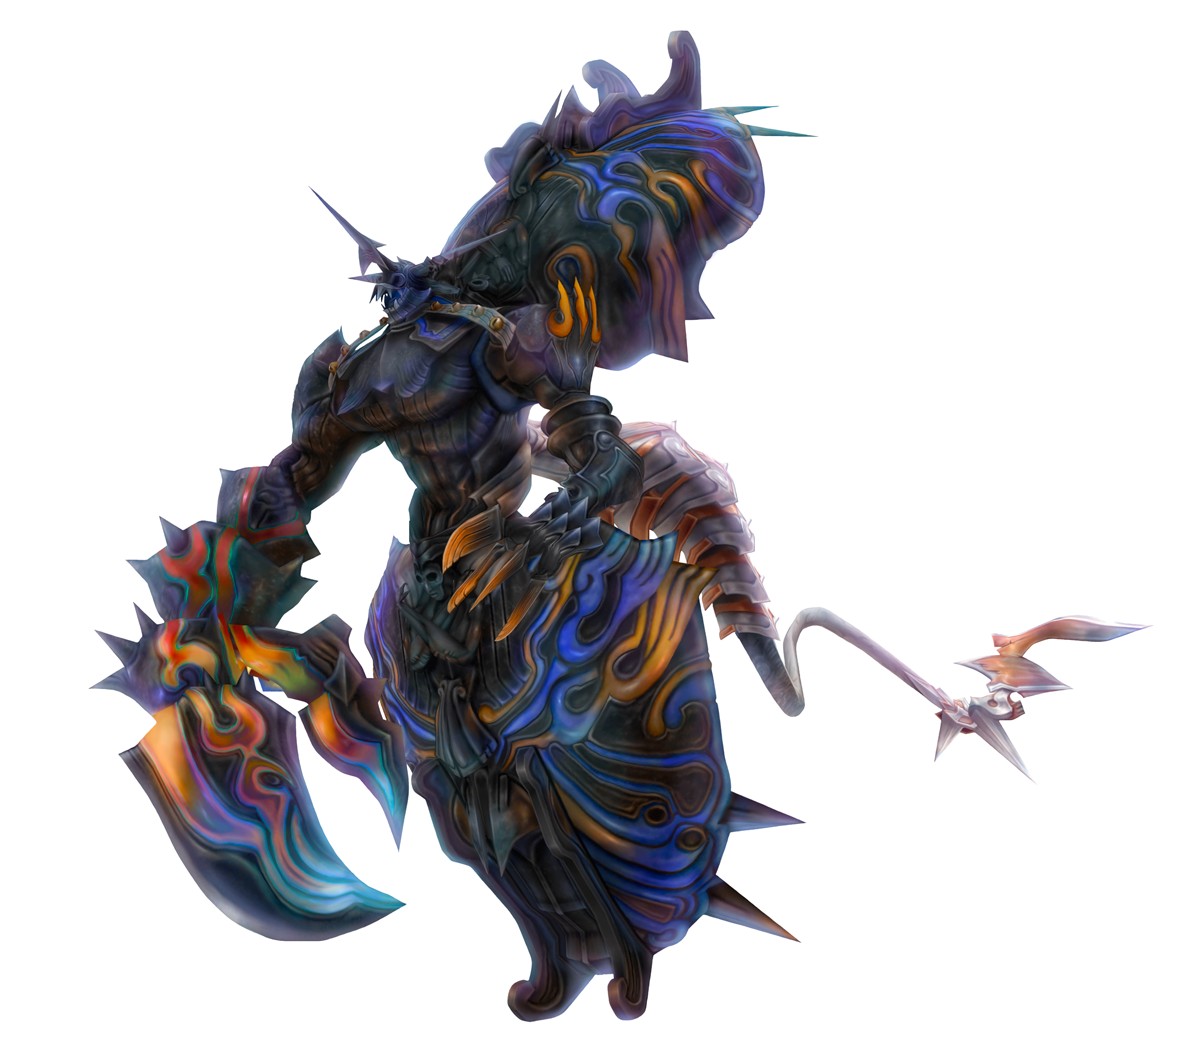
Chaos, Walker of the Wheel
Acquisition
Optional. Available after visiting Archades. This Esper requires quite a few things to access. Firstly, you need to have completed the Hunts "Waterway Haunting", "Lost in the Pudding", and "Crime and Punishment".
You need several key items.
- Blackened Fragment - Obtained from Hunt "Crime and Punishment"
- Grimy Fragment - Talk to Roh'kenmou at Dalan's place. Talk to Filo in [South Sprawl]. Talk to Curious Woman in [Southern Plaza]. Talk to Merchants in [Muthru Bazaar] until you get a hint. Talk to Sotted Imperial at Yugri's shop. Talk to Kytes in [North Sprawl]. Talk to Filo again, Talk to Sotted Imperisal again.
- Dull Fragment - Talk to Roh'kenmou at Dalan's place. Enter the residence in [North Sprawl]. Read Dusty Letter. Talk to Deeg again. Go to [Central Waterway Control] in Garamsythe Waterway. Turn off all the gate lights. Close 11, close 4, open 11, close 3, open 4. You can now find an item to pick up around the perimeter.
- Moonsilver Medallion - Talk to Ma'kleou in Nabreus Deadlands [The Muted Scarp]. Talk to Roh'kenmu at Charlotte's in Archades. Talk to Otto in [Alley of Muted Sighs] in Old Archades. Return to Roh'kenmu.
Once that's done. Go back to [The Muted Scarp] and speak to the three Nu Mou. Go to [The Slumbermead] in Nabreus Deadlands and access the hidden path in the NW to [The Fog Mutters]. Go to the end of this hidden area to get Medallion of Bravery, Medallion of Love and the Lusterless Medallion.
Finally, go to the Necrohol of Nabudis (can be accessed from Salikawood). Each medal opens up a door in the Necrohol which holds a boss encounter. Defeat each boss in each room, and Chaos will finally be yours.
License Board Unlocks
- White Mage: Defender, Save the Queen equippable, HP+310
- Uhlan: Aeroga, Bio, Blindga, Silencega magicks
- Machinist: HP+350
- Red Battlemage: Ultima Blade equippable
- Knight: Excalipur, Revive tech, HP+390 [Also unlocked by Zodiark or a Quickening node)
- Monk: Esunaga, Protectga, Shellga, Holy magicks
- Time Battlemage: HP+270
- Archer: Magick Lore
- Bushi: Brawler
Suggestion: If you have a Black Mage/Monk, give them Chaos for sure. Holy will be a very useful spell to have and the protective buffs are just a bonus. These are good magicks for your monk to have even if they are not also a Black Mage. Otherwise, the next best options is probably the Uhlan support spells or giving greatswords to your White Mage.
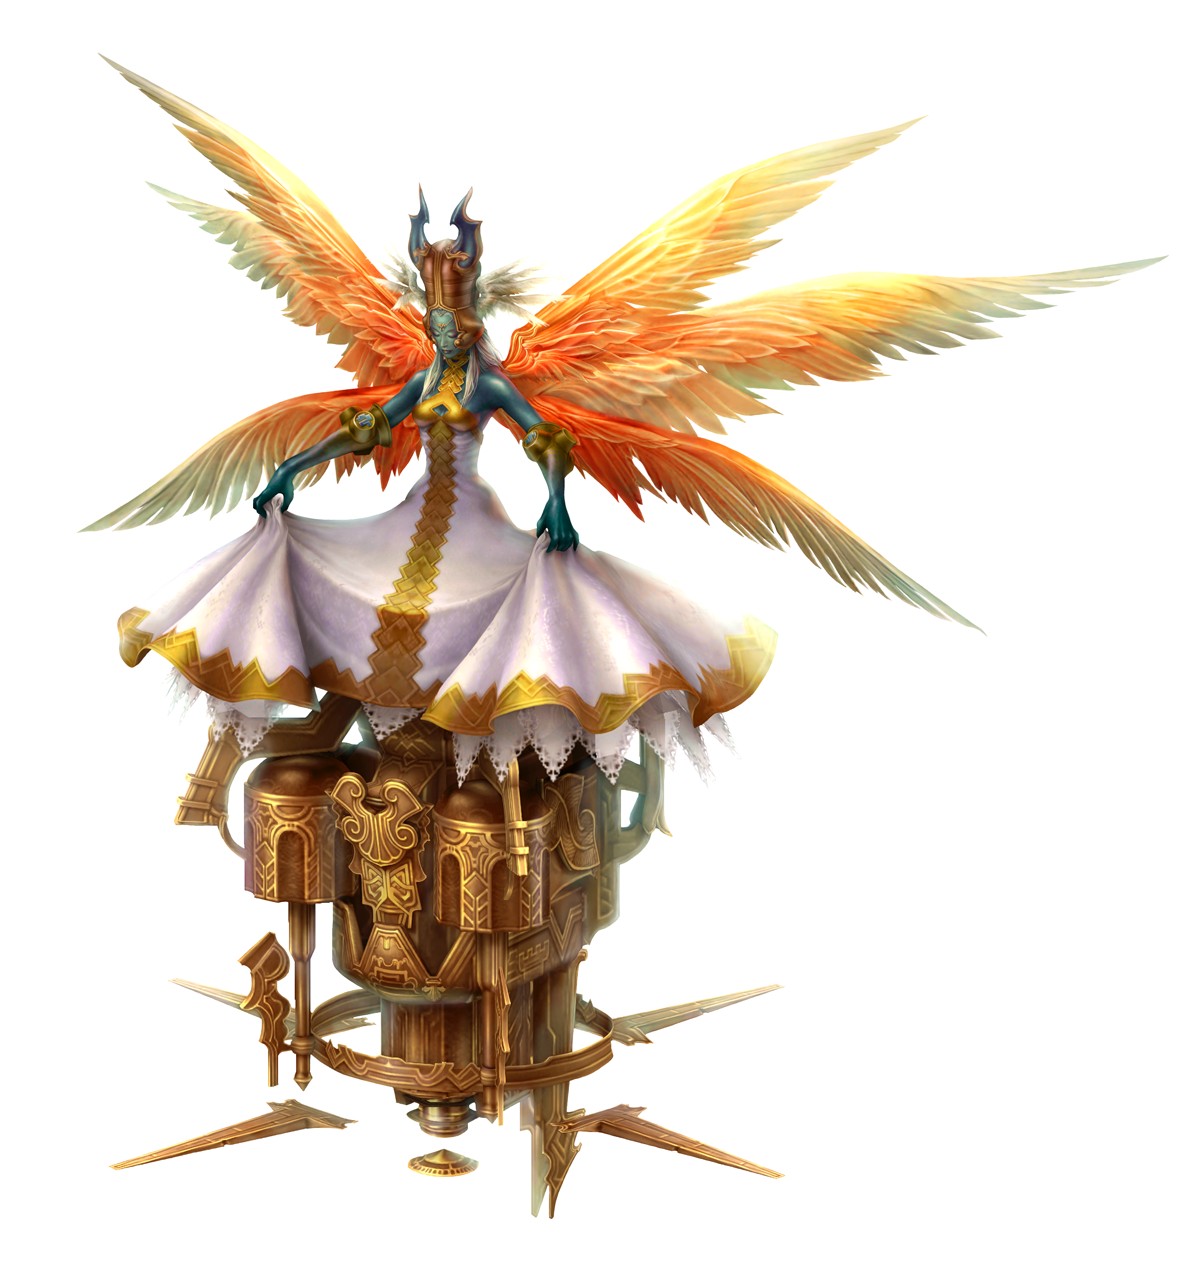
Shemhazai, the Whisperer
Acquisition
Story related. Will acquire at the end of Giruvegan and Great Crystal story events.
License Board Unlocks
- White Mage: HP+230
- Machinist: Caldera, Volcano
- Red Battlemage: Cleanse, Esuna magicks
- Knight: Potion Lore 2
- Monk: Potion Lore 3
- Archer: Dragon Helm, Magepower Shishak, Grand Helm, Dragon Mail, Maximilian, Grand Armor equippable
- Black Mage: Steel Mask, Mirror Mail equippable
- Bushi: Shield Block
- Shikari: Spica, Antares, Arcturus, Fomalhaut equippable
Suggestion: Giving Shemhazai to your Archer will allow them to wear the best heavy armors in the game. Giving your Red Battlemage status removing skills will also be sure to come in handy. If your Red Battlemage and your Archer are the same character, then this is an easy choice to make. None of the other selections come close.
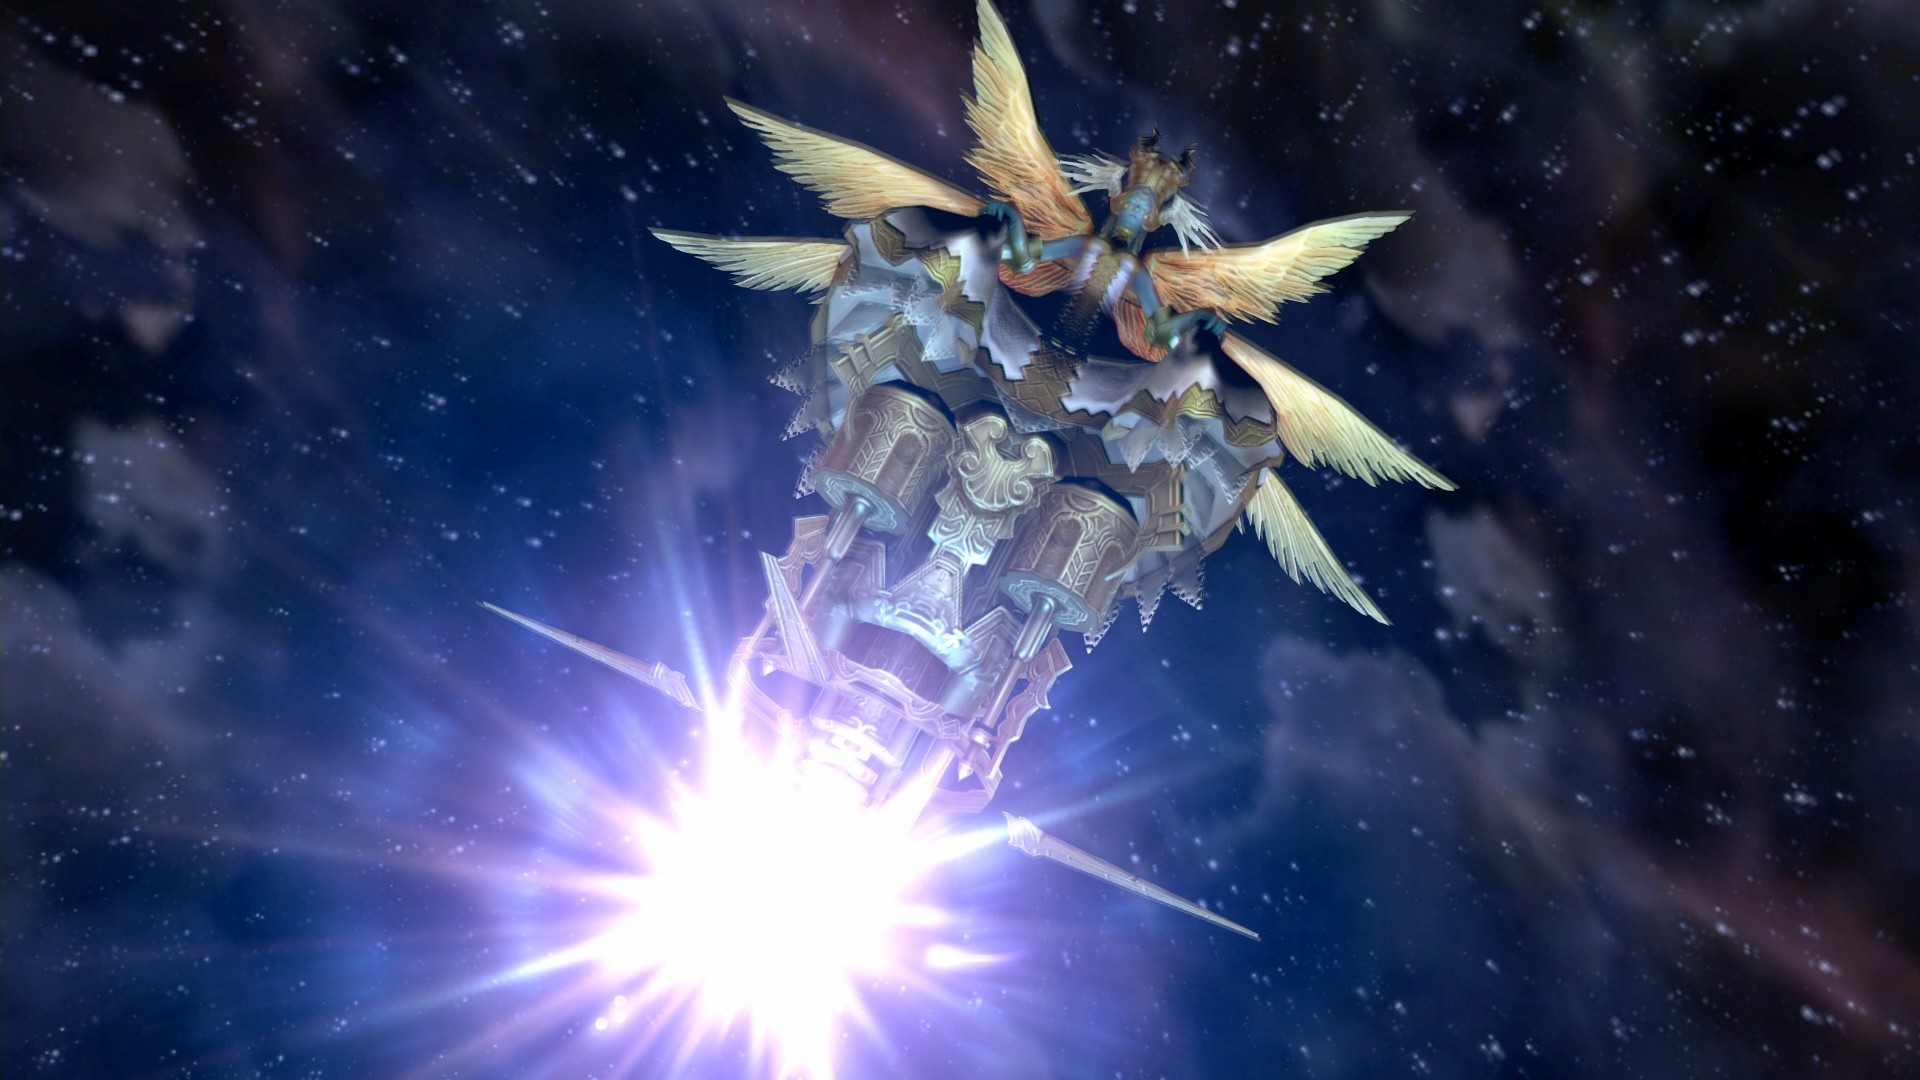
Ultima, the High Seraph
Acquisition
Optional. After the story events at Giruvegan and getting the Treaty Blade, you can access further areas inside the great crystal. Ultima is encountered near the very end. Navigating this place is simply too difficult to describe in text, so check out a map to help you out.
License Board Unlocks
- Uhlan: Expose technick
- Machinist: Magick Lore (x3) [Also unlocked by a Quickening node]
- Red Battlemage: Claymore, Defender, Save the Queen equippable
- Knight: Telekinesis tech, Battle Lore
- Monk: Swiftness (x2)
- Time Battlemage: Diamond Sword, Runeblade, Deathbringer, Stoneblade equippable
- Foebreaker: Swiftness
- Archer: Infuse technick, 1000 Needles technick [Also unlocked by Zodiark]
- Black Mage: Telekinesis tech
- Bushi: Stamp tech [Also unlocked by Cúchulainn]
- Shikari: Phoenix Lore (x2)
Suggestion: Swiftness is the best passive node in the game (reduces action by 10%). If your Monk does not already have Swiftness, then give them Ultima. If Foebreaker needs the Swiftness, then give them Ultima. If both your Monk and Foebreaker already have Swiftness, then the next best option is probably Expose for your Uhlan. As always, see if you have any characters that can 'double benefit' with Ultima.
Zodiark, Keeper of Precepts
Acquisition
Optional. After Giruvegan/Great Crystal events. Have collected ten other Espers and finish the Hunt "The Mine Flayer". Talk to Geomancer Yugelu in Jahara [Lull of the Land]. Warp to Henne Mines and you can now access a new area east of [Ore Separation]. Make your way to the end of this high level area and you can encounter Zodiark, the most difficult of the Espers.
License Board Unlocks
- White Mage: Claymore equippable
- Machinist: HP+390
- Red Battlemage: Ragnarok equippable
- Knight: Excalipur, Revive, HP+390 [Also unlocked by Chaos and a Quickening node]
- Monk: Renew Magick
- Time Battlemage: Durandal, Simha equippable
- Archer: Infuse tech, 1000 Needles tech [Also unlocked by Ultima]
- Bushi: Giant's Helm, Dragon Helm, Magepower Shishak, Carabineer Mail, Dragon Mail, Maximilian equippable
Suggestion: Zodiark mostly adds high-level equipment to classes that could not otherwise wield them. Renew is the highest level White Magick that fully heals your team but it is costly to cast. For Zodiark, it is probably best just to see which characters can double up best on the unlocks he provides.
Hashmal, Bringer of Order
Acquisition
Story-related. Hashmal is found near the end of the Pharos at Ridorana dungeon.
License Board Unlocks
- Uhlan: Bonecrusher technick
- Red Battlemage: Steal technick
- Knight: Curaja, Bravery, Faith, Confuse magicks
- Monk: Cura, Raise magick
- Time Battlemage: Channeling
- Foebreaker: Swiftness
- Black Mage: Makara equippable
- Shikari: Bonecrusher technicks
Suggestion: Like Mateus, it is probably best to give Hashmal to your Knight in order to give them some White Magick abilities. If your Knight is also your White Mage, then the next best choice is probably Channeling for your Time Battlemage.
Famfrit, the Darkening Cloud
Acquisition
Story-related. Famfrit is obtained shortly after Hashmal at the end of the Pharos at Ridorana dungeon.
License Board Unlocks
- White Mage: Orichalcum Dirk, Platinum Dagger, Numerology technick
- Uhlan: Potion Lore 3
- Machinist: Hastega, Slowga, Vanishga, Reflectga, Warp, Graviga magicks
- Red Battlemage: Battle Lore (x2)
- Monk: Arise, Dispelga spells
- Time Battlemage: Battle Lore
- Foebreaker: Magick Lore
- Archer: HP+390, HP+435
- Black Mage: HP+190, HP+230, HP+310
Suggestion: That's a lot of useful Time Magicks you can give to your Machinist, so that's probably your best bet. Even better if you have a Machinist/White Mage.
Have a better suggestion? Let us know in the comments.