
Dragon Quest XI S Fun-Size Forge Guide: Getting a Grasp on Forging Great Gear
Ready to craft some new gear? Dragon Quest XI’s Fun-Size Forge is this title’s crafting system, and while it may be a bit more complicated than previous entries, you’ll be able to create far more powerful (and profitable) items than ever before! Learn more about the mechanics of the Fun-Size Forge below, and don’t worry--there’s no real spoilers here!
Not ready for an in-depth dive yet? Check out our beginner’s guide - and if you've got the gear sorted already, be sure to check out our Dragon Quest XI Skills guide.
Basics of the Forge
Players will get the Fun-Size Forge early on in Dragon Quest 11, during the events in the Manglegrove, and it’s only usable at campsites. With the forge, you can create new weapons, armor, and accessories from materials found in the world, as well as upgrade already existing equipment using Perfectionist’s Pearls.
For starters, you don’t have to follow long chains of crafting items to create most items any more--now, most items can be created straight from either the raw materials themselves or from materials and a piece of equipment you’ll be able to find or buy. Also, the waiting periods from previous Dragon Quest games are now gone and replaced with a mini-game that determines the quality of your gear.
Gear can either come as its base quality (basically what you buy in stores), or a better quality of +1, +2, or +3. Better quality items give an increase in the equipment’s stats, as well as sell for more money when you’re ready to move up. A +2 or +3 item can be immensely helpful in saving money in the long run, as the next tier of weapons in the shop may not be worth the price for only a minimal stat upgrade.
The quality of the gear you’re crafting will depend solely on mastering the forging mini-game, which we’ll talk about below.
The Fun-Size Forge Mini-Game
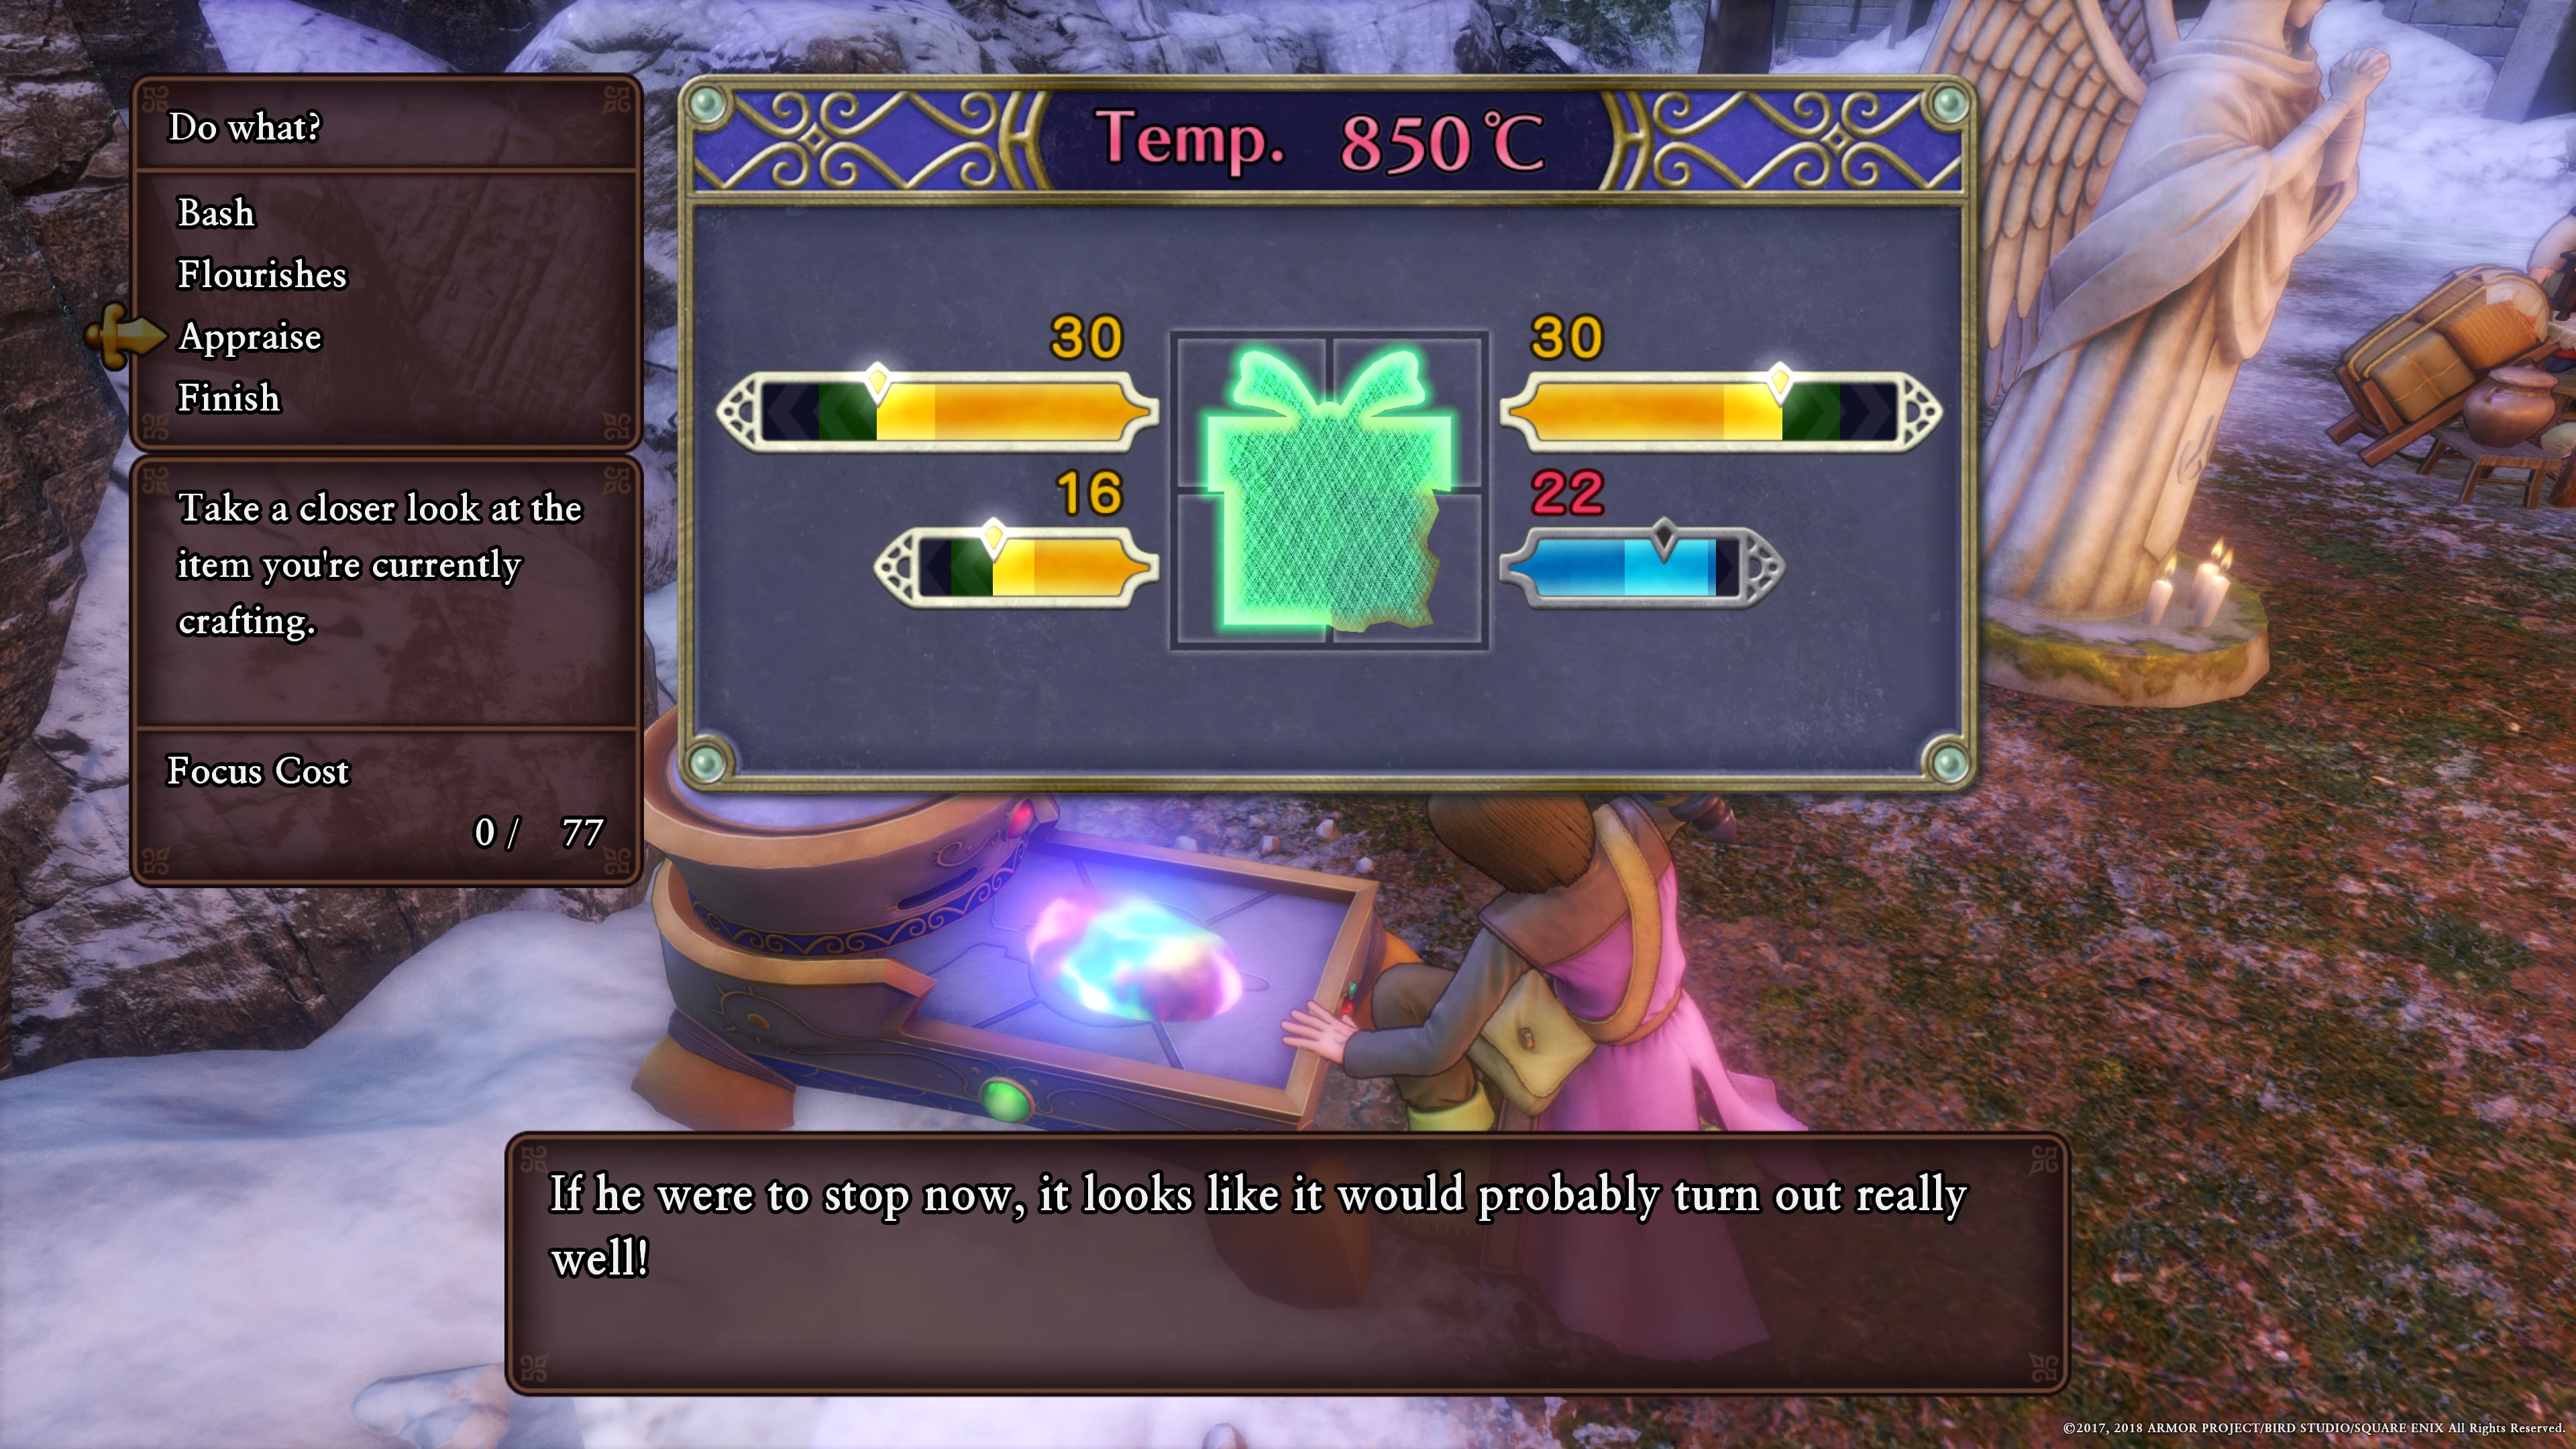
The Fun-Size Forge doesn’t do the work of crafting for you--instead, you’ll have to be ready to bang out that gear yourself! With the mini-game, you’ll have to keep an eye on your melding temperature and focus as you try to hit the highlighted areas of each bar for the best gear.
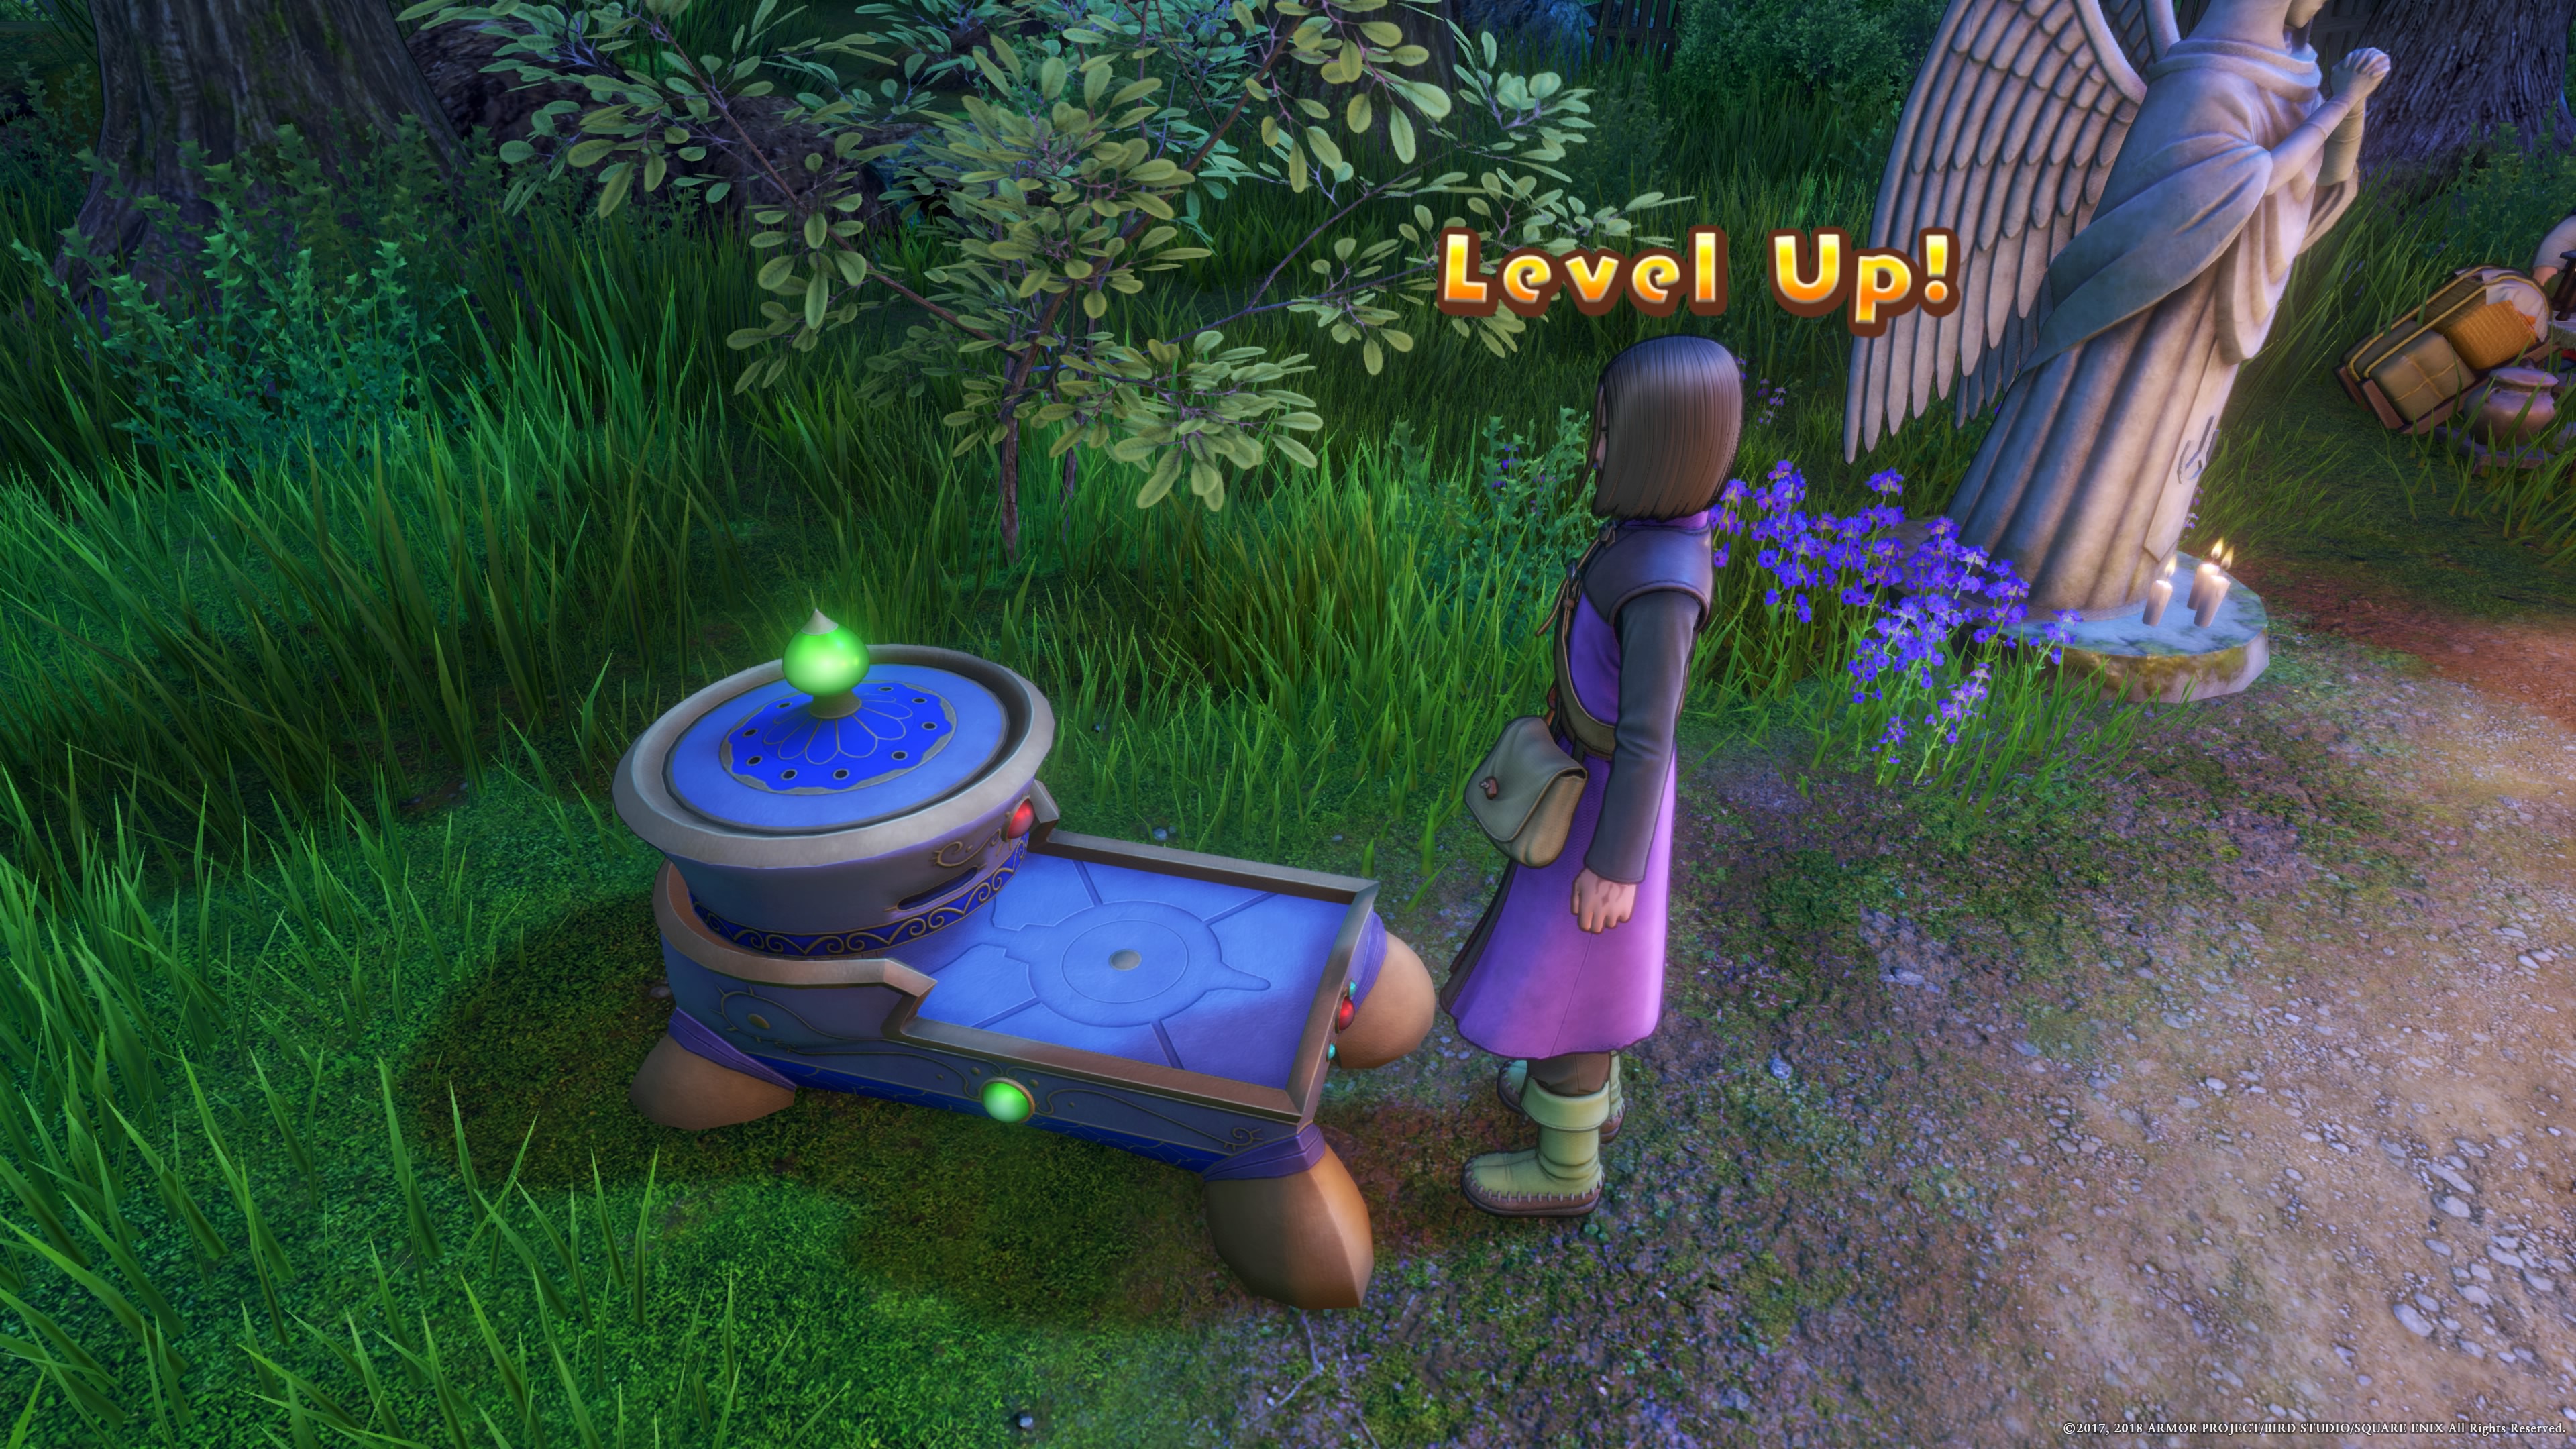
When you first start out, this all seems entirely random--you just bang on an item and hope for the best. However, you’ll quickly level up, gaining more focus and learning skills that can help manipulate your hammer hits and make it easier to reach that center arrow that gets you +3 gear.
These skills can vary from moves that raise or lower temperature (raising and lowering the amount of “damage” done, respectively), doubling or halving hits, and skills that hit multiple squares at once. Skills cost more focus at first but save in the long run when working with more difficult gear that’s harder to hit the target areas of the bar.
What skills you want to use and when to use them are going to vary greatly by the type of gear you’re trying to create, but for general purposes, it’s almost always better to hit as many squares in one hit as possible. Also, if you’re close to hitting that highlighted area of the bar but worried a full power hit will take you too far, Lightening Bash is a half power skill that will help you stay in the zone.
If you run out of focus, you’re done with your gear, regardless of whether you’ve actually finished forging or not. With more difficult gear it’s very important to keep an eye on focus points, but sometimes you just aren’t leveled enough and fail to make your gear.
The Consequences of Failure
If you fail the mini-game, you actually don’t suffer too much in the way of consequences. You’ll still actually make the item, but it’ll be at base quality, and worse yet, you won’t be able to refine it with Perfectionist’s Pearls. Given that even store-bought gear can be upgraded (given you have the pearls) it is a bit unfortunate that failed gear will always be stuck at its worst quality… but it’s still better than losing the materials and getting nothing for it!
Perfectionist’s Pearls and Upgrading Gear
When you forge new gear, you’ll get Perfectionist’s Pearls. These pearls can be used to reforge gear of +2 quality or lower, giving you another chance to get that gear to the elusive +3. While you can get +3 gear straight out of the forge if you’re good enough and have the right skills, it can be quite difficult to hit that quality if your forging level is too low.
You can only get Perfectionist’s Pearls from creating new gear, so be sure to make items with the Fun-Size Forge whenever you can. The number of pearls needed to reforge gear increases as you go through the tiers of armor, and you can also fail to reforge the equipment anew, so it’s important to choose the best times and items to reforge for the best effect.
One good idea is that if you’re about to sell items and have pearls to spare, you can reforge those pieces of gear you’re about to sell and up their quality. The higher the quality item the more it sells for, so while it’s not worth buying say, 99 Iron Swords, reforging and reselling them, but it can be worth reforging store-bought gear for a bit of extra gold.
Fun-Size Forge Trophies
There are a number of trophies related to the Fun-Size Forge. Most of them you’ll get naturally as you forge during the course of your journey through Dragon Quest 11. Check them out below:
- Forging Ahead - Awarded for crafting 10 items with the Fun-Size Forge
- If At First You Don’t Succeed - Awarded for reworking 10 items on the Fun-Size Forge
- Big Hitter - Awarded for crafting a +3 piece of equipment with the Fun-Size Forge
- Swordsmith of Light - Awarded for crafting the finest of weapons with the Fun-Size Forge
The Swordsmith of Light trophy is the only one that may cause trophy hunters problems. To craft the item, you’ll need to find the right recipe book in the post-game, as well as gather the materials… and of course, crafting the sword in itself is no easy feat.