
Final Fantasy VII Remake Colosseum guide: tips, rewards and enemies for Hell House and all colosseum fights
As you progress through the main story of Final Fantasy VII Remake, Cloud and company will be faced with a variety of challenges. Along the way they're introduced to the Corneo Colosseum, which is used a little in the story but also as an optional battle arena where players can test their combat prowess for some tasty rewards.
You can access the Colosseum belonging to Don Corneo in Wall Market in chapters 9 and 14 - and yes, to revisit them you'll have to replay through the chapters up to that point, unfortunately. We generally suggest completing all of the colosseum challenges when you're first there, and then the remainder when you return - as it'll just make your life easier.
This colosseum guide will help you with that, as well as listing the enemies you'll encounter and potential rewards. If you're later in the game or in the post game, we have a similar guide for the much more difficult Shinra Combat Simulator arena battles.

Rewards and Grab Bag replacements in the Arena Battles
On this page, we list out the arena battles, which enemies you can expect to face, what characters can tackle them, how much they cost to enter and, of course, their rewards. Each challenge has a unique reward - typically an accessory or piece of armor - and that'll be rewarded to you for your first-time completion.
Once a challenge has been completed once, the original reward, listed below, will be replaced with a Grab Bag. For the curious, a Grab Bag is exactly what the name probably makes you think of - a bag with a selection of useful items that you can then use. This might include battle items, gil, things like that - but it'll never include things like materia, weapons, armor or accessories. Unless you're grinding for AP, you're probably better off not repeating challenges because of this.
FF7 Remake Story Battle Colosseum Guide
As part of the story in Chapter 9 as you work your way through Wall Market to get dresses for Cloud, Tifa and Aerith, you'll be forced into the colosseum as a new twist on the Wall Market story as presented in the original FF7. In this section you'll be introduced to the Colosseum and have to fight a series of Colosseum Battles in the Corneo Cup. The battles are as follows - and we've listed a few tips, too:
- Corneo Cup Round 1 - Beastmaster & Bloodhounds
- This battle should be quite straightforward. Focus your efforts on the beastmaster, who is easily interrupted in attacks with your abilities. You should be able to kill him with one stagger, and at this point you can switch focus to the Bloodhounds. Triple Slash is hugely powerful here as it can hit all three and leave them pressured and stunned, so use and abuse that.
- Corneo Cup Roiund 2 - Beck, Butch, Burke & Corneo's Minions
- You've faced off with the three main bandits here already through the course of the story, and this won't be the last time you see them. There's two methods for clearing this out quickly. One is to use strong area-of-effect attacks. Cloud with Deadly Dodge materia is great here, as is triple slash once again. The second is Aerith with magic - you can use her double cast ability or magnify materia to hit multiple enemies with ease. Fire magic should take these guys down very quickly indeed.
- Corneo Cup Round 3 - Cutty & Sweepy
- You'll have faced plenty of these mechanoid enemies before, but this will be a more difficult encounter as there's two of them. Equip Cloud with lightning elemental materia to ensure that he is dealing out elemental damage. With Aerith, keep Cloud healed up and when you can unleash powerful lightning element magic attacks. Her double-cast ability is great here. Be sure to focus on one of these enemies at a time, and where you can on their weak spots. There's not much in it, but we'd recommend taking out Cutty first, as it has nastier area-of-effect attacks, whereas you can more easily kite around Sweepy.
Once you've defeated these three rounds of the Corneo Cup, you're technically the winner - but this colosseum doesn't play fair and you're forced into one last battle...
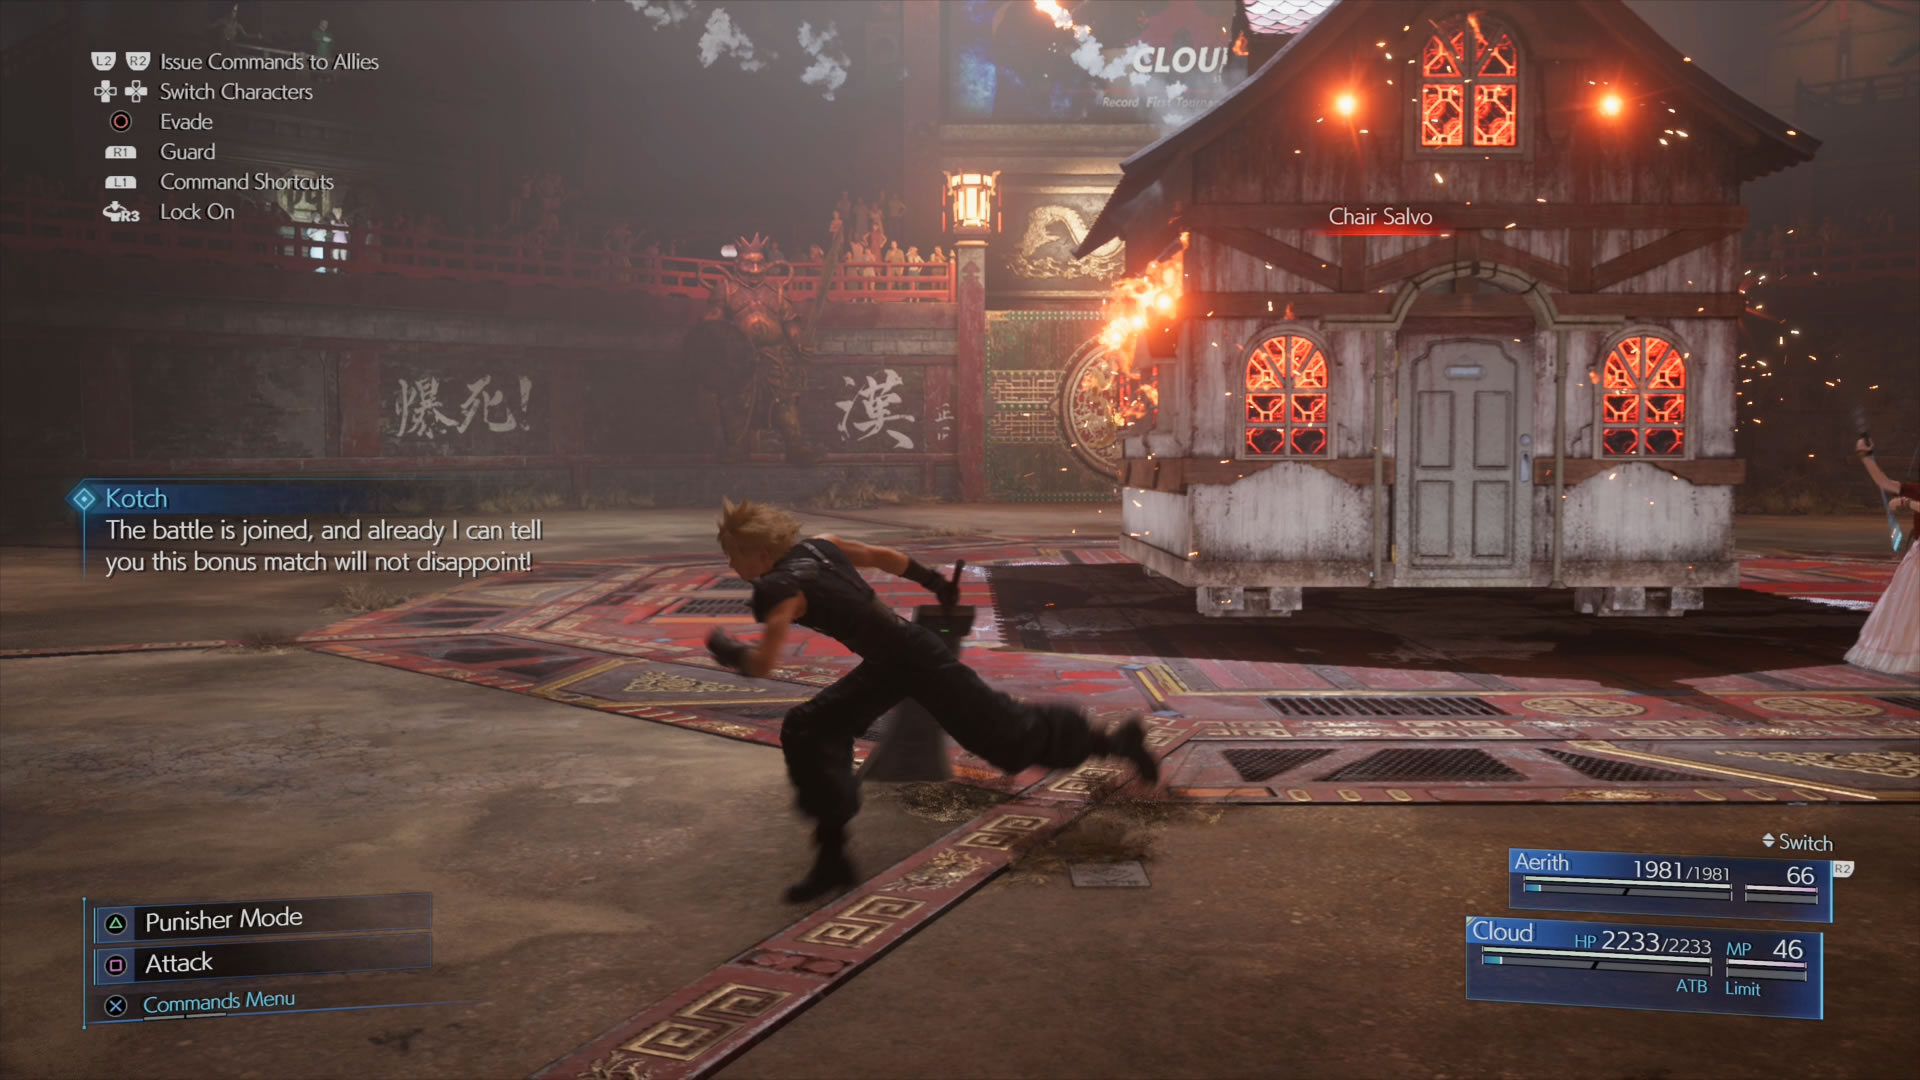
Defeating Hell House in the FF7 Remake Colosseum
Hell House is a classic enemy in the original FF7, remembered fondly for being zany and not quite fitting in. In FF7 Remake it has been retooled into a very specific one-time boss encounter, a placement that makes it make more thematic sense but also a placement that makes it more of a daunting fight in general. Here's our tips for defeating the Hell House in the Colosseum as part of the story progression:
- The Hell House switches between different elements, and the windows are the clue. You'll always want to attack with the opposite element to the one Hell House is currently using. Use the most powerful magic you have and can afford based on your MP, and always hold back some MP for healing. So that means:
- Green Windows = Lightning Magic
- Yellow Windows = Wind Magic
- Red Windows = Ice Magic
- White Windows = Fire Magic
- Hell House is relatively slow and cumbersome, but it's very powerful. This means one thing: generally speaking with direct attacks, dodging is better than blocking. Go for the block instead when Hell House uses ranged attacks.
- When Hell House flies up to the platform, switch to Aerith for ranged attacks and to build up her ATB meter, but be careful not to let her get too battered by the incoming ranged attacks.
- Towards the end of the fight the gates open - and in these new areas there are some crates with Mako Shards to heal some MP.
- When Hell House starts entering 'God Mode', you can do very little damage. What you need to do here is wait for Hell House to perform a larger attack. Once it has, you'll see the god mode shield temporarily drop as it begins to 'prepare God Mode' again. This is your chance - hit it with the correct element to pressure it, then pile on with moves like Focused Thrust to build stagger.
- Hell House has three phases - if you're going to depoly your summon we suggest you do it on either stage 1, before it starts using God Mode, or stage 3, when God Mode is still in palce but Hell House becomes super aggressive.
Corneo Colosseum Battle Challenges List, Rewards & Guide
You can access the Corneo Colosseum in chapter 9's visit to Wall Market with Cloud and Aerith, or access it with Tifa and Barret in chapter 14. The structure of the game means you will have to play quite a way into these chapters to replay battle challenges here if you're doing stuff like AP farming and grinding, and the structure also means that characters are limited depending on the chapter - you can't use Aerith in the Colosseum in chapter 14. Generally, the challenges here are simpler and easier, and are designed to be beaten before you finish the game, whereas the Shinra VR battles are in part designed for the postgame.
- Cloud, Tifa, Barret or Aerith vs. Wild Animals (4 separate missions, all identical, one for each character)
- 1 Star Difficulty
- Cost: 100 gil
- Round 1: 2x Wererat
- Round 2: 2x Gorger and Blugu
- Round 3: 2x Guard Dog
- Round 4: Hedgehog Pie and Grashtrike
- Round 5: Lesser Drake
- Reward: A 'Legacy' item for each character which unlocks their level 2 Limit Breaks
- Tips: These encounters are quite managable, but remember to focus on Blugu first in Round 2 to avoid being put to sleep. Likewise, take out Hedgehog Pie first in Round 4.
- Two-Person Team vs. Slum Outlaws
- 2 Star Difficulty
- Cost: 200 gil
- Round 1: 2x Corneo Lackey and Bandit
- Round 2: Corneo Lackey
- Round 3: 2x Bandit and Corneo Lackey
- Round 4: The Huntsman
- Round 5: 4x Bandit and The Huntsman
- Reward: Clarity Pendant
- Tips: This encounter is honestly prety easy. Use Cloud and another character of your choice and abuse Triple Slash. When you're facing Round 5, focus on The Huntsman first. Against the Bandits positioning is key - be sure to avoid their electricity traps which can stun you - that's their best weapon.
- Cloud, Barret, Tifa or Aerith vs. Shinra Thugs (4 separate missions, all identical, one for each character)
- 3 Star Difficulty
- Cost: 300 gil
- Round 1: Security Officer, 2x Grenadier, and Sentry Gun Prototype
- Round 2: 2x Flametrooper
- Round 3: 2x Sentry Ray and Shock Trooper
- Round 4: 2x Slug-Ray and Riot Trooper
- Round 5: Sweeper and Sentry Launcher
- Reward: Weapon Manuscripts for each character
- Cloud: The Art of Swordplay Vol. II
- Barret: Sharpshooter’s Companion Vol. II
- Tifa: Way of the Fist Vol. II
- Aerith: Telluric Scriptures Vol. II
- Tips: Lightning Elemental magic is your friend, either via the elemental materia os through direct casting. Regardless of characters always focus on the sentry enemies first - these guns and launchers can be a real pain if you're not careful.
- Three-Person Team vs. Shinra Warriors
- 3 Star Difficulty
- Cost: 300 gil
- Round 1: Elite Shock Trooper, Elite Security Officer, Ghost
- Round 2: 2x Cripshay and Helitrooper
- Round 3: Sahagin and 2x Elite Grenadiers
- Round 4: Elite Riot Trooper, Sentry Gun, Laser Cannon, Scissorclaw
- Round 5: Queen Grashtrike and 2x Venomantis
- Reward: Tarot Cards Accessory
- Tips: Just as with the previous challenge, always focus on the Sentry Gun and Laser Cannon first in round 4. In round 2, use Wind magic to disrupt the Helitrooper and bring it down to earth for a quick staggering. In Round 5, take out the minions before tackling the Queen Grashtrike - remember, she was a mini-boss in her own right earlier in the story.
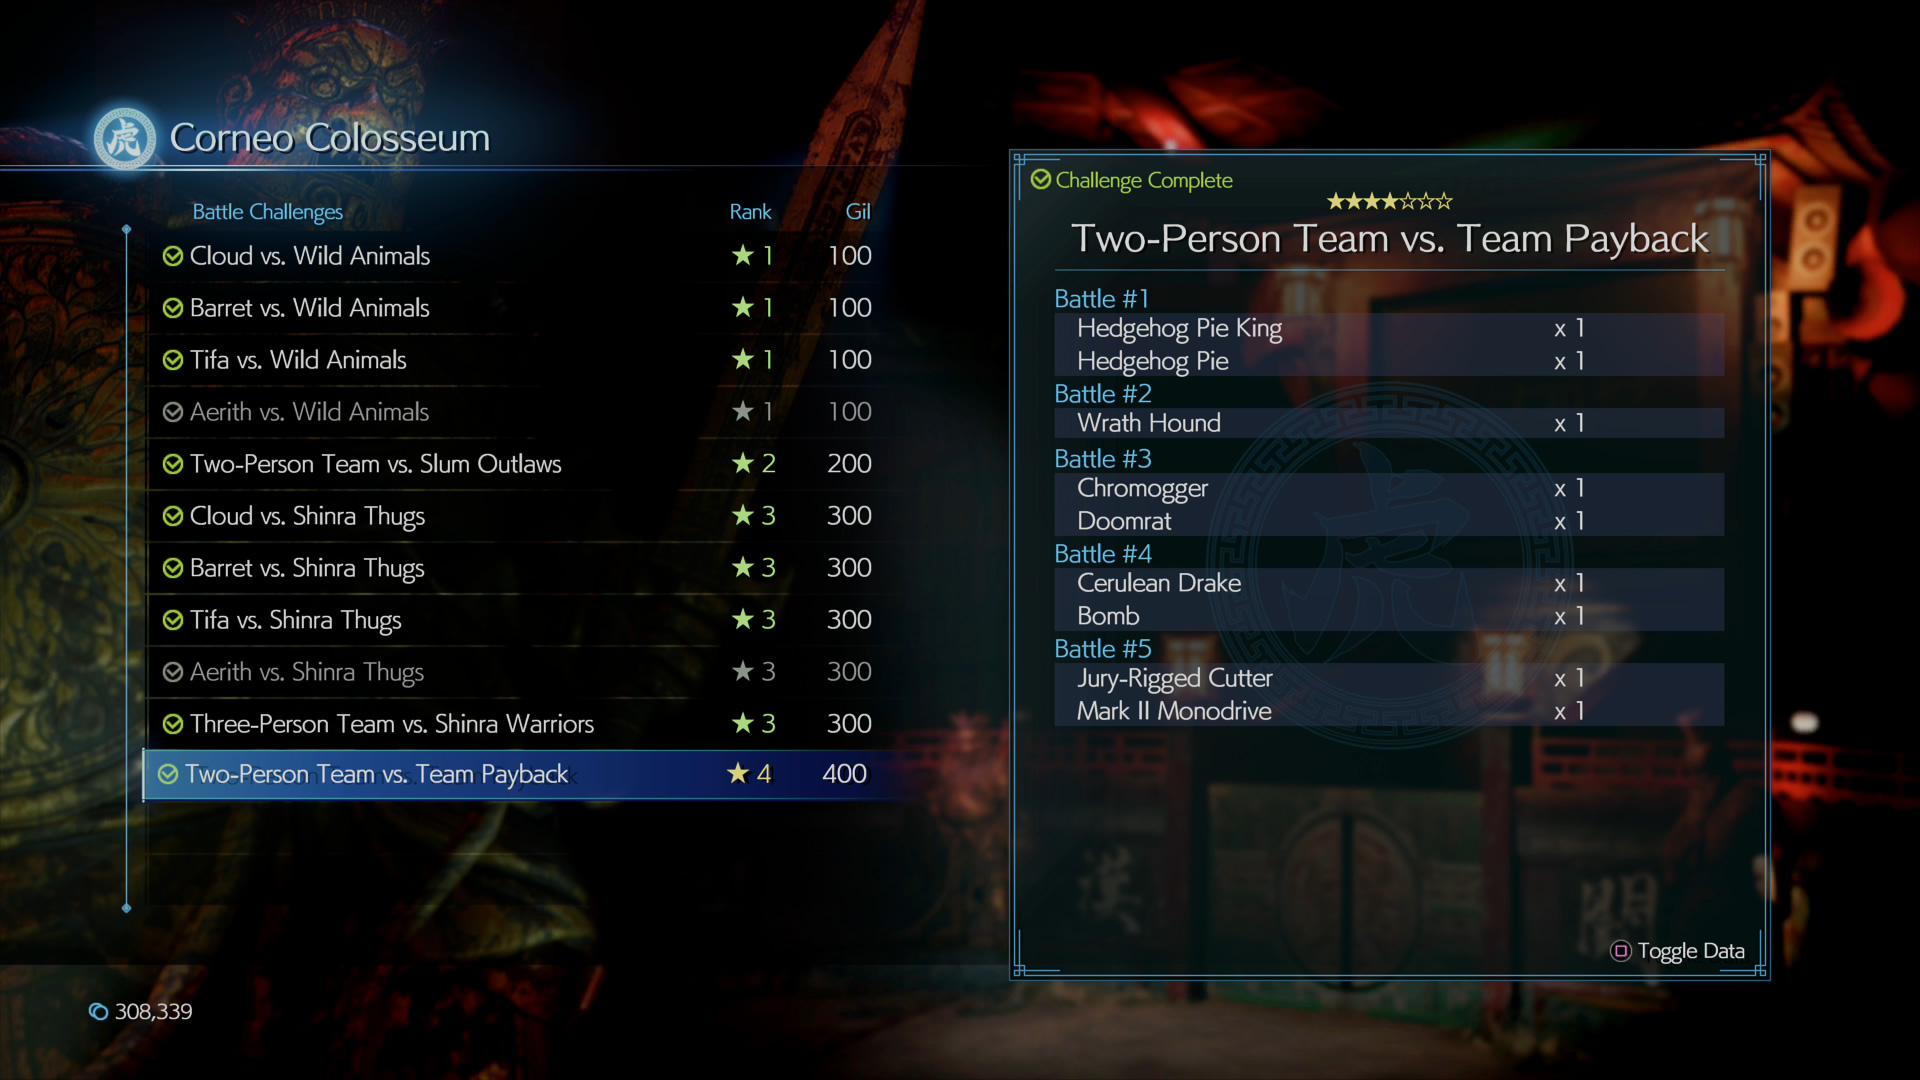
- Two-Person Team vs. Team Payback
- 4 Star Difficulty
- Cost: 400 gil
- Round 1: Hedgehog Pie and Hedgehog Pie King
- Round 2: Wrath Hound
- Round 3: Doomrat and Chromogger
- Round 4: Bomb and Cerulean Drake
- Round 5: Mark II Monodrive and Jury-Rigged Cutter
- Reward: Moogle’s Amulet
- Tips: The Hedgehog Pie King will heal and buff the other Hedgehog Pie, so try to take down the monarch first. In Round 3, beware of the Chromogger - use lightning magic and focus on it to take it out before it uses its haywire move, which can be hugely damaging. In round 4, keep healed even if you're struggling, as eventually the Bomb will kill itself - just stay clear of its Self Destruct. Finally, in Round 5 take out the Monodrive first, and don't forget to blow out the cutter's saws to weaken its attacks.