
Like A Dragon Infinite Wealth Dondoko Island guide
There are an overwhelming amount of side activities to indulge in Like a Dragon: Infinite Wealth and one of the biggest ones it has to offer is Dondoko Island. This is unlocked in Chapter 6 as part of the main story when Ichiban is abducted into this remote deserted island. You're tasked with clearing out each of its regions over time and turn it into a dream resort paradise. If you're feeling lost, this Infinite Wealth Dondoko Island guide will give a thorough rundown of what to do.
The Dondoko Island Map is Your Best Friend
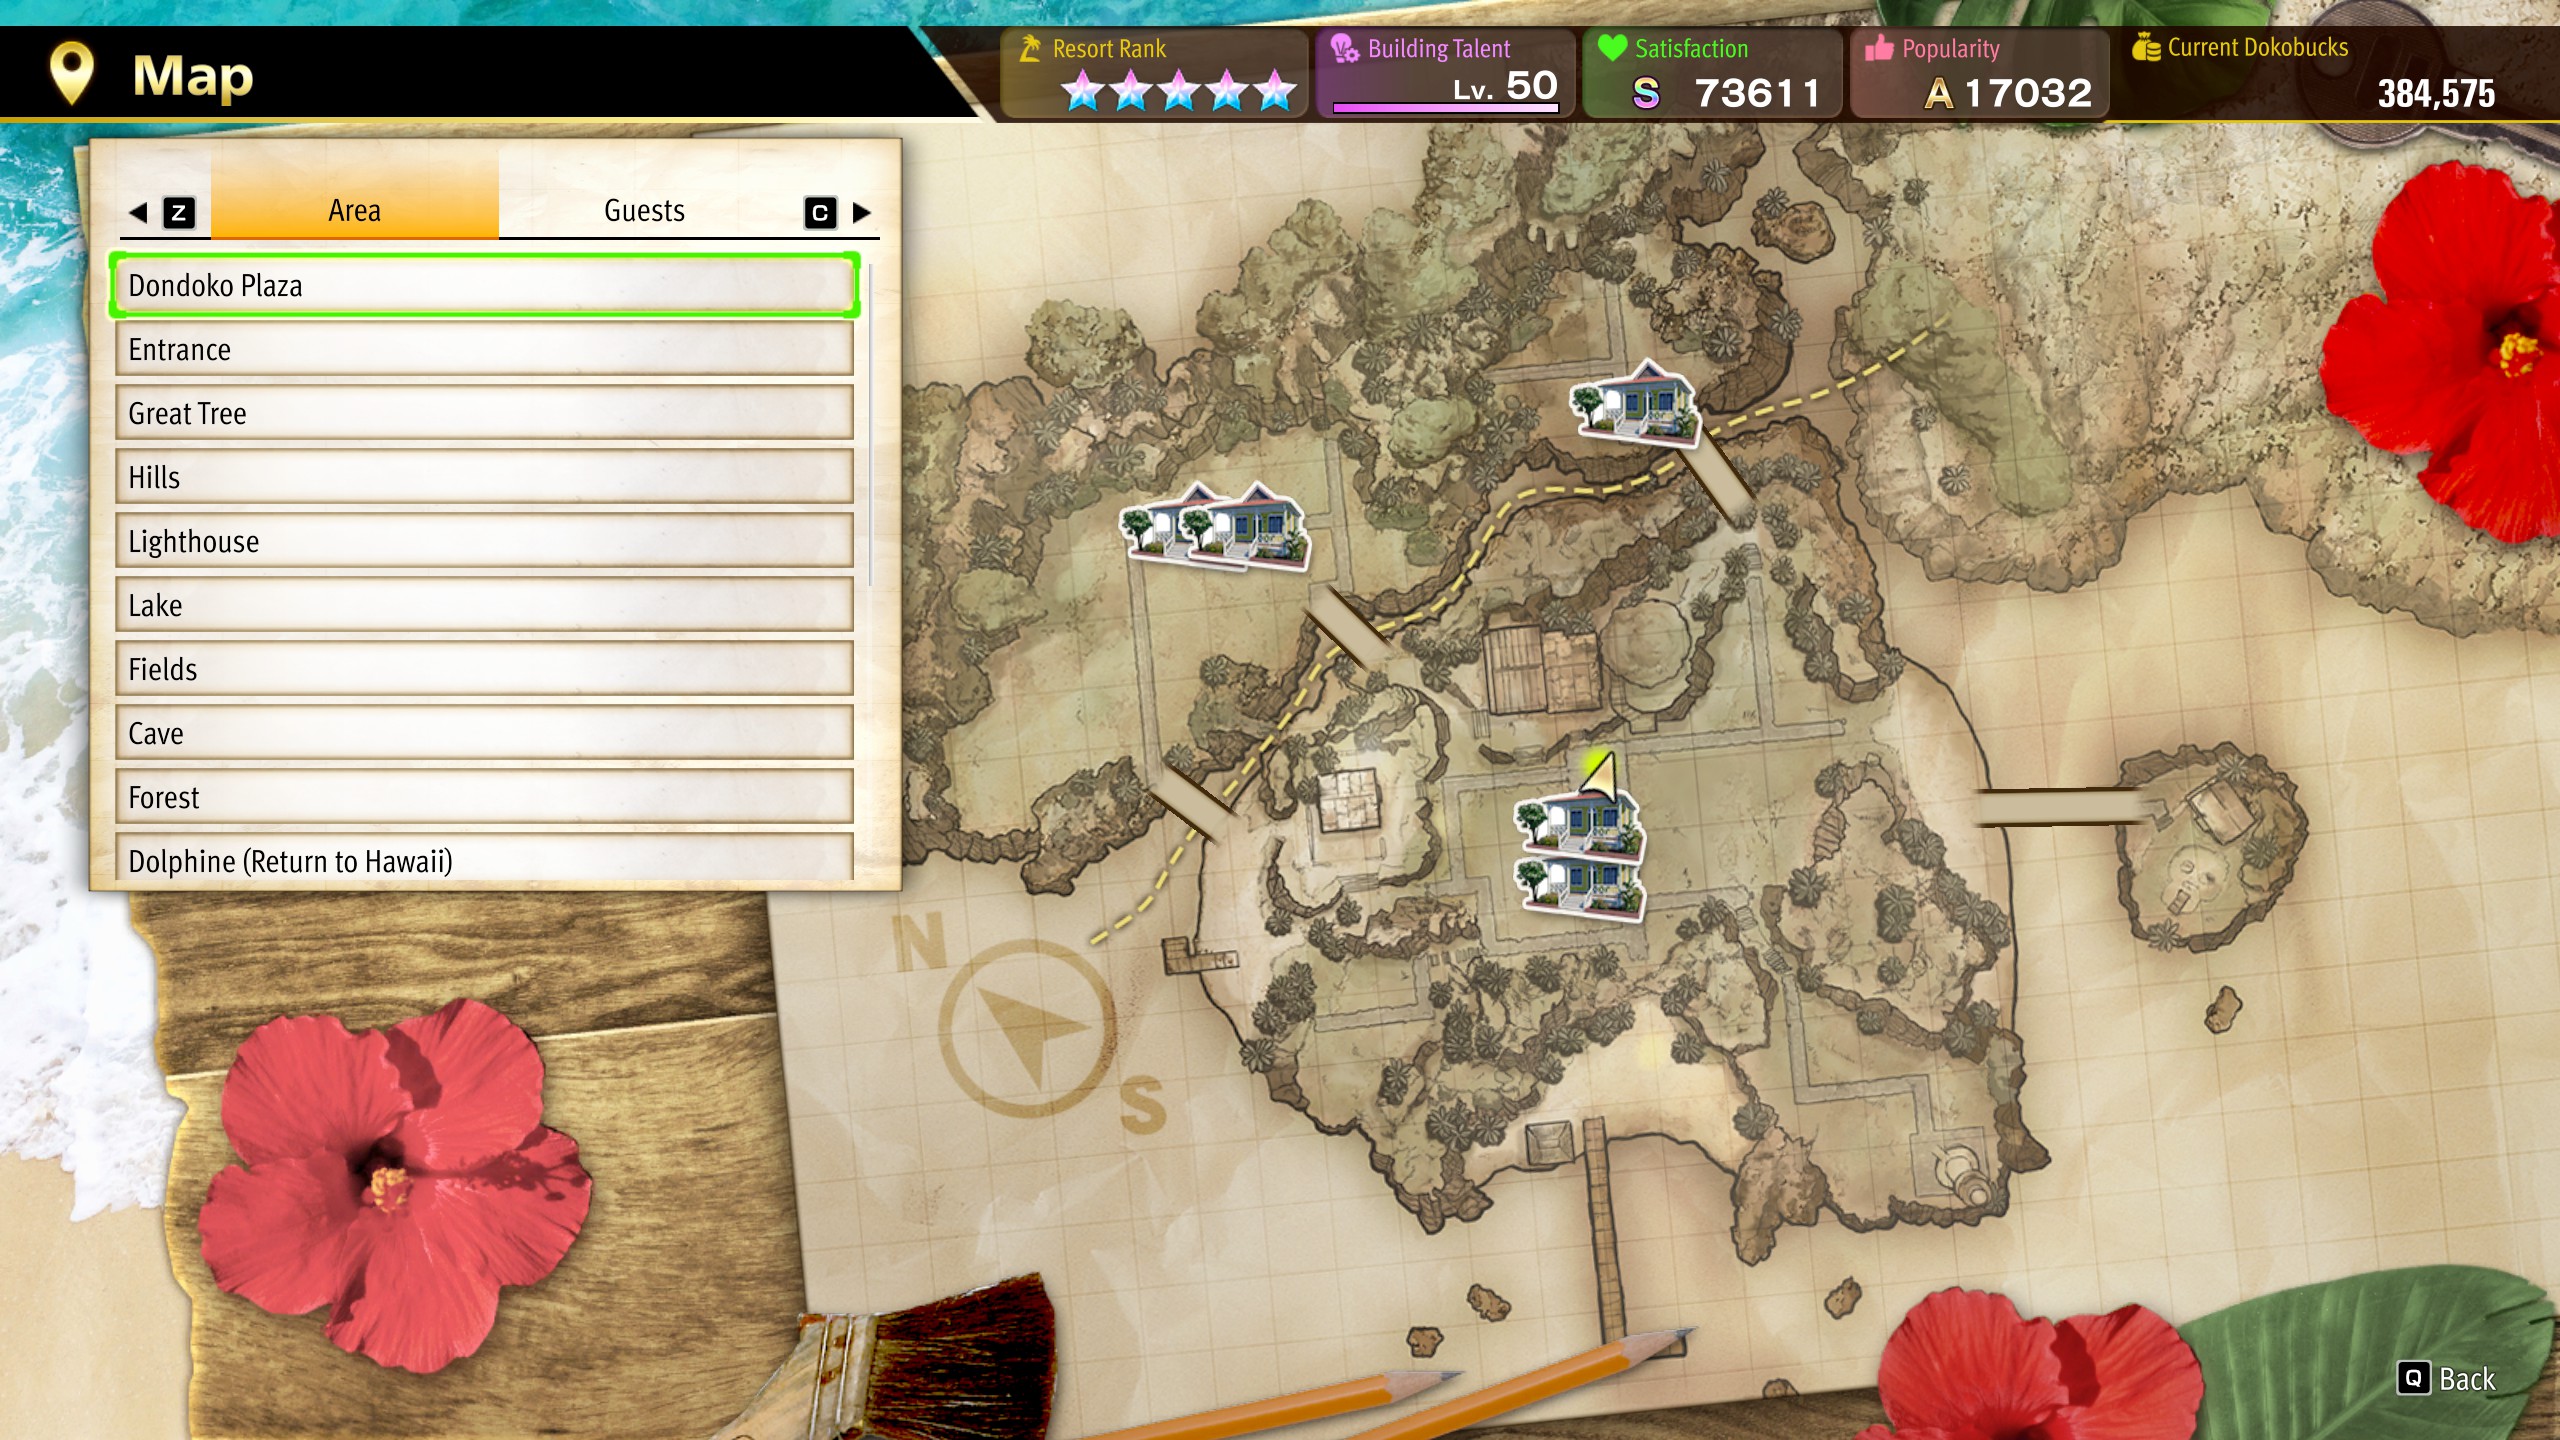
One of the major parts in progressing the Dondoko Island activity is the Map. Initially, your only tasks are to clear the Entrance & Great Tree areas. Clearing these first two regions will form the central Dondoko Plaza base of operations. As you level up your Resort Rank, you'll eventually be asked to clear out the Hills & Lighthouse, then form bridges to access the Lake & Fields, and lastly clear out the Cave and Forst regions.
Once you clear out an area, you can freely place the things you've crafted in them.
Understanding Guests
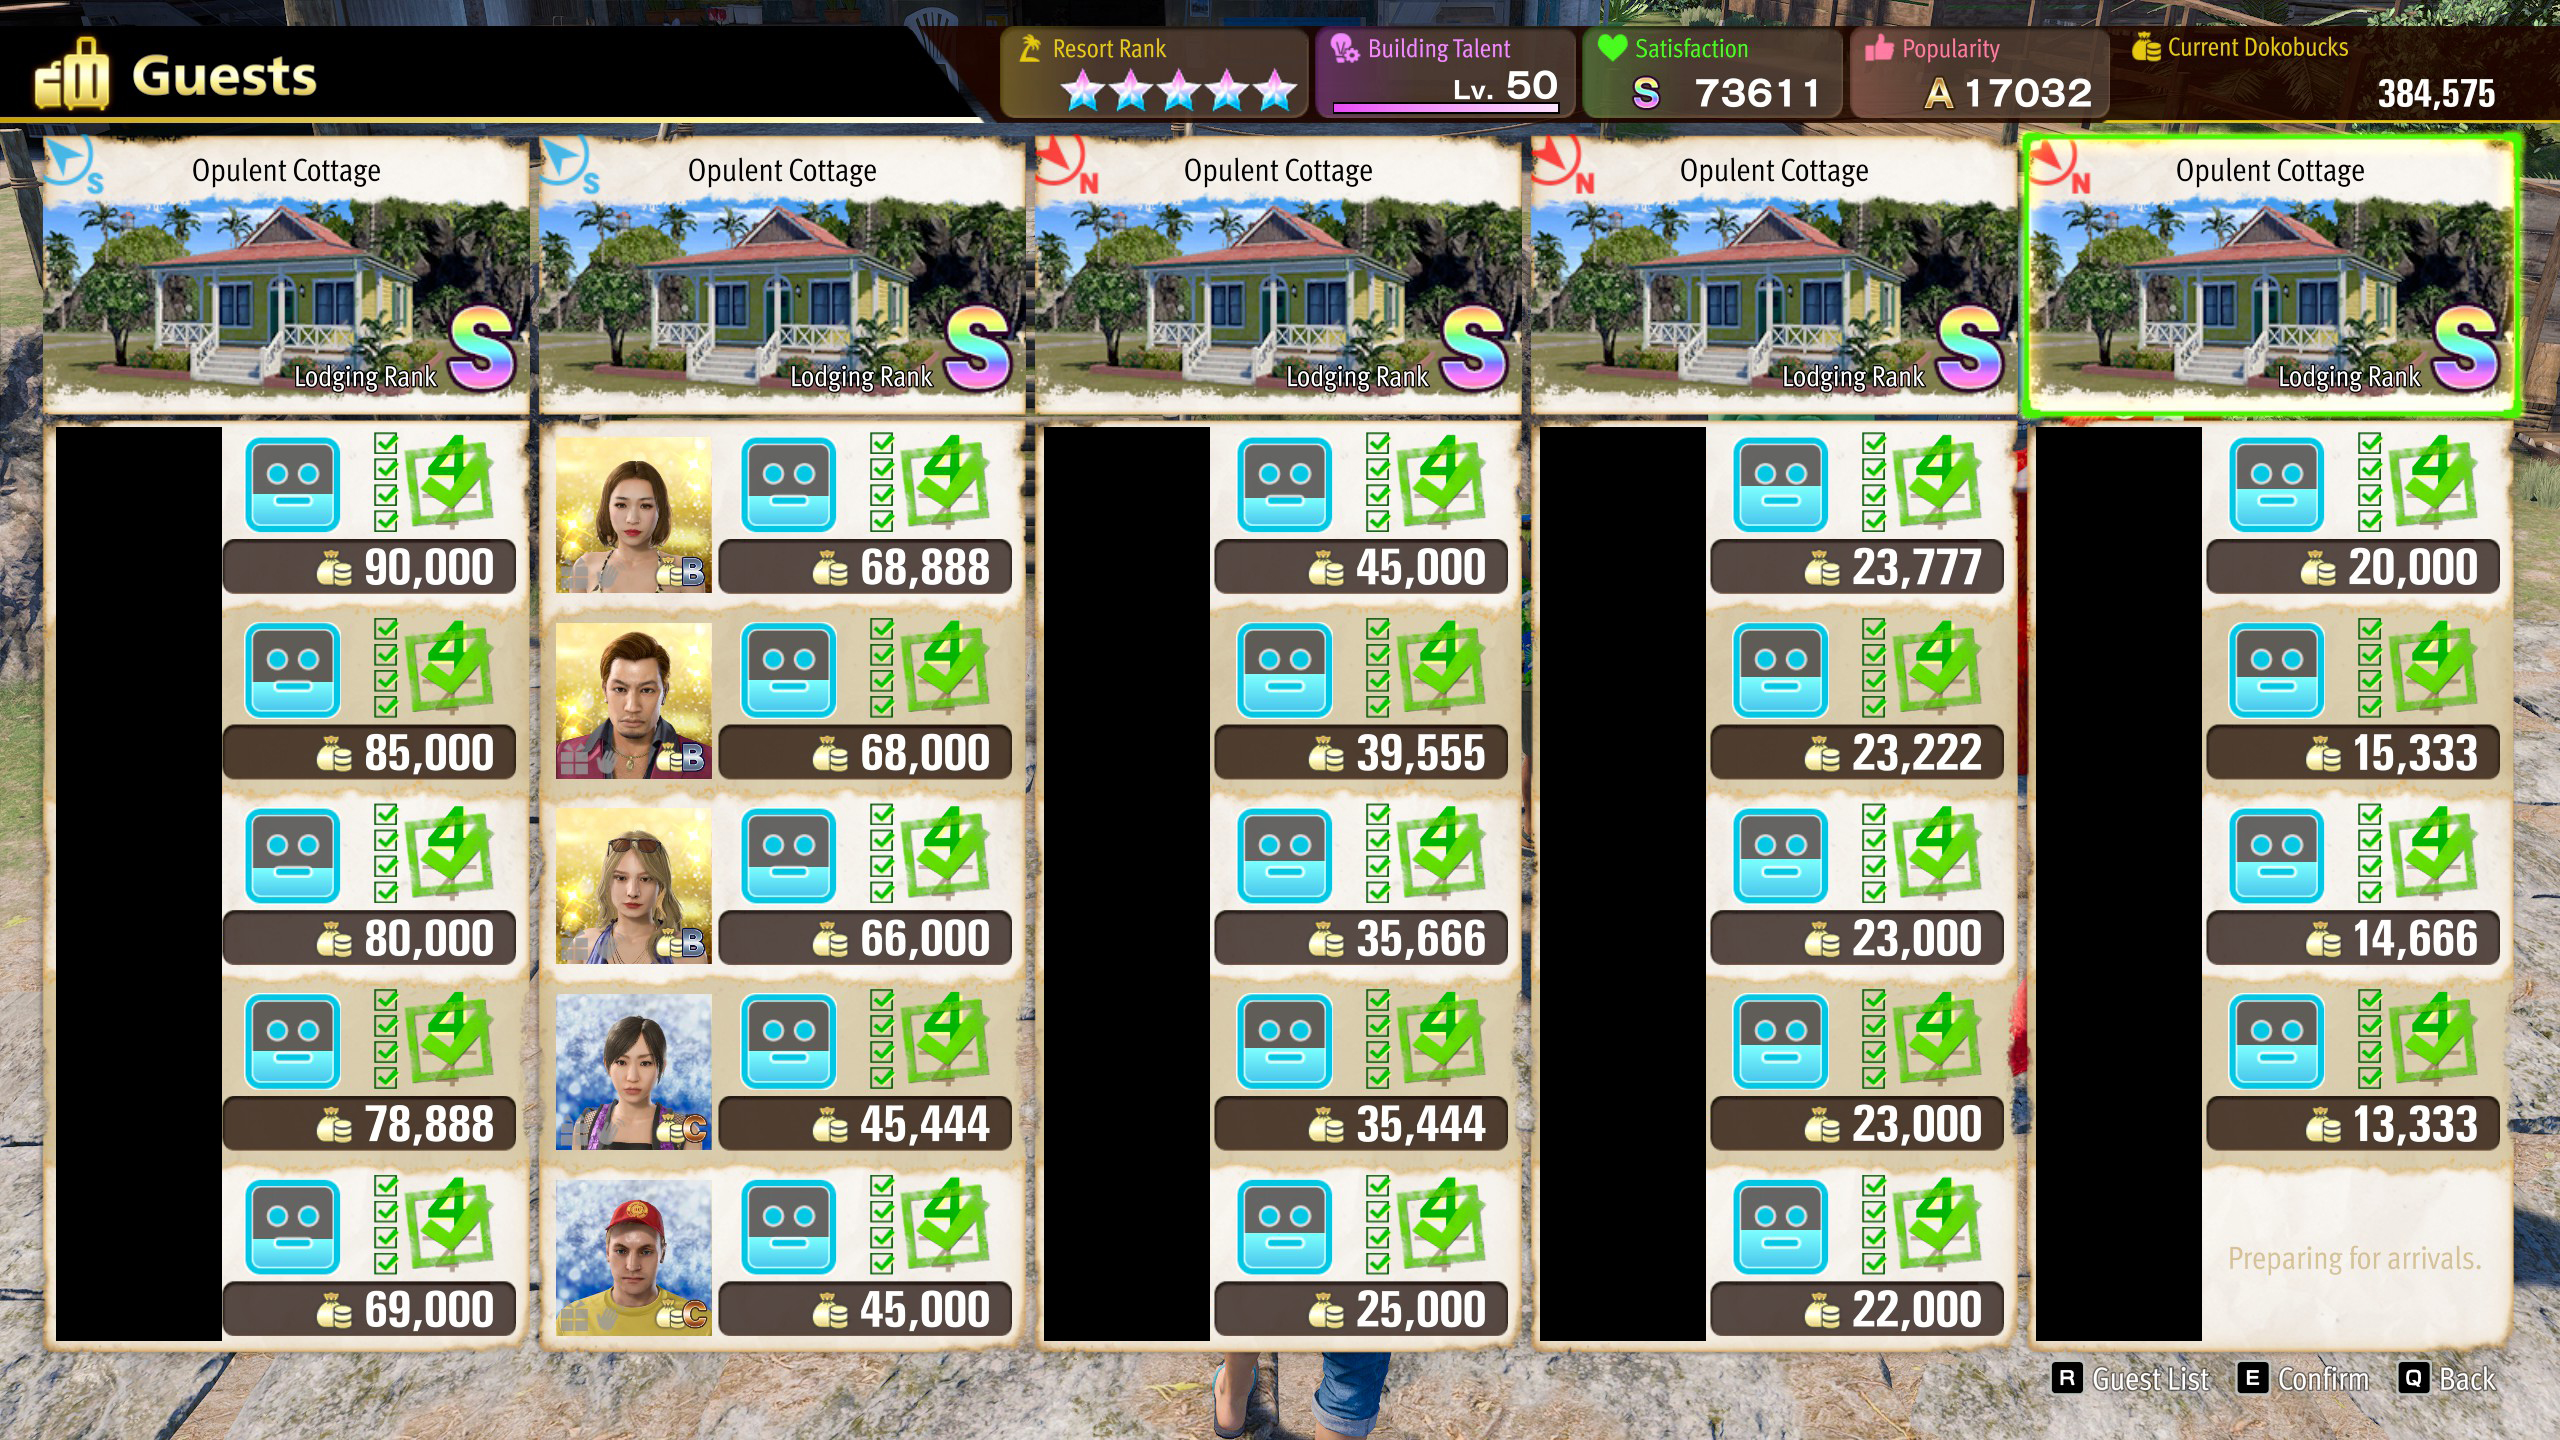
As you progress your Dondoko Island Resort Rank, you'll eventually be able to invite visitors to your Dondoko Island. This is where the real payoff of Dondoko Island starts. You'll have three in-game Dondoko Island days to raise a visitor's Guest Approval to Satisfied for them to leave a tip when they leave. If their Guest Approval is Pleased or Overjoyed, they'll leave an even bigger Dokobuck payout which is what you should primarily aim for.
If an individual's Guest Approval remains Dissatisifed by the end of the second in-game Dondoko Island day, they'll leave - as long as you have a decent amount of buildings & objects by guest lodgings, this shouldn't happen ever.

Here are some quick tips to raise Guest Approval:
- When choosing which Guests you want to come to the land, refer to their Request List; if you meet at least 3 out of 4 of them, invite them.
- At the start of every in-game Dondoko Island day, have Ichiban greet all the visitors immediately.
- For Guests where you only meet 3 of 4 Request List checkmarks, give them a souvenir at least once before they leave.
- Eventually, you'll be able to request a campfire from Subaru on Dondoko Beach to vastly raise Guest Approval for every single guest for 100,000 Dokobucks; do this on Day 3 of a Guest Tour if there are a lot of Guests that are near Pleased or Overjoyed Guest Approval.
The Best Places to put Guest Lodgings
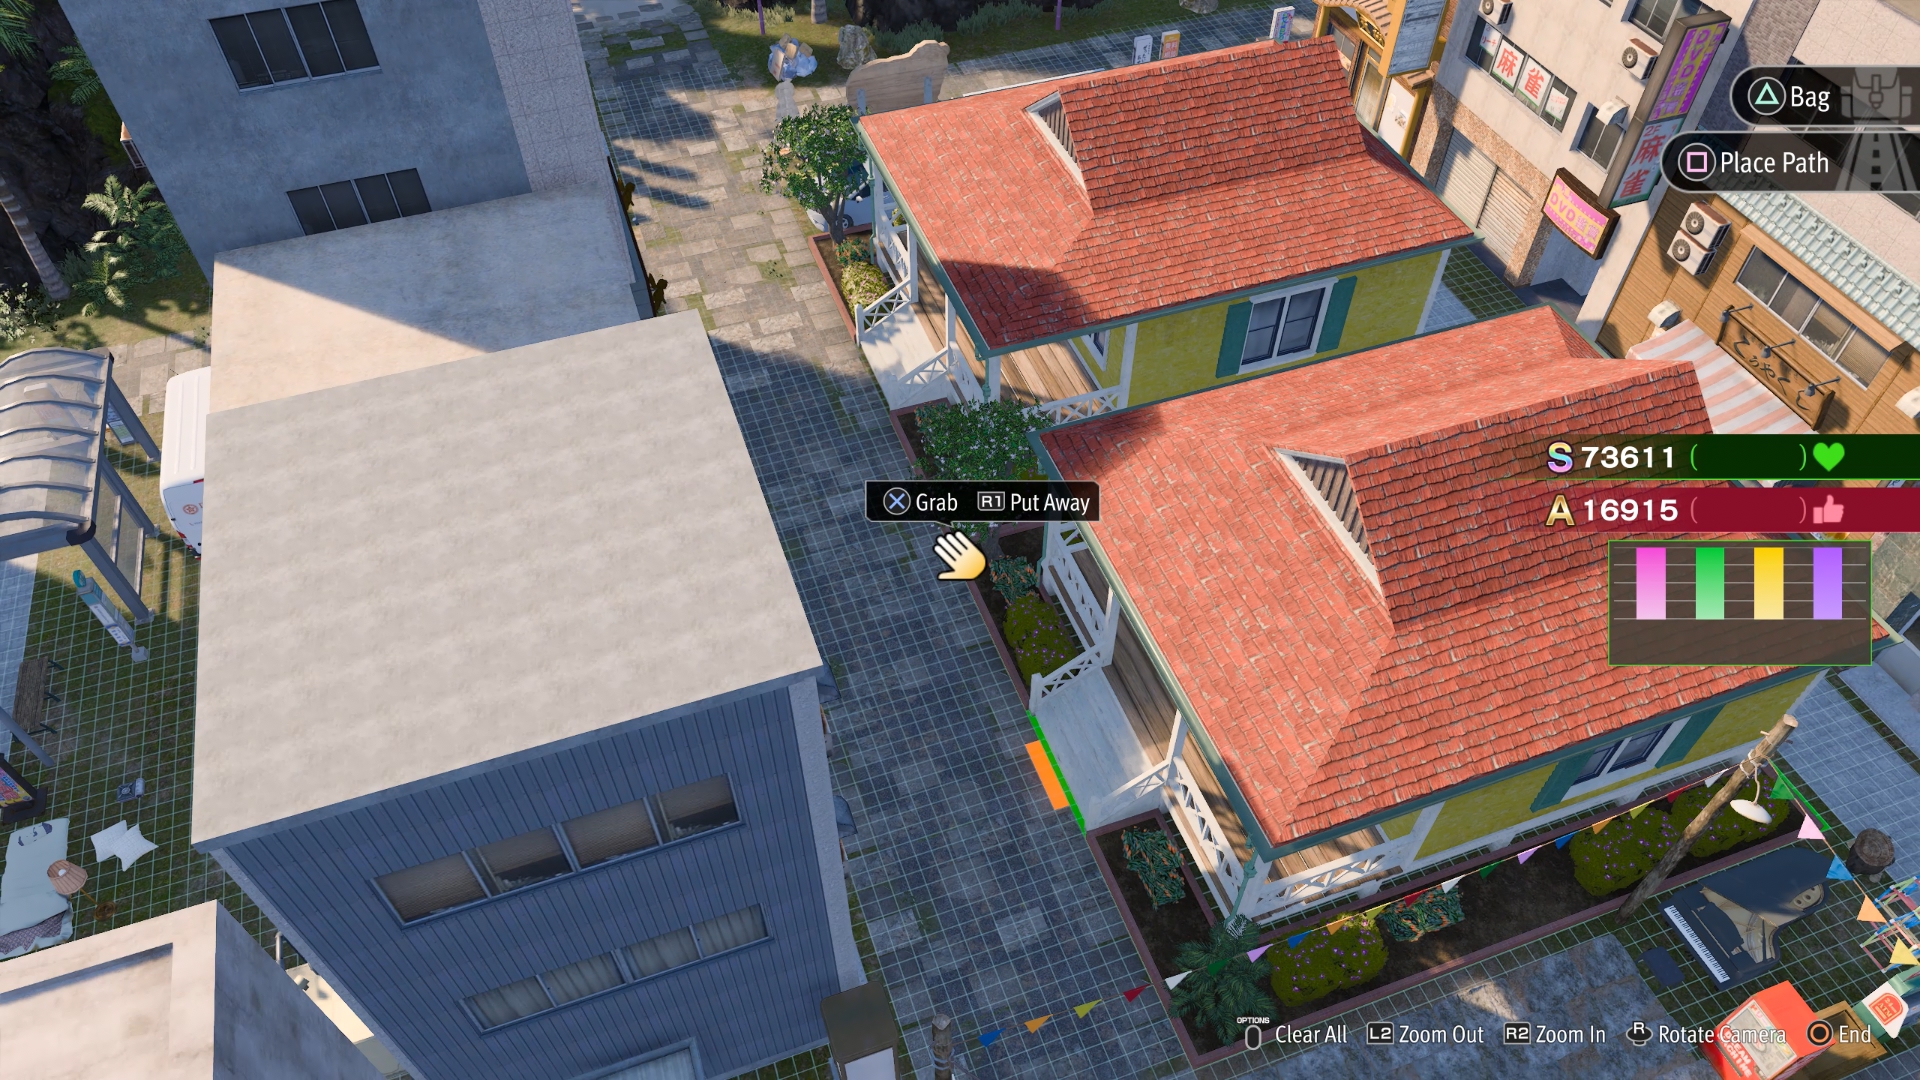
Raising Satisfcation, Popularity, and Guest Approval ratings quickly starts with finding optimal places to put lodgings. There are several restrictions to how many lodgings you can put in certain regions of Dondoko Island.
You can only have two in the southern areas (Entrance / Great Tree / Hills / Lighthouse), two in the northwestern areas (Fields / Cave) and one at the northeastern area (Forest).
Here are some tips for optimal spots to build Guest Lodgings:
- Do not build any lodgings at the Hills and Lighthouse regions.
- Put two lodgings in the central Dondoko Plaza base area and surround them with many high value buildings and objects.
- Put two lodgings in the northwestern region. Once again, build lots of high value objects and buildings around the lodgings here; you have a lot of space to work with.
- Put one lodging in the northeastern region. Space is more limited here, so try to squeeze in a building or two with lots of objects.

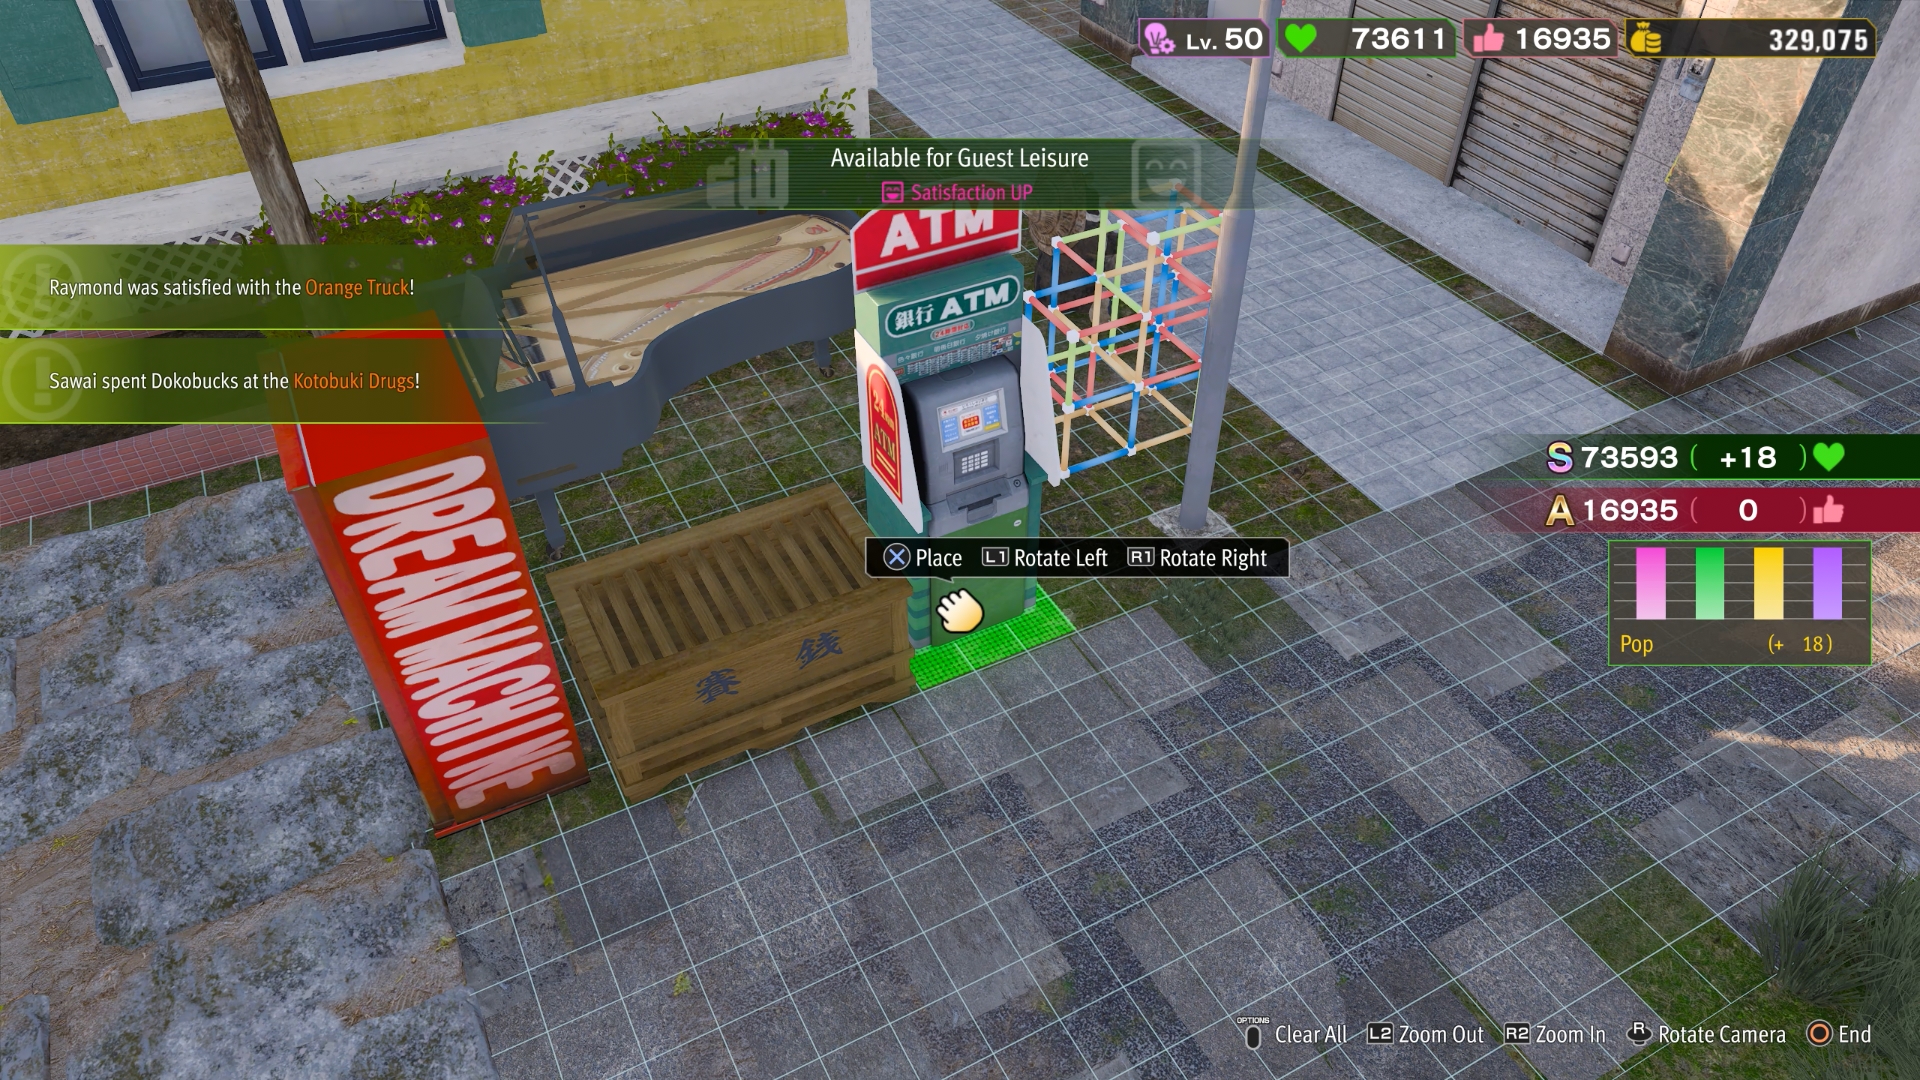
Remember that objects and buildings with an Effect (Satisfaction Up, Dokobucks Up, etc.) have to be placed right by a road or path for the Effect to be activated. You can freely build new paths and roads at no cost to allow for more buildings and objects to be placed by them.
Get creative & efficient in where you place them because NPC pathing from Guests is important; the Guests take time to walk up and interact with buildings and objects once they leave their lodgings, so that's why the Hills and Lighthouse regions are not recommended for lodgings.
Resource and Material Collection Points from Exclusive Matayoshiya Furnishings

Vacant regions or areas in Dondoko Island that you don't plan to build for guests can be used as spots to place resource centers. When you start clearing land on Dondoko, the resources you normally would've gained from them are not permanently gone; these can be retrieved by the garbage dump to the left of Matayoshiya General Store at Dondoko Plaza.
This is the primary way to collect resources and materials without spending a lot of an in-game day hitting trees, rocks, and trash piles for them. You can beef up the amount of resources you obtain from these garbage dumps by going to Matayoshiya, choose 'Purchase exclusive Matayoshiya furnishings', going to the 'Etc.' tab, and buying the Burnable & Nonburnable Waste Dumps, Oversized Garbage Pickup, Garbage Sorting Station, Woodworking Area, and Stoneworking Area.
All Buildings at the DIY Table & the Best Ones to Craft
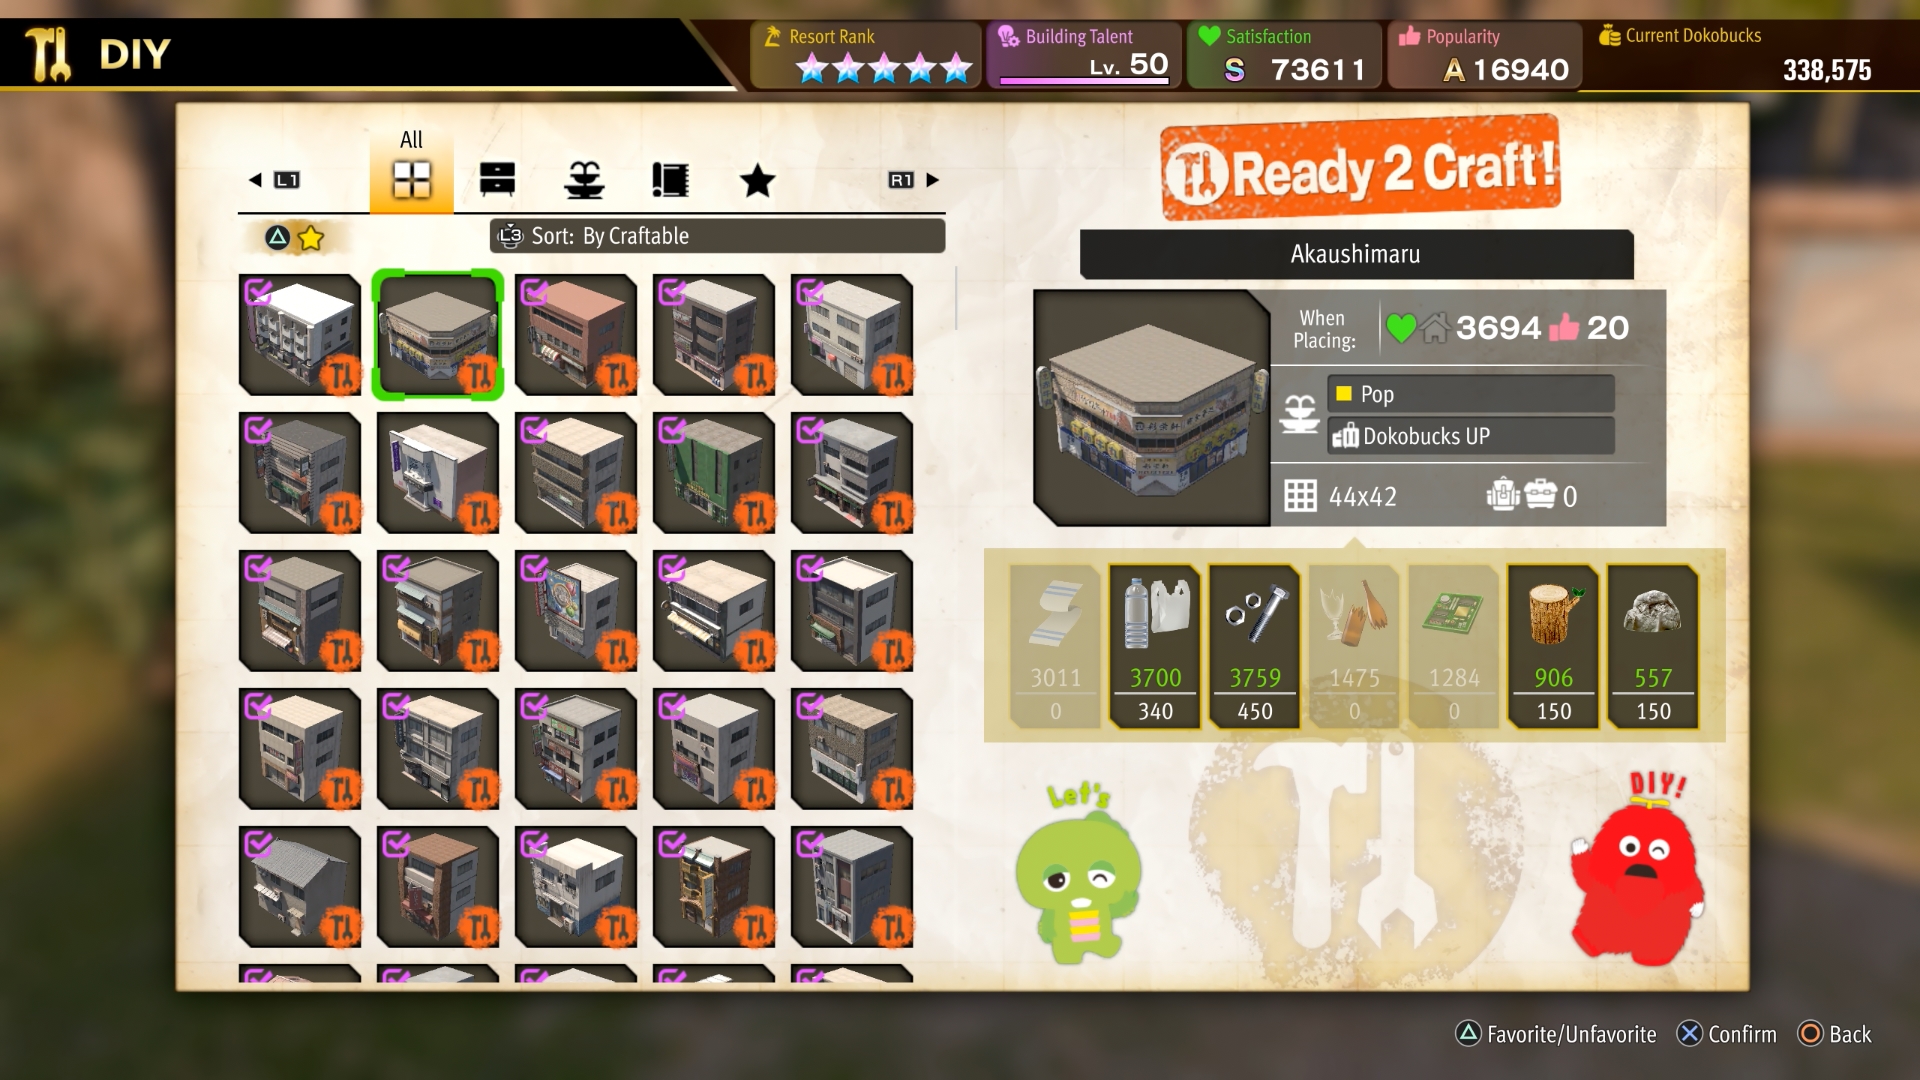
As you raise your Building Talent level, Ichiban will continually acquire new blueprints. We've laid out the best buildings you can craft to raise the Satisfaction and Popularity of your Dondoko Island quickly.
Satisfaction Value & Popularity Value refers to how much Satisfaction and Popularity you'll get immediately when you lay down the building at any vacant spot you can build on. These values then gradually raise when a guest walks over to it and interacts with it, so be mindful of where you build these structures; ideally, you'll want to place higher Satisfactory & Popularity Value structures as close to guest lodgings as possible.
Plus, many things you craft in Dondoko Island have a Genre that feeds into the feel and atmosphere of your resort island. The genres are Sleazy, Pop, Rustic, and Elegant. You can check your Genre values in the Dondoko Island Information screen from your menu. Some visitors will prefer that your island reach a certain level of Genre to gain bonus satisfaction so trying to balance Sleazy, Pop, Rustic, and Elegant levels is key.
While the Cabaret Club & Traditional Japanese Building have the highest values, they have steep material requirements to craft. We recommend buildings that don't require the Ore & Pearl at first until you're much, much further into Dondoko and have easier access to them.
The best Sleazy building is the Love Hotel; the best Pop building is Akuashimaru, the best Elegant building is Cafe Alps, and the best Rustic building is Kotobuki Drugs.
- Cabaret Club - Requires 5 Diamond Ore & 4 Raw Platinum Ore
- Satisfaction Value: 9121
- Popularity Value: 50
- Genre: Sleazy
- Effect: Dokobucks Up
- Traditional Japanese Building - Requires 10 Gold Ore & 10 Pearl
- Satisfaction Value: 6999
- Popularity Value: 40
- Genre: Elegant
- Effect: Satisfaction Up
- Love Hotel
- Satisfaction Value: 4498
- Popularity Value: 20
- Genre: Sleazy
- Effect: Dokobucks Up
- Akuashimaru
- Satisfaction Value: 3694
- Popularity Value: 20
- Genre: Pop
- Effect: Dokobucks Up
- Otohime Land
- Satisfaction Value: 2806
- Popularity Value: 20
- Genre: Sleazy
- Effect: Dokobucks Up
- Cafe Alps
- Satisfaction Value: 2540
- Popularity Value: 20
- Genre: Elegant
- Effect: Dokobucks Up
- Poppo
- Satisfaction Value: 2458
- Popularity Value: 20
- Genre: Pop
- Effect: Dokobucks Up
- Host Club
- Satisfaction Value: 1970
- Popularity Value: 20
- Genre: Sleazy
- Effect: Dokobucks Up
- Adult Shop
- Satisfaction Value: 1923
- Popularity Value: 10
- Genre: Sleazy
- Effect: Dokobucks Up
- Le Marche
- Satisfaction Value: 1920
- Popularity Value: 20
- Genre: Elegant
- Effect: Dokobucks Up
- Kotobuki Drugs
- Satisfaction Value: 1847
- Popularity Value: 10
- Genre: Rustic
- Effect: Dokobucks Up
- Manga Cafe
- Satisfaction Value: 1781
- Popularity Value: 10
- Genre: Pop
- Effect: Dokobucks Up
- Bantam
- Satisfaction Value: 1699
- Popularity Value: 10
- Genre: Elegant
- Effect: Dokobucks Up
- Ichiban Confections:
- Satisfaction Value: 1631
- Popularity Value: 10
- Genre: Rustic
- Effect: Dokobucks Up
- Izakaya Kuyakushi
- Satisfaction Value: 1623
- Popularity Value: 10
- Genre: Sleazy
- Effect: Dokobucks Up
- Kyushu No. 1 Star
- Satisfaction Value: 1619
- Popularity Value: 10
- Genre: Rustic
- Effect: Dokobucks Up
- Pachinko Parlor
- Satisfaction Value: 1619
- Popularity Value: 10
- Genre: Sleazy
- Effect: Dokobucks Up
- Roadside Coffee Shop
- Satisfaction Value: 1567
- Popularity Value: 10
- Genre: Rustic
- Effect: Dokobucks Up
- Sesil Cafe
- Satisfaction Value: 1565
- Popularity Value: 10
- Genre: Elegant
- Effect: Dokobucks Up
- Vintage Film Theater
- Satisfaction Value: 1507
- Popularity Value: 10
- Genre: Elegant
- Effect: Dokobucks Up
- Tobacco Store
- Satisfaction Value: 1455
- Popularity Value: 10
- Genre: Rustic
- Effect: Dokobucks Up
- Free Info Booth
- Satisfaction Value: 1403
- Popularity Value: 10
- Genre: Sleazy
- Effect: Satisfaction Up
- Arcade
- Satisfaction Value: 1363
- Popularity Value: 10
- Genre: Pop
- Effect: Dokobucks Up
- Ebisu Pawn
- Satisfaction Value: 1287
- Popularity Value: 10
- Genre: Pop
- Effect: Dokobucks Up
- Multistory Complex
- Satisfaction Value: 1095
- Popularity Value: 10
- Genre: Sleazy
- Effect: Dokobucks Up
- Chinese Restaurant Tianxiang
- Satisfaction Value: 1049
- Popularity Value: 10
- Genre: Pop
- Effect: Dokobucks Up
- Yakiniku Restaurant
- Satisfaction Value: 1007
- Popularity Value: 10
- Genre: Pop
- Effect: Dokobucks Up
- Unassuming Eatery
- Satisfaction Value: 1007
- Popularity Value: 10
- Genre: Sleazy
- Effect: Dokobucks Up
- Meng Wu
- Satisfaction Value: 965
- Popularity Value: 10
- Genre: Pop
- Effect: Dokobucks Up
- Bar
- Satisfaction Value: 923
- Popularity Value: 10
- Genre: Sleazy
- Effect: Dokobucks Up
- Simple House
- Satisfaction Value: 909
- Popularity Value: 10
- Genre: Rustic
- Effect: Satisfaction Up
- Fashionable Health Center
- Satisfaction Value: 815
- Popularity Value: 10
- Genre: Sleazy
- Effect: Dokobucks Up
- Dilapidated Building
- Satisfaction Value: 793
- Popularity Value: 10
- Genre: Rustic
- Effect: Dokobucks Up
- Karaoke Lounge
- Satisfaction Value: 611
- Popularity Value: 10
- Genre: Pop
- Effect: Dokobucks Up
- Worn-Out Office Complex
- Satisfaction Value: 604
- Popularity Value: 10
- Genre: Rustic
- Effect: Dokobucks Up
- Dilapidated Clothing Store
- Satisfaction Value: 523
- Popularity Value: 10
- Genre: Rustic
- Effect: Dokobucks Up
The Best Objects to Craft
Buildings alone won't be enough to drive up Guest Approval, Satisfaction, and Popularity. There are tons of things to craft at the DIY Table, but there are several high value items that will catch the attention of guests. Don't forget to put these objects alongside a road or path for their Effect to take effect.
- Taro the Demon Statue - Requires 2 Gold Ore
- Satisfaction Value: 5773
- Popularity Value: 30
- Genre: Sleazy
- Effect: Popularity Up
- Fountain
- Satisfaction Value: 2889
- Popularity Value: 10
- Genre: Elegant
- Effect: Satisfaction Up
- Bus
- Satisfaction Value: 1672
- Popularity Value: 0
- Genre: Rustic
- Effect: Satisfaction Up
- Large Jacuzzi - Requires 3 Pearl & 1 Raw Diamond Ore
- Satisfaction Value: 1536
- Popularity Value: 0
- Genre: Elegant
- Effect: Satisfaction Up
- Tenkaichi Street Gate
- Satisfaction Value: 1447
- Popularity Value: 30
- Genre: Sleazy
- Effect: Popularity Up
- Love Nest
- Satisfaction Value: 1156
- Popularity Value: 0
- Genre: Sleazy
- Effect: Satisfaction Up
- White Coffee Truck
- Satisfaction Value: 918
- Popularity Value: 0
- Genre: Rustic
- Effect: Dokobucks Up
- Orange Truck
- Satisfaction Value: 756
- Popularity Value: 0
- Genre: Pop
- Effect: Satisfaction Up
- White Delivery Van
- Satisfaction Value: 720
- Popularity Value: 0
- Genre: Rustic
- Effect: Satisfaction Up
- Black Minivan
- Satisfaction Value: 612
- Popularity Value: 0
- Genre: Elegant
- Effect: Satisfaction Up
- Market Stall
- Satisfaction Value: 600
- Popularity Value: 0
- Genre: Rustic
- Effect: Dokobucks Up
- White Sedan
- Satisfaction Value: 504
- Popularity Value: 0
- Genre: Elegant
- Effect: Satisfaction Up
- Black Luxury Car
- Satisfaction Value: 504
- Popularity Value: 0
- Genre: Elegant
- Effect: Satisfaction Up
- Golden Gachapin Statue - Requires 20 Dinosaur (?) Fossil
- Satisfaction Value: 500
- Popularity Value: 50
- Genre: Pop
- Effect: Popularity Up
- Golden Mukku Statue - Requires 20 Yeti (?) Fossil
- Satisfaction Value: 500
- Popularity Value: 50
- Genre: Pop
- Effect: Popularity Up
- Golden Kasuga Statue - Requires 3 Gold Ore
- Satisfaction Value: 500
- Popularity Value: 50
- Genre: Elegant
- Effect: Popularity Up
- Public Bathroom
- Satisfaction Value: 499
- Popularity Value: 10
- Genre: Rustic
- Effect: Satisfaction Up
- Red Sports Car
- Satisfaction Value: 476
- Popularity Value: 0
- Genre: Pop
- Effect: Satisfaction Up
- Fishmonger Stall - Requires 1 Sea Bream and 1 Bluefish Tuna
- Satisfaction Value: 468
- Popularity Value: 0
- Genre: Rustic
- Effect: Dokobucks Up
- Stuffed Bear - Requires 10 Dondoko Sirloin
- Satisfaction Value: 432
- Popularity Value: 0
- Genre: Pop
- Effect: Popularity Up
- Grand Piano
- Satisfaction Value: 432
- Popularity Value: 0
- Genre: Elegant
- Effect: Satisfaction Up
- Exquisite U-Shaped Sofa
- Satisfaction Value: 396
- Popularity Value: 0
- Genre: Elegant
- Effect: Satisfaction Up
- Gray SUV
- Satisfaction Value: 392
- Popularity Value: 0
- Genre: Elegant
- Effect: Satisfaction Up
- Jacuzzy With Lion Faucet
- Satisfaction Value: 378
- Popularity Value: 0
- Genre: Sleazy
- Effect: Satisfaction Up
- Mini Truck
- Satisfaction Value: 364
- Popularity Value: 0
- Genre: Rustic
- Effect: Satisfaction Up
- Cow Sign
- Satisfaction Value: 306
- Popularity Value: 0
- Genre: Pop
- Effect: Popularity Up
- Swing Set
- Satisfaction Value: 297
- Popularity Value: 0
- Genre: Pop
- Effect: Satisfaction Up
- Ramen Cart
- Satisfaction Value: 270
- Popularity Value: 0
- Genre: Rustic
- Effect: Dokobucks Up
- Sheep Sign
- Satisfaction Value: 270
- Popularity Value: 0
- Genre: Pop
- Effect: Popularity Up
- Canopy Bed
- Satisfaction Value: 252
- Popularity Value: 0
- Genre: Elegant
- Effect: Satisfaction Up
- Table With Wooden Parasol
- Satisfaction Value: 242
- Popularity Value: 0
- Genre: Rustic
- Effect: Satisfaction Up
- Pool Table
- Satisfaction Value: 231
- Popularity Value: 0
- Genre: Sleazy
- Effect: Satisfaction Up
- Stuffed Tiger - Requires 10 Dondoko Sirloin
- Satisfaction Value: 220
- Popularity Value: 0
- Genre: Pop
- Effect: Popularity Up
- Kappa Statue
- Satisfaction Value: 200
- Popularity Value: 0
- Genre: Pop
- Effect: Popularity Up
- Photo-Op Board
- Satisfaction Value: 200
- Popularity Value: 0
- Genre: Pop
- Effect: Populairty Up
- Red Forklift
- Satisfaction Value: 180
- Popularity Value: 0
- Genre: Pop
- Effect: Satisfaction Up
- Ono Michio Cutout - Requires 1 Sea Bream
- Satisfaction Value: 100
- Popularity Value: 5
- Genre: Pop
- Effect: Popularity Up
- White Vending Machine
- Satisfaction Value: 45
- Popularity Value: 0
- Genre: Rustic
- Effect: Dokobucks Up
- Red Vending Machine
- Satisfaction Value: 45
- Popularity Value: 0
- Genre: Pop
- Effect: Dokobucks Up
Don't Forget to Upgrade Your Bat
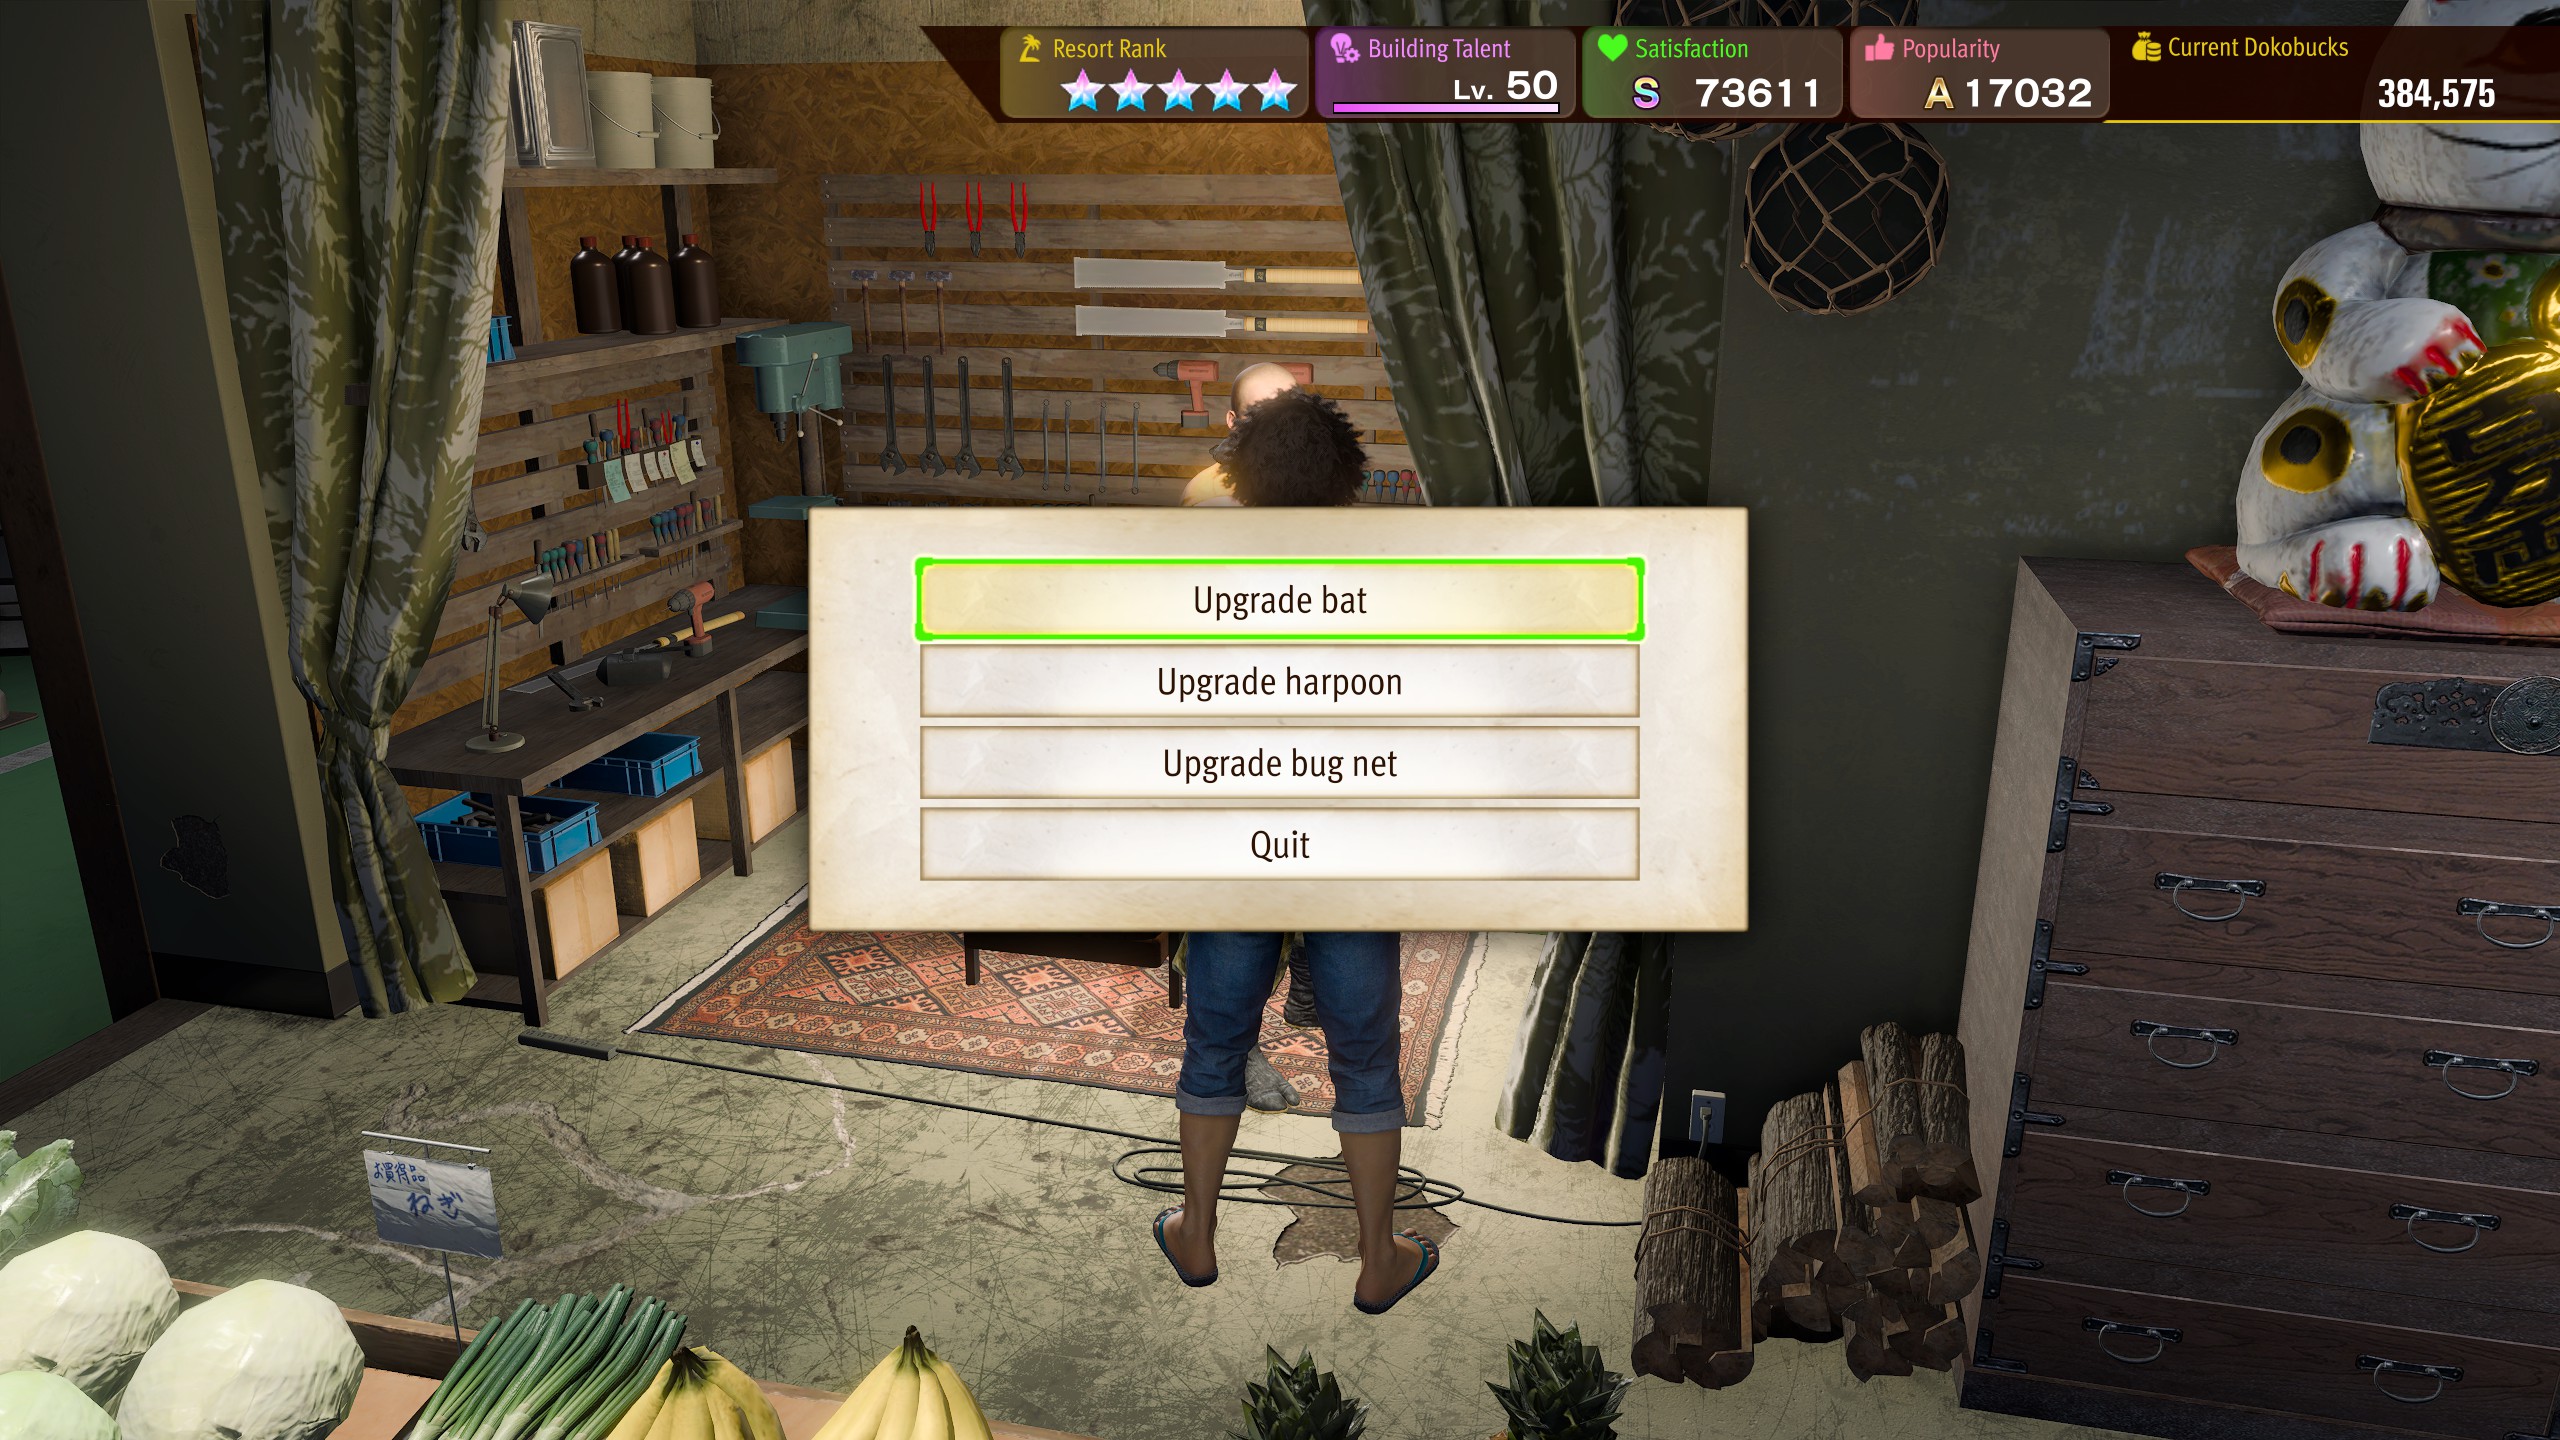
Lastly, don't ignore upgrading Ichiban's bat in Dondoko Island. It will allow him to swing it faster which will make manual resource collection and fights faster. You unlock this function shortly after Kenzo joins your Dondoko Island crew.
We recommend at least upgrading it to Level 3 before you face the final boss of the Dondoko Island storyline to make it less overwhelming. You can upgrade the harpoon and bug net at your leisure, but they aren't as big of a priority as your bat.