

Fire Emblem: Fortune's Weave Part 2: War Walkthrough
If you are on this page, that means you have completed one or more Part I Paths in Fire Emblem: Fortune's Weave and are ready to move on to the game's second part, simply called "War."
After you've finished a Part I Path, a new Obelisk will appear in the Obelisk Chamber. This is called the Strife Obelisk, and all four protagonists will access the War Part of the game from this Obelisk. In order to have your Part I units participate in Part III and the game's finale, their respective Flame Lord (Cai, Dietrich, Theodora, and Leda) will each need to complete their respective War Path.
Yes, that means that you will need to complete the War Path four times in total, if you want to have all units from all teams participate in Part III. However, the game does throw you a bone here. Once you complete one War Path, you'll be able to 'Skip' subsequent War Paths, automatically giving your characters some EXP and bringing them to Part III. You may not get as much EXP or Skill EXP in doing the Skip option, but if you don't care to replay the same path four times over, the option is available to you.
Unlike Part I, Part II is essentially the same for each protagonist, with just some slightly different dialogue to adjust for the chosen protagonist. Also, there is no Free Time in Part II.
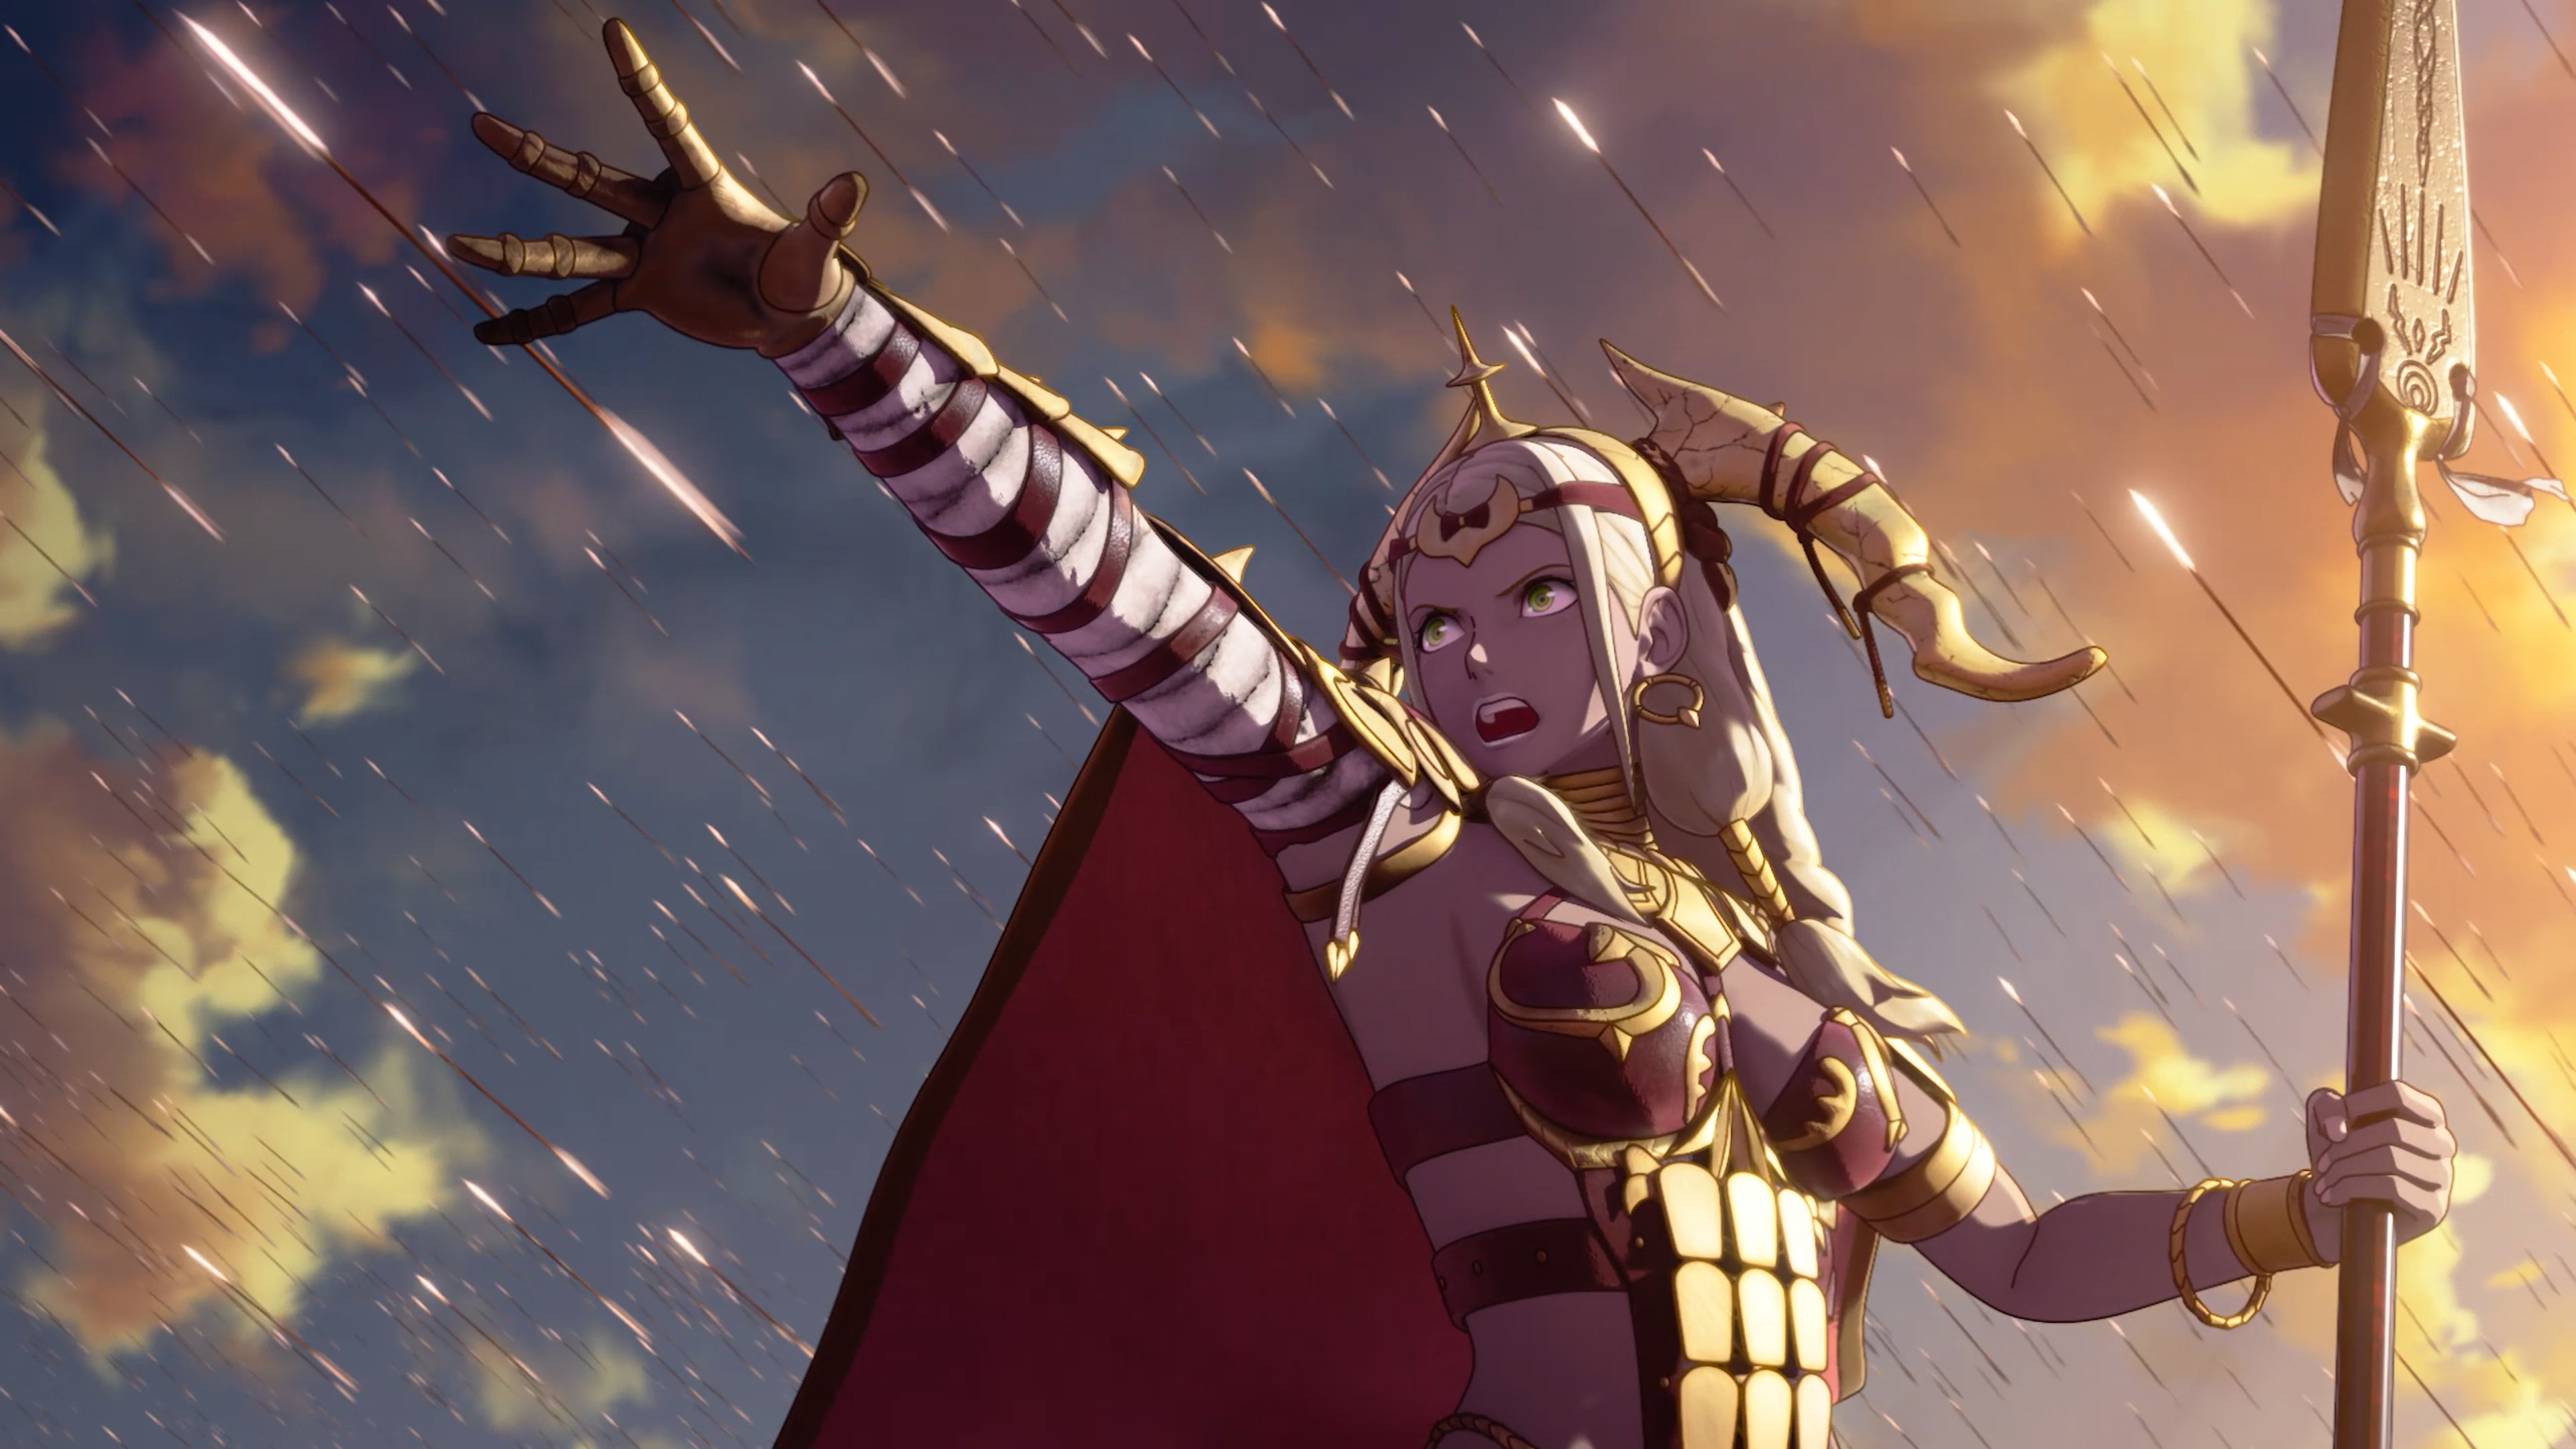
Part II: War Chapter 1 - The Battle of Klytius Plains
- After several cutscenes, the game will note that only the items equipped on each character will be available in Part II. However, all the items in Part I not equipped will still be available in Part III.
- The game will also give you an assortment of weapons for each character in each chapter, ensuring you will not run out.
- The game will give you an interface to equip all the characters you recruited on the route you chose. Note that you cannot place consumable items (like Vulneraries or Concoctions) into a unit's inventory, however.
Preparations
- The game will give you a tutorial on the Preparations phase. There are no turns, but you cannot leave the base.
- The game will give you one Concoction and one Antitoxin for each character in your team. If a unit's inventory is full, it'll be sent to storage.
- The game will also give each character weapons depending on their class. These will usually show up as +2 or +3 weapons.
- Note: The weapons are not carried over to Part III. They are effectively a Part II failsafe to ensure you can fight.
- You are also given 5 Advanced Licenses per chapter. More specifically, the game will fill up your Advanced Licenses up to 5 total for each chapter in the War Arc. So, be sure to use them now, because you'll be refilled to 5 in the next chapter. If you don't use them, the game won't give you more. Upgrade any units you can.
- You are also given 5 Beginner and 5 Specialty Licenses per chapter, if you want to use those.
- The facilities available to you include:
- Pale Raven's Perch - While you can't feed the Pale Raven, you can still access Foresight and return to the Obelisk Chamber
- Exam Proctor
- Temple Administrator - Set which blessings are available to you
- Your Divine Sand will replenish in each chapter, so don't be shy to use your Blessings in each War Chapter.
- The inn for Supports
- New Supports will also be available if you had high enough support from the previous part.
- On Cai's Route, the 'stable guy' will also be here.
- On Dietrich's Route, the Temple Administrator will also be able to upgrade Combat Arts and Teach Secrets.
- On Leda's Route, the Drink Vendor will also be available.
- The Dispatch Officer has three new capabilities. You can only perform one of these per chapter:
- Training Drills - Train underpowered units to raise their levels on par with higher-powered allies
- This raises EXP.
- Group Drills - Train all allies at once to hone everyone's skills.
- This raises skill levels
- Group Service - All allies work together to serve a god and raise tribute
- You cannot select this option if all blessings are at max level already.
- Training Drills - Train underpowered units to raise their levels on par with higher-powered allies
- For the first chapter, I suggest "Training Drills".
- This brings all characters to level 37/38. It may depend on the route or average level. This will allow any recruit to access an Advanced Class.
[Combat] - Struggle in Klytius
- Victory: Defeat all of the enemy units.
- Defeat: [Hero], Theodora, or Bertrand falls in battle.
- [Hero] refers to Cai, Dietrich, or Leda if you are doing their versions of the War Arc. Theodora is always present.
- Strategy: Move slowly, luring enemies in groups, then surrounding them when they get close. Have Bertrand's army take out some units on the SW side, then join with your main force in the center.
- Notes:
- Note that some nameless enemies have multiple health bars.
- Creek drops Levin Sword +1.
- An enemy Warrior on the west side drops Hammer +1.
Part II: War Chapter 2 - Showdown at Agris Stronghold
Preparations
- Training Drills will bring everyone up to level ~40.
- Again, this may vary slightly based on route or average level.
- Note: In some Part II battles, if you do not bring the full allotment of soldiers possible, the game will give you temporary guest units to fill out your roster for that battle.
[Combat] - Taking Agris Stronghold
- Victory: Defeat Lind and Ianuarius.
- Defeat: [Hero], Theodora, or Bertrand fall in battle.
- Strategy: Make a group of 3-4 strong units up the path to the east side of the map. Have the rest of your party move NW towards the center. Your best bet is to pincer the bosses in the corner from two sides. Use the forests for extra evasion.
- Notes:
- If you are doing a War Route in which you completed Creek's quest "My Late Sister's Accessory" in Part 1, then Creek will join your party once defeated.
- Note: Nathan cannot be recruited, as far as we know.
- On this map, there are two enemies with droppable weapons. However, they will eventually start to flee the map if not defeated quickly.
- On the southeast side of the map is an enemy Ranger with a droppable Cleansing Blade +1. He will eventually flee north and leave the map to the east, so if you want the Cleansing Blade +1, take him out quickly. He will start moving on Turn 4. Your best bet to reach him is a flying unit.
- The Ranger on the W side with a droppable Horsekiller Bow +1 will start moving on Turn 8.
- Several reinforcements will show up from the W, SE, and E sides of the map throughout the battle.
- If you are doing a War Route in which you completed Creek's quest "My Late Sister's Accessory" in Part 1, then Creek will join your party once defeated.
Part II: War Chapter 3 - Beyond the Salt Road
Preparations
- Training Drills will bring everyone up to level ~41.
[Combat] - Grand Aragon Invaded
- Victory: Defeat Gilchris.
- Defeat: [Hero], Theodora, or Bertrand falls in battle.
- Strategy: The main strategy in this level is to have tanky units hold chokepoints around the map's alleys, then have mages or archers attack from afar. You'll probably want several mages with Physic healing, also. When you get near Gilchris, it's best to take him out asap, as that will end the map.
- Notes:
- Aswan and Tahonia will work their way to your leader. Talk to them, and they'll become playable guest units.
- Note: Aswan and Tahonia will not join your team permanently until late in Part III. Be sure to keep them alive, however.
- As soon as you cross the northern border of the main east-west road, Gilchris will create fire tiles all across the map, dealing damage and slowing you down.
- Reinforcements will come frequently, usually from the west and east ends of the main road.
- This is a great battle to use those concoctions you've been receiving.
- Aswan and Tahonia will work their way to your leader. Talk to them, and they'll become playable guest units.
Part II: War Chapter 4 - The Storming of Dagsion
Preparations
- Training Drills will bring everyone up to level ~42.
[Combat] - The Battle of Alcineus Span
- Victory: Defeat Lind.
- Defeat: [Hero], Theodora, or Bertrand falls in battle.
- Strategy: Go slow in this battle, to start. There will be many reinforcements in the early section of the battle. Having 3-4 units capable of using bows will make dealing with the reinforcements much easier. Lind himself will hide behind war elephants when you reach him at the top. As with any boss objective, consider ganging up on him to end the battle.
- Notes:
- As you move up the bridge, reinforcements will come from behind you on the south section of the bridge. Dragoons will also appear from the sides of the map. These are limited, so if you want to be safe, take them out before moving on.
- Consider that when a war elephant is charging, defeat enemies around it first, as these movements are predictable easy to dodge.
Part II: War Chapter 5 - Divine Emperor Dagda
- In this chapter, you'll be exploring Dagsion. You can only move towards Dagda's Temple at the top of Hightown.
- Note: There are no facilities available.
[Combat] - Battle vs. Dagda the Great
- Victory: Defeat Dagda
- Defeat: [Hero], Theodora, or Bertrand falls in battle.
- Strategy: Note that this battle is two parts. Once you defeat the humanoid Dagda, he'll move to the top of the map as a dragon. I moved my entire army straight north, to where the onager is. Here, I was able to block chokepoints as enemies and Dagda approached. Dagda's Res is much lower than his Def, so use magic or Salamanders. After this, once Dagda sits as a dragon at the top, take it slow, defeat all the enemies at the base of the stairs first. Waste the ammunition of the Fire Orb and Onager at the top of the stairs by having dodgy character sit in the farthest attack range. As you move up the stairs, lure Golems off of the protect tiles at the top. When you get to Dadga, he is basically invulnerable. What you should do is use Deadeye Combat Art from the Longbow you obtain in this level. While you won't do any damage (or may miss entirely), this will trigger an event on the next turn where Eshmel shows up to disable Dagda's Shield. Now you can go on the offensive.
- Notes:
- Note that the starting area is partially within Onager firing range.
- The Golems each drop a weapon: Greatsword +1, Jamadhars +1, Glaive +1, Longbow +1
Part II: War Chapter 6 - The Underworld Incarnate
- At the start of this chapter, you simply need to head toward the marker. No facilities are available, other than the Pale Raven Perch.
[Combat] - Battle vs. Lyrah
- Victory: Defeat Lyrah
- Defeat: [Hero], Theodora, or Bertrand falls in battle.
- Strategy: Take it slow. Let the enemies come to you. Lyrah's shields make her invulnerable, so have weaker long-range attacks destroy the shields (preferably at the corners) and then have your heavy hitters dish out the HP damage. Once Lyrah is defeated, she will turn into a cocoon as reinforcements start to swarm. Use the same strategy with the cocoon. Note that the cocoon heals a little bit of HP on every hit, so use high-damage attacks only.
- Notes:
[Combat] - Flight from Dagsion
- Victory: Get Leda to the Target Destination
- Defeat: [Hero], Theodora, or Bertrand falls in battle.
- Strategy: Have [Hero] and your strongest battlers move down along the western border to the exit. The upper right group should just focus on defending. Avoid getting the attention of the enemy units in the center of the map with battalions.
- Notes:
- Aurora's Blessing is extremely useful in this battle.
- There is a tiny 'dungeon' sequence after the battle, but there are no enemies. Just run to the marker.
After this, you can move on to Part III: Salvation.