

Fire Emblem: Fortune's Weave Recruitment Guide - All Characters in the game and how to Recruit Them
This page lists all recruitable characters in Fire Emblem: Fortune's Weave and the requirements to obtain them.
Most of the game's characters are Recruitable in Part I, but not all. Here, we will outline how recruitment happens in general, and then we'll specify the requirements for every character in the game. As you may expect, this page will contain some spoilers on playable characters.
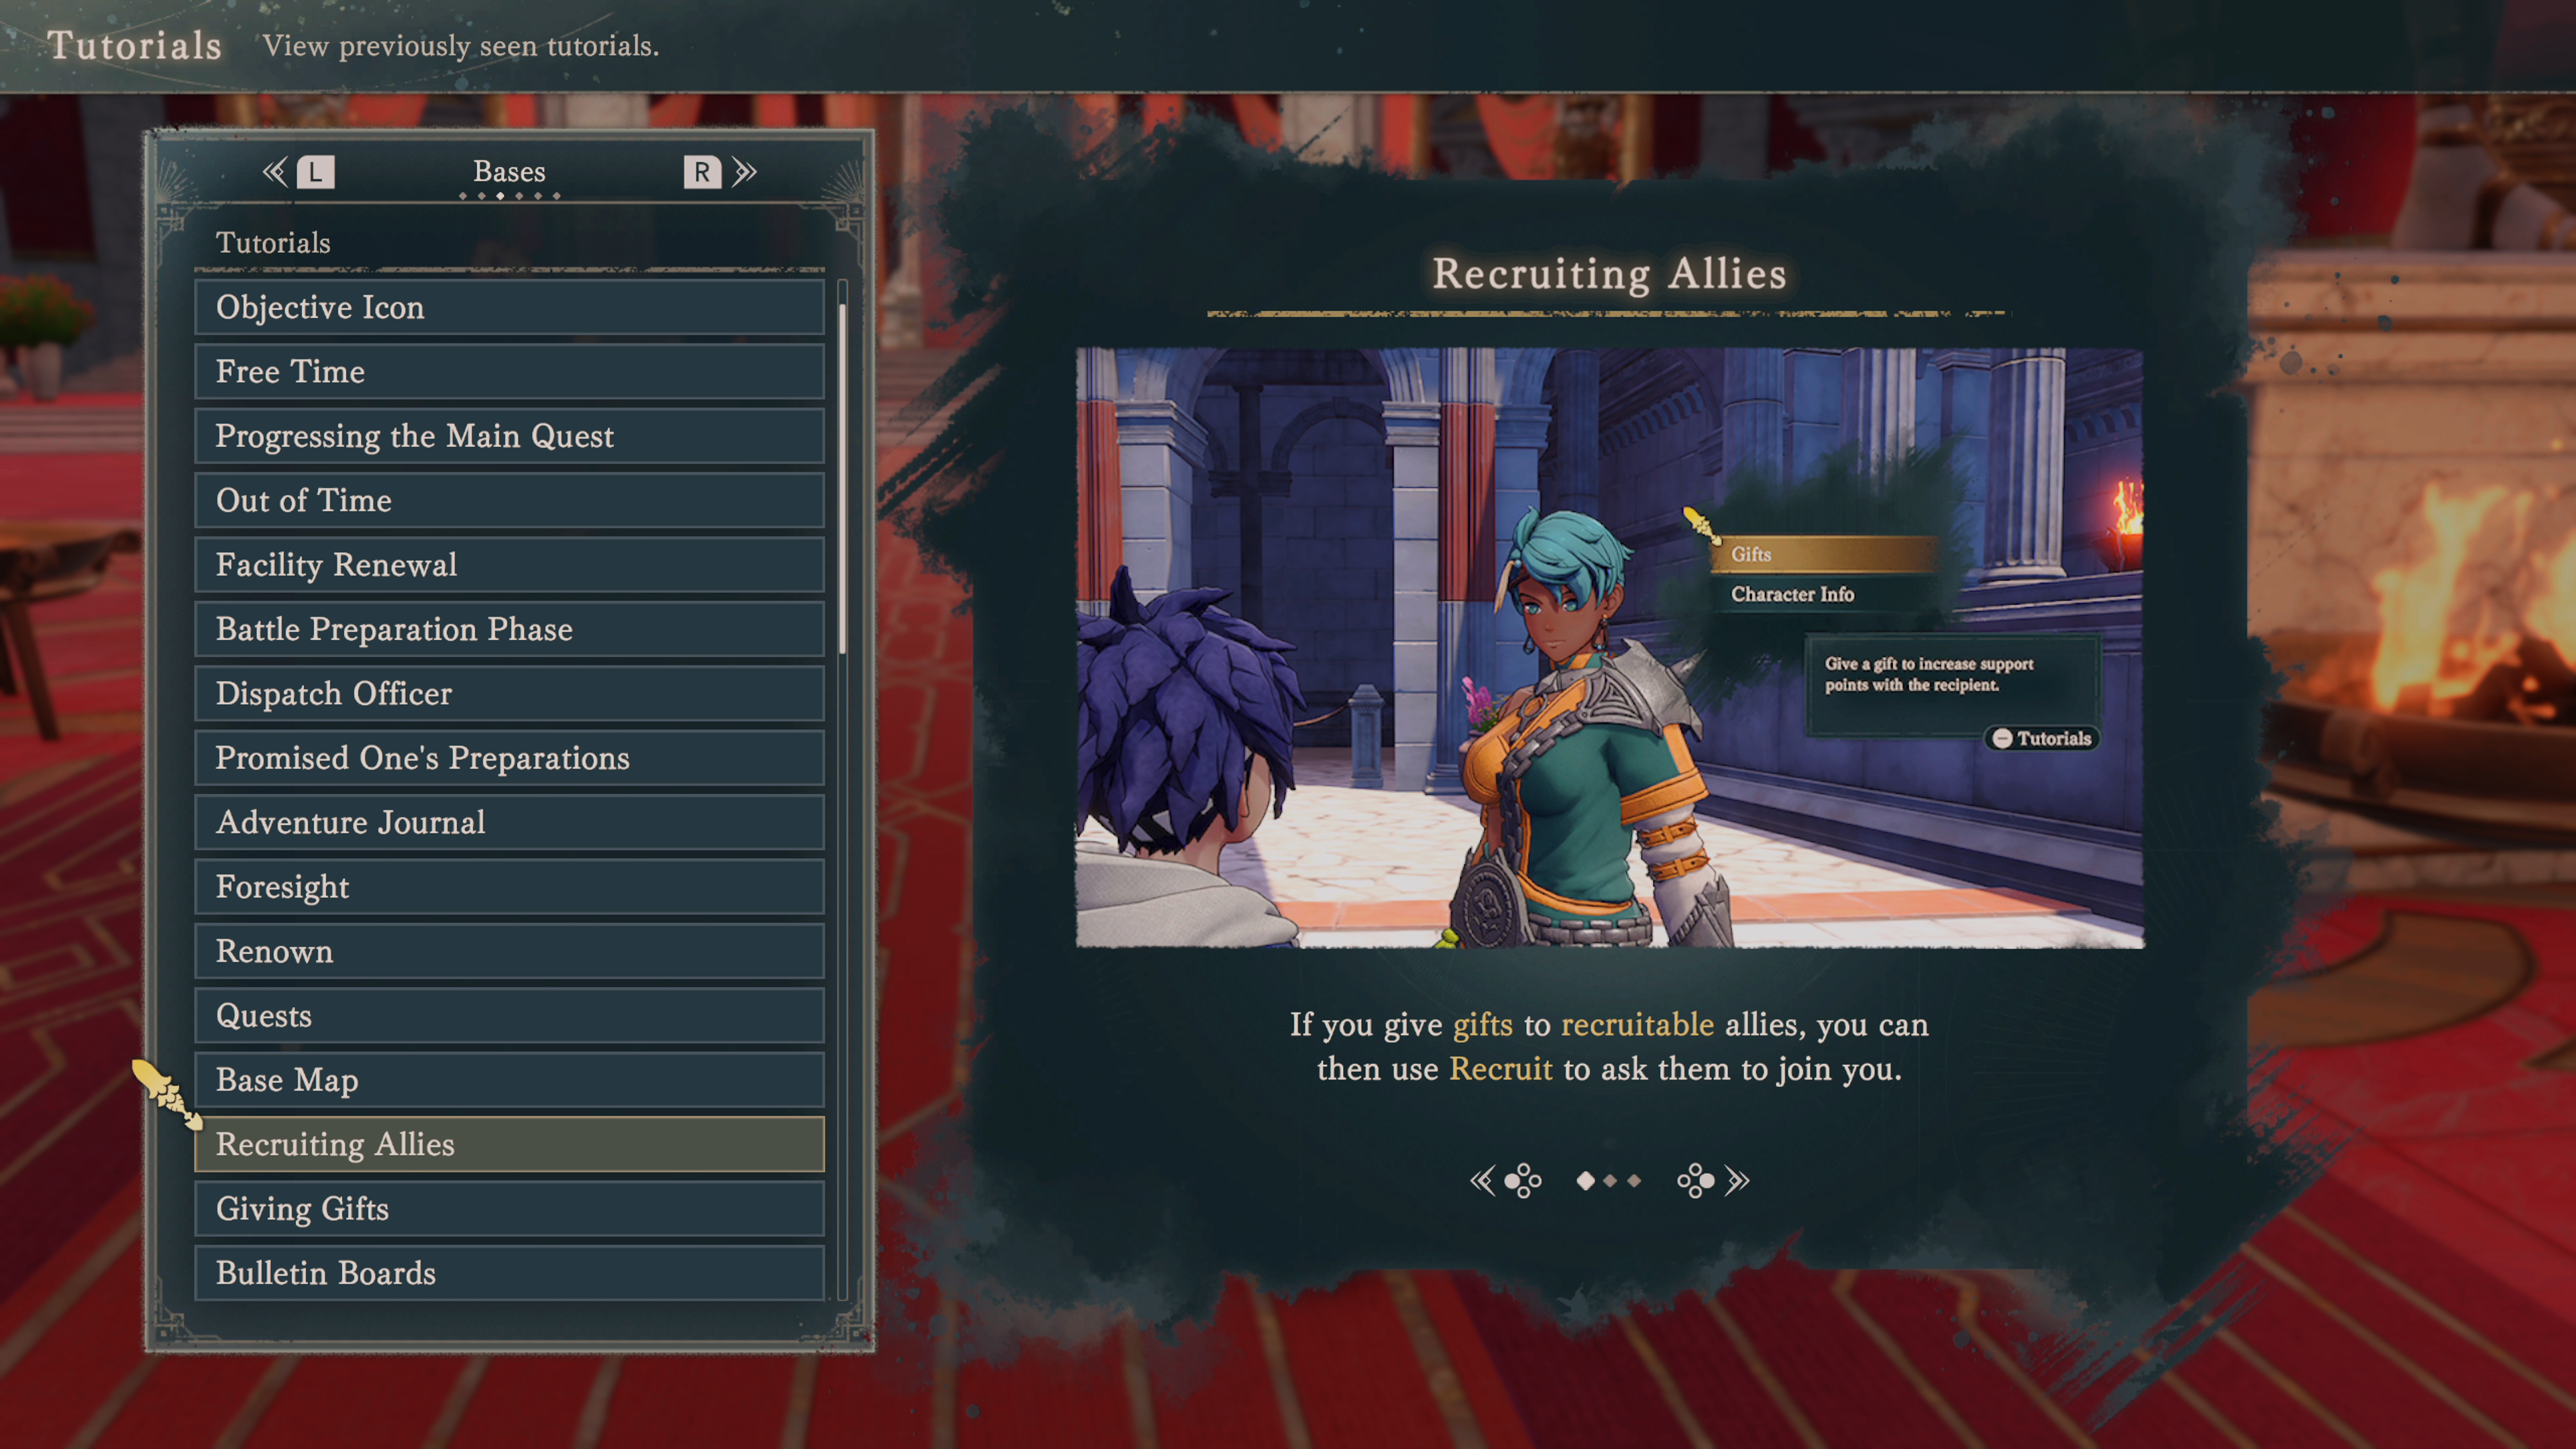
There are different components to recruiting a character in Part I:
- Support Level: This is the support level between the recruitable character and your chosen Lord. The best ways to gain support are to give gifts to the character, as well as invite them to meals. You can also invite them to Stage Shows at the theater, once it is unlocked. In the list below, this is labeled as 1S, 2S, or 3S.
- Renown Level: This global value goes up as you complete main missions, subquests, paralogues, and some other events. You can also raise Renown by holding audiences with the Gods, when available. In the list below, this is labeled as 4R, 5R, 6R, ..., 10R.
- An additional requirement: Some characters require an additional requirement in order to recruit. Sometimes this is just a little bit of money, a quick question, or a few items. However, sometimes it is a quick subquest, and sometimes it is multiple subquests.
- Paralogue Completion: Some characters only join if you have completed a certain paralogue. Not all Paths have access to all paralogues, so that means not all characters are recruitable by all lords. Check out our Fire Emblem: Fortune's Weave Paralogue Guide for more details.
- Story Completion: This only applies to two characters - Fabio on Leda's Route and Gaitz on Dietrich's Route. They can only be recruited after a certain point in the story has passed.
Different characters also have different requirements on their recruitment, making them easy to pick up in some routes, but much more difficult in others. For example, Loretta only requires 5 Renown on Theodora's Path, but 8 Renown on Dietrich's Path, making her a later recruit. These requirements are shared in the list below.
Some characters are not recruitable in Part I and instead join in later Parts of the game, including Anatolia, Talimun, Bertrand, Orchel, Centurio, Creek, and Aswan. We've shared these and more in the list below.
A note on the Quest requirements for characters - usually these involve a simple skirmish battle, a simple search, or talking to a character in a different city. Since these are very simple requirements, we don't detail the actual quests on this page. Simply go to the marker and complete the easy objective, then return to the unit that gave the quest to you.
It's also worth noting that Support Level across your save file is a global value. This means that if you raise support between any two characters on one Path, that same ranking will be maintained on other paths. Support Level will always go up and never go down, even if you restart a chapter. That means it can be exploited to some degree.
Fire Emblem: Fortune's Weave - All Recruitable Characters
Cai
- Cai's Route: Automatic
- Dietrich's Route: N/A
- Theodora's Route: N/A
- Leda's Route: N/A
Tialla
- Cai's Route: Automatic
- Dietrich's Route: 3S, 9R, Clear Cai's Paralogue, 3000G
- Theodora's Route: 3S, 10R, Clear Cai's Paralogue, 3000G
- Leda's Route: 3S, 8R, Clear Cai's Paralogue, 3000G
Peter
- Cai's Route: Automatic
- Dietrich's Route: 3S, 8R, Quest
- Theodora's Route: 3S, 7R, Quest
- Leda's Route: 3S, 10R, Quest
Ultand
- Cai's Route: Automatic (Chapter 6)
- Dietrich's Route: 3S, 5R, Quest
- Theodora's Route: 3S, 6R, Quest
- Leda's Route: 3S, 8R, Quest
Gaitz
- Cai's Route: N/A
- Dietrich's Route: 3S, 10R, Clear Bertrand's Paralogue and They Have Lost
- You have to wait until Bertrand's team is out of the tournament, which should be around Chapter 12.
- Theodora's Route: N/A
- Leda's Route: N/A
Jester
- Cai's Route: 3S, 10R, 3x Quest
- Dietrich's Route: 3S, 6R, 3x Quest
- Theodora's Route: 3S, 9R, 3x Quest
- Leda's Route: 3S, 10R, 3x Quest
Goliath
- Cai's Route: 3S, 7R, 3x Giant's Meat
- Dietrich's Route: 3S, 6R, 3x Giant's Meat
- Theodora's Route: 3S, 9R, 3x Giant's Meat
- Leda's Route: 3S, 10R, 3x Giant's Meat
- Note: Giant's Meat is a little difficult to obtain naturally. You'll always find one in Sand-Shadow Fort, or you just have to look for skirmishes with a Giant Icon on the world map.
Dante
- Cai's Route: 3S, 10R, 8000G
- Dietrich's Route: 2S, 8R, 8000G
- Theodora's Route: 3S, 6R, 8000G
- Leda's Route: 3S, 10R, 8000G
Dietrich
- Cai's Route: N/A
- Dietrich's Route: Automatic
- Theodora's Route: N/A
- Leda's Route: N/A
Fabio
- Cai's Route: N/A
- Dietrich's Route: Automatic
- Theodora's Route: N/A
- Leda's Route: 3S, 9R, Clear Dietrich's Paralogue and They Have Lost, Suitable Item
- You have to wait until Dietrich's team is out of the tournament, which should be around Chapter 12. As for a 'suitable item', a Da Mina weapon worked for me.
Esmeralda
- Cai's Route: 3S, 7R, Quest
- Dietrich's Route: Automatic
- Theodora's Route: 3S, 9R, Quest
- Leda's Route: 3S, 6R, Quest
Mikaela
- Cai's Route: 3S, 5R, 3000G
- Dietrich's Route: Automatic
- Theodora's Route: 3S, 8R, 3000G
- Leda's Route: 3S, 6R, 3000G
Orchel
- Joins automatically Part III: Salvation First Section
- Just to be safe, be sure to complete her Paralogue in Part I.
Diego
- Cai's Route: 3S, 10R, Clear Orchel's Paralogue
- Dietrich's Route: 3S, 9R, Clear Orchel's Paralogue
- Theodora's Route: 2S, 8R, Clear Orchel's Paralogue
- Leda's Route: 3S, 8R, Clear Orchel's Paralogue
Loretta
- Cai's Route: 3S, 7R, 3x Iron Sword
- Dietrich's Route: 3S, 9R, 3x Iron Sword
- Theodora's Route: 3S, 5R, 3x Iron Sword
- Leda's Route: 3S, 5R, 3x Iron Sword
Seteth
- Cai's Route: 3S, 6R, Quest
- Dietrich's Route: N/A
- Theodora's Route: 3S, 6R, Quest
- Leda's Route: 3S, 10R, Quest
Ninae
- Cai's Route: 3S, 6R, 1x Paradise Fish
- Dietrich's Route: 3S, 8R, 1x Paradise Fish
- Theodora's Route: 3S, 6R, 1x Paradise Fish
- Leda's Route: 3S, 6R, 1x Paradise Fish
- Note: Paradise Fish is most easily obtained at Lake Brontes in Saveilon, on the other side of Valhalla Mine
Theodora
- Cai's Route: N/A
- Dietrich's Route: N/A
- Theodora's Route: Automatic
- Leda's Route: N/A
Bonaventure
- Cai's Route: N/A
- Dietrich's Route: N/A
- Theodora's Route: Automatic
- Leda's Route: N/A
Tobias
- Cai's Route: N/A
- Dietrich's Route: N/A
- Theodora's Route: Automatic
- Leda's Route: N/A
Lilian
- Cai's Route: 2S, 8R, 5000G
- Dietrich's Route: 2S, 8R, 5000G
- Theodora's Route: Automatic
- Leda's Route: 2S, 7R, 5000G
Lysander
- Cai's Route: 3S, 8R, 5x Iron Spear
- Dietrich's Route: 3S, 6R, 5x Iron Spear
- Theodora's Route: Automatic
- Leda's Route: 3S, 7R, 5x Iron Spear
Talimun
- Joins automatically Part III: Salvation First Section
- Just to be safe, be sure to complete his Paralogue in Part I.
Ursula
- Cai's Route: 3S, 10R, Clear Talimun's Paralogue, Answer Yes x3
- Dietrich's Route: 3S, 7R, Clear Talimun's Paralogue, Answer Yes x3
- Theodora's Route: 3S, 9R, Clear Talimun's Paralogue, Answer Yes x3
- Leda's Route: N/A
Ludia
- Cai's Route: 3S, 9R, Quest
- Dietrich's Route: 3S, 9R, Quest
- Theodora's Route: 3S, 7R, Quest
- Leda's Route: 3S, 7R, Quest
Simon
- Cai's Route: 3S, 8R, Coin flip (pick Tails)
- Dietrich's Route: 3S, 7R, Coin flip (pick Tails)
- Theodora's Route: 3S, 7R, Coin flip (pick Tails)
- Leda's Route: 3S, 6R, Coin flip (pick Tails)
Fianna
- Cai's Route: 3S, 8R, 3000G
- Dietrich's Route: 3S, 7R, 3000G
- Theodora's Route: 3S, 9R, 3000G
- Leda's Route: 3S, 5R, 3000G
Leda
- Cai's Route: N/A
- Dietrich's Route: N/A
- Theodora's Route: N/A
- Leda's Route: Automatic
Buccar
- Cai's Route: N/A
- Dietrich's Route: 3S, 8R, Clear Leda's Paralogue
- Theodora's Route: 3S, 8R, Clear Leda's Paralogue
- Leda's Route: Automatic
Sirocco
- Cai's Route: 3S, 9R, Quest
- Dietrich's Route: 3S, 9R, Quest
- Theodora's Route: 1S, 5R, Quest
- Leda's Route: Automatic
Olympia
- Cai's Route: 3S, 8R, 3x Quest
- Dietrich's Route: 3S, 6R, 3x Quest
- Theodora's Route: 3S, 9R, 3x Quest
- Leda's Route: Automatic
Mu
- Cai's Route: 3S, 9R, 3x Glirmosa
- Dietrich's Route: 3S, 7R, 3x Glirmosa
- Theodora's Route: 3S, 9R, 3x Glirmosa
- Leda's Route: Automatic
- Note: Glirmosa is most easily obtained at Mount Orgus Trail, Rear Mountain Path, Forest of No Return, or Giant's Mount in Pasithea
Anatolia
- Joins automatically Part III: Salvation First Section
- Just to be safe, be sure to complete her Paralogue in Part I.
Nezha
- Cai's Route: 3S, 6R, 3x Sandworm Meat
- Dietrich's Route: 3S, 10R, 3x Sandworm Meat
- Theodora's Route: 2S, 6R, 3x Sandworm Meat
- Leda's Route: 3S, 9R, 3x Sandworm Meat
Sha Lan
- Cai's Route: N/A
- Dietrich's Route: 3S, 10R, Clear Anatolia's Paralogue, Answer Questions
- Theodora's Route: N/A
- Leda's Route: 3S, 8R, Clear Anatolia's Paralogue, Answer Questions
- Note: Answers are Saramis, Da Mina, Grounded Ship
Dadao
- Cai's Route: 3S, 7R, 2x Kothar Gar
- Dietrich's Route: 3S, 10R, 2x Kothar Gar
- Theodora's Route: 2S, 5R, 2x Kothar Gar
- Leda's Route: 2S, 5R, 2x Kothar Gar
Halvin
- Cai's Route: 3S, 9R, 10x Dates
- Dietrich's Route: 3S, 9R, 10x Dates
- Theodora's Route: 3S, 7R, 10x Dates
- Leda's Route: 3S, 7R, 10x Dates
Guzran
- Cai's Route: Automatic (Recruitment Tutorial)
- Dietrich's Route: 3S, 8R
- Theodora's Route: 3S, 8R
- Leda's Route: 1S, 3R
Yang Jie
- Cai's Route: 2S, 3R, Answer Questions
- Dietrich's Route: Automatic (Recruitment Tutorial)
- Theodora's Route: 3S, 9R, Answer Questions Potatoes
- 3S, 8R, Answer Questions
- Leda's Route:
- Note: Answers are Cheese, Moon, Potatoes
Io
- Cai's Route: 3S, 10R, 4000G
- Dietrich's Route: 2S, 8R, 800G
- Theodora's Route: 3S, 10R, 4000G
- Leda's Route: 1S, 6R, 1500G
Peppe
- Cai's Route: 1S, 9R, Clear Bertrand's Paralogue
- Dietrich's Route: 3S, 8R, Clear Bertrand's Paralogue
- Theodora's Route: 2S, 7R, Clear Bertrand's Paralogue
- Leda's Route: N/A
Noctula
- Cai's Route: 1S, 4R
- Dietrich's Route: 1S, 6R
- Theodora's Route: 1S, 3R
- Leda's Route: 3S, 8R
Sofia
- Cai's Route: 3S, 9R
- Dietrich's Route: 3S, 9R
- Theodora's Route: Automatic (Recruitment Tutorial)
- Leda's Route: 3S, 7R
Catania
- Cai's Route: 3S, 10R
- Dietrich's Route: 1S, 8R
- Theodora's Route: 3S, 7R
- Leda's Route: Automatic (Recruitment Tutorial)
Nydine
- Cai's Route: 1S, 6R, 2x Bronze Axe
- Dietrich's Route: 2S, 5R, 2x Bronze Axe
- Theodora's Route: 3S, 5R, 3x Iron Axe
- Leda's Route: 3S, 10R, 3x Iron Axe
Zarcone
- Cai's Route: 3S, 8R, Negotiate
- Dietrich's Route: 3S, 7R, Negotiate
- Theodora's Route: 1S, 4R, Negotiate
- Leda's Route: 2S, 5R, Negotiate
- Note: You can negotiate his fee all the way down to 10G
Majide
- Cai's Route: 2S, 5R, Question
- Dietrich's Route: 3S, 8R, Question
- Theodora's Route: 3S, 8R, Question
- Leda's Route: 3S, 9R, Question
- Note: You have to answer his question three times before he accepts your answer.
Benditz
- Cai's Route: 3S, 9R
- Dietrich's Route: 2S, 7R
- Theodora's Route: 1S, 8R
- Leda's Route: 3S, 7R
- Note: Begins to appear in Dagsion around 4/11
Inyoni
- Cai's Route: 3S, 8R, 6000G
- Dietrich's Route: 3S, 8R, 6000G
- Theodora's Route: 1S, 9R, 4000G
- Leda's Route: 1S, 7R, 3000G
- Note: Begins to appear in Dagsion around 7/10
Jasmine
- Cai's Route: 1S, 8R, 2000G
- Dietrich's Route: 3S, 9R, 5000G
- Theodora's Route: 3S, 8R, 5000G
- Leda's Route: 2S, 4R, 500G
- Note: Begins to appear in Dagsion around 5/8
Alexandra
- Cai's Route: 2S, 7R
- Dietrich's Route: 3S, 8R
- Theodora's Route: 1S, 6R
- Leda's Route: 3S, 10R
- Note: Begins to appear in Dagsion around 5/29
Nuzzuo
- Cai's Route: 2S, 6R, 3x Iron Bow
- Dietrich's Route: 1S, 9R, 2x Iron Bow
- Theodora's Route: 1S, 6R, 3x Iron Bow
- Leda's Route: 3S, 9R, 3x Iron Bow
- Note: Begins to appear in Dagsion around 7/1
Kiroc
- Cai's Route: 3S, 8R, 8x Pure Water
- Dietrich's Route: 1S, 4R, 3x Pure Water
- Theodora's Route: 3S, 10R, 8x Pure Water
- Leda's Route: 1S, 4R, 3x Pure Water
- Note: Begins to appear in Dagsion around 5/4
Bertrand
- Joins automatically as a guest unit in Part II: War and as a full unit in Part III: Salvation
- Just to be safe, be sure to complete his Paralogue in Part I.
Creek
- Joins in Part II: War Chapter 2 after defeating him on the battlefield, only if you completed the Subquest 'My Late Sister's Accessory' in Part I.
- Note that it seems not every route will obtain this Subquest. You may need to do at least two Part I Paths.
- In case you were wondering, Nathan is NOT recruitable.
Centurio
- Joins in Part III: Salvation Second Section after completing the quest 'Rescue Centurio'.
Hong Hua
- Joins automatically in the Prologue and Part III: Salvation
Troy
- Joins automatically in the Prologue and Part III: Salvation
Aswan
- Joins automatically in Part III: Salvation Fifth Section, assuming they do not die as a guest unit during Part II: Chapter 3.
Tahonia
- Joins automatically in Part III: Salvation Fifth Section, assuming they do not die as a guest unit during Part II: Chapter 3.
Klapka
- Joins automatically in Part III: Salvation Sixth Section, assuming he does not die in battle as a guest unit in Part III: Salvation Fifth Section