

The Legend of Zelda: Ocarina of Time Remake Minimalist 100% Walkthrough - All Items, Gold Skulltula Tokens, & Heart Pieces
Remaking one of the greatest and most beloved games of all time is always a minefield, but it’s one Nintendo has navigated surprisingly well with The Legend of Zelda: Ocarina of Time. It’s a remake that is faithful in all the right places, but it has also been changed a little, nipped, tucked and adjusted in various places for various reasons.
This new minimalist walkthrough to Ocarina of Time is ideal both for returning veteran players and for total newcomers to Zelda OOT. It’s designed to be truly minimalist, leaving the core of the game for you to work through, but listing collectibles and items of note at their earliest availability, or when it makes most sense to nab them.
These item locations and orders have been adjusted and verified for the Switch 2 exclusive Ocarina of Time Remake, as many items have indeed moved.
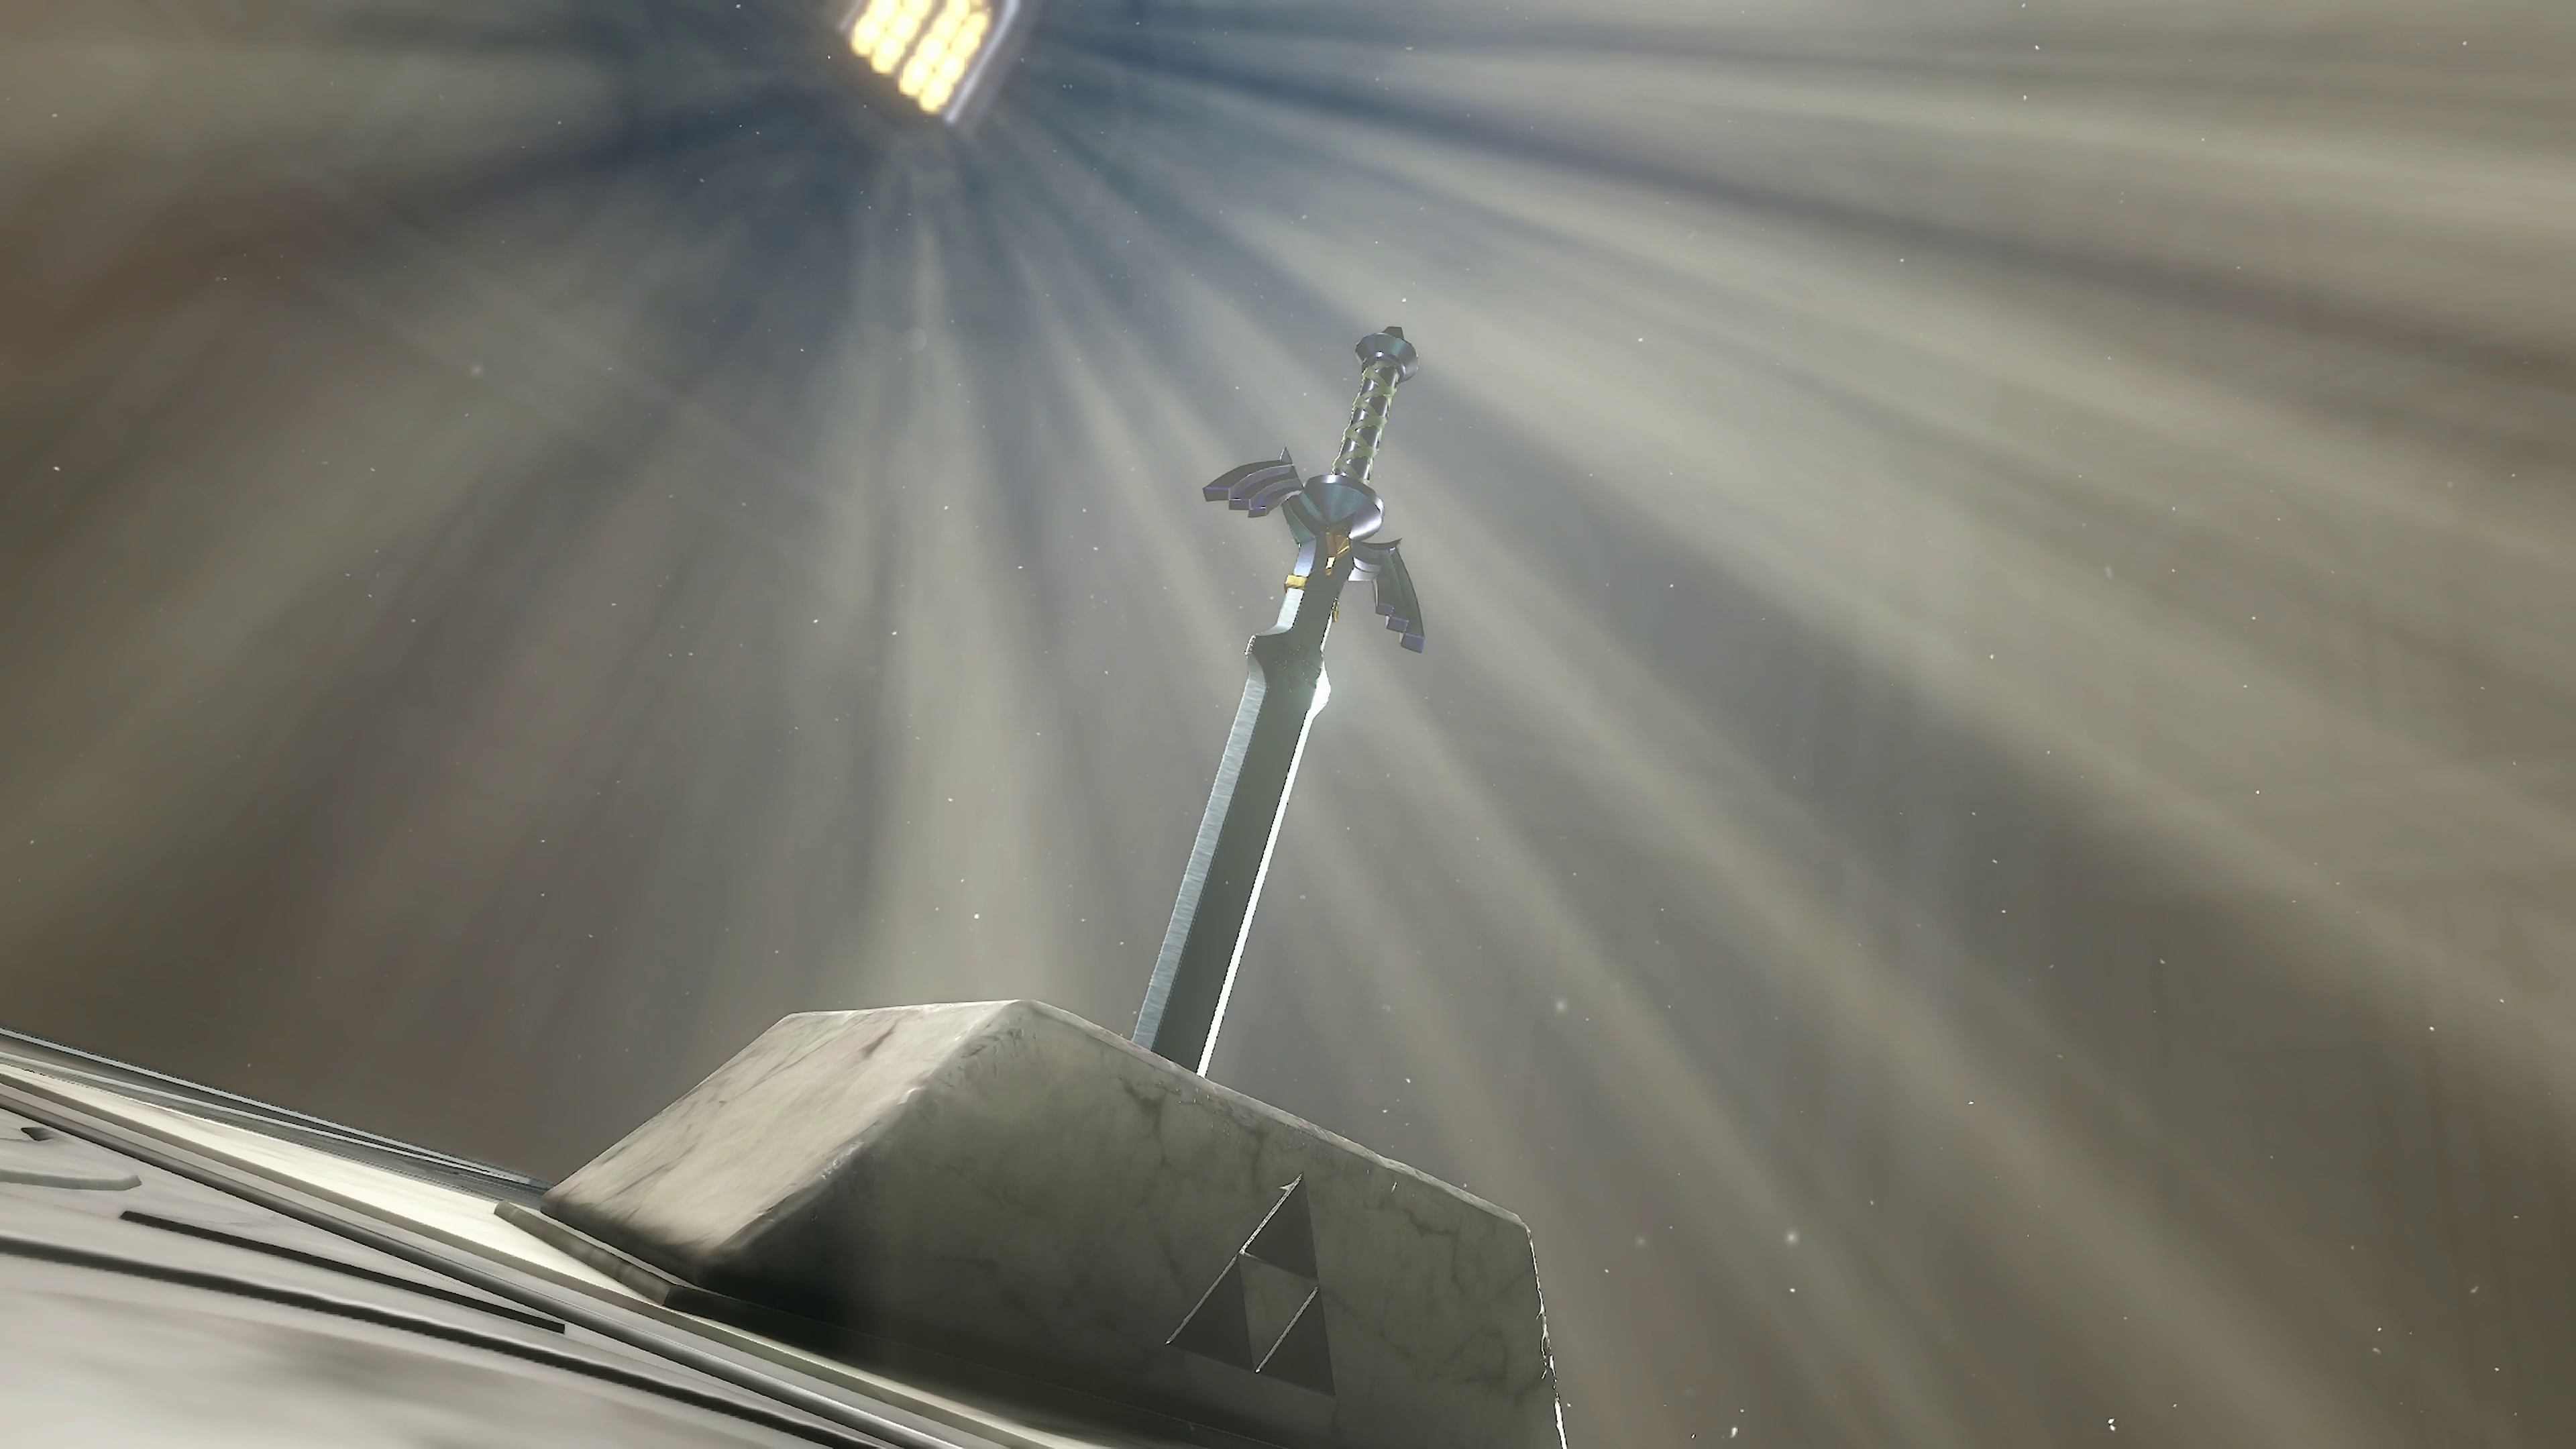
About this Ocarina of Time Remake Minimalist Guide
What this guide will do:
- This guide will tell you where to find every Heart Piece, Gold Skulltula, and treasure of note. It’ll also tell you when to get them, as the guide is written in a sensible chronological order based on main story progression.
What this guide will not do:
- This guide will not tell you the basic A-to-B-to-C progression of Ocarina of Time Remake, nor will it offer you full walkthroughs and puzzle solutions for each dungeon.
In short, this is a guide designed for people who want help with the fiddly collectibles, but want to play the rest of their game with their own brain at their own pace. If you want a version of this guide with the dungeon guides, great news - our sister site Respec has a more full-fat OOT Remake Walkthrough that is decidedly less minimalist. Alternatively, we also have 'clean' guides that only list the Heart Piece Locations and Gold Skulltula Locations, if that suits you better. Their numbering matches this guide, so you can flip between these guides at your leisure.
Kokiri Forest & the Great Deku Tree
- As part of the natural story progression, you will pick up the Kokiri Sword. It's in the maze to the SW of the village.
- You’ll then buy the Deku Shield. It costs 40 rupees, and you can collect them around the village.
Items Inside the Great Deku Tree Dungeon
- As always, this dungeon has a Dungeon Map, Compass, and a new item - in this case the Fairy Slingshot. You will also unlock Deku Nuts and Deku Sticks here, if you haven’t already.
- In the room with the platforms that get raised by the Switch (the room where you get the Compass), the optional alcove contains Gold Skulltula #1.
- Once you drop down to the lower levels, through the webbing, turn around and look at the vines you can climb back up to the entrance - Gold Skulltula #2 is here.
- In this same central room downstairs, Gold Skulltula #3 is hanging out against a grate in the north.
- Just after the room where you light the torches, burn a spiderweb to reveal a hidden area with Gold Skulltula #4.
- At the end of the dungeon you’ll get a Heart Container and the Kokiri Emerald.
Castle Town, Hyrule Castle, and Zelda
- As you leave Kokiri forest to Hyrule Field, a cutscene sees you get the Fairy Ocarina.
- For now, head straight to Hyrule Castle Town to the north.
- As you enter Hyrule Castle Town, on your right there’s a door that leads to a room full of pots. You can smash the pots for Rupees, but what we’re really here for is Gold Skulltula #5, which is hiding inside a crate that twitches and bounces. Roll into the crate to break it.
- Visit the Shooting Gallery in town (NW side) and get a perfect score to get an Improved Deku Seed Bag, raising your Slingshot max ammo to 40 shots.
- Go into the Potion Shop (E side) and help the Shopkeeper with a bug problem to get Bottle #1. He'll fill it with Red Potion as a thank you.
- This Bottle is new for the Switch 2 Remake.
- When you speak to Malon next to the horse and cart outside Hyrule Castle to the north, she gives you the Weird Egg. Pretty quickly, this hatches into the Wake-up Cucco.
- Head down the path beyond Malon, and you'll have to sneak your way through the garden, up some vines, under the moat bridge, and finally to Talon. Use the Wake-up Cucco on him to proceed.
- After more sneaking forward, you'll reach Zelda.
- After scenes with Zelda and Impa in the castle, you learn to play Zelda’s Lullaby.
Lon Lon Ranch
- Go to Lon Lon Ranch SW of the exit of Castle Town and play the Super Cucco Minigame to unlock Bottle #2.
- Show Malon in the horse paddock your Ocarina (left D-Pad) for her to teach you Epona’s Song.
- In the south-west of the ranch there’s a crumbling building. Inside here, solve the block puzzle to gain access to a crawlspace that leads to a room with Heart Piece #1. As always, four of these gives you an additional heart.
- On your way out, look behind the building with the Super Cucco Search minigame. You can roll into a tree here to reveal Gold Skulltula #6.
Often, Gold Skulltula only appear at night. If you look for one listed here and can’t find it, you’re either slightly in the wrong place or, more likely, it will only spawn at night. Keep that in mind going forward.
Sometimes, you'll see a spider web during the day in the spot where the Gold Skulltula appears at night.
At this point in the game you can manipulate time by sleeping in beds, which are freely available in locations like Kokiri Forest, Kakariko Village, and Castle Town. However, if this is your first time playing Zelda: OOT, keep in mind that a more swift method to change from day to night and the reverse unlocks imminently.
Kakariko Village
- Head to Kakariko Village on the NE side of Hyrule Field.
- At night, there are a number of Gold Skulltula to gather here.
- Gold Skulltula #7 is on the ladder that leads to the village watchtower.
- Gold Skulltula #8 is right next to the front door of the house that contains the people cursed by these very spiders, in the middle of town.
- Gold Skulltula #9 is on the unfinished building site also towards the middle of town.
- Gold Skulltula #10 falls out of the tree in the middle of the town when you roll into it.
- Gold Skulltula #11 is hiding behind the house in the north-west.
- If you can solve the Cucco lady’s problem by returning her wayward chicks that are scattered around Kakariko, she rewards you with Bottle #3. See the note below for Heart Piece #2 before returning them all, however.
- Consider this a tutorial for the Cucco also - you can pick them up and when you jump with them, you'll flutter, allowing you to jump long distances. That will be required to even get some of these Cucco, in fact.
- As part of the above or after it, use a Cucco to get over the tall fence near the door to the Windmill and then climb the ladder to the landmass behind the windmill. Up here, you'll use another Cucco to fly to the blue-roofed house nearby. The NPC up here will give you Heart Piece #2 for reaching him.
- If you don't do this before returning all the Cucco, they'll reset if you leave Kakariko for a while. Alternatively, you can also gain this Heart Piece later by using the Hookshot to get to the roof - but that is much later.
- Finally, if you’ve passed ten Skulltula, go to the House of Skulltula (slightly SE of center of town) and check in to get the Adult’s Wallet, which on Switch 2 is good to hold 500 Rupees.
Kakariko Graveyard
- Kakariko's Graveyard is on the east side of the town.
- Play Zelda's Lullaby on the plinth with the Triforce on it at the top of the graveyard. This opens up a small crypt. Defeat the Keese in the first room and avoid the Redeads in the second, and you'll see a tombstone where you learn The Sun’s Song. This can be used to turn day to night, night to day, or stun zombies.
- Make a save in the gravyard. The top prize in Dampe’s Gravedigging Tour, which is only available at night, is Heart Piece #3, so make sure you participate until you nail the main prize. If Dampe mentions whatever he’s digging up is ‘something hard’, pay the extra money to get it out. This process is at least a little quicker than in the original in the Switch 2 Remake.
- Note that even if it is 'something hard', it may just be a rock.
- At night you can also pull back and open graves. Several graves here contain prizes including a free Hylian Shield and Heart Piece #4.
- These are both found in the SE set of graves.
- There is a grave with butterflies around it, which has a fairy fountain, but you need bombs to enter.
- Drop a bug from a bottle into the patch of soft soil in the north-west; this flushes out Gold Skulltula #12.
- You can grab a bug under a rock near the graveyard entrance.
- Be sure to grab another bug when you can.
- Make sure you pick up those nighttime Kakariko Village Skulltula mentioned earlier now you have The Sun’s Song. You should have 12.
Lost Woods & Sacred Forest Meadow
- Before heading to Goron City, we need to stop by Kokiri Forest once again.
- When you pass through Kokiri Forest, make it nighttime and go behind the south-western house, the Know-It-All Brothers’ abode. Gold Skulltula #13 is behind it.
- Head to the Lost Woods to the north.
- Head east at the first fork. Shoot the target in the Lost Woods three times to get the Biggest Deku-seed Bag, increasing your total seed ammo to 50.
- Down from where the target is, go and take out your Ocarina for the nearby Skull Kids and mimic their music. After some cash prizes, they hand over Heart Piece #5.
- Proceed through the Lost Woods by following the music.
- In the Sacred Grove, simply work your way to the end.
- When you meet Saria at the Sacred Forest Meadow, she teaches you Saria’s Song.
- From the Kokiri entrance to the Lost Woods, turn left. There’s another Skull Kid. Play him Saria’s Song to get Heart Piece #6.
- Follow the path from this screen to find some soft soil. You can use a bug in a bottle here to access Gold Skulltula #14.
- At the end of this path a Business Scrub will sell you a Bigger Deku-Stick Bag for 40 Rupees after you beat him in combat.
Death Mountain Trail / Goron City
- In Kakariko Village, show the northern gate guard Zelda's Letter.
- Head up Death Mountain Trail and enter Goron City.
- For now, head to the north-most room at the bottom. Play Zelda's Lullaby at the Triforce symbol, then play Saria's Song for Darunia. He will give you the Goron’s Bracelet.
- Outside of the entrance of Goron City, pick up the Bomb Flower and throw it over the fencing to a cracked boulder. This will open up Dodongo Cavern.
Dodongo Cavern
- Once the rocks in front of Dodongo Cavern entrance is cleared, before entering the dungeon you can release a bug into the soft soil to get Gold Skulltula #15.
- You can find a bug under a rock nearby.
Items inside the Dodongo Cavern Dungeon
- As usual, normal progression through this dungeon will net you a Dungeon Map, Compass, and a major new item - in this case, the Bombs and Bomb Bag. We don’t detail where to get those in this guide, but you can head to the version of this guide on Respec if you want dungeon guides.
- When you get to the room where you place a bomb flower in the middle of a whole bunch of them to make a staircase up, it’s spidey time. Get to the top of the stairs and then as you climb up, look for Gold Skulltula #16 at the rear side of the stairs when you loop around at the top.
- Once you return to the central chamber and make a shortcut back to the ground floor and dungeon entrance, turn right and blow up the cracked rock. Inside, there’s Gold Skulltula #17.
- Loop back to an earlier part of the dungeon. On the eastern side of the 1st floor of the dungeon there’s the corridor-like room where you will have first encountered Baby Dodongos; blow up a cracked rock to find Gold Skulltula #18.
- After going through the mouth of the giant skull, you’ll encounter a room with a block-pushing puzzle. Blow up an optional cracked wall here to get to Gold Skulltula #19.
- At the end of the dungeon you’ll get a Heart Container and the Goron’s Ruby.
After the Cavern ~ Goron City/Death Mountain
- After exiting Dodongo Cavern, there’s a bombable wall on the road back to Kakariko, on the east side. Behind it is Gold Skulltula #20.
- In Goron City, you can use bombs to blow your way into a room on the west of the city. There’s chests with cash back here, plus Gold Skulltula #21.
- A Goron is rolling around the middle floor of the city. There’s also a sign, challenging you to stop him in front of it. Use a bomb to stop him in that spot to get the Bigger Bomb Bag.
- Light the torches all around Goron City with Deku Sticks to make the pot in the middle of town start spinning. Then throw a bomb into the pot from on high to obtain Heart Piece #7.
- The lit torches to start are in Darunia's room.
- You can also create a shortcut to the Lost Woods by opening the wall in the east side of the middle layer.
- Head to the top of Death Mountain by using bombs to remove boulders on the path beyond Goron City.
- At the peak of Death Mountain, enter the Great Fairy’s Fountain; Play Zelda’s Lullaby and pay the 25 Rupee toll to get Din’s Fire.
- Next to the Fairy Fountain is the entrance to Death Mountain Crater. Quickly duck in here with full health and dash left - smash the crates to get Gold Skulltula #22.
- You can also get Heart Piece #36 now, if you're brave, have 100 Rupees, and willing to risk burning up in the crater. Or you can come back later, as this guide advises.
- From the peak of Death Mountain, take a ride from Kaepora Gaebora. He drops you back off in Kakariko. Jump off the the roof to the south, which’ll let you get onto the top of another roof where Heart Piece #8 resides.
- You can now revisit the House of Skulltula in the middle of Kakariko to get your reward for 22 Skulltula Tokens. The Echo Gem can be equipped in the menu, and it makes a chime and a visible light when Gold Skulltulas are nearby. Even with this guide, it’ll be helpful and we recommend equipping it.
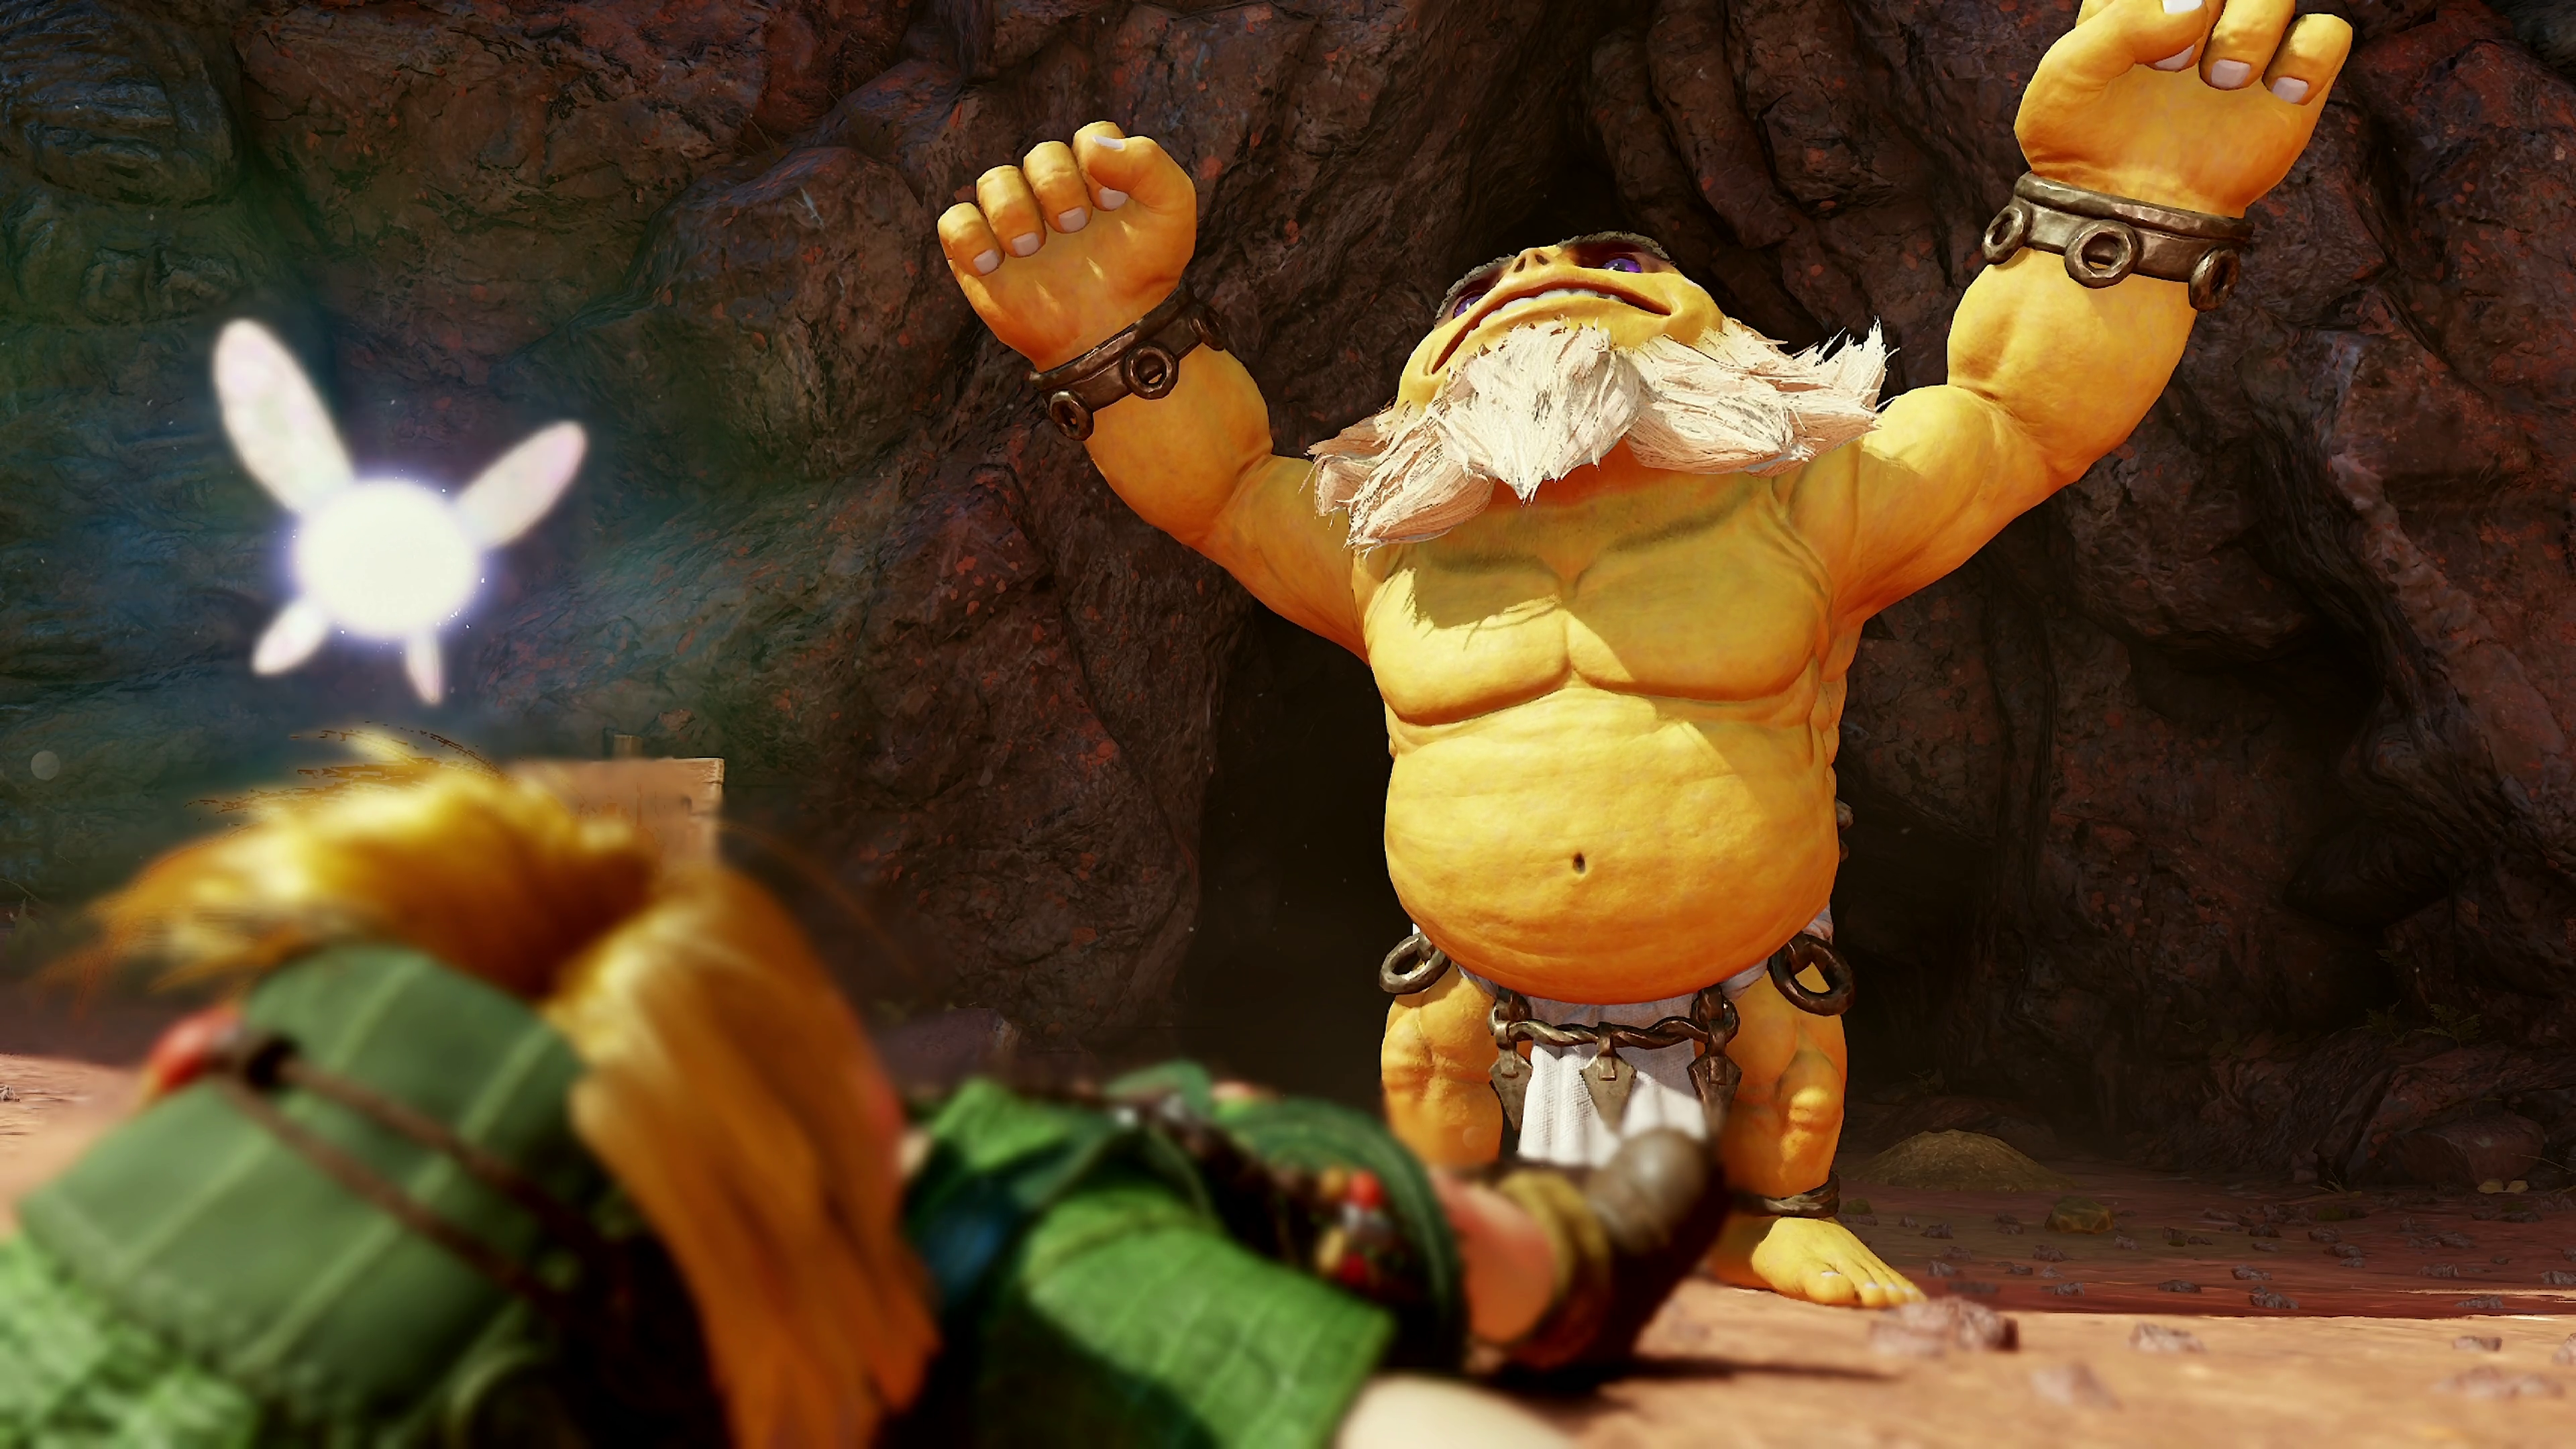
Return to Castle Town
- The Happy Mark Shop is now open, so you can check out the Keaton Mask. The way this quest works is that you have to ‘trade up’ by selling each mask in succession. We’ll tell you when it’s possible to finish the quest, but for now just nab the Keaton Mask to make things quicker and easier later.
- Hit up the Bombchu Bowling Alley, where the prizes include Heart Piece #9, Bombchus, and the Biggest Bomb Bag upgrade.
- At nighttime in Castle Town, the dog-loving woman has lost her dog, Richard. It’s one of the three white dogs around town. Bring it back to her to get Heart Piece #10.
- Head back to Hyrule Castle, and sneak past the main gate, but no further. Bomb the wall here to find a Great Fairy who’ll give you the Spin Attack at the cost of 50 Rupees.
Up Zora River, and Zora Domain
- Head up Zora River on the upper-east exit of Hyrule Field.
- The Magic Bean salesman is here. You’ll need to exhaust his stock to do everything in OOT, but for now buy as many as you can. You ideally need at least four before heading to the next major story event after the next dungeon. Buy as many as you can, and make a mental note to return whenever you can until his stock is cleared out.
- Drop a bug into the soft soil next to the bean seller to get Gold Skulltula #23. Buy as many as you can, and plant a Magic Bean in the soil next to him. This should be your routine for all soft soil going forward.
- Take a Cucco with you as you travel upstream. Around halfway up you can use it to flutter jump to some vines. Climb the vines and up here find a grotto with another Cucco. Use that Cucco to flutterjump to Heart Piece #11.
- Next up, use that same Cucco and continue up river. As you get to the end where the paths criss-cross a lot, you can turn back on yourself and flutter jump again back to Heart Piece #12.
- Down at the bottom in this area, on the back of the rocks is Gold Skulltula #24.
- Use Zelda's Lullby to get into Zora's Domain.
- In Zora’s Domain you can once again light all the torches around - this time with the help of Din’s Fire - to unlock Heart Piece #13.
- Partake in the diving minigame to King Zora’s left to unlock the Silver Scale.
- Dive in the waters of Zora's Domain to a cave-like entrance that warps you to Lake Hylia.
Lake Hylia, Zora Fountain, & Jabu Jabu’s Belly
- In the shallows of Lake Hylia (right near the warp, if you took the underwater warp from Zora Domain) is Bottle #4. It has a Letter inside, for story progression.
- The soil outside the Lakeside Laboratory (north side of Lake Hylia) yields Gold Skulltula #25; and plant a magic bean!
- Go fishing and catch a fish at least 55cm long to get Heart Piece #14 as a prize.
- Make up a song for the Scarecrows. Make this easy to remember, as you’ll need to play it again from memory later.
- Back at Zora's Domain, show King Zora the letter in the bottle.
- Once you reach Zora Fountain, roll into a tree to reveal Gold Skulltula #26.
- Blow up the large cracked rock to the rear of the Jabu-Jabu's are to reveal a Great Fairy Fountain that unlocks Farore’s Wind for 100 Rupees.
- Use a Small Fish in front of Jabu Jabu to enter the dungeon.
- You can catch Small Fish in Zora's Domain.
Items inside the Jabu Jabu’s Belly dungeon
- As always, this dungeon contains the key items of a Dungeon Map, Compass, and new item - this time, the Boomerang.
- Opposite the Dungeon Map chest are some vines that are home to Gold Skulltula #27; you can get to it when the water is raised.
- When the tentacles are defeated revealing a new hole down to the floor below, drop down and immediately look for Gold Skulltula #28, which your Boomerang will let you kill and collect.
- Right after this as you take the path away from here you’ll be able to take out Gold Skulltula #29 up on the ceiling.
- In the last room before the boss, Gold Skulltula #30 is up on the vines.
- After clearing the dungeon your reward is another Heart Container and the Zora’s Sapphire.
After the Belly, before the Temple
You can now do some more stuff with your new items before progressing the story. If you do head to Hyrule Castle Town and trigger a cutscene, that’s fine - we just recommend you don’t proceed to the Temple of Time until you’ve done all of this:
Zora Fountain
- After you exit Jabu-Jabu, ensure it’s nighttime and then look for Gold Skulltulla #31 on a wall in the Zora Fountain area. You can now use the Boomerang to get it.
- Visit the Great Fairy to get the new magic if you didn’t before the dungeon.
Lake Hylia
- Ensure it’s nighttime in Lake Hylia and find Gold Skulltula #32 on the side of the Lakeside Lab, from the bridge side.
- Swim to the far south-western end of Lake Hylia to find a tiny outcropping of land. Crawl through the gap here to get Gold Skulltula #33.
Lon Lon Ranch
- At nighttime, you’ll now be able to Boomerang Gold Skulltula #34 on the window of Lon Lon Ranch.
- Similarly, return to the ruined building in the south-west of Lon Lon Ranch and use the Boomerang to nab Gold Skulltula #35.
Kakariko Village & Graveyard
- Plant a Magic Bean in the north of the Graveyard, near the dead tree.
- Make it night, and look behind Dampe’s hut. Here there’s Gold Skulltula #36, who you can finally get with the boomerang.
- Return to the Skulltula House and get the Giant’s Wallet, which is a reward for passing another token milestone. In the Switch 2 Remake, it holds up to 1000 Rupees.
- Plant a Magic Bean in front of the entrance to Dodongo Cavern on Death Mountain Trail.
You'll be needing a lot of Rupees for Magic Beans and other purchases. I found a reliable way to earn some Rupees is from the Expert Target game in Hyrule Castle Town. After some practice, we were able to get 20 Rupee profit per attempt. You'll also get a good chunk of Rupees from completing the Happy Mask sidequest, outlined below.
Hyrule Field to the Lost Woods
- Head to the Lost Woods via Kokiri Forest. In Hyrule Field as you approach the Kokiri Forest area, there’s a lone tree at the end of a stream that cuts across the road from Kokiri to Hyrule Castle. Rolling into this tree dislodges a nocturnal Gold Skulltula #37.
- Use a bug to get Gold Skulltula #38 to spawn behind the Kokiri Forest shop. You can also plant a Magic Bean here.
- In the Lost Woods, you can bomb a large boulder in the nearest screen to the Sacred Forest Meadow to reveal an underground Grotto that contains a Business Scrub. Pay him 40 Rupees to get a Bigger Deku-nut Bag.
- From the Kokiri Entrance to the Lost Woods, head left to plant a Magic Bean in a spot you already got a Skulltula from earlier on.
- Deeper into the Lost Woods there’s a hidden area called the ‘Forest Stage’ (R, L, R, L, L from the Kokiri entrance). Here there’s a patch of soft soil begging for a bug to spawn Gold Skulltula #39, and plant a Magic Bean. There’s also a Grotto in the corner here, hidden amidst the long grass, that you’ll need later.
Gerudo Valley
- Visit Gerudo Valley to the west of Hyrule Field just to pick up a few items, including Gold Skulltula #40 next to the small plank bridge at night.
- Use the nearby Cucco to jump into the ravine to the left of the suspension bridge and fly south-west to a chest with Heart Piece #15.
- Flutter jump from that heart piece to the north. Down here there’s soft soil which spawns Gold Skulltula #41.
- Further north from here you can walk up to get behind the waterfall to a hidden nook with Heart Piece #16.
- Place a Magic Bean here if you can, but they are getting expensive by this point. We can always do it later.
Hyrule Castle Town & The Mask Quest
- When you head to Hyrule Castle town, you’ll be able to get the Ocarina of Time from the moat.
- Now is the ideal time to tidy up the Happy Mask Quest, which is detailed in full on our sister site - but here's the simple version:
- Keaton Mask sells to the Death Mountain Gate guard in Kakariko.
- Borrow the Skull Mask and head to the Lost Woods. Return to the Forest Stage. Go into the Grotto and wear the mask in front of the Deku Scrubs; your reward is the Biggest Deku-stick bag.
- Sell the Skull Mask to the solo Skull Kid.
- If you do this before getting the larger Deku bag above, you can re-borrow a second mask from the store.
- Spooky Mask sells to the kid who patrols the Graveyard in the daytime.
- The Bunny Hood sells to the man who runs around Hyrule Field in the daytime. He can be tough to find, but he does tend to pass Hyrule Castle Town’s exit early in the morning.
- This unlocks the Zora, Goron, and Gerudo masks, which trigger unique dialogue among their peoples when worn.
- Finally, you get the Mask of Truth, a key item used to read people’s thoughts and talk to gossip stones.
- Return to the Forest Stage and wear the Mask of Truth for the Deku Scrubs in the grotto to get the Biggest Deku-nut Bag.
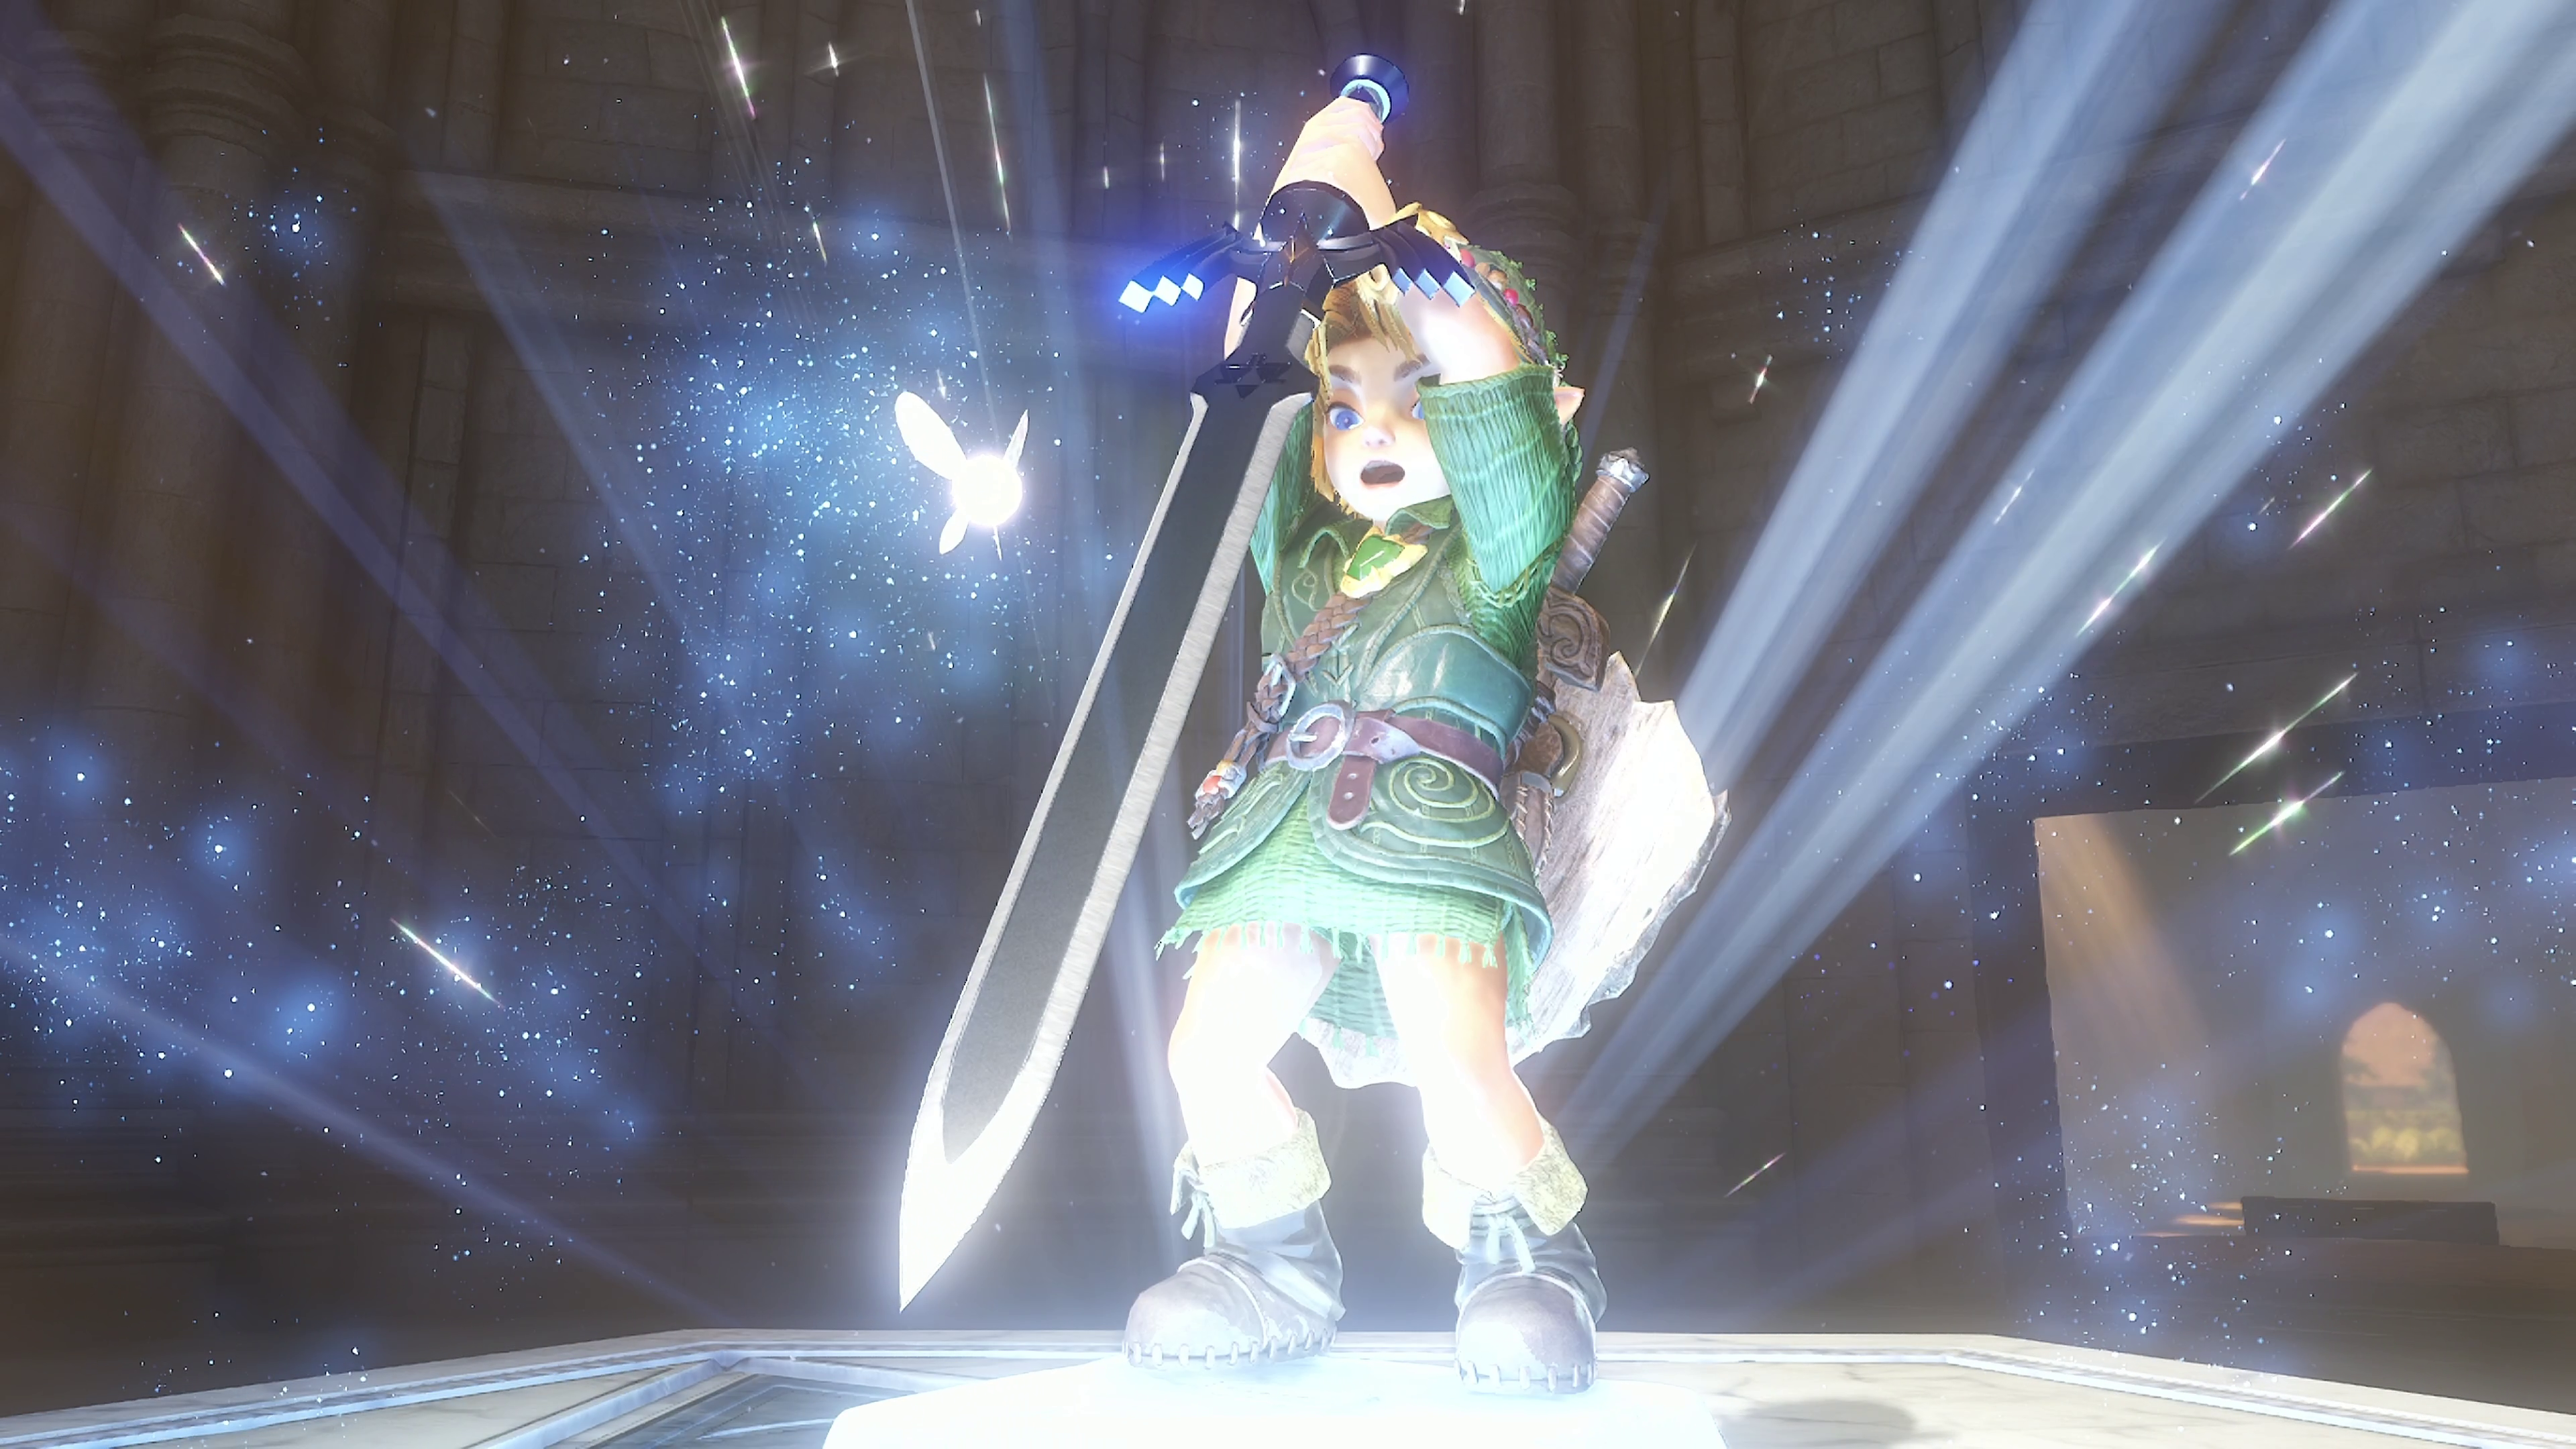
- When ready, enter the Temple of Time in Hyrule Castle Town and play the Song of Time at the altar.
- During all the scenes, you'll get the Master Sword and Light Medallion.
Pre-Forest Temple
- Once you have control again, leave Hyrule Castle Town.
- Go to Lon Lon Ranch, and pay 20 Rupees to ride a horse. Play Epona’s Song to get the horse you met as a kid to come over. Ride it, and then challenge Ingo to a race, which costs another 20 Rupees. After two wins, you can escape with Epona.
- In Kakariko, talk to the Cucco Lady, who’ll hand over the Pocket Egg. This shortly hatches into the Pocket Cucco. Use this to wake up Talon, who is sleeping in the house towards the middle of the village. Talk to Talon again and he'll return to the ranch.
- You can use Sun's Song to speed up the egg hatching.
- Return to the Cucco lady and she’ll give you Cojiro.
- In the Graveyard, ride the Magic Bean Plant that you planted as a kid to get Heart Piece #17.
- Pull open the grave near the Magic Bean and play against Dampe to win the Hookshot.
- You simply have to follow Dampe, not 'beat' him.
- After exiting Dampe’s mini-game area, grab Heart Piece #18 from where it drops you in the Windmill.
- Take out your Ocarina in front of the Windmill music box man to learn the Song of Storms.
- Tidbit: Use this song when you see a spinning fan-shaped leaf on the ground. It will open up a Grotto that could hold Rupees or items. These were invisible in the original version.
- Go play Dampe’s race again and be faster than a minute to get Heart Piece #19. It's a different route this time.
- You can now hookshot onto vines near the house furthest in the south. This lets you get behind the house, to where you got a heart piece as a kid. Behind here at night there’s now Gold Skulltula #42.
- If you haven't already, you can get the 40-token reward from the Skulltula house, although it is just Bombchus.
- Go to Lake Hylia and re-play your creation for the scarecrows to officially learn the Scarecrow’s Song.
- Ride the magic bean plant at the Lakeside Lab to find Heart Piece #20 on its roof.
- If you want, you can also complete additional obstacle course races at Lon Lon Ranch to unlock a Lon Lon Cow at Link’s house in Kokiri Forest, a permanent source of free healing potions.
Back in the Forest
- In Kokiri Forest, Gold Skulltula #43 can be found behind the house in the south-east at night.
- Enter the Lost Woods and head towards the Sacred Grove. You'll run into Mido along the way. Play Saria's Song for him.
- After passing Mido, go left on the next screen to reach the area with the Forest Stage. Hop on the magic bean plant to be levitated up to Gold Skulltula #44.
- Around halfway through the maze in the Sacred Forest medal you’ll find Gold Skulltula #45. It's on the NE wall.
- You can climb up a ladder at the far center north to get on top of the walls.
- At the Meadow itself you’ll learn the Minuet of Forest.
Items inside the Forest Temple dungeon
- As usual, this dungeon contains a Compass, Dungeon Map, and a special item. This time that’s the Fairy Bow. From here on in, dungeons also contain Small Keys and a single Boss Key.
- In the very first room Gold Skulltula #46 is available up the vines.
- In the central chamber, head to the door in the north. Don’t go through, but turn around and look to the left - there’s Gold Skulltula #47.
- Gold Skulltula #48 can be found after you drop through a hole after the boss key, then walk through a door onto a balcony. Follow the ledge here south to find the spider and token on a far wall.
- At a point, you’ll be able to push a block down to create a shortcut back to the main chamber. When you do this, turn around and look up to see an inaccessible ledge. Play the Scarecrow’s Song and hookshot to the scarecrow to get Gold Skulltula #49.
- When you reach the room where you have to rotate the entire room around to access different areas, one of the areas revealed during the rotation has Gold Skulltula #50.
- After defeating the boss, you’ll get another Heart Container and the Forest Medallion.
Big Poes & Back to Death Mountain
- With a bow and Epona, you can now hunt Big Poes in Hyrule Field:
- After defeating Big Poes with your bow, you can catch them in a bottle and take them to the Poe shop in Hyrule Castle Town to sell.
- In the original game the Big Poe hunt required maps and the like - but in the OOT Remake on Switch 2, Poe spawn points are clearly marked by purple glowing lanterns and an ominous purple hue around Epona jumps. Run Epona at these and jump over them to make the Big Poes spawn.
- These are scattered across Hyrule Field and are tough to miss. Once a Big Poe is caught, the purple light gets extinguished.
- As you turn these in, the Poe shop will reward you with Bottle #5 for five Big Poes and 200 Rupees for all ten.
- Returning to the Temple of Time earns you the Prelude of Light. You can now also revert to Child Link, useful for if you forgot to plant any Magic Beans or the like.
- In Kakariko Village, play the target shooting game to unlock the Bigger Quiver upgrade to hold more arrows.
- Outside Dodongo Cavern, ride the Magic Bean plant to get to Heart Piece #21.
- Enter Dodongo Cavern. The corridor-like room on the lower-eastern exit from the main chamber has a spot to play the Scarecrow’s Song to get Gold Skulltula #51. It’s where Baby Dodongo spawn.
Goron City & the Fire Temple
- This is technically optional, but Medigoron, the giant Goron in Goron City, will sell you the Giant’s Knife if you want. This sword is easily breakable, and will later be replaced.
- On the top floor of Goron City, there’s Gold Skulltula #52 on the back of the central rock formation all the bridges connect to.
- After you use a bomb to stop the Goron Child from rolling around, you get the Goron Tunic. When you first enter Death Mountain Crater from the Goron City entrance, you get the Bolero of Fire.
- Head behind the statue where Darunia was in the past, and make your way to the Fire Temple.
Items inside the Fire Temple dungeon
- Once again this dungeon has a Dungeon Map, Compass, many Small Keys, a Boss Key, and a new item - the Megaton Hammer.
- In the large room on 1F with the sinking/moving lava platforms, the top partof the room has a platform that rises rather than sinks. Ride it up and use the Song of Time to gain access to Gold Skulltula #53.
- In the room with the rolling rocks, there’s a bombable wall hiding Gold Skulltula #54.
- You’ll eventually reach the upper level of the ball maze area. When you first reach here, turn to the south-west (but on the north side of the room) and play the Scarecrow’s Song to hookshot up and ride an elevator up to a hidden room with Gold Skulltula #55, up some wall grates.
- Continue on from here, hookshotting fast to then get Gold Skulltula #56.
- Once you get the Megaton Hammer and can smash the doorway on the right of the temple’s first room, you can smash some more rocks to get Gold Skulltula #57 on the way to the Boss Key.
- After beating the dungeon you’ll get another Heart Container and the Fire Medallion.
From Fire to Ice
- Smash some rocks on the SW side of Death Mountain Crater to reveal a Great Fairy Fountain that gives you the gift of Double Magic. It costs 200 Rupees.
- There is also a grotto under some rock to the west where you can fight two Dinolfos for 50 Rupees.
- Clamber down where there’s climbable grates on the SE side of the crater to get Heart Piece #22.
- On the path up to Death Mountain Crater where the volcano rained rocks on you as a kid there’s a Megaton smashable rock that hides Gold Skulltula #58.
- There’s another one of these rocks near the entrance to Goron City that conceals Gold Skulltula #59.
- Teleport to Death Mountain Crater as a child, using the Bolero of Fire, to drop a bug and Plant a Bean in soft soil, which will reveal Gold Skulltula #60.
- You should now have enough tokens to pick up Heart Piece #23 from the House of Skulltula in Kakariko.
- Warp again to Death Mountain Crater as an adult to ride the newly-planted Magic Bean plant to Heart Piece #24.
- Travel up Zora’s River using the Magic Bean plant. Around the area with the Gossip Stone and the Grottos you visited as a child at night is Gold Skulltula #61.
- As you reach the top of the river look high, where Gold Skulltula #62 awaits high on the west wall. It is hookshot-able while standing on the high ledge.
- Go to where the diving minigame was in Zora Domain to find Gold Skulltula #63 on to the left when facing away from the top of the frozen waterfall.
- In Zora Fountain, where Jabu Jabu used to be, hop over the ice blocks to get Heart Piece #25.
- Enter the Ice Cavern to the north.
Items in the Ice Cavern mini dungeon
- This is a mini dungeon, and only contains a Dungeon Map, Compass, and a new item, the Iron Boots.
- When you reach the first room with a big spinning blade, Gold Skulltula #64 is up high on the SW wall.
- In the same room where you get the Compass, Gold Skulltula #65 is up and to the north-west from the chest.
- There used to also be a heart piece in this area on the N64/3DS versions - it has been moved in the OOT Remake. This has effectively been moved to what we call Piece 36.
- Towards the entrance of the ice block sliding puzzle room, there’s Gold Skulltula #66.
- At the end of the dungeon, you’ll learn the Serenade of Water.
- Make sure you leave the Ice Cavern with a Blue Fire to free King Zora.
Waterworld
- When you leave the Ice Cavern, use the iron boots to sink to the bottom of Zora Fountain, where Heart Piece #26 resides. You have enough health to do this without underwater breathing.
- However, the next time you speak to King Zora he’ll give you the Zora Tunic, which unlocks underwater breathing.
- Play the Serenade of Water to warp to Lake Hylia, sink to the bottom, and use your Hookshot to enter the Water Temple.
Items in the Water Temple dungeon
- This dungeon was famously confusing on N64, but this version is lit and signposted to make it much moire friendly. As ever, there’s a Dungeon Map, Compass, Small Keys, a Boss Key, and a new item - the Longshot.
- When the water level is at the green level, you’ll be able to use the iron boots inside the central lift shaft-style chamber. The water level means a block is floating, uncovering a path down to B1F, ultimately leading to a room containing Gold Skulltula Token #67.
- After getting the Longshot, you'll end up in a corridor with lots of whirlpools. As you progress, partway up, above the water, is Gold Skulltula #68.
- When you return to the central column with the Longshot, you can now use it to get to the top of the column, where Gold Skulltula #69 is hiding.
- After you get the boss key, leave back to the hallway which has boulders rolling past. Gold Skulltula #70 is hiding out where the water is cascading down.
- With the water at level 2 (green), before going to the boss room, head to the blue lit room that earlier on led to your first water level change. With the water at level 2, when you surface there’s a bombable wall. Smash it to find Gold Skulltula #71.
- If you need extra help getting here, sink to the bottom of the main room and enter the eastern room when the water level is at level 2.
- After defeating the boss there’s another Heart Container and the Water Medallion.
After the Flood
- As soon as you get control back after the Water Temple ending cutscenes, look up at the tree near you. Longshot up to the vines to find Gold Skulltula #72.
- In this same area, shoot the sun with an arrow as it rises (you can use The Sun’s Song if need be) to receive the Fire Arrows.
- Complete the adult-era fishing minigame by catching a fish at least 65cm long to unlock the Golden Scale.
- In the Lakeside Lab, sink to the bottom of the water tank and roll into the grate. This spawns Gold Skulltula #73, which you can defeat with a hookshot blast.
- Take the iron boots off, rise to the surface, and now use the Golden Scale’s power to dive and touch the bottom of the tank without the boots. Your reward is Heart Piece #27.
- When you return to Kakariko Village, you’ll learn the Nocturne of Shadow.
The Adult Trading Quest
- Now’s the ideal time to do Adult Link’s item swap bonanza. Luckily, if you’ve followed this guide you’ve already started, and should have Cojiro from the Cucco lady in Kakariko.
- Take Cojiro to the Master Craftman’s Son in the Lost Woods (left of the entrance). He gives you the Odd Mushroom.
- You have four minutes to get the Odd Mushroom to Granny’s Potion Shop in Kakariko Village. Ocarina Warps aren’t allowed. You simply head back through Hyrule Field with Epona, or go deeper into the Lost Woods and use the underwater shortcut to the river, then ride the river down to Kakariko. You should be able to get there with plenty of time to spare. If you fail, go back to get another Odd Mushroom.
- Note you have to go to the back entrance of the Potion Shop. From the Windmill entrance, Longshot the ladder to the left when facing the Windmill door.
- Granny will give you the Odd Poultice.
- Return to the Lost Woods, to the same spot, and hand it over to get the Poacher’s Saw.
- Take the saw to Gerudo Valley and give it to the boss of the builders to get the Broken Goron Sword.
- We'll get the collectables here in Gerudo Valley later on.
- Take the Broken Goron Sword to the peak of Death Mountain to meet Biggoron; he gives you the Prescription.
- Take the Prescription to King Zora; he gives you the Eyeball Frog.
- You have two minutes thirty seconds to get it to the Lakeside Laboratory Scientist in Lake Hylia. Quickest way is to dive through the shortcut in the water at Zora Domain. This shortcut wasn't available in the original version of the game!
- The scientist gives you the Eye Drops.
- You have three minutes thirty seconds to get these to Biggoron. Use Epona, and book it across Hyrule Field and up Death Mountain.
- Swap the Eye Drops for the Biggoron Receipt.
- Wait three days and then trade the receipt for Biggoron Sword, which replaces the Giant’s Knife, if you bothered to get the knife at all.
- You can use Sun's Song to quickly pass the days by playing it six or seven times.
Childish Interlude
- You need to be a kid again for the next phase of the story. When you first return to childhood, sneak back into Hyrule Castle Grounds. To the right of the vine that leads you up to the castle proper there’s a tree that when rolled into at night drops Gold Skulltula #74.
- Back up where you found Talon asleep when going to meet Zelda, there’s a tree in the corner facing towards castle town. The Song of Storms opens a grotto here; inside you’ll find Gold Skulltula #75.
- Halfway up Zora River are a group of friendly frogs. Take out your Ocarina and play them The Song of Storms to get Heart Piece #28.
- Play the frogs other songs (not the warp ones that Shiek taught you, and not Scarecrow's Song) until all five grow in size. Then play their mimic minigame successfully to get Heart Piece #29.
- In Kakariko Village, play the Song of Storms inside the windmill to drain the well outside. Then enter the well.
Items in the Bottom of the Well mini dungeon
- This mini dungeon contains a Dungeon Map, Compass, and a handful of Small Keys. Your objective down here is to leave with a new item, the Lenses of Truth (yes, they’re plural in the OOT Remake!)
- Once you have the Lenses, you can see the safe path through the NE room with the Beamos and get to the door, behind which is Gold Skulltula #76.
- The western locked room in the central chamber holds Gold Skulltula #77.
- The eastern locked room in the central chamber holds Gold Skulltula #78.
Lenses Light the Way
- Before you turn back into an adult, first stop by the Treasure Chest mini game in Hyrule Castle Town (only open at night). Use the Lenses of Truth to cheat the game and win Heart Piece #30.
- Now, turn back into an adult and play the Nocturne of Shadow to enter the Shadow Temple.
Items in the Shadow Temple dungeon
- As you’d expect, this dungeon contains a Dungeon Map, Compass, Small Keys, a Boss Key, and a new item in the form of the Hover Boots.
- When you reach the room with the invisible spinning scythe, defeat the Like Like in the corner. This unlocks a door. In this room there’s two chests (one of which is invisible) and Gold Skulltula #79.
- When you reach a room with falling spikes, you’ll use a block to protect yourself from them. Push the block to the end, climb it, and clamber around the room to get on top of the spikes. Up here, to the left, is Gold Skulltula #80.
- You’ll eventually get to rooms with fans. When you use the hookshot to get over a gap without being blown away by a fan, turn around to find Gold Skulltula #81.
- When you take the elevator down to the area with the boat, you can pull a block aside to make a shortcut to an earlier bit of the dungeon. Above the block, play the Scarecrow’s Song and hookshot up to the scarecrow to find Gold Skulltula #82.
- This is just before taking the boat with Zelda's Lullaby.
- As you explore, you’ll find a room with three skull-shaped pots. Throw bombs in all three to get to Gold Skulltula #83.
- At the end of the dungeon, you’ll obtain yet another Heart Container and the Shadow Medallion.
To the land of the Gerudo
- When you arrive at Gerudo Valley, make sure it’s nighttime and then look for Gold Skulltula #84 on the rocky formations near the tents.
- Then check behind the tents to discover Gold Skulltula #85.
- You can either do this while rescuing the carpenters or do it after, when you have free roam of the Gerudo Fortress, but there’s a Gold Skulltula #86 is on a wall to the east of the area.
- Make your way to the top of the Fortress (an easy way to do this is by climbing the ladder near the prison cell and looking out over the entire fortress from above) to find a chest you can hookshot to. It contains Heart Piece #31.
- Visit the Horseback Archery mini game and score 1000 points for Heart Piece #32.
- Then play to get 1400 points to get the Biggest Quiver arrow storage upgrade.
- While at the Horseback Archery range, look on the back of the north-eastern target at night to find Gold Skulltula #87.
Mirage, Colossus, and Spirit
- When you pass through the Mirage Desert you’ll hit a small building. In the basement of it is Gold Skulltula #88.
- When you reach the Evil Desert Colossus, bomb or smash the rocks in a nearby wall on the NE side to find a Great Fairy who can give you Nayru’s Love, the final magic spell. It cost 300 Rupees.
- To the right of the temple entrance is an area with lots of birds flying overhead. At night, Gold Skulltula #89 is here.
- Learn the Requiem of Spirit by trying to enter the Spirit Temple. Now you can warp here without going through the desert.
- Before entering the temple as an adult, return here as a child using the song, and drop a bug into the soft soil near the entrance to get Gold Skulltula #90. Also plant a Magic Bean.
Items inside the Spirit Temple dungeon
- As always, this dungeon contains a Dungeon Map, Compass, Small Keys, a Boss Key, and two new items - the Silver Gauntlets and the Mirror Shield.
- When you open the gate by collecting the five crystals/silver Rupees, find Gold Skulltula #91.
- After getting the Dungeon Map, look to the far right of the statue from the chest to discover Gold Skulltula #92 waiting for you in the corner.
- After you solve a puzzle which involves sliding blocks and a beam of sunlight, pause as you enter the next room: look behind you, above the door - there’s Gold Skulltula #93.
- When you return as Adult Link after retrieving the Silver Gauntlets, ride the Magic Bean plant that has now sprouted outside the dungeon. This plant takes you to Gold Skulltula #94 atop a rock formation at night.
- Ride the plant again, further this time to Heart Piece #33.
- When in the room where you’re collecting crystals/Silver Rupees while avoiding rolling rocks, there’s alcoves only accessed by moving a blue block with The Song of Time. One of these alcoves hides Gold Skulltula #95.
- When you get back to the room with the giant statue, move from the hand holding the chest you got to spawn and past it, to the nearest ledge. Play the Scarecrow’s Song here and hookshot up to the scarecrow to get Gold Skulltula #96.
- After the cutscene, you’ll get your final Heart Container and the Spirit Medallion.
Hylian Wrap-Up
- Whenever you return to the Temple of Time, you’ll get the Light Arrow.
- After getting the Light Arrows, head towards what was Hyrule Castle. Don’t enter Ganondorf’s castle yet, but on the back of a collapsed arc-like building you can find Gold Skulltula #97.
- With all Dungeon Items, you can now complete the Gerudo Proving Grounds mini-dungeon, accessed from Gerudo Fortress, to get the Ice Arrow. There are no other collectibles in this area.
- In the Gerudo zone of Hyrule Field, there’s a chest tucked away in a shadowed area under an outcropping of rock. You need to visit this chest as an adult to find it empty, then read the Fairy Note next to it. Return to the chest as a child and open it to get Heart Piece #34.
- Note that you cannot open this chest as a child until you have read the note and discovered the chest empty as an adult.
- There’s an area in the southeast of Hyrule Field with Marshland. Find a hidden grotto here and smash the crate inside to flush Gold Skulltula #98 out of hiding. This may require you to visit this grotto twice - once as a child to defeat the (regular) Skulltula on the wall, then as an adult.
- In the southwest of Hyrule Field there’s some woods that divide Lake Hylia from the Gerudo area, running along the back of Lon Lon Ranch. Find a bombable crack here to find a grotto with Gold Skulltula #99.
- Return to Zora Fountain. You can now use your Silver Gauntlets to lift a huge rock next to the Fairy Fountain Entrance. Through a cave with invisible enemies you can at the top find Gold Skulltula #100 at night.
- You can now return to Kakariko for your reward for getting all 100 Gold Skulltula, but it’s underwhelming at this point in the game - unlimited money, 200 Rupees at a time.
- In between Kakariko and Hyrule Castle there’s a small grotto on a small strip of land to the right of the castle entrance. There’s one tree there. Visit it as an adult and read the Fairy Note on the nearby tree to learn the password for the Business Scrub shop that’s found in a nearby grotto. However, the shop is sold out. Return here as a child and use the password in the shop to buy Heart Piece #35 for 100 Rupees.
- Finally, still as a kid, head to Death Mountain. Climb to the peak and head inside. You now have lots of health and can explore the crater for a long time without burning up. Head left on entrance, down and around until you find a Deku Business Scrub. He’ll sell you Heart Piece #36 for 100 Rupees. You now have maximum hearts.
- There are a few final things you can do without major rewards:
- You can challenge the Running Man in Gerudo Valley to a race. There are cash rewards, but he will always beat you by a fraction of a second.
- Sleep in any bed to visit the Hall of Fallen Foes. Here you can undertake boss rush challenges; beating them adds trophies to Link’s Bedroom in Kokiri Forest.
The Final End
- All that’s left now is Ganondorf’s Castle. This mini dungeon requires no major guide. Eventually you will get the Golden Gauntlets. At this point, leave the castle.
- Right outside Ganondorf’s Castle there’s a block that can only be lifted with the Golden Gauntlets. Behind it is the final Great Fairy Fountain, which gives you the Gift of Halved Damage, which halves all damage taken. It costs 500 Rupees.
- This is the final upgrade. That’s 100%. Go get Ganondorf.