
SaGa Frontier Remastered: Exploration and Side Quest Guide
Although SaGa Frontier at first glance seems rather complicated and without much instruction, the core basis of the game is to roam around the world to find locations to explore. This page here will cover some of the key locations and will provide a general outline for players.
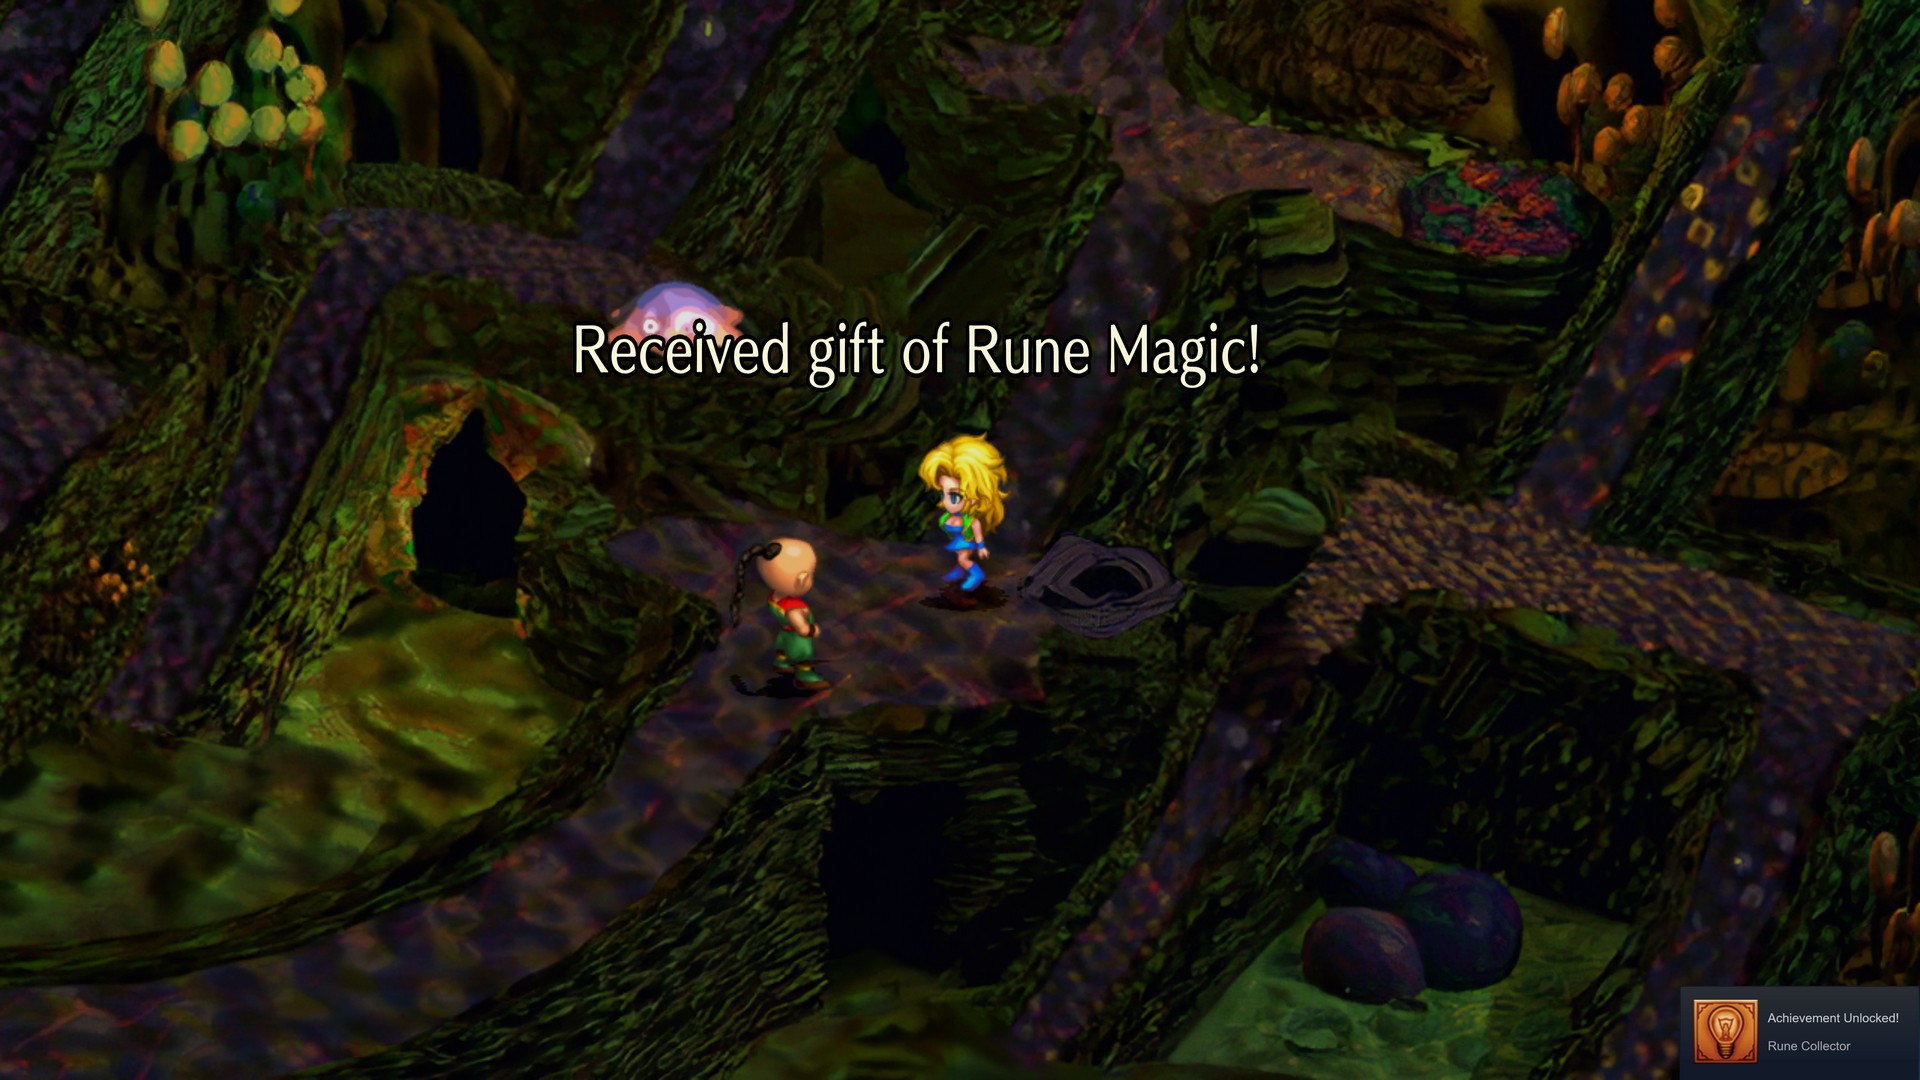
Rune Quest
The Rune Side Quest is found by interacting with Rune Magic Shopkeeper in the region of Devin. Inside the southwest tent, you can ask for information about obtaining the Gift. The quest giver will list the locations of where to find the Rune Stones. If you're playing as Blue, it is mandatory to complete the Rune or Arcane Side Quest to complete the story.
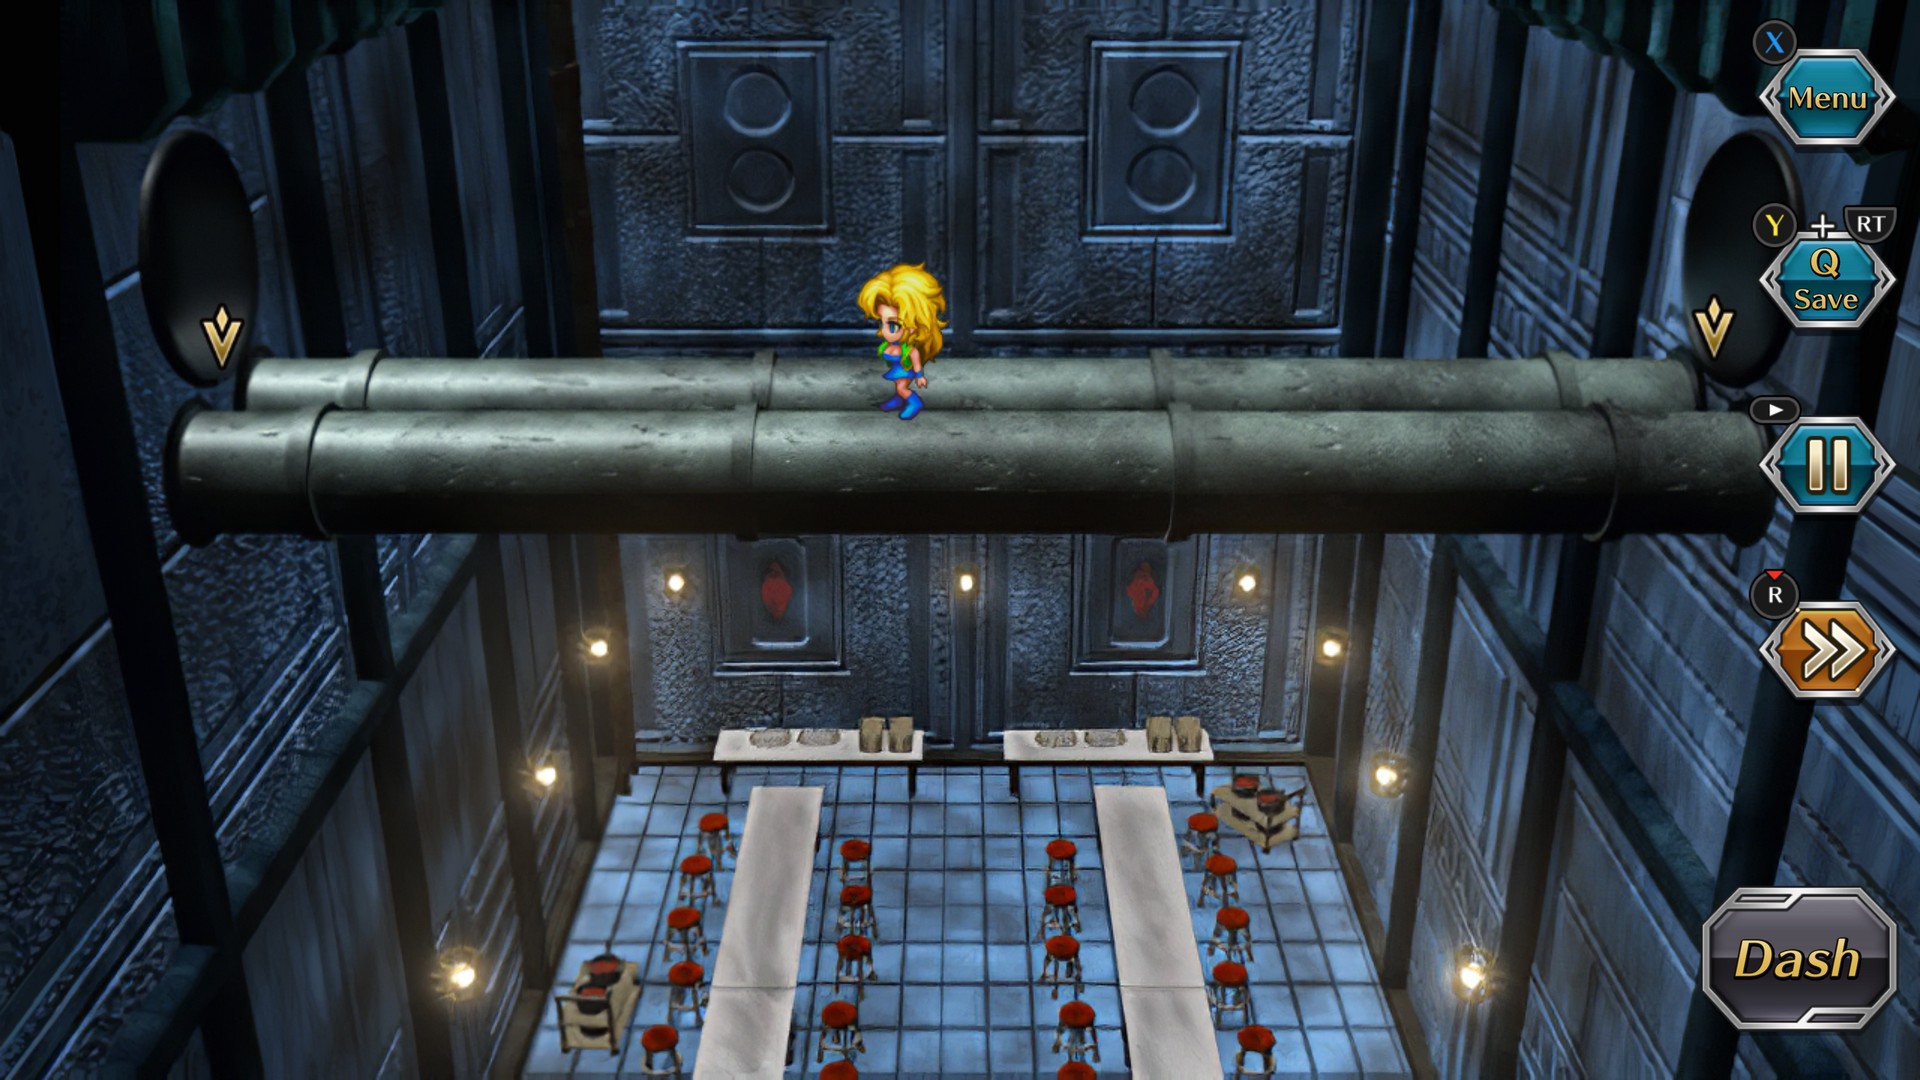
Hide Rune (Koorong Sewers)
- Difficulty: ★★☆☆☆
- Treasures:
- Sewer Side - 200 Credits, 300 Credits, 500 Credits
- Magi Water, Stardust Robe, Sanctuary Stone, Angel Armor
The Hide Ruin can be found in the Koorong Sewers. If you're playing as Blue or Red, you can recruit Liza (Bar in Koorong) to give directions to the Rune. As you reach near the end of the sewers, you will find a blue cavern. Explore that area and reach the end to encounter a boss. This boss is protected by a lot of bugs but it's also not all that strong and a good starting point for any Rune Quest.
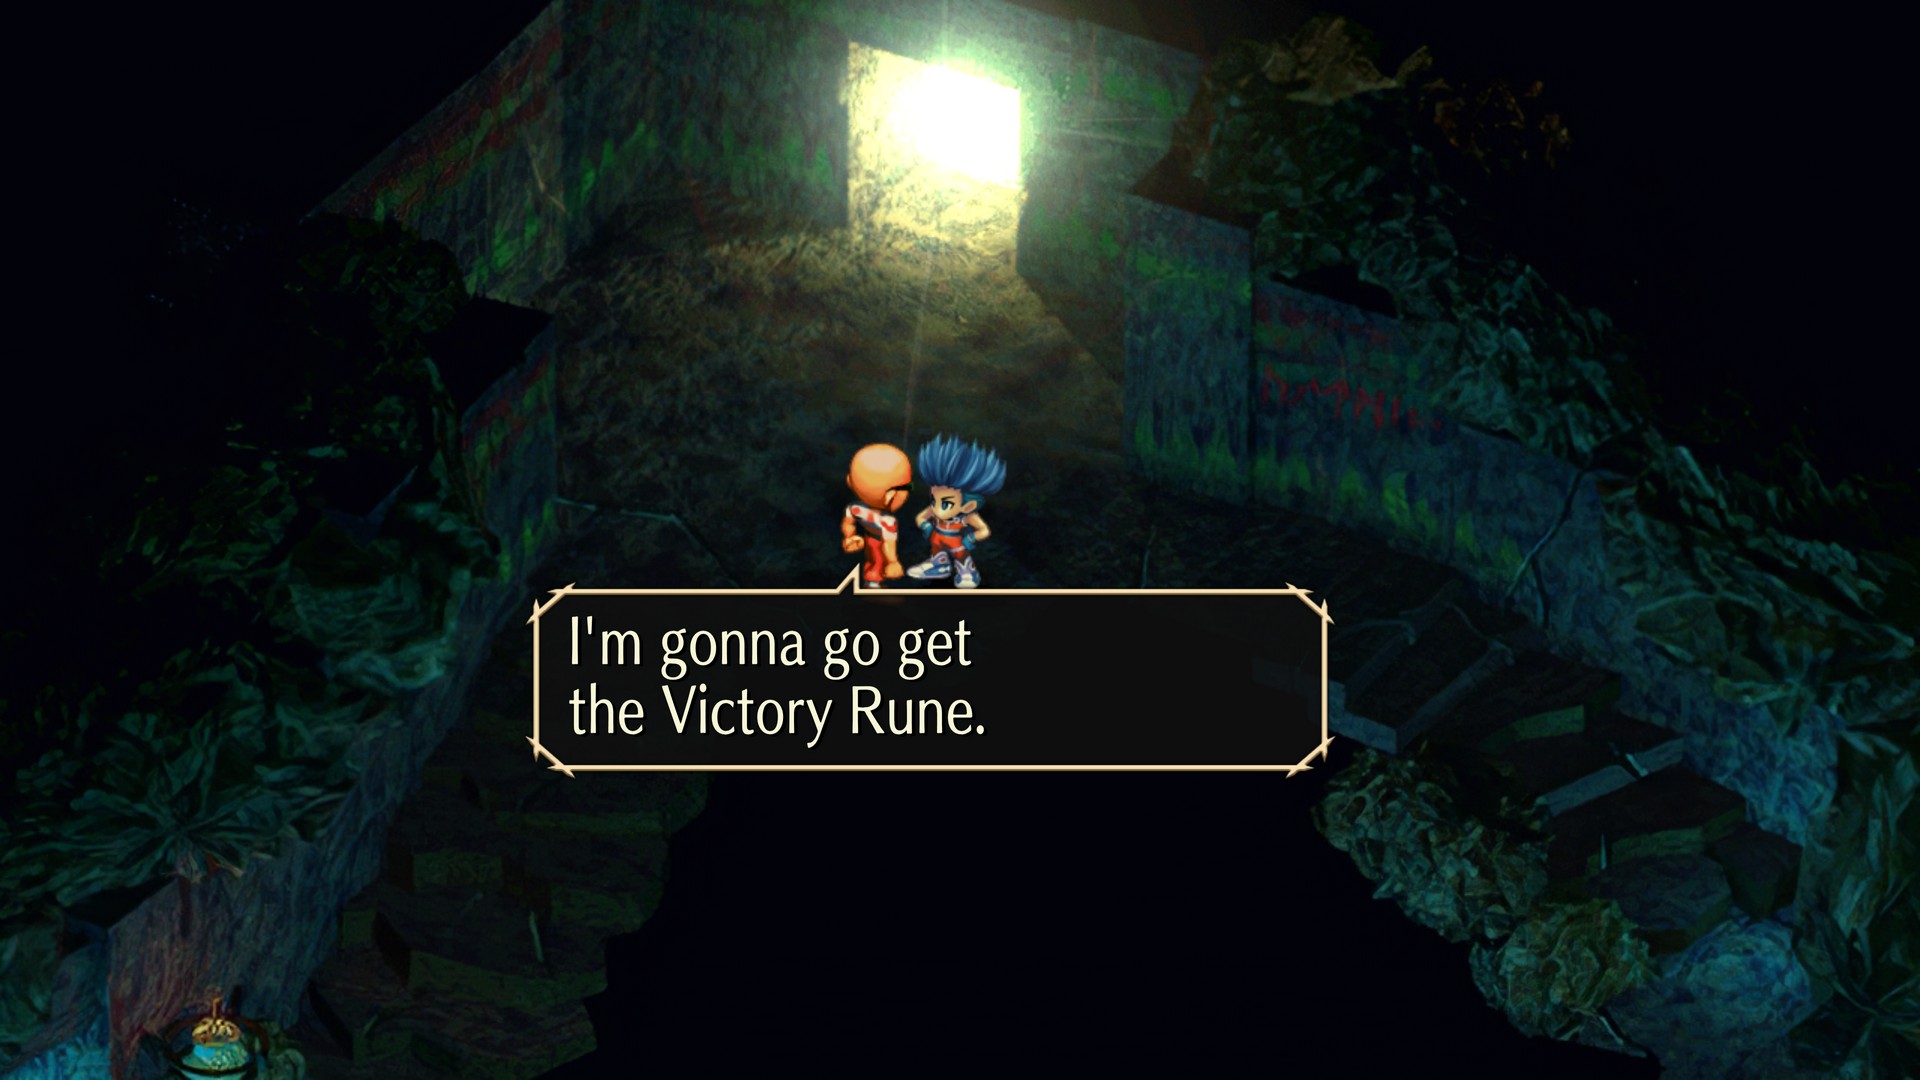
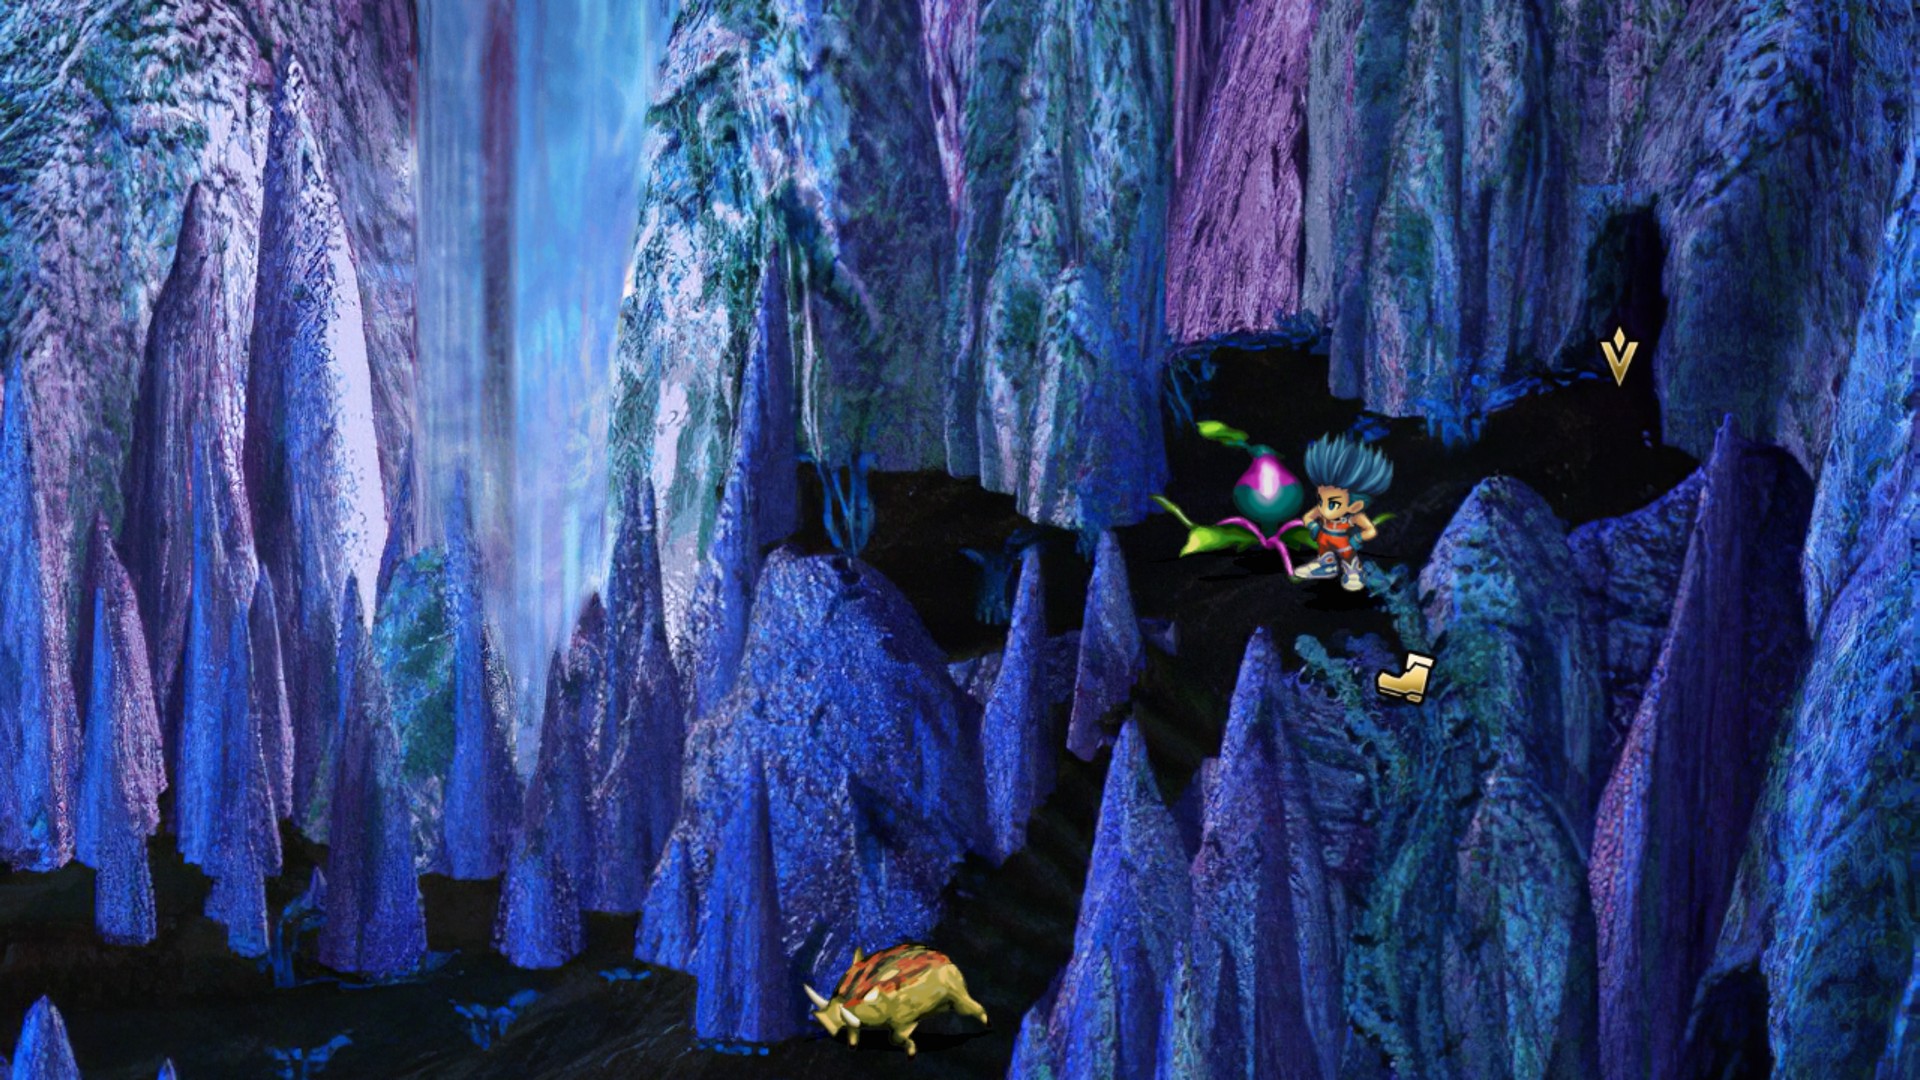
Victory Rune (Mu's Tomb)
-
Difficulty: ★★☆☆☆
- Treasures: Mimic x2 (Drops Random Items), Blood Chalice, Katana, Shadow Dagger
Mu's Tomb is a good beginner's dungeon found on the southwest side of Shrike. This dungeon does have a few things that might cause a few grievances for new players. In the starting area, to the west side, you can fight Mimics, these mimics are unaffected by your battle rank and are extremely strong. The mimics also drop a random item when you defeat them, so it doesn't really make that engaging when winning against them.
The end boss of the dungeon also has health regeneration so if your characters don't have proper skills or high enough stats, you might struggle against the boss found at the end of this tomb. Overall, this is one of the recommended side quests to start.
Vitality Rune (Tanzer)
- Difficulty: ★★☆☆☆
- Treasures: Missle Pod (Nomad's Lair)
Traveling to Tanzer requires completing at least one other part of the Rune Quest. When you have accomplished this task, attempt to use a port and travel to another region, this will lead to an event scene with a different ship. This event scene will bring you to Tanzer.
Take the southwest exit to reach the camp area of Tanzer. You will need to find out Fei-On and request his help, or else it's impossible to leave the dungeon. When Fei-On accepts your request, you will find him on the north side and will give directions to escape Tanzer. If you did not ask for Fei-On's help, you will end up in Nomad's camp instead of the exit. Anyways, when you reach the end you will need to defeat a slime boss. This battle has a gimmick that requires someone to touch the rune, and the slimes will respawn in every turn.
Freedom Rune (Despair)
- Difficulty: ★★☆☆☆
- Treasures: Light Bazooka, Shell Shield, Agni CP1
To obtain the Freedom Rune, you will need to talk to Annie in Koorong. Annie will only bring you to Despair if you have obtained some Runes before. If you're playing as Emilia, this side quest is part of the prologue so the Rune is already in your inventory when Emilia gets to explore. Within Despair is a short dungeon, there is a trap room near the end, where you will encounter a really dangerous mech enemy if you trigger the laser trap. To see the laser trap you will need someone with the Laser Scope equipment equipped.
Arcane Quest
Similar to the Rune Quest, to start this questline, you have to obtain information from the Arcane Shopkeeper in Devin. Ask about how to acquire the Gift of Arcane Magic and the shopkeeper will list the locations of where the Arcane cards are found. As mentioned earlier, you must complete either the Arcane or Rune questline to complete Blue's main story.
Gold Card (Baccarat)
- Difficulty: ★☆☆☆☆
- Treasures: None
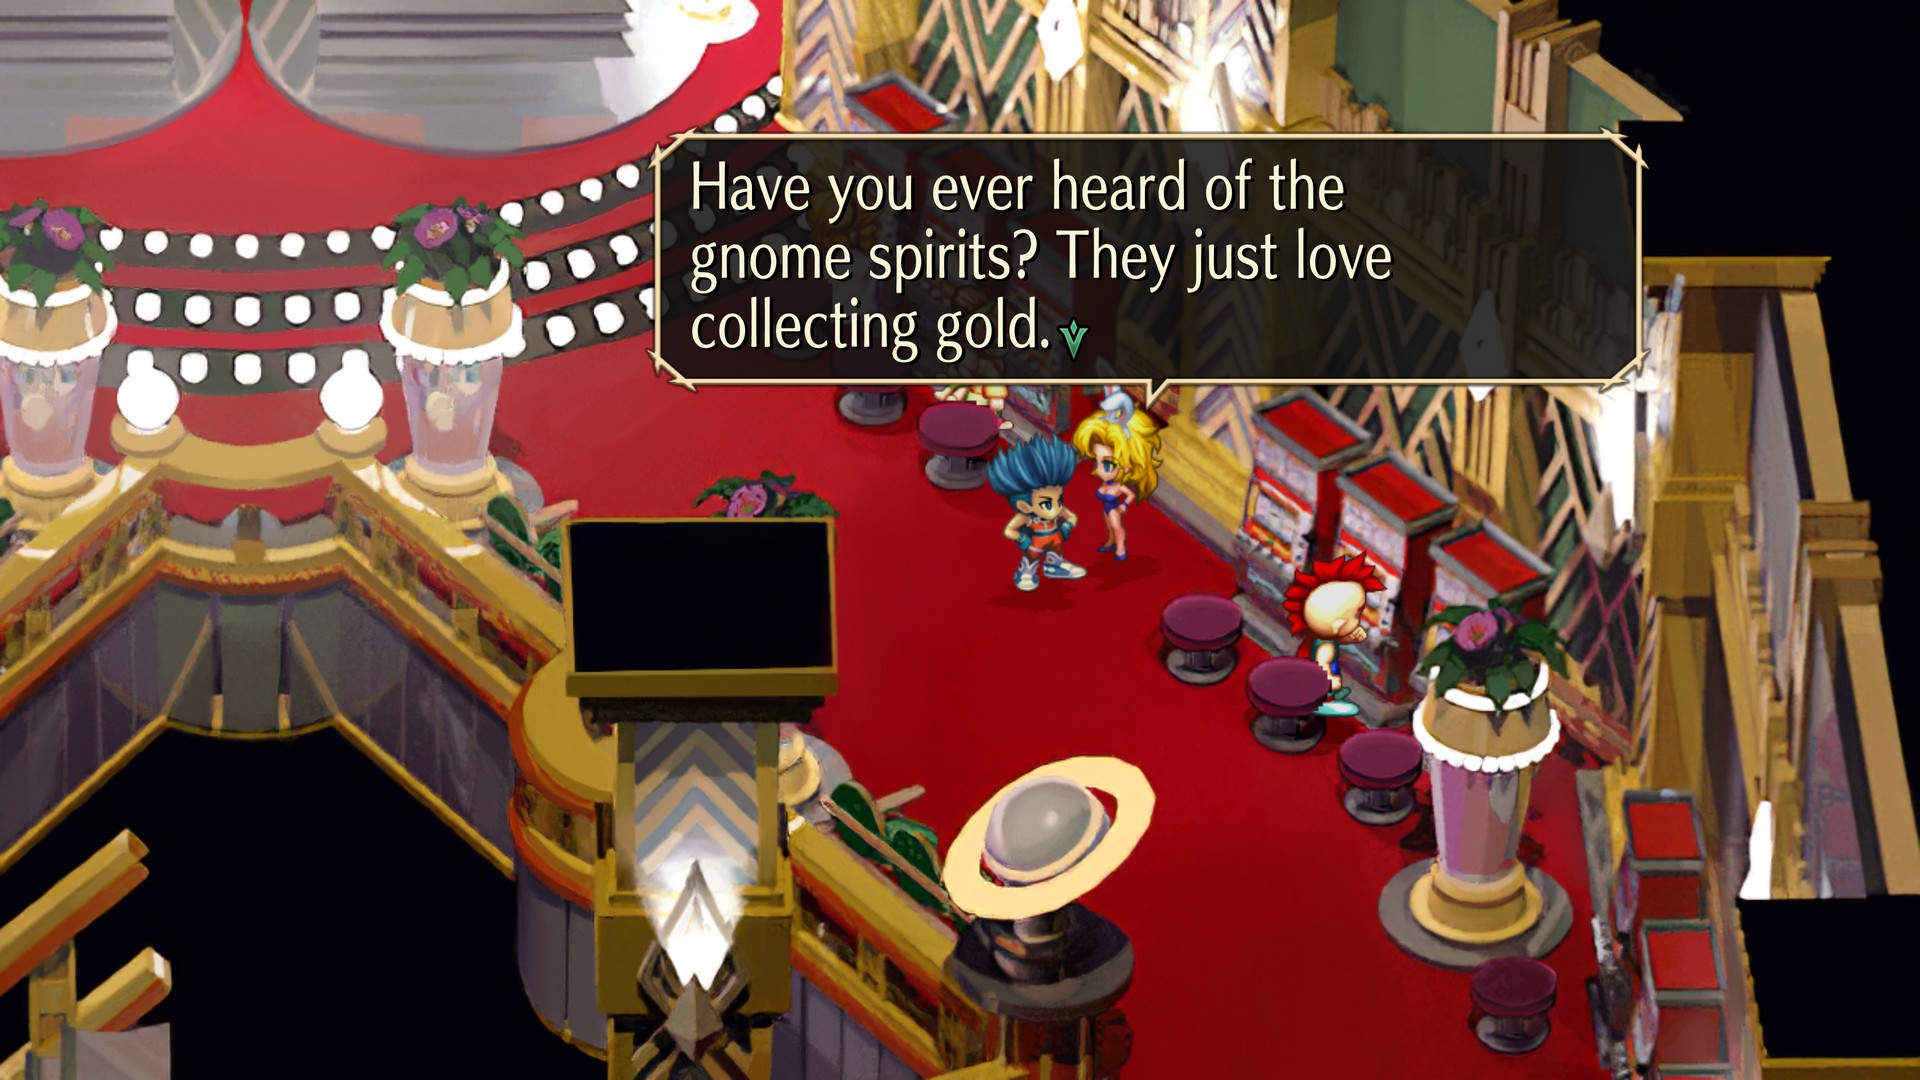
Obtaining the Gold Card requires some Gold Ingots in your inventory, at least 4. This can be exchanged at a shop in Koorong near the port entrance, or in Nelson. When you have Gold Ingots in your inventory, travel to Baccarat. head to the upper floor and talk to Emilia in a bunny outfit. This will trigger an event scene with the Gnomes. Follow the Gnome all the way upstairs, they will take the elevator before you can.
After this event, use the elevator and go to the parking lot. Examine the manhole, and Emilia will join your party,.When you find the Gnome in the cavern, they will give you the Gold Card in exchange for your Ingots.
Grail Card (Yorkland)
- Difficulty: ★★★★☆
- Treasures: None
The Grail Card is found in the town of Yorkland. To get the card, you will need to head to the cellar area and ask the locals about the card location. Local in each cellar will force you to drink their famous alcohol. Eventually when you have spoken to everyone at the cellar, the last local will tell you the card location is in the swamp. By heading to the swamp, you will notice your character can move on its own, this is to imply the main character is drunk.
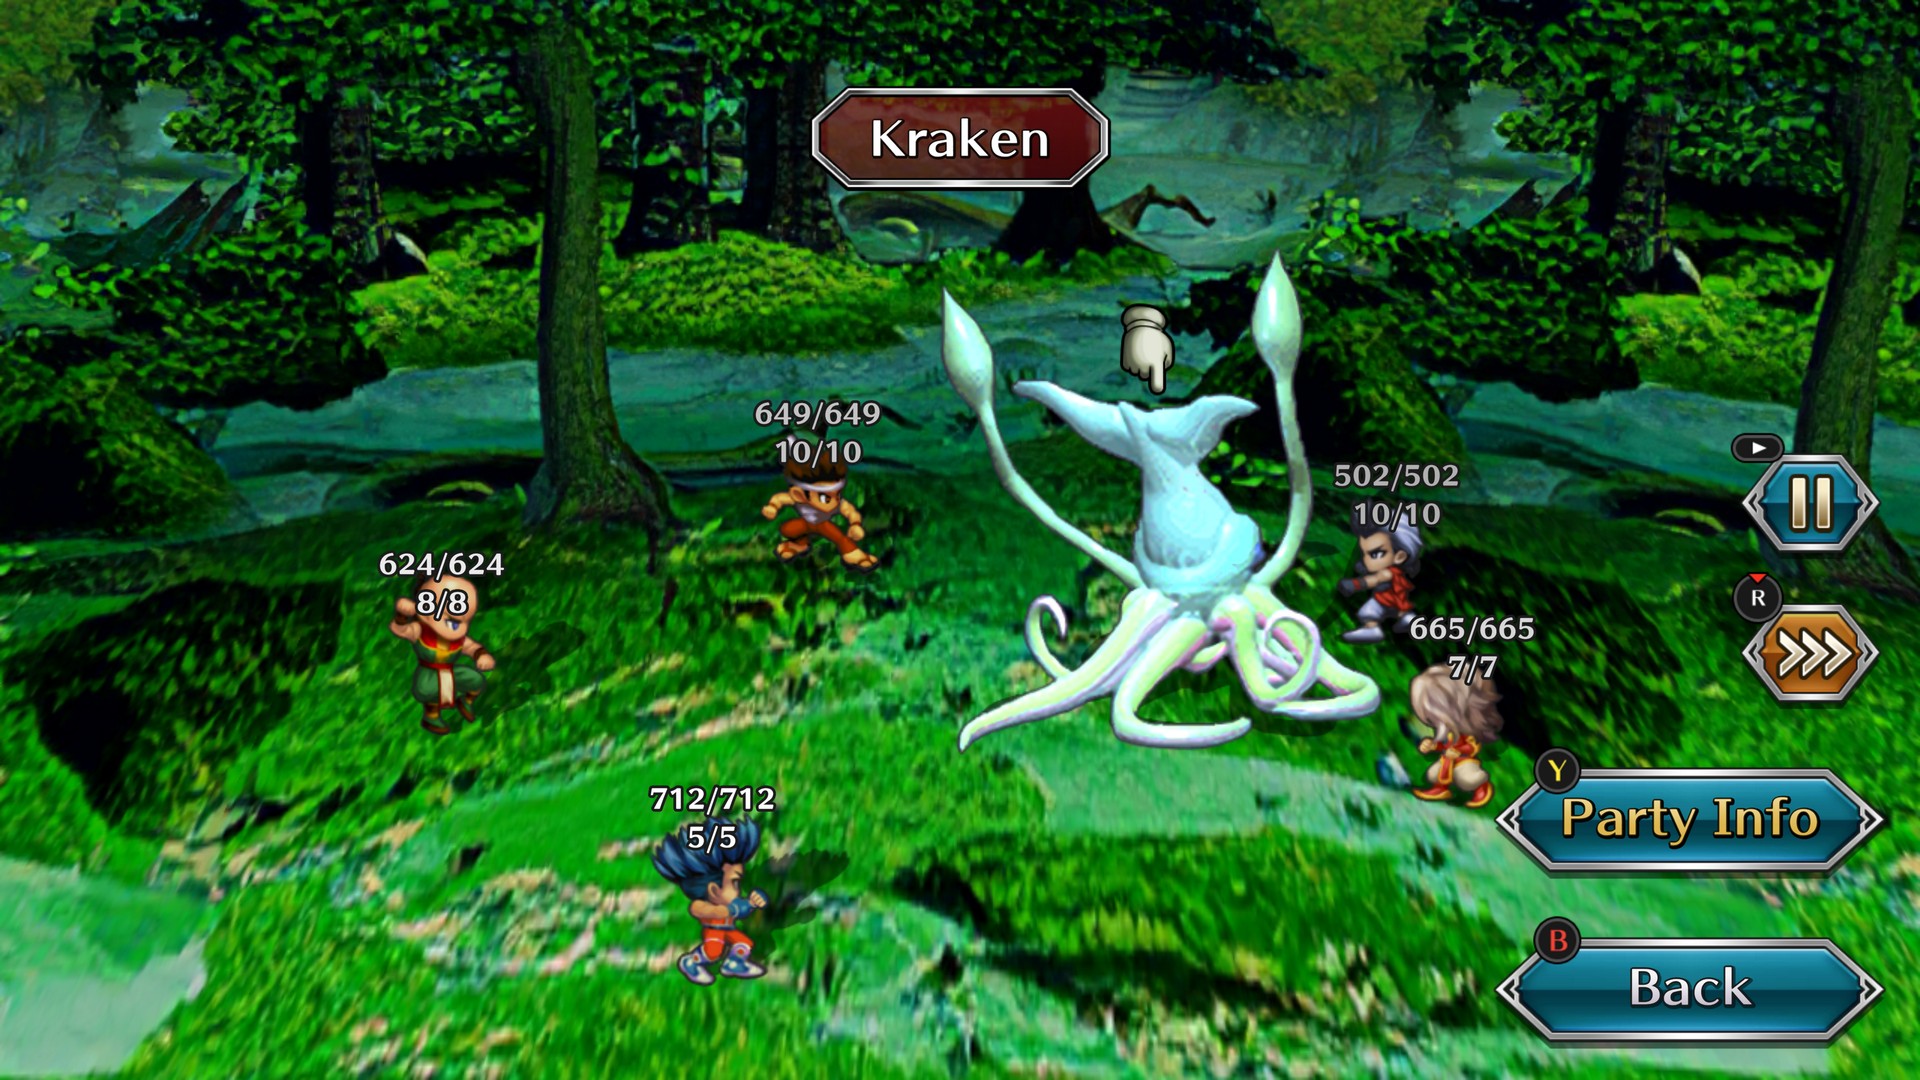
if you encounter any of the monsters here, it will start the battle with status ailments making the battles here extremely difficult. The quest difficulty here is based entirely on how early you start this quest. If it's near the end of the game, you will most likely encounter Krakens, these monsters are extremely strong and have a Maelstorm attack that hits everyone that can lead to a quick game over. An easy method of destroying the Krakens is to have Blue or Rogue equipped with the Realm Magic, Implosion. Or have a sword user with the skill Dead End. These skills have a decent chance of landing an instant kill on the Krakens. Anyways it is possible to reach the end without encounter a single monster, this is extremely hard to pull off and will need a lot of quicksave to get through.
Another helpful factor is to equip your whole party with Pearl Hearts, or other Water-resistant gear. Pearl Hearts can be bought in Manhattan. This will neutralize Kraken's Maelstrom attack entirely.
If you reach the end, you will get the card and the drunk status wore off. Once this occurs you can also flee from the enemies here if you want to leave the area.
Shield Card (IRPO)
- Difficulty: ★★★☆☆
- Treasures: Lordstar, Golden Fleece, Sanctuary Stone, Octopus Board, 1000 Credits,
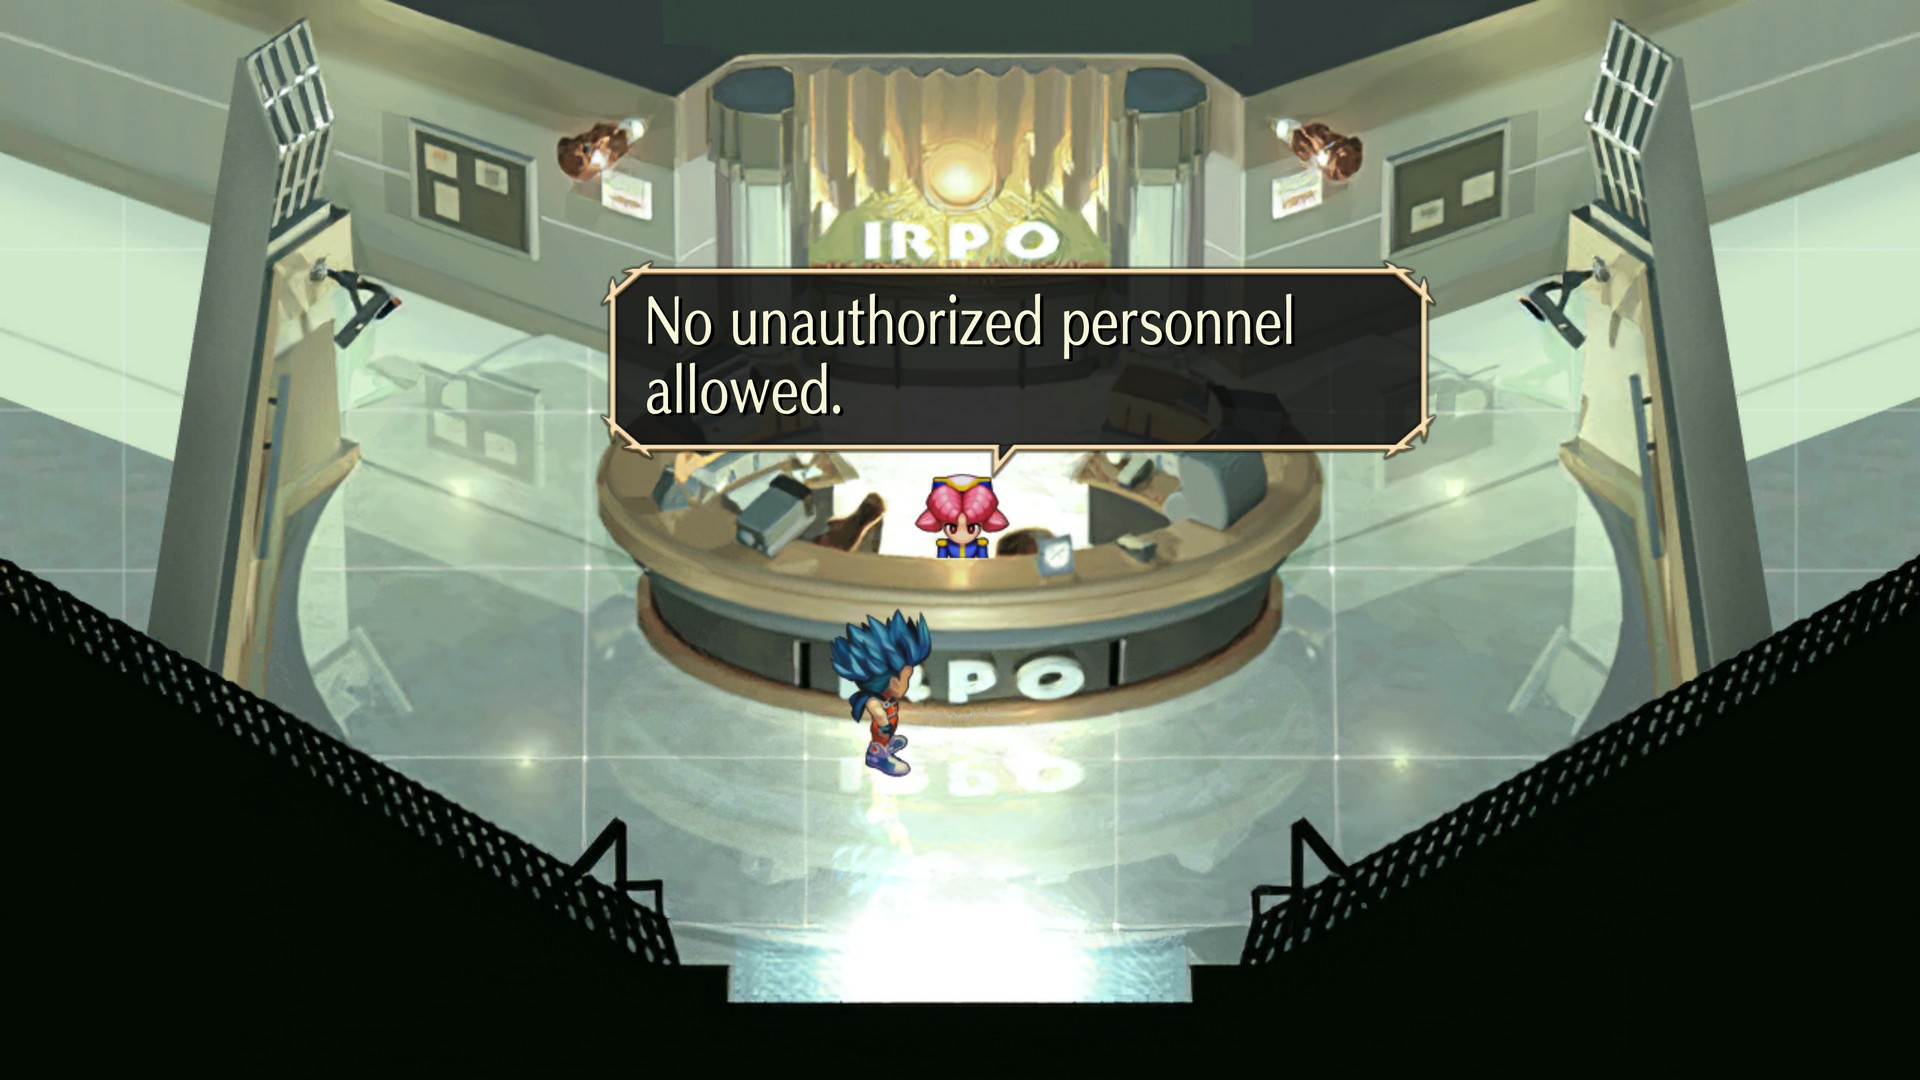
To start the Shield Card side quest, head to IRPO headquarters and talk to the receptionist. Fuse will then automatically join your party. If you're playing as Red, you will automatically get Fuse through the story and will completely ignore the next part (Fuse will just hand you the card if you talk to the Receptionist).
During this side quest, you will need to reach the peak of Mosperiburg mountains. The side quest isn't all that hard, but there are some optional things in this quest that makes this quest a little more difficult than the others. First, there are some really good treasures in the cave by the starting area. This cave is guarded by a Red and Black Dragon. These monsters are extremely strong so if you came here early, you might struggle against these dragons.
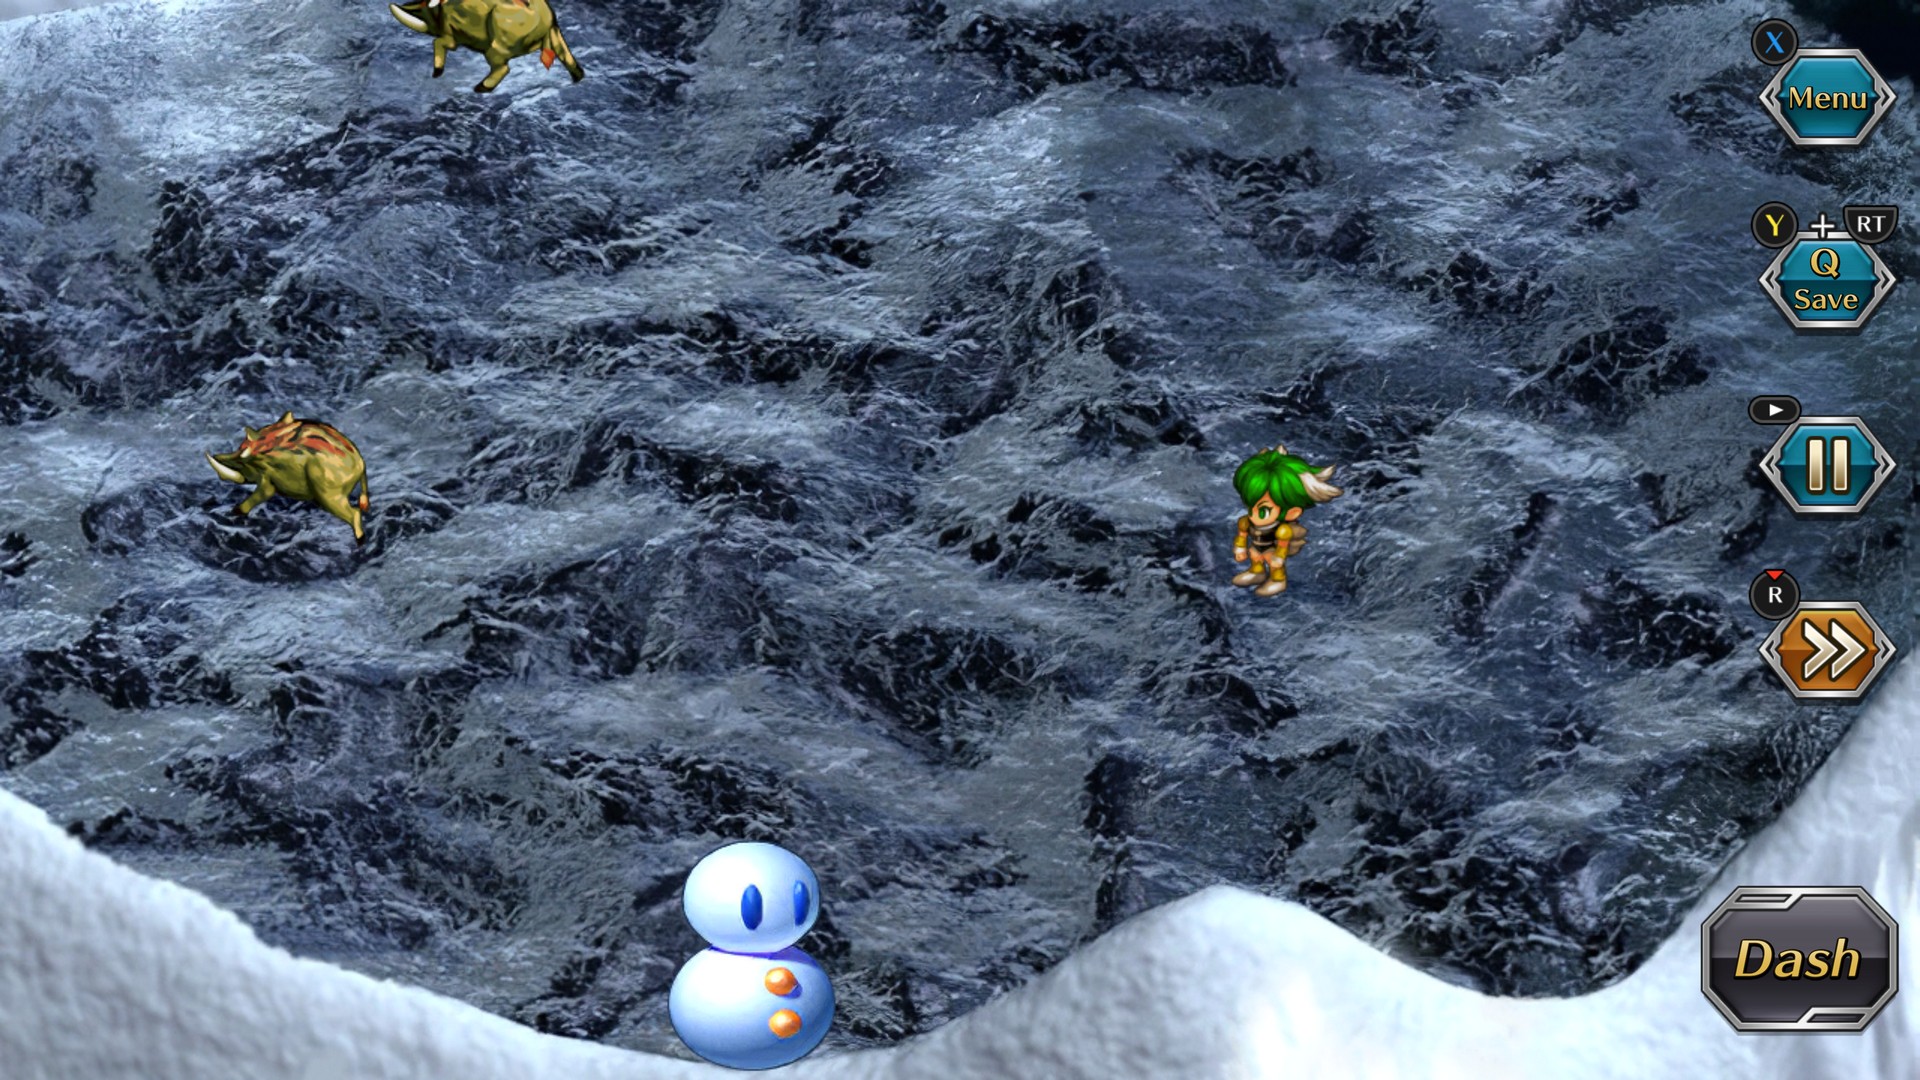
The other optional thing you can do is to recruit Suzaku. Suzaku is an extremely strong monster and will only join your party after defeating the Snow Man boss. The Snowman spawns in the icy area with three boar-type enemies. The Snowman doesn't always pop out and it's totally base on chance that it spawns or not. If the Snow Man does not spawn, you will need to go back to the starting area and defeat the Fairy-type enemy and return back to the icy area to see if it spawns. When you defeated the Snow Man, you will find Suzaku has been dethawed and will join your party when you go near it.
When you reach the peak, you will need to find the boss version of Suzaku. This enemy is really strong and it's protected by a fire veil, that will burn anyone that attacks it with melee attacks unless it's triggered in a Combo.
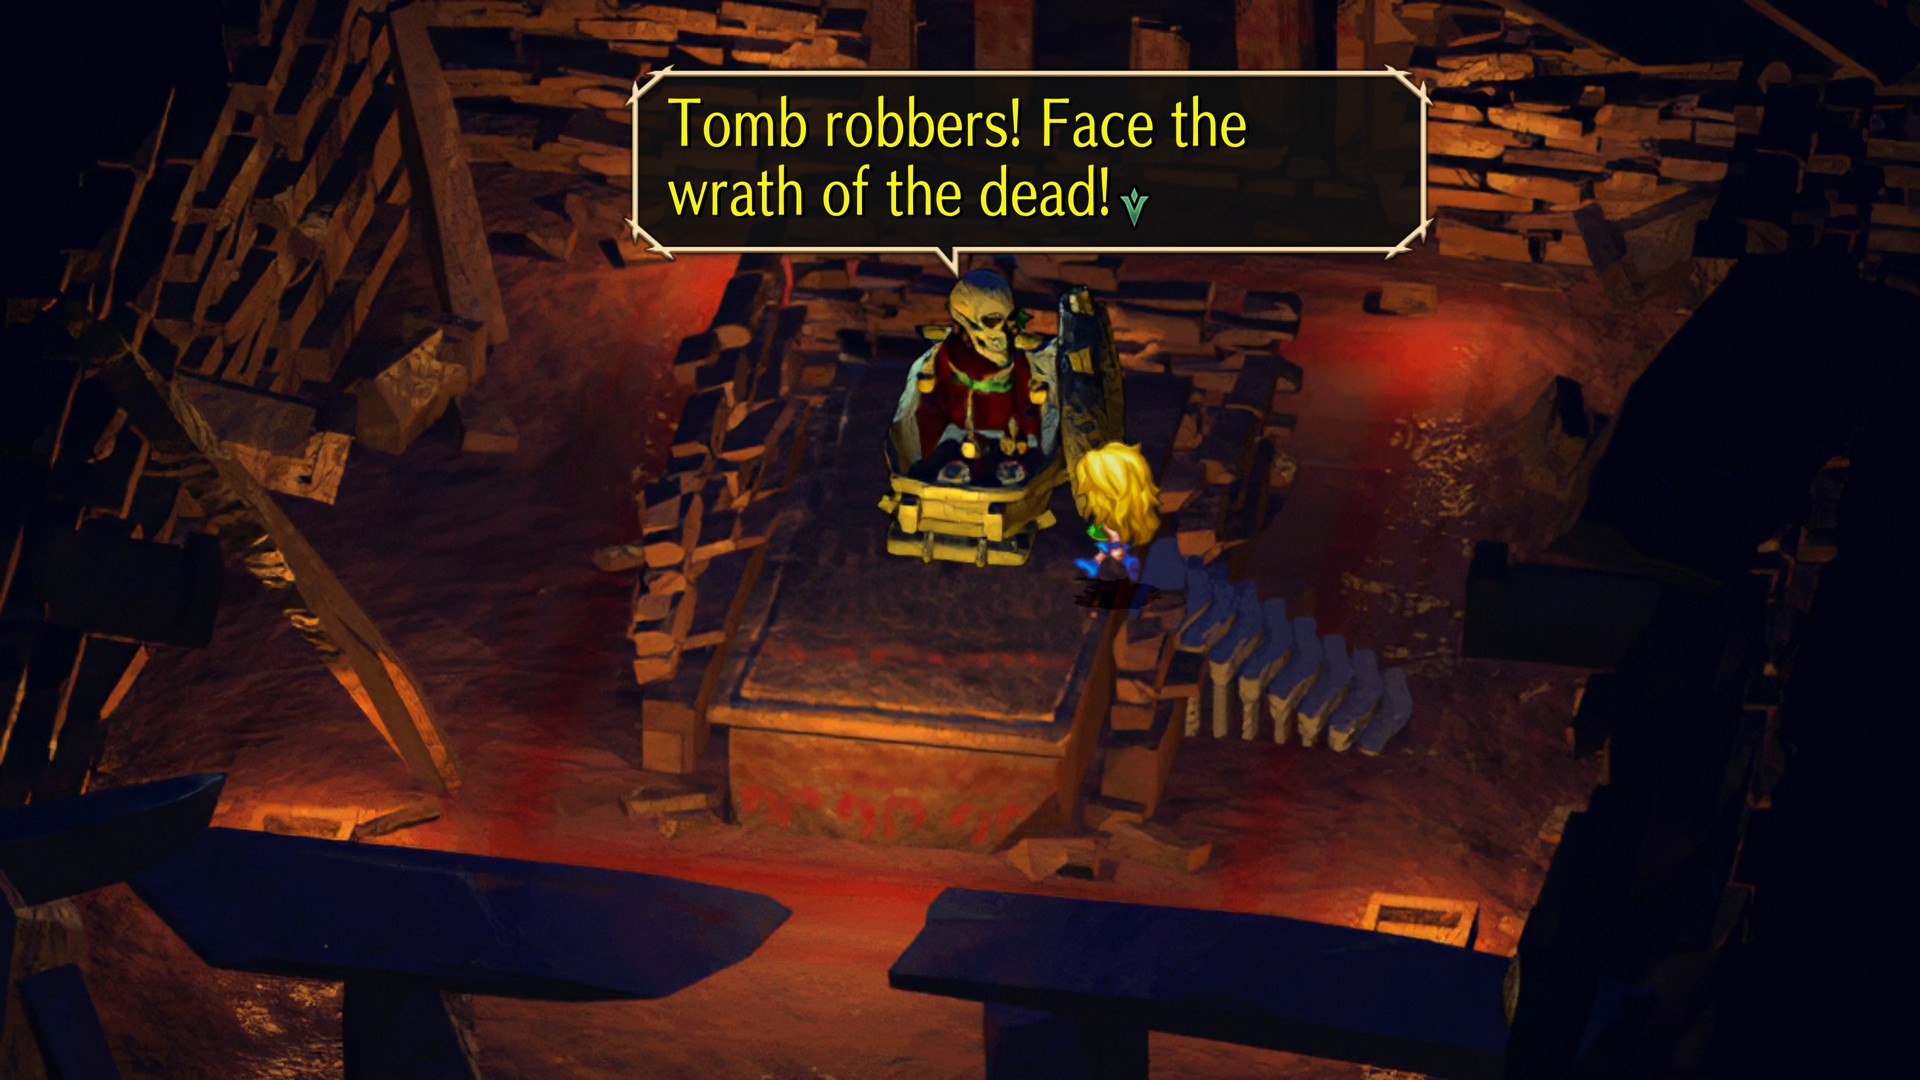
Saber Card (Wakatu)
- Difficulty: ★★☆☆☆
- Treasures: Comet Blade, Iron Clogs, Twin Dragon
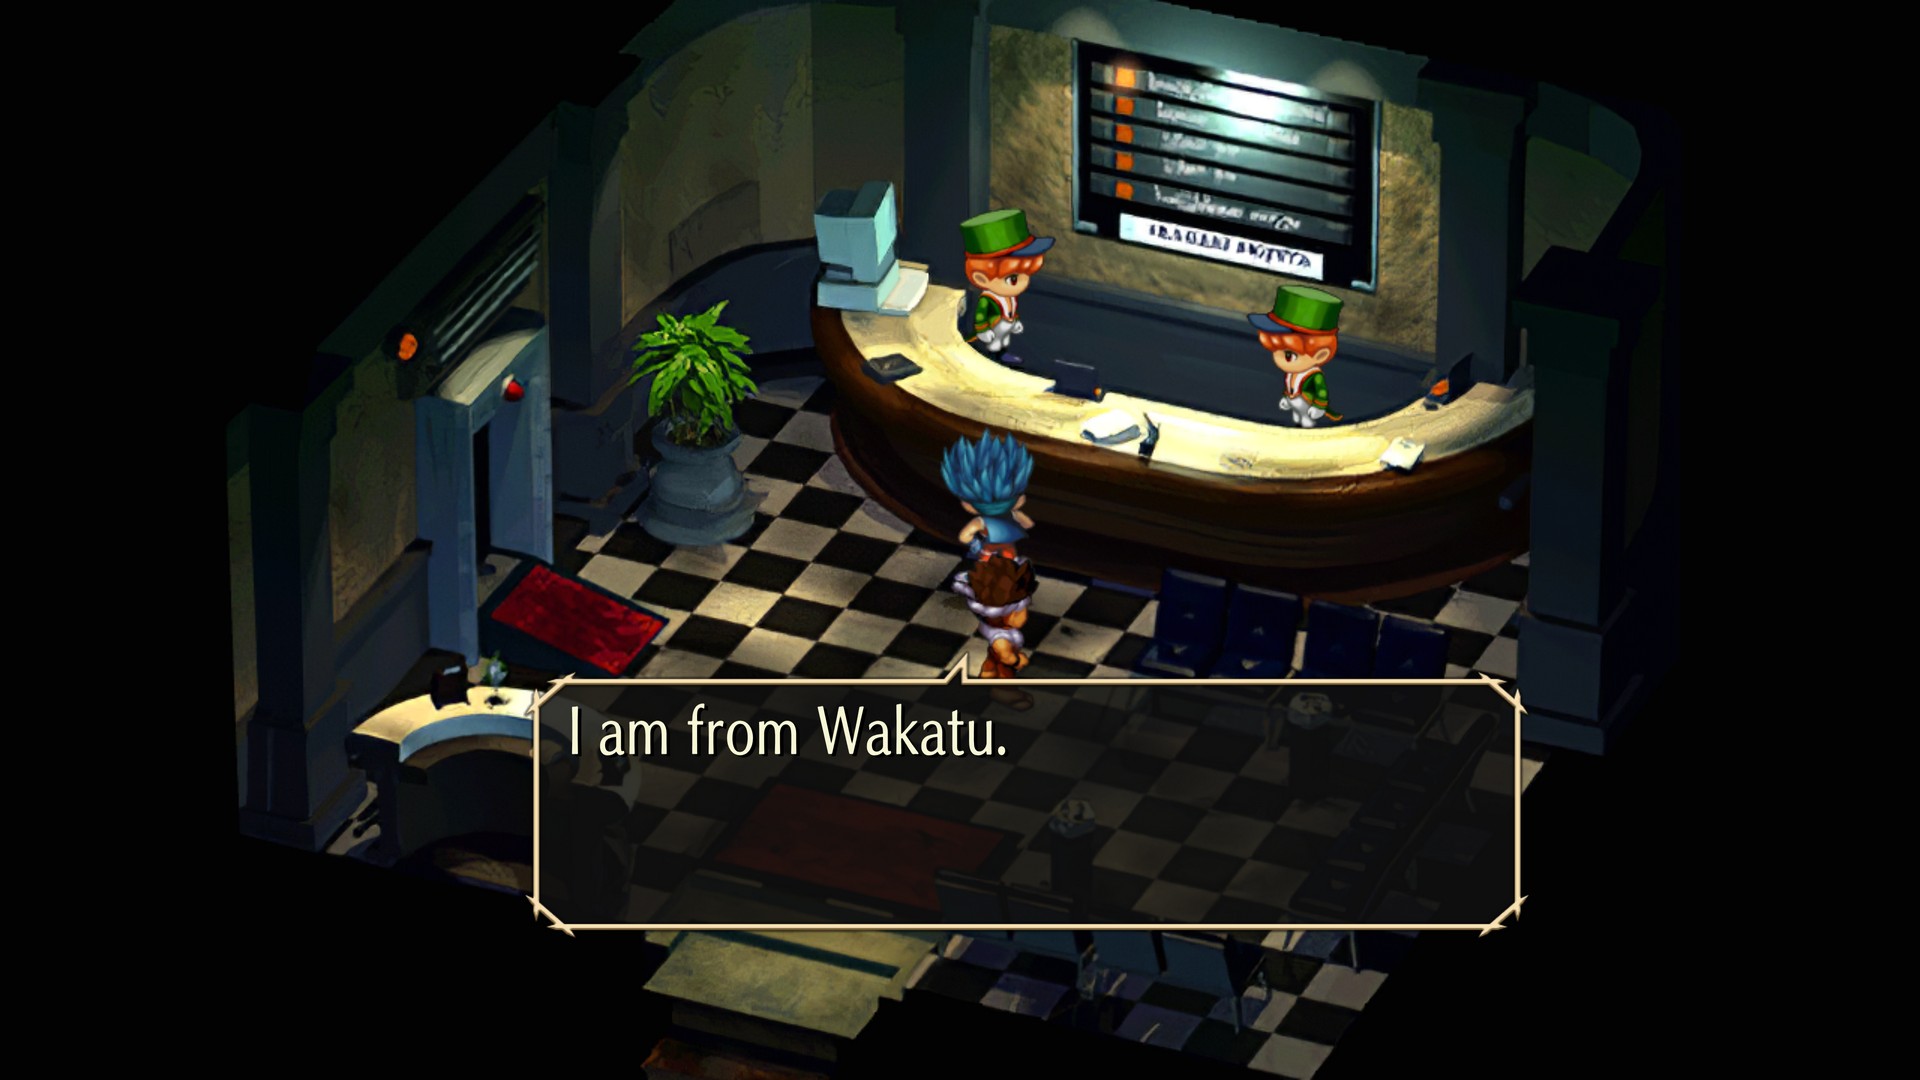
To start this quest, you will need to talk to the Koorong port attendants and ask about Wakatu. They will explain that the location is dangerous and need someone from Wakatu to accompany you. Go look for a skeleton NPC in Koorong, if you have enough Arcane Cards in your inventory, the Skeleton will mention a man using a pipe like a sword. If the main character is interested in this information, you can recruit Gen in the Scrap Bar.
Having Gen in your party will let you travel to Wakatu. Wakatu is a simple area where you just need to follow's Gen's direction. The first location he leads you to is a dead end. While the second route he leads you into will bring you to where the Saber Card is found. When you reach the card, you will need to time the exact moment when three swords appear on the screen to get the card. This is pretty hard to do visually and it's better to just press the confirm button by hearing the sword clash sword. If you mistime this part it will lead to an enemy encounter.
The Iron Clogs are located on the north side of the area, you'll have to head around to the upper part of the broken staircase. The Twin Dragon is to the south before you enter the collapsed building with the Saber Card in it, found in a chest.
The Comet Sword is a mini-quest in its own right. On the way towards the Iron Clogs, there's another path you can go down, leading to the basement of the broken pagoda. Down here you'll find a Blade Chamber with a statue in the center. Gen will receive the weapon here if your stats are strong enough. Around 70 WP should do it. Gen will retain his stats in New Game Plus so you can always come back on a subsequent playthough.
Light and Shadow Quest
Light Magic
- Difficulty: ★☆☆☆☆
- Treasures:
- SanctuaryStone - Purple Light
- 400 Credits - Yellow Light
- Moonlight Robe - Cyan Light
The side quest to obtain the gift of Light Magic is found in the Realm of Luminous. In this location, there are two dungeons that can be explored, dungeon can only be explored once per playthrough. If you have explored the Light Labyrinth, you cannot go to the Shadow Labyrinth.
Anyways, exploring the Labyrinth is just a room of puzzles. You simply need to reflect light to the correct spot to get to the next room. In the second last room, you can trigger different colors. If you trigger a white light, it will lead to the exit. However, make sure you try different light combinations so you get the treasures as well.
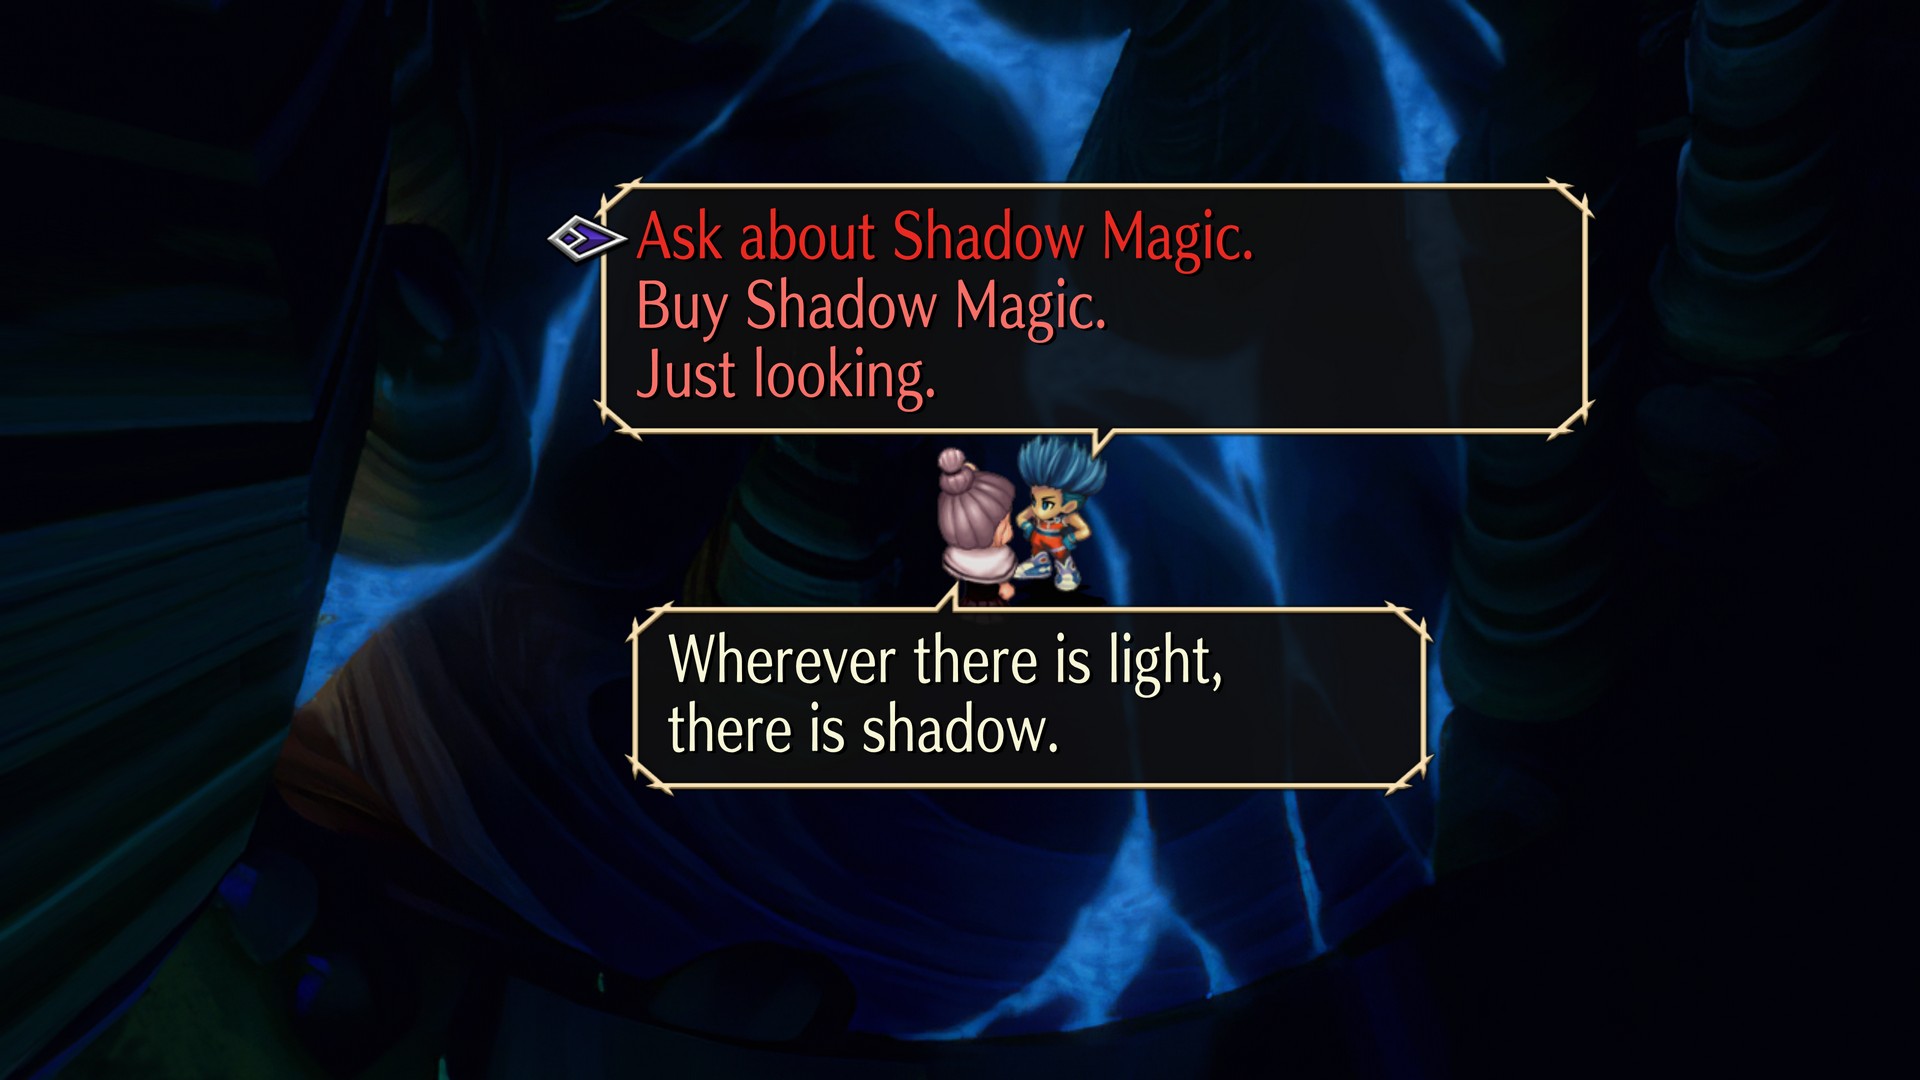
Shadow Magic
- Difficulty: ★★☆☆☆
- Treasures: 200 Credits, Magi Water
Shadow Magic is acquired by going to Omble. This is by going to the right side of Luminous, there is an old lady that can give you the gift of shadow magic. However, doing this dungeon will prevent you from accessing the Light Labyrinth. Light Magic is also vastly superior to Shadow Magic. There is one exclusive bonus for completing this dungeon, is that you can recruit the Mystic, Silence who is just hiding in the corner. If you do recruit him, it will prevent Mesarthim from interacting with your party when you head to the Lord's Manor in Owni.
As for exploring the Labyrinth itself, you will have to look below the ground of the shadow to find hidden items. There isn't much to be found here, the final area also contains a boss fight which is a cheap copy of your main character.
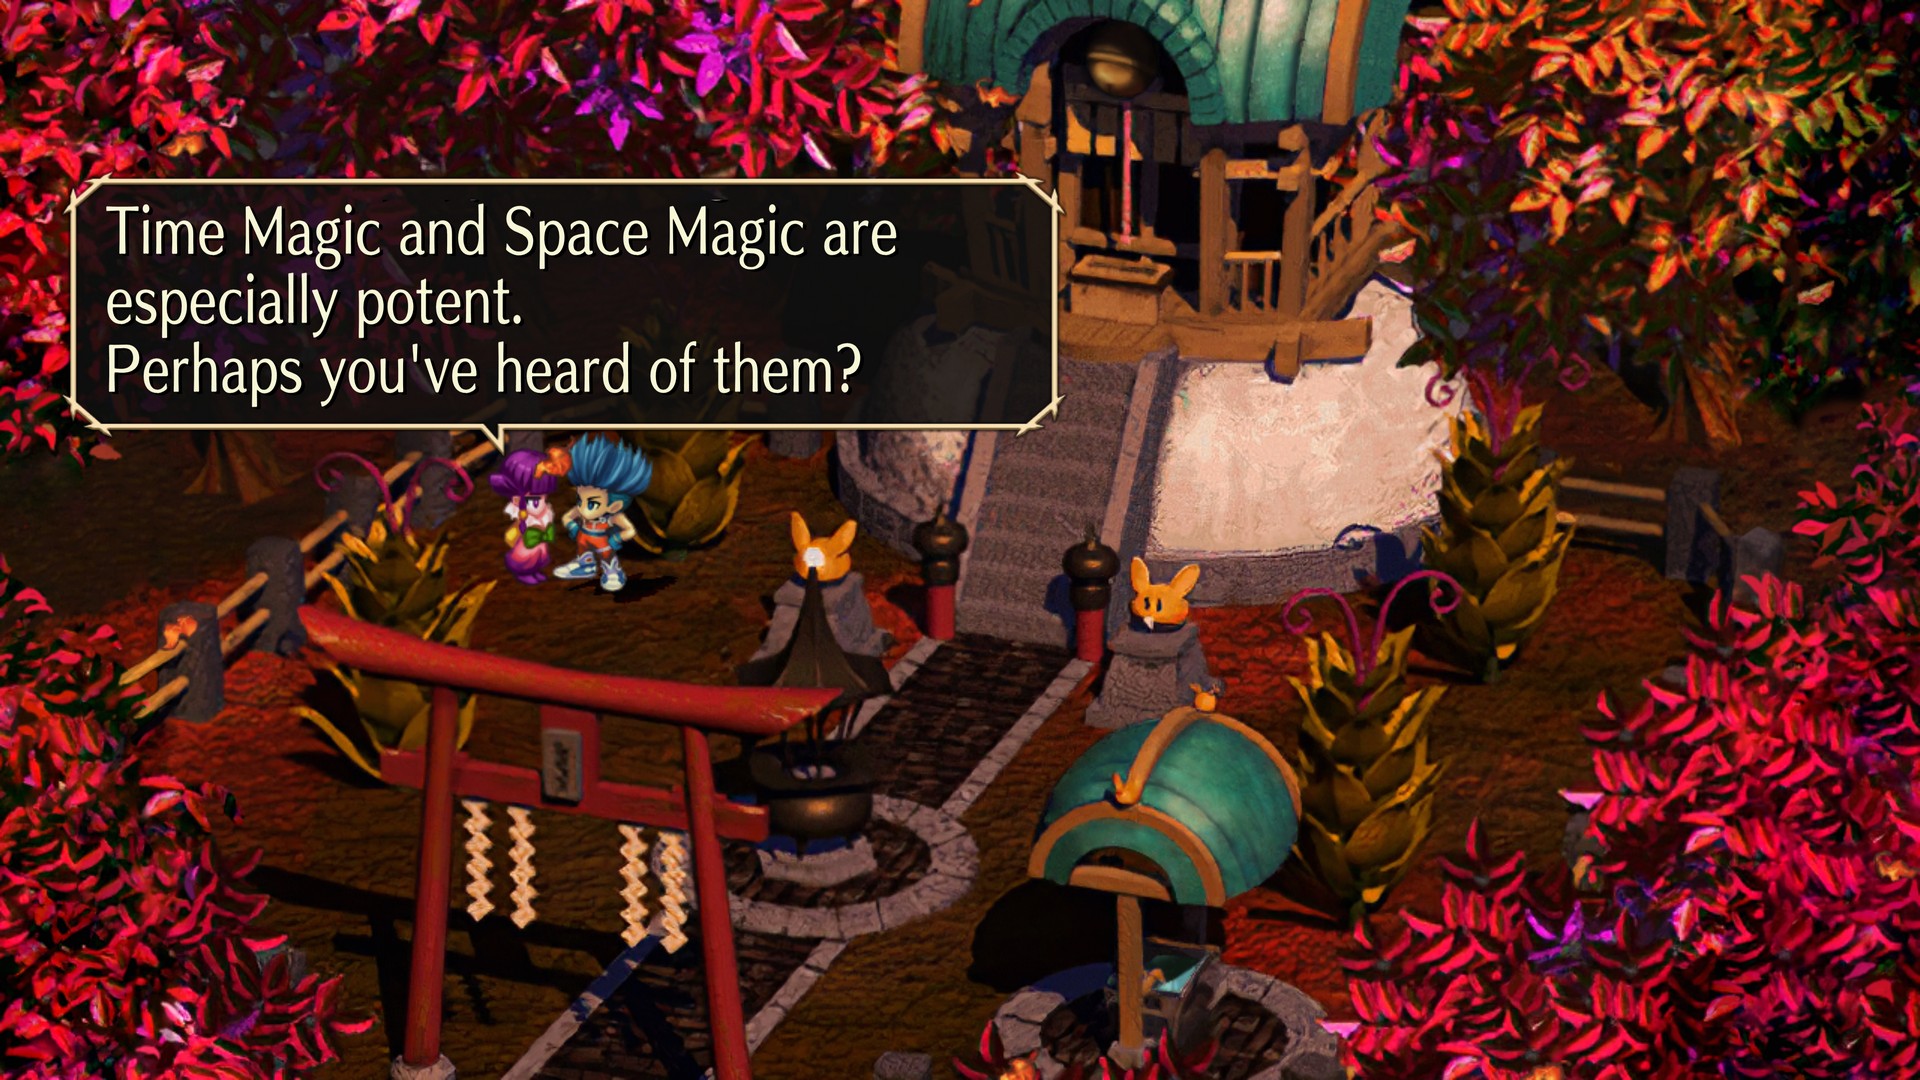
Time and Space Magic
Time Lord's Chamber
- Difficulty: ★★★★☆
- Treasures: None
To start the Time Magic side quest you will need to finish either the entire Rune or Arcane questline. When you have finished either side quest, head to Devin and visit the shrine area to the right. Talk to the girl standing there to hear information about Time Magic. After hearing this information, visit Mosperiburg. Meet Virgil and ask him about Time Magic, if you have completed the entire Rune or Arcane Quest, he will warp you inside the Time Lord's Chamber.
Explore the chamber until you reach a giant hourglass, examine the purple sand around it, and leave the dungeon. Then talk to Virgil again, he will warp you to Facinaturu. This is an exclusive location that can only be visited once unless you're playing as Asellus. When you arrive in Facinaturu, head to the craftsman shop, the craftsman here will sell extremely powerful treasures that require LP to purchase. The Sand Vessel is required to complete the rest of the Time Magic side quest.
Once you have obtained the Sand Vessel, you can get out Facinaturu by talking to the pilot on the house to the left side of the area. After this event, visit the house in the bottom left corner and talk to slime. A hidden exit will appear that lets you leave Facinaturu.
Now with the Sand Vessel in your hand, talk to Virgil, he will automatically warp you to Time Lord's Chamber. The Sand Vessel will activate the giant hourglass, allowing you to reach the last area. The monsters found in this area are also unaffected by battle rank, and some of them are really strong.
Now when you reach the last area you will find the Time Lord. You can learn time magic or recruit him. If you're playing as Blue, you're required to defeat the Time Lord in combat. The Time Lord can be an extremely frustrating boss as when he is near death, he will activate Over Drive allowing him to move 5 times in a row which can instantly lead to a game over if the computer chooses to be a complete jerk.
Kylin's Paradise
- Difficulty: ★☆☆☆☆
- Treasures: None
Similar to the Time Magic side quest, you will need to talk to the girl in the Devin Shrine. Ask her about Space Magic, if you have completed the entire Rune or Arcane questline, she will warp you to Kylin's Paradise. Talk to Kylin and accept his trial. This will force you into a maze with no combat. if you reach the end, you will find Kylin again, and he can teach you space magic or you can recruit him.
If you're playing as Blue you're required to kill Kylin as part of the story.
Other Locations
Lord Manor
- Difficulty: ★★☆☆☆
- Treasures:
- Rubber Suit, Ghost Cannon, Kris, Sanctuary Stone, Magi Water, Rotten Meat
- Jet Boots, Max Cure, Armored Glove, Shell Bracer, Rubber Shoes
- Max Cure, Pearl Heart, Jackal Sword, Leather Boots
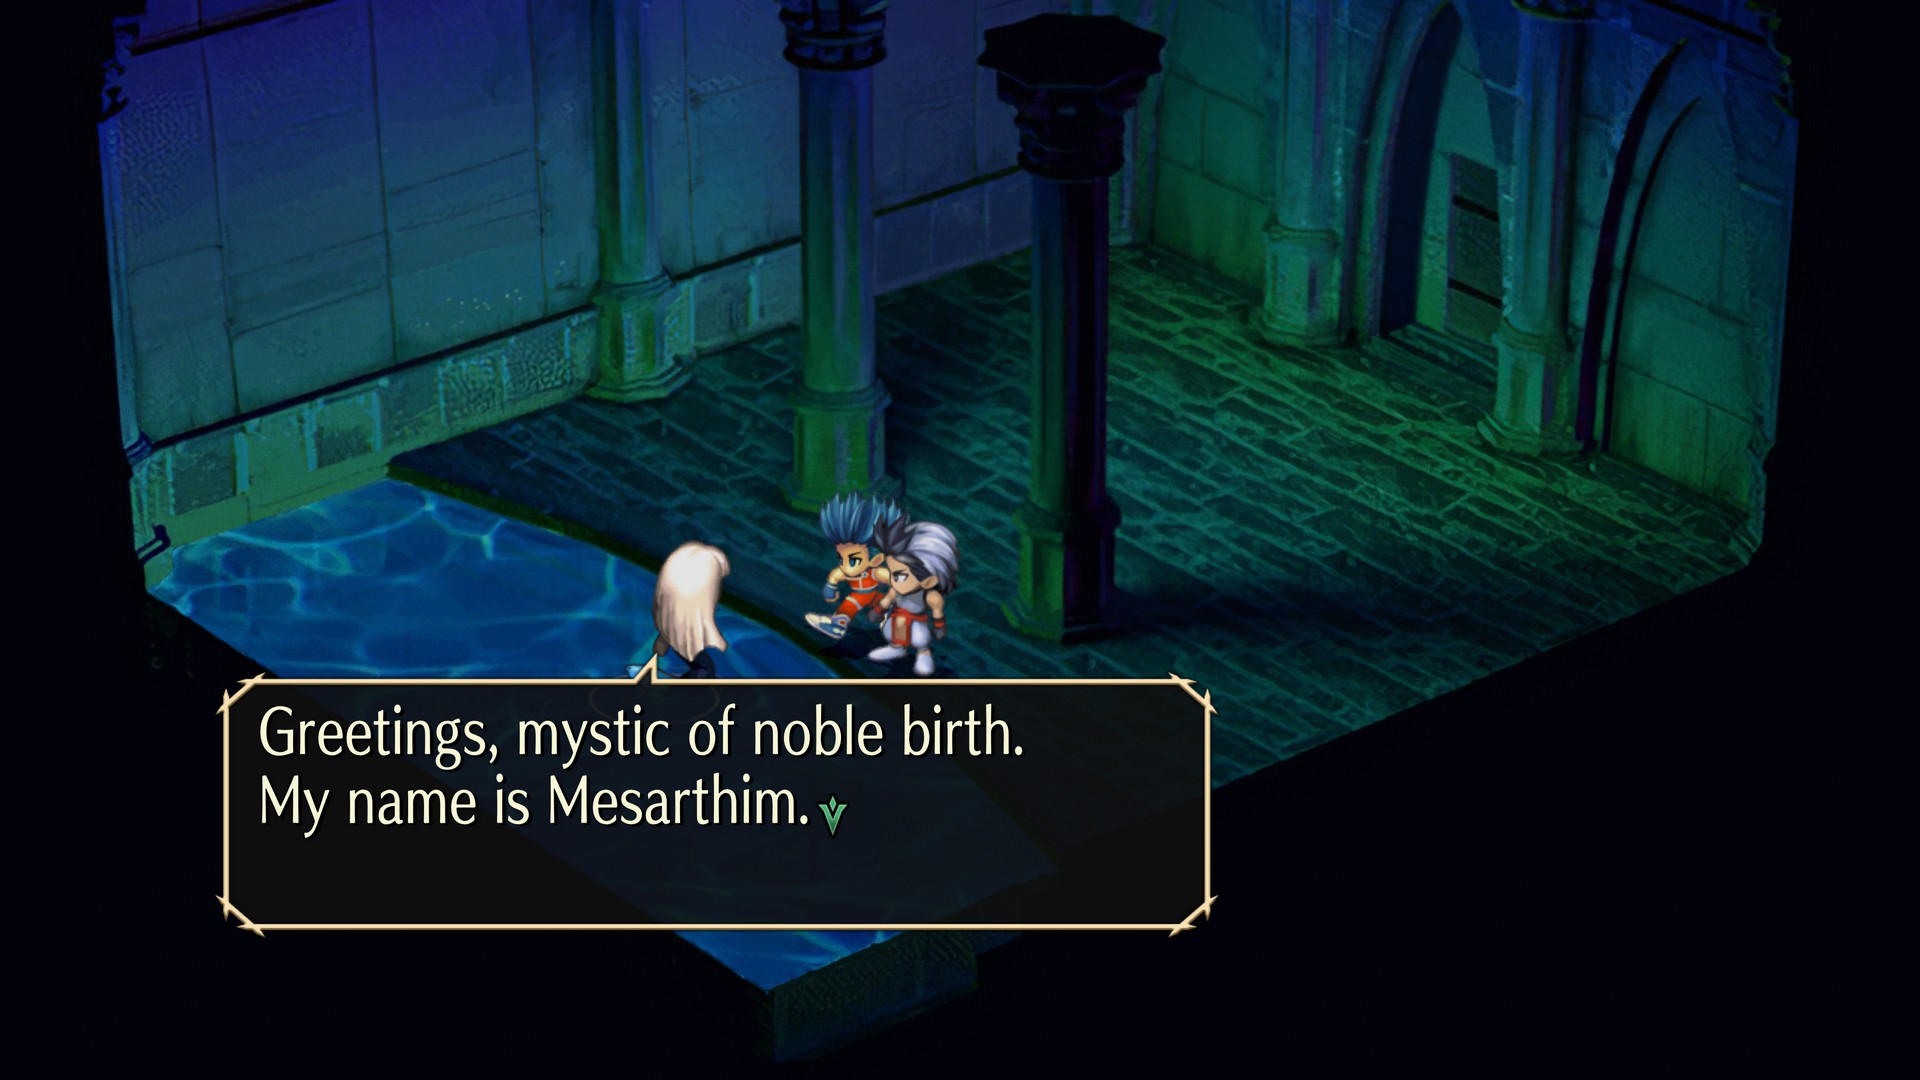
- Sea Stone (Gift from Mesarthim if you choose not to recruit her.)
Lord Manor is a small optional location found in the town of Owni. If you're playing as Asellus, it is mandatory to explore the manor. Inside the manor, there are some medium-grade items. Most of the items are found right after defeating the Kraken mini-boss. This enemy is pretty strong for early game players, but equipping water-resistant items like Pearl Heart should block its most dangerous attack, Maelstorm.
The Jackal Sword is hidden on the left side of the same screen that contains the Shell Bracer.
Once you have passed the Kraken, you can talk to Mesarthim on the left side of the map. In here if you have a Mystic, you can ask her to join you or get the Sea Stone from her. If you have recruited Silence, he will scare her away.
Sei's Tomb
- Difficulty: ★★★☆☆
- Treasures: Murakumo, Mizukagami, Spirit Orb, Kusanagi
Sei's Tomb is a small optional area that can be visited any time in the game. This is found northeast of Shrike. Inside the tomb, there are three legendary treasures. The first treasure is found by activating the trap, this event will make you fall down a hole. You will need to fall down to the correct hole to get the Murakumo sword. Once you have found this sword, you can get another treasure Mizukagami. When you have these two treasures in your inventory, you can get the treasure on where the traps are. With the three treasures, you can place them in this room marked with an aura. The treasure will be lost after doing this, so if you're still in the early game, it is highly recommended that you keep these treasures and explore more of the game first. These treasures are also considered as key items so they do not carry over for New Game+.
If you decided to place the three treasures in the main room, it will unlock the area to fight Sei. Sei is a pretty difficult boss for early game as he has a powerful AOE attack if you defeated all his skeleton guards. If you defeated Sei, you can get the very powerful Kusanagi sword from him or have Sei join your party.
Shingrow Ruins (Northwest)
- Difficulty: ★★★★★
- Treasures:
- Memory Board, Jumpsuit, Duelist's Pistol, Hyper Scale
- Junk, Rotten Meat, Bolt Thrower
There isn't much incentive to explore the northwest ruins of Shingrow for anyone that isn't T260G. But there is a secret optional boss that only spawns here. If you're after trophies/achievements, you will get it by defeating this optional boss. This is trigger by encountering 12 groups of Shadow Bats in the last room to the far north. When the condition is met, coming to the room again will trigger an event that will let you fight the Abyss Bat.
The Abyss Bat is an extremely strong boss that requires a bit of luck to defeat. This boss has a really powerful AOE that can wipe an entire party instantly if they're not well gear. If you manage to defeat it, there is a chance of it dropping the Egg Hat item.

Shingrow Ruins (Northeast)
- Difficulty: ★★★☆☆
- Treasures: Elemental Focus, Harmonium Armor, Harmonium Earring, Zweihander
- Excel Shield, Sanctuary Stone
The ruins to the northeast of Shingrow are less exciting than the ones to the northwest. You'll find a few items in chests here, and some blocked doors leading to ambushes. You'll fight a pair of Valkyries and a group of Slimes here, but that's pretty much it. Red will also have a scene here for his story event.
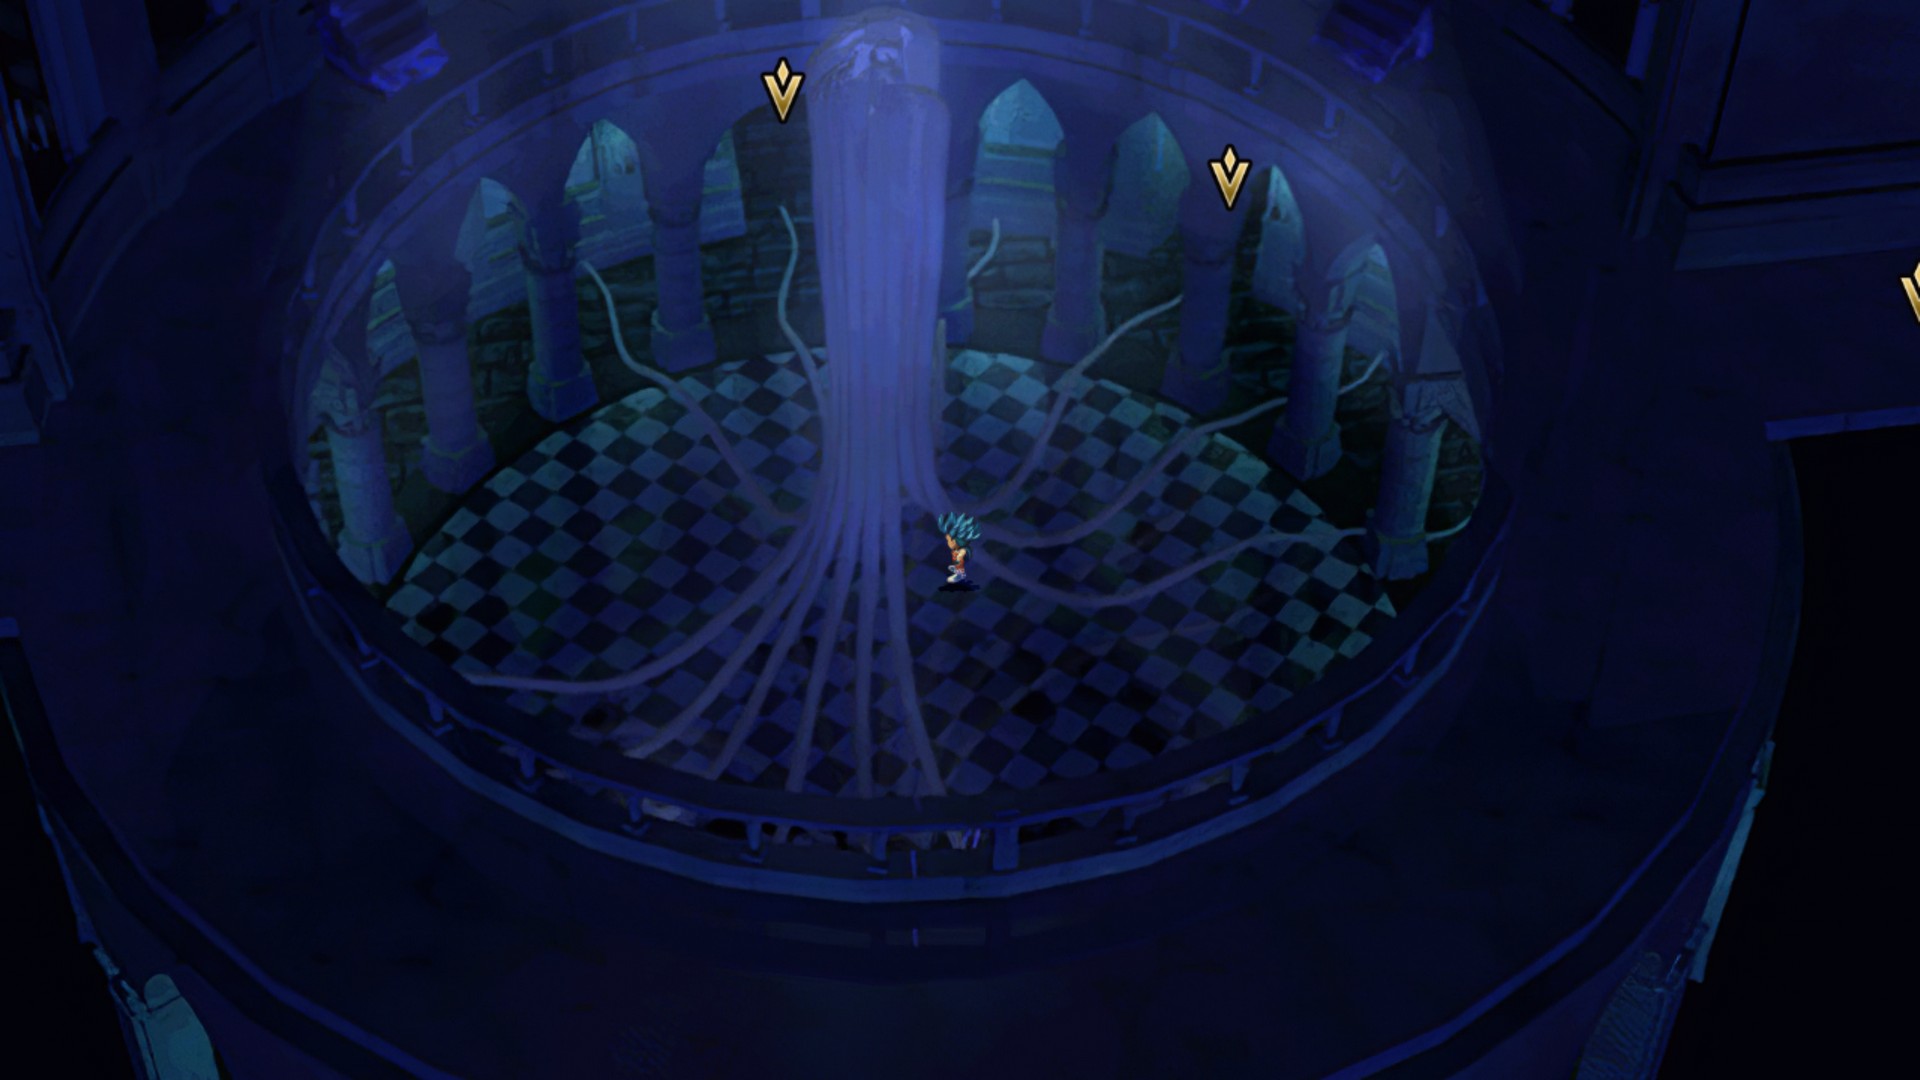
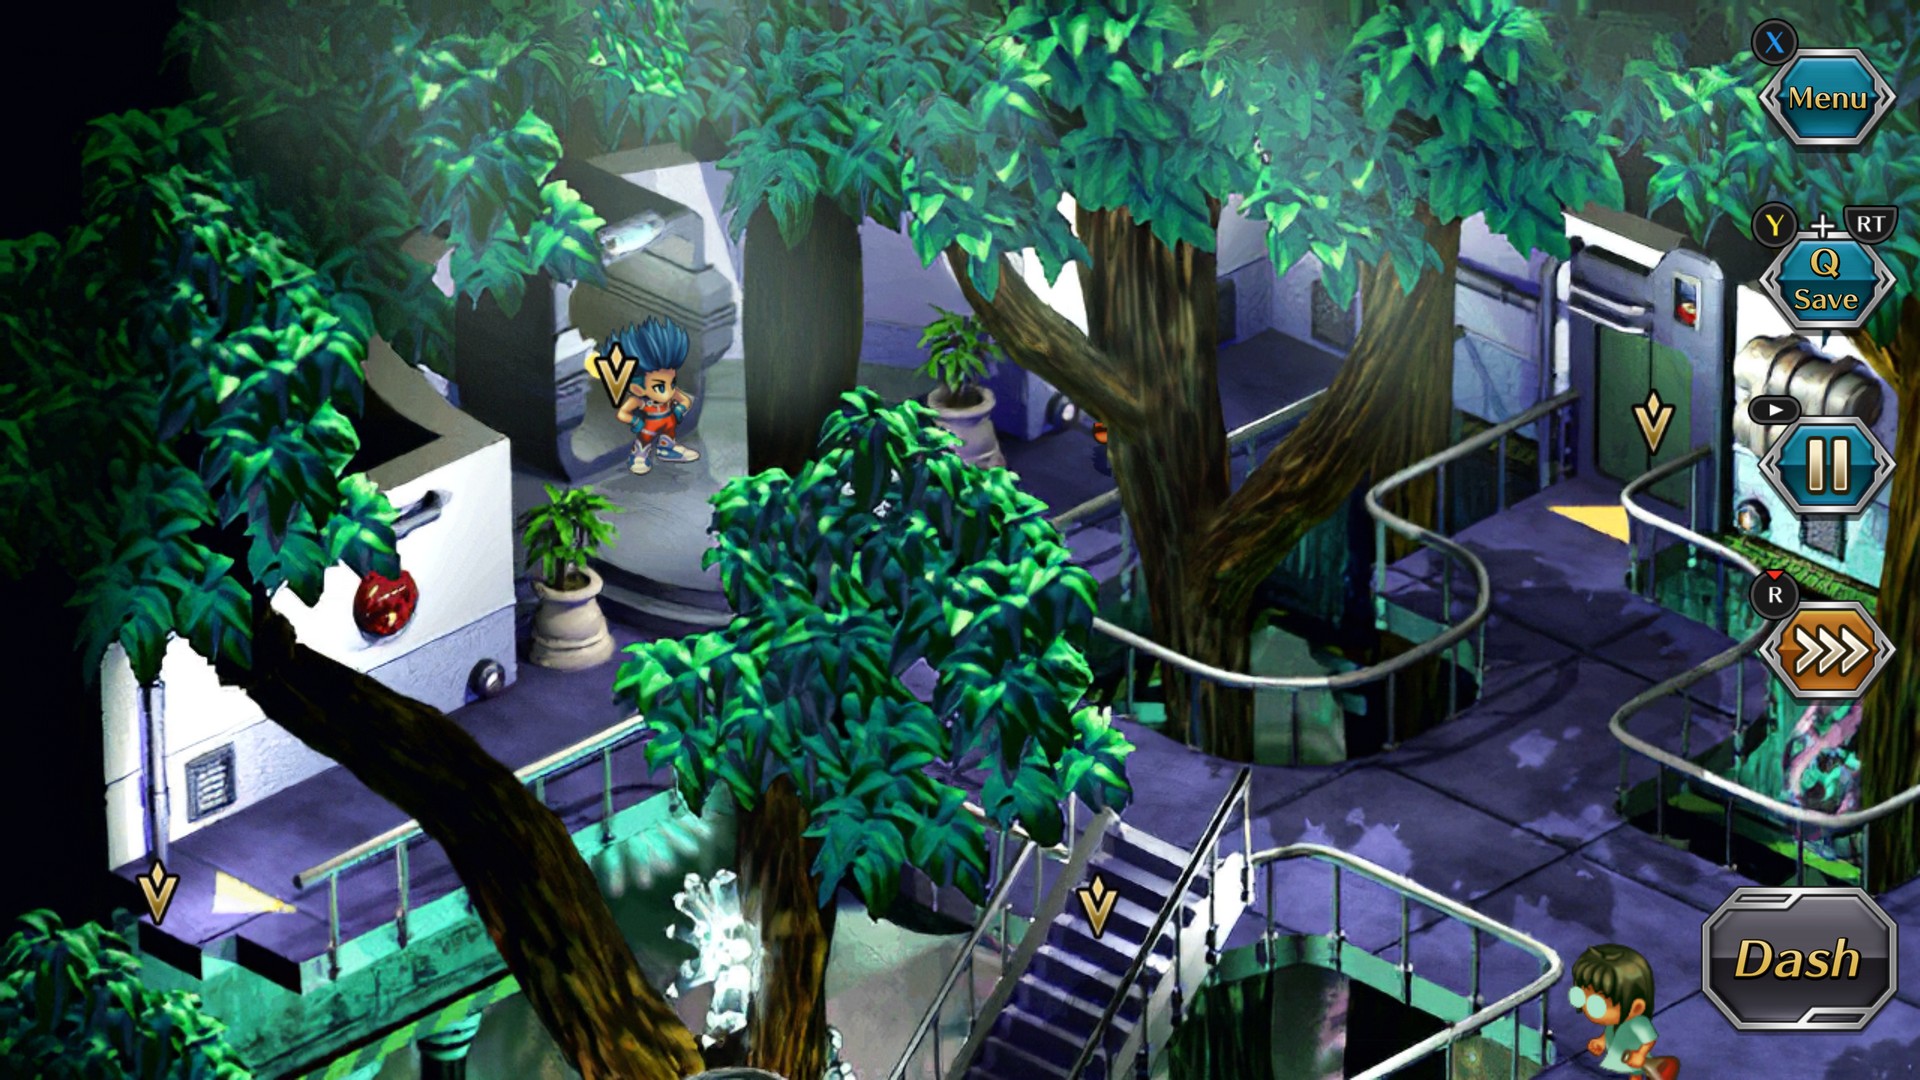
Furdo's Workspace
- Difficulty: ★★★☆☆
- Treasures: Glowing Robe, Unicorn Tear, Pearl Heart
Furdo's Workshop is found in the Magic Kingdom. For this reason, you cannot come here as Blue or Rouge. If you're playing as Asellus, there is an additional story to this area after escaping the Dark Labyrinth.
Anyways exploring the Workshop requires examing the giant tree in the center. Doing so will bring the fairies (Siren or Valkyries) to life in each area. They are unique enemies that will bring the statues to life and this applies to the treasures in the area. If you have defeated the fairy in the room, it will not respawn. So make sure you have waited for the Fairy to activate the treasures before encountering the fairy. If you do run into the Fairy, you cannot flee from battle.
When you reach the end by passing through the northeast door in the room where the fairy statues started, you can challenge Furdo to a duel. If playing as Asellus, it will be a one on one duel so make sure Asellus is well geared for this fight.
Bio Research Lab
- Difficulty: ★★★★★
- Treasures: Dragon Shield
The Bio Research Lab is an optional area found in the southeast corner of Shrike. In this location talking to any of the scientists within the building will lead to an enemy encounter. Enemies found in this dungeon are several battle ranks higher than the current rank, so usually you will end up fighting the strongest enemies in the game when exploring this area. There are two incentive reasons to explore this dungeon, as you can recruit Cotton into your party, and if you defeated the end boss of this dungeon, you can get the Dragon Shield. To reach Cotton, you'll have to make your way to the main staircase and go to the upper-most floor. The end boss is at the bottom. Once there' you'll need to press a switch in the eastern building, followed by entering the northern building.
The end boss of this dungeon is very strong as all of its attacks can easily one-shot party members, especially when it uses Iron Ball. The Iron Ball attack can attack six times in a row, which if you're unlucky will wipe out your entire team. If you have already acquired Time Magic, you can make the end boss of this dungeon a complete cakewalk as you can use the ability Time Leap to prevent the boss from moving, and the boss here is extremely slow. If you're confident enough to defeat the Earth Dragon without issues, the Dragon has a chance of dropping a Spriggan Suit or a Hyperion Bazooka. These are extremely powerful items in the game so you might want to save your game before fighting the dragon.
*Important Note, if you're playing as Asellus with additional content, you will not able to acquire the Dragon Shield until you have escaped from the Dark Labyrinth. After that event, there will be story scenes here, and completing the story here will let you get the Dragon Shield. This still requires defeating the Earth Dragon.