
Phoenix Wright Trials & Tribulations walkthrough: complete spoiler-free Ace Attorney 3 guide
The third entry in the original Ace Attorney trilogy is Phoenix Wright: Ace Attorney - Trials and Tribulations, and in many ways you can consider it an epic and closing third chapter to many of the character stories introduced in the previous two Ace Attorney games. Originally available on GBA, they've now been ported to wide variety of modern platforms, in particular as part of the Phoenix Wright: Ace Attorney Trilogy package.
The structure of this game is very similar to the previous two entries - there's no real nasty surprises here. You'll be working through investigation and trial phases of each case, trying to prove contradictions to save your clients from being wrongfully convicted. This page is a spoiler-free walkthrough guide for Ace Attorney 3, Phoenix Wright: Trials & Tribulations - you can follow it from the start of the game to the very end, and it's been written in such a way to minimize or completely prevent spoilers so long as you don't scroll ahead of where you're currently at.
This guide naturally follows on from our Phoenix Wright: Ace Attorney walkthrough and our Phoenix Wright: Justice For All walkthrough; if you're playing those, head to those first as part of our wider Ace Attorney Trilogy guides section. Otherwise, use the links below to skip to whatever Trials & Tribulations case you're currently on:
- Case 1: Turnabout Memories
- Case 2: The Stolen Turnabout
- Case 3: Recipe for Turnabout
- Case 4: Turnabout Beginnings
- Case 5: Bridge to the Turnabout
Case 1 - Turnabout Memories: spoiler-free walkthrough
Every entry in the trilogy has a first tutorial case - but this one takes things back to the very beginning - to when Phoenix Wright himself was a suspect in a terrible crime...
Case 1, Turnabout Memories Trial 1
As with the walkthroughs to the previous two Phoenix Wright: Ace Attorney adventures, the aim is to remain as spoiler-free as possible throughout this guide. That means you'll find the answers to questions posed in the trial listed in the order that they appear, but completely out of context:
- You'll talk through the case and as part of that conversation see the Crime Photo 1 added to your Court Record - which is where you access evidence.
- When prompted: "Electrocution".
- When asked to present a person, present the Profile of Dahlia Hawthorne.
Phoenix's Testimony ~ The Victim and I: Witness Cross-Examination
Next up is a cross-examination, which is a key mechanic in all of the core Ace Attorney games including Trials and Tribulations. The game will explain how it works as this is your first time doing it this game, but to be clear, you'll be presented with a series of statements. You can either 'press' statements to get more information and context, or present evidence to reveal and prove contradictions and inaccuracies in the testimony - which can unseat the testimony and help you to ruin the prosecution's case. Your first cross-examination subject is Phoenix Wright himself...
- Press Phoenix's 4th statement: "I have never even talked..."
- Present Crime Photo 1 on the newly added statement "He was always walking around...", and you'll then get Crime Photo 2 and Coldkiller X added to the Court Record.
Phoenix's Testimony ~ What Really Happened: Witness Cross-Examination
Phoenix's Testimony continues:
- Press the 2nd statement: "He was in the Pharmacology Dept...".
- Ask "About the Pharmacology Dept."
- Press the newly added 6th statement: "But I lost my bottle of it..."
- Choose to "Establish Murder Method".
- Present Crime Photo 1 when prompted.
- When asked to point out, point to the hanging electrical cable above the body, and present that.
Phoenix's Testimony ~ When I Pushed the Victim: Witness Cross-Examination
Phoenix's Testimony is straining - so it's time to go again:
- Press the 3rd statement: "At that moment..."
- Choose to "Ask for more details".
- Say "Of course it's important!"
- Present Crime Photo 1 against the newly added sixth statement: "After I shoved him..."
- This concludes this segment of the Trial, and adds Umbrella and Phoenix's Testimony to the Court Record.
Case 1, Turnabout Memories Trial 2
There's a brief recess. This gives you a chance to chat to your defendant, and in the course of that conversation you'll get Dahlia's Present and Newspaper Clipping, two new items for your Court Record. They'll be useful as you head back into the trial - where Dahlia will be taking to the stand.
Dahlia's Testimony ~ What I Witnessed: Witness Cross-Examination
- Press the 3rd statement: "Then suddenly..."
- Choose to "Show Contradiction". Two new statements will be added.
- Present Phoenix's Testimony against the second of the two added statements: "It didn't look like..."
- Say "There was lightning." After some chatter, Student's Testimony gets added to the Court Record.
- When prompted, Present Phoenix Wright's Profile.
Dahlia's Testimony ~ What I Witnessed, Part 2: Witness Cross-Examination
- Press the 1st statement to get an optional achievement in newer versions of the game.
- Present the Student's Testimony evidence from your Court Record against the 5th Statement: "The cable snapping..."
- Next, choose to present Dahlia Hawthorne's Profile. After some chatter, the Police Report gets added to your Court Record.
Dahlia's Testimony ~ How I Met My Feenie: Witness Cross-Examination
- Press the 2nd statement: "It's like we were destined to meet..."
- When prompted, choose to "Keep Pressing."
- Present the Police Report evidence against the newly added statement: "I had come to this courthouse..."
Dahlia's Testimony ~ The Poisoning: Witness Cross-Examination
- Present Doug Swallow's Profile against the 5th statement "So you see..."
- When prompted, choose to present the Dahlia's Present evidence.
- Say "Because of that Necklace".
After this, the testimony is functionally over, but there's a few more steps to take...
- When asked, present Phoenix Wright's Profile.
- Finally, present Coldkiller X.
That's the end of your first case - and your tutorial! Next up... a robbery.
Case 2 - The Stolen Turnabout: spoiler-free walkthrough
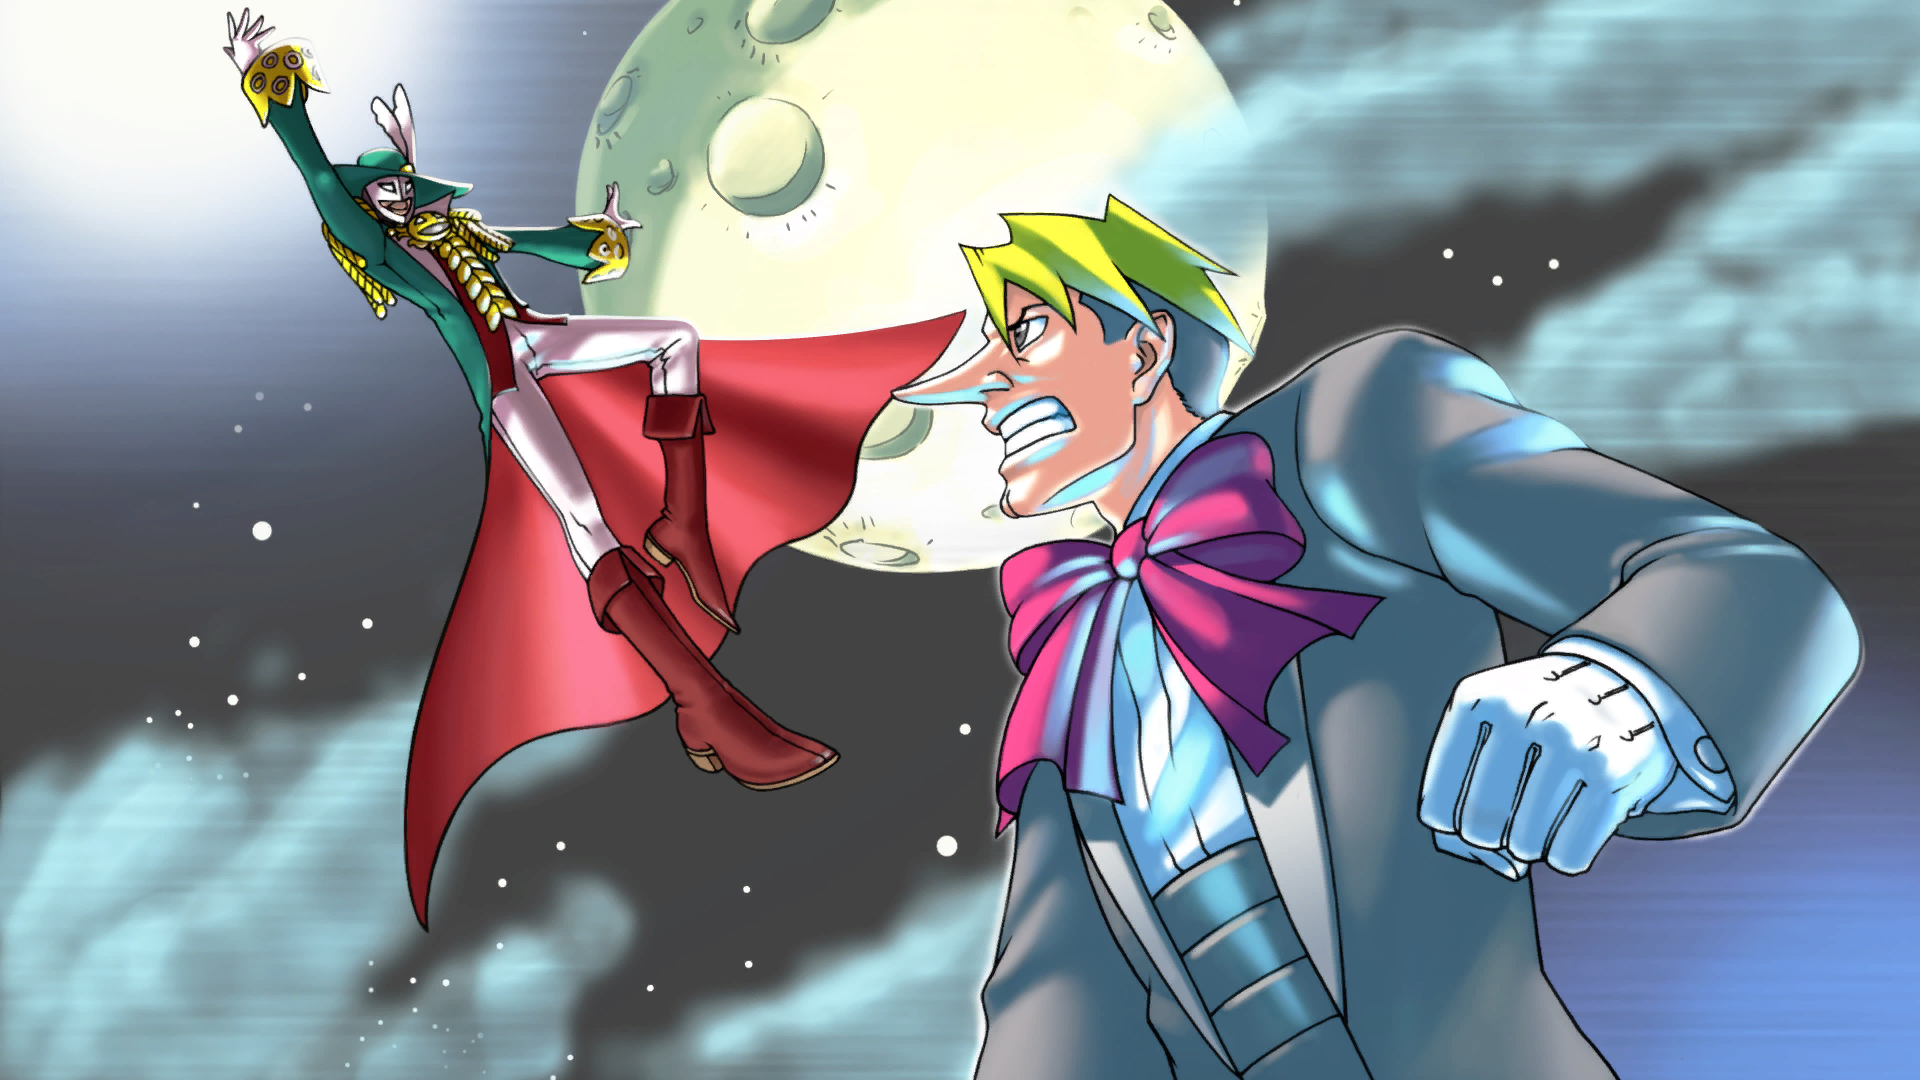
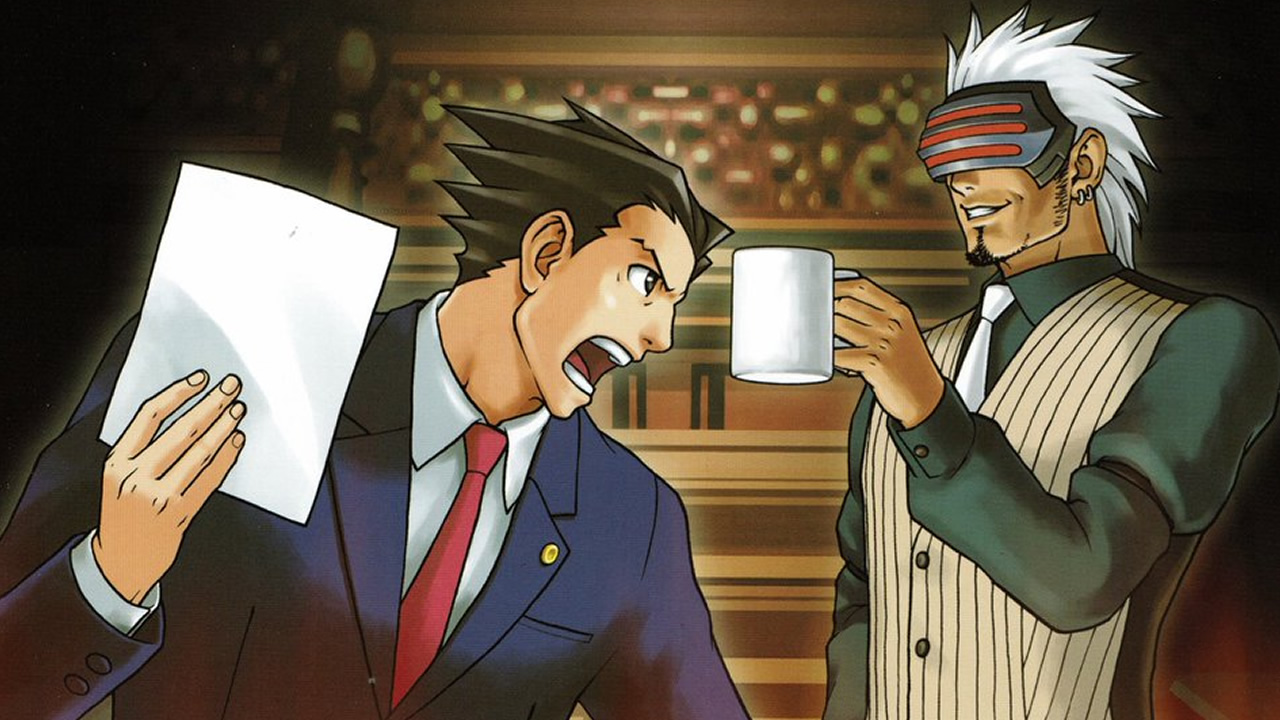
A robbery, a flamboyant costumed phantom thief, familiar faces, Phoenix's first brush with rival prosecutor Godot - the second case in Ace Attorney: Trials and Tribulations is a big one. And it all starts with a theft of an item you actually might be familiar with...
Case 2, The Stolen Turnabout: Part One Investigation
Your case starts out not with a horrifying crime or a desperate pea for help from a defendant, but with your friends, simply hanging out in your office. Pretty quickly, things take an... interesting turn.
- You begin in the Wright & Co. Law Offices. After some chatter you'll get the Treasure Exhibition Poster added to your Court Record.
- When that talking is over, you'll automatically be whisked to the Main Exhibition Hall. You can examine and look around here, but to progress you need to move to the Basement Warehouse.
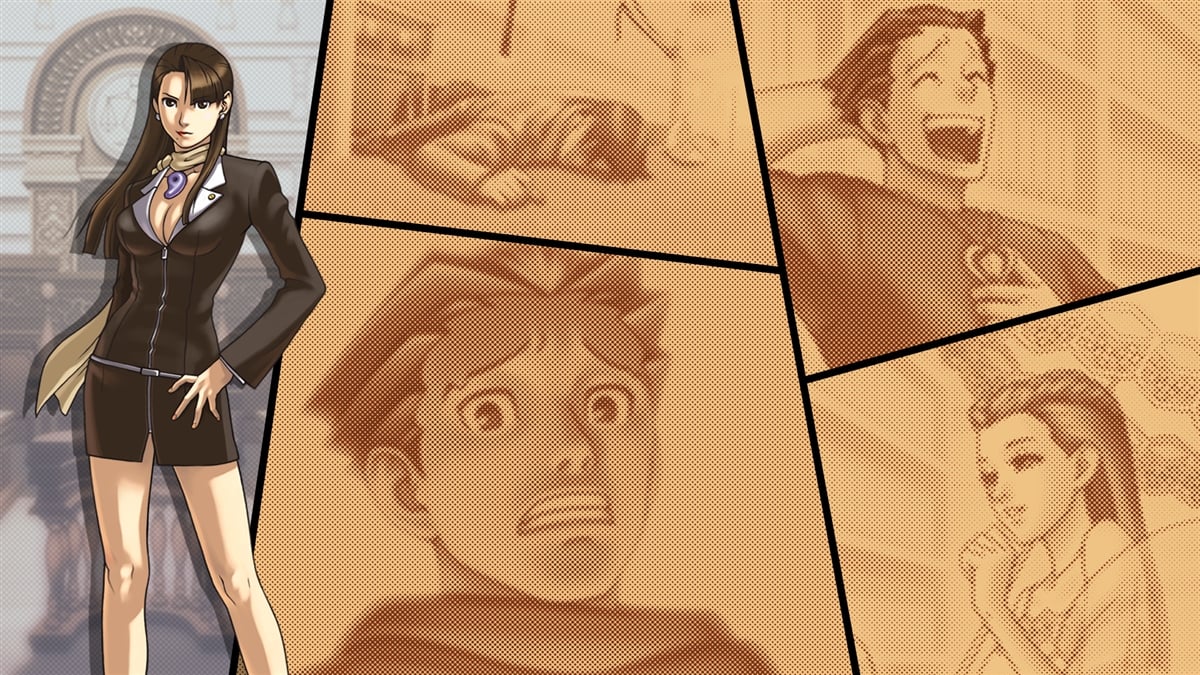
- Once you've moved to the Basement Warehouse, you'll meet a familiar face, Adrian Andrews. Chat to her about the two topics available.
- Pan the Basement Warehouse camera over to the right, and then examine the Golden Statue to add Ami Fey's Golden Statue to the Court Record.
- With all that done, you'll be returned to the Wright & Co. Law Offices. While here, talk to Maya about everything you can to add the Sacred Urn to the Court Record.
- When you can, move back to the Main Exhibition Hall. Gumshoe is here. Talk about everything to get DeMasque's Calling Card added to your stack of evidence.
- Now head back to the Basement Warehouse, where you visited before. A new character is down here, 'Ace Detective' Luke Atmey. In this room:
- Talk to Atmey about everything you can.
- Present DeMasque's Calling Card to Atmey.
- Examine the sword; this adds the Shichishito to the Court Record.
- Examine the Golden Statue to get an update to Amy Fey's Golden Statue in the Court Record.
- Examine the Computer to get the Camera Data for your Court Record.
- With all this done, return to the Main Exhibition Hall and take a call from Gumshoe.
- You now need to go to the Wright & Co. Law Offices, and from there straight to the Detention Center. In the Detention Center, talk to Ron DeLite about all four topics.
- Now move to DeMasque's Hideout. Talk to Desiree DeLite about three topics.
- Next, present Mask DeMasque's Profile to Desiree. This owns up one more topic; talk to her about it to get Desiree's Letter in your Court Record.
- You can examine the two pieces of a familiar space outfit here to get an achievement in the newer versions of the game.
- Return to the Detention Center and present Desiree's Letter.
- Go back to the Wright & Co. Law Offices. Talk to your compatriots and use this as an opportunity to refresh your knowledge of events.
- Make your way to the Main Exhibition Hall. Andrews have moved up here. Talk to her about two topics.
- Head to the Atmey Detective Agency, which has now opened up. Atmey is here.
- Talk to Atmey about the topics. These will reveal a Psyche Lock. If you played Ace Attorney 2: Justice For All, you know how these work - but if not, it'll be explained again.
- When ready to tackle the Psyche-Lock, present Maya's Magatama.
Psyche-Lock: Mask DeMasque's M.O. (Luke Atmey)
- First, present the Camera Data.
- When prompted, say "Unconscious."
- Finally, present the Shichishito.
- With the Psyche-Lock broken, you can now ask about a couple more topics. Doing so will see the Shichishito updated in the Court Record and the Security Camera Photo added to the Court Record.
- Move back to Demasque's Hideout. There's a few things to be done here:
- First, examine the green envelope in the lower-left. This adds the Blackmail Letter to your Court Record.
- A familiar face appears! Talk to them about three topics; this will add Ron's Wallet and the Key Card to the evidence pile.
- Present the Key Card right away - it'll get updated in the Court Record
- Then Present the Blackmail Letter. You can now ask about one more topic.
- Finally, move to the Atmey Detective Agency for your last bit of today's investigation. Talk to Atmey about all three topics, and examine the bag on the table if you wish... then it's trial time.
Case 2, The Stolen Turnabout - Part One Trial
And here you are, back in court and in the shoes of Phoenix Wright for the first time this game. There's a bunch of exposition, and Maya will get the Mask Demasque Publicity Photo to add to your growing pile of evidence. After that, the trial gets underway with a Cross Examination:
Gumshoe's Testimony ~ Mask DeMasque's Crimes: Witness Cross-Examination
- Present the Sacred Urn against Gumshoe's 4th statement: "His pattern is to always..."
- When promtped, present the Security Camera Photo.
- You'll be asked to point out the difference; point out the neck/top of the chest area. DeMasque's Broach gets added to the Court Record. After chatter, it's time for a different testimony.
Atmey's Testimony ~ What I Witnessed: Witness Cross-Examination
- Present the newly-acquired DeMasque's Broach evidence against the 3rd statement: "Just as I began to turn..."
Atmey's Testimony ~ Fight With The Thief: Witness Cross-Examination
- Press Atmey's 5th statement: "His first blow struck true..."
- Say "It was very important."
- Present the Shichishito evidence to the new statement that Atmey adds to his testimony: "I put my back to the wall..."
- Say that "Mr. Atmey is Mask DeMasque".
- Next, say it "has yet to be found."
- An event in the trial will update the Sacred Urn in them Court Record.
- When given the chance, choose to "Show the fingerprints on the urn."
- When prompted, present Phoenix Wright's Profile. Hey, that's you!
Ron's Testimony ~ Mask DeMasque's Identity: Witness Cross-Examination
- Present Ron's Wallet from your court record against the 3rd statement: "I don't have an alibi..."
- When prompted by Godot, present the Blackmail Letter to back up your claims.
- You have to bridge one more logic gap. To do so, present Larry Butz's Profile.
This looks like the end... but this is just the beginning of the trial. Day Two's Investigation leaves you with a lot to uncover...
Case 2, The Stolen Turnabout: Part Two Investigation
After some dramatic scenes and a real change of circumstances - one might call it a Turnabout - you find yourself back on the trail in a second investigation stage of this case. Here's the step-by-step walkthrough:
- You begin in the Wright & Co. Law Offices. Talk to Maya about all the topics. The Sacred Urn gets removed from the Court Record.
- Go to DeMasque's Hideout. Talk to Desiree about everything you can.
- Next, head to the CEO's Office. There's a few bits and pieces to do here...
- First, talk to Gumshoe about all the topics. These topics will add Kane's Autopsy Report and Newspaper Clipping to your Court Record.
- Present Kane Bullard's Profile to Gumshoe. This allows you to talk about one more topic.
- Searching the room, examine the File Folder on the table. This very useful discovery adds Kane's List to the Court Record.
- Examine the Red Button to the right of the painting. This adds the CEO Office Buzzer to your evidence stack.
- Move to the Security Room at KB Security. Chat to Larry here about all 3 topics - one of them leads to...
Psyche-Lock: The Night of the Crime (Larry Butz)
- Present the Magatama to kick off the Psyche-Lock sequence.
- First up, present Ron's Wallet.
- Next, present the CEO Office Key Card.
- After this, you'll be able to talk to Larry about a new topic.
- Present the CEO Office Buzzer to open one final topic. This adds the Buzzer Record to the Court Record.
- Go to the Main Exhibition Hall - you'll have to first move back to the CEO's Office first.
- From there, move to the Basement Warehouse. Andrews is here. Talk about all 3 topics. There's some Psyche-Locks you can't break yet.
- Go back to the Detention Center. Talk to Ron about three topics.
- Next, present the Newspaper Clipping. It'll get updated in the Court Record, and open up a new topic.
- One topic leads naturally to another, and eventually you'll get Ron's Testimony added to the Court Record, recording what he said.
- After your conversation is done, the Sacred Urn will be re-added to the Court Record via story events.
- Go back to the Basement Warehouse again. This time, examine the room:
- Examine the cardboard box with paint on it. The Urn Box gets added to the evidence list.
- On the right-hand side of the multi-screen arrangement, examine the big pink mark, which matches up to the box and urn. Paint Marks get added to the record.
- We have what we need to break Andrews now. Present the Magatama to her.
Psyche-Lock: The Sacred Urn (Adrian Andrews)
- First up, present the Sacred Urn.
- Next, present the Treasure Exhibit Poster.
- Time to use new evidence; present the Paint Marks.
- Follow that up by presenting the Urn Box.
- With this handled, talk to Andrews about the topics. This updates both the Sacred Urn and the Ami Fey Statue in the Court Record.
- Just like that, you're out of time. It's time for the next trial.
Case 2, The Stolen Turnabout - Part Two Trial
Here you are again, back in court. There's now multiple trials going on at once, though you're only having to worry about one. Things kick off wih a testimony:
Ron's Testimony ~ My Visit to KB Security: Witness Cross-Examination
- Press Ron's 2nd statement: "The blackmail letter I got..."
- When prompted, "Press Harder".
- Press statement 3: "I'd been working for KB Security..."
- Ask, "Why he was fired."
- Press the newly-added statement: "He fired me for..."
- Press the other extra statement: "The blackmail threat didn't..."
- Say, "Yes, he would."
- Present Desiree DeLite's Profile.
Ron's Testimony ~ At the CEO's Office: Witness Cross-Examination
- Press the 3rd statement: "If I hadn't been wearing that..."
- Press the new statement: "I'd have been killed if I hadn't..."
- Choose to "Press Harder".
- Present the Buzzer Record against the latest newly added statement: "I panicked and..."
- Say "I can prove it alright."
- Present the CEO Office Buzzer.
- When asked, answer "To call the security guard."
- Then present Luke Atmey's Profile.
A recess is called. Some events occur, and then you return to court for more cross-examination action.
Atmey's Testimony ~ The Alibi: Witness Cross-Examination
- Press the 2nd statement: "I had more than enough time..."
- Press the 4th statement: "The time at which..."
- Press the 3rd statement: "A photograph contains..."
- Say "You bet there is."
- When asked to, point out and present the spilled mess of paint.
- Next, present Ami Fey's Golden Statue.
- Present Luke Atmey's Profile when given the opportunity.
- When given the next prompt, point out and present the Timestamp of the image.
Atmey's Testimony ~ The Sacred Urn Heist: Witness Cross-Examination
- Present DeMasque's Calling Card against either the 2nd ("The urn was placed...") or 3rd ("Hence, I was actually...")
Atmey's Testimony ~ Motive for Murder: Witness Cross-Examination
- After this testimony is made, the Blackmail Letter gets updated in the Court Record.
- Present the Blackmail Letter against statement 3: "It was Mr. Bullard who..."
- When prompted, present the Newspaper Clipping.
- Present Luke Atmey's Profile when asked.
- The answer they're looking for is "A Blackmailer."
- Keep pushing, and present the Newspaper Clipping.
- Say "Can't prove it."
Atmey's Testimony ~ The Last Testimony: Witness Cross-Examination
- You only have one shot here. Even pressing anything wrong gets a game over.
- Press the 9th statement: "Mr. DeLite was wearing his..."
...and thus, the adventure ends. When you get the chance, present the Sacred Urn to finish off this story!
Case 3 - Recipe for Turnabout: spoiler-free walkthrough
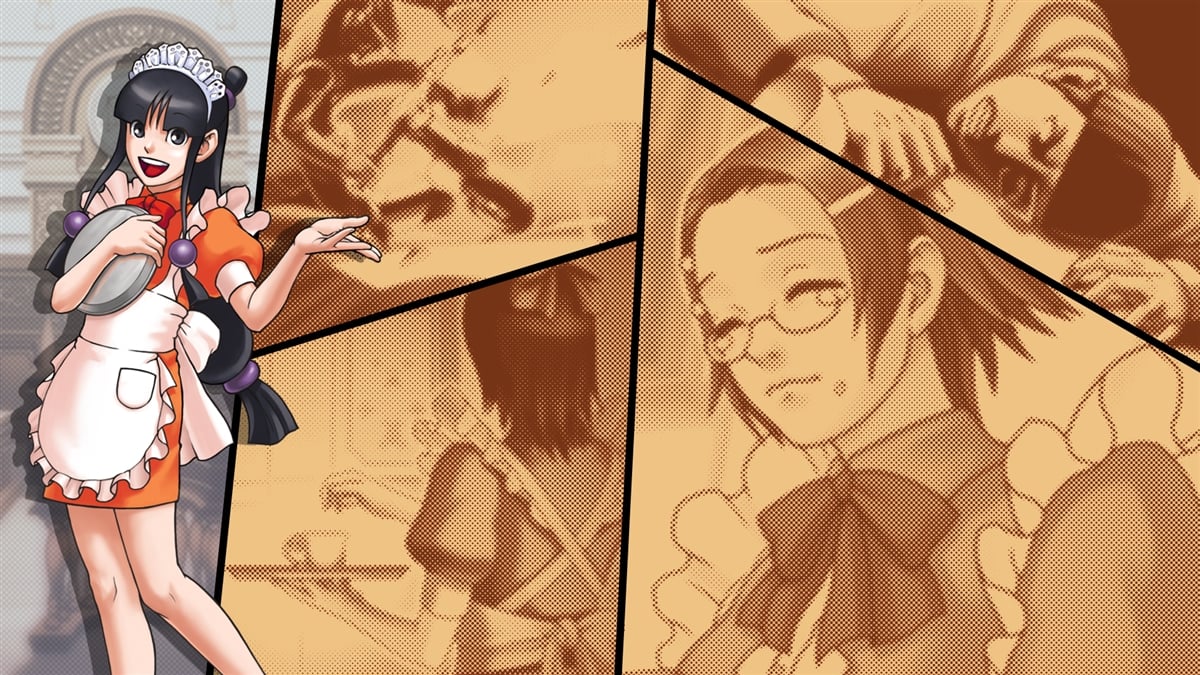
Phoenix's third case in Ace Attorney: Trials and Tribulations puts the fate of a repeat customer in your hands... But who really committed murder in the fancy French Restaurant? It's time to find out.
Case 3, Recipe for Turnabout: Part One Investigation
Your case starts out not with a horrifying crime or a desperate pea for help from a defendant, but with your friends, simply hanging out in your office. Pretty quickly, things take an... interesting turn.
- The case once again kicks off in the Wright & Co. Law Offices. After some chatter, the Magazine Clipping gets added to the Court Record.
- Move to the Detention Center to meet your client. Talk to them about all four topics.
- Present the Magazine Clipping.
- Make your way to Tres Bien. Examine the Magazine rack on the right to get the Sports Paper for your evidence list.
- Move back to the Detention Center. Present the newly acquired Sports Paper to Maggey.
- Move back to Tres Bien; there's now somebody here! Talk about all 3 topics.
- Present Maggey Bryde's Profile. This reveals 3 Psyche-Locks you can't yet break.
- Head to a new location - Vitamin Square. Examine the the magazine on the bench to get Job Listings added to the Court Record.
- Talk to the man here in Vitamin Square about all topics... not that it does you much good.
- Head on over to Tres Bien. Present the Job Listings.
- Return to the Detention Center, then as soon as you're able move to the Criminal Affairs Dept.
- Chat to Gumshoe about all of the topics.
- Then present the Sports Paper - you'll lose it from your Court Record for a while.
- Now, present Jean Armstrong's Profile, and then talk to Gumshoe about the new topic it unlocks.
- Go back to Tres Bien. There's somebody new to meet here.
- Talk to Maya about all of the available topics; the Lunch Special gets added to the evidence pile.
- Next, head to the Kitchen area.
- In the Kitchen, examine the kitchen countertop to get the Magatama added to the Court Record. Curious.
- Examine the box that's on the lower-left of the screen. The Small Bottle gets added to the Court Record.
- Move back to Vitaman Square. Examine the Scooter; that in turn adds the Scooter to the Court Record.
- Talk to the man that appears - you'll discover 3 Psyche-Locks.
- Go to the Criminal Affairs Dept - you'll have to move there via the Detention Center.
- When you arrive, Gumshoe returns the Sports Paper to you, but with an update for your records.
- Present the Small Bottle to Gumshoe - you again lose it from the Court Record.
- Talk to Gumshoe about the final, newly unlocked topic. Jean's Loan Contact gets added to the evidence list.
- Move back to Vitamin Square, and present the Magatama to the Old Man...
Psyche-Lock: Tres Bien Regular (Old Man)
- First of all, present the Lunch Special.
- Follow up by presenting the Job Listings.
- Next, present the Sports Paper.
- Finally, present Maggey Bryde's Profile.
- With that handled, move to Tres Bien. Present Victor Kudo's Profile.
- You'll be shunted back to Vitamin Square. Talk to Kudo here about every topic you can. Victor's Note gets added to the Court Record.
- Return to Tres Bien once more. Armstrong is here - and it's time to break another Psyche-Lock.
Psyche-Lock: Maggey's Motive (Armstrong)
- In this Psyche-Lock, you can get an achievement by presenting incorrect evidence at each stage of this Psyche-Lock - but only in newer versions of the game.
- First, present Jean Armstrong's Profile.
- Next up, present Victor's Note.
- Third, present Jean's Loan Contract.
- With the Psyche-Locks broken, present all your other evidence to Armstrong if you want that achievement.
- Now talk to him about the two newly unlocked topics. Victor's Note gets removed from the Court Record.
- With that done, it's time to head to court once more...
Case 3, The Stolen Turnabout - Part One Trial
You'll have the usual chatter before the trial, as well as a summary of the basic facts of the case. As part of this, Glen's Autopsy Report and the Tres Bien Floor Plans get added to your Court Record. Then things get rolling with a police testimony...
Gumshoe's Testimony ~ The Incident: Witness Cross-Examination
- Press the 1st statement: "When the incident took place..."
- Choose to "Press harder". The Crime Photo gets added to the Court Record.
- Press the 3rd statement: "Traces of poison were found..."
- Once again, choose to "Press harder". The Coffee Cup gets added to the Court Record.
- Press the 5th statement: "And, um... it looks like..."
- One last time, "Press harder". The Victim's Lottery Ticket gets added to the Court Record - and then after that, so too do the Apron and the Potassium Cyanide.
Gumshoe's Testimony ~ The Investigation: Witness Cross-Examination
- Press the 3rd statement: "The victim didn't have..."
- Press the 4th statement: "But we figured out..."
- Choose to "Ask about the prescription bag." The Victim's Prescription Bag gets added to the Court Record.
- Now, present the Victim's Prescription Bag against the 6th statement: "And that was it. There was..."
- You want to "Push the medication issue."
Victor's Testimony ~ What I Witnessed: Witness Cross-Examination
- Press on the 4th statement: "That's the serving girl..."
- When given the option, "Press harder".
- Press the newly-added statement: "There was a ribbon in her hair..."
- When prompted, "Ask about the waitress's back".
- This adds another line; present the Apron against that new statement: "There wasn't anything that they caught..."
Victor's Testimony ~ About the Victim: Witness Cross-Examination
- Present the Coffee Cup against the 5th statement: "The little fidget picked up..."
Victor's Testimony ~ Left Hand or Right Hand: Witness Cross-Examination
- Present the Glen Elg's Profile against the 3rd's statement: "He was fiddling...". The Victim's Prescription Bag would work, too.
Victor's Testimony ~ The Final Showdown: Witness Cross-Examination
- Press the Crime Photo against the 3rd statement: "Well, the clumsy idiot..."
The trial is paused for now, though you get Victor's Testimony in your Court Record for your trouble. It's time to go back to the investigation.
Case 3, Recipe for Turnabout: Part Two Investigation
It's back to the investigation - which, of course, begins in th Wright & Co. Law Offices.
- Move to Tres Bien. Gumshoe is here. Talk to him about as much as you can, and you'll uncover a Psyche-Lock.
- Present Maya's Magatama. We can break this lock right away.
Psyche-Lock: The Radio (Gumshoe)
- Simply present the Victim's Lottery Ticket.
- You can now talk to Gumshoe about one more topic. Millionaire Radio Flyer is added to the record.
- Present Glen Elg's Profile to get some key information off Gumshoe.
- Move to Blue Screens, Inc.
- Talk about all of the topics.
- Examine the papers scattered on the floor to get the Losing Horse Race Tickets added to the Court Record.
- Examine the empty desk to get Glen's Calendar added to the Court Record.
- Present Glen Elg's Profile to Lisa. This raises a new topic, but it's stopped by Pscyhe-Locks.
- Move to the Kitchen. Some folks are here. You can chat to Armstrong.
- Talk to Armstrong about the topics.
- Present Jean's Loan Contract to Armstrong to unlock some more topics.
- Remember you can present all of this case's evidence to Armstrong for an achievement.
- Move to the Tres Bien restaurant. After a short story event, Gumshoe's Lunchbox gets added to your Court Record.
- Head to Tender Lender, a new location accessible from Tres Bien.
- Examine the bookshelf. The Repair Bill is added to the evidence pile.
- Examine the CD player to get MC Bomber CD added to the record.
- Examine the box on the floor in the bottom-right - Tres Bien Matches get added to the Court Record.
- Examine the clothes on the rigth of the screen. The Paper Badge gets added to the evidence list.
- Once everything is found, talk to the new arrival about two topics.
- Present Furio Tigre's Profile. This allows you to open up a few new topics... one of which has a lot of Psyche-Locks.
- Make your way back to Vitamin Square. Talk to Victor about all topics. When given a choice, say "Suck it up."
- Move to the Kitchen, which is empty, and then to the Detention Center.
- Talk to Maggey about the two topics.
- Present Victor's Testimony to Maggey to unlock a new conversation option.
- Finally, present Gumshoe's Lunchbox to Maggey. It's removed from the Court Record.
- Move to the Criminal Affairs Dept. You can catch up with Gumshoe here:
- Talk about three topics.
- Present the MC Bomber to get an update to it in the evidence.
- Present Violetta's Profile to Gumshoe. This opens up a new topic of conversation.
- At the end of the chat, another Gumshoe's Lunchbox gets added to the Court Record.
- Take yourself back to Blue Screens, Inc. You can now break the Psyche-Locks of Lisa - so present Maya's Magatama.
Psyche-Lock: Glen's Trouble (Lisa)
- First, present the Losing Horse Race Tickets.
- Next, present the Victim's Lottery Ticket.
- Present Furio Tigre's Profile to back yourself up.
- Then present Glen's Calendar.
- Finally, present the MC Bomber CD from the evidence.
- WIth her Psyche-Locks broken, you can talk to Lisa about all three topics. This also updates the MC Bomber in the Court Record.
- Move to the Tender Lender. It's time to break another set of Psyche-Locks... Present the Magatama to Viola.
Psyche-Lock: The Head Bandage (Viola)
- Start out by presenting the Repair Bill.
- For an achievement, you can present incorrect evidence on this step on newer versions of Trials and Tribulations.
- Present Bruto Cadaverini's Profile.
- Next up, you'll need to present Furio Tigre's Profile.
- Prove your case by presenting the Scooter.
- Finally, present Bruto Cadaverini's Profile. Victory!
- With her locks broken, talk to Viola about the two previously locked-off topics. The Repair Bill gets nuked from the Court Record, but the Medical Papers get added to the Court Record.
- Move back to Tres Bien... but you're out of time. It's time to return to the courthouse...
Case 3, The Stolen Turnabout - Part Two Trial
Gumshoe is being helpful, and so he turns up before the trial and presents you with a new court record evidence piece - the Small Bottle. We start in court with Armstrong on the stand:
Armstrong's Testimony ~ At Tres Bien: Witness Cross-Examination
- Remember, if you're after that Armstrong-themed achievement, you need to press all of his statements.
- Present Glen Elg's Profile against his 5th statement: "La cup, la earpiece, and la glasses..."
Armstrong's Testimony ~ The Mirror: Witness Cross-Examination
- Remember, if you're after that Armstrong-themed achievement, you need to press all of his statements.
- Present the Crime Photo against the 3rd statement: "Z'at was la seat at z'e table..."
- When prompted, point out and present the Case on the table on the left of the image.
- Follow up by presenting Victor's Testimony.
- Say "The Victim was a phony."
Armstrong's Testimony ~ In the Restaurant: Witness Cross-Examination
- Remember, if you're after that Armstrong-themed achievement, you need to press all of his statements.
- Press the 2nd statement: "I remember la old man..."
- Ask "What time was it?"
- Present the Millionaire Radio Flyer against the newly revised statement: "I remember la old man arrived..."
- Say "Inside Tres Bien".
- When prompted to, present the Kitchen on the floor plan.
- Then present the Small Bottle.
Armstrong's Testimony ~ The Confession: Witness Cross-Examination
- Present Furio Tigre's Profile against the 2nd statement: "A man forced me..."
- When prompted, present Jean's Loan Contract.
After a fuss, the Judge calls a recess. But there's even things to do in the recess:
- During the Recess, present the Small Bottole to Gumshoe.
- Back in court, a new witness takes the stand.
Tigre's Testimony ~ The Tiger's Alibi: Witness Cross-Examination
- Press statement 2: "I was tied up with business..."
- When prompted, "Press harder."
- Present Glen's Calendar against the newly-added statement: "The day you'se talkin' about..."
Tigre's Testimony ~ The Victim, Glen Elg: Witness Cross-Examination
- Present the Tres Bien Matches against the 5th statement: I ain't never been to that..."
Tigre's Testimony ~ At Tres Bien: Witness Cross-Examination
- Present the Tres Bien Floor Plans against statement 2: "When I opened the door..."
- Next up, present Furio Tigre's Profile.
- Present Viola Cadaverini's Profile.
Tigre's Testimony ~ Ties to the Victim: Witness Cross-Examination
- Press the 6th statement: "If that waitress hadn't done..."
- When prompted, "Ask how things would've been."
- Present Viola's Medical Papers against the newly added statement: "I was after the $100,000...
- When prompted, follow that up by presenting the MC Bomber.
- Present the Paper Badge, when you can. A recess is called.
During the Recess, Gumshoe returns and hands over the Small Bottle again.
- When prompted to present your final evidence, present the Small Bottle.
- Say the bottle contains "Potassium Cyanide".
- In the case epilogue, present Gumshoe's Lunchbox to wrap things up - and that's case 3 over and done with!
Case 4 - Turnabout Beginnings: spoiler-free walkthrough
The adventures of Phoenix Wright: Ace Attorney - Trials and Tribulations continues with the fourth case, Turnabout Beginnings. As the name suggests... this is another flashback case. It's Mia's first trial - no investigations here, all action...
Case 4, Turnabout Beginnings: Part One Trial
- You'll begin with, and get, several Court Record items to start with.
- Gumshoe is called to the stand.
Gumshoe's Testimony ~ Summary of the Incident: Witness Cross-Examination
- Press the 1st statement "On the day of the incident..." The Victim's Note is added to the Court Record.
- Press the 4th statement: "The criminal stuffed her body..." A Crime Photo is added to the Court Record.
- Present the Victim's Note to the newly-added statement: "Here's a photo of the trunk..." The Scarf is added to the Court Record.
Gumshoe's Testimony ~ Events on the Dusky Bridge: Witness Cross-Examination
- Once this testimony is over, the Witness's Photo is added to the Court Record.
- Present the Crime Photo on the 4th statement: "Anyway, the criminal shoved the victim..."
- When prompted, point to and present the coat of the victim.
- Now, present the Scarf to back that up.
- Say the "witness's testimony".
Melissa Foster's Testimony ~ The Witness's Photograph: Witness Cross-Examination
- When this testimony is complete, the Camera is added to the Court Record.
- Present the Witness's Photo on the 4th statement: "That's when I hurried..."
- Present the Dusky Bridge Map against one of the revised statements: "She only got about 10 yards..."
Melissa Foster's Testimony ~ Running from the Crime: Witness Cross-Examination
- Present the Dusky Bridge Map against the 3rd statement: "I suppose that was the only way..."
- Present the Witness's Photo on the newly-revised statement: "The killer broke into..."
- Say "It doesn't work."
- Then say, "she put the corpse in herself."
- Present the Camera.
- When prompted, present the Blue V/Victim marker on the map.
- Present the Victim's Note.
Drama! A recess is called. When you return to the court, you'll get a bit of an exposition dump.
- During the chatter before the next testimony, the Diamond is added to the Court Record.
Melissa Foster's Testimony ~ Melissa Foster's History: Witness Cross-Examination
- Press the 4th statement: "Holding agrudge and killing the officer..."
- When you can, "Press harder".
- Choose to "Have it added to the testimony."
- Present the Scarf against the new statement: "I guess I'm lucky..."
- When asked, presen the Victim's Note.
- Present Dahlia Hawthorne's Profile.
- Present the Victim's Note.
Melissa Foster's Testimony ~ 5 Years Ago: Witness Cross-Examination
- Present the Dusky Bridge Map on the 4th statement: "That's when Mr. Fawles tried..."
- Next, present the Witness's Photo.
- Asked why, choose to present the Diamond.
- As it all comes together, present Terry Fawles' Profile.
Terry Fawles' Testimony ~ Who Terry Fawles Saw: Witness Cross-Examination
- Present the Witness's Photo against statement 3: "I watched my car..."
The case ends in a shocking manner. Then, it's back to the present - and back to Phoenix...
Case 5 - Bridge to the Turnabout: spoiler-free walkthrough

Here it is. The final case. And boy, is it a big one. If any case was worth following a specifically spoiler-free walkthrough for, it's this one. The first investigation phase kicks off, of course, in your office. Enjoy the ride.
Case 5, Bridge to the Turnabout: Part One Investigation
- In the Wright & Co. Law Offices, you'll get a slight starter on the case and get the "Oh Cult" New Years Issue added tom the Court Record.
- Head to the Main Gate. Talk about the various topics.
- Next, make your way to the Main Hall. Talk to Elise about the topics; you'll also get the Hazaruka Temple Map for your inventory.
- Move back to the Main Gate, and then right on to the Suspension Bridge.
- Then move to the Inner Temple Gate, then finally to the Training Hall.
- In the Training Hall, you'll briefly meet someone. Then examine the hanging scroll to add, er, Hanging Scroll to your Court Record
- Go back to the Suspension Bridge. Talk through all the topics to get Photo of Elise for your Court Record.
- Follow this up by presenting Iris' Profile. Talk about everything you can.
- You'll be automatically taken back to the Main Hall after story events...
- When you meet Iris, talk to her. You'll get Iris's Hood for the Court Record, and discover 5 Psyche-Locks.
More story events occur... and after them, you're going to be in a significantly different situation.
- Things pick up at the Detention Center. Talk to Iris about all topics. Some Psyche-Locks are revealed.
- Move to the Suspension Bridge. Gumshoe is here; chat to him about all topics and get the Weather Data added to your Court Record.
- Next, the Main Gate. Another person to talk to here; do so on both topics to find 3 Psyche-Locks.
- If you're on newer versions of the game, you can also present the Attorney's Badge at this point as a step towards an achievement.
- Move to the Main Hall, and talk to Bikini here. Talk about all four topics first.
- Follow this up by presenting Iris's Profile.
- Next, examine the slip of paper on the floor, in the upper-left. Note to Iris gets added to the Court Record.
- Now go to the Courtyard. Chat through everything with Gumshoe. Elise's Autopsy Report gets added to the Court Record.
- In the same area, examine the sword. The Shichishito gets added to the Court Record.
- Down in the snow, there's a staff. Examine it to add the Victim's Staff to your evidence pile.
- Move on over to the Detention Center. Iris is here. Present the Magatama.
Psyche-Lock: I Was Frightened (Iris)
- To start out, present the Note to Iris.
- Next up, present Phoenix Wright's Profile.
- With those locks broken, you'll be able to talk about two topics. Do so to get Hazakura Temple Map and Iris's Testimony added to your Court Record.
- Now move to the Heavenly Hall.
- In the Heavenly Hall, you can examine the flags in the back for the second step in the previously-mentioned achievement - but only in the newer versions of the game.
- Talk to Larry about the three topics. The last of the three triggers a few Psyche-Locks.
Psyche-Lock: The Night of the Crime (Larry Butz)
- First of all, present the Hazakura Temple Map.
- Next, when prompted to point a location on the map, point at and present the Heavenly Hall.
- Now, present Iris's Profile.
- Finally, prove it by presenting the Note to Iris evidence.
- With topics unlocked, talk to Larry... and discover a shed load more Psyche-Locks! Geez.
- It'd be nice to break these Psyche-Locks now, but you're out of time. It's Trial time...
Case 5, Bridge to the Turnabout: Part One Trial
This case continues in a fanservice extravaganza... as you'll see when you learn who you're up against.
- Before anything else happens, the Crime Photo gets added to the Court Record. After that, we jump straight into Cross Examination...
Bikini's Testimony ~ The Night of the Murder: Witness Cross-Examination
- Present Iris's Testimony against the 3rd statement: "So, I left Iris to help..."
- Present Iris's Hood on the newly-added statement: "Iris came to the Inner Temple..."
Bikini's Testimony ~ After My Bath: Witness Cross-Examination
- Present Elise's Autopsy Report against the 5th statement: "The stabbing I saw must have..."
Bikini's Testimony ~ Further Details: Witness Cross-Examination
- Press the 3rd statement: "I've never seen so much blood..."
- Choose to "Press Further".
- Present the Shichishito on the newly-added statement: "I saw the instant in which..."
Bikini's Testimony ~ Location of the Weapon: Witness Cross-Examination
- Once this testimony has been made, the Tracks Photo gets added to the Court Record.
- Press on the 3rd statement: "And there... I saw tracks!"
- Choose to "Press further".
- Present the Tracks Photo on the 5th statement: "Maybe they threw the weapon..."
- Say "There is a contradiction."
- To prove it, present the Weather Data.
- Next, present the Crime Photo.
- Finally, present Larry Butz's Profile.
A recess is called while a new witness is called up to the stand. In the recess, there's an interesting conversation - then it's back to court.
Larry's Testimony ~ What I Saw: Witness Cross-Examination
- Present Phoenix Wright's Profile on the 4th statement: "I didn't meet anyone..."
Larry's Testimony ~ What I Saw, Pt. 2: Witness Cross-Examination
- Press the 4th statement: "There was still some thunder..."
- Ask "Why didn't you call anyone?"
- Present the Weather Data on the new statement: "I arrived at the bridge...."
Larry's Testimony ~ The Missing 15 Minutes: Witness Cross-Examination
- Press the 2nd statement: "Sketching! In front of the bridge!"
- Choose to "Look at the sketch". Larry's Sketch gets added to the Court Record.
- Present Iris's Hood against the new statement about the sketch: "I saw Iris flying..."
Larry's Testimony ~ Proof that Iris Flew!: Witness Cross-Examination
- After this testimony, the Crystal Sphere gets added to your Court Record.
- Present the Photo of Elise against the 5th statement: "After all, no on else could have..."
- Say "Yes I can."
- Present the Crystal Sphere next.
- Finally, present the Tracks Photo.
- And with that, this section of the trial is over. It's all change, and back to investigation...
Case 5, Bridge to the Turnabout: Part Two Investigation
Things are going to go at least a little back to normal as the final case of Trials and Tribulations continues to wind on...
- After some story events, you'll find yourself on the Dusky Bridge.
- Move to the Main Gate. Talk to the person here.
- Move to the Main Hall. Talk to the character here; on one of the topics, a bunch of Psyche-Locks appear.
- Now a bunch of movements with little else happening. Go to the Courtyard, then the Main Hall, then the Suspension Bridge.
- Finally, move to the Training Hall. There's some stuff to do in here:
- Examine the interesting lock at the back of the room.
- Examine the Scroll. This updates the Hanging Scroll in the Court Record.
- Talk to the character here about all the topics, including that mysterious lock.
- Move to the Inner Temple Gate.
- Move to the Garden. There's characters to chat to and stuff to inspect here:
- Examine the red item in the snow. Kurain Master's Talisman gets added to your evidence list.
- Examine the Stone Lantern and the ground around it.
- Examine the red markings on the Stone Lantern.
- Talk to Gumshoe about all of the topics.
- Move to the Main Gate, have a chat, and then move to the Main Hall.
- In the Main Hall, it's time to break Bikini's Psyche-Locks. Present the Magatama.
Psyche-Lock: Elise Deauxnim (Bikini)
- First, present the Kurain Master's Talisman you just found.
- To prove who, present the Hanging Scroll.
- When prompted, it's "Elise Deauxnim".
- With the lock broken, talk to Bikini about the newly-unlocked topic.
- Then move to the Main Gate, and you'll be ushered to the Training Hall... and things begin to get weird.
- In the Training Hall, talk to Iris. You'll uncover yet more Psyche-Locks.
- Move to the Heavenly Hall. Talk to the characters here - and there's even more Psyche-Locks! Everybody is keeping secrets.
- Move to the Main Hall. Talk to Bikini about a bunch of new topics, including some real throwbacks from the first game, Phoenix Wright; Ace Attorney.
- Move to the Courtyard. This is going to be a busy place.
- Start by talking to Gumshoe about the topics in order. The Burnt Letter is added to the Court Record.
- When given the chance, choose to "Play Forensics Expert".
- You want to Check the Staff that's in the snow, on the left.
- Talk to Gumshoe about the new topic. Victim's Staff is added to the Court Record.
- Move to the Garden. Talk about all of the topics.
- Follow up by presenting ??????'s Profile. This unlocks two new topics, and adds a new Profile...
- Move to the Training Hall. Iris is here. We're going to break this wide open; present the Magatama.
Psyche-Lock: The Night of the Crime (Iris)
- First of all, present Bikini's Profile.
- Next, present Iris's Hood. You can also use Iris's Testimony at this step.
- You'll be asked a question. Say "There were two of you."
- Finally, to prove it, present Dahlia Hawthorne's Profile.
- You can now talk to Iris about three new topics. Revelations are abound. But you still have one more mystery to solve...
- Move to the Heavenly Hall.
- Present Maya's Magatama to Pearl - your final Psyche-Lock challenge of Ace Attorney: Trials and Tribulations.
Psyche-Lock: The Night of the Crime (Pearl Fey)
- Time to tackle all five locks. Start by presenting the Inner Temple on the map.
- Next up, present Maya Fey's Profile.
- Present the Burnt Letter.
- When talking about channeling, present Dahlia Hawthorne's Profile.
- Now present Morgan Fey's Profile.
- Finally, present the Hanging Scroll.
- And that's it! You can now talk to Pearl about three topics for key information - and it also updates the Burnt Letter in the Court Record.
- That's all you get, however - it's not down to a session in court. We're here to hold your hand...
Case 5, Bridge to the Turnabout: Part Two Trial
Before the Trial starts, you'll be conversing with Edgeworth. You get a status report. And when you enter court, Iris is taking the stand...
Iris' Testimony ~ The Real Murderer: Witness Cross-Examination
- Press the 3rd statement: "While Mystic Maya..."
- Say, "There is one thing..."
- Present the Victim's Staff from your Court Record on the newly-added statement: "She threw her staff..."
- Next, present Elise Deauxnim's Profile.
- After some chatter, the Dagger will be added to the Court Record.
Iris' Testimony ~ The Battle: Witness Cross-Examination
- Present Elise's Autopsy Report against the 4th statement: "That's when Mystic Maya..."
- After more chatter, the Stone Lantern will be added to the Court Record.
Iris' Testimony ~ Sister Iris's Cover-Up: Witness Cross-Examination
- Press the 5th statement of this testimony: "Then I used the snowmobile..."
- Choose to "Ask about the tracks".
- Say, "It's very important."
- Present the Weather Data evidence on the 4th statement "I dragged it behind me..."
Iris' Testimony ~ Moving the Body: Witness Cross-Examination
- Once this testimony is first made, the Dusky Bridge Photo gets added to the Court Record.
- Present Larry's Sketch on any of the statements you like.
- Say that it's "A complete contradiction".
- Point to and present one of the Suspension Bridge Wires shown in the sketch.
- Present the Dusky Bridge Photo.
- Do it again - present the Dusky Bridge Photo.
- Present Elise's Autopsy Report.
- Present Iris's Profile.
- Now present Dahlia Hawthorne's Profile.
- Assert that "There was one..."
- Now present Miles Edgeworth's Profile.
To. Be. Continued. Take a breather. Do whatever you need. And get ready for the rollercoaster to continue when you return to trial... which, of course, continues with testimony.
Dahlia's Testimony ~ The Plan: Witness Cross-Examination
- Press all 5 of the statements in the order they were given.
- After pressing all 5, a new statement is added.
- Present Mia Fey's Profile against the added 6th statement: "Do you understand why..."
- Present the Hazakura Temple Map when you get the opportunity to do so.
- Say "In this very courtroom."
- Now present Maya Fey's Profile.
- Major events take place. The Victim's Staff gets updated in the Court Record.
There's another to be continued stinger - they're really making the most of this drama - and then you're back in court.
- During pre-testimony chatter, you get some results back, updating the Dagger in the Court Record. Then, a new witness takes the stand...
Maya's Testimony ~ At the Inner Temple: Witness Cross-Examination
- Press on the 2nd statement: "Suddenly, someone struck..."
- Choose to "Press her harder".
- Press the 4th statement: "I think I screamed..."
- Choose to ask about "My last hope."
- Present the Stone Lantern on the new statement: "I could see a man..."
- Present Godot's Profile.
Maya's Testimony ~ The Killer: Witness Cross-Examination
- Press the all of the statements, in order, 1-5.
- Then, press the 2nd statement again: "By the time I got back to the garden..." Maya adds a new statement.
- Present the Stone Lantern on the new statement: "I think it was for my sake..."
- Announce that "The killer didn't notice it."
- Go ahead and present Godot's Profile once again.
Maya's Testimony ~ After the Incident: Witness Cross-Examination
- Press the 5th statement: "He found Pearly first..."
- Choose to ask about "Godot's Investigation".
- Present the Hanging Scroll on the 4th statement: "That's when Mr. Godot..."
- Present the Burnt Letter.
- Finally, present Mia Fey's Profile.
Maya's Testimony ~ The Time of the Murder: Witness Cross-Examination
- Press the 1st statement: "...Just before it happened..."
- Choose to "Press harder".
- Press the 5th statement: "...Just at that moment..."
- Say, "There is a contradiction."
- Present the Dagger.
- Finally - say it with your chest - present Godot's Profile.
- When you get the chance, after the trial, present Peal Fey's profile.
And that's it! You're completed yet another Ace Attorney adventure, and the final in the Phoenix Wright: Ace Attorney Trilogy - and now the adventure continues with Apollo Justice. If you're moving straight on, head to our Apollo Justice: Ace Attorney Walkthrough guide! For now, however, bask in your victory, and in hbow all those stories so perfectly tied up together. Congratulations!