
Final Fantasy V Boss Guide: every boss and how to beat them
Ask a dozen Final Fantasy diehards for their opinions on the series and you'll get a dozen different answers, but there are a few common refrains. Among them is the fact that Final Fantasy V is a chapter to be played first and foremost for its gameplay. That's not to say the story's bad, but it doesn't quite aim for the melodramatic heights of its SNES brethren — and when the fighting's this fun, that's perfectly OK.
Picking up from the roots firmly planted by the FF3 job system, FF5 expands the system in excitingly strategic ways, many of which are detailed in our full FF5 job system guide. With powerful customization handed to the player, FF5's boss fights are thus suitably amped to test your skills. This guide will offer a few tips and tricks for every encounter but never forget the game's golden rule: don't stick to a single Job Class. Level up a few of your favorites for each party member and you'll have a far safer time on your quest to bring down the nefarious Exdeath and his minions.
Battles are listed roughly chronologically from the beginning of FF5 to the end. Bear in mind, this guide also includes optional encounters, so if you don't take a detour toward certain skippable fiends at the earliest opportunity, you may find things a tad out of order here. Play the game at your leisure and return for those listings whenever the need arises.
Let's fly.
Final Fantasy 5: World 1 Boss Fights
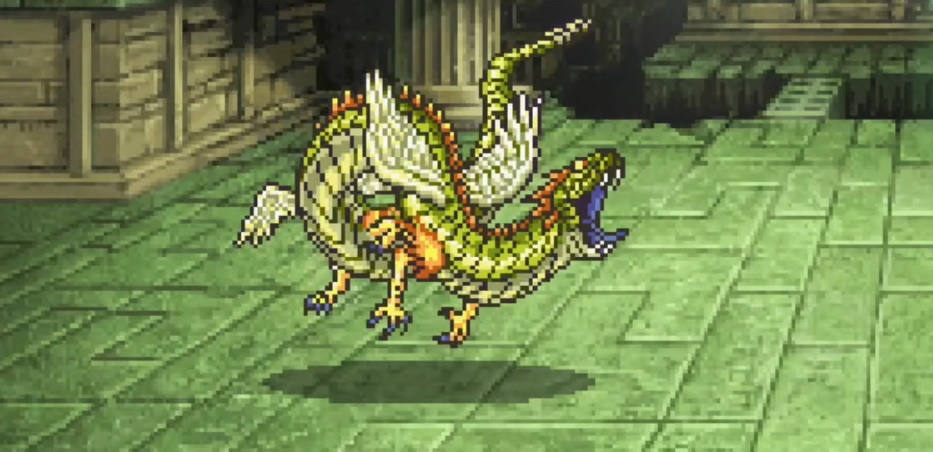
Wing Raptor
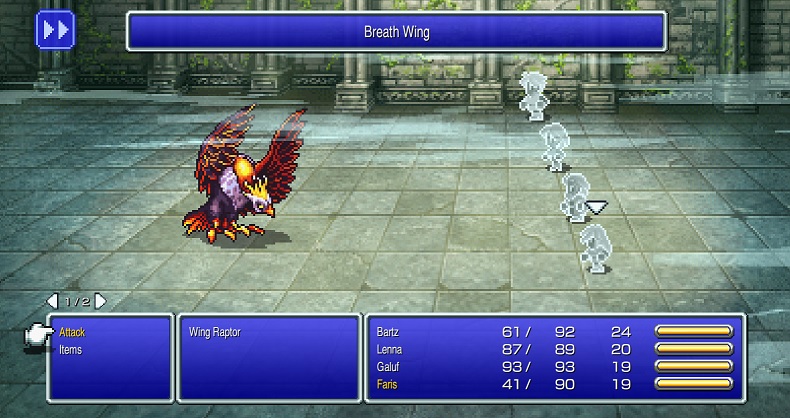
- This bad bird's signature attack is Breath Wing. It's a multi-target wind-elemental strike that hits each party member for 1/4 of their HP.
- There's a two-in-three chance that Wing Raptor will use Breath Wing every turn it's on the offensive; otherwise, it will use a simple, single-target attack.
- After two rounds, Wing Raptor will fold its feathers over its body defensively. If you attempt to hit it during this phase, it will counterattack with Claw, a hard-hitting beatdown you'd be better off avoiding.
Karlabos

- Tail Screw's the attack to look out for here. Whoever it hits will have their HP reduced to a randomized single-digit number. A White Mage who can cast Cure each round is handy to have, but Potions remain a viable choice this early on.
- Feeler is just another name for Paralyze. When a party member is paralyzed, they can't act; luckily, this is only temporary.
- Karlabos is weak to Thunder. If you're training a Black Mage right now (and you probably should), spam that spell until it drops.
Siren
- Siren has two distinct phases: normal and undead. After every third turn, she switches between them.
- Normal Siren has a low defense stat, which means pummeling her with physical attacks is the wiser course of action.
- Undead Siren is weak to curative abilities such as the Cure spell and your stock of Potions, so toss it all at her when you can. Note that using a Phoenix Down on her is pointless; it won't affect her at all.
Magissa
- Magissa likes to use basic-level elemental spells on you. A White Mage with the Silence spell can simmer her down sharply in this regard.
- Midway through the fight, Magissa summons an ally called Forza. He uses nothing but physical attacks, but casting Sleep on him will help your glass cannon mage classes survive the battle.
Garula
- This guy's strength is noteworthy, but two out of his three main moves are based on exactly that stat so characters with the Guard ability can block them with ease.
- Garula's other shtick is casting Toad, so Silence him to stop those shenanigans.
- A nice trick to breezing through this battle is to give everyone Guard and Counter. After Toad is no longer on his menu, Garula becomes essentially powerless and will eventually die from your party's counterattacks.
Shiva
- She's accompanied by three Ice Commanders. RPG veterans often know to "eliminate adds" first in multi-enemy encounters, so have your physical hitters strike them swiftly.
- On the other hand, a Black Mage with Fira can target the whole squad, likely taking out the Ice Commanders in just a few turns. If you have it handy, Haste will help the Black Mage do its dirty work that much faster.
- Shiva herself just sits there and spams Blizzara on everyone time and again. At average levels for this part of the game, Blizzara can hurt a lot, so keep someone on healing duty to be safe.
Liquid Flame
- Liquid Flame has three separate forms: Human, Hand, and Whirlwind. It cycles between them every time it's hit, so you're going to be seeing a lot of each one.
- Each form automatically utilizes a set counterattack before shifting. Human's is Blaze, which hits the whole party for a quarter of their max HP. Hand's is a single-target Fira. Whirlwind's is a multi-target Magnet, which pulls anyone in the back row forward into the front row.
- Blizzara, Blizzara, Blizzara. Spam that spell to your heart's content. A Mystic Knight with Blizzara cast upon their sword can also hit hard. Gravity works on the Human and Whirlwind forms, and it can drop Liquid Flame's HP by half if used before anything else in battle.
Iron Claw
- There's a way to go into this battle without battling Iron Claw itself at all. The fight starts with Bartz and friends going up against Sergeant and three Curr Nakks. Don't attack the Curr Nakks at all. Just whittle down Sergeant's HP. If you can knock him down in short order, he never transforms into Iron Claw.
- But if you do that, you won't be able to learn the excellent Blue Magic spell, Death Claw, for a long while yet. Nor will you get Iron Claw's bestiary entry.
- Iron Claw uses physical attacks and Death Claw in equal measure. Magic is a bit better than regular attacks. Sleep and especially Stop can thwart this bounty hunter's ambitions.
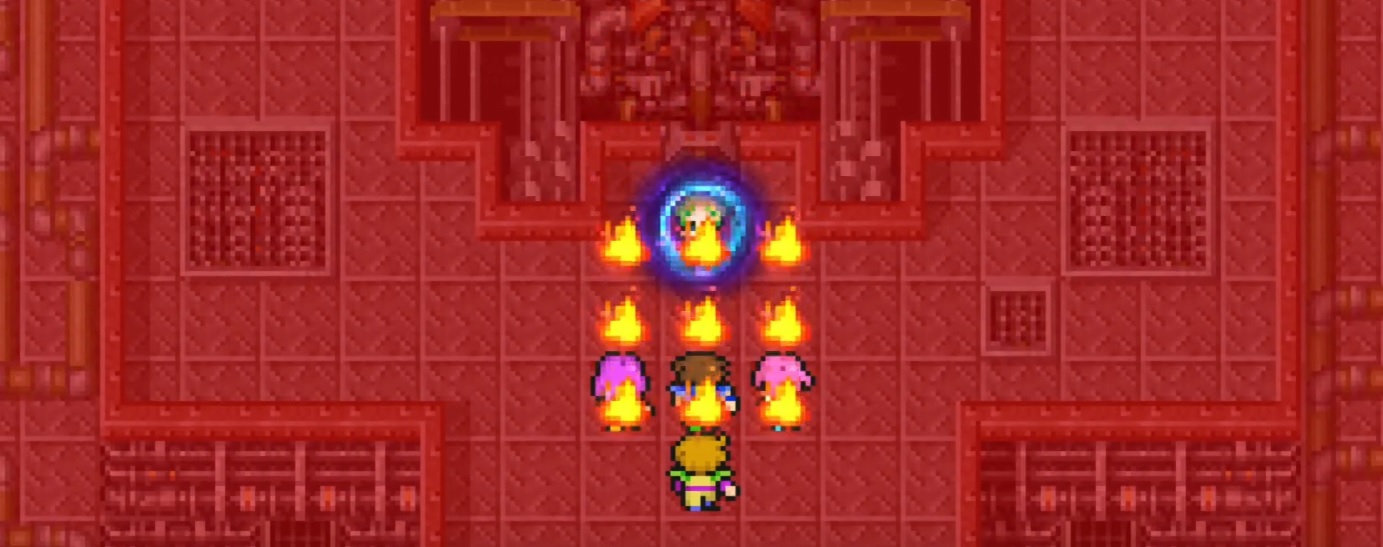
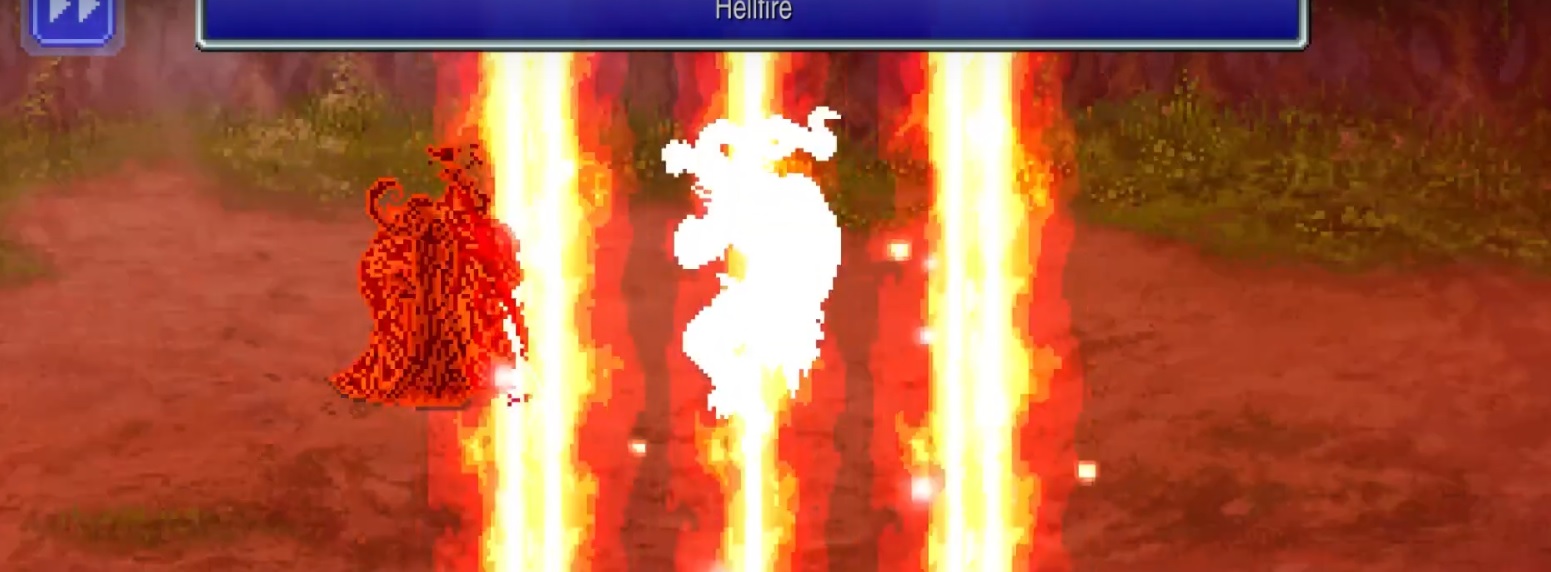
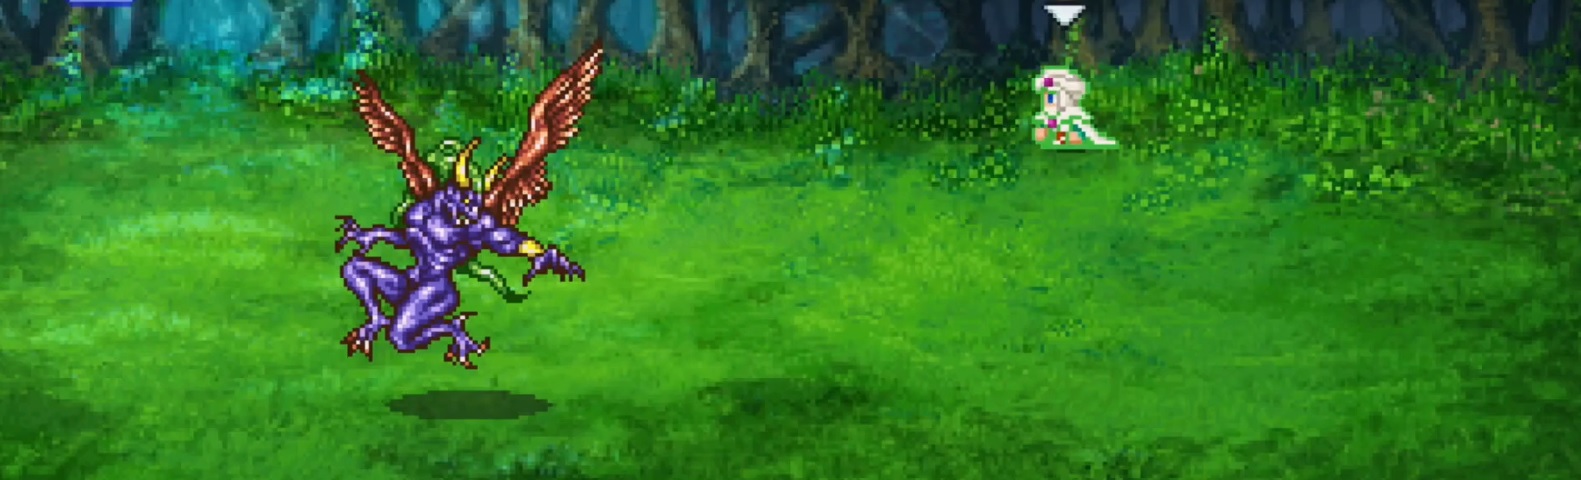
Ifrit
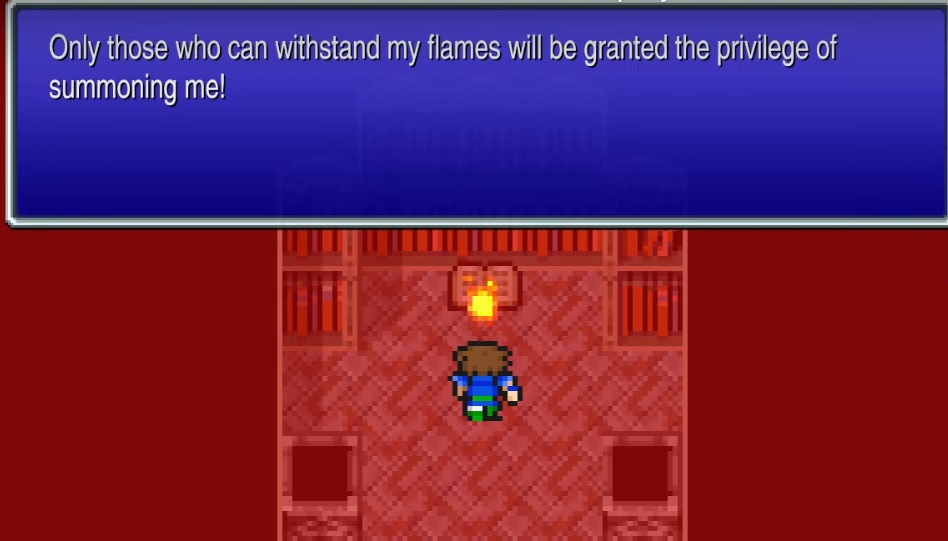
- The big guy likes to cast Fira, Blaze, and inflict Paralyze with High Kick. Of these, you'll probably find Fira to be the most brutal. Have a dedicated healer in this fight, as the move can and will dish serious damage to its target.
- Unsurprisingly, ice is nice. Blizzara once again proves its worth; Mystic Knights with Blizzara Sword are an equally safe bet.
- Silence will tell Ifrit to can it with all the Fira. Do it.
- Above all, never, ever cast Confuse on Ifrit. He'll start using Firaga (!) on himself, healing vast quantities of HP and frustrating you until he's snapped out of it.
Byblos
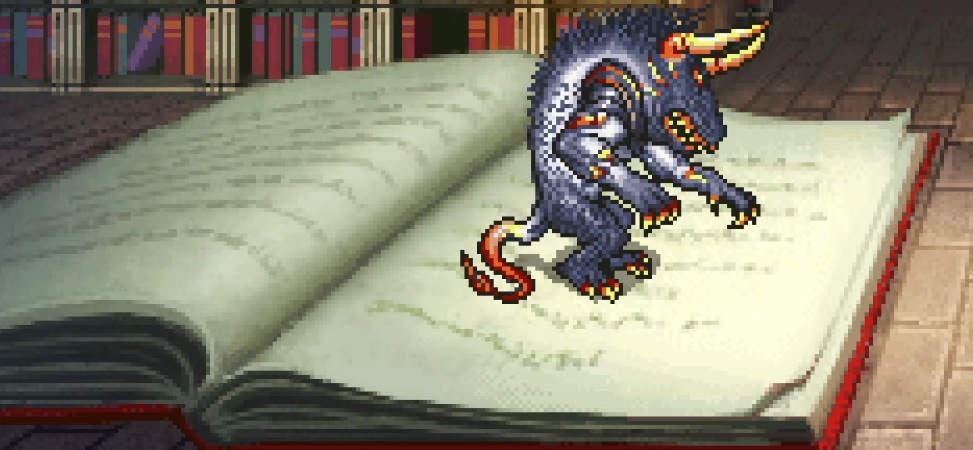
- Byblos' Wind Slash attack and tendency to counter physicals with Protect and magic with Toad can make him a mean customer. But you've got everything you need to turn the tide.
- He's weak to fire, and you just so happened to get Ifrit not ten minutes ago, so use it on him to your heart's content. Cast Fira on him and/or the Mystic Knight's Fira Sword.
- This is another boss who can be made into mincemeat with a few castings of Gravity. Use it at the start of the fight and he'll have his HP cut in half; use it thrice and he's down to a laughable 450HP.
Ramuh
- Flash can blind your whole team, but going into the battle with the Silver Specs accessory will prevent that. Or, you know, you can just heal it manually.
- Thundara is a big threat here and at this point in the game, there's not a whole lot you can do about it except to heal. That said...
- Blue Mages will have a field day. If you learned Death Claw from Iron Claw, you have a one-in-three chance of slaying Ramuh outright with every casting. And if you've picked up Dark Spark from a Black Flame foe on the islands near Crescent, Ramuh's level will be reduced to 10, meaning Level 5 Death will seal his fate.
- A Beastmaster who catches a Mini Dragon and releases it against Ramuh will reliably hit the poor old guy for over half his total health. Catch two of the fiends and he's out of commission.
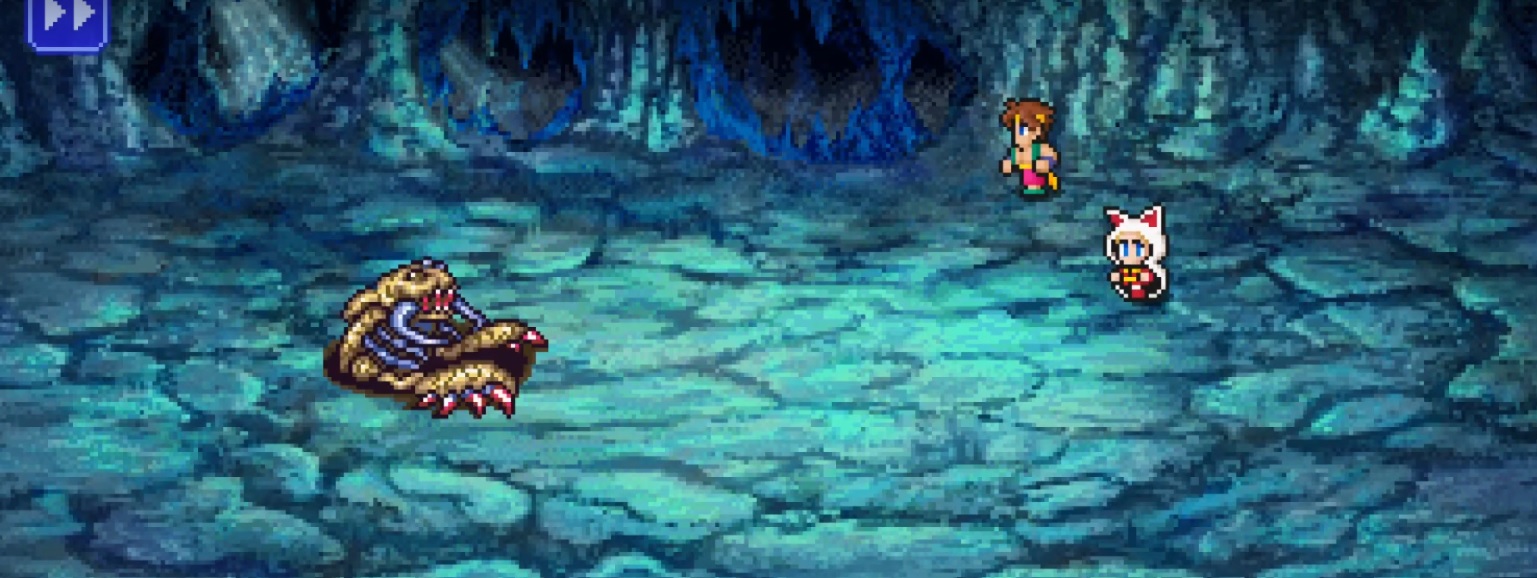
Sandworm
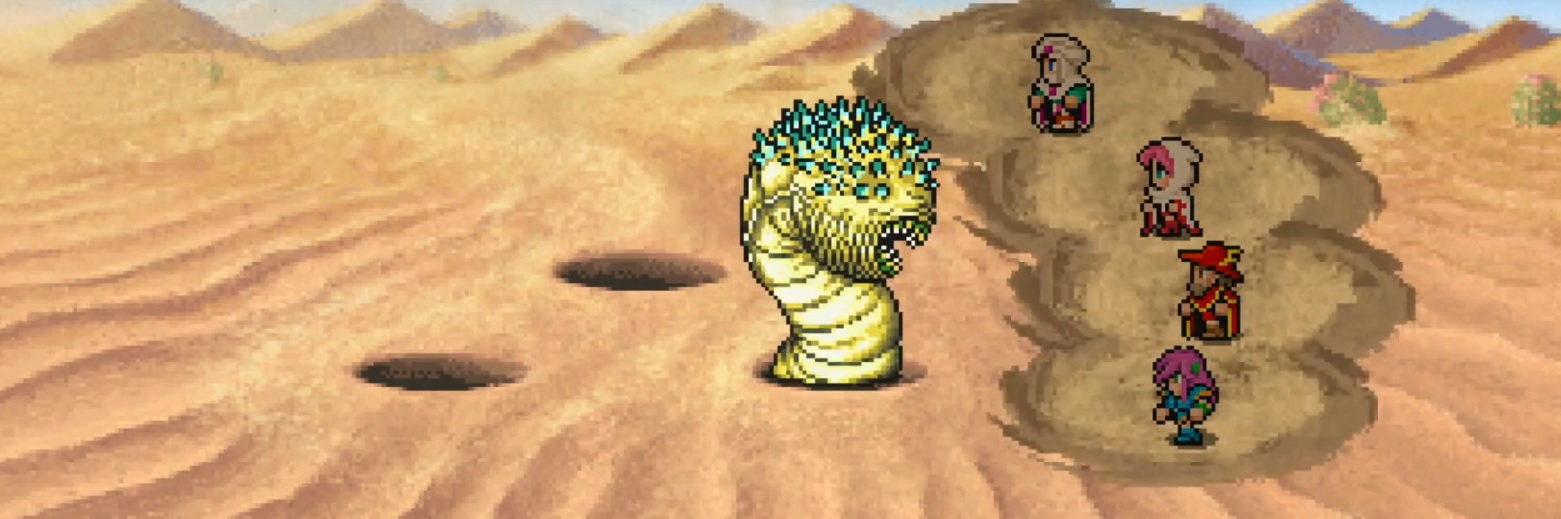
- This is rather whack-a-mole. Sandworm only ever occupies one of these three holes at a time. Don't use anything non-magical; if you should strike the wrong hole, the beast counters with Gravity, which is just as painful to get hit with as it is delightful to hack your enemies with.
- Do you have a Ninja handy? Water Scrolls count as magic-based, so consider purchasing several beforehand to turn this worm into dust.
Cray Claw

- This one's easy. All Cray Claw does is use two physical attacks, one of which has the added bonus of inflicting the target with Sap.
- Thundara, Ramuh, Thunder Scrolls, and everything else with a little lightning involved is all it takes.
Adamantoise
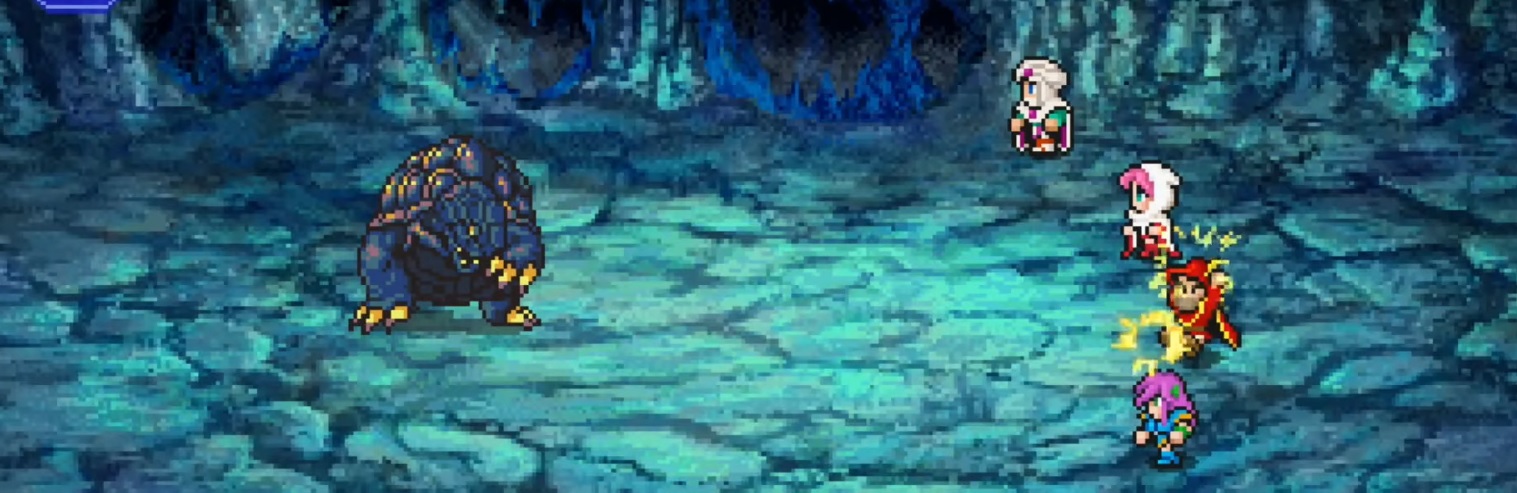
- Protect and Shell are applied to Adamantoise nonstop, so you'll simply have to deal with that. It's not as bad as it sounds.
- Blizzard-related strikes are great.
- Level 5 Death is that much greater.
Soul Cannon

- Soul Cannon charges for several turns — eight, we believe — before firing its Wave Cannon attack that hits for half of each character's max HP. Don't confuse this with "each character's HP halved" like a lot of Gravity-related attacks! What this actually means is that even ignoring the Launcher adds, you will die after two Wave Cannons no matter how strong you are.
- Either use Level 5 Death on the Launchers or pelt them with Thundara and the like.
- The Launchers will inflict Old, which frankly sucks. Your party's levels are going to drop rapidly (temporarily, of course) until cured. Eliminate the Launchers first.
Archeoaevis
- Archeovis' element shifts throughout the battle. In other words, Thunder/Fire/Blizzard isn't the answer this time around.
- Frost, Blaze, Breath Wing, and Lightning are all the elementally-named attacks that shave off each party member's present HP by 1/4 of its maximum. You've seen them all before.
- Pound away with debuffs and your most powerful physical attacks.
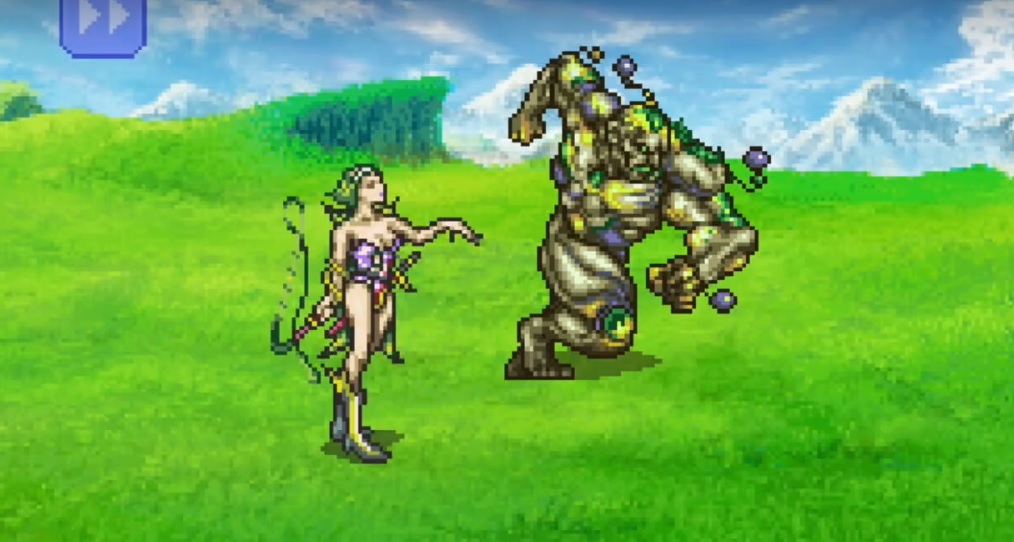
Titan
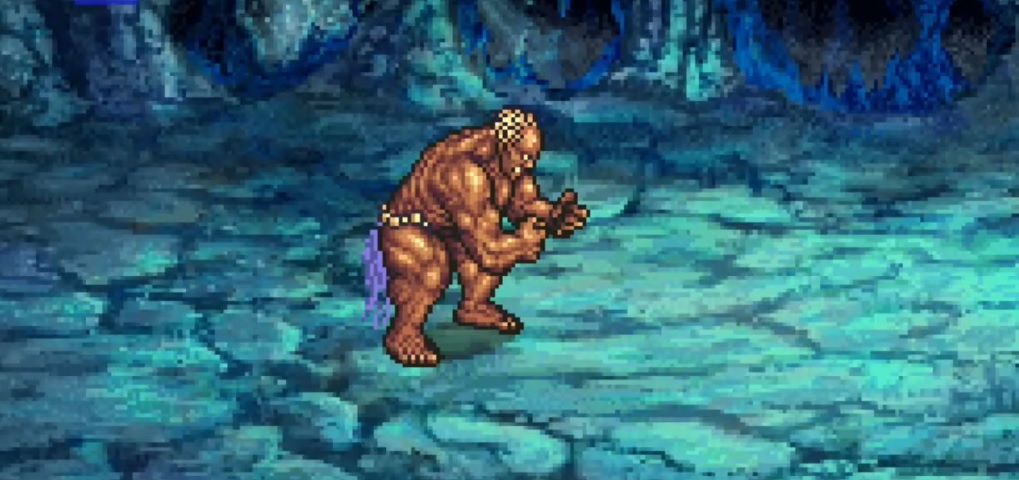
- Earth Shaker hits hard with Earth-based damage. The physical attack is a single-target variety that also hits hard.
- Magic attacks and caught monsters can inflict a good deal of damage. This is pretty straightforward stuff. Just keep a healer around in case things get ugly.
Purobolos
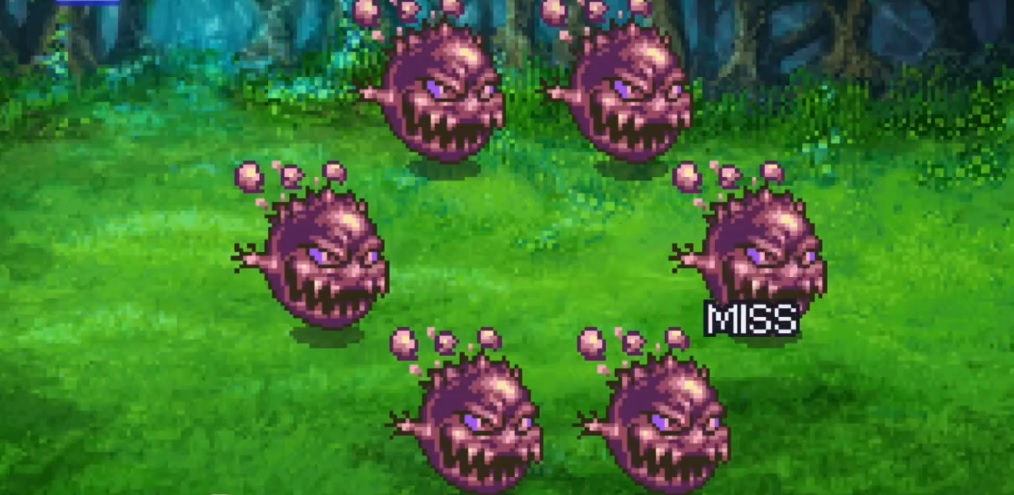
- There are six of these suckers and they love to revive each other. They also enjoy Self-Destructing. As you might imagine, this is no good.
- Ninja Scrolls and multi-target spells are honestly all you really need. Whatever you do, strive to eliminate as many of them simultaneously as possible. They each have 1500 HP, so you can use that as something of a timer.
Manticore
- Frost is Frost; been there, done that. Aqua Breath is a multi-target attack that does fair damage to any average-leveled party here.
- Gravity, followed by Gravity, followed by, you guessed it, Gravity. After that, it's a prescription for pummeling. Aren't Time Mages nice?
Final Fantasy 5: World 2 Boss Fights
Abductor
- Your brief introduction to World 2 involves this strapping lad. He's nothing to write home about.
- Pretty much everything's on the menu here. You can tackle Abductor however you'd like; and for the record, Stop works wonders.
- Hurricane is the only attack to worry about. It reduces the target's HP to 1, so be on the lookout for that.
- Amusingly, losing here doesn't result in a game over. You'll lose an Ether, though, and that's just rude.
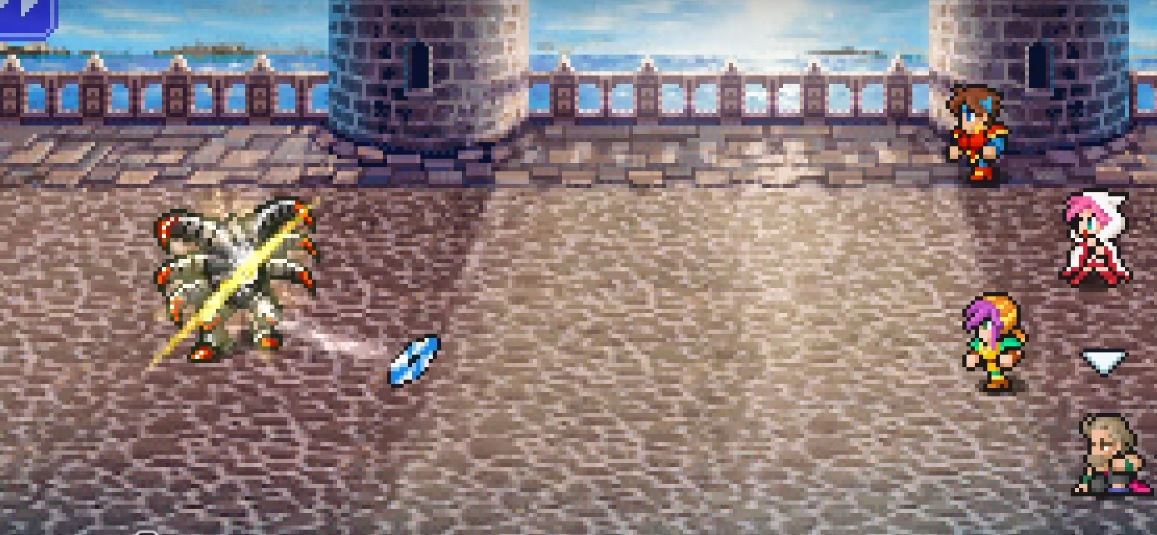
Gilgamesh
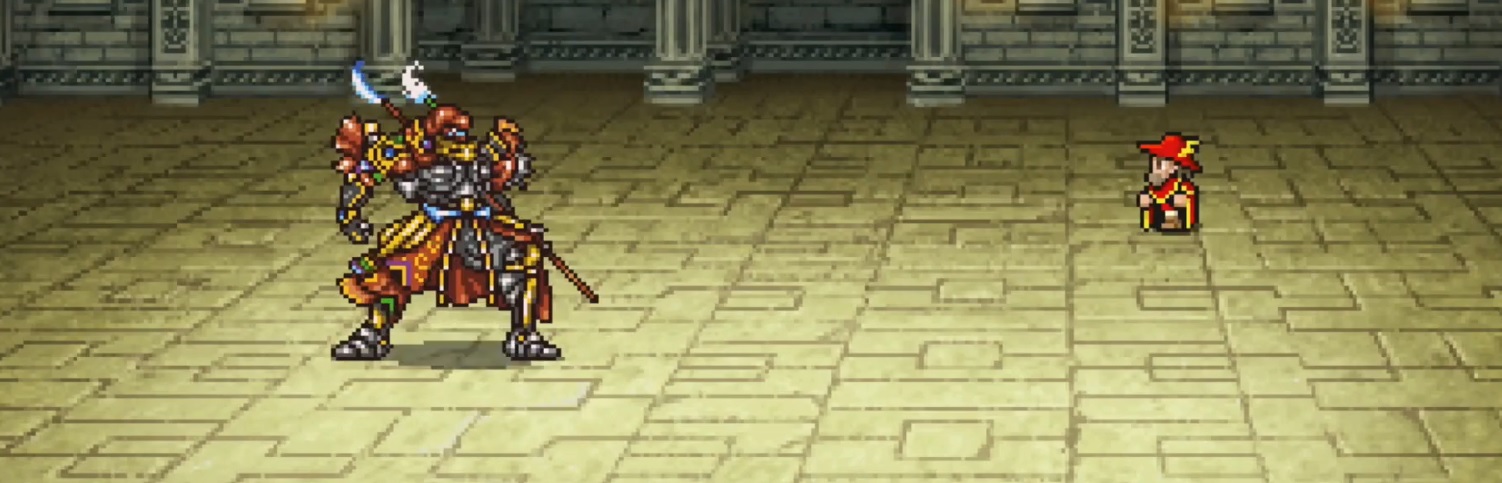
- First of all, and this is absolutely vital to your strategy, I should note that Gilgamesh is the coolest character in the game.
- If you scan him, you'll notice he has 10,000 HP. That's staggering at this point in the game. Don't worry about it one bit. All it takes is a few hits and he leaves.
- To that end, cast Gravity once. Voila.
Gilgamesh (Big Bridge)
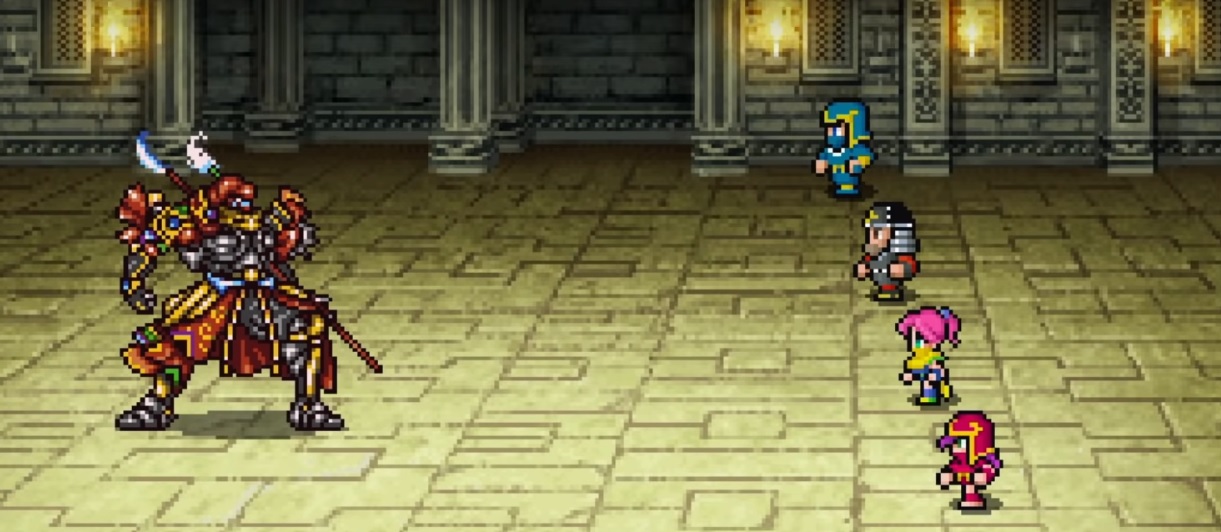
- He's actually serious this time. He'll cast Haste, Shell, and Protect on himself throughout the battle, as well as multi-target Aera and a physical with a high chance of inflicting a critical hit.
- That said, he's still not much to worry about. While there's an effort in his punches, it won't take much effort on your part to bring him down. He's not weak to any particular element, but he's not exactly bulletproof to any of them, either. Nor is his defense stat stellar. Everything goes, really.
Tyrannosaur
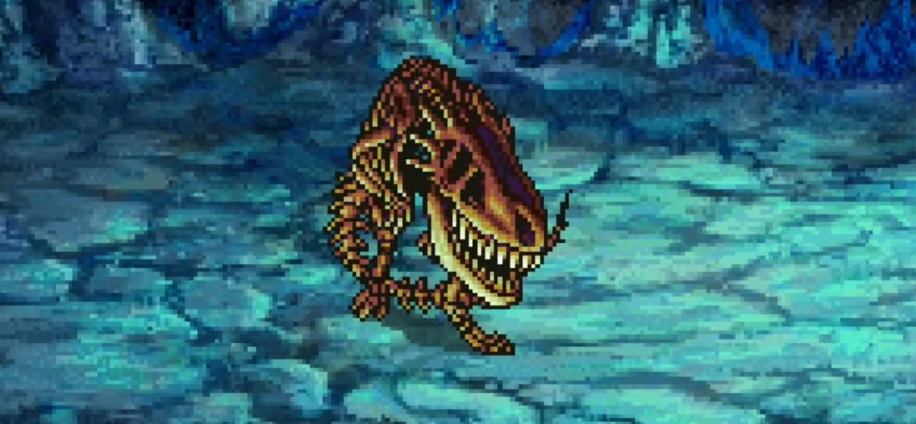
- Tyrannosaur will smack somebody with a physical attack virtually every single turn, and it's not exactly a pat on the shoulder. Bring a healer.
- The real kicker is its ??? attack, which works almost the same as a Blue Mage's ??? attack. For the understandably uninitiated, however much HP Tyrannosaur has lost is then subtracted from however much the target party member has lost. With 5,000HP, this can spell disaster.
- Conveniently, however, a Phoenix Down spells the Tyrannosaur's disaster. Seriously, just chuck one at him and call it a day.
Abductor

- It's Abductor again. It has a bit more HP this time but is otherwise identical. Also, there are four of you. It's toast.
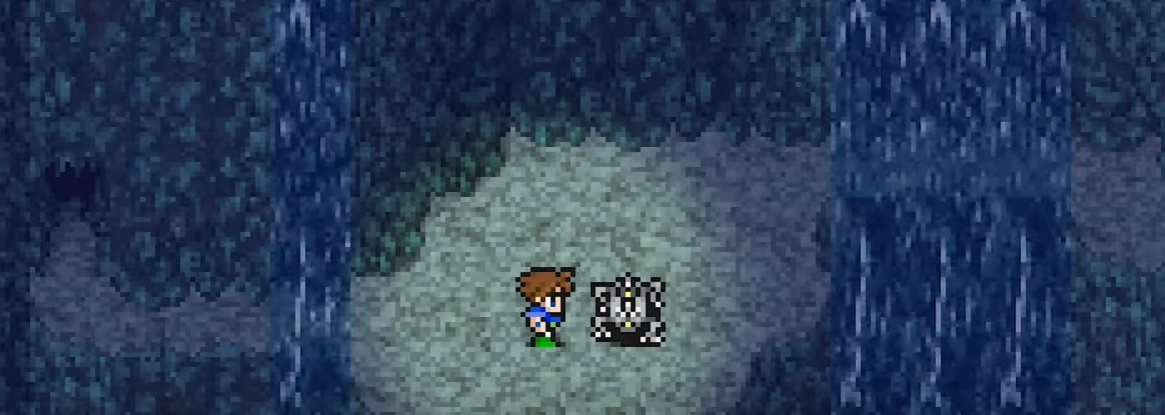
Golem
- OK, so technically you're trying to keep Golem alive against a Bone Dragon and a Zombie Dragon, but most players tend to think "Golem" first and foremost regarding the battle in which you can obtain the summon.
- Both of your foes are Undead, which means Fire and Cure spells will wreck them. This really isn't much of a fight; you just need to make sure Golem doesn't go down before the dragons do.
Dragon Pod
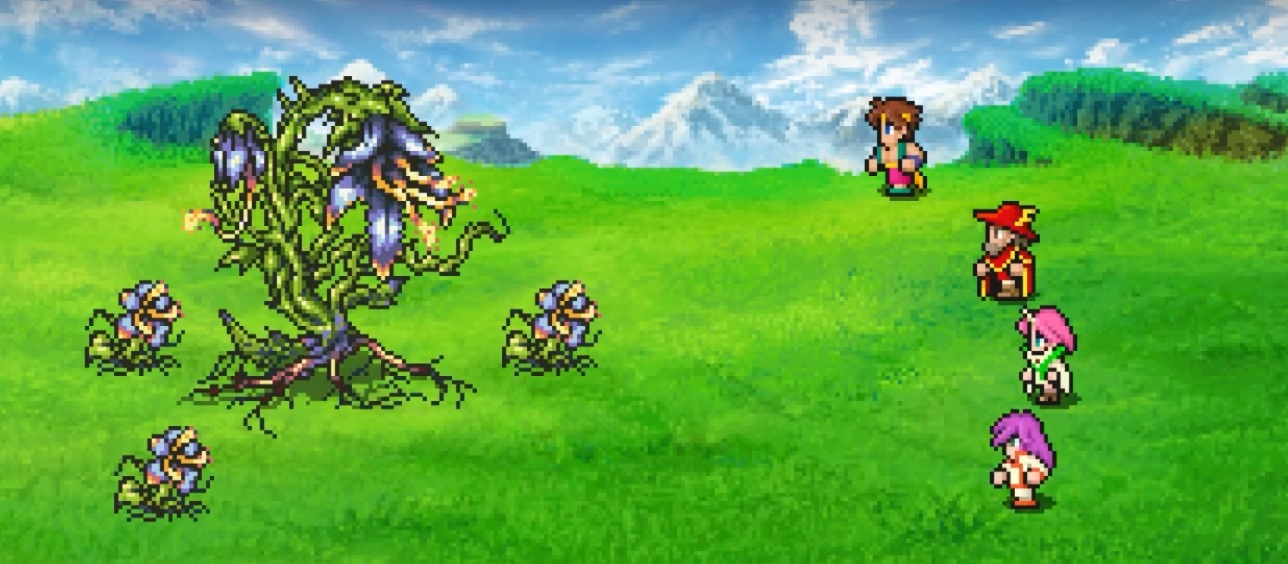
- The Dragon Pod has one attack, and it's technically an indirect one. It summons Dragon Flowers ad nauseam.
- The Dragon Flowers, on the other hand, love to spam moves that do damage against your team whilst simultaneously inflicting them with one of several status effects.
- That's annoying, of course, but the Flowers are about as weak as their nomenclature insinuates. One or two multi-target attacks, such as elemental magic or (even better) Kick, should do the trick.
- Death Claw's a fantastic choice against the Dragon Pod. Gravity's a valid strategy yet again. If your party composition doesn't involve those, just have a physical hitter like a Knight slash the thing every turn while your Mages, Monk, etc handle the Dragon Flowers.
Gilgamesh (with Enkidu)
- Gilgamesh has Death Claw, so expect to see your squad's HP drop perilously close to single digits throughout the fight.
- Enkidu's primary role is to heal Gilgamesh, and the loyal dog arrives at the scene about halfway in. He moves fast and has access to a wide variety of attacks. Knock him out before worrying about Gilgamesh any further.
- Haste can give your party an edge on speedy Enkidu. Combined with a recurring dose of Slow, the pup's irksome healing ability will be essentially halved.
Atomos
- Quite likely the hardest boss up to this point if you go in unprepared. Atomos' arsenal includes Gravity, Slowga, Graviga, and even Wormhole (which removes the target from the battle altogether).
- Luckily, Atomos is vulnerable to Sleep. It may take a few castings, but once it hits, it knocks it out cold. Keep Sleep going while you beat it down with whatever you've got (not especially helpful, I know, but it has no real weaknesses).
- Unless you're overleveled or you've been around the block a few times, this fight is thus either difficult or a cakewalk. Take the cakewalk. Keep Atomos asleep.
Catoblepas
- There's one thing to look out for here and it's Evil Eye, a counterattack that can Petrify a party member. Suffice it to say, have Gold Needles or Esuna on hand.
- You're going to see this come up numerous times throughout the rest of the guide: summon Golem. Evil Eye notwithstanding, Catoblepas is otherwise fairly feeble if he can't do solid physical damage.
- As for the offensive, he's vulnerable to both Poison and Stop. The former is an excellent approach; he goes down faster than you might expect.
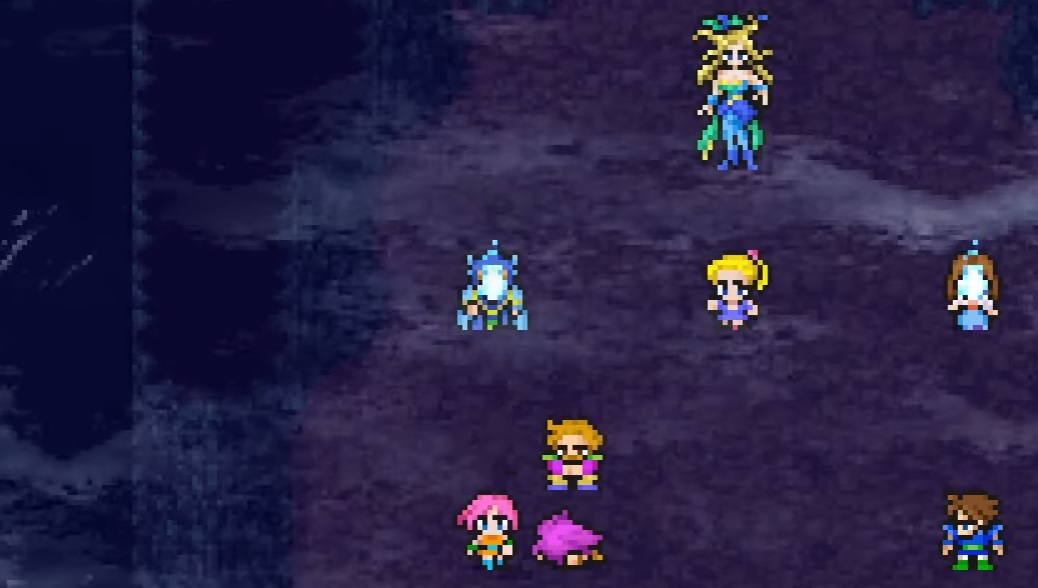
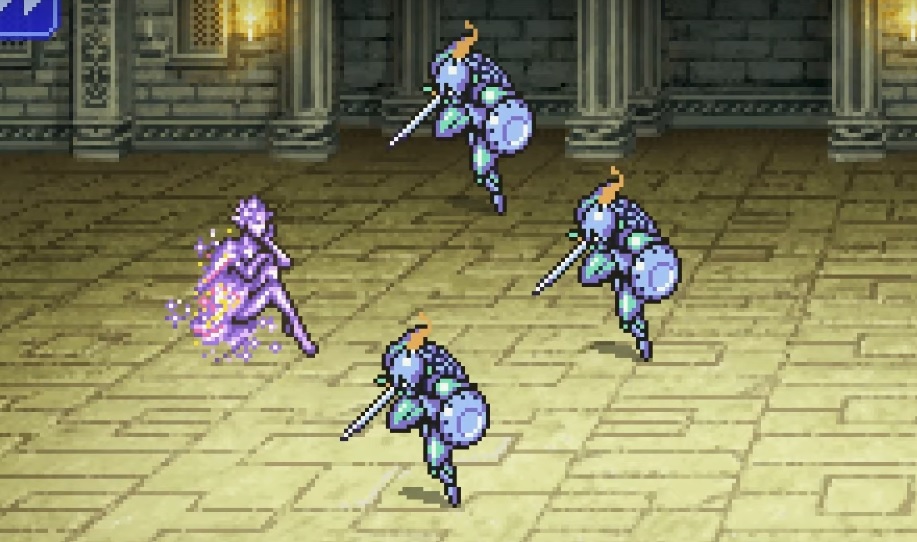
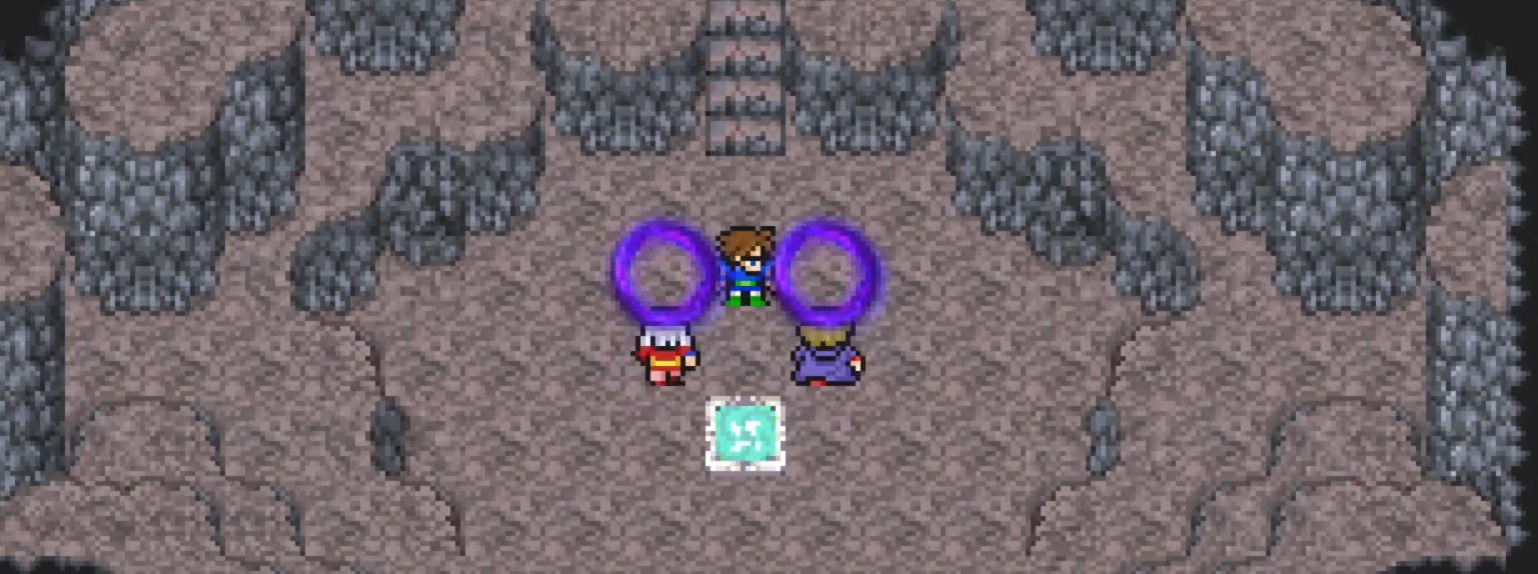
Guardians
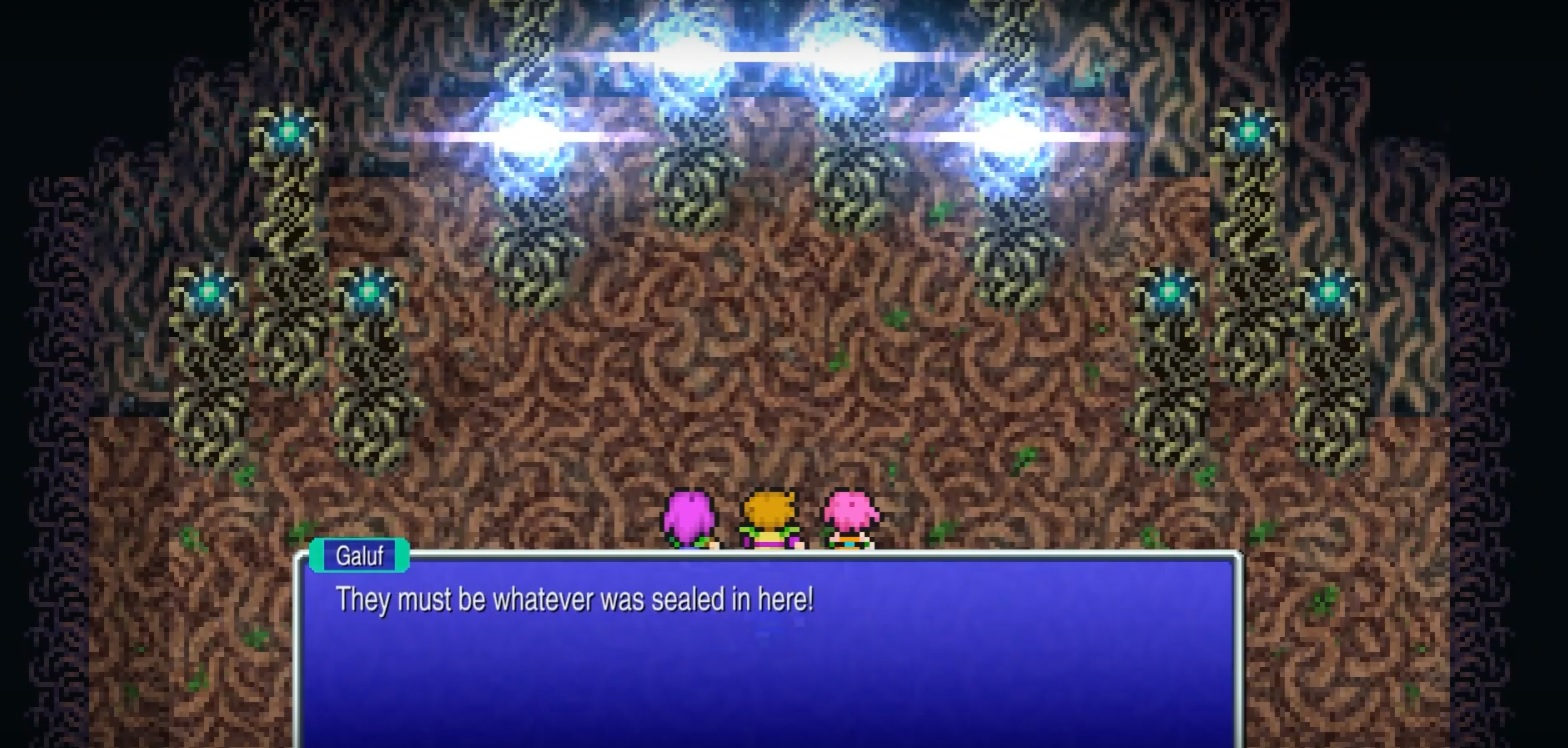
- Each Guardian represents one of the Crystals, and each Crystal represents an element. Fittingly, each corresponding Guardian absorbs their crystalline correlation and likes to strike with spells of that nature.
- Remembering which Guardian represents which Crystal can be a headache, so here it is: the one on the left is Wind; the one up top is Fire; the one on the right is Water; the one at the bottom is Earth.
- Golem's good. Slowing the Guardians down with Slowga is also viable. Keep Shell on at all times if that's an option. Basically, you want as many buffs as possible, because the Guardians are no pushovers.
- Nor are they as susceptible to magic as their Crystal stuff would lead us to believe. Every Guardian absorbs its respective element and nullifies all damage from Holy, Thunder, Blizzard, and Poison.
- Don't try to take them on all at once. Their powerful counterattacks will trigger in succession, which hurts even more than it sounds like. Steadily eliminate them, casting Graviga, casting single-target iterations of Firaga, and using sheer physical attacks.
Carbuncle
- Banish removes a target from the battle completely, which makes it pretty much the worst. Carbuncle also has a whole slew of high-level elemental magic spells, as well as Stop, Confuse, Bio, and Break.
- He has Reflect up, so he'll cast those high-level elemental spells on himself, bouncing them off to hit you even harder. This all sounds dreadful, but there's a twist.
- After three castings of those aforementioned spells, he uses Cura. After that, he's back to his usual self. This is an endless cycle until he's down to just a few thousand HP, at which point he busts out the big guns.
- During the turns with Cura, Reflect is off and he's suddenly weak against pretty much everything. These are your openings. And you can obliterate Carbuncle's ability to revert back to his godly stage with the Romeo's Ballad Bard song. Stop works just as fine. Cast Break if you can and Carbuncle's pretty much toast. Otherwise, pound away with your own high-level magic.
Gilgamesh (Exdeath's Castle)
- Once again, Gilgamesh has a litany of attacks at his disposal, and once again most of them involve debuffing you.
- Keep your party in the Haste status at all times. This is never a bad idea, but when you're up against bosses whose speed can be troublesome it's the number one way to even the playing field.
- Black Magic spells seem to do a ton of damage, so whether or not you bring a Black Mage, seriously consider bringing their ability.
- After you've inflicted about 13,000 damage, Gilgamesh begins a speech. Refrain from attacking any further and wait until he's transformed. (You'll definitely know it when it happens.) At this point, while he's preoccupied talking, keep trying to steal until you obtain his Genji Helm. This thing is excellent.
- This fight ends automatically after a set amount of time.
Exdeath
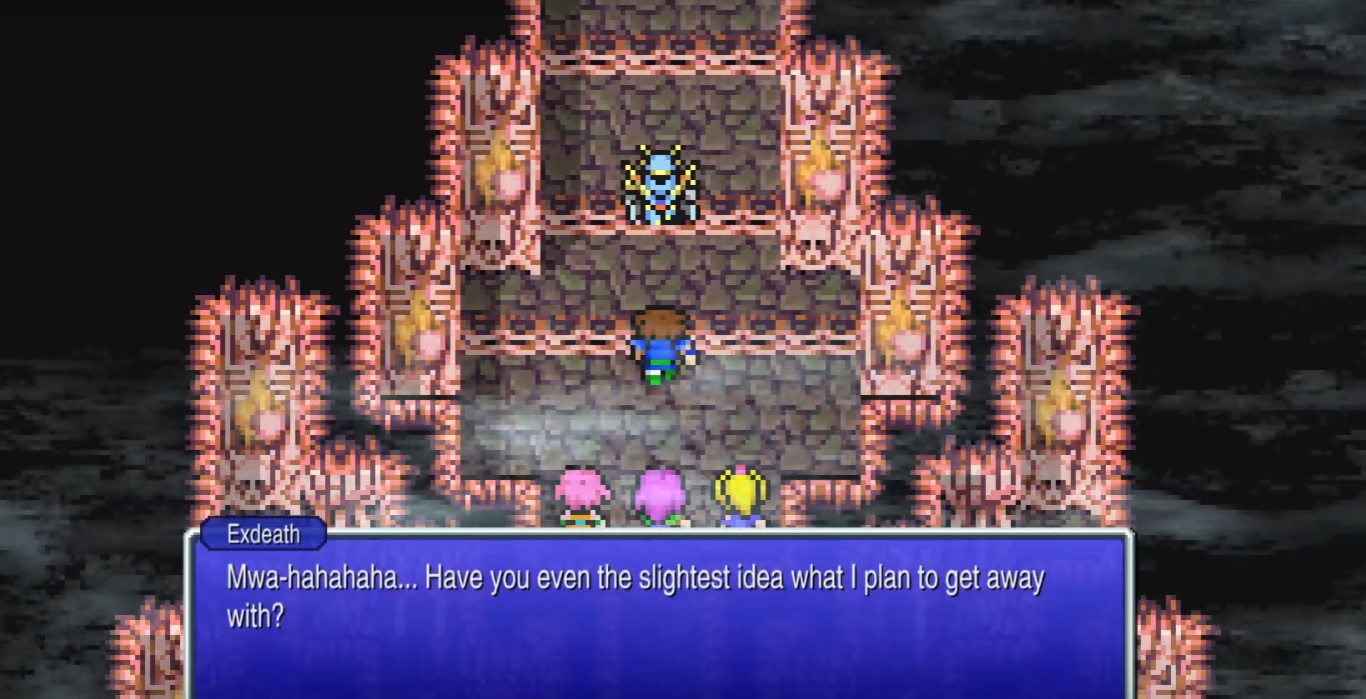
- Exdeath has a smorgasbord of attacks. Of note, Level 3 Flare will deal some catastrophic damage if the target's level is divisible by 3; Firaga/Blizzaga/Thundaga are all amped up considerably; 100 Gs removes Float; and Zombie Breath does solid damage and inflicts Zombie on everybody.
- If you've brought Spellblade on anyone, coat it with Drain to ease the burden your healer(s) will feel. Think of it as the Final Fantasy 5 equivalent of lessening that cleric's load in an MMO.
- Golem's a given, but consider casting Reflect on everyone as well. Exdeath can get a taste of his own medicine this way; plus, your own mages' spells can bounce off of you and hit Exdeath hard.
- A cheap way to finish up World 2 here is to catch four Yellow Dragons with a Beastmaster over the course of the dungeon. Unleash one each turn (or heck, all at once with four Beastmasters in your party), and Exdeath's dead as a doorknob.
- Whatever you do, do not cast Slow. Exdeath immediately casts Haste on himself.
Final Fantasy 5: World 3 Boss Fights
Antlion
- You can put the pain on him from square one by inflicting Berserk. That alone puts a wrench in his plans save for a physical attack that doesn't hike up enough when Berserked to worry you too much.
- A Sleep-imbued Spellblade strike can keep him snoozing turn after turn, too.
- Not much else to say. You can speed things up with Haste, but Antlion isn't going to be a blink on your radar after Exdeath.
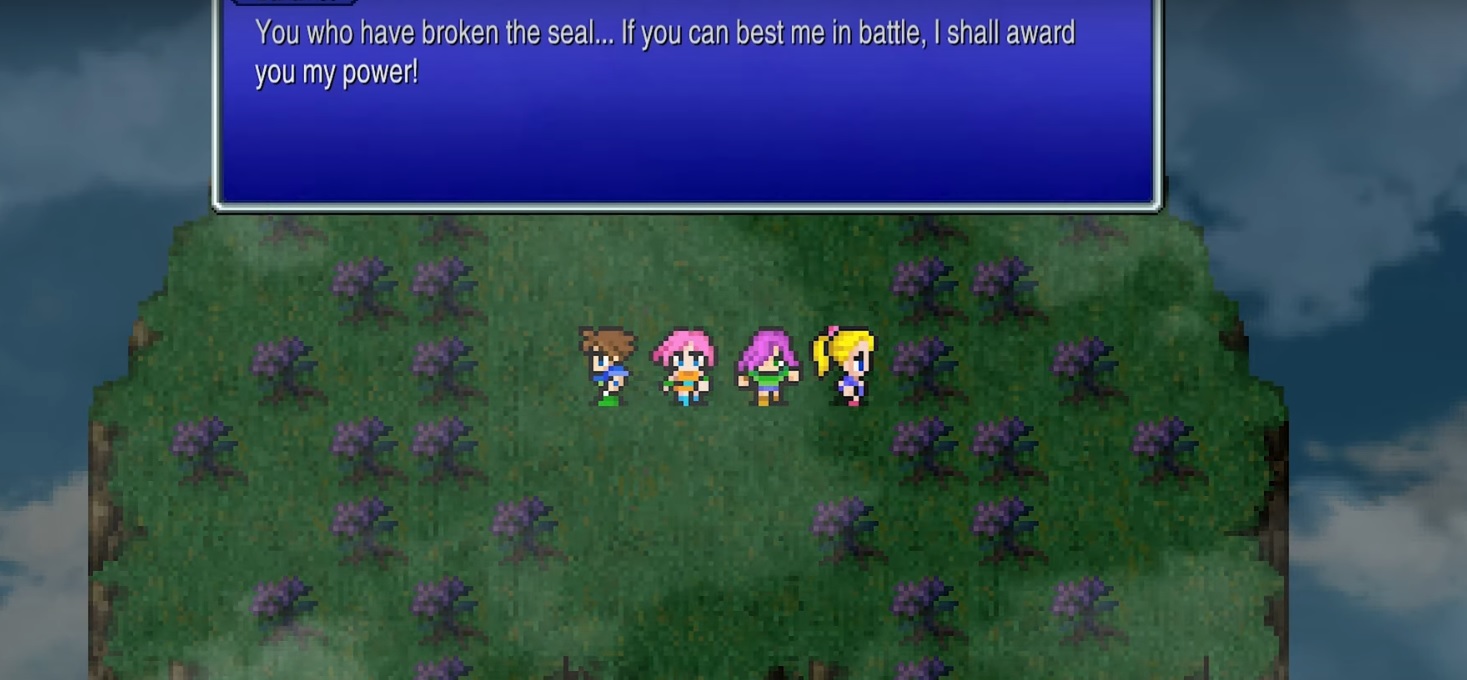
Odin
- You have one minute to defeat Odin. Fail that, and you have lost. No pressure.
- No, truly, no pressure. Odin is weak to Break. Slash him with the Spellblade variety every turn. Or just plain cast Petrify on him. That's all it takes.
- If you choose the hard way, you have to remove 17,000HP from him in 60 seconds. It's not impossible at this point, but it's going to take your strongest strikes and you won't really have time to cast Haste on more than one character.
Melusine
- Melusine uses Barrier Change to shift between four forms. She also lugs Firaga, Blizzaga, and Thundaga at you. Other than that, her repertoire's nothing wild.
- Her form changes are, unfortunately, random. Scan or Libra can keep you apprised; barring that, good old-fashioned trial and error.
- Melusine's defense stat is laughable, so physical attacks are great. But she'll stick around long enough to be a nuisance if you aren't also taking advantage of her changing elemental weaknesses, so do that.
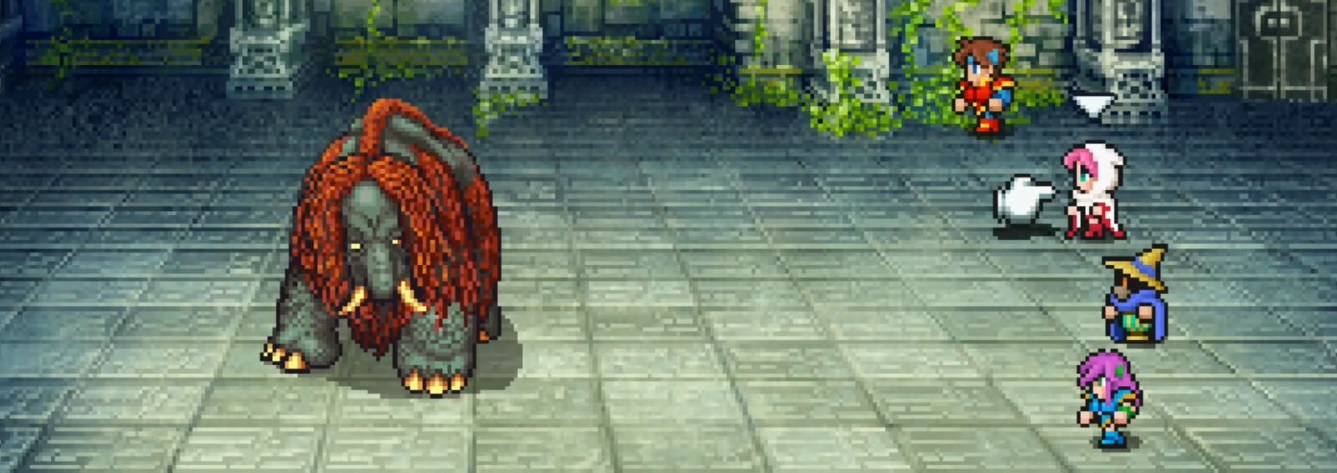
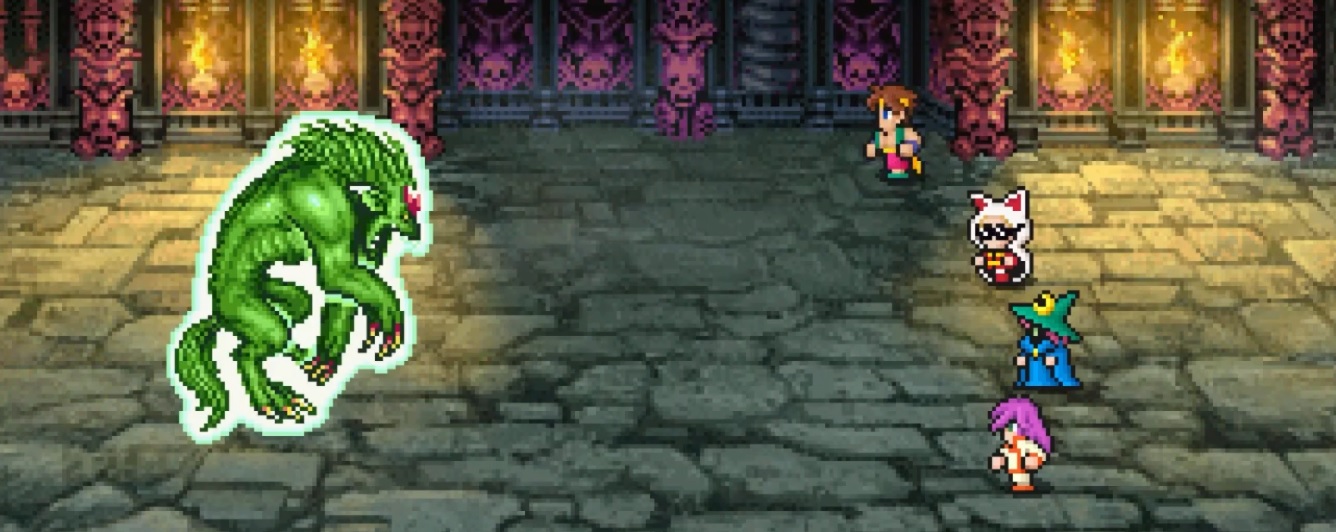
Wendigo
- All this illusory tomfoolery and counterattacking if you target a fake Wendigo can add up quickly. But there's a strategy here that's almost as simple as the one with Odin.
- Simply cast Sleep on all four forms and then slam them all with high-level spells. If the three fakes aren't awake to counter, an otherwise-annoying battle is no longer remotely threatening.
Minotaur
- You'll still be muted during the fight, as is the case throughout this entire dungeon.
- Minotaur only attacks physically. The Cover and/or Guard abilities are a boon. Speaking of Guard, if you can combine it with Counter, the fight will be over before it begins.
- Chemists shine here for obvious reasons. The right mixtures can grant you Protect and Haste; the power of healing items is doubled; and if you've equipped Barehanded, they can even hit Minotaur respectably.
- Minotaur attempts to cast Holy when he dies but lacks the requisite MP to do so. Amusingly, if you've fed him an Ether, he'll actually succeed. It still won't do all that much damage, so unless you're pretty wounded near the end, it's almost worth seeing for the comedic effect.
Omniscient
- Where to begin with this thing's spell arsenal? Second-tier healing spells. Third-tier elemental spells. Bio. Mini. Confuse. Silence. Libra (oddly). Regen, Stop, Float, Haste, Gravity, Graviga, Toad, Reflect, and possibly even more.
- More of a sidenote than anything, but Omniscient seems to really enjoy Graviga and Toad in particular in Pixel Remaster, whereas he veered more toward the elemental spells elsewhere. Might be a fluke.
- If your team has Reflect Rings, Drain is the only magic spell that will concern you. Very good. Carbuncle is nearly as useful otherwise.
- Likewise, Syldra will deliver a whole world of hurting.
- The one rule above all in this battle is to remember that virtually every non-magic command you use will compel Omniscient to use Return, rewinding the fight all the way from the beginning. Steal is the sole exception, and stealing a Kornago Gourd is totally worth the hassle. Equipping it on a character with Catch raises the 12.5% HP or lower requirement for a successful capture all the way to 50%!
Gogo
- There are two ways to go about this: the "as easy as you can possibly imagine" way and the "this is pretty hard" way. Given the scope of our guide here is to provide you with straight-to-the-point strategies, let's focus on the former.
- Don't. Do. Anything. Gogo wants you to "mimic him." If you don't do anything, he doesn't do anything, and the fight is over after a two-minute standoff. Final Fantasy 5 is wonderful.
Triton, Nereid, Phobos
- Spellblade Break attacks are highly effective. Stop's got decent odds of success, as does Sleep. Pile in a Hastega and this trio isn't doing too hot.
- Mirroring Catoblepas from earlier, you can also cast Poison on the three of them and wait it out until the end. Bide your time with Golem and Carbuncle to add insult to injury.
- Got a Samurai? Use Iainuki for a one-shot win.
- Whatever you do, don't kill one before the rest. Its kin will resurrect it and they'll collectively come at you with Delta Attack, a powerful move that can turn the tide in their favor.
Leviathan
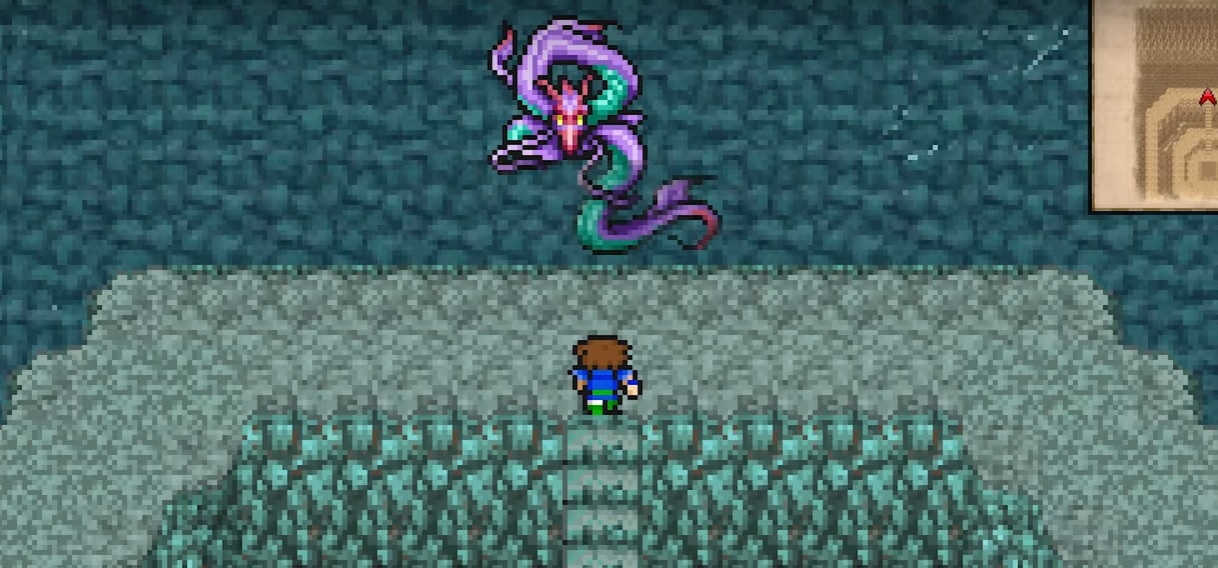
- Leviathan's Tidal Wave is the one to watch out for. It hits far harder than any prior instances of the attack you've come across, and he sometimes likes to use it twice in a row. Depending on your setup, you could be looking at nearly 3,000 damage to the whole team.
- Should you happen to have a cool 200k gil laying around, you can purchase four Coral Rings from Phantom Village before fighting Leviathan, thereby absorbing all Water damage. Tidal Wave becomes Curaga, more or less.
- Since such richness is unlikely to apply to us all, a Blue Mage's Mighty Guard is a sweet alternative, reducing Tidal Wave's torrent substantially. Failing that, there's always Shell.
- Apollo's Harp is super effective against dragons, Leviathan included. There's also a Titan's Axe in this dungeon for your Berserker (with the Two-Handed ability) to stick into the serpent's skull a few times.
- There's also the most obvious approach — Thunder-based attacks. Casting Reflect on yourself and bouncing Thundagas will slice through Leviathan like butter.
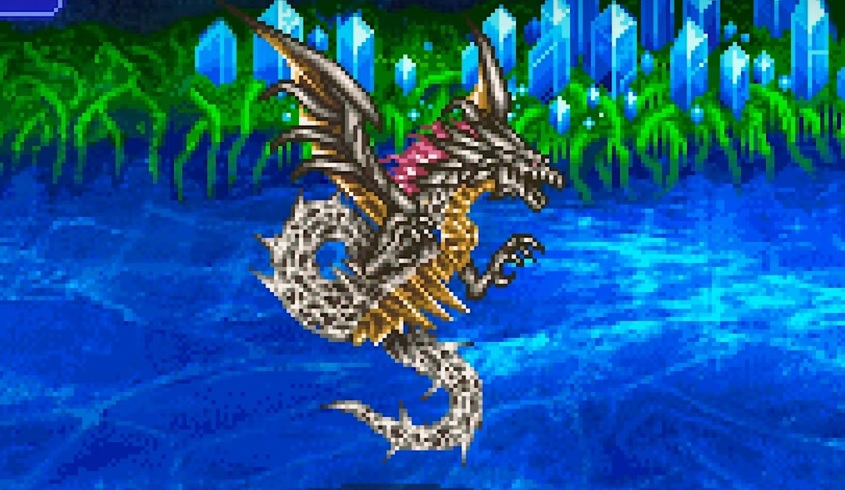
Bahamut
- Final Fantasy 5 Bahamut is an interesting incarnation. Many of his attacks are dictated by how much HP he's got left. He enters the fight with 40,000.
- There are several tiers, but the ones to look out for are when he's between 15,000 and 20,000 HP and when he's below 10,000 HP. The former is when he'll use Maelstrom, which can knock your party into the single digits. The latter's when he'll whip out Mega Flare, which can (and often will) hit everyone for up to 2,500 damage.
- Mighty Guard (or Shell and Protect) can help a ton with the rest of Bahamut's move pool. As for Mega Flare, if you're keeping track of his HP (which you really should), try deploying Carbuncle when he's a few thousand points above 10,000. Knock him down a peg thereafter and the King of Dragons may very well nuke himself the following turn.
Calofisteri
- Calofisteri has far fewer hit points than some of the tyrants you've recently been up against, and she's another boss susceptible enough to being poisoned that it's well worth noting.
- Also worth noting: if you cast Reflect on anybody, she's programmed to recognize it and begin casting buff after buff on you (and the occasional Cura/Curaga) for her benefit. You can either ditch Reflect in this battle or regularly cast Dispel to remove all those buffs.
- Man-Eater and Artemis Bow are excellent against her. Romeo's Ballad, too. Silence will lock her out of magic. But really, with poison withering away her HP chunk by chunk, at a certain point you're kind of just rubbing salt on her wounds.
- Not that there's anything wrong with that.
Apanda
- Deceptively simple. Apanda looks like it talks a big game, but Firaga and other Fire-based tactics will burn a hole through it.
- Since there's not a whole lot to comment on (other than the usual "Protect, Shell, keep yourself healed, etc"), here's a funny old thing vets have known for ages. Apanda is absolutely terrified of Ifrit. While the djinn doesn't hit for much, you can hypothetically keep your foe in an endless loop while chiseling away its HP. Summon Ifrit, after which Apanda will cower in fear (with some dialogue attached!) and then cast Panacea on itself. Keep summoning Ifrit every turn and Apanda will continue with its nonsense.
Alte Roite/Jura Aevis
- Alte Roite will use Encircle at some point, removing a party member. As with similar attacks, such as Atomos' Wormhole, it's a real doozy. But with only 6,000 HP, you may be able to get past this stage unscathed. Mind you, his Magic Defense is quite high. Lots of options, though — Bio, Samurai skills, good old-fashioned cleaving, the works.
- Once Alte Roite transforms into Jura Aevis, get to work stealing until you nab a Dragon Lance. Trust us, you want it.
- Unlike Alte Roite, Jura Aevis is vulnerable to Graviga. Cast it. Or summon Odin and hope for a Zantetsuken, because that'll kill him just the same.
- Jura absorbs Fire, Blizzard, Thunder, and Wind. Just an FYI.
Azulmagia
- If you're following our Blue Magic guide, which you totally should be, you'll already know that Azulmagia is, far and away, this game's most incredible source of Blue Magic. Lots of things you may have skipped the chance to learn throughout the adventure are here for you now, near the end.
- Many of the Blue Magic spells Azulmagia doesn't know, he'll happily learn from you if you cast on him. And there's the clincher: if you use Self-Destruct, he'll use Self-Destruct. Azulmagia will off himself in the name of science.
- Since there's always a chance you don't have Self-Destruct, here's a more thorough little primer. Cast Hastega, bring up a Mighty Guard if you can, use Protect/Shell if you can't, teach Azulmagia Level 3 Flare if you have it (and it won't nuke you!), use Bio and Spellblade Bio to exploit his weakness, and the odds are in your favor.
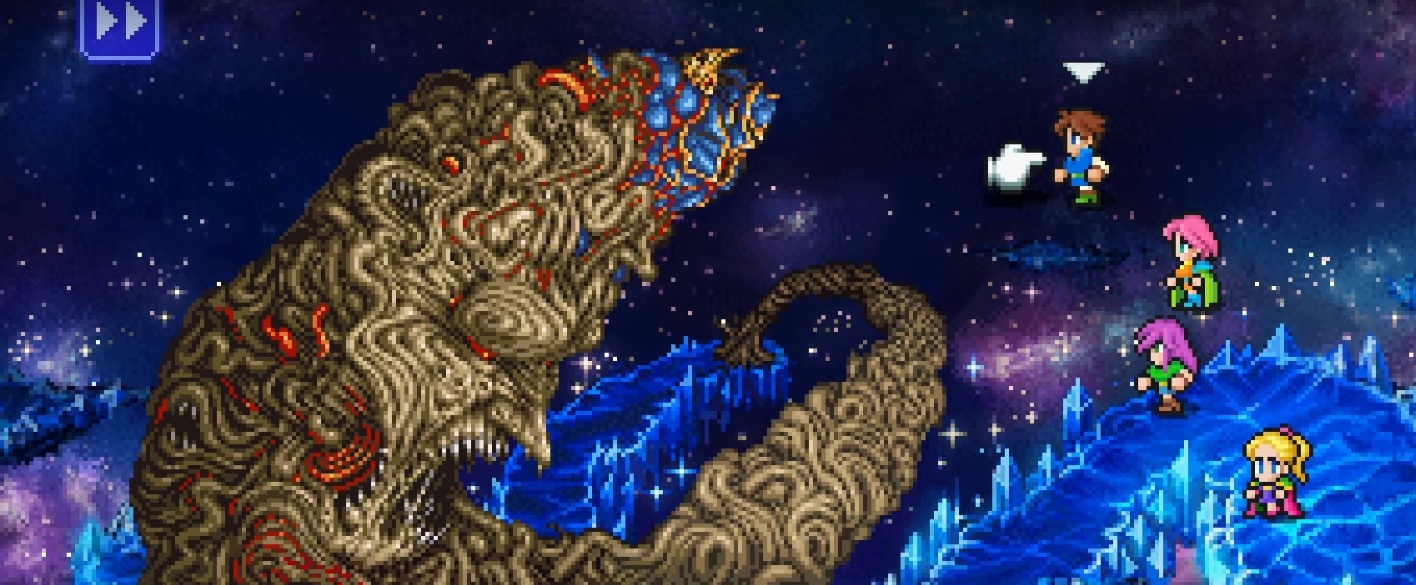
Catastrophe
- You'll be familiar with Catastrophe's move pool. Earth Shaker deals Earth damage to all; Evil Eye sometimes inflicts Petrify; 100 Gs disables Float.
- Catastrophe really has it out for floating Warriors of Light, it seems, because if you continue casting Float, he'll continue using 100 Gs. This is one of those situations we've mentioned a handful of times wherein you can mostly put a boss into a loop, taking it down bit by bit in the meantime.
- He's got zero weaknesses other than this terrific technicality, so if Float's not an option, keep your buffs up against Earth Shaker (and you'll likely need to keep someone on Curaga or White Wind duty as well) and go to town with everything you've got. Except for Earth, which he absorbs.
Halicarnassus
- Got the Toad spell? Cast it on everyone before the boss fight begins. Halicarnassus opens the fight by turning the party into toads... or curing them of their ailment if they're already ribbiting.
- Most of this villain's attacks are familiar fare. But then there's Holy, which this self-proclaimed king uses every seventh turn. Keep a running tally of those turns and be ready, because Holy can slam a non-Reflected character for close to the 9999 damage cap unless they have Shell (or similar status). Even then, you're looking at around 4k.
- Therefore, having Reflects up is paramount to surviving comfortably. Carbuncle continues to earn its welcome here.
- Spellblade Silence works wonders. Reflected third-tier elemental spells are outstanding.
Twintania
- Twintania is the only creature in the game who can use a multi-target version of Mind Blast, meaning you can find your whole party paralyzed in one fell swoop. If you've got some Genji Gloves and/or Hermes Sandals, they're handy here.
- All magic attacks ordinarily compel Twintania to cast Mega Flare, which is just as ruthless as Bahamut's. Carbuncle-spamming and bouncing magic attacks off of your team, however, remains a viable strategy. Mega Flare is reflectable, too, so Twintania will receive a double dose of bludgeoning in this fashion.
- Physical attacks have a one-in-three shot of triggering a Tidal Wave counter, so don't bother unless you can hit heavily.
- Once Twintania's sprite changes, it's fixing to cast Giga Flare, which is Mega Flare on steroids and can wreck even high-leveled teams if you're unprepared. Odin's Zantetsuken, Death Claw, Graviga, Break, and even the Death spell will prove effective here. If you'd rather not risk things and revert Twintania to the other form before it can use Giga Flare, cast Toad and it will swap back. Strange but true.
Omega
- Omega is one of the two optional "superbosses" found throughout the Dimensional Rift. Much has been written on how to kill this thing, but most first-time players learn far more on how to die to this thing. Omega has an over 90% evasion stat, which is wild.
- But worse by far is the fact that every successful hit against Omega triggers not one but two counterattacks pulled from a pool of three frightening candidates: Rocket Punch, Mustard Bomb, and Encircle. Rocket Punch casts Confuse on the entire party; Mustard Bomb kills a party member outright; Encircle removes a party member from the fight entirely.
- To handle Rocket Punch, you're going to need Confuse-nullifying gear. Your options include Genji Helm and Armor, Bone Mail, and Lamia's Tiara.
- Should you have Flame Shields, Bone Mail, and Reflect Rings, you're in a competent shape against a slew of Omega's other attacks.
- Omega's weakness is Thunder, but with an automatic nonstop Reflect in place and the general capability to annihilate you in a handful of turns, the conventional Thundaga spam tactic is not recommended. By the time you've devised a plan to work around Reflect, you're a goner.
- One of the classic approaches to Omega, and one you may no doubt find elsewhere on the net accordingly, involves a very precise setup: a character with Spellblade Thundaga, a pair of excellent blades, Dual Wield enabled, and the Ranger's Rapid Fire ability. Set Spellblade Thundaga on the first turn. On the second turn, use Rapid Fire. You've either permanently knocked the machine out of commission or you're close enough to wipe it out with a few more hits.
Shinryu
- Shinryu's the other superboss. This almighty dragon opens every fight with a Tidal Wave of such magnitude as to pop game over screens galore before you can even act. Those Coral Rings that came in handy against Leviathan will be a godsend here.
- That said, you don't really need to have Coral Rings on everybody. Shinryu's first Tidal Wave is also its last so you can fairly safely equip half your party with a ring, revive the others, and let the newly-revived folks equip something else in their accessory slot instead.
- There are several great strategies out there, but the easiest by far (and the one that requires the least grinding!) is to hit it with Berserk. All it takes is a little cocktail know-how. You'll need to use Mix to combine a Dragon Fang with Eye Drops, inflicting Darkness on Shinryu. That alone is a big boon, but Mix a Holy Water and Turtle Shell on the next turn to create a Bacchus' Cider, inflicting Berserk. A blinded and enraged Shinryu is a piece of cake.
Gilgamesh (Rift)
- We're now back to story bosses. This is your last tango with Gilgamesh. It's also your easiest tango with Gilgamesh. His one and only attack can crit and hurt a fair bit, but it's a single-target gig and hardly worth sweating over. After the end of the third turn, Gilgamesh runs away. That's that.
- Make the most of those three turns by attempting to steal his Genji Shield in the meantime. As with other time-based steal opportunities, don't forget that you can abuse the Return spell to start the fight from scratch.
Necrophobe
- The most notable bit of this battle has nothing to do with Necrophobe, but rather, with the fact that Gilgamesh will appear toward the end so long as you opened an empty chest back in Exdeath's castle to trigger the Excalipoor scene. Once this occurs, the battle is strictly in Gilgamesh's hands, so sit back and watch.
- Of course, there's still the matter of everything else before that. Necrophobe is invincible until the four Barriers are removed. To wit, pull up Carbuncle to cast Reflect on your party, counteracting the Barriers' own Reflect and bolstering your abilities.
- Spellblade Break and Spellblade Death are both awesome ways to deal with the Barriers. If you somehow haven't noticed by now, Spellblade is a superb ability, but it's probably worth saying at least once before this guide ends — FF5 is chock full of other excellent techniques, so even if you're following this to the letter, consider taking your lineup into an entirely different direction on replays.
- With its Barriers down, Necrophobe can still hit hard but it's weak to every element in the game. Bounce third-tier elemental spells off until it's Gilgamesh time.
Exdeath (Rift)
- This is the first of two stages for FF5's final battle. Naturally, it's the easier of the two.
- Exdeath's depository of high-level spells returns. Flare, Holy, Meteor, and White Hole are all things to look out for. (White Hole is Death + Petrify).
- The Dual Wield + Rapid Fire trick you might have used if you've fought and lived against Shinryu is well worth your while here. If you're at a high enough level, you could find yourself wrapping the first stage in short order.
- Mighty Guard, Golem, Protect/Shell, Carbuncle. The usual defensive measures are 100% worthy.
Neo Exdeath
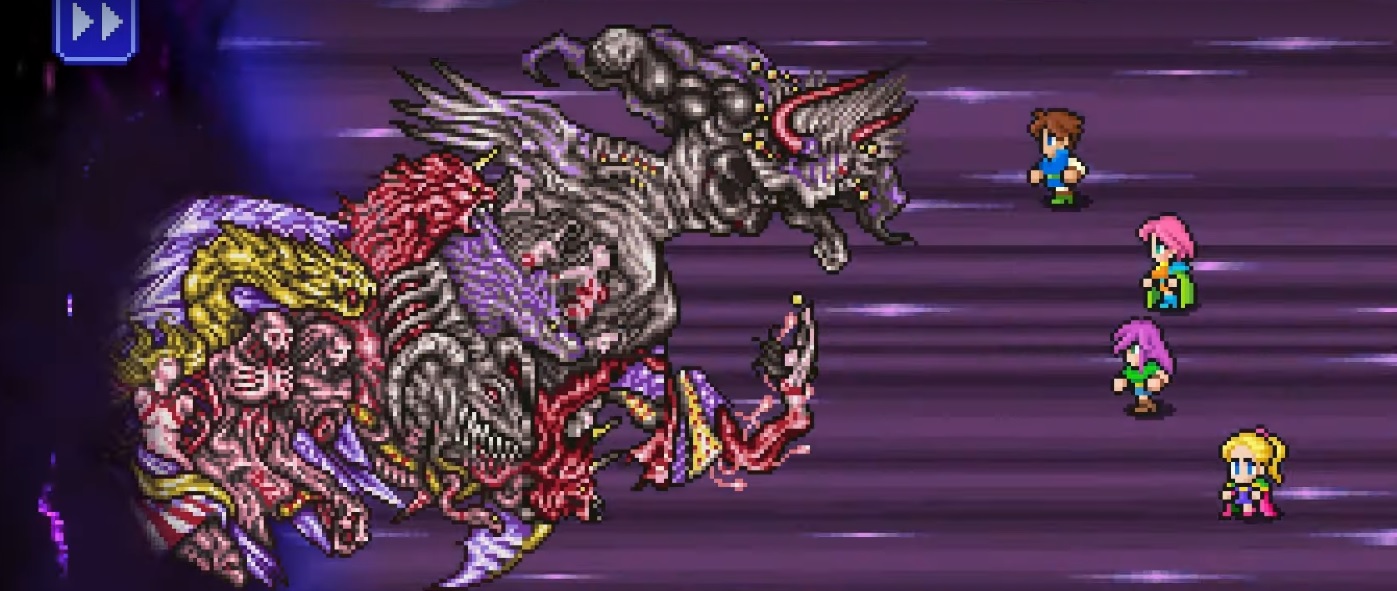
- For all intents and purposes, you're fighting four foes here. They're all parts of Neo Exdeath, but they all have their own set of stats and attacks.
- Surprisingly, all four parts are on the slower side and don't always use their turn.
- Don't take this to mean Neo Exdeath is inherently a pushover. Each part can be deadly on its own; combined, the fight can quickly get out of hand.
- Having a designated healer is almost a must. Having that healer equipped with Dualcast will save you a colossal migraine if Neo Exdeath lays it on thick with his myriad attacks, including the status nightmare that is Grand Cross.
- The middle part is vulnerable to Break, making it an easy mark. The part furthest back can be taken out with Doom if it lands. The remaining parts aren't so easily disposed of, and if you should happen to leave just one part hanging, it will gain the powers of all its fallen allies.
- There are several ways to turn an otherwise-vexing final battle into something easy. Here are two of the most ludicrous, and thus, the most entertaining. party of Mimes, at least one of whom has Dualcast, can spam Bahamut over and over again.
- Alternatively, you can turn your team into Samurai (or equip their command onto high-powered Freelancers) and exploit Zeninage, a quirky attack you've likely had fun with multiple times by now. Zeninage tosses gil at the enemy. The more gil tossed, the more damage is dealt. Neo Exdeath being the last boss of the game, there's zero point in conserving money anymore. Shower the bastard in shiny trinkets until he croaks.
A Few Parting Words
Final Fantasy 5's true beauty is its wealth of options. For every mention of Golem and Carbuncle we've made here, seasoned veterans will no doubt have laughed, preferring their own delicious methodology.
This guide barely skims the surface of the ocean of ways you can win, and it admittedly centers on specific Job Classes because they're among the easiest to get the hang of and keep around throughout the game. A five-minute chat with any Four Job Fiesta fan is all it can take to open your eyes to a dozen hilarious ways to best Bahamut or even turn Omega into scrap.
Feel free to follow our guide to a tee. Feel equally free to experiment, coming back here if you should happen to stumble along the way. Whatever you do, just be sure to savor this all-time classic.