
Ghost Trick Phantom Detective walkthrough: Complete Spoiler-free step-by-step guide
Ghost Trick: Phantom Detective is back in remastered form, and fans and newcomers can check out an unforgettable game on modern platforms.
As a puzzle game with a mystery angle to its narrative, Ghost Trick is best experienced with fresh eyes, so we recommend giving it a try without the aid of a guide, so as to minimize spoilers and enjoy the light challenge of clearing the game on your own.
We know that isn't for everyone, however - and so just as with the Ace Attorney Trilogy, which comes from many of the same creators, we've prepared an in-depth spoiler-free walkthrough to every chapter and scenario in Ghost Trick.
Ghost Trick Phantom Detective Walkthrough: A Step-by-step, Spoiler-free Guide
You can use this Ghost Trick walkthrough in one of two ways. First, you can simply play the game on your own and come consult us if you're stumped or in need of a bit of assistance. Alternatively, you can follow this guide from point A to B to C and beyond, right the way through the game.
Regardless of which you choose, this is a spoiler-free guide, which means we don't reveal anything we don't have to here, leaving the plot to unravel in front of you. With that said, we still don't recommend reading ahead of where you currently are in the story.
This Ghost Trick: Phantom Detective guide covers every chapter and every location, with step-by-step instructions for every puzzle. This guide is equally applicable to the original 2010 release of Ghost Trick on iOS and Nintendo DS if you happen to prefer those, or to the newer, shinier remaster that landed in 2023.
Keep scrolling to follow the guide from the beginning, or click one of the handy links below to jump to each chapter as you need it.
- Chapter 1: 07:02 PM
- Chapter 2: 07:31 PM
- Chapter 3: 08:04 PM
- Chapter 4: 08:23 PM
- Chapter 5: 08:34 PM
- Chapter 6: 09:03 PM
- Chapter 7: 10:05 PM
- Chapter 8: 10:55 PM
- Chapter 9: 11:13 PM
- Chapter 10: 11:41 PM
- Chapter 11: 12:10 AM
- Chapter 12: 12:25 AM
- Chapter 13: 12:51 AM
- Chapter 14: 01:28 AM
- Chapter 15: 02:56 AM
- Chapter 16: 04:19 AM
- Chapter 17: 05:10 AM
- Final Chapter
Chapter 1: 07:02 PM - Ghost Trick spoiler-free walkthrough
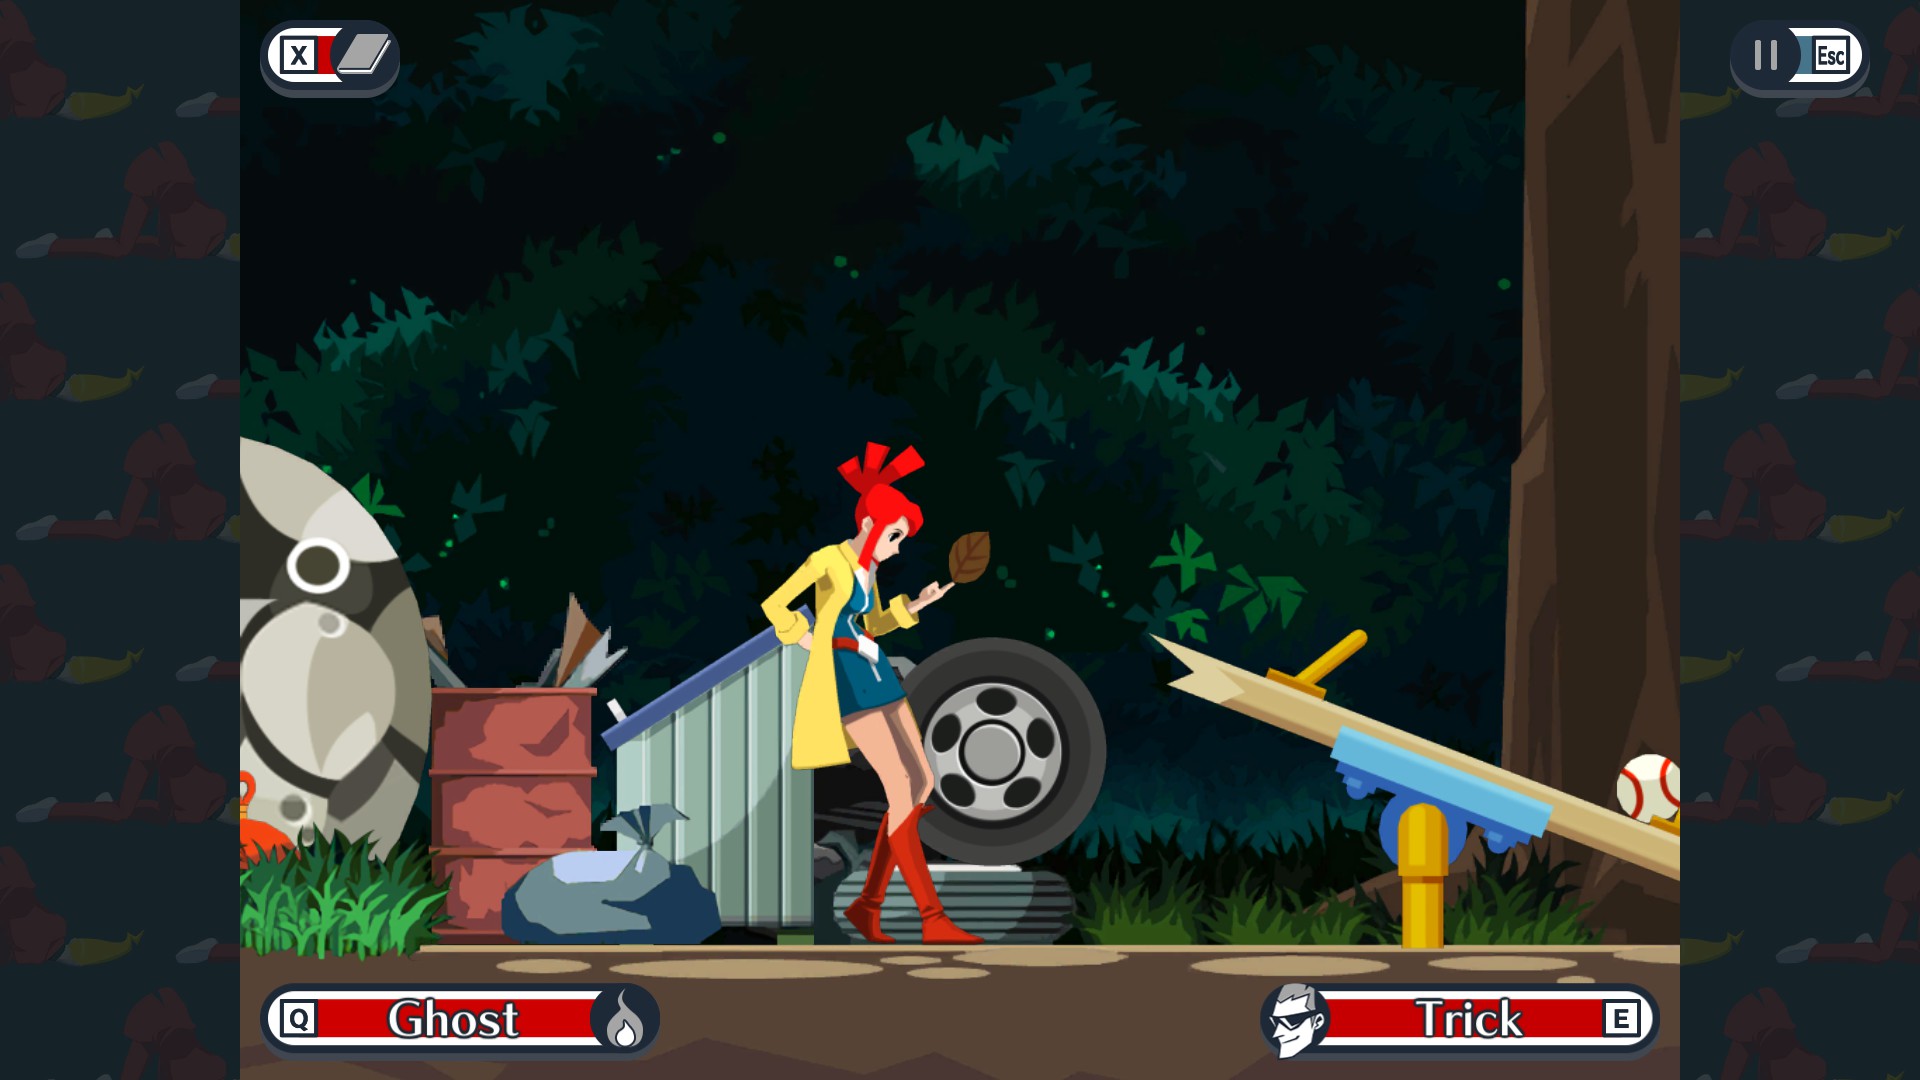
The first chapter of Ghost Trick throws you right into the tutorial and tasks you with averting the death of a young woman. The tutorial narrator will guide you each step of the way, and introduce you to the game’s core mechanics.
Your key mechanics throughout the game will be to enter the Ghost World, and travel from object to object, possessing each in turn. Some objects can be activated with a “Trick”, which usually changes their shape and opens up new paths to solve a given puzzle.
You shouldn’t need many hints to follow along for this stage, but just in case, here’s a step-by-step guide:
- Possess the crossing guard and trick it when prompted.
- When you regain control, you’ll need to make your way to the lamp.
- From your body, move to the door, then the traffic sign, then the Folding Cot.
- Return to the world of the living and trick the cot, then possess the lamp.
- Possess the body to trigger the next scene.
- Rewind time!
- It’s 7:01 PM, and you have four minutes to save the girl.
- Starting from her (future) corpse, you’ll need to make your way back up to the (future) murder scene.
- Begin by possessing the desk lamp.
- Possess the mannequin, then the tire.
- Trick the tire, then possess the mannequin again to cross over to the refrigerator.
- Trick the refrigerator to release the blender, then trick it again to move closer.
- Move from the refrigerator to the mannequin to the blender.
- Move from the blender to the flag to the fan, then trick the fan.
- Move to the flag when the fan pushes it closer, then possess and trick the blender.
- As the blender winds the flag’s cord, move to the flag and ride it up, then possess the bicycle to trigger the next phase of the stage.
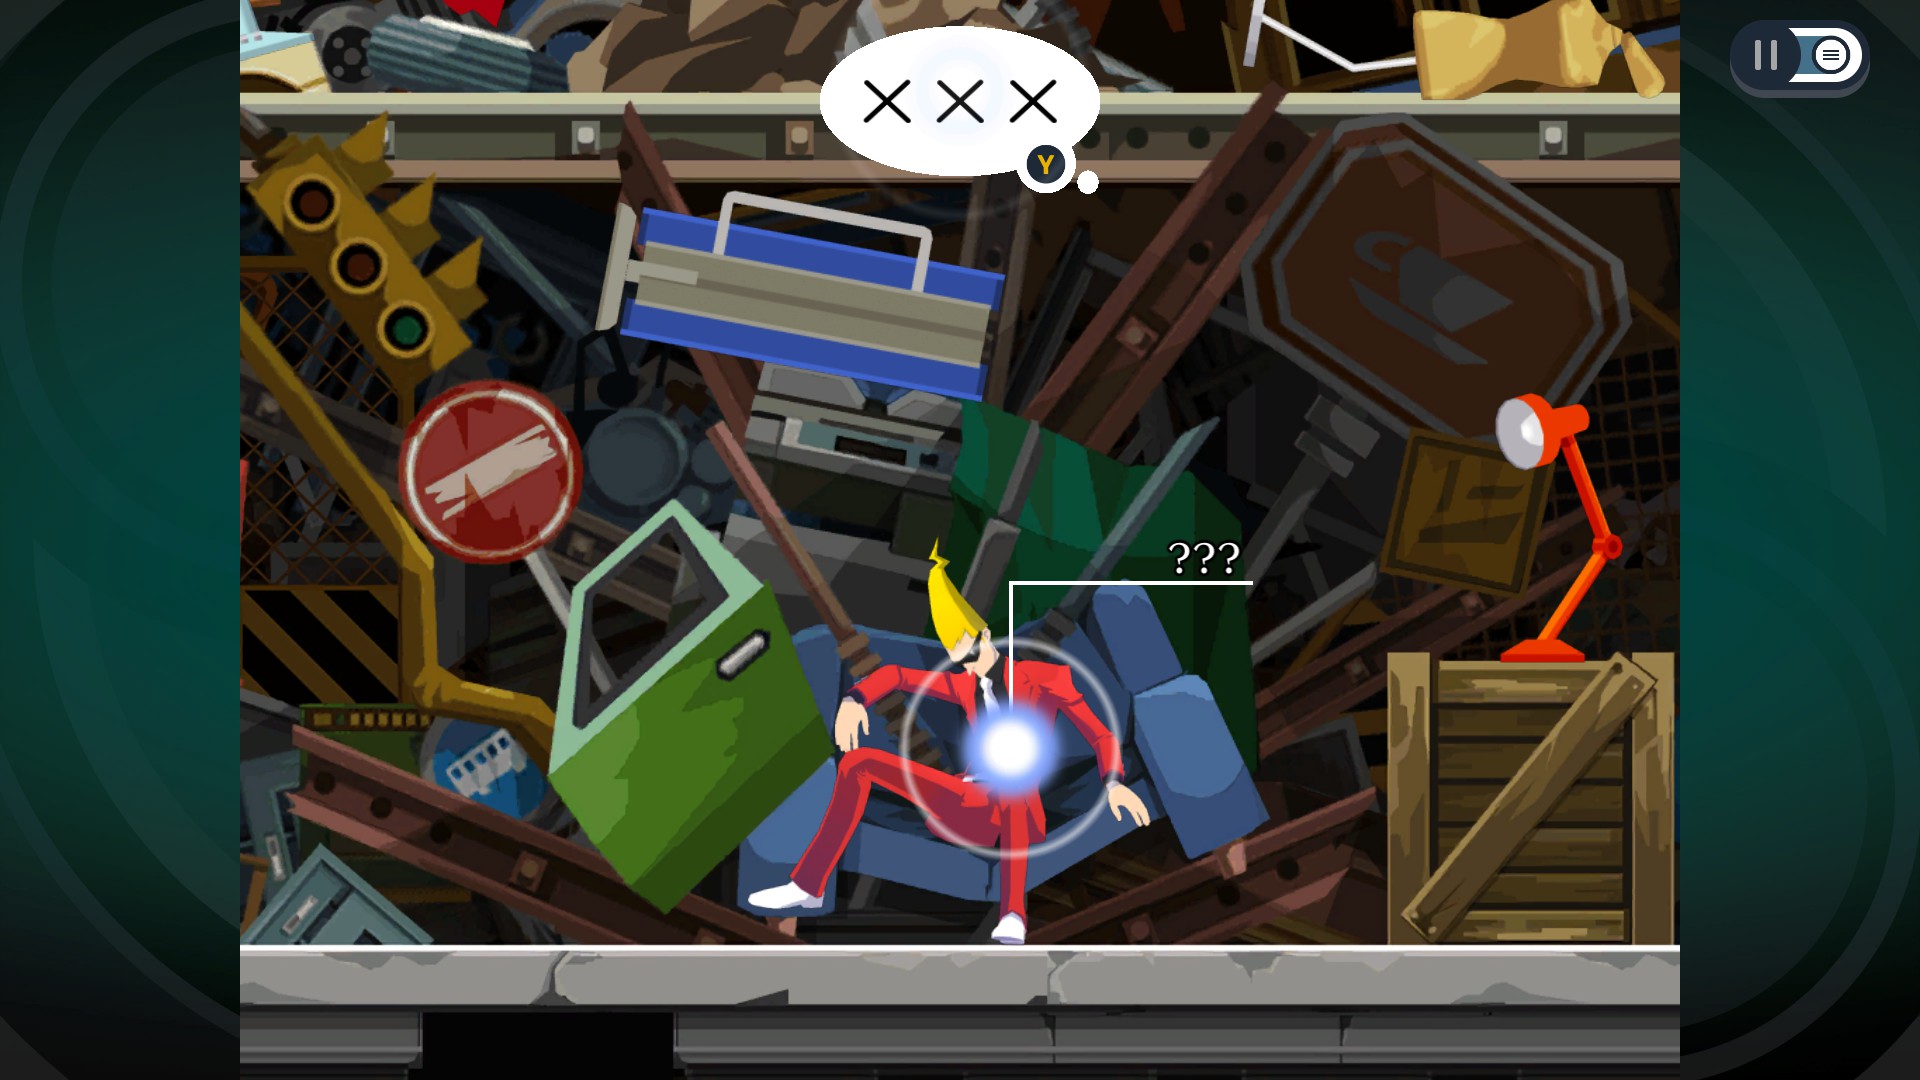
On the Junkyard’s upper level
- In this phase you’ll have less time to work with, so move fast and pause if you need a breather.
- Possess the bicycle’s bell and trick it.
- When time resumes, move to the bicycle’s pedals and trick them.
- Move to the lever and trick it.
- Move to the ladder and trick it to alter your position.
- Move from the ladder, to the streetlamp, to the wrecking ball, to the claw.
- Trick the claw to avert the young woman’s fate.
- When you regain control, you’ll have no time limit and can move at your leisure.
- Move from the claw to the bicycle’s handlebars and trick them.
- Move from the handlebars to the pedals, then to the umbrella.
- Trick the umbrella.
- When you regain control, possess and trick the note.
- Possess the phone to close out the chapter.
Chapter 2: 7:31 PM

Welcome to Ghost Trick proper. From here you’re out of the tutorial stage and will need to use your powers of the dead to gather clues about your death and the truth behind it all. You’ll start with the Luxurious Parlor.
- Possess and trick the file.
- Move from the file to the lamp to the projector.
- Trick the projector.
- Move from the projector to the painting to the Control Panel, and then trick it.
- Transfer to the phone.
- When you regain control, trick the phone and select Lynne’s Apartment to move there.
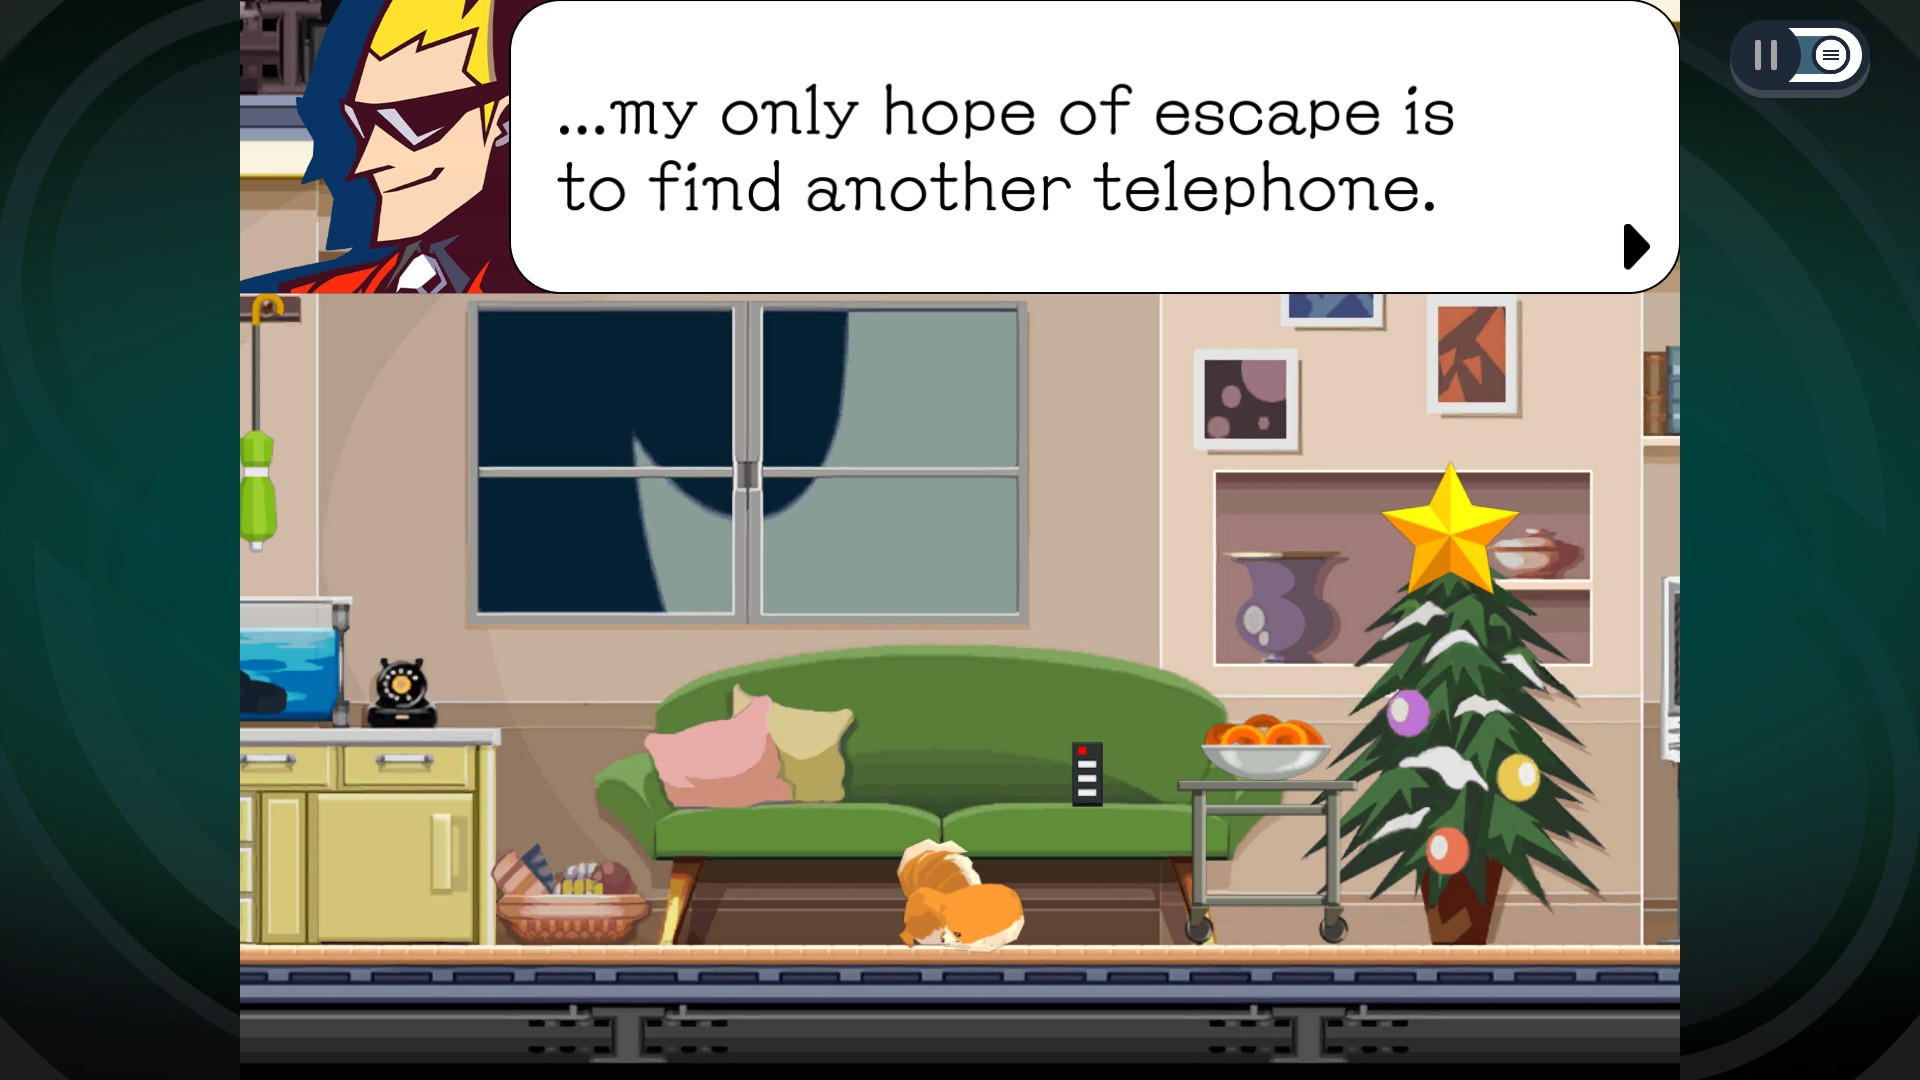
In Lynne’s Apartment:
- Move from the phone to the door, and possess the dog’s body.
- Rewind time!
- Watch the scene, and when control returns, move to the door, then to phone, then the umbrella.
- When the “red things” are in Kamila’s hands, trick the umbrella to change fate.
- When the donut cart comes closer, possess it, then trick it to move to the other side.
- Possess the donut bowl and trick it to drop a donut onto the floor.
- Move from the bowl to the star, then the spinning Santa toy.
- When the toy spins within reach, possess the lamp, then the door.
- Trick the door to knock the donut under the couch to trigger the next phase of the stage.
- In the present, you’ll need to get to the phone.
- From the door, possess the lamp, then the Santa toy, then the star, then the cart.
- Possess the dog, then trick the cart to move closer to the phone.
- Possess the door, then the phone.
- When you regain control, you’ll have a new objective: Find the music box.
Finding the music box:
- Move the cart closer to the tree, then move to the star, then the rotating toy.
- Trick the toy to change your position.
- When it’s in reach, possess the latch in the ceiling, then trick it.
- Return to the toy, then trick it to slow it down.
- Possess the star and trick it to clear the Chapter.
Chapter 3: 8:04 PM
This chapter kicks off right from the conclusion of the previous one. You need to find a way to get to the Junkyard to check up on Lynne, but the phone's out of service.
In Lynne's Apartment:
- From the Star Ornament, move down to the remote and trick it.
- Return to the Star Ornament and trick that, too.
- With the room rearranged, you'll be able to cross from the Star Ornament, across the door, lamp, and picture, to the Wine Bottle in the adjoining apartment.
In the Lady's Red Apartment:
- You'll need to get the woman to notice the dictionary on the floor.
- Move up from the Wine Bottle, through the Drinking Bird, then the Latch.
- Trick the Latch, then return to the Drinking Bird and trick it, too.
- This should knock the rat onto the shelf alongside the windmill.
- Move to the windmill from the wine bottle.
- At this point, you'll need to time it right: Trick the windmill just as the woman sees the rat.
- The windmill will knock the rat to the floor, drawing the woman's gaze down.
- Move from the windmill to the dictionary, and ride along in the woman's grasp.
- After watching the scenes, possess the lamp and trick it while the woman is typing.
- Quickly possess the wad of paper and ride it closer to the phone.
- You should come in reach of the phone from the trash can. Possess it.
- You'll gain two new phone numbers, one for the Lady's Red Apartment, and one for the Troubled Man's Office.
- You'll need to head back to the Junkyard, though, as Lynne's there.
Back at the Junkyard:
- Listen to the men to learn more about Lynne's situation.
- When the Inspector arrives, possess the phone to listen in on his conversation.
- You'll gain a number for the Park destination.
- When the Inspector leaves, move right, and listen to the Doctor.
- Possess and trick the pistol to examine it.
- Head back to the phone, and listen in.
- You'll gain a new number for the Super's Office.
- Go there immediately by tricking the phone to end the chapter.
Chapter 4: 8:23 PM
Things aren't looking good! You'll need to investigate just what happened in the Junkyard, and once again avert a tragic fate.
In the Super's Office:
- Listen to the doctor, then make your way to the corpse.
- Rewind time!
- You'll also be given a chance to ask a few questions and get some important story context.
- When you gain control, you'll have four minutes to avert fate.
- To do that, you’ll need to get back out into the junkyard, traveling via phone line.
- Start by moving from the corpse to the phone, via the motor, notebook, and desk lamp.
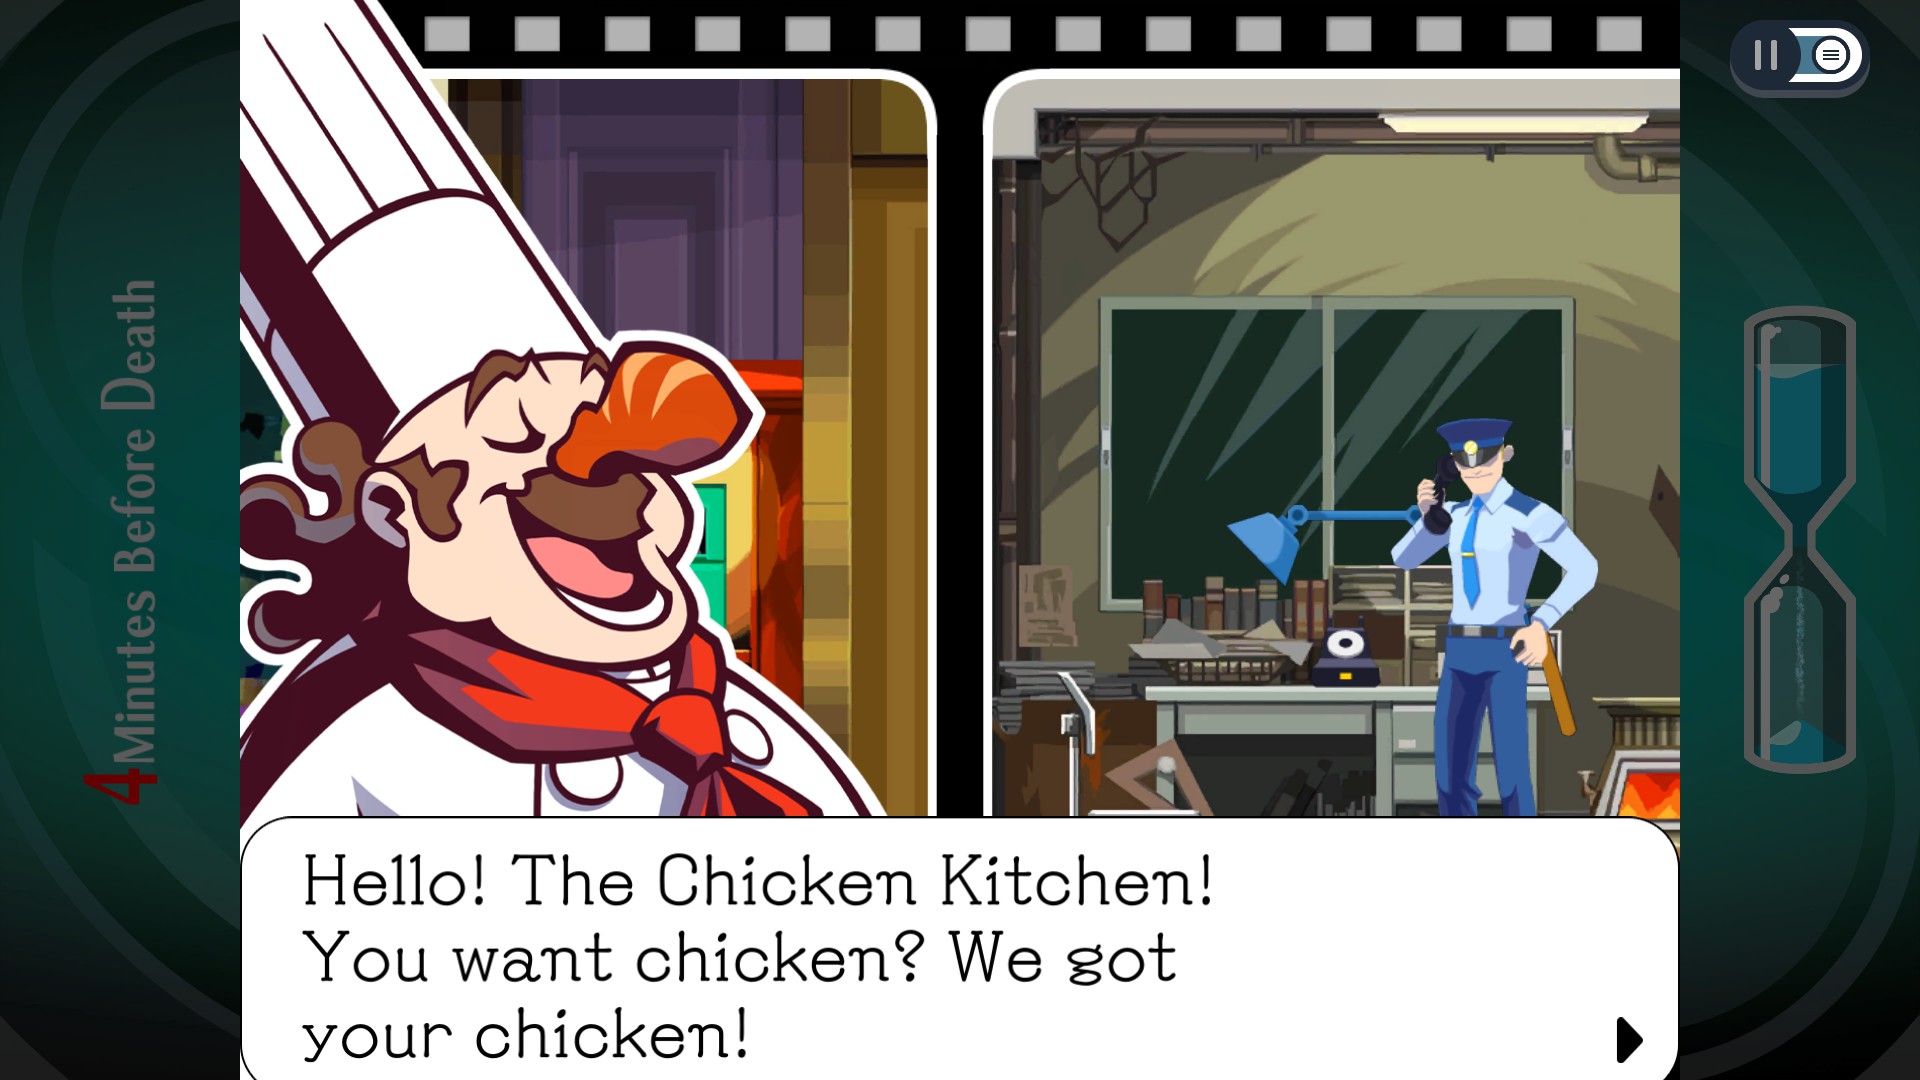
- Possess the phone and then listen in to get the Chicken Kitchen's number.
- Choose whether or not to stay or visit the restaurant, but either way, you’ll find out that you can’t use the phone lines at will when you’re in the past. You can only do so when the lines are already open, i.e., when someone’s making a call.
- The telltale hint for a usable phone line is a glowing red line visible in Ghost Mode.
- Possess the desk lamp’s base and trick it, then possess the lamp’s light and trick it, too.
- This will attract the guard, who will pick up the phone.
- Quickly move from the light to the phone.
- You’ll get the choice to get out into the Junkyard, which you should take.
Back in the Junkyard:
- Now you need to find the shooter.
- Travel from the phone across the junk piles, through Ray, and into the folding cot.
- Trick the cot to move closer to the upper level, then possess the flag.
- Remember the flag trick from Chapter 1? Use it again to get up high by tricking the fan, then tricking the blender, then riding up with the flag.
- On the third level, you’ll start in the spotlight.
- Wait in the spotlight until the bicycle rides past, then quickly possess the pedals to hitch a ride.
- When you regain control, move from the bicycle to the van’s door.
- Jump from the door to the searchlight, then trick it.
- Return to the door and trick it to go back down, then hitch a ride on the policeman’s nightstick.
- When the policeman moves near the car, jump to the patrol car’s light and trick it.
- The subsequent scene will clue you into a condition: You can’t turn on all three searchlights at once.
- That means you’ll only be able to deny the shooter access to two of his three sniping spots.
- Your goal, then, is to herd him to the rearmost spot, near the crossing guard, where you can deal with him more permanently.
- Move your camera to the left-side searchlight and check to see if it’s off. If it’s on, you’ll need to hitch a ride on the left-side policeman’s nightstick, then possess and trick the left-side searchlight to douse it.
- While you’re there, possess the crossing guard and trick it to raise its arm.
- The action should also toss the yellow umbrella up to the crane’s container.
- Lower the crossing guard and return to the patrol car with the policeman, then jump up to the searchlight near the base of the crane.
- Trick it to turn on the light.
- Make sure the searchlight near the van (on the right) and the crane (in the center) are on. You need to keep the shooter from using those two spots.
- He should appear in the junk pile, the last place he can shoot from.
- The timing will be tricky if you’re far away from the crossing guard when the shooter appears, as almost as soon as he shows up in the last spot, the final countdown timer will trigger.
- Possess the crossing guard, ride it up, then move to the crane’s hook through the umbrella and the container.
- Trick the hook and avert fate.
- You’ll return to the present and need to check up on Lynne. To do that, you’ll have to get back down to the bottom level of the junkyard, and use the phone.
- Descend to the yellow umbrella, and trick it to float down.
- From your landing spot, move from the umbrella to the blender to the flag to the cot, then the traffic sign, traffic cone, and finally the phone.
- Dial the Super’s Office to end the chapter.
Chapter 5: 8:34 PM
Chapter 5 sees you back in the Super’s Office, ready to track down Lynne and begin helping with her investigation.
In the Super’s Office:
- Move from the phone to the base of the lamp.
- Remember how you got the guard’s attention in Chapter 4? Do it again by tricking the base of the lap, then tricking the lamp’s bulb.
- Move to the step ladder, and trick it to scoot to the other side of the office and get some details.
- Returning to the step ladder should attract the guard, who will then see what you spotlighted with the lamp.
- When you regain control, quickly move to the phone to listen in and gain a new phone number.
- Dial the number to visit the new location.
In the Uniformed Men’s Office:
- Wait in the phone until the officer puts up a memo, then possess and trick it.
- Return from the note to the phone to listen to a new conversation and gain a new phone number.
- Dial the number (MHR) - 4481.
- View the scene, then possess the lamp and the body.
- Rewind time!
In the Pigeon Man’s Basement:
- View the scene, and get your objective: Stop the murder machine!
- Move from the soul to the lamp when it gets close, then to the phone.
- When the phone rings, the Pigeon Man will pick it up. Use the opportunity to transfer to the Super’s Office.
Back in the Super’s Office:
- Move from the phone to the kettle and trick it.
- When the kettle moves, jump to the motor in the floor, then into the ball in the basement. This will set off the final countdown.
Back in the Basement:
- You’ll have to move quickly and use Ghost Mode liberally to nail the timing.
- When the ball drops, possess the toy cake, then the door in the floor, and then trick the door.
- Immediately jump back through the cake, the ball, and up to the toolbox.
- Wait until the ball is about to hit the floor, then trick the toolbox to avert fate.
- After the scenes, possess Lynne to chat a bit about the case, and end the chapter.
Chapter 6: 9:03 PM
With Lynne on the lam, your new task is to infiltrate the prison and get a look at Prisoner D99’s work schedule.
At the Chicken Kitchen:
- First, check up on Lynne and Kamila at the Chicken Kitchen.
- Move from the toolbox to the hoist, and trick it to move closer to the motor in the ceiling.
- Move to the motor, then the stepladder and kettle in the Super’s Office, then possess the phone.
- Dial up the Chicken Kitchen.
- When the scene’s over, dial up the Uniformed Men’s Office.
At the Uniformed Men’s Office:
- Watch the scene, then possess the rightmost of the two notes on the board.
- Trick the note to learn what it says.
- Return to the leftmost note and repeat the trick for some key context.
- Just when you thought you could stop reading Bailey’s notes, a third one is pinned to the board. Trick it.
- Bailey will put up a final note on the board. Trick it, but instead of revisiting the conversation, hit Ghost Mode when Bailey’s friend brings his hand down. You should be able to move into the Emergency Switch on the other side of the room.
- Trick the Switch, then move up to the goblet, then the monitor, then the camera, to enter the Telephone Room.
- From the camera, possess and trick the button, but immediately possess the door afterward.
- From the door’s position, you should be able to possess the electric guitar, granting you a ride to the Cells.
In the Cell Block:
- Now you’ll need to find your way to Prisoner D99’s cell and obtain his work schedule from the blackboard within.
- Move from the electric guitar to the blackboard and trick it to learn the value of literacy.
- From the blackboard, possess the phone. This phone can only be used to travel to places you’ve been before within the cell block, and to the guard room.
- Possess the button and trick it to sound the alarm.
- Use the opportunity to see each prisoner’s reaction to the alarm routine. Feel free to set off the alarm again to see the routine in full and connect the dots.
- Return to the rocker’s cell and possess the piece of paper they deposit in the toilet for a ride through the pipes.
- You’ll emerge in a new cell, with a bell above the toilet.
- Watch the scene to get an idea of the prisoner’s reaction to receiving a certain message from the rocker.
- Possess the blackboard and trick it.
- Move to the bell and trick it.
- When the prisoner returns, possess their spoon. Riding the spoon should put you in reach of the bunk, phone and emergency button on the bottom row of cells.
- Possess the phone to gain the ability to use it to revisit the upper row.
- Move to the toilet in the artist’s cell.
- Welcome to cell D99. You need to check the prisoner’s blackboard.
- Possess the picture frame, open it, then move to the newspaper article, then the blackboard.
- Begin to make your way back to the phone to trigger a cutscene. When it’s over, possess the nearby phone and dial up the Guard Room.
Back in the Guard Room:
- Watch the cutscene, and you’ll gain a new number. Dial it up to move to a new location.
In the Chief’s Office:
- Watch the cutscene, and know that you’ll want to see the key piece of evidence before going off to meet Lynne at the restaurant.
- Possess the antenna and trick it.
- Move from the antenna to the screen, and trick it.
- Possess and trick the remote control.
- Watch the scenes, and when you regain control, return to the screen and trick it.
- Ride the screen up, and return through the antenna to the phone to listen in and close the chapter.
Chapter 7: 10:05 PM

Things are escalating, and you need to get to the Chicken Kitchen to find out what’s going on with Lynne. You arrive at a disaster scene.
At the Chicken Kitchen:
- Possess the nearby tire and trick it.
- Notice an all-too-familiar silhouette in Ghost Mode, and connect to it for your briefing.
- Rewind time!
- Watch the scene, then move over to the sign holder to try reading it.
- Possess the bell and trick it three times in a row.
- Possess the waitress’ pitcher to ride to a different part of the restaurant.
- When the waitress pauses, transfer from the pitcher to the cart.
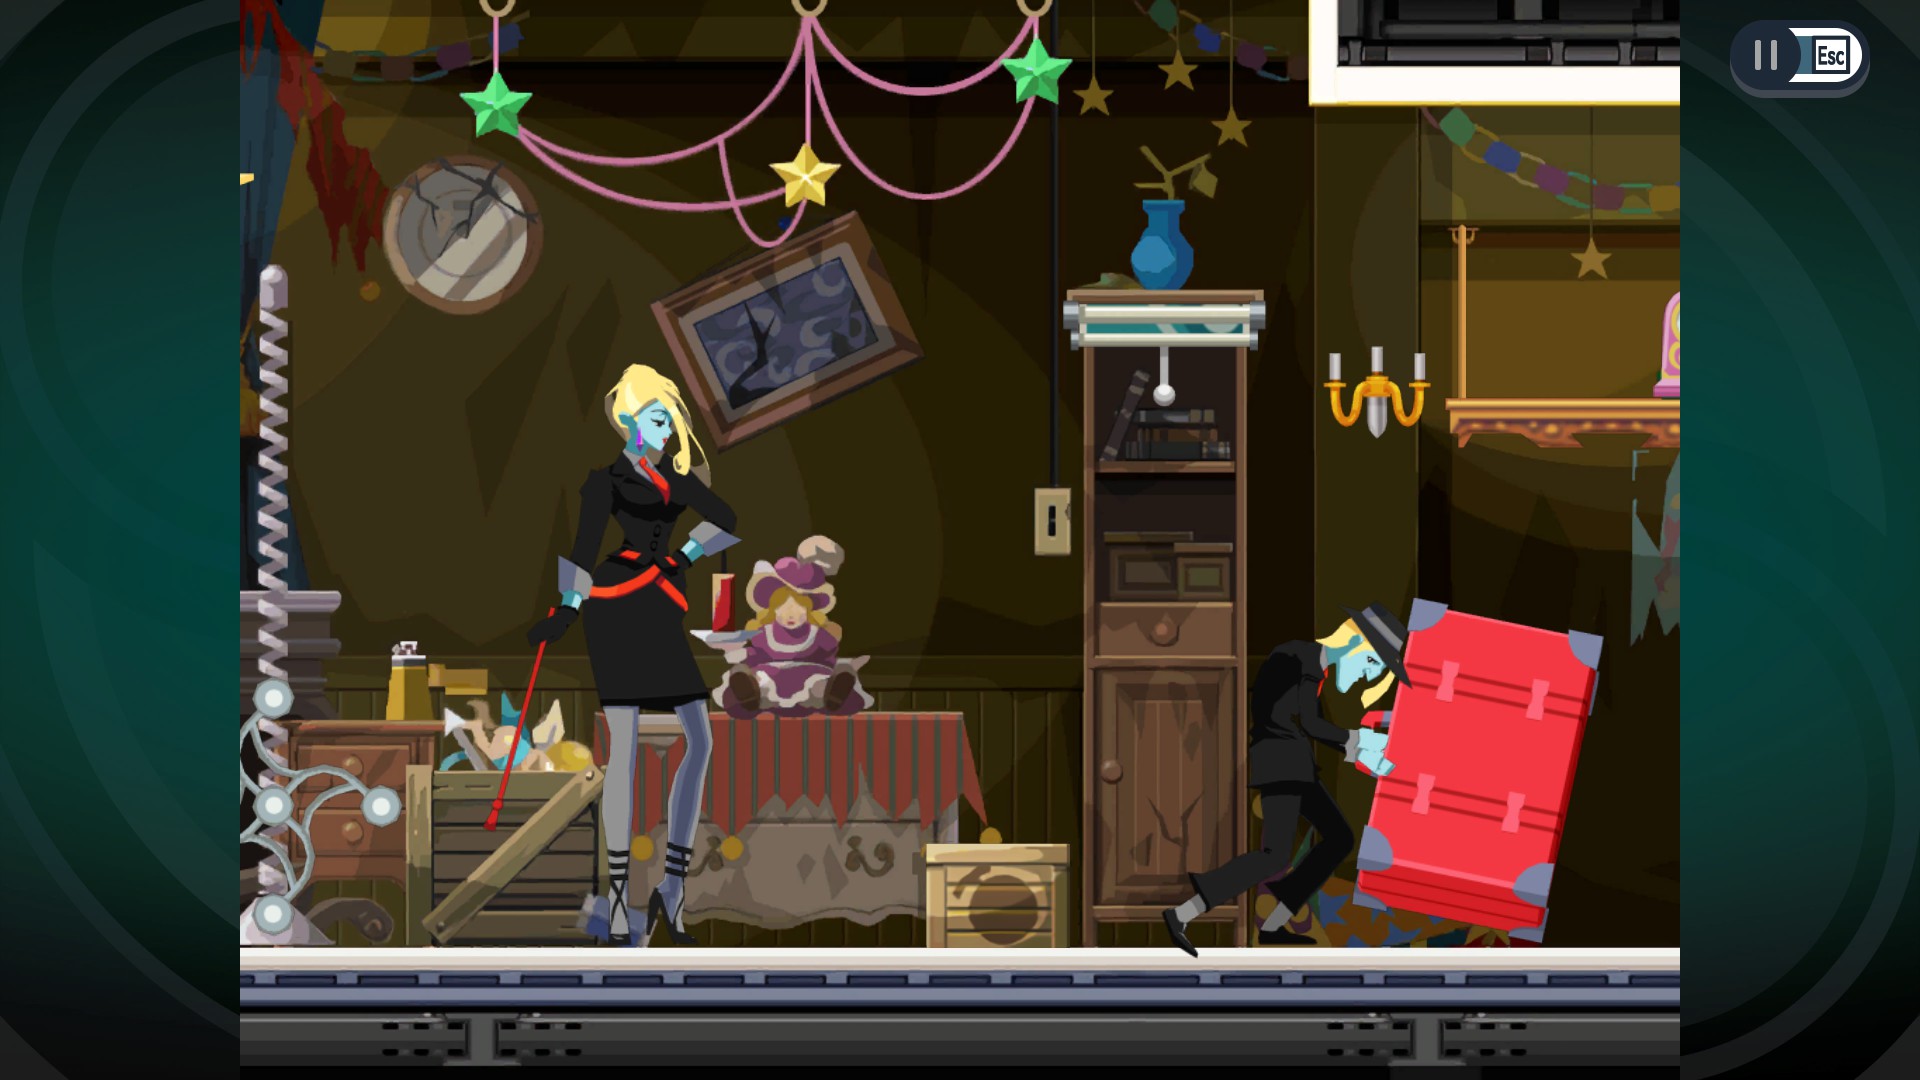
- When the cart stops, possess the large red trunk.
- Listen to the pair’s conversation. The pair will then leave, and you’ll need to follow.
- Move up to the bell and trick it.
- When the waitress arrives, possess the bottle dispenser and trick it.
- Travel back to the red trunk to hitch a ride.
- Listen into the conversation. Be ready, as the final countdown will kick off almost immediately after.
- Move through the vase to the lamp and trick it. The swinging will put you in range of the chicken bone.
- When the chicken bone swings near enough, move to the flashing light, then connect with the driver.
- Rewind time!
In the Park:
- Move from the soul to the flashing light, then to the seat lever. Don’t trick it yet, though.
- When the man tosses the binoculars into the car, trick the lever once, then again to bring the binoculars to the front seat.
- Possess and trick the light, then move to the binoculars to hitch a ride to the phone.
- Possess the phone to listen to the conversation. You’ll receive a number for the Chicken Kitchen’s kitchen.
- Return to the restaurant via phone.
In the Chicken Kitchen Kitchen:
- You’ll need to do something about that bug.
- Possess the t-shirt and trick it, then move to the pot, then the kettle.
- Move through the chef’s hat when it tips back to reach the pedal, then trick it.
- Return to the switch and trick it to stop the fans.
- When the waitress turns around to restart the fans, return to the pedal and trick it to switch the chickens and avert the driver’s fate.
- When you regain control, move from the pedal to the phone, then dial up the Chicken Kitchen.
Back at the Chicken Kitchen:
- Move from the phone to the nearby bell, then trick it three times.
- When the waitress moves past, hitch a ride on her pitcher.
- Move to the table and connect with Lynne to ask her some questions, then close out the chapter.
Chapter 8: 10:55 PM
Now you’re heading back to the prison to effect a rescue! Remembering the prisoners’ routines may come in handy for this one.
In the Guard Room:
- Watch the scenes to find out the internal line’s been restored.
- Trick the phone to dial up the Special Detention room.
In the Special Detention Room:
- The room is pitch-black, but you can see silhouettes of objects and cores in Ghost Mode.
- Travel across the lever into the generator room.
- Cross over the top of the room to possess the water drop, then trick it.
- From the bucket, possess and trick the tool box.
- With the generator repaired, transfer to the spinning grounding sphere.
- When the grounding sphere is close enough to the water drop, move over it and through the emergency light to the Special Detention room.
- Watch the scenes, and possess the lever.
- Trick the lever when the officer places his hands on the chair.
- Move to the officer’s wrench before he gets back up.
- Move up the falling water droplets to the head piece, then trick it.
- Possess the cart, trick it, then quickly return to the head piece to enter the morgue.
In the Morgue:
- Cross over the phone to the body.
- Rewind time!
- Now you need to stop the execution.
- Begin by moving to the phone to listen in on the guards. Go to the office to listen to the conversation further and get hints on your objective, although it’ll mean getting stuck there and looping back around.
- When you restart, let the guard hang up, then possess the phone when it rings a second time. Move to the cell block when given the chance.
In the Upper Cell Block
- Go into Ghost Mode and possess the core below the toilet’s bowl. Trick it to move to the lower cell row.
- You’ll end up in Sausage Head’s cell.
In the Lower Cell Block:
- Possess and trick the bell above the toilet.
- When the prisoner prepares to toss the spoon, possess it to ride along.
- You’ll be within reach of Prisoner D99’s cell. Enter it by possessing the cot, phone, and toilet.
- Make your way across the room and possess the wastebasket. Don’t trick it yet.
- When D99 holds his napkin over the wastebasket, trick the basket to mark the napkin.
- Possess the napkin and ride along the pipe back to Sausage Head. When he pulls up the napkin, move to Sausage Head’s spoon.
- From your position, you can reach down into the generator room.
In the Generator Room:
- Pass through the lights to the power supply, then into the lever.
- Trick the lever to avert fate and close the chapter.
Chapter 9: 11:13 PM

You’ll begin the chapter in the Special Detention room, amidst a blackout. You’ll need to locate Prisoner D99. Take his advice and “head for the spoon”.
- Move from the lever to the generator room, then up through the ceiling into the tunnel to possess the spoon.
- You’ll regain control in Prisoner C74 - Sausage Head’s - cell. Make your way next door to D99’s cell.
- Possess the picture frame, trick it, and use the extra reach to connect with D99, who is hiding under the bunk. You’ll have a chance to ask a few questions.
Escaping the Cell Blocks
- Your new objective is to help D99 escape under cover of darkness, before the lights turn back on. You’ll gain the ability to signal D99 to move to where you are. Find safe spots for him to hide and move him to them, without being seen by the hunters.
- This section will take some tricky timing.
- Return the picture frame in D99’s cell, then trick it to change your position.
- Move across to C74’s bunk, and signal D99 to go there when the guards are looking the other way (mind the red lights!).
- Possess the guard’s vest to ride along as they patrol.
- Notice that there’s another guard hiding in the ceiling crawlspace. You should come in reach to jump to their vest when the guard you’re riding moves up the stairs.
- There’s a hatch mechanism where the guard is lying. Trick it to trap the guard in a loop - They’ll fall through the hole, climb up the stairs, then fall through again.
- Ride along with one of the guards until you can reach the empty can on the landing.
- Pass through the empty can and into the distribution panel under the stairs.That’s a safe spot to call D99 to.
- Call D99, taking care to make sure the guards are on the stairs or otherwise looking away.
- When D99’s safe, return to the empty can, and jump into the guard’s vest when they pass.
- Ride along with the guard to the top of the stairs, and quickly jump into the hatch mechanism when they fall through the hole.
- Trick the mechanism to close the hole and allow them to step past, then trick it again to reopen the hatch.
- By this time the lower guard should be coming back down the stairs.
- Move to the bell in C74’s cell and trick it as the lower guard passes, distracting them.
- Quickly move up to the valve and call D99. D99 will shimmy into the crawlspace between the floors.
- Possess the mechanism to close the hole and hide D99 from view.
- When the upper guard passes, move back into his vest for a ride to the left side of the upper floor (the rocker’s cell).
- Jump from the vest into the rocker’s cell. Notice that there’s another closed hatch mechanism set into the floor. Possess it and call D99 to you.
- Possess the rocker’s drum and trick it to get the guard to stand on the hatch.
- Possess the mechanism and trick it, sending the guard plummeting to the floor below.
- Trick the mechanism again to close the hatch.
- Possess the bunk, then call D99 and complete the jailbreak.
- When you regain control, move to the phone. Power has been restored, so you should be able to return to the Guard Room.
- Upon your return, you’ll receive a new number to call. Dial it up to see some scenes, ask some questions, and close out the chapter.
Chapter 10: 11:41 PM
Chapter 10 teams you up with Lynne once more to save the Justice Minister from his apparent doom.
In the Minister’s Office:
- Chat with Lynne to get a view of the situation, then connect with the minister’s corpse.
- Rewind Time!
- Watch the cutscene. When you regain control, possess the phone to listen to the conversation. You’ll gain a new number. You can visit the destination for some extra context, but you’ll need to rewind afterward, as you’ll be stuck there.
- Possess the flag and wait until the pitcher is about to tip off the desk, then trick the flag.
- Immediately transfer to the pitcher, then to the ceiling fan.
- With fate changed, trick the fan to blow papers off the desk.
- Transfer to one of the papers when it flies within reach. The floating document will transport you closer to the medicine bottle, which you need to return to the minister’s desk.
- From here, your puzzle is dropping certain items to the floor in the correct order to construct a mechanism that’ll flick the bottle back to the minister’s desk.
- Move from the document to the medicine bottle, then to the statue’s arm. Trick the arm to raise it.
- Move from the arm to the base of the hanging basket, and trick it to turn the frame. Don’t trick the basket itself yet!
- Move to the frame hanger and trick it, then climb back down to the statue’s arm and trick it to bring it down.
- Transfer to the curtain and trick it to move to the right.
- Move to the statue’s arm, then the globe stand. Trick the globe stand to turn it, then trick the attached globe to knock over a yellow urn.
- Possess the frame hanger to drop the mounted frame onto the floor and atop the fallen yellow urn. Return to the globe and trick it to send it to the floor.
- From the globe, possess the curtain and trick it to move back left.
- Move back up the statue’s arm to the hanging basket, then trick the basket to knock over a black urn.
- The black urn will fall on the other side of the frame, causing the makeshift seesaw to catapult the globe onto the statue’s sword.
- Trick the statue’s sword to send the bottle flying back to its owner, averting fate.
- When you regain control, trick the statue’s sword again, then converse with Lynne and the minister.
- When you’re ready, possess the phone and dial up the new number you received earlier to close out the chapter.
Chapter 11: 12:10 AM
It’s time to investigate a kidnapping and learn more about the mysterious pair from the restaurant. They’re holed up inside a strangely familiar-looking dilapidated house.
In the Dilapidated House:
- When you regain control, you’ll be in the phone. You need to make your way across the room to open the big red trunk.
- The path to the trunk is fairly clear to see, but the last stretch puts it just out of reach. You’ll need to set things up for a clean arrival.
- Possess the candle and trick it.
- Climb the decoration and trick it to add a core to the ceiling fan.
- Possess the fan’s motor and trick it to push a ball onto the floor. Return to the candle.
- Climb below the candle into the door, then trick it to send the ball rolling across the floor.
- Climb back up to the decoration on the fan, then reach right to travel across the decorations to the shade beside the sleeping man.
- Trick the shade to get low, then pass through the crate and doll and into the ball you rolled.
- From the ball, cross over the balance toy and into the party popper on the floor.
- Trick the popper to send some streamers onto the candle sconce.
- Pass through the cake box to a party popper on the table and trick it to add a new element to the spinning fan mechanism.
- Move back along the floor to the shade, trick it to ascend, the cross back to the ceiling fan’s motor.
- Trick the motor to make it spin, then cross back left to the candle and trick it to set the streamer alight.
- With the doll’s candle lit, cross back over the ceiling to the shade, trick it to descend, then make your way back to the balance toy.
- Trick the balance toy raise streamers that will light the candle sconce.
- Climb back onto the shade for a last ascent, then trick the candle sconce to send the clock to the floor.
- You finally have a core within reach of the trunk. Descend once more with the shade and cross to the trunk.
- Trick it to open it up.
- Have a conversation with the new guest to end the chapter.
Chapter 12: 12:25 AM
Quite the conundrum is brewing back in the minister’s office. In this short chapter, you’ll mostly be gathering information from all parties present, and enlisting the help of a very busy writer.
- Listen to the conversations. Speak to each of the characters in turn by connecting to their cores in Ghost Mode. They’ll have a lot to say.
- Speak to Jowd again after regaining control to get a few hints.
- Possess the phone, and call the Lady’s Red Apartment to close the chapter.
Chapter 13: 12:51 AM

Welcome back to the Lady’s Red Apartment, where you spent some time back in chapter 3. You’ll need to get a little lady’s voice on the phone to her father.
In the Lady’s Red Apartment:
- As usual, you’ll begin in the phone, above the little lady’s bed.
- Possess and trick the lighter to reposition the phone.
- Alas, if only it would be so simple.
- With the room rearranged, you’ll need to distract the little lady’s mother to carry out your plan.
- Move from the lighter to the wastebasket, and up through the clock and into the ceiling, where a conveniently-placed rat lingers atop a hatch.
- Trick the hatch, then move back into the clock face and trick it to attract the writer’s attention.
- Move up to the valve in the ceiling and trick it, setting off a blackout.
- The blackout will prompt the lady to deploy the apartment’s chandelier.
- Move across to the latch, then trick it to drop the rat’s tail into the room.
- Cross down through the dictionary into the chandelier’s crank, then trick it.
- The lady should get up to re-hoist the chandelier.
- Remain possessing the crank after she finishes, and trick it at just the right time to entrap your target.
- You’ll need to time it just right, but keep trying.
- Crank the chandelier up to the ceiling, then possess it by passing through the dictionary and latch.
- Trick the chandelier. The ensuing chaos should make the situation just ripe for moving the phone to the little lady.
- Cross back over ceiling, then trick the clock’s pendulum.
- When you regain control, move to the phone to listen in on the conversation. You’ll automatically return to the minister’s office.
Back in the Minister’s Office:
- Connect with the Minister and get some answers.
- And what answers those were! Possess the phone and call the Park to close the chapter.
Chapter 14: 01:28 AM
Welcome to Temsik Park, where you need to find a key piece of evidence that will blow this case wide open. You’ve learned a lot in the last few hours, and it’s time to begin closing in on the truth behind it all.
In Temsik Park
- Move from the phone to the delivery box, and to the chef’s hat, once it comes into reach.
- Drop into the swing and trick it to extend your reach, then jump into the basketball, then the Globe Climber.
- Trick the Climber, and then drop back into the basketball.
- Move into the seesaw when in range, then trick it before moving to the baseball.
- Move from the baseball into the tire, then connect with Lynne to see what’s up.
- Connect with the body.
- Rewind Time!
- When you regain control, immediately link up with and speak to the new “flame”.
- After the tutorial sequence, you’ll find yourself with new capabilities. You can change control modes with the appropriate button.
- One mode (Let’s call it “Sissel Mode”) uses your normal powers, and the other mode (let’s call it “Green Mode”) uses the ability to switch the places of two objects with the same shape.
- Note that you’ll need to move both modes separately. Green mode has a much longer reach, though, so it should be easier to get places.
- You’ll need to find a way to get up to the rugby ball, bringing it into reach before the victim moves into the kill zone.
Finding a path to the Rugby Ball
- Move right from the soul and into the dumpster lid via the oil drum, then trick the lid.
- You can reach the seesaw from the tire. Trick it to move the baseball closer, then possess the baseball.
- Ride the baseball back down the seesaw, positioning yourself closer to the Globe Climber. The victim should show up, about to leap onto the Climber.
- Switch to Green Mode, then make your way through the trowel and dumpster lid to the baseball. Connect the baseball and basketball inside the Globe Climber, swapping their positions.
- Switch back to Sissel Mode. Possess the baseball when it spins into reach, then possess and trick the Globe Climber. This will cause it to spin faster, delaying the victim’s progress.
- Possess the boot, and use it to reach some of the Leaflets flying out of the victim’s bag, catching a ride up.
- Move through the Leaflets to the Love Letter attached to a balloon. Trick the letter.
- From the Letter you should be able to reach a blue umbrella. Possess and trick it to send it to the same branch as the Rugby Ball.
- Trick the umbrella again to open it up.
- When the umbrella receives some unexpected weight in the form of a Basketball, change to Green Mode, and connect the Tire with the Basketball.
- Swap the tire and the basketball. This should bring the Rugby Ball into range for the finale.
- The final countdown should kick off. Stay in Green Mode and possess the Rugby Ball.
- When Mino appears, connect it to the Rugby Ball and swap their positions, averting fate.
- When control returns, speak to Lynne or the victim to learn some important park history.
- You’ll see even more scenes, and close out the chapter.
Chapter 15: 02:56 AM
The plot continues to twist and turn as you close in on the heart of the mystery! It’s time for another visit to the junkyard where it all began. You’ll begin in the Super’s Office following the fateful call.
In the Super’s Office:
- Connect to the victim to begin your investigation.
- Rewind Time!
- You’ll be in a precarious situation from the get-go here, as for the first time you’ll have to use your powers with a measure of discretion. Tricking things recklessly will get you caught!
- Move to the kettle and wait until it hits the floor, then transfer to the basement via the ceiling fan motor.
- Move to the hoist and trick it to come down to the floor.
- Move to the toolbox and trick it.
- You’ll see a core to connect to. Do so, and…
- Rewind Time!
- This is a short sequence, and everything you can do will happen during the final countdown.
- When you hear a mysterious voice, scour the lower-right corner of the screen for a telltale leaf.
- Congratulations, you’ve regained your “Green Mode” powers!
- You’ll be introduced to a new aspect of Green Mode: You can swap objects that LOOK like the have the same shape, meaning if an object’s shape changes based on the camera angle, you can swap the two. That comes into play here.
- Switch to Green Mode, and move from the tire to the cake toy, to the trash can.
- Connect the book pile and the newspaper pile, and swap the two.
- Watch the commotion, and see the trash can lid go flying. Possess it.
- Notice how the trash can lid looks oddly circular now? It’s the same shape as the tire.
- Connect the tire to the now-circular lid, and swap the two.
- Wait for the lid to lie flat. You’ll need to be very precise with the timing.
- You’ll be able swap the lid and the door almost immediately before the stage ends in failure, after “0” passes on the final countdown. Check for the green connection line to look like electricity.
- You’ve averted your first fate of the chapter. But there’s more to come and another life to save.
Saving the Next Life
- You’ll begin below the basement and need to get back up to the Super’s Office to avert the next death.
- Move from the measuring device to the hoist, then to the motor in the roof.
- In Sissel Mode, you won’t be able to climb up to the room proper before the kettle gets knocked to the floor.
- The timing of these tricks will need to be precise. You can’t trick when the villain is facing you, and you’ll have only split seconds to react. Use Ghost Mode liberally.
- Climb from the kettle up to the lamp, and trick it when the villain turns away.
- Move to the helmet, and trick it to send it to the floor.
- Circumstances will move the step ladder within reach and kick off the final countdown.
- Quickly move to the step ladder and trick it to move to the far side of the room.
- Climb from the step ladder to the knit cap, and trick it.
- Re-possess the step ladder, and trick it to return.
- Switch to Green Mode and connect the book on the bookshelf with the knit cap, which should be on the step ladder.
- Let the final countdown expire. Time will freeze automatically in Green Mode.
- Connect and swap the knit cap and the bullet.
- With fate averted, you’ll return to a changed present. Speak to both of the other characters to learn more and close out the chapter.
Chapter 16: 04:19 AM
This chapter of Ghost Trick takes place right in the belly of the beast. It’s the largest stage yet, but it’s one of the last things standing between you and the truth.
Beginning in the crew compartment, you’ll need to find Lynne and Kamila.
In the Crew Compartment:
- You’ll have your “Green Mode” powers for this first phase of the level. Use them well.
- You’ll need to get to the phone to answer it.
- Switch to Green Mode and connect the basketball and baseball in their hammocks. Swap them to bring the baseball closer for Sissel to jump to.
- In Sissel Mode, move from the raised baseball to the emergency light.
- Repeat the baseball-basketball swap trick on a second pair of spheres, heading right.
- Answer the phone, and go to the other end when prompted.
In the Flooded Engine Room:
- You’ll lose the use of your Green Mode for this phase.
- Speak to Kamila, then climb down to the wheel, tricking it to get closer to Lynne.
- Speak to Lynne.
- Rewind Time!
- You won’t be able to move freely until the gun gets pointed, but when it does, use it to leapfrog into the wheel.
- You can’t use a phone line unless the receiver’s off the hook, so climb up to the wheel above it, and trick it.
- Answer the phone, and go to the forward compartment when prompted.
In the Forward Compartment:
- You’re back, and will need to move from the phone to the valve, and down into the wastebasket.
- Trick the wastebasket and immediately move to the basketball before it bounces up.
- As it bounces up, the capsule containing the black stone should be passing by. Possess it.
- Watch the scene. When you gain control, you’ll need to head down to stop the explosion.
- Possess and trick the lever to descend, then reach out and jump into the torpedo.
Inside the Torpedo:
- You need to clamp down on the striker pin to “safety” the careening explosive.
- Move from the joint to the gyroscope on the left. Trick it to stop it temporarily.
- Cross over the joint and striker to the right-side gyroscope. Trick it so that the black portion stops on the same side as the left-side gyroscope. In other words, both weights need to be on the top or bottom.
- With the furry obstacle removed, move back to the joint and trick it to move back to the Engine Room with fates averted.
Back in the Engine Room:
- Your next task is to return to Lynne and Kamila.
- Move from the Torpedo to the starter and trick it to set the mechanisms moving.
- Quickly move from core to core, heading right across the gears and ending at the piston.
- When the piston rises, you can possess the nearby flashlight to trigger the next cutscene.
- Trick the flashlight to send a signal.
- You now need to lead Lynne upwards, finding escape before the room floods.
- To access the ladder Lynne must climb, move from your position to the emergency light on the right, then the handle.
- Trick it to release some steam, dislodging the glove above you and moving it within reach.
- Jump to the glove, then the switch above it. Trick the switch to lower the ladder.
- Everything will then go sideways.
After Everything Goes Sideways:
- You’ll once again need to create a path for Lynne to climb while holding Kamila, but you’ll be under greater pressure thanks to the rising water level.
- Thankfully, you’ve got some help. You have access to Green Mode once more.
- In Sissel Mode, wait until Lynne holds the flashlight out, then reach down and jump into the floating debris to arrive at the mechanism on the right side of the screen.
- Possess the starter and run the machine. Notice that the fans spinning causes a number of pistons to stick out? Their extension depends on the size of the fan in the machine.
- You’ve got to reposition the fans in order of size, with the biggest on the bottom and the smallest on top.
- You’ll also need to swap out one of the medium-sized fans for the smallest one.
- Use Green Mode’s long reach for this by swapping the biggest fan on top with one of the middle fans, then bringing it to the bottom.
- Then use the mechanism on the right to climb upward, swapping the smallest fan in for the medium-size fan on top.
- Switch back to Sissel Mode and trick the starter. The pistons should arrange themselves in a stairway pattern for Lynne to climb.
- From here, you’ll move to the next phase of the puzzle: The steam pipes.
In the Steam Pipes
- You need to rearrange the pipes so Lynne can move onto them without being blasted by steam.
- Have Sissel climb the mechanism to reach the wheel right above Lynne’s position. You may need to run the starter to get the cores moving within reach.
- Trick the wheel and notice that it shuts off steam for any pipe it’s attached to.
- Switch to Green Mode and climb up to Lynne’s position.
- Luckily, you’ll be able to swap pipes easily, as they’re all the same shape.
- Take the pipes that are shooting steam downward only, then swap them into the “floor” for Lynne to cross over.
- Then take the pipe that’s shooting steam both upwards and downwards and position it next to Sissel’s wheel. That way, the pipe above where Lynne will walk won’t shoot steam down onto her as she crosses.
- There’s one last puzzle: You need to give Lynne a ride up.
- Swap to Sissel Mode and climb up to the hook near the top of the screen. Trick it to bring it down, then trick it again to raise Lynne and Kamila to the door.
- Trick the door to close out the chapter.
Chapter 17: 05:10 AM
You’ve arrived at Ghost Trick’s penultimate chapter! You’ll need to escape the deep, cold darkness, right before dawn.
- Following the lengthy conversation, you’ll have control of Sissel.
- Climb upwards and trick the nearby control panel, then possess the mechanical arm that emerges.
- Use the arm to reach the phone. If it starts sagging, trick the control panel again to get it to rise up.
- Trick the phone and head to the Torpedo Room.
In the Torpedo Room:
- There’s not much to do in the Torpedo Room besides flip the switch in the center.
- To do that, you’ll need to speak to one of your fellow cores and unlock Green Mode.
- Switch to Green Mode and swap the switch on the right with the one in the center.
- Switch back to Sissel Mode and trick the swapped switch, exposing the torpedo.
- Possess the torpedo to move to the Command Room.
In the Command Room:
- Possess the nearby core to kick off the conversation.
- Rewind Time!
- Possess the new core.
- Rewind Time again to proceed to the Final Chapter.
Final Chapter

Welcome to the final drive toward the truth. You’ll need to use all the tools at your disposal to solve the “mystery of you.”
- You’ll have full access to both Sissel and Green Mode from the get-go this time.
- As Sissel, you won’t have much to do at first. Possess the headphones and wait until the situation escalates.
- When able, trick the headphones. This will send the roasted potato to the ground and change fate.
- Following the fate change, move Sissel to the basket. Trick it to roll a potato into the water.
- Move from the potato to the fountain nozzle on the right. Trick it before the potato passes over it to change the potato’s path. Hitch a ride on the ascendant potato.
- When you get close enough, move from the potato to the central water spout, then switch to Green Mode and possess the potato.
- Switch to Sissel and trick the central spout.
- Switch to Green Mode and swap the potato with Mino, then swap Mino with the similarly-shaped lamp bulb to the right.
- Just wait for it.
- Swap the projectile with the potato that was dropped to the ground.
- From this point, the game will pretty much tell you what to do, but just in case, here’s the final sequence of actions.
- Possess and trick the nozzle.
- Swap Mino with the lamp bulb.
- Enjoy the ending!
Congratulations! You’ve cleared Ghost Trick! From here, you can try the chapter select option to tackle some of the optional challenges or check out the sliding-tile Ghost Puzzles. You can also see the Music and Illustration sections for the original soundtrack and concept art pieces from the game’s development.
Ghost Trick: Phantom Detective is available on the PS4, Xbox One, Nintendo Switch and PC. Its original release is available on the Nintendo DS and iOS.