
Dragon Quest XI S Skills Guide: Skill Panels explained, plus what skills are available to each character
In Dragon Quest XI, the series’ more simplistic skill system are replaced with more intricate skill panels. This new system allows you to build your party members in a more effective manner, but it can also be a bit overwhelming. Our skills guide is set to help you understand the system a bit better and set you off on the path to creating the skillsets you want to match your playstyle.
Warning: This guide will have spoilers about all the characters you recruit during the course of the game. If you want some general advice without spoilers, please check out our beginner’s guide. If you're cool with spoilers, we also recommend our guide on crafting with the fun-sized forge in Dragon Quest 11.
Skill Panel Basics
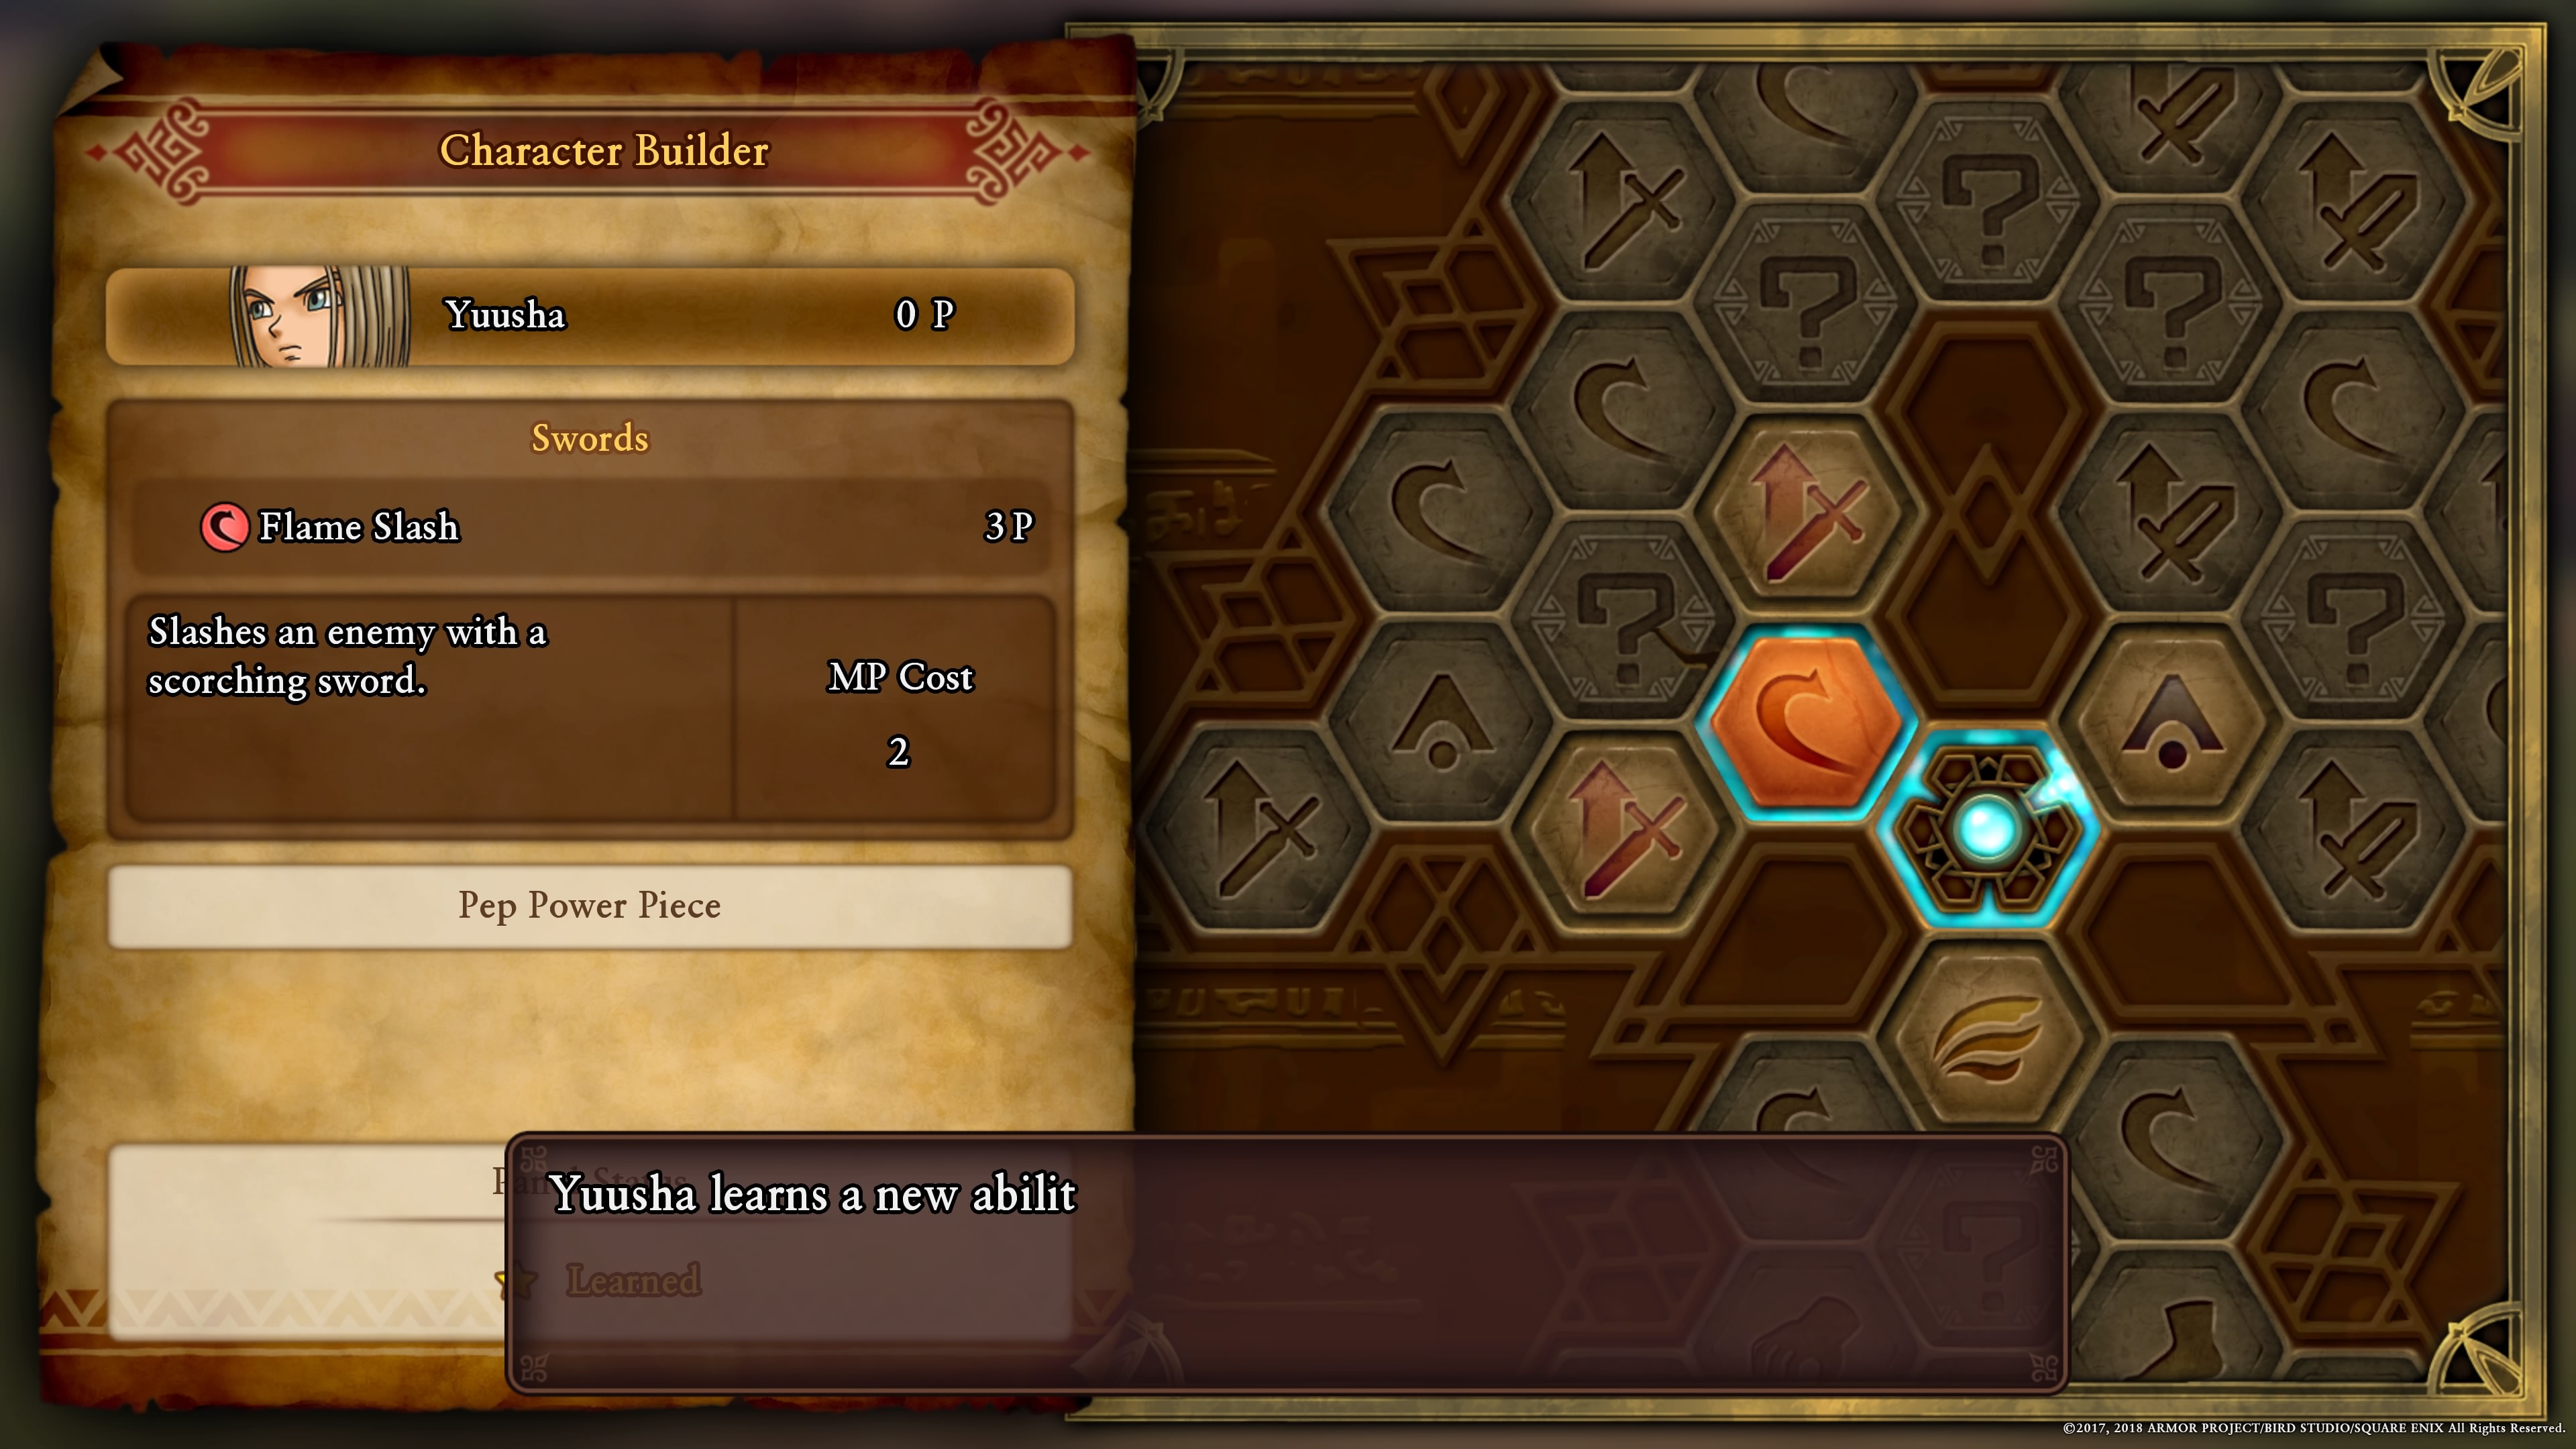
Each character has their own unique skill board, with various weapons they can learn skills for as well as one or two unique areas for each member. In the early game, it’s best to pick a weapon and focus on it and the member’s unique panels, but later on you’ll start to notice Secret Panels getting in the way of some of the best skills.
Secret Panels require that at least four surrounding panels are unlocked before you can reveal and learn the skill underneath. Some of these Secret Panels will be right on the edge between two skill types, requiring players to delve into areas of the skill board they may not have done before.
Additionally, the skill boards are not complete for most characters when they first enter your party. More skills panels will unlock for them during the second half of the game, so don’t be surprised if some party members have relatively barren skill boards to start out.
Rectification
With large skill boards and a number of Secret Panels, it can be worrisome to invest in the wrong set of skills and be stuck with a character you don’t want to use. Thankfully, every save point offers Rectification, which lets you reset whole swathes of the skill board and allow you to set your skill points again.
Rectification costs 20G per skill point being reset, but you can only reset whole sections at once. So, for example, you decide that training Erik in daggers wasn’t as fruitful of an endeavor as previously thought, so you want to take those now wasted points in Daggers and put it into Guile, his unique skill set. With Rectification, you can easily reset this on the cheap.
Rectification is also great if you put a lot of work into unlocking a Secret Panel, but don’t particularly care for what’s behind it.
A Note About Skill Trophies
If you take a look at the trophy list, you might notice that there’s a trophy for mastering “the way of” each character’s skill set. Note that these trophies unlock only when you unlock all the skill panels for a particular character, not just their unique skill category.
Skill Category List and General Advice
In Dragon Quest XI, multiple builds are possible for each character. There’s no real wrong way to the skills you choose, though it’s typically best if you stick to one or two categories for the earlier parts of the game. Essential spells like Multiheal are not locked in the skill panels, and with Rectification you’re able to reset everything at will.
With that, we’ll only be offering general advice for each character.
Hero
Weapons: Swords, Greatswords
Unique: Luminary
Being the main character, the Hero is the only one with access to the Zap family of spells. It’s a very good idea to grab Zap as soon as possible, but you’ll probably want to wait a while before delving further into the Luminary category--there will be a point in the game where you lose access to the Luminary skills, and you’ll have to reset your skill points to one of the weapon categories instead.
Additionally, while you can pick either weapon to specialize in, the Hero’s signature weapon is a Sword, so it may be best to grab the skill panels for that category over Greatswords.
Erik
Weapons: Swords, Daggers, Boomerangs
Unique: Guile
Erik is the thief of the group, and his Guile skills allow him to gain skills like Half-Inch (steal items from enemies), Divide (make two copies for one turn, offering 3 attacks) and Critical Claim (guaranteed critical on any enemy). Erik has low defense which affects his survivability in later points of the game, so it’s very important to grab his agility stat skill panels so he’s more likely to dodge blows.
In terms of weapons, Erik is the only character that can wield boomerangs, which can attack all enemies at once. His Dual-Wield ability is within the Daggers category, though, and since Erik can’t equip a Shield it might be best to work towards it regardless of what weapon you choose.
Serena
Weapons: Wands, Lances
Unique: Harpistry
Serena is the dedicated healer of the group, with unique and weapon skill categories to match. Harpistry offers abilities that protect against the elements and can be a lifesaver in later sections of the game. While you can give Serena a lance, specializing in Wands gives her more stats in Magical Mending, as well as the ability to equip a shield to make it less likely for her to get killed.
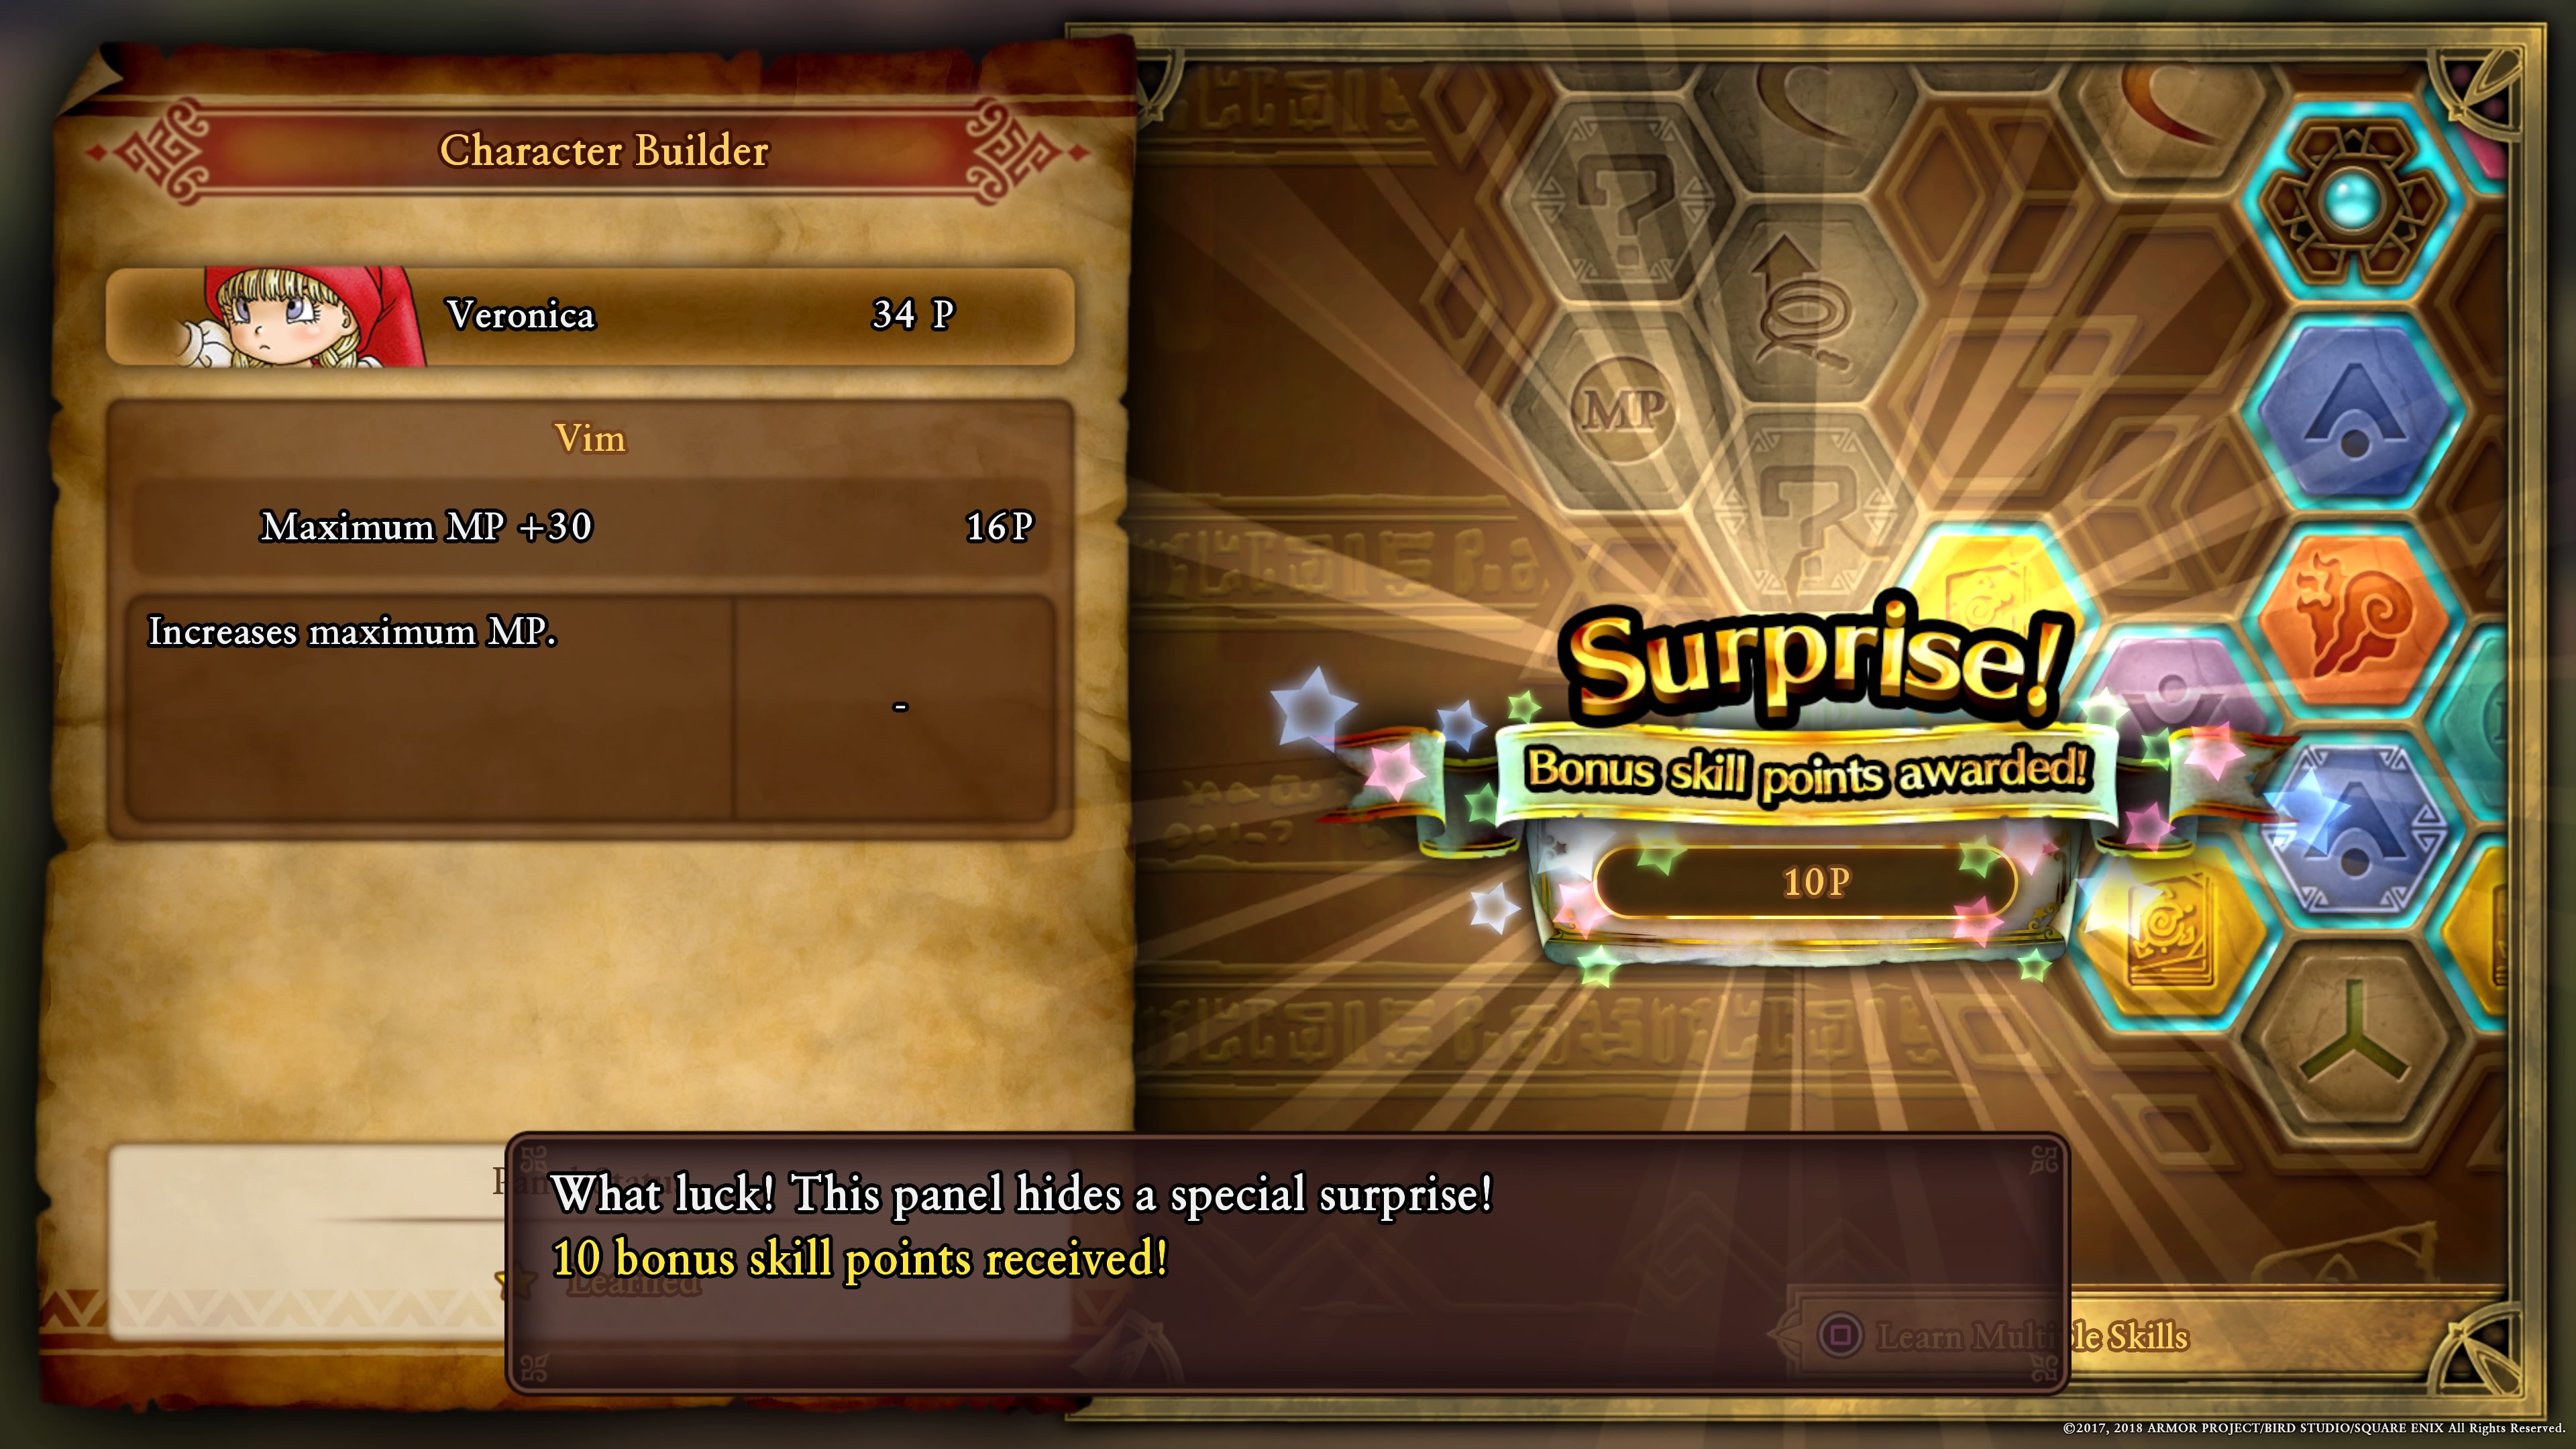
Veronica
Weapons: Heavy Wands, Whips
Unique: Vim
Veronica is the battle mage of the group, and her purpose is to sling fireballs across the field. Her unique skill set, Vim, helps in that goal, with panels that up her Magical Might, as well as hiding some of her most powerful spells. Like Serena, while you can give Veronica a weapon that ups her physical capabilities, it’s probably best to keep her with the Heavy Wands, which offer additional boosts to Magical Might.
Sylvando
Weapons: Swords, Daggers, Whips
Unique: Showmanship, Litheness, Chivalry
Sylvando is a bit of an odd character. The performer naturally has a high Charm stat, so it’s best to work towards his Showmanship category so that he can gain skills that take advantage of that stat like Hustle Dance (a full part heal). Sylv also gains access to a few stat buffing spells, and he is beefy enough to take a few hits, which I found helpful as support during boss battles.
While I had Sylvando specialize in Whips, I personally don’t think that was the best move for this character, although he’s still powerful enough with the weapon type to get the job done. Swords may work better for him, even though he’ll sport some skillsets similar to the Hero.
Rab
Weapons: Heavy Wands, Claws
Unique: Enlightenment
Rab is the sage of the group--he is able to do a bit of everything, but a master of none. You can make Rab fit into a healer, wizard, or even physical damage-dealing role with a bit of tweaking, and thanks to his unique Enlightenment skill category, he’ll be able to gain stats in Magical Mending, Magical Might, and Strength.
For my playthrough, I made Rab my main healer, keeping him equipped with Heavy Wands and making sure that I grabbed the ability Zing Stick (guaranteed revival) and skill panels that upped MP and Magical Mending. Due to his well-rounded stats, he can take more hits than Serena and Veronica, but it comes with the trade-off of not being able to do as much damage or heal as well as the twins.
Jade
Weapons: Claws, Lances
Unique: Fisticuffs, Allure
Jade is essentially the monk of the group, but also has the addition of the series more ‘sexy’ moves like Puff-Puff and Sexy Beam with her Allure skillset. She’s a glass cannon, able to deal a lot of damage but not able to take much in return. Also, Jade can “specialize” in Fisticuffs (aka no weapon), but since the category is mainly a bunch of stat boosts, there’s no real reason not to have a weapon equipped to her.
Which weapon you decide is completely up to you. I preferred the Claws due to their high attack power and the double attack, but new Claws themselves are relatively rare and difficult to craft while Lances are more common and can eventually trump the Claws’ attack power.
Hendrik
Weapons: Swords, Greatswords, Axes
Unique: Shields, Heroism, Fraternity
The eighth party member has a variety of skills you may have noticed missing from other characters in Dragon Quest XI. Hendrik is a knight through and through, with an impressive skillset and stat spread to match. He’s the only character that can learn skills with a Shield, and with moves like Forbearance (take any and every attack aimed at another member in their stead), using Hendrik effectively can turn the tide of difficult battles in your favor.
However, in order to take full advantage of Hendrik’s defensive abilities, you’ll need to have a Shield equipped, which means sticking with a one-handed weapon. Some of Hendrik’s Heroism skills are only usable with a Sword as well, so it makes what weapon is best for the knight somewhat set. I did personally have Hendrik specialize in Greatswords for the higher damage output, but it makes him much harder to use as a tank.