
Final Fantasy III Bosses guide: Strategy to beat every Boss Battle in FF3
Being the first entry in the series to employ the now iconic Job System, Final Fantasy III needs some strong challenges to test player mastery of its mechanics. Luckily, the original NES version of the game represented in the FF3 Pixel Remaster has some devilish bosses.
The original 2D FF3 features a wide variety of boss fights to account for the myriad options at the player’s disposal - at times readily expecting players to rebuild their party composition around specific encounters. BAsically, the open-ended FF3 Job system invites bosses that will force you to adapt and adjust in significant ways.
As a result, it might be helpful to know what to expect with any given boss heading into a fight. Thankfully, we’ve got you covered with a full list of the bosses you’ll find yourself up against throughout the game.
FF3 Pixel Remaster Boss strategy guide
Broadly speaking, we’ll keep this simple. Below, we list all of the main bosses that feature in the 2D version of Final Fantasy III as found in the Pixel Remaster. These strategies will also work brilliantly for the NES/Famicom version if you’re playing in Japanese or with a fan-made translation patch. This page pairs well with our FF3 Walkthrough, for getting more specific boss tips.
The structure of the 3D Nintendo DS/Mobile/PC remake of FF3 means you’ll face down the same bosses in that version, the strategies for that iteration of FF3 may differ significantly in certain encounters.
For the Pixel Remaster and NES original, this guide will suffice, however. The HP stats shown are specifically for the Pixel Remaster, and may differ slightly on the NES.
- Land Turtle
- Djinn
- Bahamut
- Giant Rat
- Medus
- Gutsco
- Salamander
- Hein
- Kraken
- Goldor
- Garuda
- Hecatoncheir
- Titan
- Odin
- Leviathan
- Bahamut 2
- Doga & Unei
- Amon
- Kunoichi
- General
- Scylla
- Guardian
- Xande
- Cloud of Darkness
- Cerberus
- Echidna
- Two-Headed Dragon
- Ahriman
- Cloud of Darkness 2
Land Turtle
- 111 HP
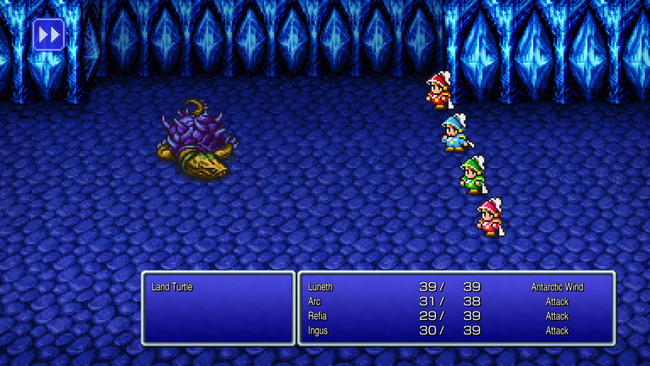
The first boss fight of the game; since you won’t have access to any specific strategies yet, this is a very simple fight that only requires you to regularly attack it.
Djinn
- 550 HP
This boss is weak to Ice magic; if you’ve equipped your party with a Black Mage and gave them Blizzard, this battle should be over fairly quickly.
Bahamut
- ???? HP
Your party’s first encounter with Bahamut technically counts as a fight; but don’t bother attacking. Run!
Giant Rat
- 1050 HP
If it wasn’t already obvious, but since your entire party will be Mini for this fight - you’ll want as many spellcasters as you can. Keep blasting the rat until it’s dead.
Medus
- 2000 HP
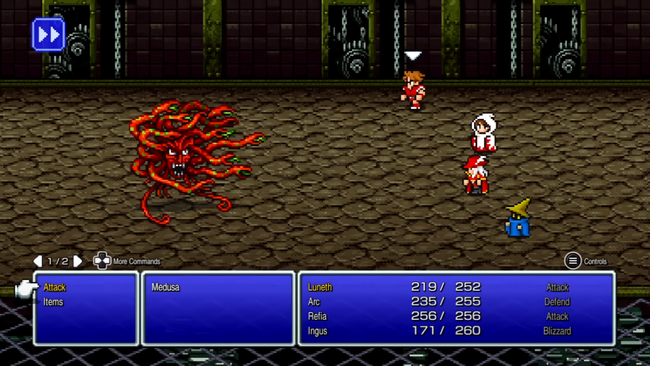
Yet another fight where spells will do you well; use the highest-tier magic you can muster and you shouldn’t have any trouble taking her down.
Gutsco
- 2800 HP
Once again, this fight is best managed by peppering him with magic while keeping your team popped up with some healing.
Salamander
- 4000 HP
Much like Djinn way back near the start of the game, you’ll want to spam Ice magic against this one as well as any Antarctic Winds you have sitting around. Watch out for Flame, though! It hits very hard, so make sure you’re keeping on top of healing.
Hein
- 3500 HP
This fight has a gimmick, which wants you to make use of the Scholar Job’s Study ability. Use it to determine what he is currently weak to, and then use your spellcasters to attack him at his weak-point; otherwise, it’s a fairly straightforward encounter.
Kraken
- 5000 HP
This overgrown squid is weak to Lighting-based attacks; so spam away with the proper spells, as well as any Zeus’s Wraths you’ve got on hand.
Goldor
- 6000 HP
While many of the bosses up to this point could be countered with magic, you’ll want to switch to mostly physical-attacking jobs before attempting Goldor - his Magic Defense is incredibly high. From this point forward, boss fights continue to become much more highly specialized for specific strategies.
Garuda
- 7500 HP
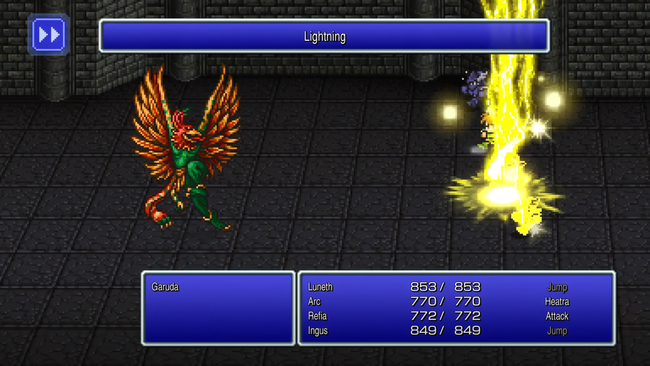
Speaking of boss fights that more-or-less require a specific job composition; bring Dragoons. Fully kitted out, a single use of Jump will deal massive damage, as well as help you avoid unnecessary damage. Don’t forget a healer to keep your party topped up! Incidentally, this will likely be the last boss you’ll be facing for a while.
Hecatoncheir
- 9800 HP
Compared to Garuda, this boss is a bit of a cakewalk. If you want to, his Magic Defense is incredibly low - so you can switch to a party of magic casters to make things go even quicker, but it’s probably not necessary.
Titan
- 20,000 HP
The Hecatoncheir she told you not to worry about; the same strategies apply here. His HP and Magic Defense are higher, and he’ll deal more damage, but otherwise whatever party you used for that fight will likely be more than fine here as well.
Odin
- 20,000 HP
The challenge with this fight is the damage he puts out with his physical attacks, and especially Zantetsuken. That being said, as long as you’ve got a decent set of attackers and enough healing the fight itself is simple enough. You really do just need to ensure you’re keeping up with the boss's damage output.
Leviathan
- 22000 HP
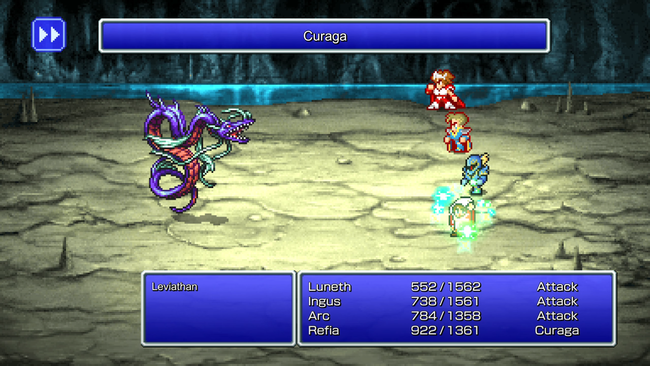
Another fish, another boss weak to Lightning damage. Much like Odin you’ll want to ensure you have enough healing - but especially with this boss’s additional weakness it should be an easier encounter overall.
Bahamut 2
- 25,000 HP
Moreso than either Odin or Leviathan, you’ll want to ensure that you’re keeping up with healing in this fight; but much like Leviathan, it’s got a weakness to exploit. Use wind magic and you shouldn’t have too much trouble taking him down.
Doga & Unei
- 12,800 HP (Doga) & 11,800 HP (Unei)
You will fight these two back-to-back, but especially if you bothered to fight the Summon bosses first, these encounters are a bit of a joke. Watch out for their Flare and Holy respectively, and ensure you heal up before Doga is defeated - while these fights aren’t too challenging, you’ll fight Unei with whatever HP you ended Doga’s encounter with.
Amon
- 23,000 HP
Much like Hein way back when, this boss will periodically change his weakness. At this point in the game, however, and assuming you’ve fought any optional bosses along the way, you can make do with pretty much any party composition and a healer.
Kunoichi
- 19,000 HP
Watch out for Aeroga; it deals a surprising amount of damage. Other than that, pepper her with whatever attacks you wish and keep up with healing. A relatively simple encounter.
General
- 25,000 HP
This boss’s job is to be a pest, and it is efficient at doing so. Its overall damage output isn’t very high, but it does cast Death which will have a (slight) chance of instantly killing a party member. Since the fight will likely be prolonged, it might be a good idea to have multiple party members that can revive just in case.
Scylla
- 25,000 HP
Not only does this boss have spells that can dole out some nasty damage to your party members, it can also heal in any release past the NES original. Make sure both your healing and damage is up to the task; and watch out for attacks petrifying you. It might not be a bad idea to equip items to protect against it.
Guardian
- 23,000 HP
The last fight will have unlocked Ninja as an option for your party; if you want a fun and easy time with this fight, switch to one and throw a Shuriken to watch it absolutely shred through this boss’s health.
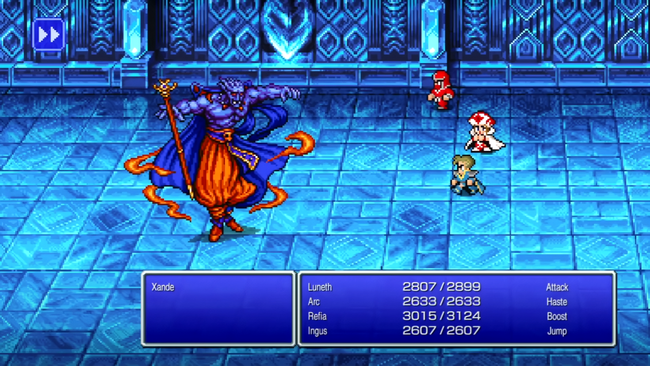
Xande
- 38,000 HP
What you might have expected to be the final boss fight is actually a fairly simple encounter overall; keep both your damage and healing high, and especially if you grabbed the extra jobs and equipment from Eureka this fight won’t be any trouble.
Cloud of Darkness
- ????? HP
This introduction to Cloud of Darkness is scripted, and you will lose.
Cerberus
-
60,000 HP
Yet another standard fight consisting of keeping your healing up to account for the boss’s damage, while using whatever damaging moves are at your disposal. We would suggest saving Ninja’s Shurikens for later, assuming you did the bosses in Eureka in order to unlock it.
Echidna
- 70,000 HP
This guy excels at partywide damage, so the real challenge will be keeping up with healing. It’s also worth noting that he is far, far weaker to spells than physical damage - so best to come into the encounter with a party of spellcasters. Regardless, be ready for a long haul of a fight.
Two-Headed Dragon
- 65,000 HP
Blissfully, this boss will only use normal attacks. The only problem is they hit like a truck, so make sure nobody in the party falls too low. Much like the last fight, it’s weaker to magic than physical attacks, so come into the fight accordingly.
Ahriman
- 75,000 HP
The main concern with this fight is Meteor, which will carve a chunk of health out of your entire party every time it’s cast. Keep your party healed and keep attacking it, the boss will be down before too long.
Cloud of Darkness 2
- 120,000 HP
This is where you’ll want to use any of the Shurikens you’ve been saving. Make sure you’re healing to account for her massive partywide damage; you might want to have two healers, if necessary. While other damaging jobs are viable really Ninja is the best option if you have enough Shurikens in your inventory.