
Final Fantasy VII Remake Materia guide: materia list, locations & best materia
Magic, abilities and character customization is a major part of any RPG, and in Final Fantasy VII Remake those elements are embodied in Materia, just as in the original version of FF7.
Materia are cool little orbs of magical power formed by the energies of the planet, and each materia that’s equipped will give you access to one or more different abilities. These skills are vital for combat, be it for powering up your character or exploiting enemy weaknesses. Materia even levels up and improves with use, unlocking new skills.
In this FF7 Remake Materia guide we’ll detail all materia in the game and how to get them. The materia locations listed aren't exhaustive, as many appear in lots of places including even in the vending machines that sell music discs, but we list at least a few for each type. Rarer materia unlocks are also listed, of course, including one-offs. We even list the skills each unlocks for each type as it levels up, so you can plan ahead.

Final Fantasy VII Remake Materia Guide: how Materia works
The first thing to know is that the abilities and upgrades attached to Materia fit split into five different categories and colors:
- Magic Materia is green, and consists of active magical skills you must ‘cast’, consuming MP and an ATB action
- Command Materia is yellow, with each offering a new command you can perform at the cost of your ATB bar
- Support Materia is blue, and is used by pairing it with more active Materia like Magic or Command to enhance their effects
- Independent Materia is purple, and each of these has a unique effect. Many of these offer passive bonuses to your stats or skills.
- Summon Materia is red, and allows the calling of powerful, iconic beasts. This one is so important we’ve broken it onto a separate page - so for that, head to our Final Fantasy VII Remake Summons guide.
Materia is equipped by ‘slotting’ it into a weapon or armor piece, and every piece of gear in the game has a different number or configuration of materia slots - our weapons guide and armor guide list them all. Materia slots can hold one materia or two - and slotting two materia together can have unique effects if you’re using support materia.
Materia also impacts your stats and can even be used to give yourself resistance to certain elements. The system is surprisingly nuanced, and if you want to play the game at its best you’ll want to experiment with lots of materia load-outs.
Best Materia & Materia Combinations in FF7 Remake
Just as in the original FF7, the Remake has a whole lot of materia for you to use - but some are more blatantly useful than others. Here's a few very quick tips from us on what we think are the best materia and materia combos you can get in the game - as combining materia in a double-slot can have impressive effects.
- The six most important materia should always be equipped at least once across your party from early on in the game. These are the four elemental magic - Fire, Ice, Wind and Lightning, plus the important curative skills to keep you alive - the Revive materia and the Healing materia. You should always have these equipped. By the late game, you should probably have every character with a max-level cure and raise materia, and the elements spread out with each character having a few options - with a bit of overlap.
- From the early game right to the late game, Deadly Dodge is incredible for Cloud. At its second level this skill becomes even more potent, and dodging followed by a Deadly Dodge attack is a great way to hit back at overwhelming groups and larger bosses.
- The Elemental Materia is key, and the most important for materia combinations. This materia lets you imbue your weapon or armor with the element it's attached to - so if you're facing down with an ice-based enemy like Shiva, you might want to equip it to your armor in order to negate or even nullify ice attack damage. Do the same on your weapon and you can quickly exploit ice weaknesses on enemies without an MP cost. Always have elemental equipped; just change what it's equipped with.
- Magnify is the closest thing to the original FF7 Remake's 'All' materia, allowing you to hit multiple enemies or allies with a single spell. We've written a full guide explaining how the Magnify materia works.
- Refocus can be incredibly handy, even though it requires you spend your Limit Break bar to use it. In fact, it might be the best independent materia in the game.
- When leveling up materia, AP Up is a godsend. Make sure to unlock and use it.
Magic Materia List & Locations
Green Materia is Magic Materia, and will enable you to use abilities that will use MP in exchange for powerful magical attacks, many of which carry status effects or are elemental, perfect for exploiting enemy weaknesses. Most of these materia are commonly for sale, but we've tried to list a few plays they appear as loot and the first place they can be purchased, too.
Fire Materia
- Allows you to use fire element magic.
- Level 1: Fire (Deal a small amount of Fire damage.)
- Level 2: Fira (Deal a moderate amount of Fire damage.)
- Level 3: Firaga (Deal a large amount of Fire damage.)
- Location:
- Cloud starts with it equipped.
- Also available from the Sector 7 Item Shop (500 Gil), in the Sector 7 Slums Factory Area, and readily thereafter.
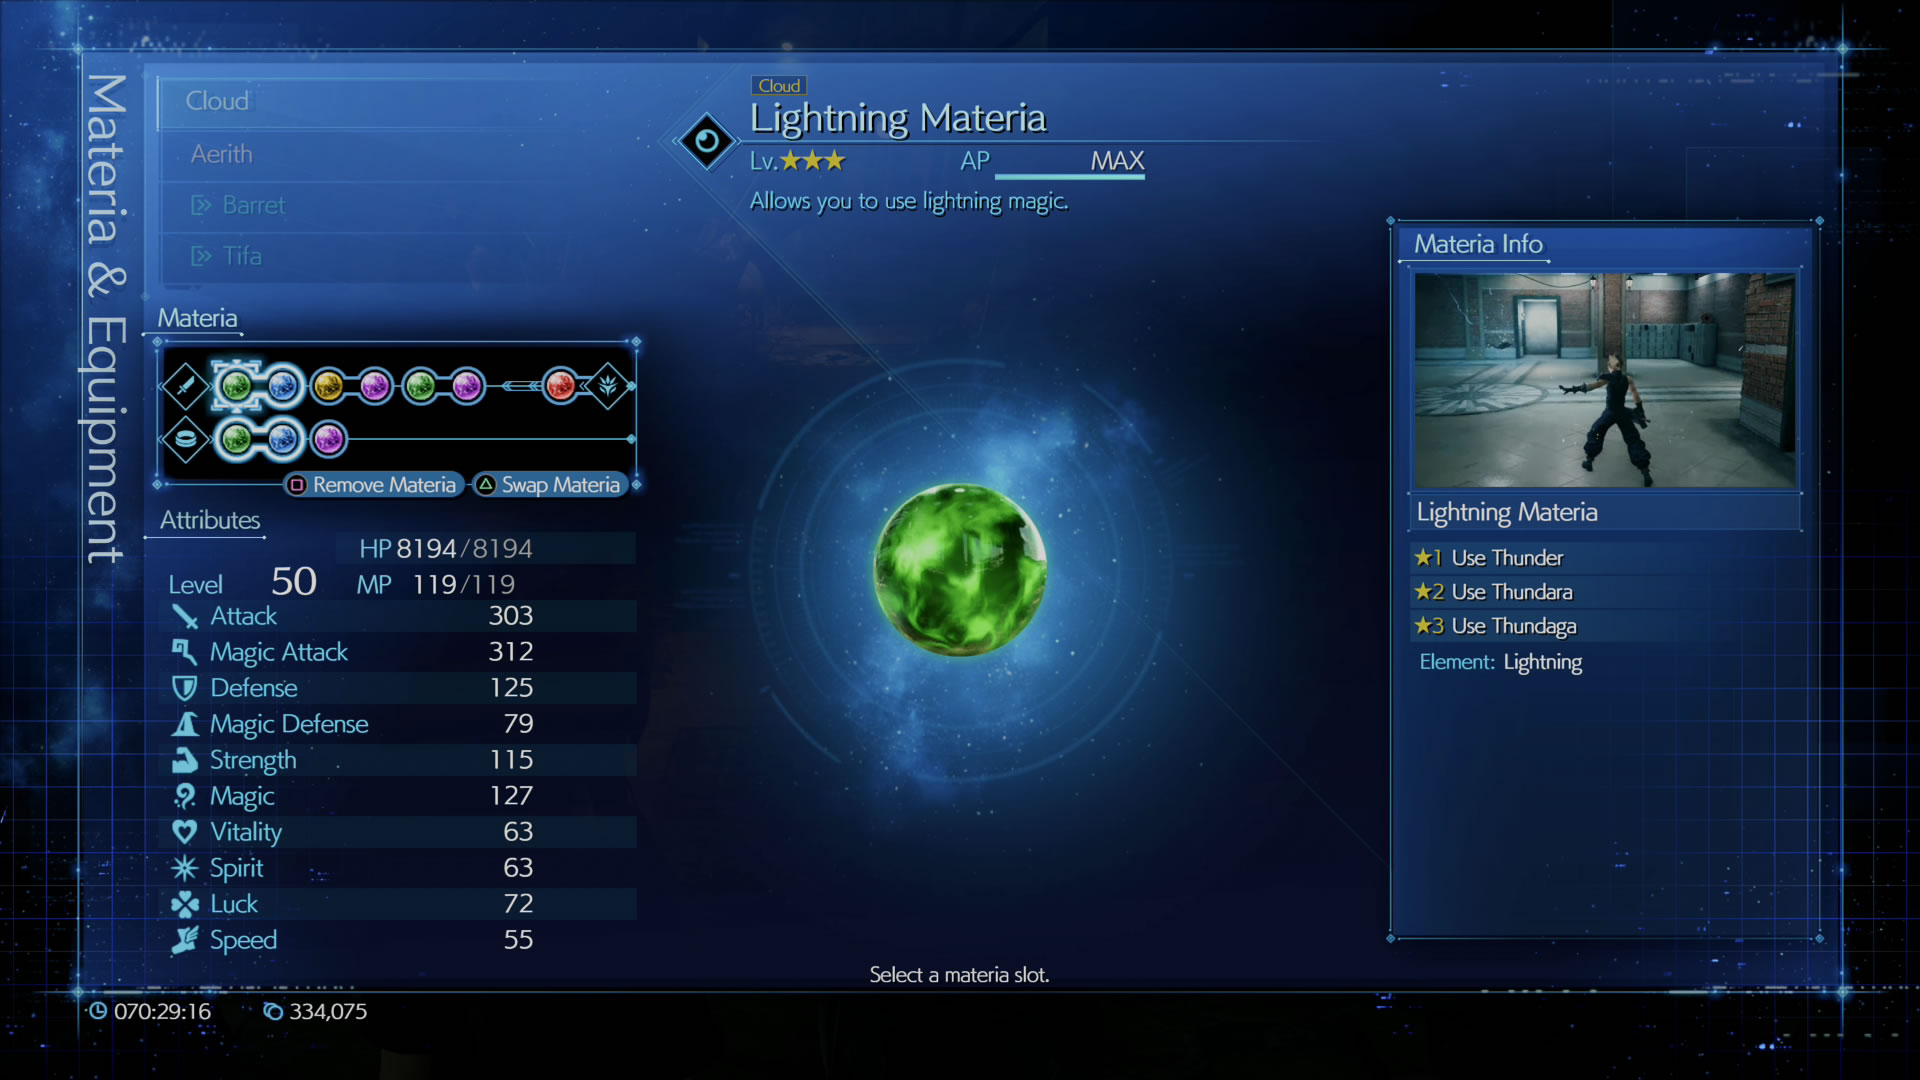
Lightning Materia
- Allows you to use lightning element magic.
- Level 1: Thunder (Deal a small amount of lightning damage. Guaranteed to hit.)
- Level 2: Thundara (Deal a moderate amount of lightning damage. Guaranteed to hit.)
- Level 3: Thundaga ((Deal a large amount of lightning damage. Guaranteed to hit.)
- Location:
- Barret starts with this materia equipped.
- Can be purchased at the Sector 7 Item Shop (500 Gil) and at most other shops from then on.
- Found in a side room in Corkscrew Tunnels, Section E. Also in Mako Reactor 5, on level B7.
Ice Materia
- Allows you to use ice elemental magic.
- Level 1: Blizzard (Deal a small amount of ice damage.)
- Level 2: Blizzara (Deal a moderate amount of ice damage.)
- Level 3: Blizzaga (Deal a large amount of ice damage.)
- Location:
- Aerith starts with one equipped.
- Can first be purchased at Sector 7 item shop (500 Gil), then in most shops afterwards.
- Lootable in Scrap Boulevard. Another is in Sector 7 post plate collapse.
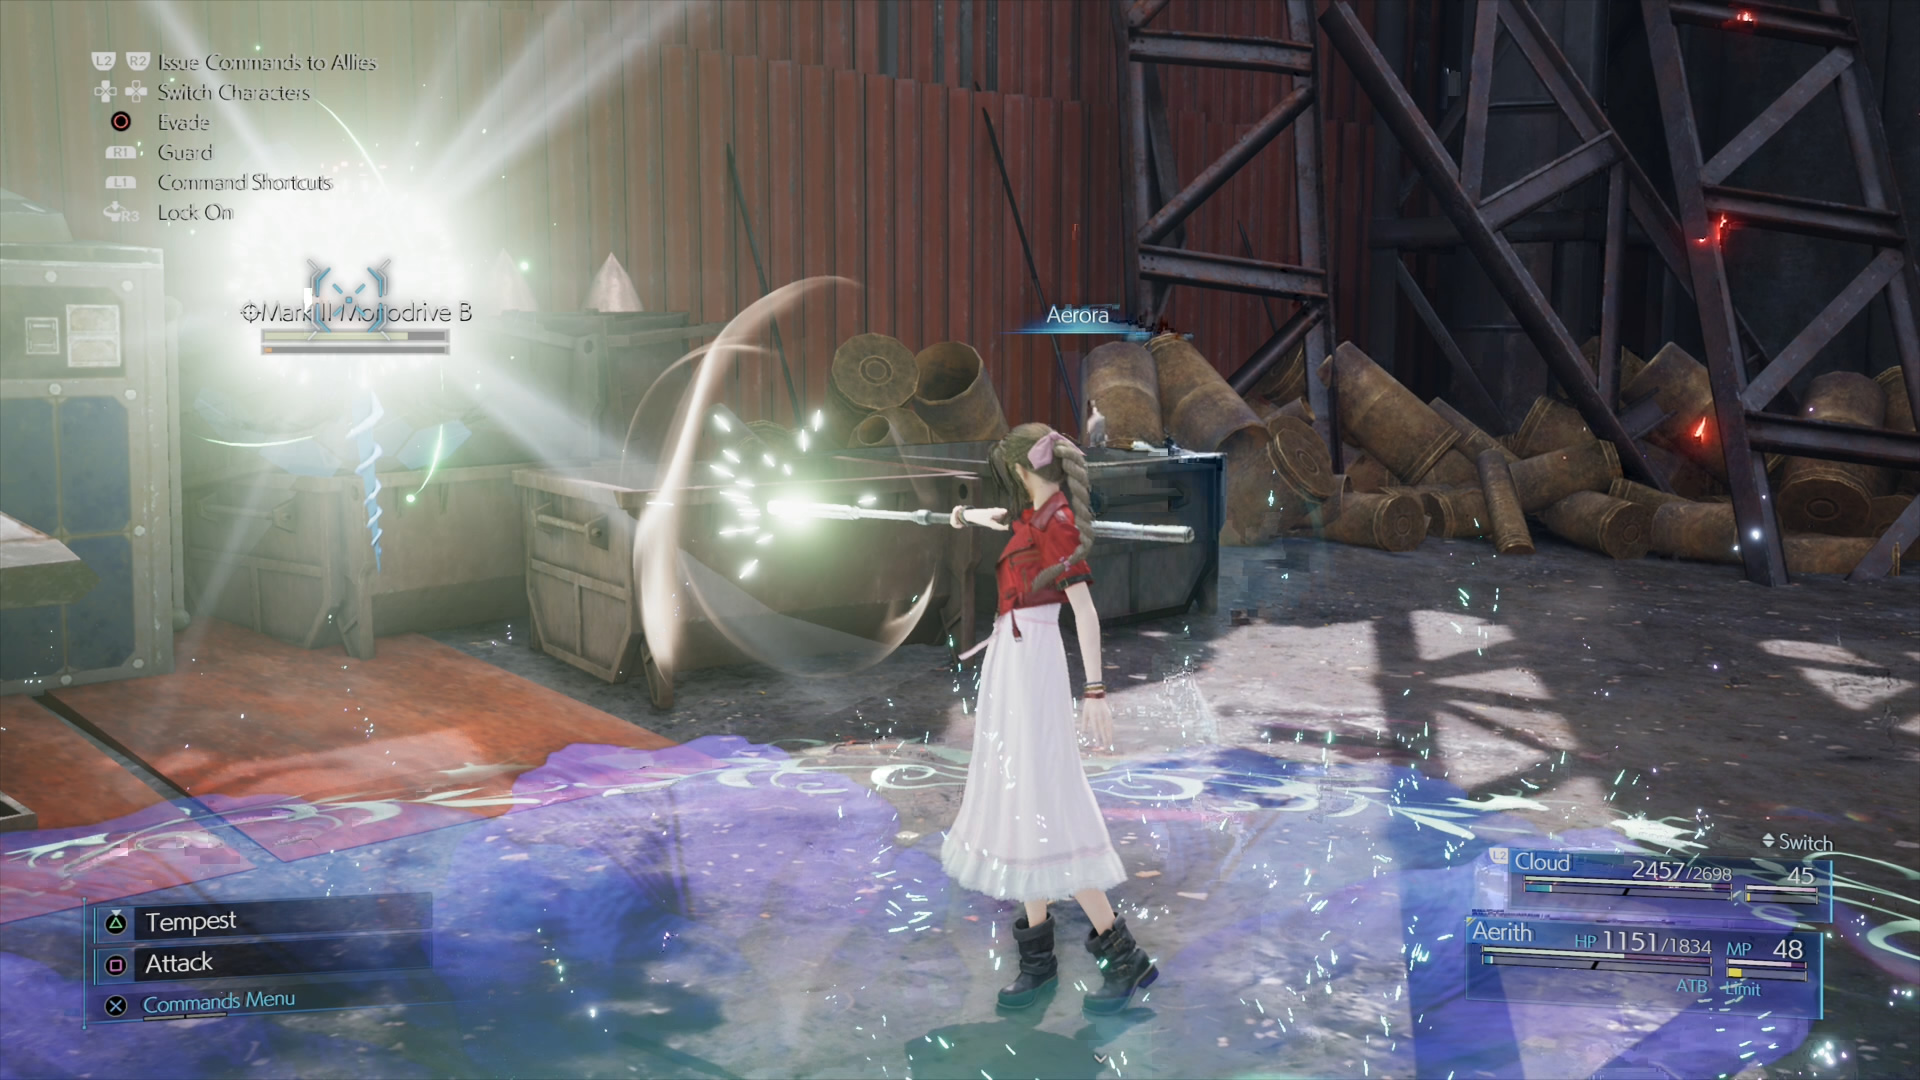
Wind Materia
- Allows you to use wind elemental magic.
- Level 1: Aero (Deal a small amount of wind damage and launch enemies toward you.)
- Level 2: Aerora (Deal a moderate amount of wind damage and launch enemies toward you.)
- Level 3: Aeroga (Deal a large amount of wind damage and launch enemies toward you.)
- Location: Complete Battle Intel 02 for Chadley - at that point the researcher will sell it. Your first will be discounted, but Chadley sells more for more expensive prices.
Healing Materia
- Allows you to use healing spells to replenish your team’s hit points during battle.
- Level 1: Cure (Restore a small amount of HP.)
- Level 2: Cura (Restore a moderate amount of HP.)
- Level 3: Regen (Gradually restore HP over time.)
- Level 4: Curaga (Restore a large amount of HP.)
- Location:
- Barret starts with Healing Materia equipped.
- Jessie will give Cloud healing materia in Chapter 2 as part of the story.
- After that, it can be found on the train early in Chapter 5, and is frequently available in shops from the Sector 7 Item Shop onwards for 500 Gil.
Revival Materia
- Allows you to use revival spells to raise party members who have been KOed to fight once more.
- Level 1: Raise (Revive an ally and restore a moderate amount of HP.)
- Level 2: Arise (Revive ally and restore all HP.)
- Location: Found after the fight sequence in Chapter 4, when you’re following Jessie to safety. Also available later and from some shops.
Barrier Materia
- Allows you to use defensive spells that buff your party members to protect them from damage.
- Level 1: Barrier (Halve physical damage taken.)
- Level 2: Manaward (Halve magic damage taken.)
- Level 3: Manawall (Halve magic and physical damage taken.)
- Location:
- Gained automatically near the end of Chapter 4.
- One can also be found in an alleyway on the west side of Wall Market.
Binding Materia
- Allows you to use disruptive spells to give enemies status effects that hinder them in battle. When equipped to your armor slot, it provides you with resistance to Sleep, Silence and Berserk status effects.
- Level 1: Sleep (Prevent actions until awoken.)
- Level 2: Silence (Prevent spellcasting.)
- Level 3: Berserk (Increase damage dealt and received.)
- Location: In the Sector 6 Slums, near the second robotic hand puzzle.
Subversion Materia
- Allows you to use subversive spells to breach enemy defenses. When equipped to an armor slot, it provides you resistance to Instant Death spells.
- Level 1: Breach (Remove Barrier, Manaward, Reflect and Shield. Costs 2 ATB.)
- Level 2: Dispel (Remove all beneficial status effects. Costs 2 ATB.)
- Location: Drop from Ghoul, the first ghostly boss encounter in Chapter 11
Time Materia
- Allows you to use time magic to adjust the flow of time, affecting your ATB gauge.
- Level 1: Haste (Increase the rate at which the ATB gauge fills.)
- Level 2: Slow (Decrease the rate at which the ATB gauge fills.)
- Level 3: Stop (Halt all movement and actions.)
- Location:
- Reward for the ‘Missing Children’ side quest in Chapter 14.
- Chapter 17, in The Drum facility dungeon as loot.
Poison Materia
- Allow you to use toxin-related spells to damage and inflict debilitating status effects on your enemies. When equipped to an armor slot, it gives you resistance to Poison.
- Level 1: Bio (Poison and deal a small amount of non-elemental damage. Guaranteed to hit.)
- Level 2: Biora (Poison and deal a moderate amount of non-elemental damage. Guaranteed to hit.)
- Level 3: Bioga (Poison and deal a large amount of non-elemental damage. Guaranteed to hit.)
- Location:
- Can be found in Vending Machines for 1500 gil from Chapter 5 onwards.
- Loot in the Sewer System - in the room with sluice gates you can open.
- There’s another in the Sewers in Chapter 14.
- And another in Chapter 17, after you fall from the catwalk.
Cleansing Materia
- Allows you to use curative spells that can remove negative status effects from the party.
- Level 1: Poisona (Remove the poison status effect.)
- Level 2: Esuna (Remove all detrimental status effects.)
- Level 3: Resist (Prevent detrimental status effects.)
- Location: After the ‘Rat Problem’ quest, you can buy this Materia in Sector 7 for 300 gil, and it’s a staple in shops after that.
Command Materia List & Locations
Command Materia is yellow in color, and it does what you’d expect it to from the name: it adds new commands to your abilities list that can be used in battle. These commands cost ATB, but they’re not magic, so they don’t consume MP.
Chakra Materia
- Allows you to restore your own HP and cure poison with Chakra. The amount restored is relative to damage received, and more is restored the lower your HP.
- Level 1: Restores 20% HP of Damage Taken
- Level 2: Restores 25% HP of Damage Taken
- Level 3: Restores 30% HP of Damage Taken
- Level 4: Restores 35% HP of Damage Taken
- Level 5: Restores 40% HP of Damage Taken
- Location:
- Tifa starts with this materia.
- Find another Chakra materia at the Sector 5 church when you can revisit after beginning sidequests in Chapter 8. You’ll see this yellow materia in the church in the beginning of Chapter 8, but you won’t be able to get it just then.
- Find one in the basement of Corneo’s Mansion if you revisit in Chapter 14.
Assess Materia
- Allows you to use Assess to discover information on enemies, including their weaknesses.
- Level 1: Use Asses on a single target.
- Level 2: Use Assess on all targets.
- Location: Receive from Chadley in Chapter 3. Purchase additional from Chadley for 1000 Gil after finishing quest ‘Chadley’s Report’.
Prayer Materia
- Allows you to restore the party’s HP with Pray, which consumes 2 ATB.
- Level 1: Slight HP restoration
- Level 2: Modest HP restoration
- Level 3: Moderate HP restoration
- Level 4: Great HP restoration
- Level 5: Significant HP restoration
- Location:
- Aerith starts with the Prayer materia.
- Behind Don Corneo’s stash door in Sector 5 north of the Slums - attainable as part of the ‘Corneo’s Secret Stash’ quest in Chapter 14.
Steal Materia
- Allows you to use Steal to take items or gil from enemies.
- Level 1: Use Steal
- Location: Buy from Chadley after completing Battle Intel Report 7.
- We've got a list of useful steal items to rob enemies of on a separate page, which you might find helpful.
ATB Boost Materia
- Doubles ATB when activated. Cannot be used continuously.
- Level 1: ATB Boost cooldown 360 seconds
- Level 2: ATB Boost cooldown 300 seconds
- Level 3: ATB Boost cooldown 240 seconds
- Level 4: ATB Boost cooldown 180 seconds
- Level 5: ATB Boost cooldown 120 seconds
- Location: Buy from Chadley after completing Battle Intel Report 4.
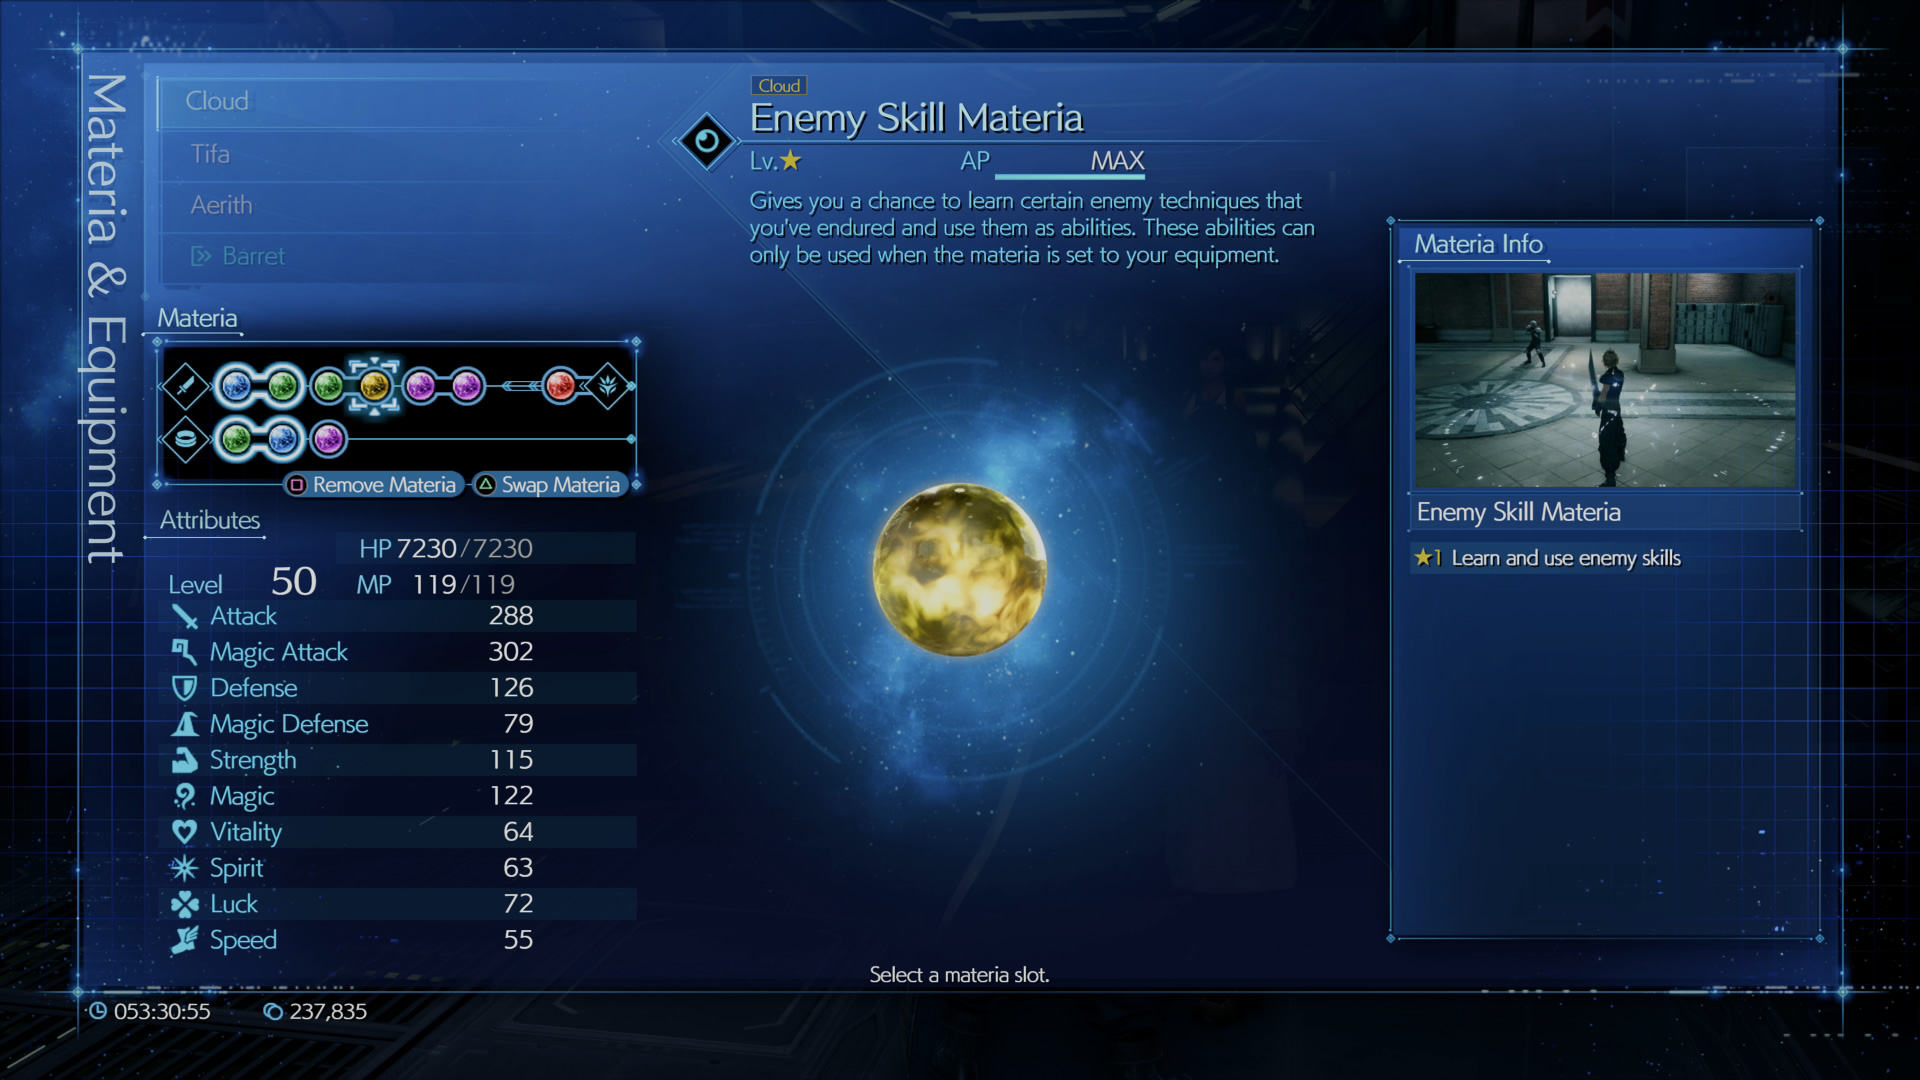
Enemy Skill Materia
- Gives you a chance to learn enemy techniques that you’ve endured and use them as abilities. These abilities can only be used when the materia is set to your equipment. Once learned, each new enemy skill appears as an individual command.
- The Enemy Skills are as follows: Algid Auira, Spirit Siphon, Self Destruct & Bad Breath.
- For a complete set of enemy skill moves and how to learn them, check out our full Enemy Skill Materia guide.
- Location: Complete Battle Report Intel 16 by assessing 30 enemy types, then buy this materia from Chadley.
Support Materia List & Locations
Support Materia has a cool blue hue, and it’s all about supporting existing materia. Support Materia is designed to be put into a dual materia slot with another materia, linking the two to create a beneficial effect.
For instance, using elemental materia linked to lightning materia in a character’s weapon will make them deal damage of that element with normal attacks. Doing the same in your armor slot will instead lessen the impact of lightning attacks on you or even at higher levels make you completely immune. Just to cover a frequently asked question from FF7 veterans, Blue 'All' Materia is not in FF7 Remake. But there's plenty of good blue materia to use...
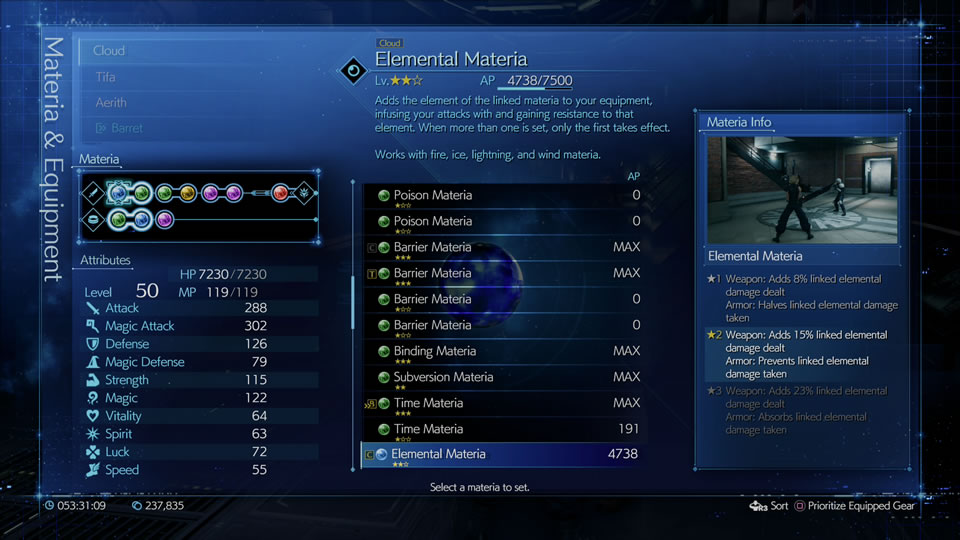
Elemental Materia
- Adds the element of the linked materia to your equipment, infusing your attacks with and gaining resistance to that element. Works with Fire, Ice, Lightning, and Wind.
- Level 1: Adds 8% linked elemental damage dealt equipped to weapon / Halves linked elemental damage taken equipped to armor
- Level 2: Adds 15% linked elemental damage dealt equipped to weapon / Prevents linked elemental damage taken equipped to armor
- Level 3: Adds 23% linked elemental damage dealt equipped to weapon / Absorbs linked elemental damage taken equipped to armor
- Elemental is one of the most useful in the game, and we detail why and where to get it in our Elemental materia guide
- Locations:
- Chapter 6, the Sector 4 Plate -- in an optional area down the ladder on the way to the third lamp.
- Chapter 14, Urban Advancement District -- find alongside the Angel of the Slums letter before heading up to the plate as long as you’ve completed all quests involving Mireille.
Magnify Materia
- Allows you to expand the range of spells with the linked Materia, allowing any materia this shares a dual slot with to hit multiple enemies. This is the closest thing to the ‘All Materia’ from the original in FF7 Remake, as a 'magnified' fire spell can bounce to multiple enemies, for instance.
- Level 1: Effect reduced by 60% when expanded
- Level 2: Effect reduced by 45% when expanded
- Level 3: Effect reduced by 25% when expanded
- Location: Sector 6 Slums during the third arm puzzle.
Warding Materia
- Grants resistance to the linked materia’s status ailment. Works with poison, time, bind and subversion materia. Place this in a dual materia slot with the desired materia to achieve that effect.
- Level 1: Reduce debuff duration by 25%
- Level 2: Reduce debuff duration by 50%
- Level 3: Reduce debuff duration by 100%
- Location: Find in the Sewers in Chapter 10 with the Discovery ‘On the Other Side’. Sector 7 Underground lab, chapter 13 - after the collapse.
Synergy Materia
- Allows an ally to follow the leader’s attack command with an attack from linked Materia. Works with Fire, Ice, Lightning, Wind, and Poison magic.
- How this one works is a little bit complicated, so we've put together a separate Synergy Materia guide explaining how to properly use it.
- Location: Buy from Chadley after completing Battle Intel Report mission 9.
HP Absorption Materia
- Allows you to recover HP when unleashing an attack of the linked materia’s type when slotted in a dual materia slot with a magic or command attack.
- Level 1: Absorb 20% of damage dealt
- Level 2: Absorb 30% of damage dealt
- Level 3: Absorb 40% of damage dealt
- Location: Buy from Chadley after completing Battle Intel Report 19.
MP Absorption Materia
- Allows you to recover MP when unleashing an attack of the linked materia’s type.
- Location: Buy from Chadley after completing Battle Intel Report 18.
Pedometer Materia
- After 5000 Steps, this materia turns into another - AP up.
- Location: Near Aerith’s house in chapter 14.
AP Up Materia
- Increases the AP earned for linked materia by 100%.
- Location: Take 5000 steps with Pedometer equipped; that materia then turns into AP Up.
Independent Materia List & Locations
Independent materia are purple and stand apart from any other, and have generally unique functions that don’t fit into any other category - thus the name. Typically these boost your stats or add automatic, passive buffs to your attacks or other battle maneuvers.
HP Up
- Increases your Max HP. The total boost limit is +100% when more than one is equipped.
- Level 1: Max HP boost of 10%
- Level 2: Max HP boost of 20%
- Level 3: Max HP boost of 30%
- Level 4: Max HP boost of 40%
- Level 5: Max HP boost of 50%
- Location:
- Upper Sector 8.
- Train Graveyard.
- Air duct in Shinra Building -- go left at the second intersection.
MP Up
- Increases your max MP. The total boost limit is +100% when more than one is equipped.
- Level 1: Max MP boost of 10%
- Level 2: Max MP boost of 20%
- Level 3: Max MP boost of 30%
- Level 4: Max MP boost of 40%
- Level 5: Max MP boost of 50%
- Location:
- In Chapter 3, defeat 50 monsters and talk to Katie in the Sector 7 slums near the number board. She’ll reward you with this.
- Chapter 6 - in the Sector 4 Plate on the way to the third light, move the vertical catwalk all the way down to grab the materia from on top.
- Chapter 8 - Near Aerith’s house, visible during ‘The Language of Flowers’ Discovery.
Magic Up
- Increases your magic attack power. The total boost limit is +100% when more than one is equipped.
- Level 1: Magic boost of 5%
- Level 2: Magic boost of 10%
- Level 3: Magic boost of 15%
- Level 4: Magic boost of 20%
- Level 5: Magic boost of 25%
- Location:
- Chapter 7 - Mako Reactor 5, in the waste recovery room you can optionally open, behind the lever lock.
- Reward for Amateur Pull-ups at Wall Market in Chapter 14.
Luck Up
- Increases your Luck stat. The total boost limit is +100% when more than one is equipped.
- Level 1: Luck boost of 10%
- Level 2: Luck boost of 20%
- Level 3: Luck boost of 30%
- Level 4: Luck boost of 40%
- Level 5: Luck boost of 50%
- Location:
- Given by Wedge near the end of Chapter 4 as long as you place first in darts earlier. Your best chance to place first in darts is during Chapter 3.
- Reward for Amateur level squats at Wall Market in either Chapter 9 or 14.
EXP Up
- Increases the amount of EXP you earn in battle by 100%.
- Location: Win ‘Three-Person Team vs. Team Ragbag’ Battle Challenge in the Shinra Tower VR challenges (chapters 16 & 17).
Gil Up
- Increases the amount of Gil you earn in battle by 100%.
- Location: Win ‘Two-Person Team vs. High Flyers’ Battle Challenge in the Shinra Tower VR challenges (chapters 16 & 17).
Deadly Dodge
- Attack command will do an area-of-effect attack and damage immediately after dodging.
- Level 1: Use Deadly Dodge
- Level 2: Increased potency and effects of Deadly Dodge
- Location:
- Found in Upper Sector 8 during your Chapter 2 escape. Difficult to miss.
- First available to buy at the Sector 7 item shop (500 Gil), but is a staple in shops thereafter.
Parry
- Guards against enemy attacks and allows you to quickly unleash your next move.
- Level 1: Use Parry
- Level 2: Increase damage dealt with Parry + slight ATB boost
- Location: Buy from Chadley after completing Battle Intel Report 12.
First Strike
- Increases how full the ATB gauge is at the start of battle.
- Level 1: Small ATB increase at start of battle
- Level 2: Medium ATB increase at start of battle
- Level 3: Large ATB increase at start of battle
- Location: Available to buy from Chadley after Battle Intel Report 3.
Auto-Cure
- Casts Cure on severely injured allies up to a set number of times.
- Level 1: Auto-Cure up to 3 times per battle
- Level 2: Auto-Cure up to 10 times per battle
- Location: Reward from the “Chadley’s Report’ quest that introduces Chadley in Chapter 3. To get the right to purchase this, you must first complete Battle Intel 01.
Item Master
- Increases the effectiveness of items used in battle.
- Level 1: Increase item efficacy by 30% during battle
- Level 2: Increase item efficacy by 40% during battle
- Level 3: Increase item efficacy by 50% during battle
- Location: Buy from Chadley after Battle Intel Report 11.
ATB Assist
- Small ATB increase for ally when repeating command 2 times.
- Level 1: Small ATB increase for ally when repeating command 2 times
- Level 2: Medium ATB increase for ally when repeating command 3 times
- Level 3: Large ATB increase for ally when repeating command 2 times
- Location: Buy from Chadley after completing Battle Intel Report 13.
ATB Stagger
- Increases ATB when staggering an enemy.
- Level 1: Small ATB boost on staggering foe
- Level 2: Medium ATB boost on staggering foe
- Level 3: Large ATB boost on staggering foe
- Location: Buy from Chadley after completing Battle Intel Report 14.
Provoke
- Automatically use Provoke to temporarily draw the enemy’s attention when teammates are severely injured.
- Level 1: Provoke for 60 seconds (cooldown 90 seconds)
- Level 2: Provoke for 90 seconds (cooldown 60 seconds)
- Level 3: Provoke for 120 seconds (cooldown 30 seconds)
- Location: Buy from Chadley after completing Battle Intel Report 8.
Steadfast Block
- Further decreases damage and filles the ATB Gauge when guarding.
- Level 1: Take slightly less damage + small ATB boost when guarding
- Level 2: Take less damage + medium ATB boost when guarding
- Level 3: Take even less damage + large ATB boost when guarding
- Location: Buy from Chadley after completing Battle Intel Report 6.
Skill Master
- Slightly fills the ATB gauge when multiple ATB commands are performed.
- Level 1: Small ATB increase when using 3 types of commands
- Level 2: Medium ATB increase when using 3 types of commands
- Level 3: Large ATB increase when using 3 types of commands
- Location: Buy from Chadley after completing Battle Intel Report 17.
Refocus
- Allows you to use the Refocus limit break, which turns your ATB bar into a 3-part bar. More information on limits in general can be found on our list of all the Limit Breaks in FF7R.
- Location:
- Aerith starts with the Refocus Materia.
- Reward for ‘Two-Person Team vs. Dynamic Duos’ battle challenge.
- Reward for ‘Three-Person Team vs. Monsters of Legend’ battle challenge.