
Final Fantasy VII Remake Quests guide: Complete Side Quest walkthroughs & rewards
Quests in Final Fantasy VII Remake take on two basic forms. There's the main objectives, marked throughout the game with a bright blue marker. These are relatively linear. Then there's the game's many side quests, which are always marked in the map and in the UI in an enticing green. There's also discoveries - but these are really minor story interludes rather than quests.
The FF7 Remake Side Quests are structured in a way that's defined by the game's structure, mostly thanks to the fact that the Midgar section of the original FF7 didn't have any traditional side quests to speak of. The Remake is similar, except it has several non-linear, open-ended chapters new for this game - and these are where side quests are present.
On this page, we feature all of the quests in FF7 Remake chapter-by-chapter, their rewards, and brief walkthroughs on how to complete them all. They're divided up by chapter, as all but a few quests can only be completed in their native chapter:
Chapter 3 Side Quests & Optional Missions
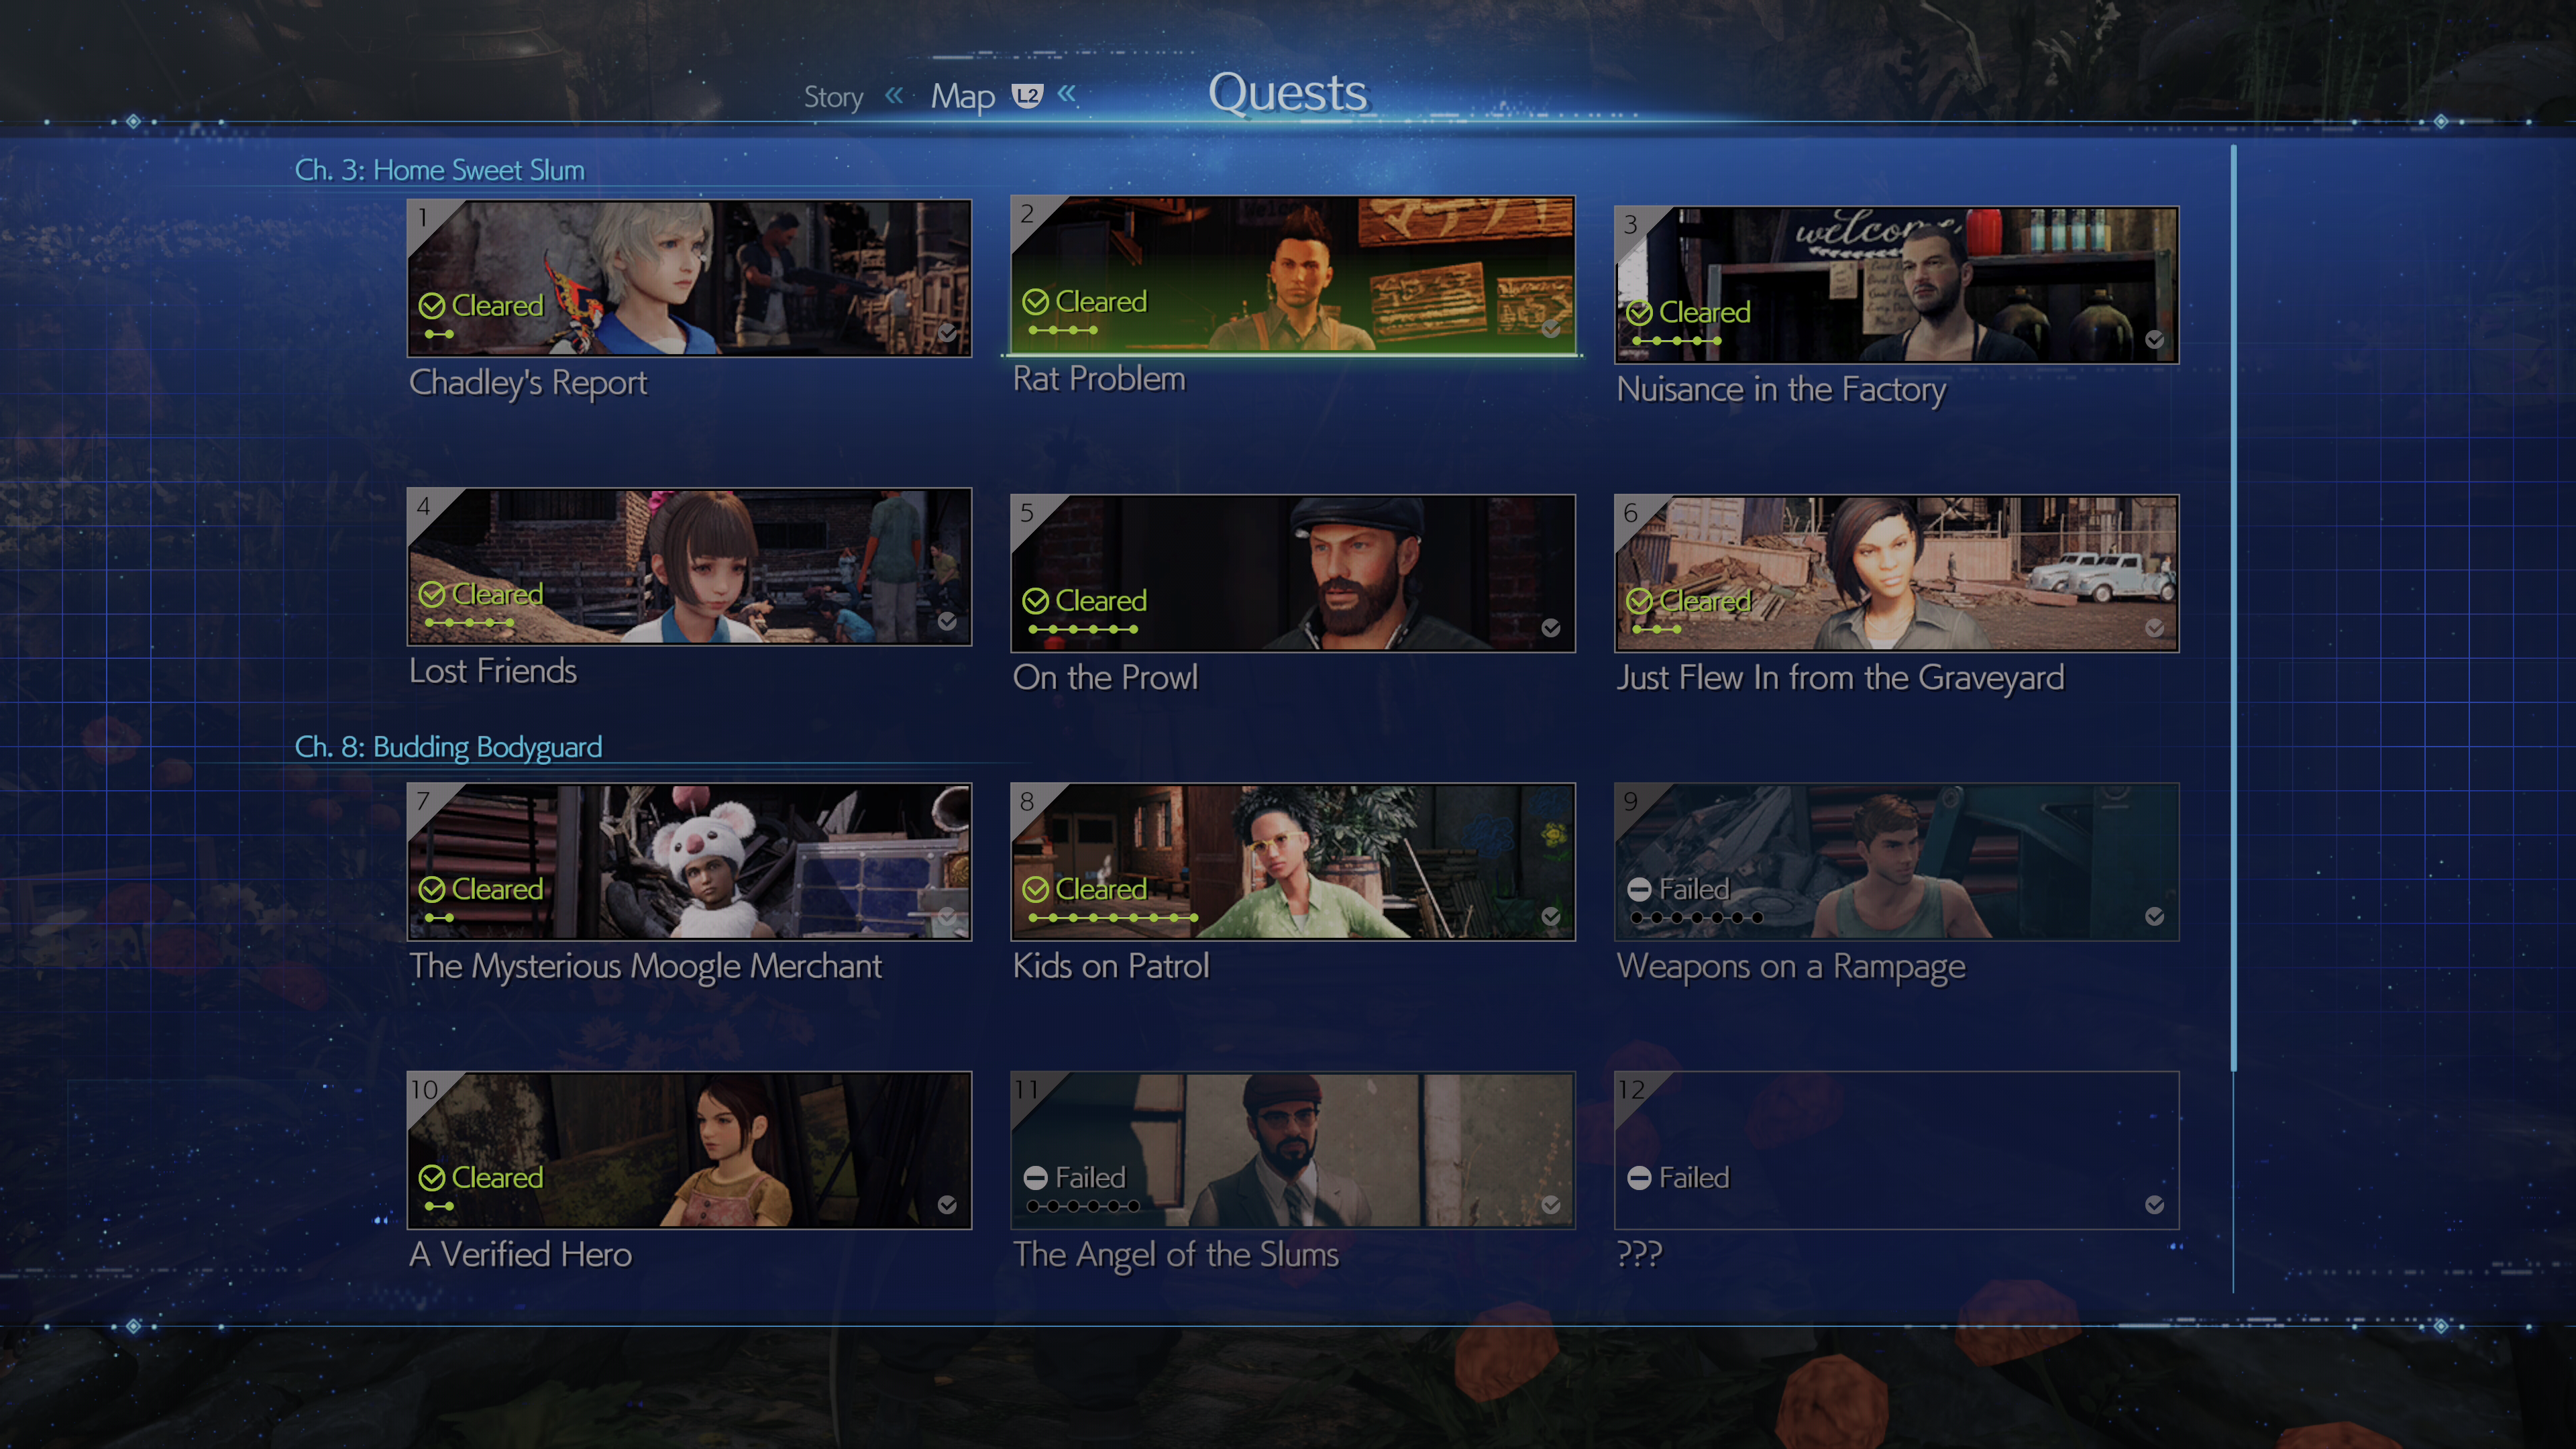
In Chapter 3, you'll be set loose in the Sector 7 Slums. There is a variety of side quests you can undertake here to help the people in the slums, and it's your first taste of the 'open ended' hub world-based chapters with side quests that are new in FF7 Remake.
These quests are exclusive to Chapter 3 - once you move on, you can't return to them later:
- Quest 1 - Chadley's Report
- Quest 2 - Rat Problem
- Quest 3 - Nuisance in the Factory
- Quest 4 - Lost Friends
- Quest 5 - On the Prowl
- Quest 6 - Just Flew in from the Graveyard
If you complete all six Chapter 3 quests before advancing the story, you'll unlock the 'Alone at Last' Discovery, which leads to a one-on-one scene where Cloud and Tifa have a personal catch-up back at the apartments.
Chadley’s Report - Quest #1
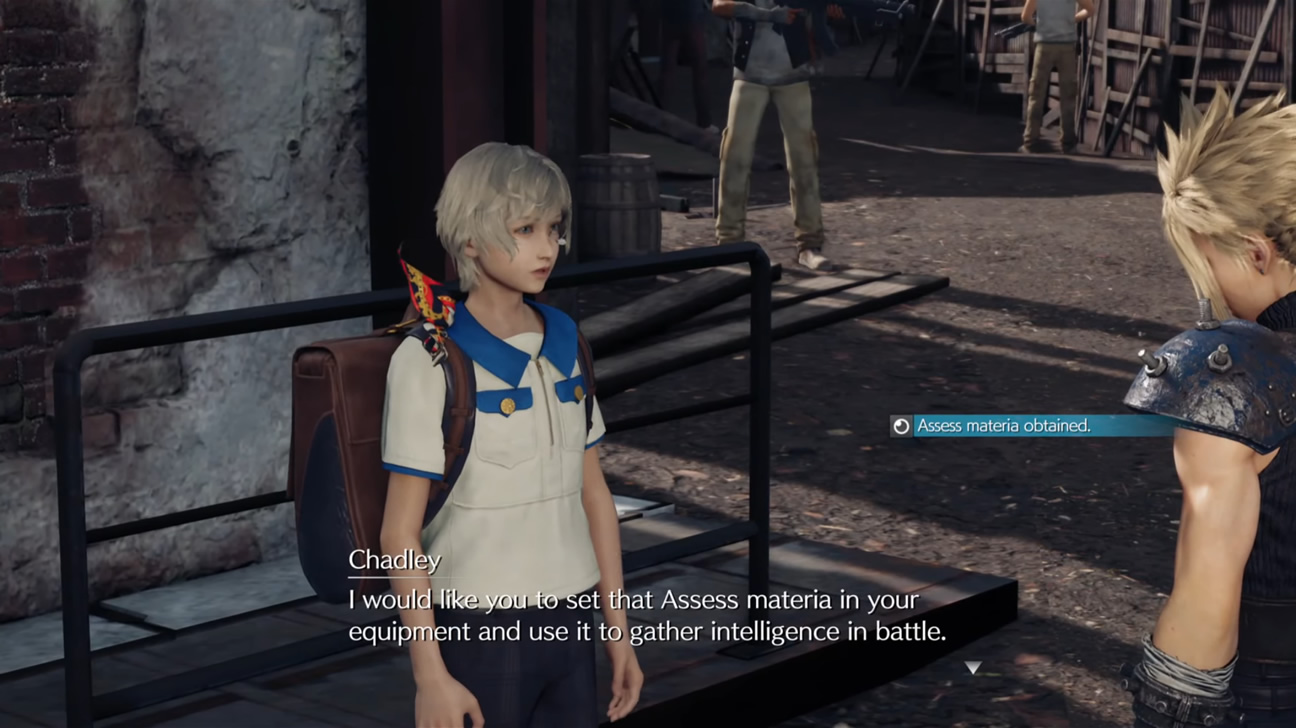
Complete Battle Intel Report 01: Assess 2 enemy types. Chadley is the young lad just up the street from the weapon and materia shop in Sector 7, and he'll become a key NPC throughout FF7 Remake.
Chadley will give you the Assess Materia when you get this mission off him, so all you have to do is Assess enemies and return to him. In FF7R, Assess is the name of the regular FF ability more traditionally known as Scan - it reveals a bio, weaknesses, and other facts about every enemy in the game.
You'll encounter enough enemies to complete this mission in any one of the other side quests in Chapter 3, though the mechanic of assessing enemies and returning to Chadley in order to unlock new Materia with the data you've collected remains a point for the rest of the game.
Reward: Auto-Cure Materia
Rat Problem - Quest #2
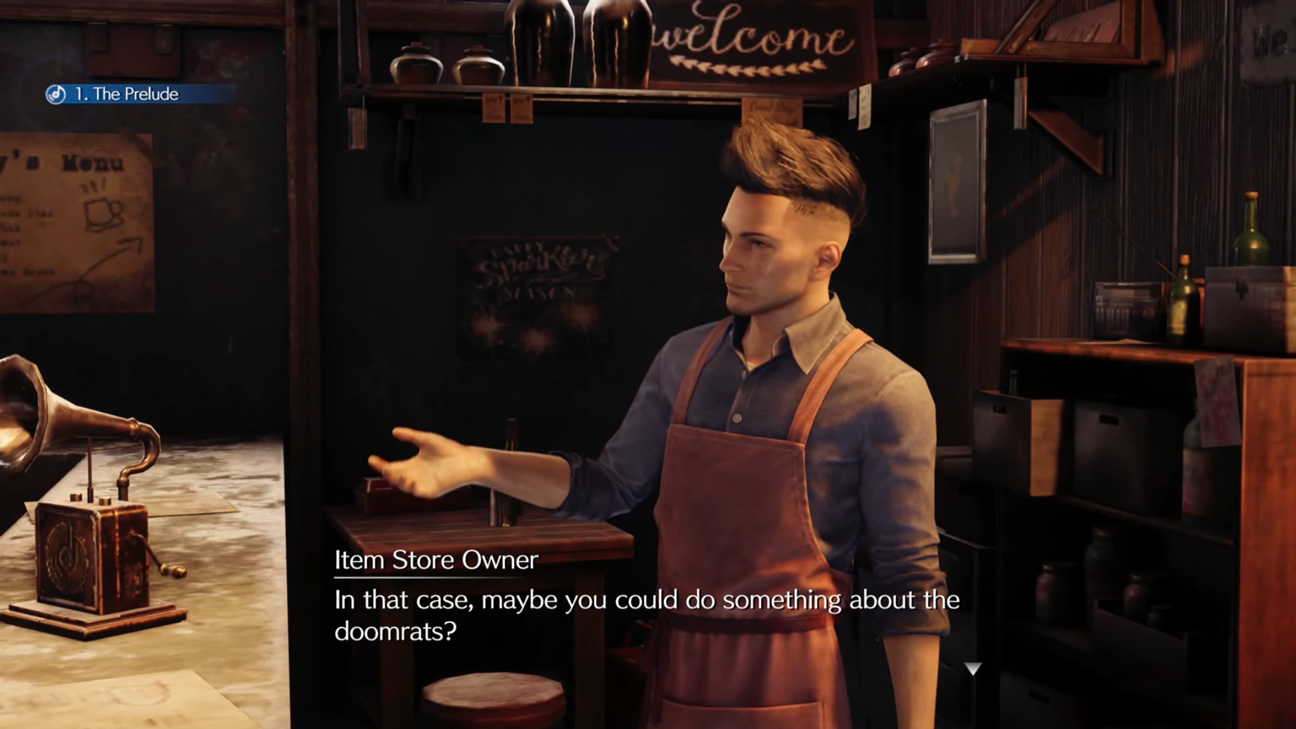
To start this quest, talk to the Sector 7 Item Shop Owner - this is the first guy you meet with Tifa when you're doing your rounds. Head to north section of Sector 7 and finish the fight with Doomrats.
Reward: 5x Hi-Potion, and ability to buy Cleansing Materia (300 gil). Access to ‘On the Prowl’ quest below.
Nuisance in the Factory - Quest #3
Talk to the Junk Dealer in the north of the Sector 7 Slums, who'll be marked on your map with a green side quest marker - it's sort of behind Seventh Heaven, Tifa's Bar. He asks you to take down some nasties hiding in a nearby factory.
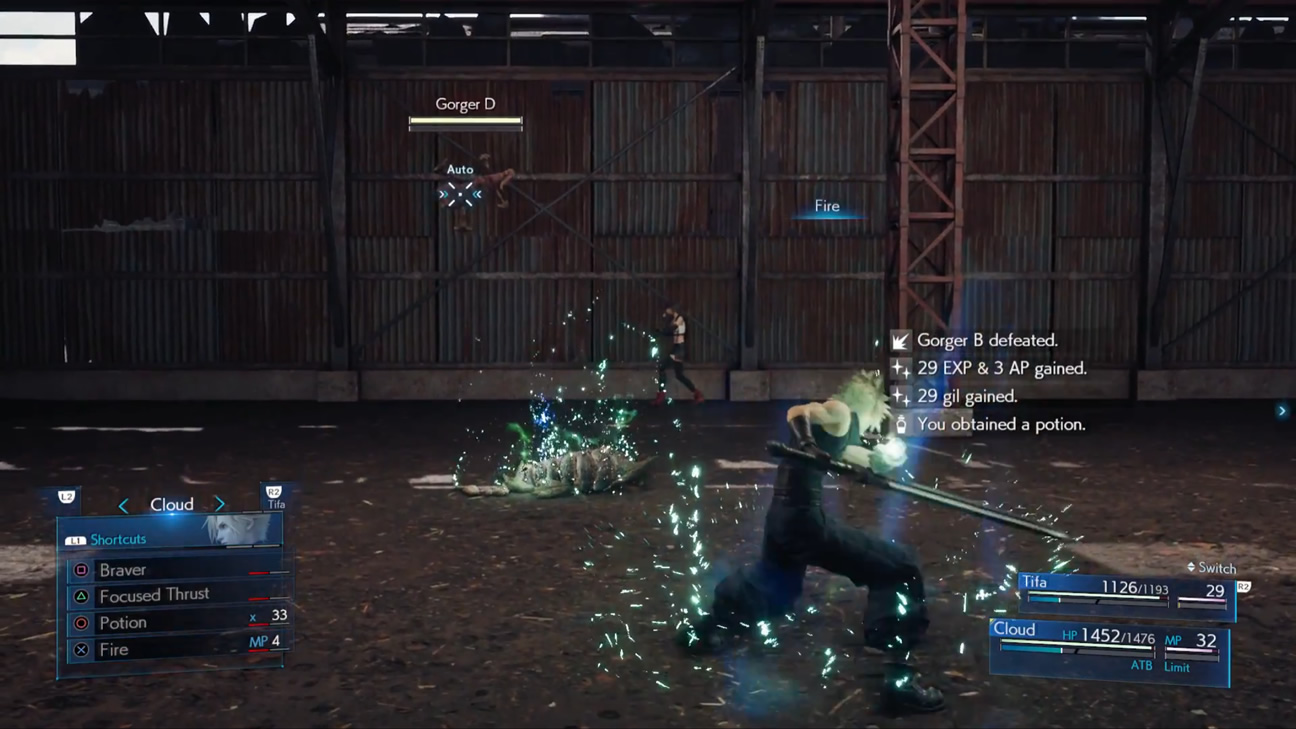
En route to the Sector 7 train station is a gate that leads to the Abandoned Talleger Factory, which is... er... an abandoned factory, packed with mini arenas where enemies lurk. Inside that factory, explore to find and fight Gorgers and Lesser Drakes until Cloud and Tifa prompt you that you've killed enough.
Reward: 500 gil. Access to ‘Just Flew in From the Graveyard’. quest.
Lost Friends - Quest #4
Speak to the child, Betty, in the Sector 7 Slums. She's just up the street from twhere Chadley and the Weapon Shop are. Talk to the little girl and she sets you a mission - to find three cats that are scattered across the Sector 7 Slums.
If you listen, you'll hear them meow when you get near them - and even if you're not paying that much attention, Tifa comments on this. If you're still unsure:
- One cat is east of Seventh Heaven at the ‘T’ intersection.
- Another is at the Seventh Heaven Entrance.
- The final one is through a tunnel near the apartment Cloud is staying in - you'll have to talk to an NPC to get access.
Reward: Maiden’s Kiss item.
On the Prowl - Quest #5
Prerequisite: Complete the Quest 2: Rat Problem as listed above.
You'll now have to fight the Wrath Hound in Scrap Boulevard, which is the same area Tifa first takes you to as part of her combat tutorial and getting to grips with the idea of being a merc.
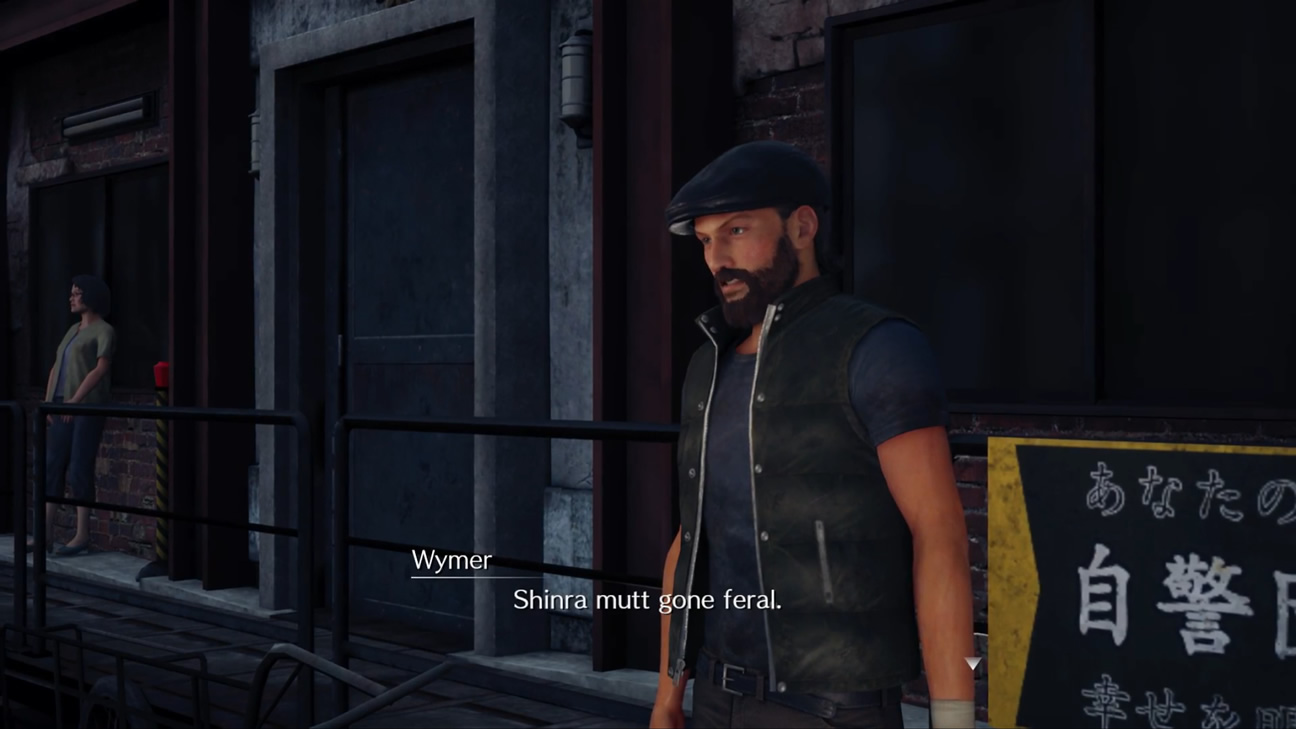
After taking a certain amount of damage the Wrath Hound will run away - chase it to find Wymer, who points you to an area where it's cornered. Engage it again in this new area, and then stagger the Wrath Hound to finish it off.
Reward: Elixir item, and a curious hint in dialogue about what Shinra is up to.
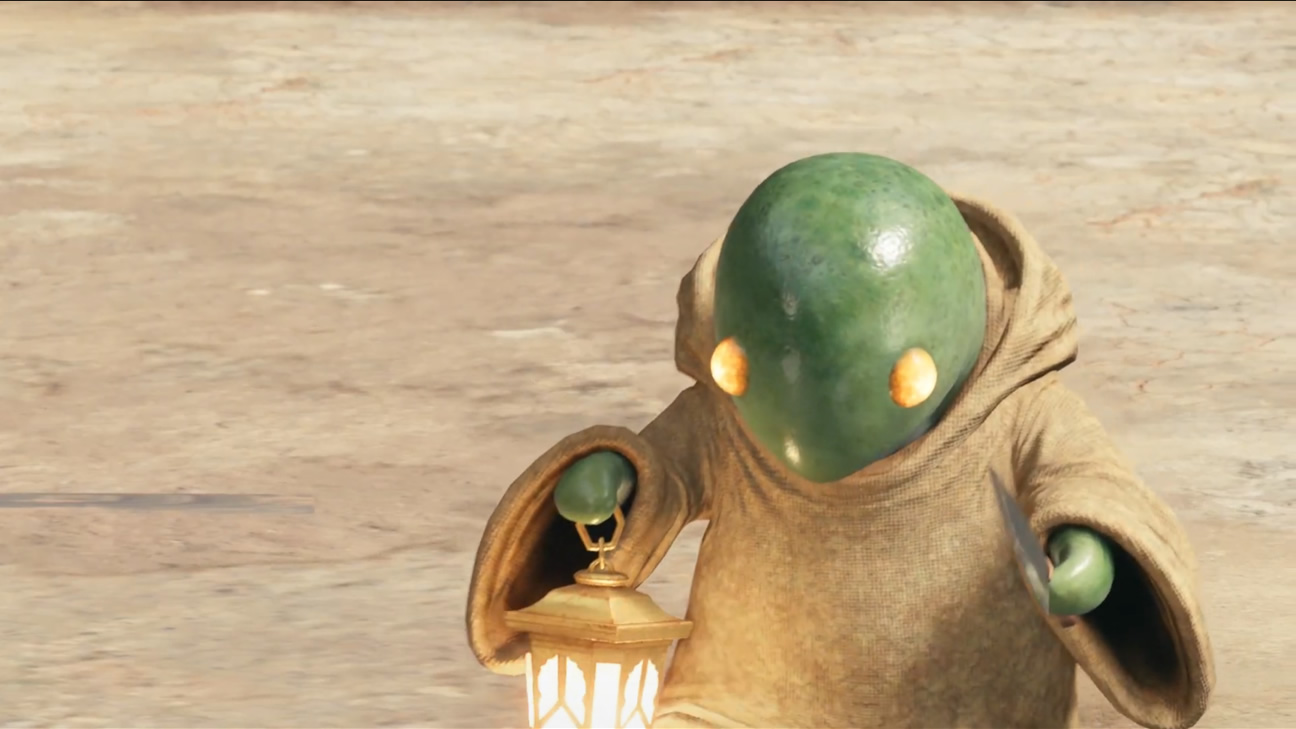
Just Flew in from the Graveyard - Quest #6
Prerequisite: Complete the earlier Nuisance in the Factory side quest, quest 3, as listed above.
Head to the NPC arguing with Shrina guards near the entrance to the Abandoned Talleger Factory. After the conversation, head back to factory. Battle through the factory and smash every Shinra crate you see in order to try to find the Key Card to the door - it can seemingly spawn in any crate inside the factory. We found it in the crates near the vending machine and rest spot.
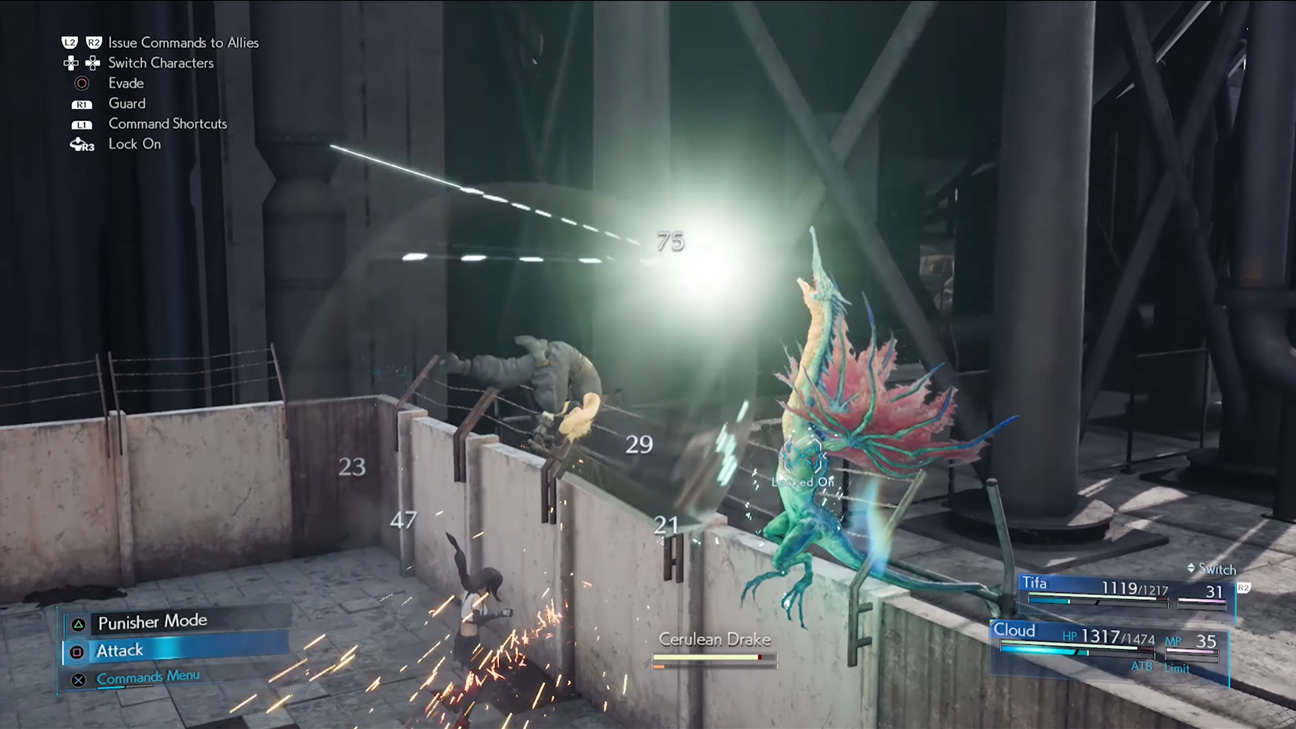
Once you have the key card and find key in crates near Vending machine. Head to locked door and fight Cerulean Drake. The Cerulean Drake is an enemy that can teach you the Algid Aura move for your Enemy Skill materia.
Reward: Star Bracelet.
Chapter 8 Side Quests & Optional Missions
The following quests are unlocked during the process of Chapter 8, and must be completed within Chapter 8, or else they're lost forever:
- Quest 7 - The Mysterious Moogle Merchant
- Quest 8 - Kids on Patrol
- Quest 9 - Weapons on a Rampage
- Quest 10 - A Verified Hero
- Quest 11 - The Angel of the Slums
- Quest 12 - Paying Respects
The Mysterious Moogle Merchant - Quest #7
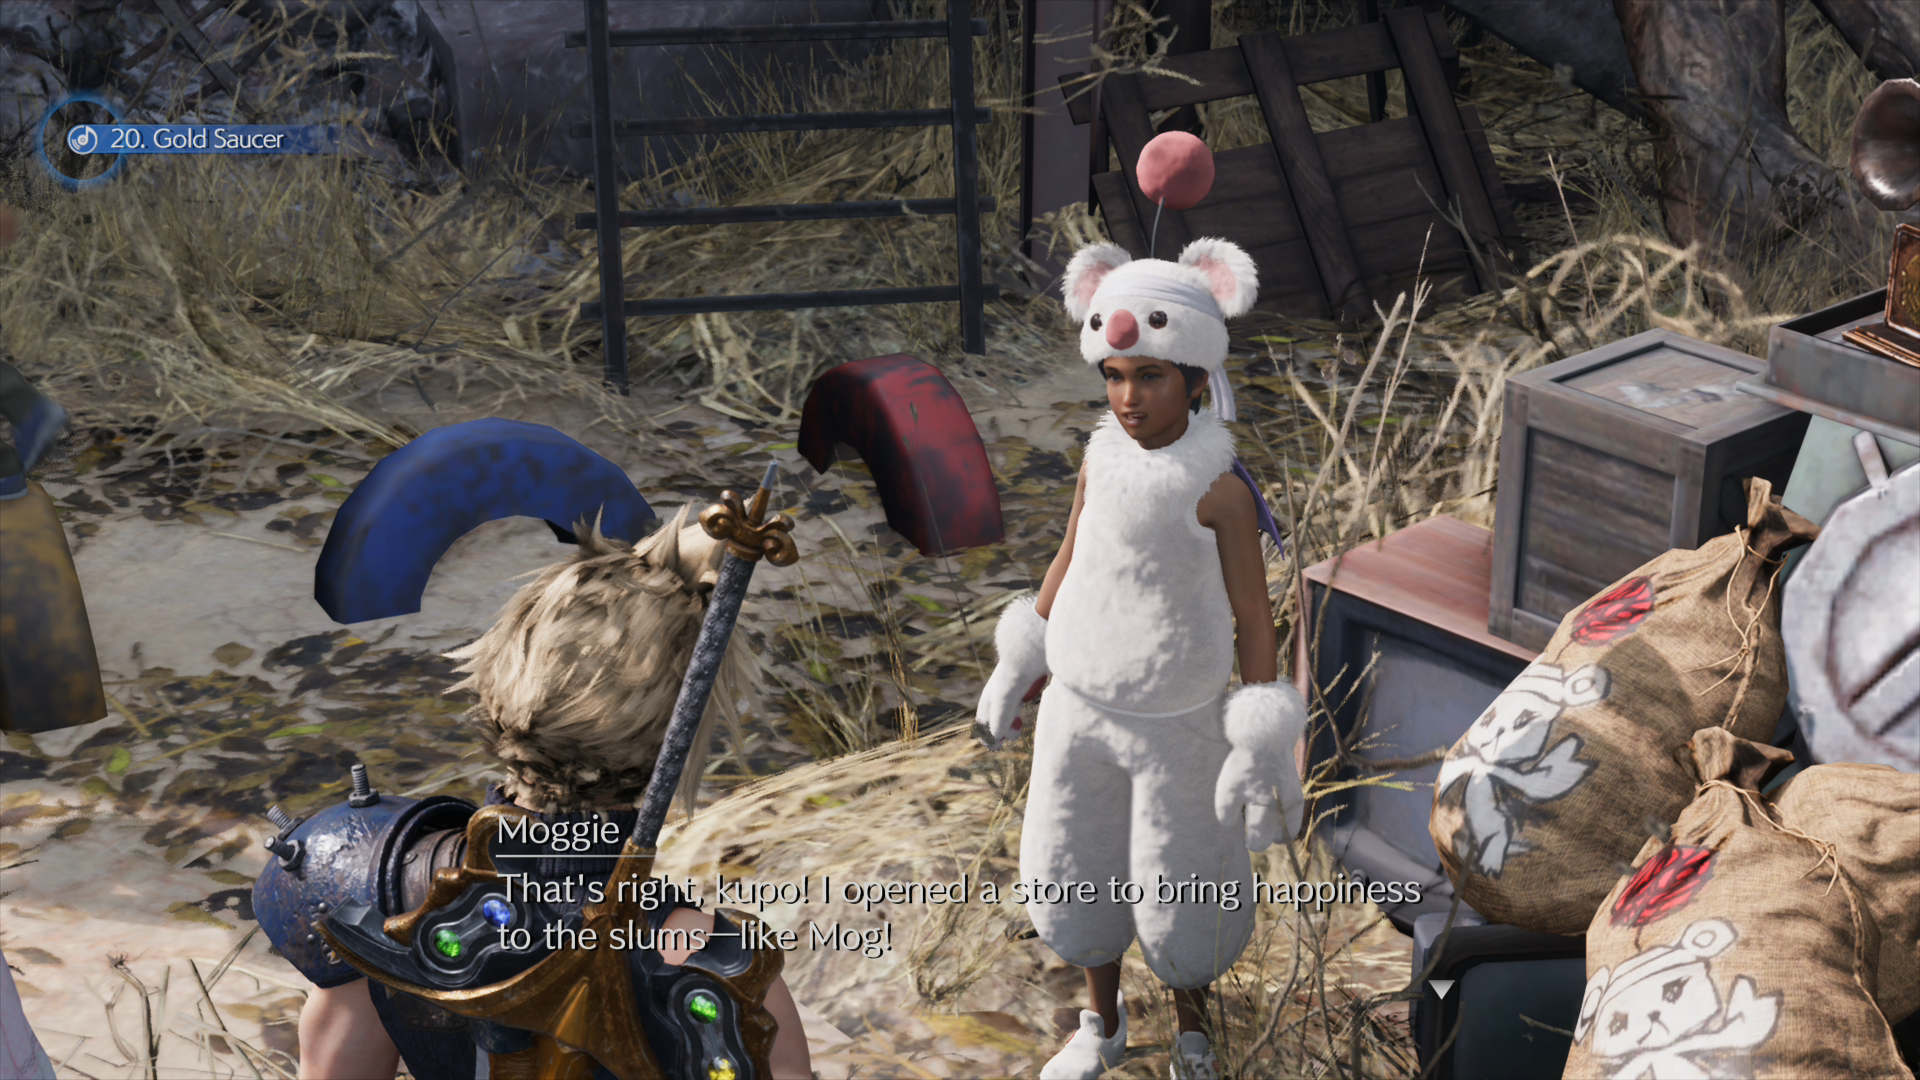
Once you have access to the kids' den through the narrow gap opposite the shops (via the Kids on Patrol quest below), head on inside. Eventually, there'll be a kid in a Moogle outfit - you can't miss him!
Talk to the kid and buy the Moogle Membership card with a Moogle Medal, which you should have several of through random drops by now. The reward is the ability to be able to spend your Moogle Medals at the Moogle Emporium, a useful shop that sells exclusive items.
This entire side quest is essentially a tutorial for this small mechanic. You can farm medals in lots of ways, including from the respawning Shinra crates that give MP restoratives.
Kids on Patrol - Quest #8
Once introduced to the Leaf House, talk to the marked NPCs, and then run around finding the five kids with wooden swords. They are clearly marked and not hard to find, but if you're struggling:
- The first kid is right near the orphanage, just south of it on the map.
- Follow the path round from the first kid to the southernmost bit of this center district area. There’s another kid in the passageway.
- The third kid is standing right outside the weapon and accessory shop.
- The fourth kid is standing just near the item shop, between the weapon shop and Chadley.
- The fifth kid is standing watch, guarding the northern entrance to the slum.
After all kids are found, return to orphanage to get part 2. Fight Hedgehog Pie King.
Reward: Nail Bat weapon for Cloud. Access to ‘A Verified Hero’ and ‘The Angel of the Slums’ quests, plus the Moogle Emporium shop.
Hard Mode Reward: Telluric Scriptures Vol. VI (Aerith SP up)
Weapons on a Rampage - Quest #9
Talk to the marked NPC near the town entrance. This one is a nice simple hunt-and-kill mission - chat to the NPC, get a target, and then go and kill that target.
In this instance, you'll then need to hunt down and take out the Shinra weapons on the loose, which are Mark II Monodrives.
Reward: Protective Boots. Access to ‘Paying Respects’ quest.
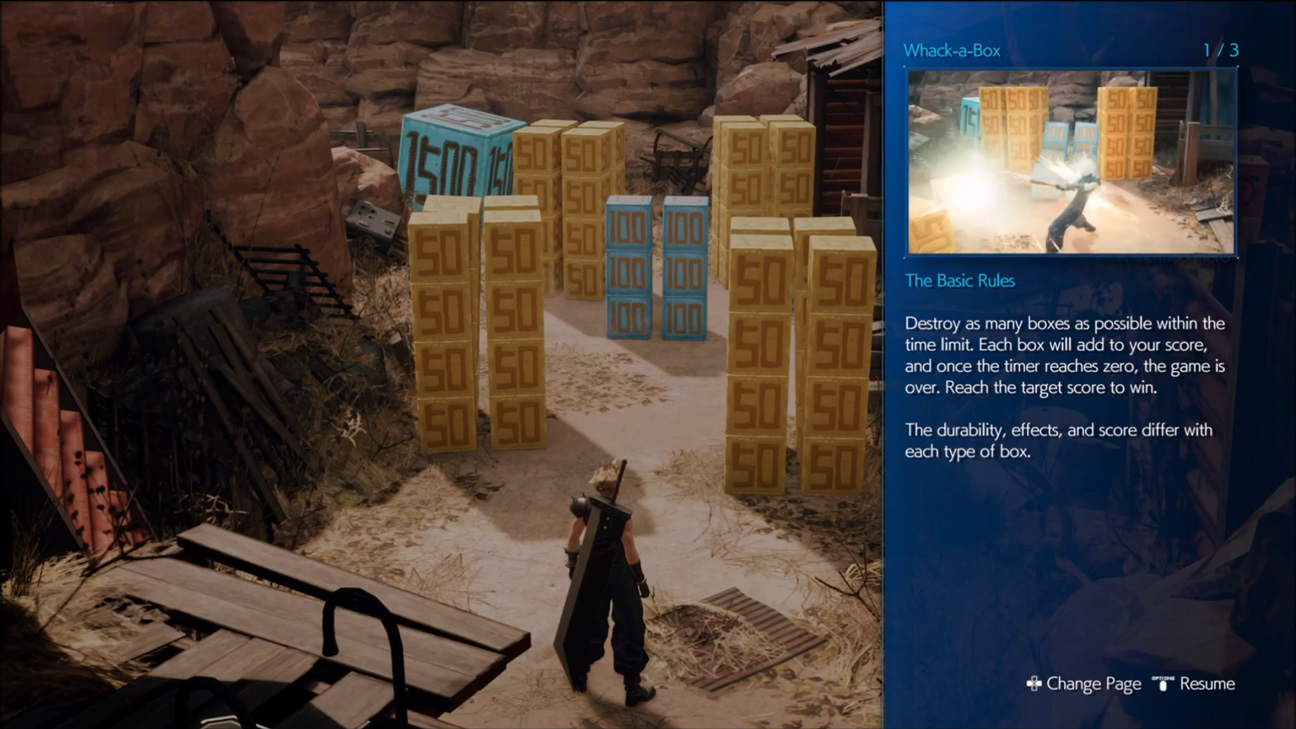
A Verified Hero - Quest #10
Prerequisite: Complete Kids on Patrol, quest #8, as mentioned above.
Talk to the marked kid in the hideout - the same location where you find the Mysterious Moogle Merchant character. This quest is simple enough - it's a time trial, where you smash boxes to get points and set a record.
You'll get a Moogle Medal just for participating. Score well enough in the mini-game to get an Elixir, Crescent Moon Charm, and Spectral Cogwheel.
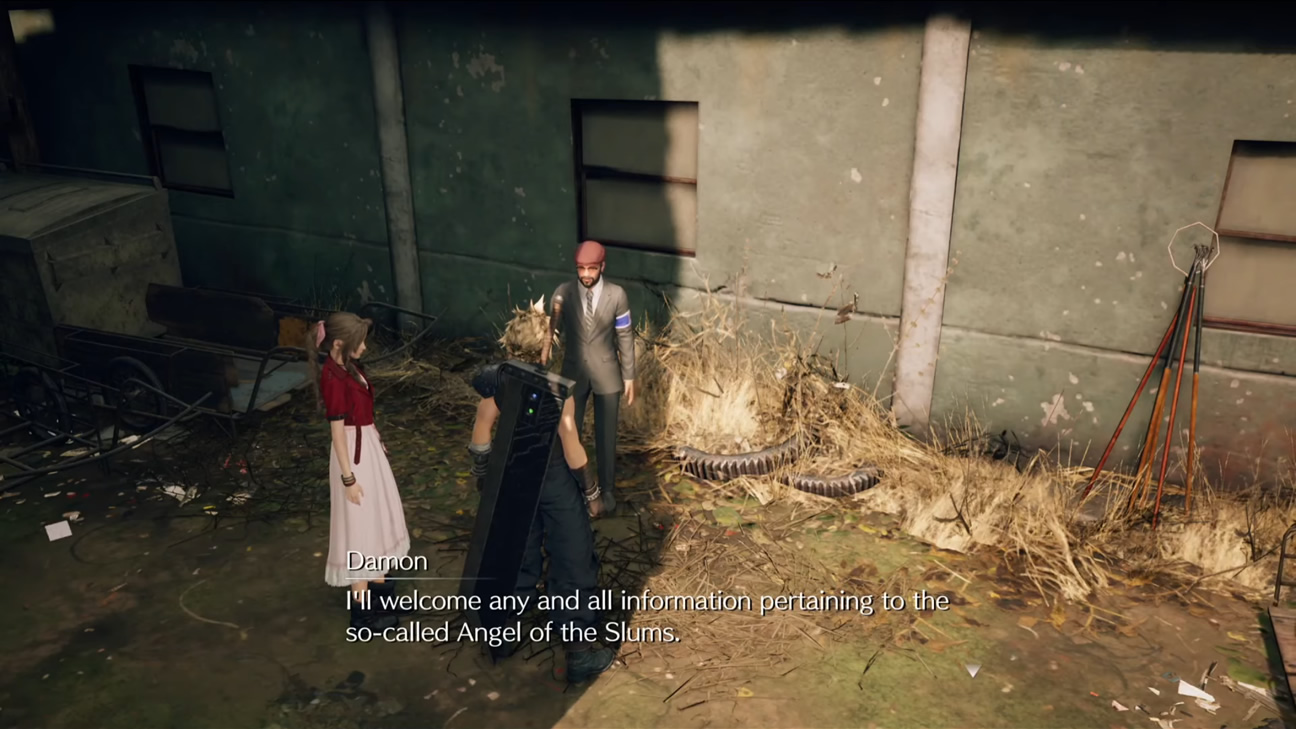
The Angel of the Slums - Quest #11
Prerequisite: Complete the Kids on Patrol quest, and then return to Oates in the kids' hideout.
Talk to the marked man, Damon. This kicks off a minor mystery that is unravelled by talking to a variety of characters.
Talk to the NPC in the community center, then return to Damon. Finally, head to the marked spot on the map to fight Chromogger, a challenging enemy at this stage of the game. Bring thunder magic - you'll need to exploit that weakness.
Reward: 2,000 gil.
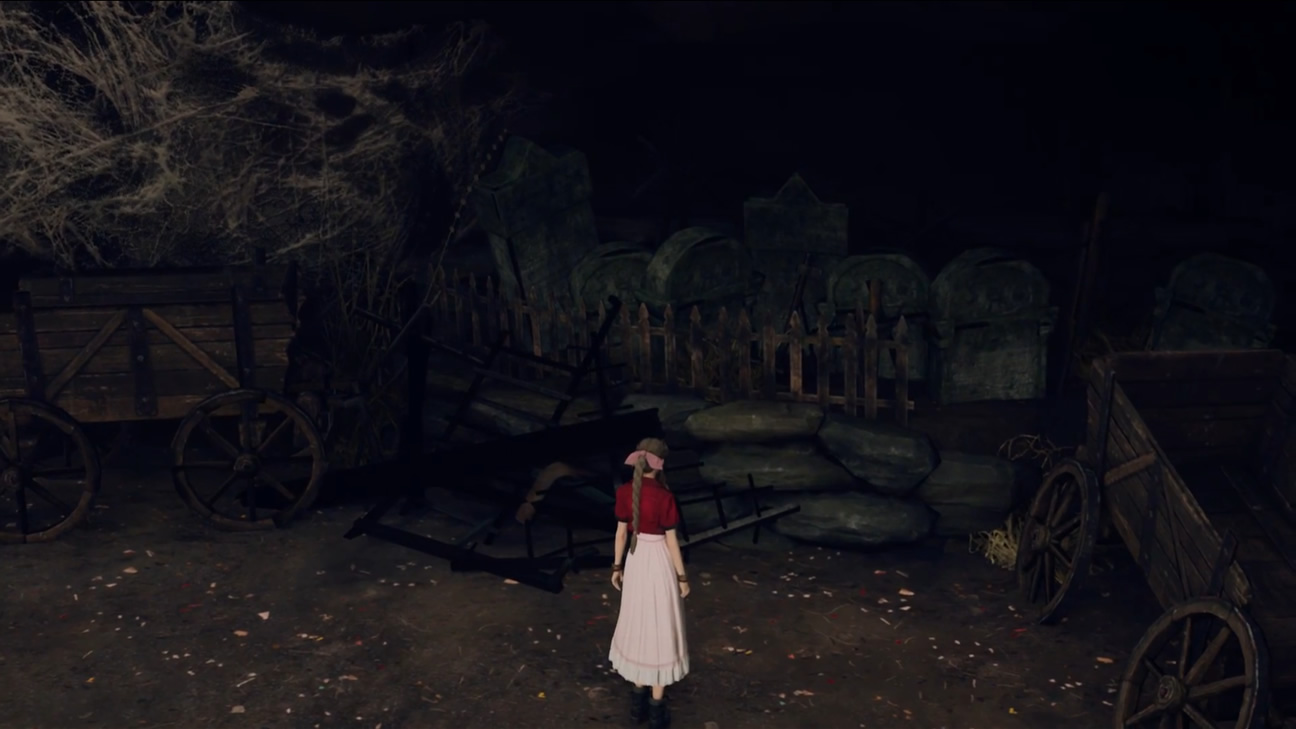
Paying Respects - Quest #12
Prerequisite: Complete the Weapons on a Rampage side quest, which is back above as quest 9.
To start this quest, find the quest-giving NPC, which is a man near the weapon shop. You need to go and clear out the graveyard, but you need a key to access it.
If you haven't already, buy the Graveyard Key from The Moogle Emporium unlocked in The Mysterious Moogle Merchant quest; you'll need Moogle Medals to get it, but you should have plenty. If not, you can farm them from the Shinra Boxes in combat areas, including those nearby.
With the key in hand, head to the graveyard and unlock it. Inside, you'll need to fight and kill Venomantis to complete the quest. Aerith says a little prayer.
Reward: Studded Bracer Accessory.
Hard Mode Reward: Telluric Scriptures Vol. VIII (Aerith SP up)
Chapter 9 Side Quests & Optional Missions
Chapter 9 Of Final Fantasy VII Remake sees you head to Wall Market. There's a selection of side quests here as in the other open-ended chapters of the game, but there's also four quests that are part of the game's main story - in any given play-through, you will only receive two of the four.
The side quests you pick up here and if you complete them will also impact Cloud and Aerith's dresses for the Don Corneo sequence - check out our FF7 Remake dresses guide for more information on all that.
- How to get Chocobo Sam's Quests
- How to get Madam M's Quests
- Quest 13 - Burning Thighs
- Quest 14 - The Party Never Stops (Sam) OR The Price of Thievery (Madam M)
- Quest 15 - A Dynamite Body (Sam) OR Shear's Counterattack (Madam M)
Chocobo Sam's Quests
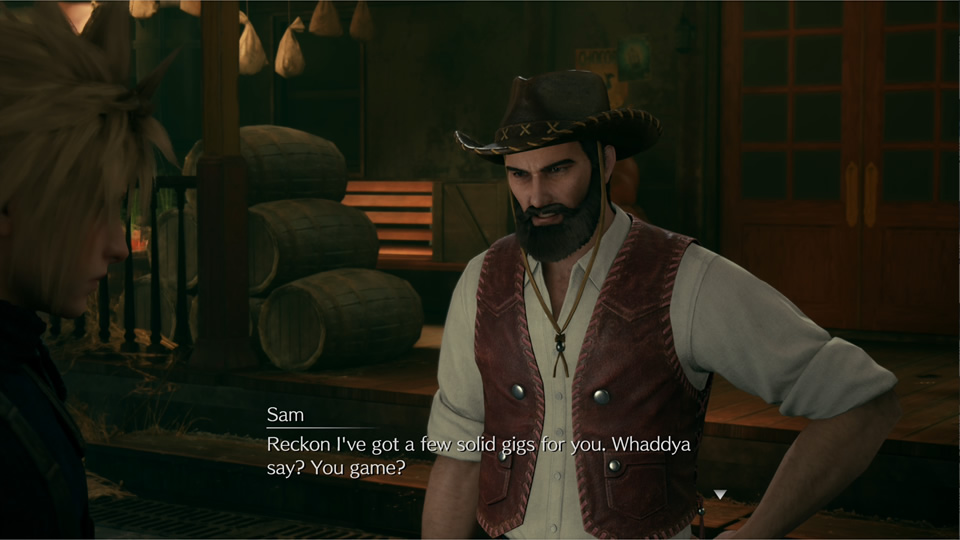
To get Sam's two quests 'The Party Never Stops' and 'A Dynamite Body':
- Tell Sam at the start of the Wall Market area that "She's in great shape." when talking about the girl you're looking for.
- Tell the inn keeper '...No, thanks.' when asked to stay the night if you talk to him near the entrance of the area.
- Make sure to witness Johnny's Discovery Event 'Vagabond Johnny' when you pass by him early in the chapter, and you should say "Yeah" when you speak to him.
- Choose to gamble when prompted by Sam by calling 'Heads' or 'Tails' before the coin flip
- Pay for the 500 gil 'Poor Man's Course' massage treatment at Madam M's
- Tell Aerith that about her dress 'It's alright.'
- Drink the mystery drink in the Coluseeum when talking to Johnny.
Madam M's Quests
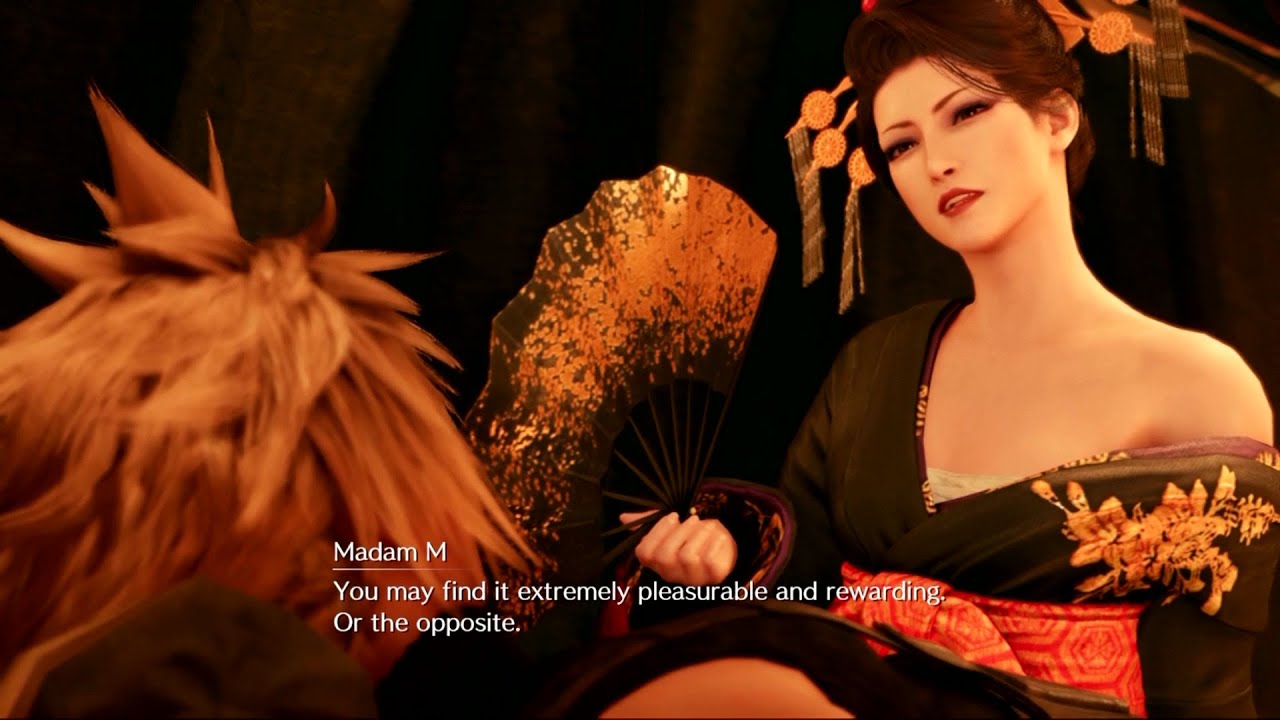
To get Madam M's two quests 'The Price of Thievery' and 'Shear's Counterattack':
- Tell Sam at the start of the Wall Market area that "She's great at handling the books.' when talking about the girl you're looking for.
- Ask the inn keeper '...How Much?' when asked to stay the night if you talk to him near the entrance of the area.
- Make sure to ignore Johnny's Discovery Event 'Vagabond Johnny' when you pass by him early in the chapter, or at least select "No" if you speak to him.
- Choose NOT to gamble when prompted by Sam by choosing 'No deal."
- Pay for the 3000 gil 'Luxury Course' massage treatment at Madam M's.
- Say 'It matter what I think?' when asked about Aerith's dress.
- Don't drink (or ignore outright) the mystery drink in the Coluseeum when talking to Johnny.
With that out of the way, here are the details for the specific quests in Chapter 9, though again -- you'll have to come back at least once in Chapter Select to see all of them.
Burning Thighs - Quest 13
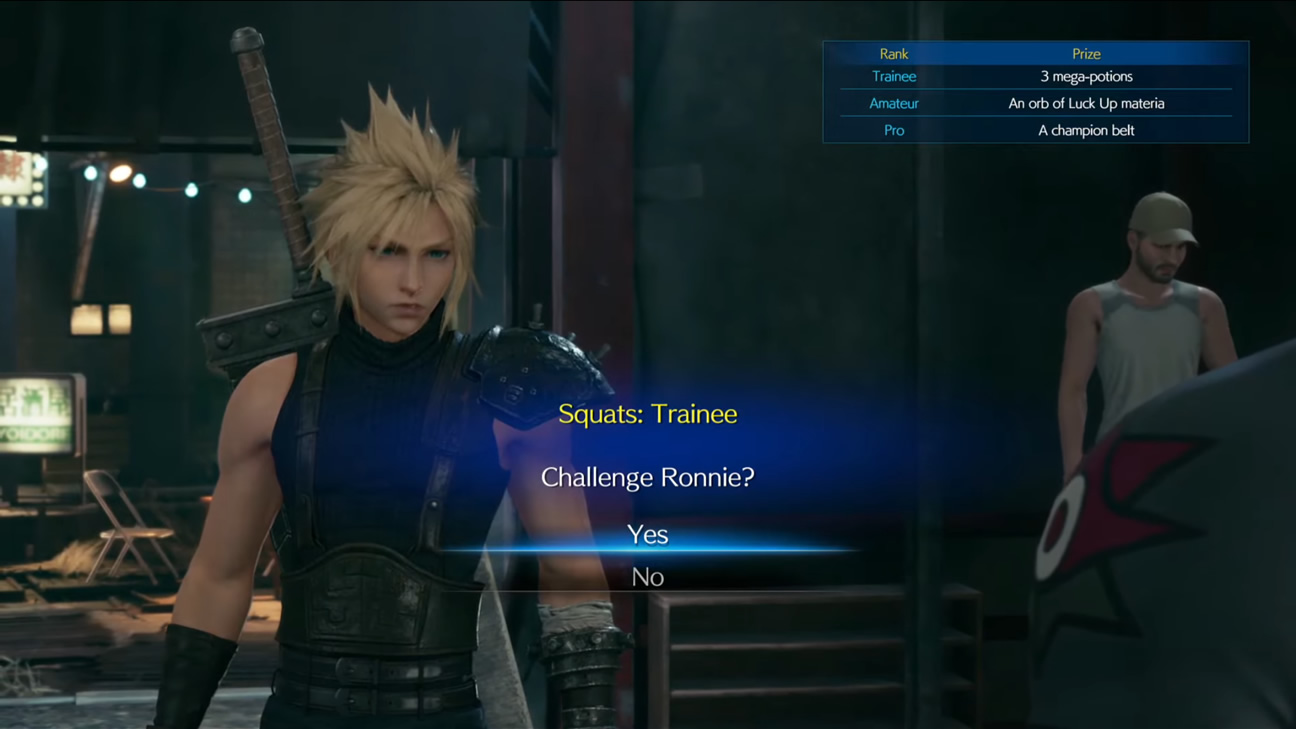
Talk to Jules in the Gym and take part in the squats competition. There are three different squat champions to beat - Ronnie (Trainee), Jay (Amateur) and Jules (Pro).
Reward: 3x Mega Potions for beating the Trainee, which completes the quest. If you also do amateur and pro levels you get Luck Up and Champion Belt respectively.
The Party Never Stops - Sam's Quest 13
At this stage of the game you will be given two quests by an NPC, and which quests depend on the NPC: Sam or Madam M. This is the first Sam quest. The outcome of this quest is determined primarily based on the level of your materia, and it's easier to see different outcomes on a second play-through.
Talk to the shop owner. Follow the waypoints until you get to the vending machine. Use the Assess materia (I was at 57 types of enemy assessed at this point). What you get depends on how much assessing you have done; at 57 assessed I got Vitalabrew, Crimson Spike and The Sauce, as well as a Moogle Medal.
Next, give advice to restaurant based on materia level. I gave “Stove” with Fire level 2.
Then you help the Pharmacy with “Cleansing” Materia. How many people you help will depend on the level of materia. There are three sick people you can help if your materia is level 3. The first sick person is in the bathroom of the restaurant. The second person is in the end of the alley on the west side of Wall Market. The third person is on the east side. Each awards an item.
When done, head back, and give the VIP Card to the store owner.
Reward: Turbo Ether.
A Dynamite Body - Madam M's Quest 14
This is the second Sam quest. Head to the Colosseum for an extra battle. It's pretty simple, really - that dynamite, explosive body is also a rather round one - so just fight and defeat Bomb in the Colosseum.
Reward: Arcane Scepter
The Price of Thievery - Sam's Quest 14
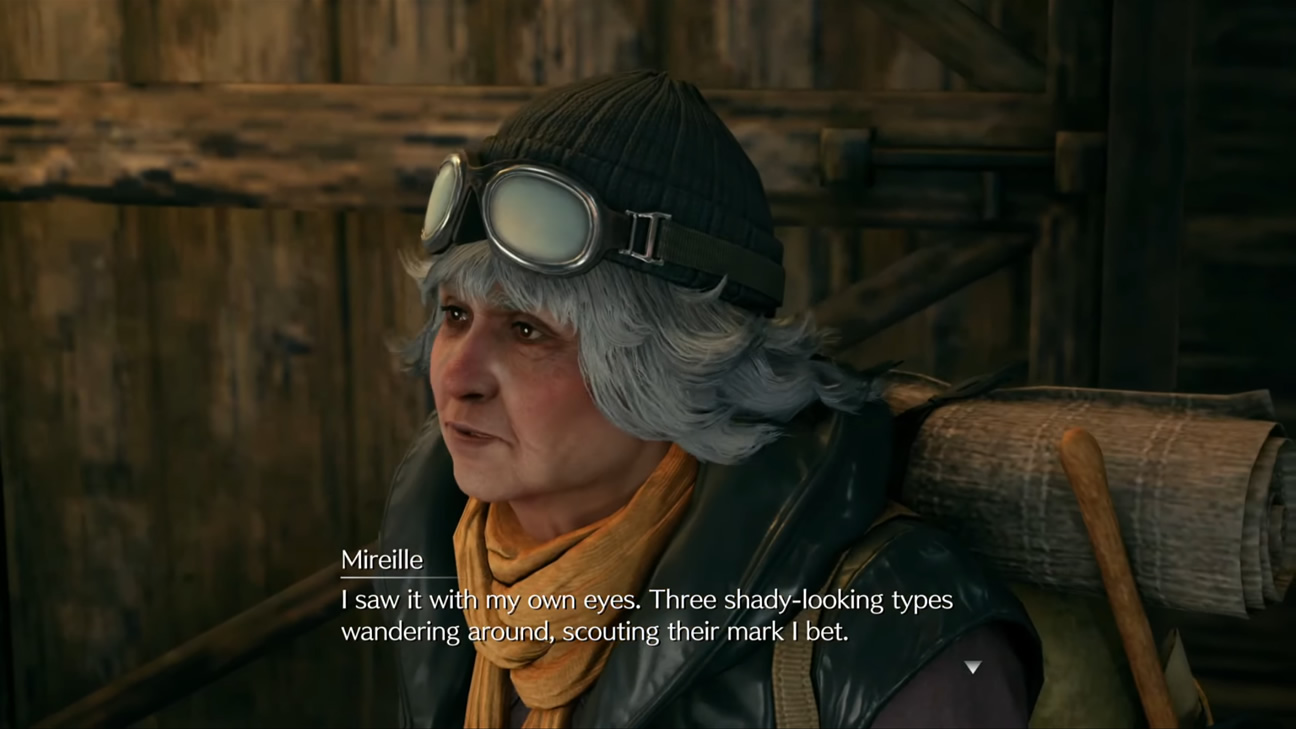
At this stage of the game you will be given two quests by an NPC, and which quests depend on the NPC: Sam or Madam M. This is the first Madame M quest.
Talk to Mireille east of the town. Head towards the Collapsed Expressway to fight Beck’s crew and Grungy Bandit.
Reward: Real Calling Card key item.
Shear’s Counterattack - Madam M's Quest 15
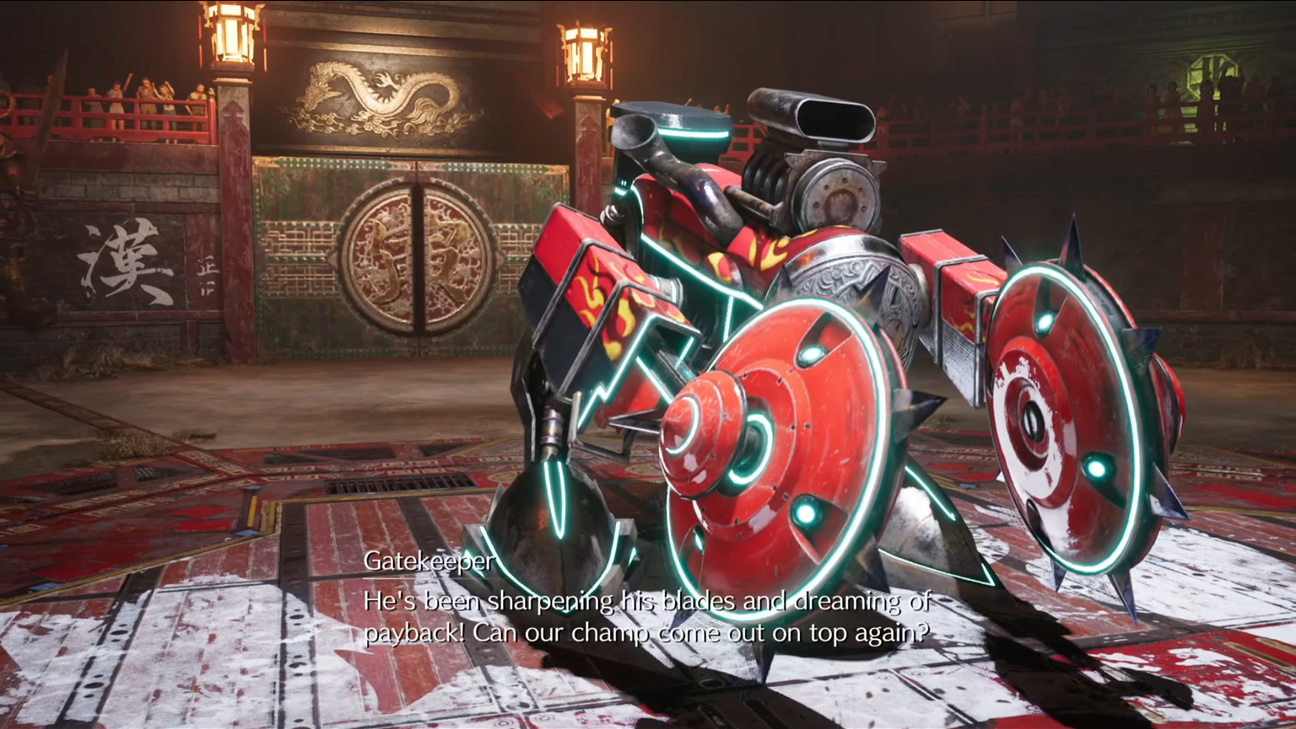
This is Madam M's second quest. The quest will start as you head back to the massage parlor. Head to the Colosseum. Fight Jury-Rigged Cutter.
As an electronic Shinra robot type of enemy, you should of course bring along Thunder Element magic to help you to pressure it and take it down.
Reward: None
Chapter 14 Side Quests & Optional Missions
Chapter 14 sees you returning to some areas you've been to before, though with different characters in tow and different side quests to worry about. It is also the final open-ended hub of the game: after this there are no more sidequests, only straight, story-focused sailing to the end of the game. Once you begin to climb up to the top of the plate, you'll lose access to these quests:
- Quest 16 - Missing Children
- Quest 17 - Chocobo Search
- Quest 18 - Malicious Goons
- Quest 19 - Wavering Heart
- Quest 20 - The Power of Music
- Quest 21 - Secret Medicine
- Quest 22 - Tomboy Bandit
- Quest 23 - Corneo's Secret Stash
- Quest 24 - Subterranean Menace
Missing Children - Quest 16
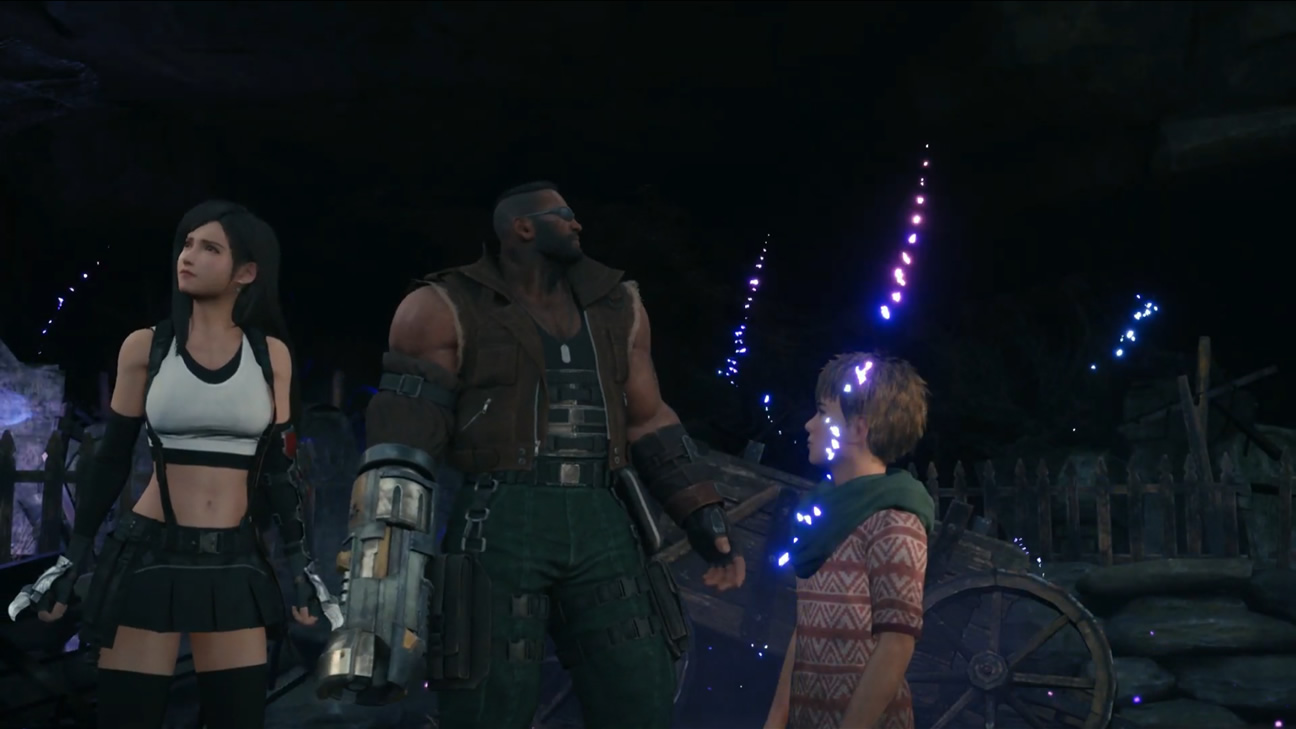
There the kids go again - it's like we've fallen back in time back to Chapter 7. To get this quest, speak to Ms. Folia near the hideout entrance in the Sector 5 Slums.
After this, head to the North-Eastern end of the Sector 5 Slums and find Oates there. A battle ensues, and you must fight and defeat a Phantom. You can learn Spirit Siphon for your Enemy Skills from Phantom, too, if you don't have it yet.
Reward: Time Materia.
Chocobo Search - Quest 17

Speak to the stable hand east of Sector 5 as if heading to Wall Market. You’ll get Gysahl Greens key item, which must be used for this quest. You have to find Chocobos that have been spooked so they can return to work. Each Chocobo you find opens up a fast travel station in the area you find them, which is a nice bonus but also comes kind of late in the game to be massively useful.
- Find one Chocobo in the north part of ‘Nuts ‘n’ Bolts Hills’ in Sector 5. Once you find it, you'll need to fight off the Rust Drake. Unlocks Sector 5 Undercity Station and Steel Mountain (Boarding Only).
- Find another Chocobo on the way back to the Church. Unlocks Sector 5 Slums - Church. No fight this time.
- Find the last one halfway through the Collapsed Expressway. Once you interact with the bird you'll have to fight Trypapolis and Proto Trypapolis. Proto Trypapolis isn’t in the intel log, but you can learn the Self-Destruct enemy skill from it. Unlock Sector 6 Slums - Evergreen Park, Wall Market - Urban Advancement District, and Collapsed Road (Boarding Only).
Reward: Sam’s Delivery Lifetime Pass key item (Free Chocobo rides).
Malicious Goons - Quest 18
Speak to Madam M at Wall Market to start this quest. Things are a little more sombre over there now, but she's still giving out the errands. After getting the quest, you'll then need to head back towards Aerith's house in Sector 5, for a special battle.
The fight will take place in the same place as where you fought Rude as part of the story. The thugs will summon a Tonberry for you to fight. Watch out for its knife, which can easily one-hit you.
Wavering Heart - Quest 19
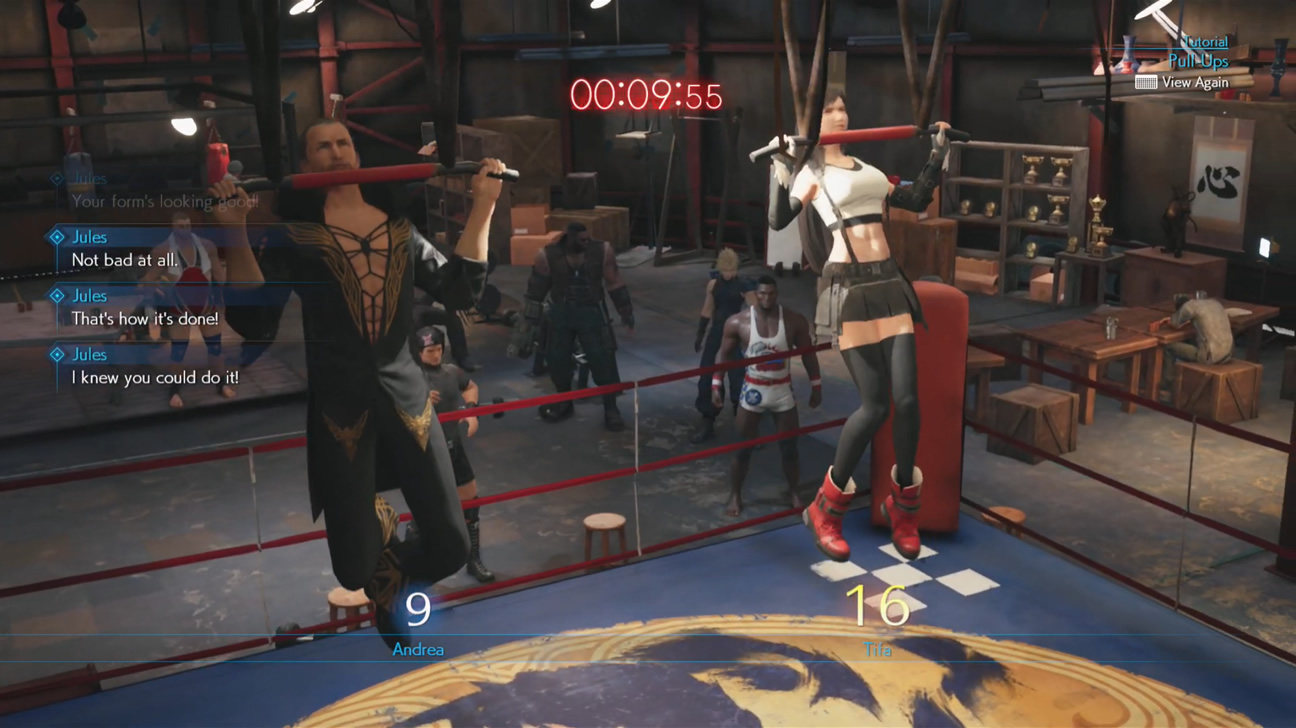
Speak to Andrea in the Wall Market gym to start this quest. This is basically a repeat of the Cloud squats mini-game you would've taken part in several chapters ago, except this time you're playing as Tifa and doing push-ups instead. The mechanics are the same, but it's significantly harder.
In order to win this push-ups battle, you'll need to work hard to keep the timing and keep steady, as Tifa slows down quite significantly if you make any error. After completing it for the first time, you'll then unlock harder difficulties with additional rewards.
Rewards: Way of the Fist Vol III (Tifa SP up Manuscript), Magic Up Materia, Champion Belt
The Power of Music - Quest 20
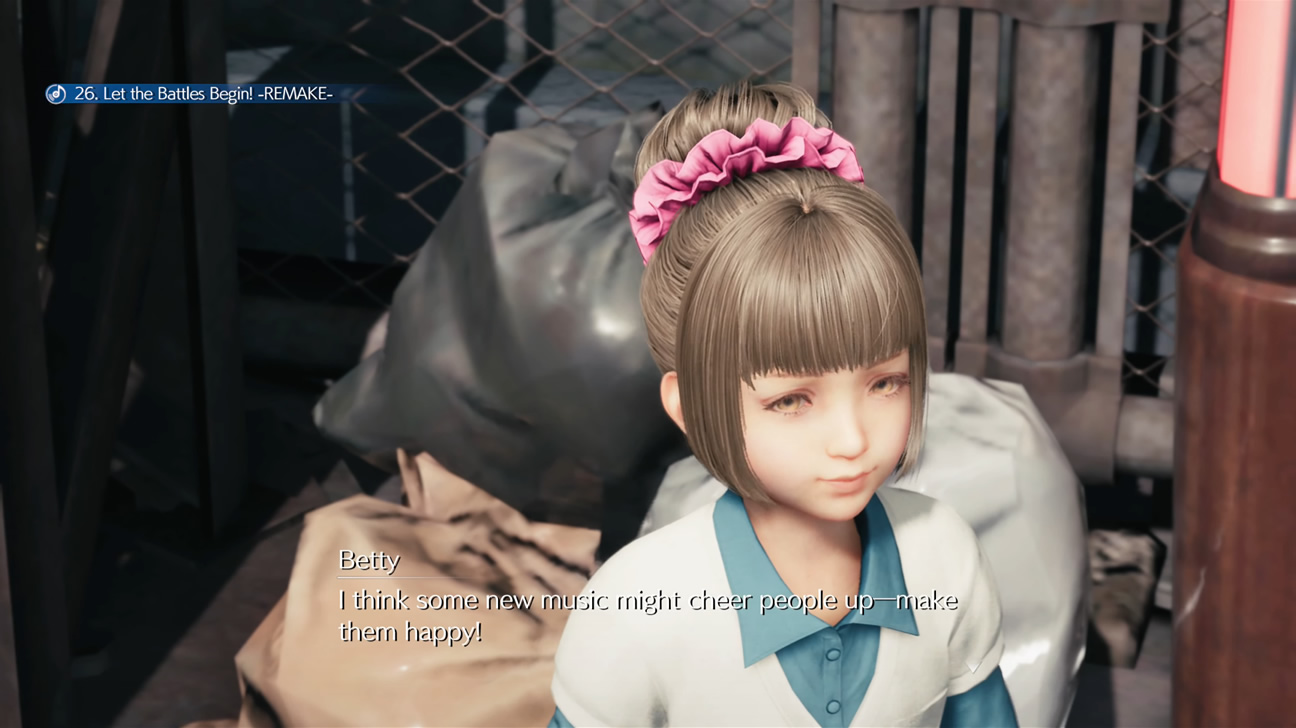
Speak to Betty to the right of the inn in Wall Market. You need three music tracks to cheer people up. You can find every piece of music and its location on our music disc list, but even if you've fastidiously collected them all up until now, there's three specific ones you'll need in order to complete this quest:
- Get #16 'Good Night Until Tomorrow' at the Inn
- Then #30 'Stand Up' near the Honeybee Inn
- And finally #12 'Fight On' at the Arena.
Play them all on the Jukebox near Betty in Wall Market to make everyone happy.
Reward: Sharpshooter’s Companion Vol. III (Barret SP up Manuscript)
Secret Medicine - Quest 21
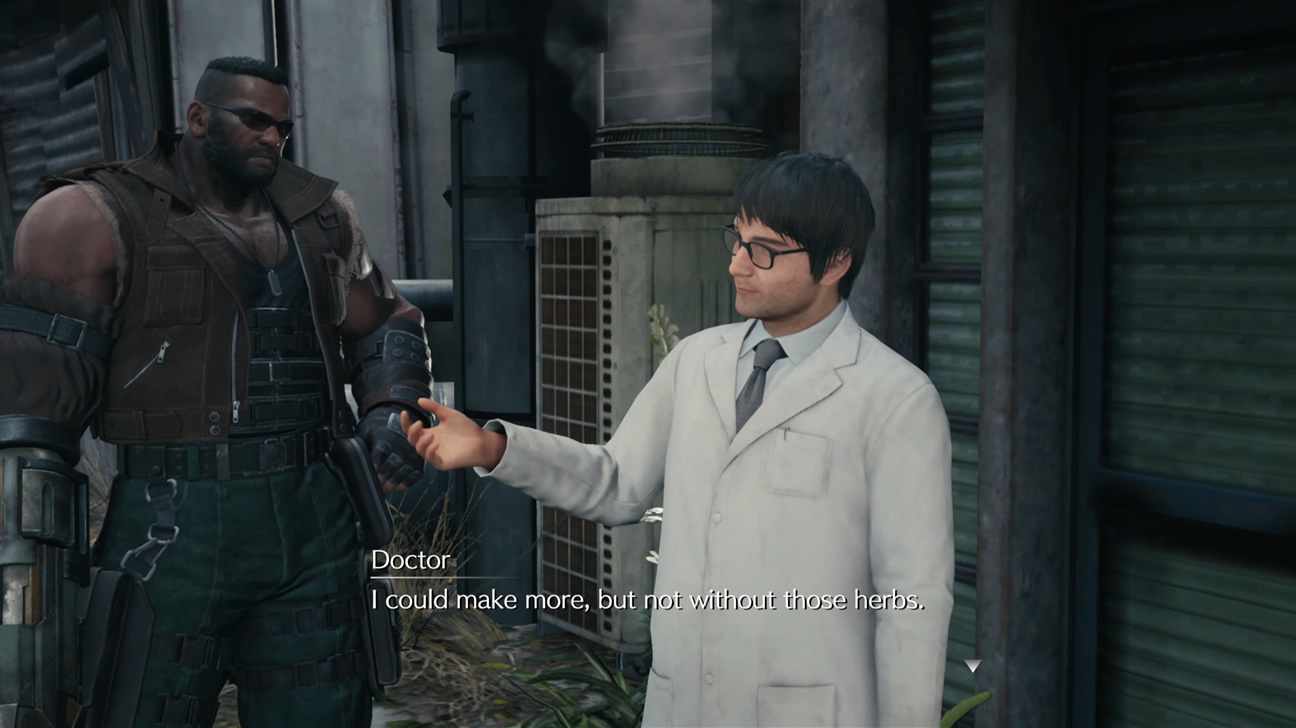
Speak to the Doctor near the community center in Sector 5 to get this quest. The Doctor needs three items to make medicine for the people of the slums. Here's where to get them:
- Moogle’s Mortar: Buy from The Moogle Emporium.
- Behemoth Horn: Defeat Type-0 Behemoth in Shinra’s underground lab, which you'll naturally fight as part of the Subterranean Menace quest.
- Medicinal Flowers: At the Sector 5 Church flower patch - just visit and pick them up. If you're optimizing, you'll be visiting the church anyway for 'Tomboy Bandit' and 'Corneo's Secret Stash'.
Reward: Telluric Scriptures Vol. III (Aerith SP up Manuscript)
Tomboy Bandit - Quest 22
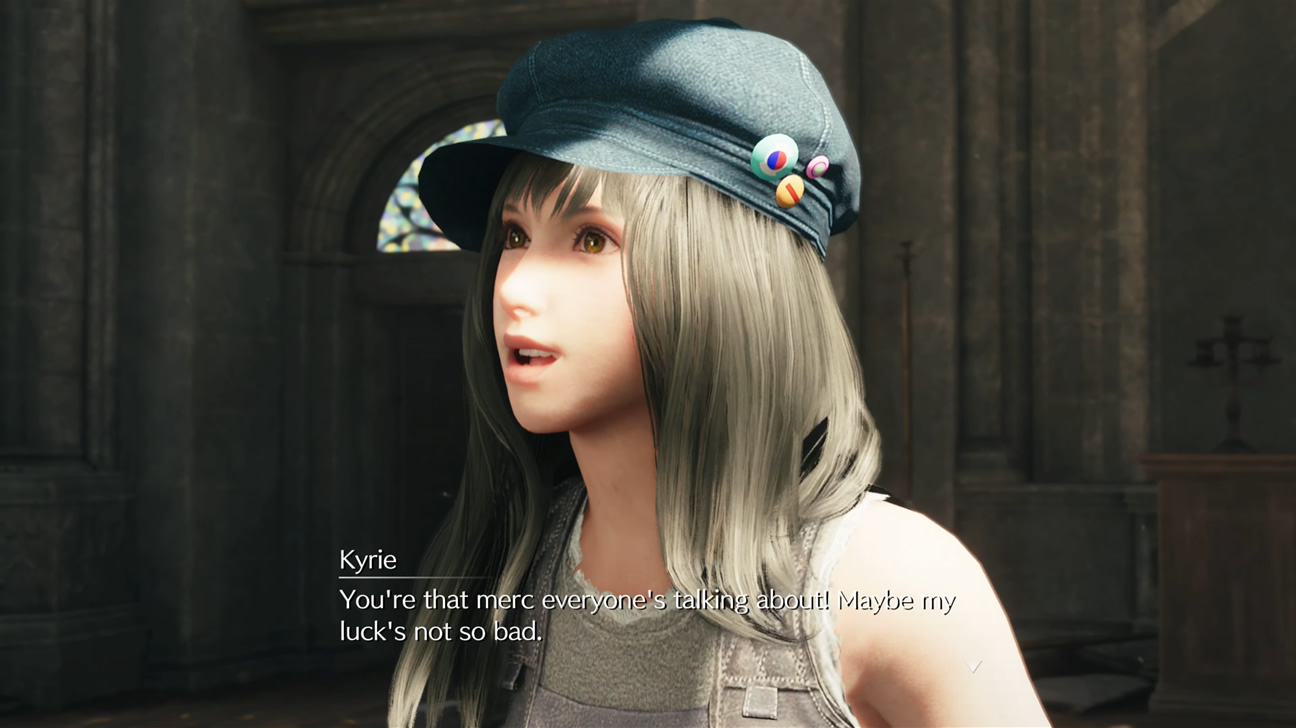
Talk to Johnny near the Sector 5 Undercity Station way north of the Slums. Head to the Church and talk to Kyrie. Head to the Corneo Arena in Wall Market and fight Beastmaster and HellHound.
Reward: Corneo’s Vault Key and Johnny’s Wallet key items. Return the Wallet to Johnny at Sector 5 Undercity Station to unlock the Discovery 'Johnny's Stolen Wallet' and get a trophy, assuming you've completed all the other Johnny quests and discoveries along the way.
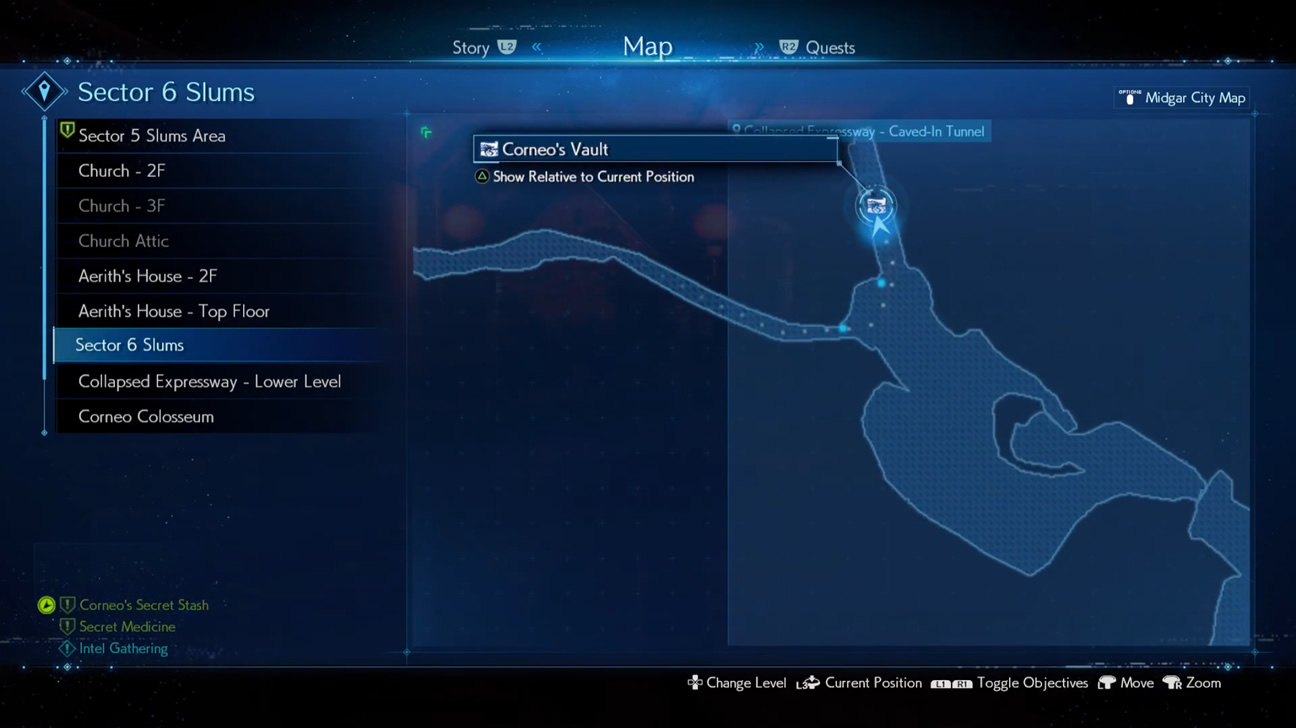
Corneo’s Secret Stash - Quest 23
Prerequisite: Complete The Angel of the Slums in Chapter 8
Speak to Damon north of Sector 5 Slums to kick the quest off. Head to the marked area in the north-east of Sector 5. Pick up Corneo Vault Note. This note refers to the locked Red Corneo Doors with a dragon design. Now head back to the Sector 5 Church and speak to Kyrie - you can do this at the same time as for the Tomboy Bandit quest if you want.
You now get the key and can go and open these doors to get their items. They're as follows:
- Door in Collapsed Expressway: 2x Moogle Medal. Diamond Tiara key item.
- Door in Sector 5 Slums: Circlet, Ruby Tiara key item, Prayer Materia, several Moogle Medals, and consumables.
- Door in Sewers: Fight Sahagin Prince. Get Moogle Medals, Emerald Tiara key item, and Enfeeblement Ring.
Many of these items are key items that you can't do anything with or sell, but return to Marle in the ruined playground near the entrance to the Sector 7 ruins and you can turn the items in for one final reward.
Reward: The Art of Swordplay Vol. III (Cloud SP up Manuscript).
Subterranean Menace - Quest 24
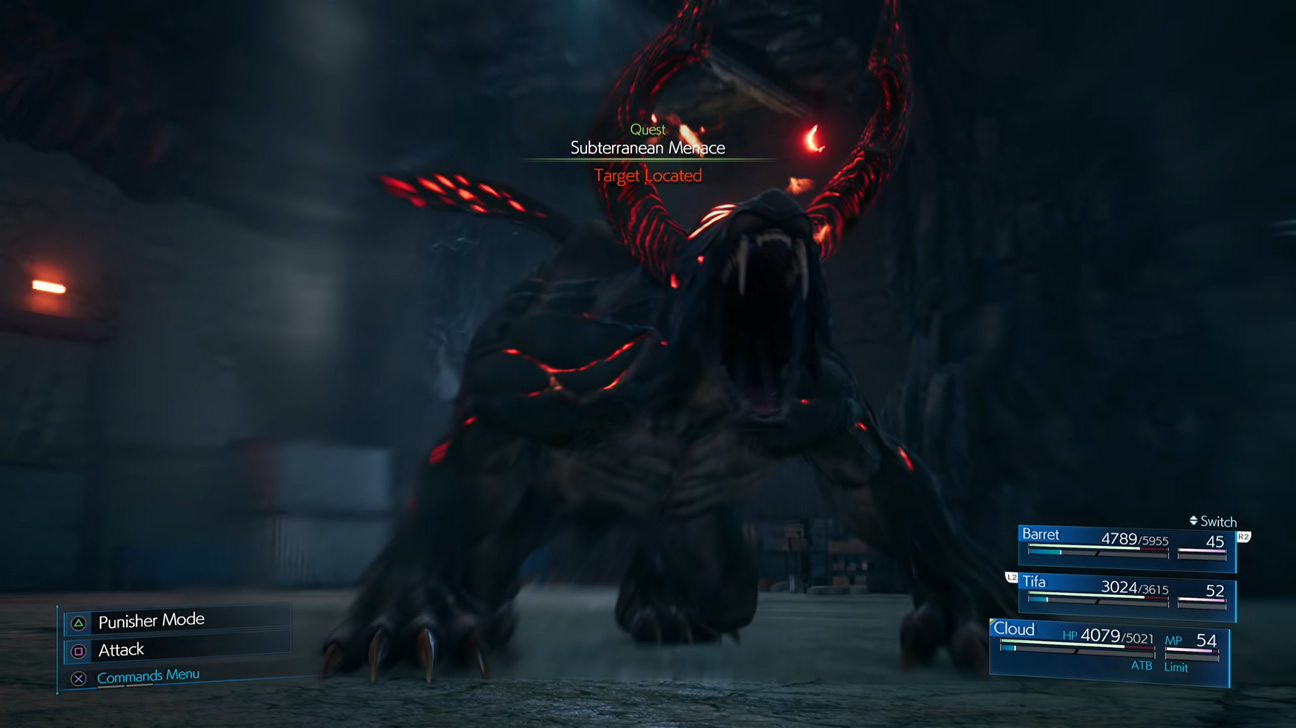
Speak to Wymer near the entrance to Sector 7 to hear of a dangerous new monster. Head to the underground lab dungeon that you visited earlier in the story, and work through it in reverse. Fight your way through, and at the end you'll find a newly opened arena. Head inside to fight the Type-0 Behemoth.
You can steal an Enchanted Ring from this optional boss, and when killed it drops the Behemoth Horn for the Secret Medicine quest. Return to Wymer for an additional reward.
Reward: Wrecking Ball Barret weapon, a unique melee option.