
Trials of Mana Benevodons Order: Benevodon battles and how you should tackle them
A little way into Trials of Mana, you'll learn about the Benevodons - godlike beasts that have long been sealed away from the world via the Mana Stones. However, as you near the end of your quest, the Benevodons will be freed from their prisons, and it's up to you to defeat them before the world is brought to its doom.
While most of the game is pretty well-guided up to this point, it opens up here and allows the player to take on the Benevodons in almost any order. At this point in the game, you have access to Flammie and can travel just about anywhere you wish to. You may be wondering what is the best, or easiest, order to take on the Benevodons.
Truthfully, it doesn't really matter which order you tackle the Benevodons in, and no one way is clearly significantly easier than another. The game is set up such that the enemies will generally scale depending on how many Benevodons you've defeated, meaning the first Benevodon - whichever one it is, will generally be easier than the last one you tackle.
We've got even more Trials of Mana guides if you need 'em. Stuff like our class guide & best classes list, Lil Cactus Locations and leveling, stats and max level primer, post-game info, and ???? seed explainer!
Trials of Mana Benevodon Order
If you want a suggested order to take out the Benevodons, try the following:
- Fiegmund, the Benevodon of Water, found in the Labyrinth of Ice within the Frostbite Fields. You hopefully should have access to Fire magic or Fire Saber, so exploit that weakness here.
- Xan Bie, the Benevodon of Fire, found in the Fiery Gorge. The opposite of Fiegmund, exploit his weakness to water/ice attacks.
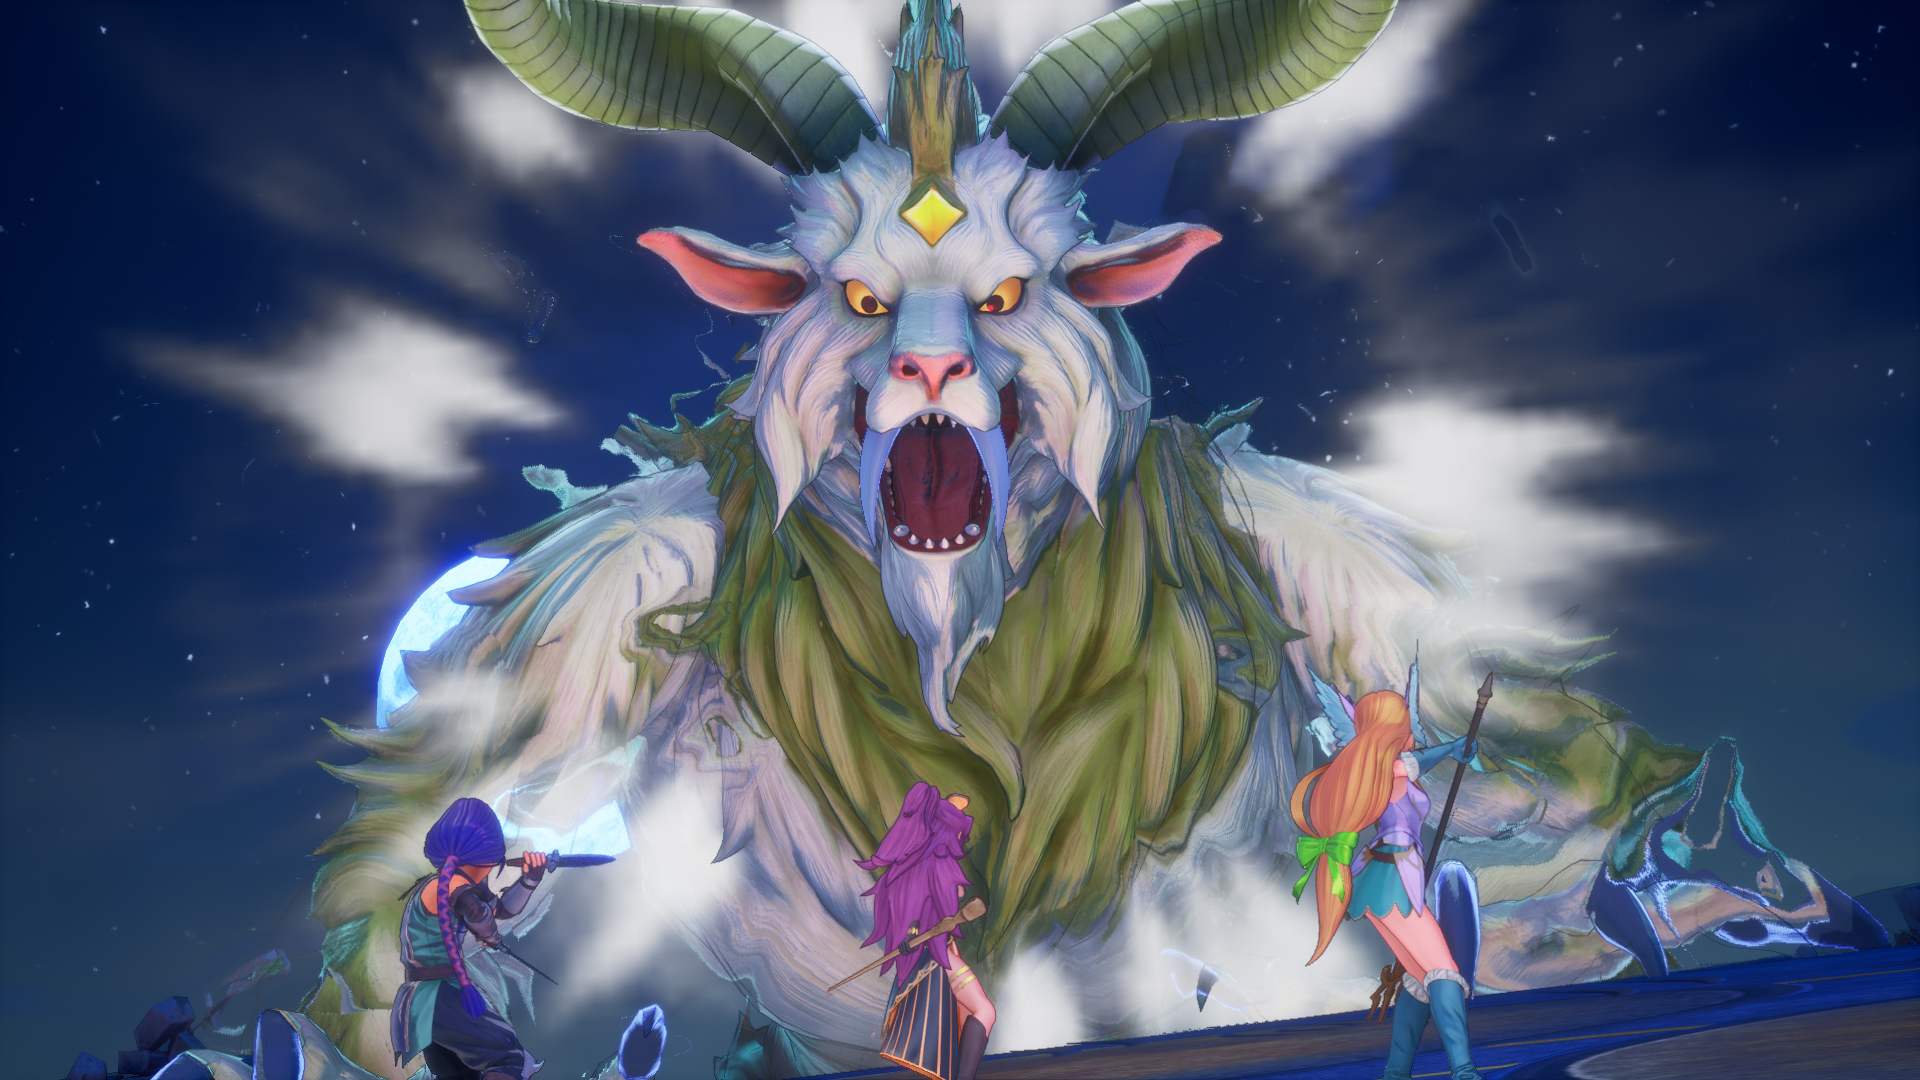
- Dolan, the Benevodon of the Moon, found at Chartmoon Tower within the Duskmoon Forest. Despite being one of the hardest Benevodons in the original Seiken Densetsu 3, Dolan is considerably easier in the remake, given his slow attacks and wide area to move around in.
- Mispolm, the Benevodon of Wood, found in the Woods of Wandara. There's no easy solution to Mispolm, just make sure you take out his sidekicks when you can.
- Land Umber, the Benevodon of Earth, found in the Gemstone Valley Daria within the Molebear Moors. This is where the Benevodons really start to get a little bit tricky. He's weak to lightning/wind magic, so exploit that weakness.
- Lightgazer, the Benevodon of Light. found in the Shimmering Ruins. Lightgazer isn't too bad mostly because you have a lot of room to work with. He's a bit annoying in how he moves around so much, but avoiding attacks should be pretty easy. For your character anyways, AI companions never seem to know when to dodge. Weak to dark magic.
- Dangaard, the Benevodon of Wind, found at the end of Gusthall. Dangaard is one of the more annoying Benevodons, if only because you barely have any room to move around in. He's worth saving for last, and hopefully, you've reached Class 3 by this point. He is weak to earth magic.
- Zable Fahr, the Benevodon of Darkness, will always be the last one you take out. He'll be found in your main character's final dungeon. Weak to light magic.