
Xenoblade Chronicles guide: getting started, tips and things to know before diving into this massive RPG
Xenoblade Chronicles is a massive RPG, with several intricate systems in play regarding combat, exploration, customization, and more. It can be a little daunting at first, but we're here to help. This page will offer some general tips for playing the game efficiently, making sure you are spending your money in the best places and know the tricks to make things a bit easier for yourself.
If you are looking for a more in-depth guide on a particular topic, you can check out:
- An easy-to-read Missables guide <- If you don't want to follow a walkthrough but want to know what can be missed permanently, this is for you
- Heart-to-Heart Locations and Answers <- spoiler warning
- All Unique Monster Locations
- A Full Quest Checklist with notes on which dialogue choices to make
- Everything you need to know about Colony 6 Reconstruction
Here are some general tips to know as you get started on your adventure:
Don’t spend money on weapons or armor, spend it on Art Books instead.
You essentially never need to buy weapons or armor, as you'll get plenty dropped from enemies you can use. Chances are if you buy a weapon, you are going to simply find a better one in short time, so don’t waste your money on weapons. There is just one small exception to this rule - you might consider buying Anti-Mechon weapons when you reach Sword Valley about halfway through the game, which will allow non-Shulk characters to damage Mechon without Monado Enchant. Even then, Mechon enemies will often drop better anti-mechon weapons than you can buy, but shelling out for a basic weapon won’t hurt much. What you SHOULD seek out and spend money on are the Intermediate Art Books, which allow you to further power up your arts. Check out every shop for new Art Books, and this should be where most of your money goes. Once in your inventory, Art Books are used automatically when you enter the Arts menu. You don't need to 'use' it like an item. Later in the game, you’ll want money saved up to reconstruct Colony 6, as well.
Use Save/Load to respawn collectables and enemies. It can also help with treasure chest contents.
If you are exploring a zone to take out certain enemies or find certain collectables for a quest, you can use save/load to respawn enemies again right away. You can also save/load to respawn collectables for the area as well (the blue dots) to reappear, though they take about a minute to spawn after a load. Additionally, the contents of treasure chests are decided when they are opened, not when the chest is dropped by an enemy. That means if you are seeking out a certain drop from a certain enemy, you can save before opening the chest, and then reload if you don't get the item you want.
You can force weather change just by changing the time.
Some enemies or quests require the weather to be raining, or foggy, etc. The easiest way to attempt a change in the weather is to change the game clock, even if you are just picking the same time it already is. While weather changes are random, you can just keep setting time to whatever you want, and keep trying, and eventually, the weather will change.
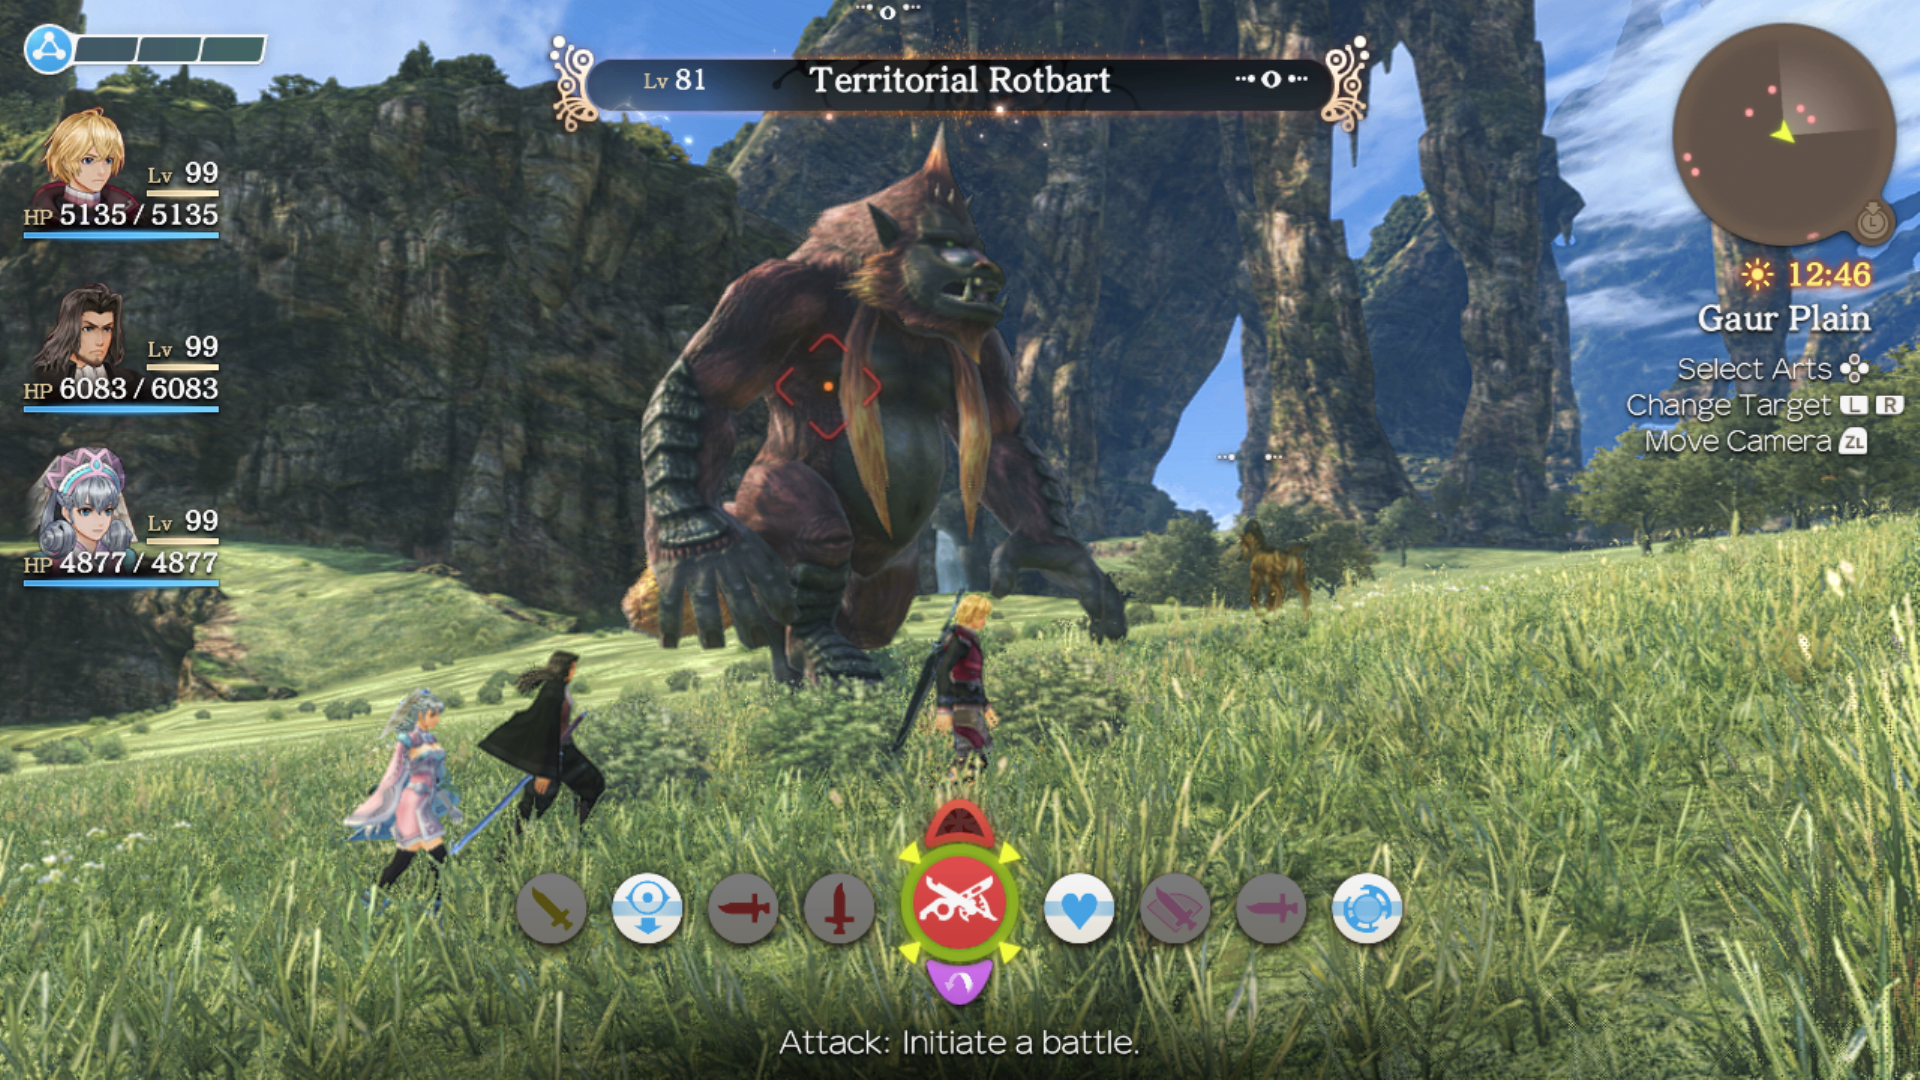
Kill as many Unique Monsters as you can.
Unique Monsters are the ones with special names; you’ll know when you come into contact with one when the rocking “You Will Know Our Names” battle theme kicks in. Killing each Unique Monster for the first time will give each playable character an Affinity Coin, which are needed to form Skill Links. It doesn’t matter who beats the monster or if the party isn’t full yet, every playable character will get an Affinity Coin. The more Affinity Coins you get, the more Skill Links you can make, and the stronger your characters can be. So, if you are trying to max out characters, you'll eventually want to kill every Unique Monster once. There are 157 in total. Note some Unique Monsters are missable, namely the ones in Sword Valley, Galahad Fortress, Mechonis Field, Central Factory, and Agniratha, so you’ll want to make sure you take these monsters out as early as you can. For more details, you can check out our Unique Monster Locations Guide.
You don't need to go around locations hugging walls in order to reveal the map in the menu.
It’s pretty common in games for the map to reveal itself as you explore a zone, so you might feel like you need to explore every inch of a zone in order to fully portray the game map. Don’t do this! All you need to do to fully reveal the map is to find every location, landmark, and secret area in a zone. One you've found every one of those, the map will fully reveal itself. Note some areas cannot be fully revealed upon first visit, like the Tephra Cave, Makna Forest, or Central Factory.
Talk to NPCs twice, at different times of day, and before/after completing quests.
Xenoblade Chronicles has a somewhat strange Affinity/Reputation system, which is centered on how the game handles NPCs. All of the game’s named NPCs are categorized into five separate locations: Colony 9 Area, Central Bionis, Upper Bionis, Hidden Village, and Colony 6 Area. The game keeps track of every named NPC and places them on the Affinity Chart, which can be easily found in the main menu. You might be wondering: why bother filling out the Affinity Chart? The short answer is: for quests. Many of the game’s quests require NPCs to be placed on the Affinity Chart first, which requires talking to them. Additionally, talking to NPCs can also create links between various NPCs on the chart, which also is needed for some quests. Even more so, talking to NPCs after completing quests can boost your Reputation within the category (one of the five listed above), and some quests require your Reputation to be at a certain level before they will appear.
What makes this a little trickier is the NPCs often have multiple things to say, and you might miss Reputation boosts or Affinity Links if you only talk to each named NPC only once. So, you actually generally want to talk to each NPC twice, because they often will have more to say and Reputation boosts are sometimes found in the second dialogue. Additionally, completing quests will often change what NPCs have to say and their affinity for other NPCs, so you'll want to talk to NPCs again after completing quests. Even more additionally, NPCs change what they have to say at different times of day, with some affinity boosts only available at specific times.
In short, talk to every named NPC twice, at multiple times, before and after completing quests. Named NPCs are shown as green dots on the mini-map. You don’t need to talk to unnamed NPCs.
Build Affinity between your party members.
Building Affinity between party members is very useful as it unlocks the capability to share Skills between members, which can really boost your party strength. Affinity is gained by having characters participate in Chain Attacks, helping out party members who are toppled/dazed/sleeping/etc in battle. However, if you only ever play as Shulk, that'll leave many characters with low affinity for everyone else. Try to have different characters in the party AND the lead to balance affinity gain just a bit. Affinity is also often gained while accepting and returning quests to whoever is in the lead party position at the time. It’s worth changing out who is in the lead completing quests, in order for other characters to get some free affinity. You can also build affinity between characters by having them donate gifts to each other.
Remember to power up your Arts and set Skill Links.
Arts are the active abilities you set to a character’s command bar, and Skills are the passive abilities that a character can learn. This is somewhat of a basic tip, but make sure you occasionally go into the game’s Art menu and spend AP to power up your character Arts. This will improve their effectiveness and often reduce their cooldown times, which is all the better of course. Additionally, as you do gain Affinity between characters, be sure to set Skill links between characters, as you will gain access to more passive abilities, potentially strengthening your characters, improving how much EXP/AP/SP you get, or even what armor you can wear.