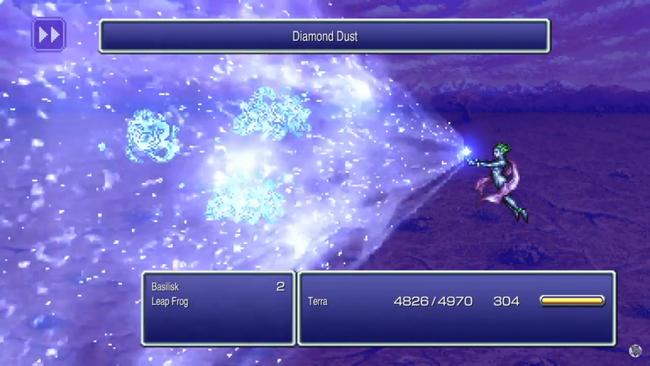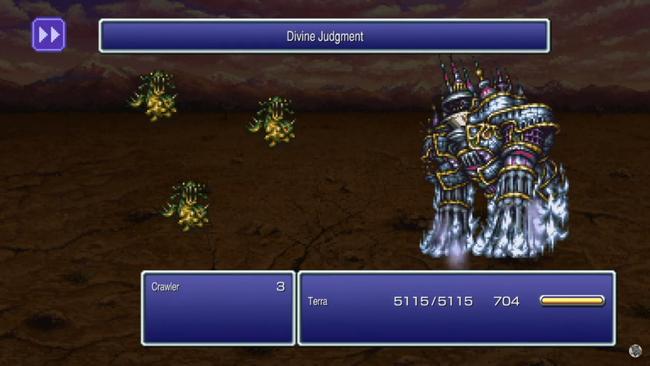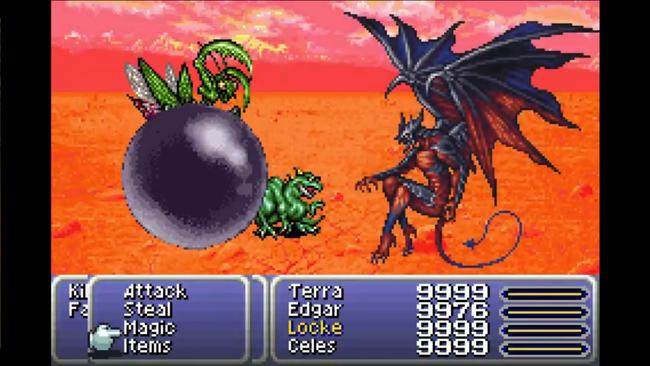
Final Fantasy VI Espers guide: Esper locations, skills & unlocks
Unique to Final Fantasy VI, much of your party is incapable of using magic. The only exception comes when you equip an Esper, which is FF6's official name for summons, eidolons, GFs, Eikons - whatever you want to call them.
Through Magicite, Espers allow your party to use and eventually learn Magic that can be used both inside and outside of battle, and are of course a core tenet of the game’s story.
While quite a few Espers will come into your possession naturally through the story, there's also a fair few of the FF6 Summons that are optional. There are also many that you won’t be able to find until the latter half of the game in the World of Ruin.
While there are multiple versions of Final Fantasy VI, this guide should be accurate to almost all of them, covering even some version-exclusive FF6 Espers. It's also definitely suitable for the new FF6 Pixel Remaster.

- World of Balance Espers
- Zozo: Ramuh, Kirin, Siren, & Cait Sith
- Magitek Research Facility: Ifrit, Shiva, Unicorn, Maduin, & Catoblepas
- Jidoor: Golem & Zona Seeker
- Tzen: Seraph
- World of Ruin Espers
- Solitary Island: Quetzalli
- Mobliz: Fenrir
- Narshe: Valigarmanda
- Yeti's Cave: Midgardsormr
- Owzer's Mansion: Lakshmi (Starlet)
- Doma: Alexander
- Phoenix Cave: Phoenix
- Ancient Castle: Odin, Raiden
- World Map: Bahamut
- Dragons: Crusader
- Narshe: Ragnarok
- Version-Exclusive Espers
World of Balance Espers
All of these Espers are either obtained during the World of Balance, or specifically can be obtained during the World of Balance.
For some of them, such as Seraphim, you might benefit from revisiting their location later during the World of Ruin, however. We detail much of this, such as optimum times to do this, in our full FF6 Walkthrough.
Obtained at the Town of Zozo (Automatic):
- Ramuh will teach you Thunder, Thundara and Poison; its summon effect is a 50 power Lightning-element attack to all enemies. 25 MP cost.
- Kirin will teach you Cure, Cura, Regen, Poisona and Libra; its summon effect will grant Regen to all party members. 18 MP cost.
- Siren will teach you Sleep, Silence, Slow and Fire; its summon effect inflicts Silence on all enemies. 16 MP cost.
- Cait Sith will teach you Confuse, Imp and Float; its summon effect inflicts Confuse on all enemies. 28 MP cost.
- In older versions of FF6, this Esper is called 'Stray'.
Obtained at the Magitek Research Facility (Automatic)
- Ifrit will teach you Fire, Fira and Drain; its summon effect will deal 51 power Fire damage to all enemies. 26 MP cost.
- Shiva will teach you Blizzard, Blizzara, Rasp, Osmose and Cure; its summon effect will deal 52 power Ice-element damage to all enemies. 27 MP cost.
- Unicorn will teach you Cura, Esuna, Dispel, Protect and Shell; its summon effect will remove status effects from the whole party. 30 MP cost.
- Maduin will teach you Fira, Blizzara and Thundara; its summon effect will deal 55 power non-elemental damage to all enemies. 44 MP cost.
- Catoblepas will teach you Bio, Break and Death; its summon effect will Petrify any enemy not immune. 45 MP cost.
- In older versions of FF6, Catoblepas is called 'Shoat'.
- Phantom will teach you Berserk, Vanish and Gravity; its summon effect will grant Invisible to all party members. 38 MP cost.
- Carbuncle will teach you Reflect, Haste, Shell, Protect and Teleport; its summon effect will grant Reflect to all party members. 10 MP cost.
- In some versions of FF6, this will be spelled 'Carbunkl'.
- Bismarck will teach you Fire, Blizzard, Thunder and Raise; its summon effect will deal 58 power Water-element damage to all enemies. 50 MP cost.
Obtained at the Jidoor Auction House
Both Golem and Zona Seeker have a chance of appearing; winning one increases the odds of the other appearing.
- Golem will cost 20,000 Gil
- Golem will teach you Protect, Stop and Cura; its summon effect, Earthen Wall, protects up to the caster’s HP in damage for the entire party. 33 MP cost.
- Zona Seeker will cost 10,000 Gil
- Zona Seeker will teach you Rasp, Osmose and Shell; its summon effect, Magic Shield, grants Shell to all party members. 30 MP cost.
- In some versions of FF6, this Esper's name is instead 'Zoneseek'.
Sold in Tzen
- Seraph is sold by a man hidden in the trees for 3,000 Gil anytime after the Magitek Research Facility; returning during the World of Ruin will have him sell the same Magicite for a measly 10 Gil
- Seraph will teach you Raise, Cure, Cura, Regen and Esuna; its summon effect is a weak heal to your entire party. 40 MP cost.
- In order FF6 releases, this summon is called 'Sraphim'.
World of Ruin Espers

Naturally, these summons are only available after you progress the story to the World of Ruin.
Solitary Island (After obtaining the Falcon)
- You can find Quetzalli on Solitary Island - where Celes starts her journey in the World of Ruin - after you’ve received the Airship, the Falcon.
- Quetzalli will teach you Haste, Slow, Hastega, Slowga and Float; its summon effect will cause all your party members to use Jump. 61 MP cost.
- In older FF6 versions, Quetzalli is instead called 'Palidor'.
After Defeating Phunbaba
- Fenrir is obtained after defeating Phunbaba in Mobliz.
- Fenrir will teach you Teleport, Banish and Stop; its summon effect will grant Image to all party members. 70 MP cost.
After Defeating Valgarmanda
- Valigarmanda is received as part of the recruitment process for Umaro; simply return to the frozen Esper near Narshe from the start of the game. Defeat it and its Magicite is yours
- Valigarmanda will teach you Firaga, Blizzaga and Thundaga; its summon effect will deal 110 power Fire/Ice/Lightning element damage to all enemies. 68 MP cost.
- Dpeending on the version you play, Valigarmanda may instead be called 'Tritoch'.
In Yeti’s Cave
- Also part of Umaro’s recruitment (well, sort of) you can find Midgardsormr in the cave where you eventually recruit Umaro.
- Midgarsormr will teach you Quake, Graviga and Tornado; its summon effect will deal 93 power Earth-element damage to all enemies. 40 MP cost.
- In older releases, the name of this esper is instead 'Terrato'.
After Defeating Chadarnook
- Upon defeating Chadarnook during Relm’s re-recruitment quest, you’ll gain the Lakshmi Magicite.
- Lakshmi will teach you Cure, Cura, Curaga, Regen and Esuna; its summon effect is a 34 power heal to the whole party. 74 MP cost.
- In the SNES original, Lakshmi is called 'Starlet'.
Doma Throne Room
- After you’ve completed Cyan’s quest, you can find Alexander within Doma’s throne room.
- Alexander will teach you Holy, Shell, Protect, Dispel and Esuna; its summon effect deals 114 power Holy-element damage to all enemies. 90 MP cost.
Phoenix Cave
- As a reward for completing Locke’s story, you’ll receive the Phoenix Magicite. This involves going to the Phoenix Cave, which is found north of Tzen.
- Phoenix will teach you Raise, Arise, Reraise, Curaga and Firaga; its summon effect will revive all party members with 25% max HP. 110 MP cost.
Odin at the Ancient Castle
There are two Espers you can obtain in the Ancient Castle; Odin and Raiden. Though technically Raiden replaces Odin.
- Examine the statue in the Ancient Castle’s throne room to obtain Odin.
- Odin will teach you Meteor; its summon effect has a chance of instantly killing any enemy on the field. 70 MP cost.
- To upgrade Odin to Raiden, inspect the Queen’s statue in the same room that you found Odin.
- Raiden will teach you Quick; its summon effect is the same as Odin but with a higher hit-rate. 80 MP cost.
After Defeating Deathgaze
At any time after unlocking the Falcon, you can run into Deathgaze on a random title in the air of the world map. Defeating it will grant you the Bahamut Magicite.
- To expedite running into Deathgaze, point the Falcon North and then very slightly off to an angle. Proceed to rush ahead; eventually you’ll run into the tile that Deathgaze is on.
- Bahamut will teach you Flare; its summon effect is a 92 power, defense-ignoring, non-elemental attack to all enemies.
After Defeating all Eight Legendary Dragons
Across the World of Ruin you can find 8 Elemental Dragons; defeating each of them will drop a useful item, but defeating all 8 will grant you the Crusader Magicite.
- The Red Dragon can be found in the Phoenix Cave
- The Ice Dragon can be found at the Narshe Cliffs
- The Blue Dragon can be found in the Ancient Castle
- The Earth Dragon can be found on the Opera House’s Stage
- The Gold Dragon can be found at Kefka’s Tower
- The Storm Dragon can be found at Mt. Zozo
- The Skull Dragon can be found at Kefka’s Tower
- The Holy Dragon can be found at the Cultist’s Tower
Once again, you’ll need to kill all 8 dragons to get the Crusader Esper.
Crusader will teach you Meltdown and Meteor; its summon effect is a 190 power non-elemental attack to all enemies and allies alike. 96 MP cost.
Narshe Weapon Shop
- You’ll be given the option to either take Ragnarok as a Sword or an Esper; to get the Esper, naturally, you’ll have to choose the latter.
- This should be a tough choice, however, as the Ragnarok weapon can be bet in the FF6 Coliseum mini-game in order to obtain Lightbringer, the very best weapon in FF6. Ultima is amazing, too, however - so it's a tough call between the two and a truly personal preference.
- Ragnarok will teach you Ultima; its summon effect will attempt to turn a monster into a random item from its morph list. This ignores KO protection. 6 MP cost.
Version-Exclusive Espers

The following Espers and Magicite were added in the Game Boy Advance versions of FF6. They are present in all subsequent versions, such as the 2014 release on PC and Mobile, but are not present in the 2020/2023 Pixel Remaster version of the game. All GBA content has been removed from the Pixel Remaster releases.
- Leviathan can be obtained as part of a new side-quest.
- First, talk to the man near the South Figaro entrance. He'll talk of a mysterious create on the seas.
- Next, go to Nikeah and choose to ride the ferry. Leviathan will attack during the journey. This battle also serves as an extra chance to get Mog's Water Harmony, if you missed it earlier on.
- Beat Leviathan in battle to get its Magicite.
- Leviathan will teach you Flood, while its summon effect is a Water-element attack that hits all enemies for 70MP.
- Gilgamesh returns from FF5. To get him, simply head to the FF6 Coliseum and choose to bet Excalipoor. If your combatant beats Gilgamesh in the battle, you'll then get his Magicite.
- Gilgamesh's summon effect does a random attack with a random weapon, with the effects varying. He also gives you Quick and Valor.
- Cactuar can be unlocked by beaitng a Gigantuar boss, much like its summon appearance in FF8.
- To find the Gigantuar, go to Maranda's nearby desert and then walk around getting in random encounters. Kill ten Cactuar, and then it'll appear.
- Cactuar gives you Warp, Vanish, and Hastega magic. Its summon effect casts an attack that deals either 1000 or 9,999 damage to all enemies for 50 MP.
- Diabolos returns, its appearance here its next since its role as an FF8 GF. To unlock it, you must venture into the Dragon's Den dungeon and beat the Kaiser Dragon super-boss.
- Diabolos gives you Graviga and Gravija spells, while its summon ability reduces all enemy HP to one sixteenth of its total, and also inflicts sap. It costs 150 MP.