
Final Fantasy VII Rebirth Side Quests: Spoiler-Free Solutions to Every Side Quest in Every Region
Alongside a series of wild story beats and an engrossing expansion of the original game’s story, Final Fantasy VII Rebirth’s massive open world is full to the brim with things to do.
Between optional minigames and an almost overwhelming array of World Intel activities managed by Chadley, there’s much and more to do. But some of the game’s most engaging activities are its side quests, more narrative-focused, multi-stage detours that offer unique mechanics, good rewards, and excellent character moments for Cloud and the crew.
All these side quests are well worth taking up, so we’ve come up with a quick guide to every side quest in Final Fantasy VII Rebirth. We’ll cover every side quest for every region, including how to unlock them, and spoiler-free solutions to their respective puzzles and challenges. If you'd like detailed info on the gear and Materia you can earn from these quests, check out our full list of Weapons, Armor, Accessories, and Materia.
How to Use This Guide: Click the links below to get to the notes for a specific world region. There you'll see a linked list of side quests available. Not every side quest will be unlocked at first, but you can see whatever's available by visiting each region To avoid spoilers,each quest's solutions will focus mainly on essential details and instructions.
- Grasslands Side Quests
- Junon Side Quests
- Corel Side Quests
- Gongaga Side Quests
- Cosmo Canyon Side Quests
- Nibel Side Quests
- Meridian Ocean Side Quests
About Hard Mode: The game incentivizes revisiting chapters and challenges and replaying them in Hard Mode completing the Main Scenario. This also goes for some side quests, as the threats and rewards available will be updated when visiting them in Hard Mode. Hard Mode side quests are the only way to unlock certain rewards, like latter-volume Manuscripts for the characters.
A note on Protorelic Quests: The Protorelic quests introduced in each region are substantial enough to be called a major side quest chain on their own, but for the purposes of this guide, we're considering them separate from the community board-dispensed side quests listed below.
Grasslands Side Quests
The Grasslands outside Kalm are the first open area the party visits, and many of the game's side quests are simpler and designed to introduce core mechanics or world activities to the player.
- Flowers from the Hill
- Lifeline in Peril
- A Rare Card Lost
- Livestock's Bane
- Where the Wind Blows
- Hustle and Grind
Flowers from the Hill
- You'll unlock this side quest after visiting Bill's Chocobo Ranch and speaking to Chloe. She'll want you to collect flowers on Wildflower Plateau.
- When you arrive there, you'll need to fight several Mandragoras. These are upgraded to Mandrakes in Hard Mode.
- Once the fight's over, move to three of the available flower fields to collect flowers. Aerith will comment on your choices.
- The ideal picks are Red Gerberas, Yellow Calendulas, and White Daisies.
- Return to Chloe to complete the quest.
- You'll receive Telluric Scriptures Vol. I (this is Telluric Scriptures Vol. VII in Hard Mode), and a boost to Cloud's relationship with Aerith.
Lifeline in Peril
- After the road back to Kalm unlocks from following the Main Scenario quest, you'll be able to visit the message board there and take a quest from the Mayor.
- You'll need to visit the Maintenance Warehouse location, in the dry area southwest of the town entrance.
- There you'll meet Kyrie and be dragooned into a fetch quest.
- Gather four items scattered around marked locations in the area.
- After returning to Kyrie with the supplies, visit the work site and fight a Noxicap.
- Completing the quest will earn you 3,000 Gil and a boost to Barret's friendship bond. On Hard Mode, youll earn Sharpshooter's Companion Vol. VII.
A Rare Card Lost
- Bartender Vash in Kalm's bar (the same bar you meet Barret in during the introduction to dialog choices earlier) needs to recover a card, but first he'll test you with a round of Queen's Blood.
- Incidentally, check out our full guide to every dialog choice in the game and how it impacts your bonds.
- After beating Vash, you'll need to challenge and defeat Virgil.
- Virgil will send you to Thorin, the card vendor outside town.
- Challenge and defeat Thorin in Queen's Blood, then return to Vash.
- He'll give you Queen's Blood Card #107: Chocobo & Moogle, and you'll get a boost to your bond with Tifa.
Livestock's Bane
- You'll meet your quest giver at Oliver's Farm, near the Bill's Ranch.
- Red XIII will assist you as you visit the crime scene.
- You'll need to mount your chocobo to get the scent, then follow the trail to the coast.
- There you'll fight and defeat the fiend White Terror.
- For completing the quest, you'll earn an Owl Bracer and a bond boost with Red XIII. On Hard Mode, you'll also gain Tale of the Red Warrior Vol. VII.
Where the Wind Blows
- This quest unlocks after you've completed Livestock's Bane.
- You'll need to speak with an employee at the Kalm Inn.
- This can be Broden, or another staffer, depending on your in-game progress.
- You'll be tasked with visiting the Windmill Settlement to speak with Mildred.
- She'll ask for a Windmill Gear. You'll need to transmute it using Item Transmutation.
- Getting the recipe for a Windmill Gear and the materials for it will require some World Intel completions.
- You'll have to do an Excavation Intel node to unlock the recipe, and defeat Quetzalcoatl, the local Classified Fiend Hunt, for the materials. Here's a quest-specific guide to hunting the Quetzalcoatl and transmuting what you need.
- Speak to Mildred and use the gear to activate the windmill.
- The windmill drops a Cleansing Materia near its base, so search for it when you regain control.
- Return to the quest giver for a Whistlewind Scarf and a boost to Red XIII's bond.
Hustle and Grind
- This quest only unlocks in Chapter 12.
- Return to Kalm and speak to Beck.
- You'll be tasked with killing a pack of fiends on the highway outside the town.
- Following the scenes, you'll fight another group, this time made up of thugs and Devil Riders. Make sure to Assess them, as this is the first time they appear in-game.
- Defeating your foes will complete the quest, improve your relationship with Barret, and earn you Sharpshooter's Companion Vol. VI (this is Vol. XIII in Hard Mode).
Junon Side Quests
The second playable region of the game, Junon features the wall-climbing Mountain Chocobo and some side quests with variable outcomes.
- Stuck in a Rut
- When Words Won't Do
- The Hardest Sell
- Dreaming of Blue Skies
- Calling All Frogs
- Tides of War and Worry
- Beneath Still Waters
Stuck in a Rut
- This side quest can be found at Gabe's Ranch.
- If you haven't accomplished the local Chocobo Intel node, you'll be asked to clear that first.
- Once you've captured and tamed Belle, a wall-climbing Mountain Chocobo, you can proceed with the quest.
- You'll need to find Wainright's Hut, which is only accessible by climbing one of Junon's many marked vertical cliffs. On the way up, you'll also notice Expedition Intel and Divine Intel nodes, so you can tackle those, too.
- You'll meet Wainwright, who will give you a handwritten map with the locations of three pieces of Dried Driftwood.
- The first piece is north of Chocobo Intel: Birds of the Mountain.
- The second piece is located east of the entrance to Junon fortress.
- The third piece is north of the Remnawave tower.
- Return the pieces to Wainright, then get back to Gabe at the ranch.
- You'll earn 10x Condor Cedar, 10x Mellow Oak, a Queensguard Bangle, and a boost to your bond with Aerith. Travel between Junon and the the Grasslands will also be unlocked, in case you need to return to that region.
When Words Won't Do
- You'll find this quest with Rhonda, Under Junon's unofficial chief.
- It's a simple escort job. All you have to do is follow Rhonda's dog Salmon as he makes his way to the Crow's Nest settlement far to the east.
- You can follow Salmon on foot or via chocobo.
- You'll get into a few small fights on the way, but conclude the quest with a battle against a pair of Sandstorm Drakes.
- Defeating them and escorting Salmon to his destination will earn you Mythril Ore, a Ruby, and Sharpshooter's Companion Vol. I.
- In Hard Mode, you'll also earn Sharpshooter's Companion Vol. VIII.
- You'll also get a boost to Red XIII's friendship bond.
The Hardest Sell
- You'll need to complete When Words Won't Do first to take this quest, which starts with Toby at the Crow's Nest.
- Head to the Abandoned Lighthouse to the far south of the Crow's Nest.
- You'll meet Kyrie there, and enter a multi-wave battle.
- The final wave pits you against two White Mousse enemies.
- Clearing the battle earns you the "Merc" Chocobo Gear Set.
- On Hard Mode you'll also get Tale of the Red Warrior Vol. IX.
Dreaming of Blue Skies
- This quest unlocks after completing When Words Won't Do. It can be unlocked at the Crow's Nest notice board, and starts when you speak to Colin at Condor Hill.
- You'll need to find a cow at the marked Hunting Grounds. Track down the cow using a Chocobo.
- You'll get into a fight or two along the way. After tracking the scent, you'll have to defeat a Mystic Dragon.
- After winning, you'll need to choose your food source. You'll have to choose from the cow, the fallen monster, or some nearby greens.
- You want to obtain bovine meat from the cow for the best result.
- Returning to Colin will earn you the Well-Composed Condor Photograph and a Warding Materia, as well as a Tifa friendship bonus.
- Giving the Monster Flesh earns you the Nice Condor Photograph.
- Peculiar Greens earn you the Blurry Condor Photograph.
- On Hard Mode, you'll earn Way of the First Vol. VII, too.
Calling All Frogs
- This quest is unlocked by speaking to Finn, a youth who plays by Under Junon's eastern beachfront (near where you met Priscilla).
- Finn will drag you into a fight against a Capparwire and several other enemies. The twist is that the whole party will be affected by the Toad status effect, changing your move set.
- Use the Leapfrog ability to get the drop on your foes.
- In Hard Mode, completing the fight earns you Way of the Fist Vol. IX.
- Completing the fight unlocks the Jumpfrog - Whirligig Whack minigame. As Frogs, you'll be placed on a rotating obstacle course and try to outlast the others without being knocked off.
- Scoring the lowest rank in the minigame will complete the quest and deepen Tifa's relationship with you.
- Other scoring ranks also include 3 Enfeeblement Rings.
Tides of War and Worry
- This quest unlocks during Chapter 12.
- You'll need to speak with Priscilla in Under Junon.
- This quest unlocks the Dolphin Show minigame, recreating the sequence you used to first access Junon town.
- Simply completing a rank of the game is enough to clear the quest and boost your bond with Tifa, but you can earn the following prizes from good performance:
- Rank 1: Elixir
- Rank 2: Cosmotite Ore
- Rank 3: 3x Dark Matter
Beneath Still Waters
- This Chapter 12 quest unlocks after completing Tides of War and Worry.
- You'll speak to the Midgar 7th Infantry in Junon's southern area.
- Fight the Hell Rider II and drive it off, then track its scent with your Chocobo.
- After tracking down the fiend, it'll leave you with a couple of large birds to kill, after which you'll need to track it again.
- A last fight with the Hell Rider II will end the main portion of the quest.
- In Hard Mode, this fight also drops Telluric Scriptures Vol. XII.
- Speak with the 7th's commander for some background information, Telluric Scriptures Vol. VI, and a bond boost with Aerith.
Corel Side Quests
Corel is by far the largest explorable region in the game, and can be frustrating for completionists, as you can't clear every side quest and intel activity initially available at first. Essentially, you'll only gain access to Corel's quests in phases across Chapters 6, 9, and 12, so be patient and know that you won't be able to get everything done here immediately.
- The Saga of the Seaside Inn
- Rendezvous in Costa del Sol
- Bodybuilders in a Bind
- Of Robed Men and Ransoms
- Missing: Mr. Birdie
- Gold Cup or Bust
- Trouble in Paradise
- Sand and Circuses
- Can't Stop Won't Stop
The Saga of the Seaside Inn
- This quest is one of the longest in the game, and can't be completed entirely until you're in Chapter 9 and have access to Southern Corel.
- You'll need to speak to Johnny at his Seaside Inn.
- Head to Costa Falls and speak to Johnny once more. He'll task you with finding 8 bundles of materials.
- Each bundle is placed near a zip line platform found in the stretch between between Costa del Sol and Mt. Nibel.
- If you need detailed help, check out our full guide to where to find each of the ziplines.
- Once you've gathered the materials, return to Johnny. You'll be sent to the Excavation Intel 1 location (the Valve Factory Ruins).
- You'll need to do the activity here if you haven't yet, and unlock the Boiler Valve Part receipe in Item Transmutation.
- If you've already done the activity, then you can simply transmute the Boiler Valve Part and hand it to Johnny to instantly clear the quest stage.
- Your last task will be to Steal the Crown of the Tonberry King.
- This stage can only be accomplished in Chapter 9 and beyond, when you've earned the buggy and gained access to Southern Corel.
- Refer to this guide to find out how to get access to a Pristine Crown.
- Once you've gotten the crown, report back to Johnny to clear the quest and receive a bond boost with Yuffie.
- You'll receive the Queen's Blood Card #134: J-Squad.
- Johnny's Seaside Inn will become a fast travel point.
- The Tonberry King's Crown will be displayed at the front desk and reflect which version of the crown you acquired.
- The inn itself will become a gallery to display your Collector's Items.
- Johnny's Secret Chest will become accessible, but will remain locked until you obtain all 88 Treasure Trove items. Check out our Treasure Trove Guide to find all of them.
Rendezvous in Costa del Sol
- You'll get this quest from a trio of girls at Costa del Sol's beach area, after you've had your fun in the sun with the party.
- You'll be tasked with playing new modes for some of the local minigames, including Pirate Rampage and Run Wild.
- Note that the Rank 3 prize for the scored events only unlocks after the quest is complete, so don't feel too pressured to maximize your score, as you'll need to play them again to qualify for the reward anyway.
- Minigame: Pirate Rampage: Ghost Ship - This new map demands accuracy as well as speed, as you take a score penalty when you miss.
- Rank 1: 2x Mist Hi-Potion
- Rank 2: Abyssal Bangle
- Rank 3: Wind Materia Earrings
- Run Wild - Time Trial - This new one removes competitors and instead forces you to try to score goals in order and over obstacles.
- Rank 1: 2x Mixed Hi-Potion
- Rank 2: Oldebeast Bracelet
- Rank 3: Platinum Earrings
- Minigame: Pirate Rampage: Ghost Ship - This new map demands accuracy as well as speed, as you take a score penalty when you miss.
- After the minigames, you'll be made to visit the stables for a chocobo ride to Clamshell Beach.
- There you'll fight Barnaclaws.
- On Hard Mode this earns you Telluric Scriptures Vol. X.
- You'll need to find a shell to submit using the Chocobo scent mechanic. Occasionally you'll fight more Barnaclaws.
- For the best result, keep looking until you uncover a Gigantopod Shell.
- You can also uncover and submit a Scallop Shell or Conch Shell, but these will have a lesser completion result.
- There you'll fight Barnaclaws.
- Finally, you can turn in the quest back at the beach for The Art of Swordplay Vol. II. At this point Rank 3 for the new minigame modes will unlock, so you can try them again for the above-listed prizes.
Bodybuilders in a Bind
- This quest unlocks after completing Rendezvous in Costa del Sol.
- Visit the Training Gym west of Costa del Sol and meet none other than Jules and the other fitness freaks from Final Fantasy VII Remake.
- You'll get a dialog choice here, but to our knowledge it doesn't have any bond effect.
- You'll be asked to destroy four packs of fiends roaming around the area.
- After the hunt, you'll unlock a new minigame!
- Minigame: Crunch-Off
- Much like Wall Market's pull-up challenge, Crunch-Off is a race to press buttons (shoulder buttons) with precise timing to do as many crunches as possible.
- Your first match is against fitness freak newbie Amina. Clearing this is enough to clear the quest and get a relationship boost with Tifa, but you can keep playing to compete against the others for prizes.
- Basic (Amina): 3x Celeris
- Rank 1 (Ronnie): Supernatural Wristguards
- Rank 2 (Jay): Chakra Materia
- Rank 3 (Jules): Champion Belt
Of Robed Men and Ransoms
- This quest unlocks after you've scaled Mt. Corel and visited North Corel. Speak to Dr. Sheiran in the clinic.
- You'll be given a Ransom Note, a UV-A Flashlight, and be given a dialog choice.
- To our knowledge the choice has no bond effect.
- Follow Red XIII as he tracks down the missing Black Robe through Southern Corel.
- Along the way you'll fight a Landworm, a Chimera, and a Sandspitter.
- Eventually, you'll find the South Corel Mine, and need to use the UV-A Flashlight to follow the Robe's footprints.
- Inside, you'll find chests with 2,000 Gil, an Amethyst Collar weapon for Red XIII, and an Elixir.
- You'll meet Elie and Barry, who summon a Dark Claw for a miniboss fight. The Dark Claw does a lot of melee damage, so block its attacks and dodge its Reaper Claws to pressure it.
- On Hard Mode, you'll earn Tale of the Red Warrior Vol. X.
- On returning to town, you'll earn Tale of the Red Warrior Vol. II and a bond boost with Red XIII.
Missing: Mr. Birdie
- This quest unlocks in Chapter 9 in North Corel.
- Speak to the kids near the gate.
- At the dialog choice, choose "Someone's a softie" for a relationship boost with Baret.
- If you haven't done so yet, you'll need to locate Excavation Intel 2: Deserted Village to unlock an Item Transmutation recipe.
- Once you find the Bird Trap recipe, transmute 3 Bird Traps.
- Head to the marked locations to plant the traps.
- You'll have to check the traps. At each point you'll fight some fiends, with the Gigant Bomb as last.
- On Hard Mode, you'll earn the Sharpshooter's Companion Vol. X.
- When you report back, you'll earn the Level Boost Materia and a bond boost with Barret.
Gold Cup or Bust
- This quest unlocks in Chapter 12.
- You'lll have to have completed certain Chocobo-related side quests, like Esoteric Secrets of the Elders in Nibel. If you need help with Chocobo Racing in general, try our Chocobo Racing guide for tips and info on what all the gear pieces do.
- Meet Billy at Chocobo Square in the Gold Saucer.
- Grade I Chocobo Races will be unlocked from here.
- You will need to have unlocked Gold Rank from completing Silver Rank (Grade II) races to qualify, though.
- You'll need to complete three races for points, with the highest total winning.
- You'll be able to restart any leg of the race from the menu if you have a bad run.
- When you win, you'll earn the Chocoking's Cape, 200 GP, and a bond boost with Tifa.
Trouble in Paradise
- This quest unlocks in Chapter 12.
- You need to have cleared other Kyrie-related side quests, like Lifeline in Peril and The Hardest Sell.
- Talk to Mayor Kapono and then Kyrie.
- You'll need to transmute some Legendary Bait.
- To get the materials, you'll need to re-fight the Classified Fiends in Gongaga (Great Malboro) and Cosmo Canyon (Jabberwock).
- When you transmute the bait, head to the Off-Limits Beach near Costa del Sol.
- Use the bait on the buoy, then fight the Sea Devils that emerge from the water.
- On Hard Mode, victory earns you Secrets of the Ninja Vol. XIII.
- At the dialog choice, pick "Passed off my work as yours" for a better relationship boost.
- On reporting back to the Mayor, you'll earn Secrets of the Ninja Vol. VI and a relationship boost with Yuffie.
Sand and Circuses
- This quest unlocks in Chapter 12, after completing Trouble in Paradise.
- Meet Leslie near the Beast Battleground Pit in the Dustbowl.
- You can unlock a Special Tournament in the Beast Battleground.
- The 5 human members of the party (Cait Sith and Red XIII are banned) will need to fight one-on-one against fiends.
- Yuffie vs. Valrons
- Use Blindside to tie them up.
- Aerith vs. Bombs
- Equip Fire and Elemental Materia in your armor slot to become immune to their damage.
- Barret vs. Zemzeletts
- Use Bonus Rounds and Bravery to melt them.
- Tifa vs. Modded Sweeper
- Standard Thunder spells or Lightning and Elemental Materia in weapon slots will make quick work of the foe.
- Cloud vs. Joker
- Evade the Joker's Soul Sucker to pressure it and then wallop it with abilities.
- This fight drops Way of the Fist Vol. XIV on Hard Mode.
- Completing the tournament earns you Way of the Fist Vol. VI and boosts your bond with Tifa.
Can't Stop Won't Stop
- This quest unlocks in Chapter 12, after completing your second Main Scenario visit to the Gold Saucer.
- This quest may require the completion of a number of other side quests in different regions, so if you can't access it, try doing other quests first.
- The quest itself unlocks on Costa's notice board, but the quest NPC is located in the Gold Saucer's entrance hall.
- You'll need to beat the iconic Shinra Middle Manager at a series of 6 minigames.
- A new target score for the Gold Saucer's minigames unlocks, just a bit higher than the standing Rank 3 score.
- Unfortunately, even if you've already gotten a higher score than the quest's target, you'll still have to perform again. Good luck!
- Galactic Saviors - Score 50,000 Points
- Musclehead Colosseum - A 5-round battle against larger-than-average groups of monsters.
- Round 1: Gargantuar and Gigantaur
- Round 2: 10x Tonberries
- Round 3: Ember Zu
- Round 4: Gigantoad and 2x Jokers
- Round 5: Ironclad
- On Hard Mode clearing this battle earns Fortunes Untold Vol. VII
- Chocobo Racing - A single race that awards the Mecha Chocobo gear set.
- G-Bike - Score 32,000 points.
- Remember that you can slow down a little bit to hit score panels. Try to group enemies together to get them all in a single AOE attack.
- Queen's Blood - A single match, rewarding Card #142: Ultimate Party Animal.
- 3D Brawler - Defeat the Shinra Middle Manager. He's not hard to read, but if you're having trouble, refer to our 3D Brawler Cheese Guide for some tips.
- A new target score for the Gold Saucer's minigames unlocks, just a bit higher than the standing Rank 3 score.
- Defeating the Ultimate Party Animal earns you the Gambler Materia, and unlocks the Trophy "My Job Here is Done."
- The quest also unlocks the final 3D Brawler opponent: Sephiroth himself.
- Beating Seph here earns you a Ribbon, 400 GP, and unlocks a Masamune Replica at the GP exchange. You'll also earn the Trophy "Polygonal Prizefighter."
- The quest also unlocks the final 3D Brawler opponent: Sephiroth himself.
Gongaga Side Quests

Gongaga's thick jungles make it a bit of a chore to navigate, and some of the quests rely on being able to make one's way around the forest without much aid.
- In Pursuit of Perfection
- Teach Me, Great Warrior
- O Chicken, Where Art Thou
- The Spice of Life
- Escape from Endless Writer's Block
- Woodland Vigil
In Pursuit of Perfection
- You'll likely encounter this side quest as you trek through Gongaga's jungles on the way to the village proper, as it's located in the house of Izo, a weaponsmith who lives nearby.
- Izo will take an interest in Barret's gun arm and give you a key to his shack.
- Enter the shack to find a stack of photos.
- You'll need to match the photos to the perspective of various nearby landmarks and find your destination.
- You'll head due west, and after a fight with some fiends, need to pick up 8 pieces of Draconite Ore scattered around the area.
- Once you return to Izo with the ore in hand, you'll receive Barret's Fafnir Rifle weapon, along with a relationship boost.
Teach Me, Great Warrior
- This quest can be started by speaking with Sotetsu, a Gongaga Youth Coalition fighter practicing outside the village.
- You'll follow him through a series of waypoints and get into fights. These fights will have conditions akin to a Fiend Intel hunt.
- Note that if you're doing this quest late in the game and are heavily overleveled, you may end up killing the fiends too quickly, before pressuring or staggering them or allowing Sotetsu to get a hit in.
- If that happens to you, equip a party member with an Enfeeblement Ring to temporarily turn them into a frog and deliberately lower your damage output.
- You can also flip the combat difficulty to "Dynamic", which will raise enemy stats to match yours.
- Note that if you're doing this quest late in the game and are heavily overleveled, you may end up killing the fiends too quickly, before pressuring or staggering them or allowing Sotetsu to get a hit in.
- After a few fights, you'll take a break with Sotetsu, then fight a pair of Mastodon.
- Clearing this fight earns you Secrets of the Ninja Vol. IX on Hard Mode.
- When you return to the village, you'll get Secrets of the Ninja Vol. IV, and a bond boost with Yuffie.
O Chicken, Where Art Thou
- This side quest unlocks after Main Scenario events in Gongaga.
- Speak to Kazhra, who will ask you to wrangle her wayward chickens using a strange little Clanger (a can on a string). Red XIII will assist.
- The game explains how to use the Clanger, but you'll basically have to put it down and slowly drag it in the direction you want the chicken to go, baiting it into following the can.
- You'll do this three very slow times and then Red will report that the last chicken is outside of town.
- Just as you start to lure the last chicken for what promises to be an extremely slow walk back into town, a Levridon interrupts and you'll have a fight.
- This earns you Tale of the Red Warrior Vol. XI in Hard Mode.
- Clearing the fight causes the chicken to return on its own.
- Return to Kazhra for a Lucky Amulet reward, a delicious meal, and an enhanced bond with Red XIII.
The Spice of Life
- Help Cissnei perfect her stew after completing Teach Me, Great Warrior.
- First you'll need to follow Melon, a good boy, to Torgan's farm.
- An area on the way that's accessible by Green Chocobo will yield a Warding Materia.
- Torgan lets his veggies go, and gives you sketches of the Gongaga Rock Salt you'll need.
- Follow Melon again and fight your way through some enemy groups.
- You should earn Telluric Scriptures Vol. XI on Hard Mode.
- At the salt deposit, use Torgan's note to identify which type of Rock Salt you need. It's the light pink, angular deposit that gives you Pure Gongaga Rock Salt.
- You'll also need to find Magon Hill for mushrooms. You'll need to follow scents with your Chocobo to locate the mushrooms you need.
- Each mushroom must be picked using a minigame interaction.
- Pay attention to how much the mushroom's cap extends when you bend it a certain direction and use that "give" to determine the order in which you'll pull the mushroom.
- After getting three mushrooms, you can return to salvage Cissnei's stew, earning Chakra Materia Earrings and a boost with Aerith's favor.
Escape From Endless Writer's Block
- This quest unlocks in Chapter 12.
- Speak to Maeve. You'll be directed to take pictures of Red XIII at various locations that express specific themes.
- To get Red XIII to pose, point your camera at a specific location to have Red move, then take a picture of his pose.
- The locations are Rugged Shores, Gongaga Reactor, and Gonagaga Airstrip in order.
- Resolve: Point at the Green Hill
- Suffering: On top of the gate.
- Odyssey: On the airstrip control tower.
- The game will give you hints as to the right pose and location.
- Once finished, deliver the pics to Maeve for a Crescent Moon Charm and a relationship boost with Barret.
Woodland Vigil
- This quest unlocks in Chapter 12, and after completing every other Gongaga Region side quest.
- Go on patrol around the observation tower for Cissnei.
- Look for monsters through Cissnei’s binoculars. Finding hotspots marks them on your map to visit and check out.
- Fight the fiends at the marked spot.
- If it’s not the fiends you want, return to the observation tower and repeat.
- These are repeated fiends you should have alreadly fought.
- On the third try Aerith will spot the quarry.
- Head to the spot for a fight with Gigantoad.
- Afterward, Cissnei will offer to answer one question.
- The questions don't have a bond effect, but will give you some insight as to Cissnei's past.
- You'll earn Fortunes Untold Vol. VI and a bond boost with Aerith.
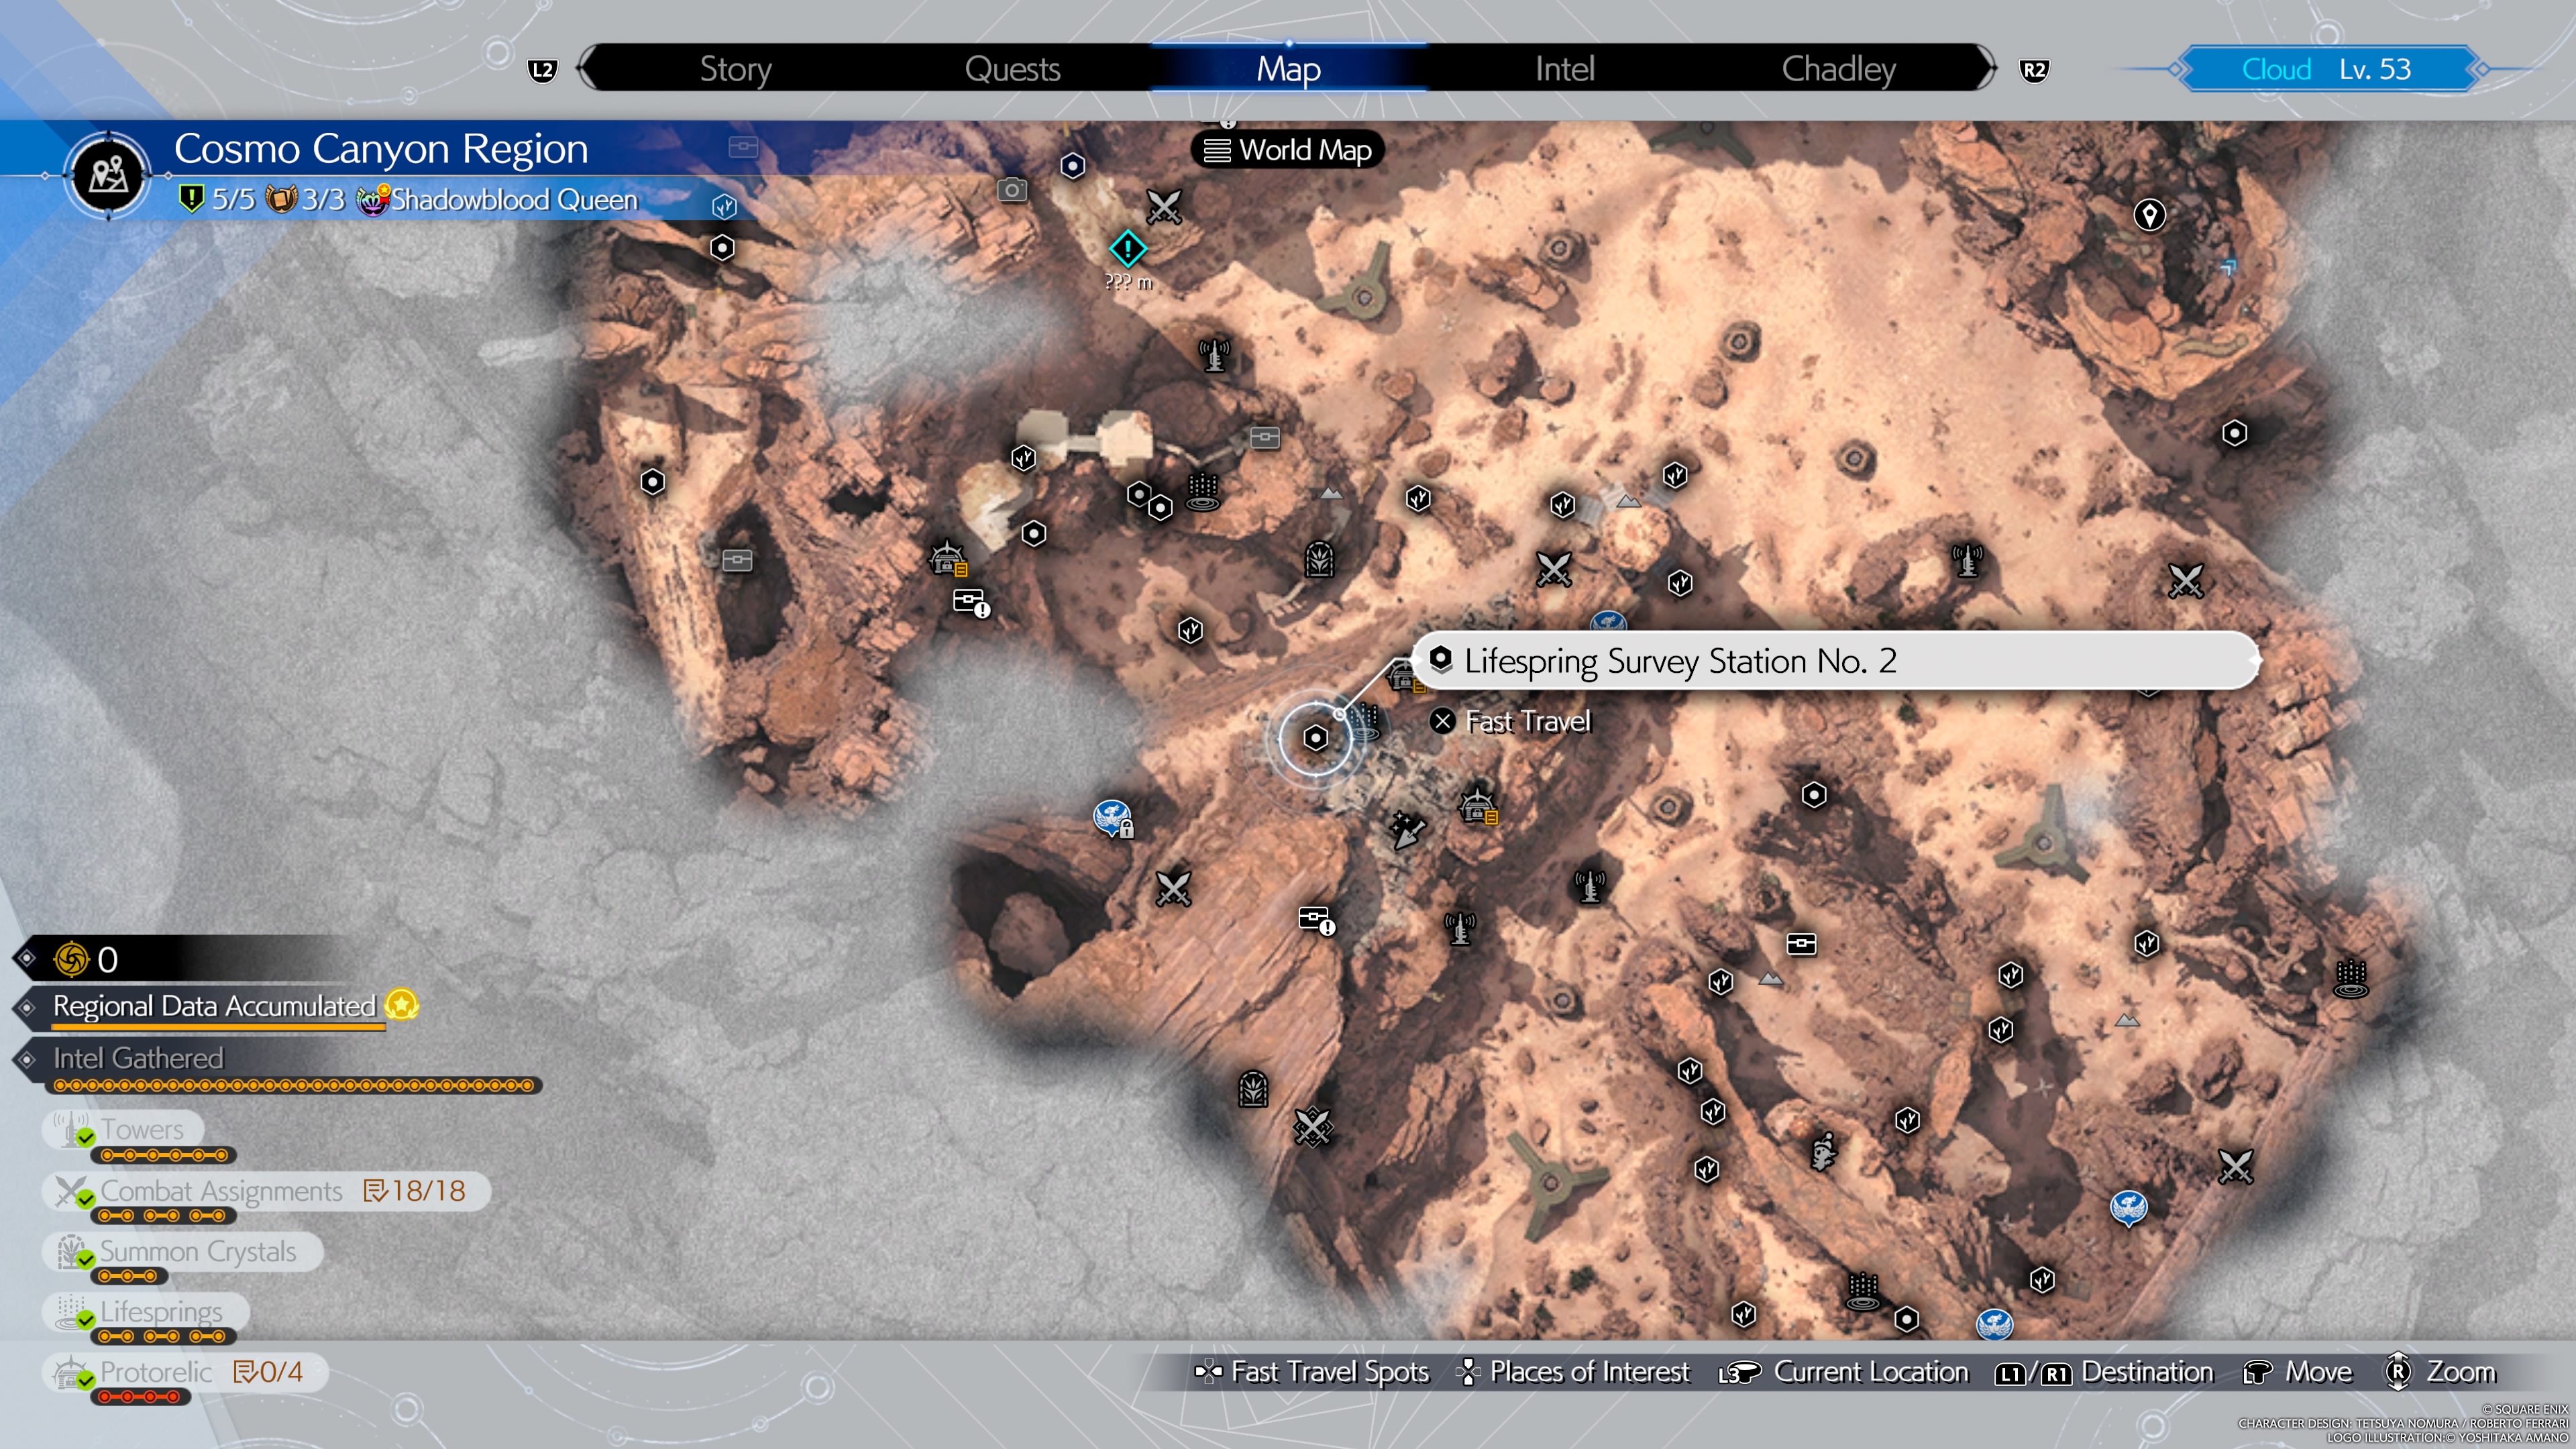
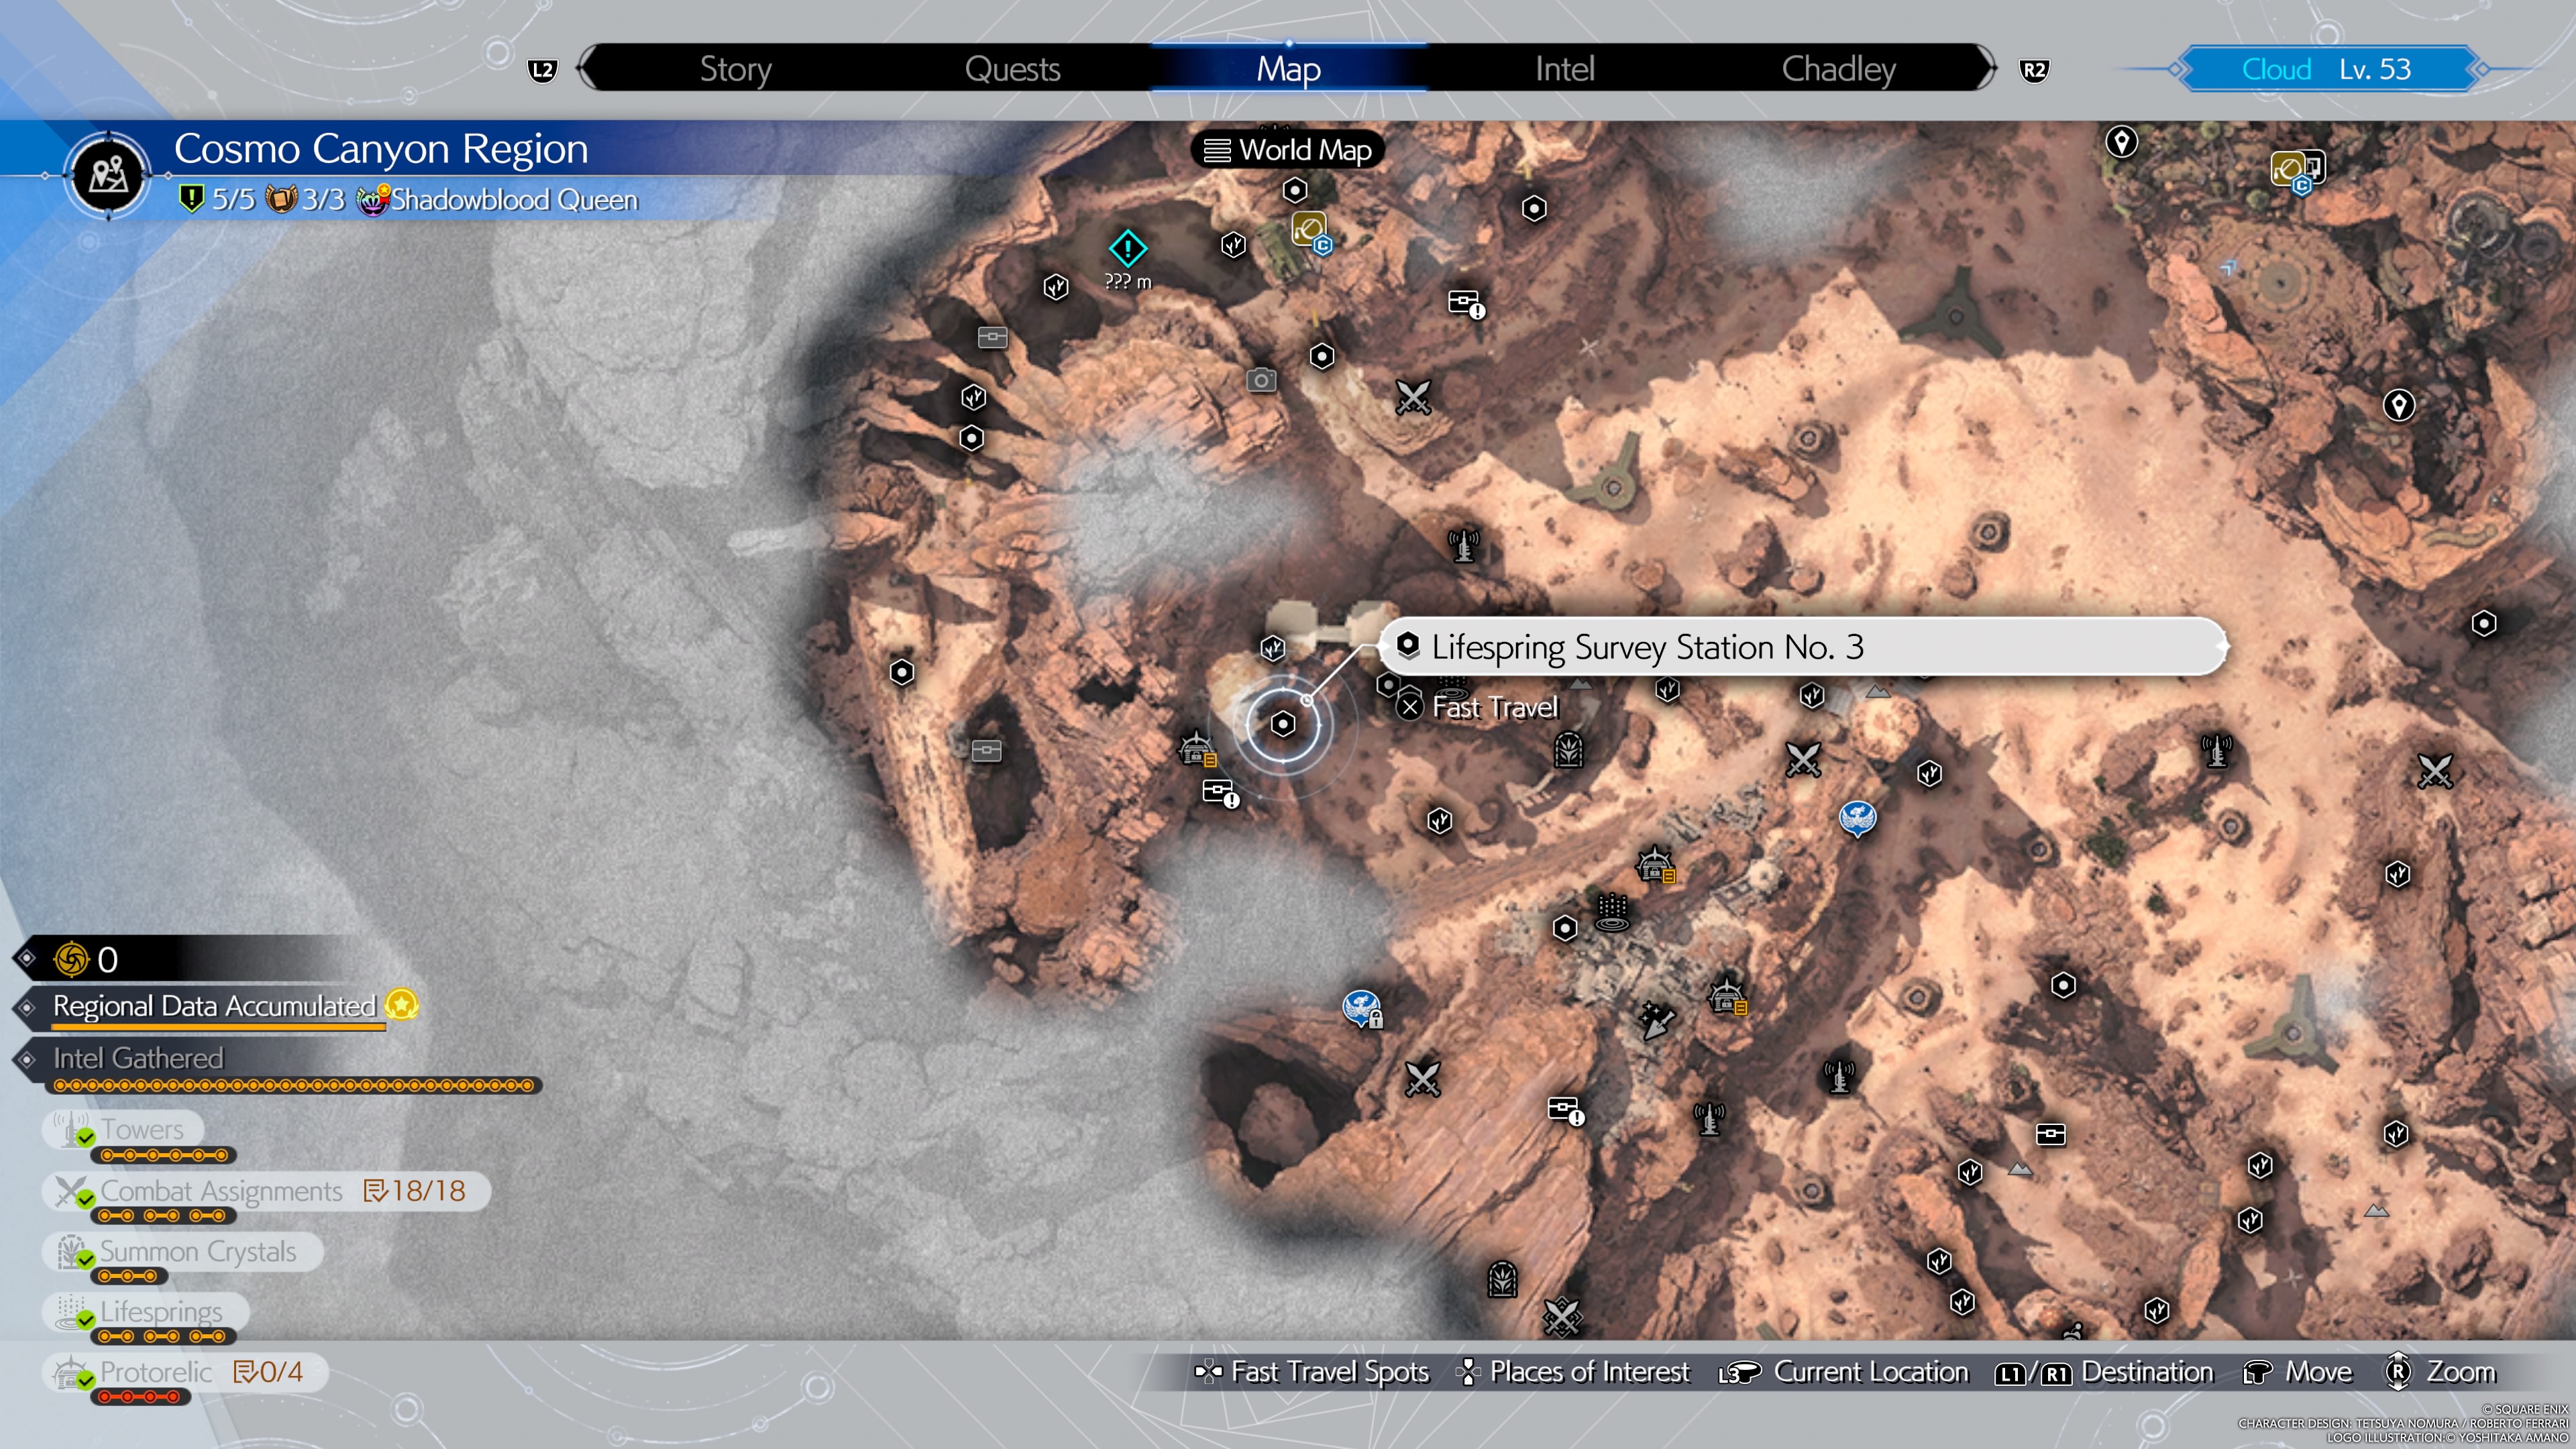
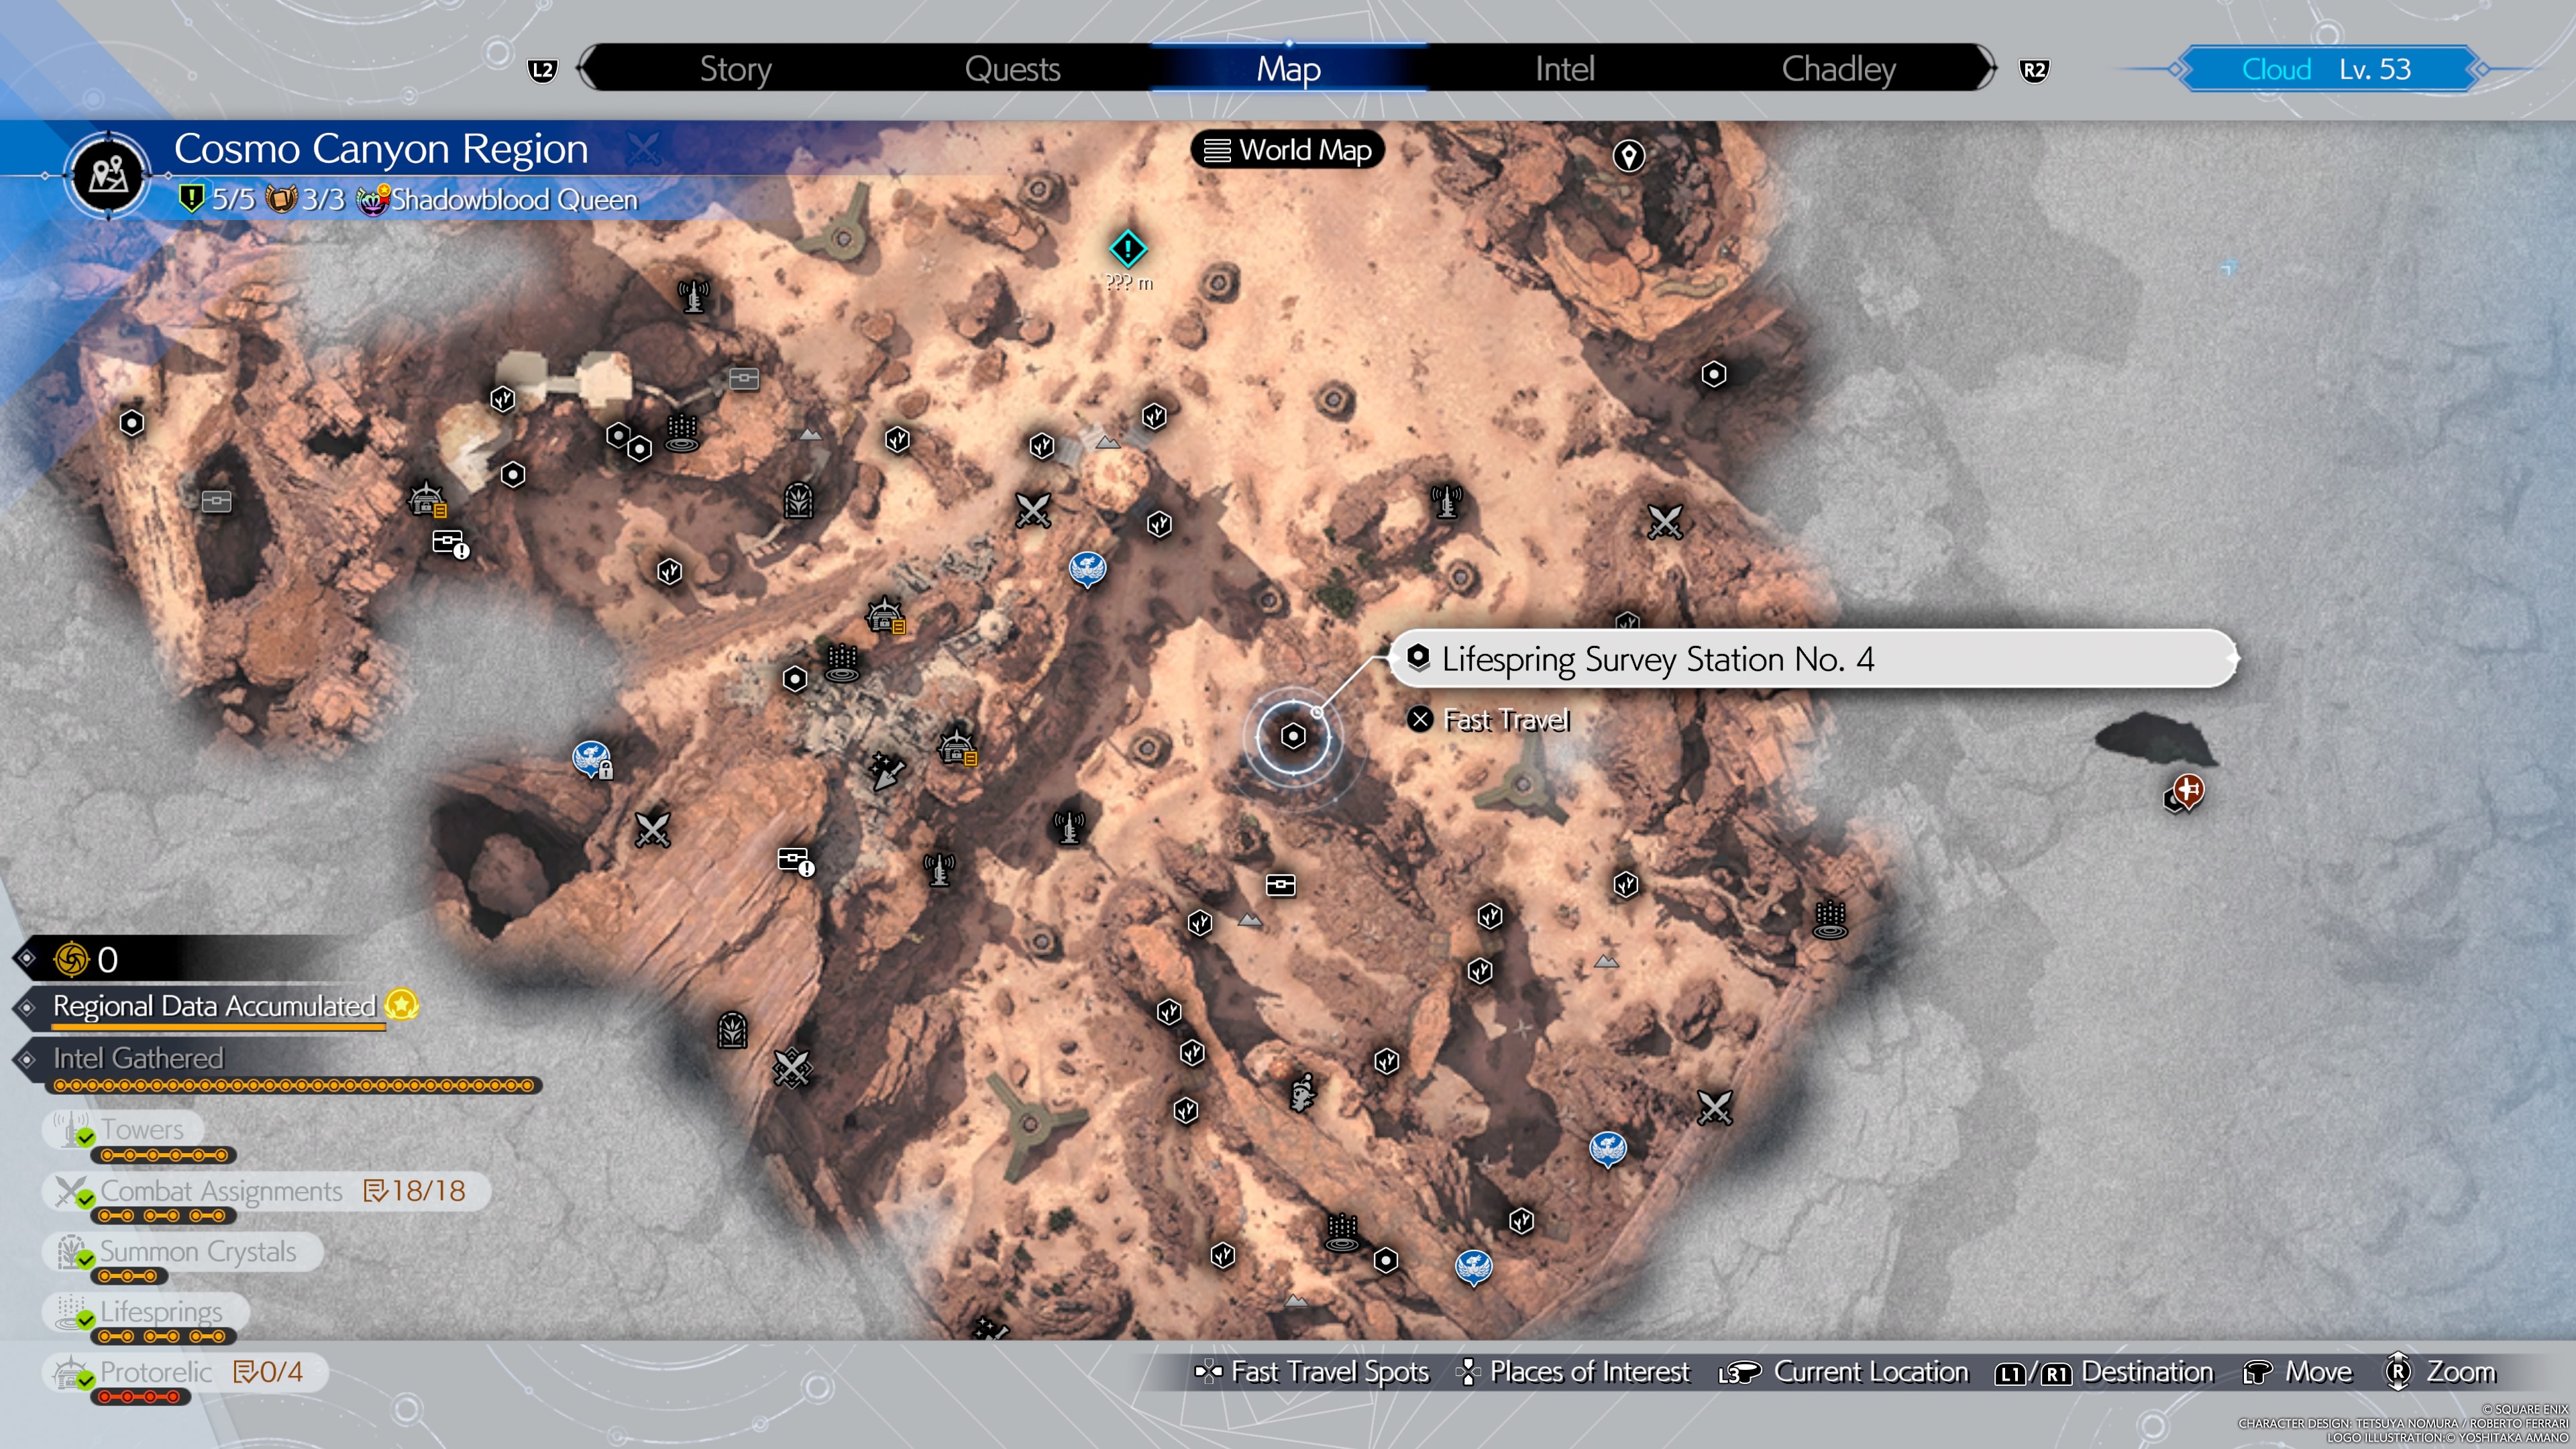
Cosmo Canyon Side Quests
Cosmo Canyon's side quests are detailed and navigation-centric, but the area's long sight lines and gliding chocobo make things easier than in Gongaga.
Bonds of Trust
- Speak to Kamaria at the ranch.
- You’ll be tasked to head to the nearby Intel marker to catch this region’s Chocobo, Aponi.
- You’ll have to alternate between pushing and pulling the cart to always obstruct the Chocobos’ views.
- Catch up with Shani at the training area. You’ll learn how to fly the Chocobos in this region, and open up a new minigame: Glide de Chocobo. You'll only need to pass the lowest level score rank to progress the quest, but can attempt more for prizes.
- Glide de Chocobo Training Course 1
- Rank 1 - Moogle Medal x2
- Rank 2 - Divine Heartwood x5
- Rank 3 - Crescent Sickle weapon for Yuffie
- Glide de Chocobo Training Course 2
- Rank 1 - Moogle Medal x2
- Rank 2 - Chromite Ore x5
- Rank 3 - Cosmotite Ore x1
- Glide de Chocobo Training Course 3
- Rank 1 - Moogle Medal x2
- Rank 2 - Sapphire x1
- Rank 3 - Barrier Materia Earrings
- Completing the quest will earn you Tale of the Red Warrior Vol. VI and a boost to favor with Yuffie.
Absence of a Sign
- Speak to Caesar on Cosmo Canyon's upper level to begin this quest.
- You'll be given a camera and reference pictures. You'll need to match the new shot to the reference picture.
- The game will give you a percentage hint for the similarity to the original angle, so aim to get it as high as you can.
- At each location, you'll need to fight a Reapertail before taking the picture.
- One location allows you to sneak photos of Aerith praying, smiling, beaming, and then glaring.
- Aerith will notice if you snuck a photo and prompt you for a selfie.
- This awards you Telluric Scriptures Vol. XII in Hard Mode.
- When finished, report back to Caesar for an Aerith relationship boost and the Tarot Cards Accessory.
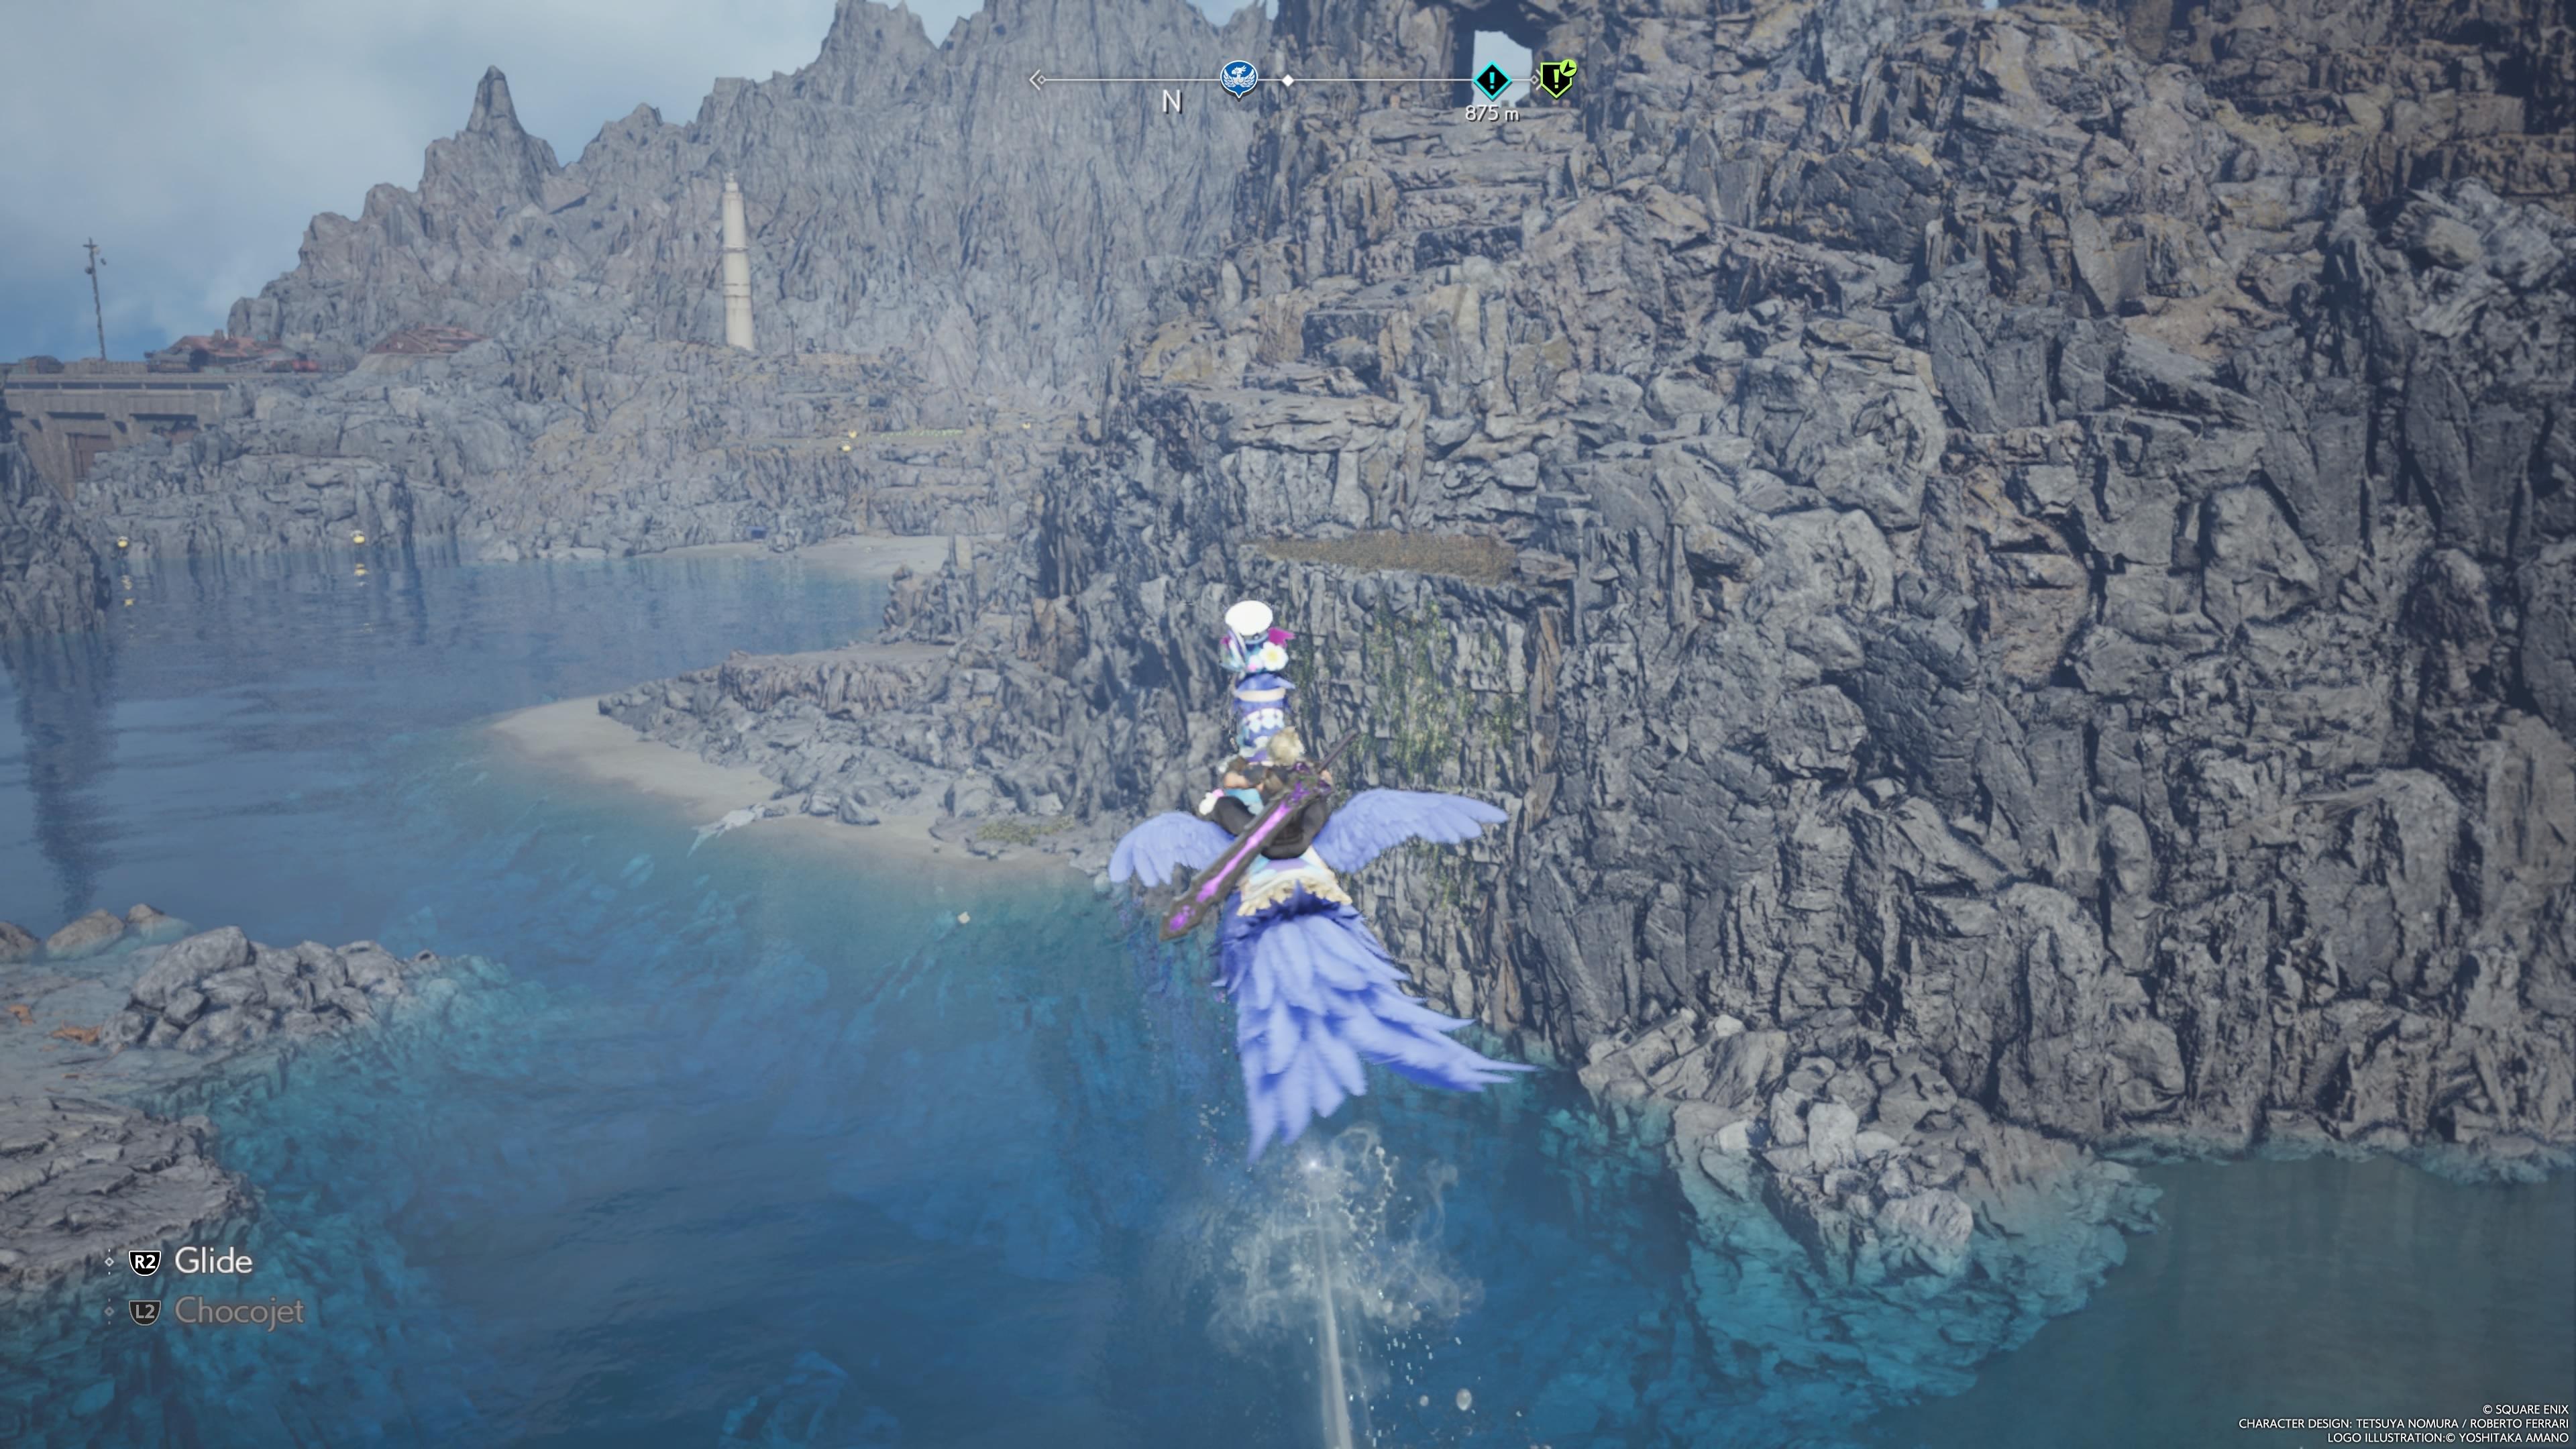
From Whence Life Flows
- You'll get this quest from Bugenhagen, who will give you a Mako Detector and instructions to find some old lifesprings using an ancient map.
- Unfortunately, the map isn't correctly oriented, and can be confusing. Refer to the text hints below, and the gallery for waypoints to all 5 lifesprings.
- All the sites are sectioned off by a distinctive barricade. Some are guarded by fiends.
- 1st spot is just south of the settlement on the canyon floor, east of Dried Oasis Tower.
- 2nd spot is in neighboring ruins to the west-southwest of Protorelic Intel 1 spot.
- 3rd spot is across from spot 2, to the northwest.
- 4th spot is near the Oldwyrme clearing cache. It’s watched over by Whispers.
- 5th spot is south of the Mogshroom. Whispers spawn 3x Threadspinner Chimera.
- Earn Tale of the Red Warrior Vol. XII in Hard Mode.
- When done, Bugenhagen will answer some lore questions and reward you with Fortunes Untold Vol. IV and a relationship boost with Red XIII.


Promises to Keep
- As prompted by Bugenhagen at the end of “From Whence Life Flows”, speak to the guard at the Cosmo Canyon entrance.
- Head to the marker on the map, and you’ll fight Gi-infused enemies. You’ll repeat this a few times.
- Eventually, you’ll fight Irasceros.
- Beating the boss will earn you a Mythical Amulet and Red XIII bond boost.
- On Hard Mode you'll get Tale of the Red Warrior Vol. XIII.
Victim of Circumstance
- This quest unlocks in Chapter 12.
- You’ll meet Zhije in the Cosmo Desert.
- He’ll ask you to find a fiend underground, but you’ll need a Moogle Vibrodetector that you can buy from the Moogle shop.
- You may have already bought one as it unlocks automatically in the moogle shop if you’ve been doing them in each region.
- Go looking for the fiend by walking in the desert and finding vibrations.
- When the vibrodetector pings blue, keep walking as the pings grow closer together. If they ping red, you’re going further away.
- When you get close enough you’ll spot the Fiend. Keep following to engage it.
- You’ll be waylaid by some fiends and things, after which you’ll need to keep tracking it.
- Eventually you’ll fight the Gigaworm. Kill it to watch a scene with Zhije.
- You'll earn Magnify Materia and bond with Yuffie.
- In Hard Mode you'll earn Secrets of the Ninja Vol. XI
Nibel Side Quests
Nibel is the smallest playable region in the game, and has the fewest side quests, though each is fairly involved.
Esoteric Secrets of the Elders
- This Chocobo-centric side quest involves Billy and the elusive Chocobo Sage.
- The dialog choice with Yuffie does not appear to affect affinity.
- Before the quest begins you’ll be asked to wrangle Selena, an Ocean Chocobo.
- Chances are you’ve already gotten her considering the placement of the Chocobo intel node near Nibel's airstrip.
- You’ll be asked to gather 30 floating Chocograss. Get them by hovering above the water over the map.
- You’ll hand over 30, but can trade any others you find at the shop as part of the “Chocograss Collector” discovery objective
- 35 tufts total - Golden Plume
- 40 Tufts - Otherworldly Crystal Accessory
- 45 Tufts - Gjallarhorn weapon for Cait Sith
- 50 Tufts - Cleansing Materia Earrings
- You’ll then race the Chocobo Sage in Zoom de Chocobo, a special race, for a Chocobo Armband and Yuffie relationship boost.
My White-Haired Angel
- Meet the Head Chef at Cloud’s house in Nibelheim.
- Agree to find her cat near Mt. Nibel. This will lead you to the east/south part of the area that you couldn’t access before.
- You’ll find the cat and chase it to fight off a bunch of Guard Bee fiends.
- Rinse and repeat a few times, culminating in fight with Queen Bee.
- Earn Way of the Fist Vol. XIII in Hard Mode.
- You'll need to herd the cat and her kittens back to town slowly.
- Follow the cats into Tifa’s house.
- You’ll unlock Aerith’s Theme on the piano, and can practice before a performance minigame.
- Your rank does not appear to affect rewards.
- You'll earn Way of the Fist Vol. V and get a boost to your bond with Tifa.
- Dorian will also be unlocked in Nibelheim, allowing you to perform on piano in Tifa's house.
Lament of the Damned
- This quest unlocks in Chapter 12.
- You’ll speak to the new town supervisor, who asks you to investigate the mysterious wailing in Shinra Manor.
- Vincent and Barret lead the way to the Mako Research department. Along the way Vincent will fill in some of his backstory.
- At the bottom you’ll do 4 holographic combat trials for an AI of Hojo.
- Preliminary Trial: Aerial Specimens
- Giga-Potion
- Preliminary Trial: Ruthless Specimens
- Mist Mega Potion
- Preliminary Trial: Comparable Specimens
- Mega Potion
- Preliminary Trial: Bioselected Specimens
- Item Master Materia
- Preliminary Trial: Aerial Specimens
- After the trials you fight Dranabarga in a brief boss fight.
- Earn Sharpshooter’s Companion Vol. XIV in Hard Mode.
- You'll earn The Art of Swordplay Vol. VI and a boost to Barret's relationship.
- New trials unlock in the simulator here:
- Evaluation: Fusion Analysis
- 1x Astral Remnant
- Evaluation: Dominant Traits
- 1x Turbo Ether
- Evaluation: Antinomic Traits
- 1x Elixir
- Evaluation: Forsaken Specimens
- Subversion Materia Earrings
- Completing all of these will open a door to the secret laboratory.
- X-Potion
- Enchanted Ring accessory
- Turbo Ether
- Plumose Rod weapon for Aerith
- Evaluation: Fusion Analysis
Meridian Ocean Side Quests
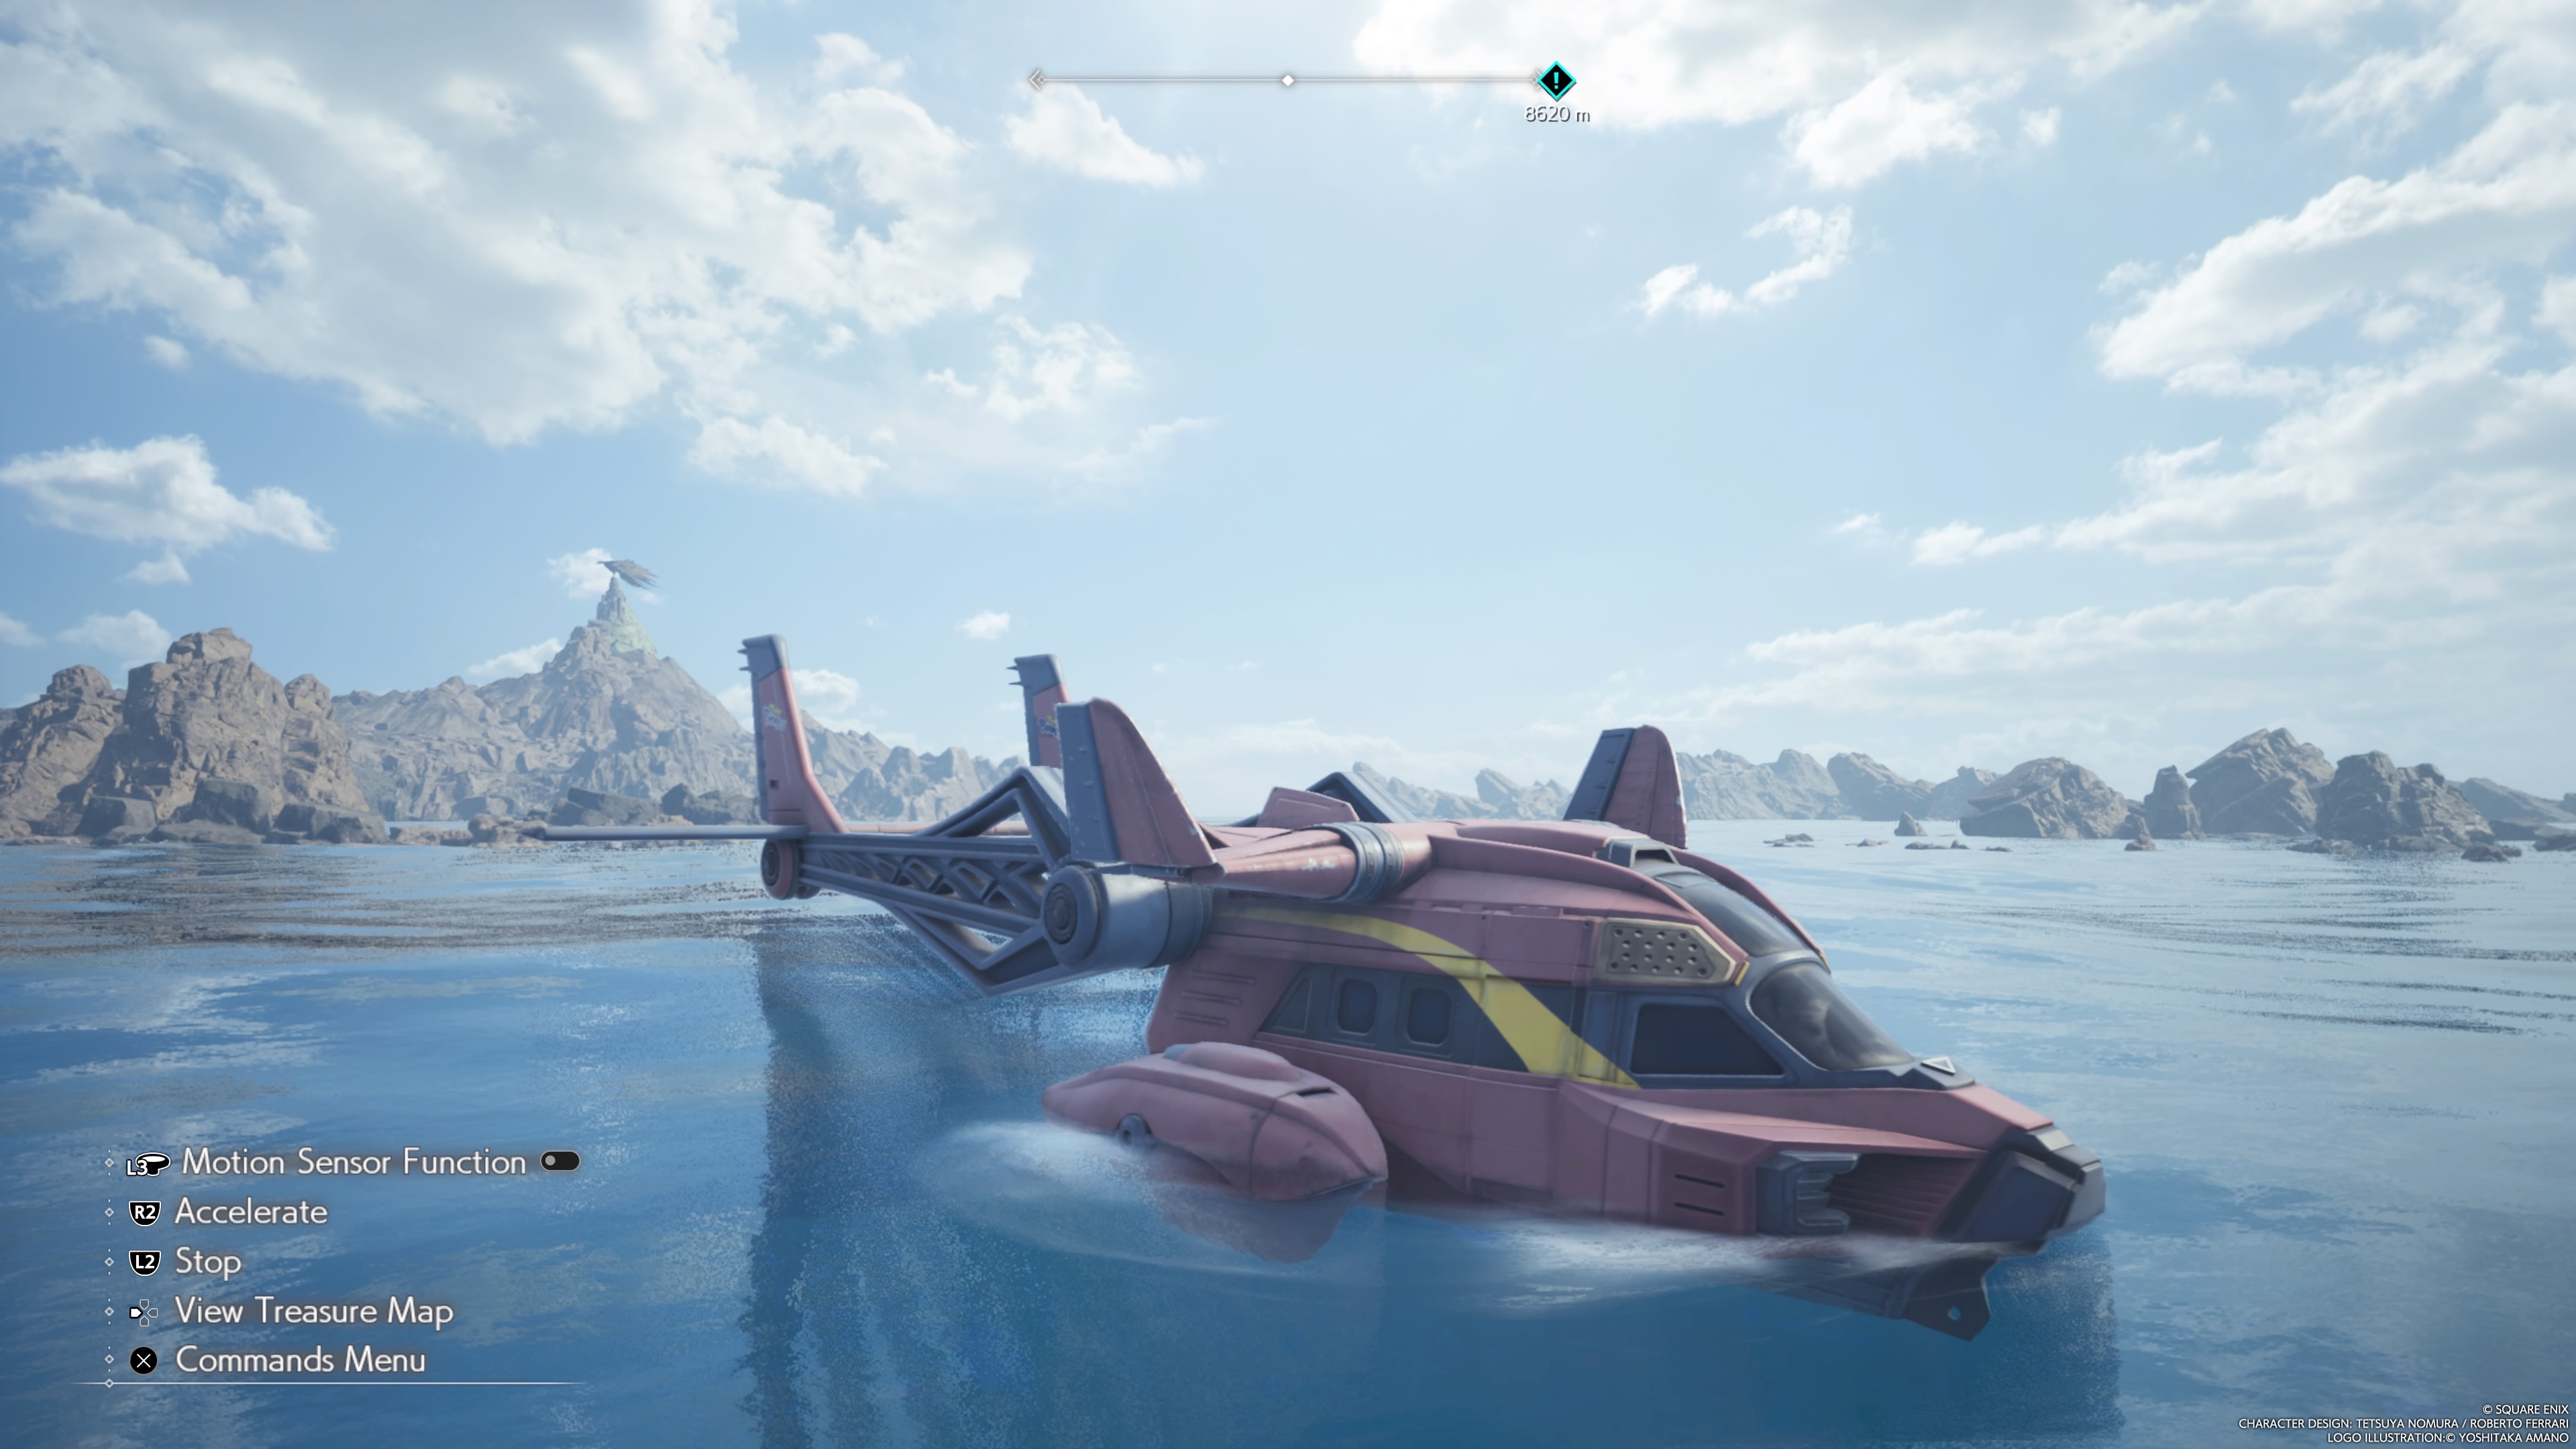
The Meridian Ocean is the name of the large body of water between Midgar and Corel's continents. It doesn't have any side quests, but the Pirate King's Treasure discovery goal that opens up in Chapter 12 involves four cache locations in the area. Clearing the cache locations (each of which requires a miniboss fight) nets you the components needed to transmute the Corsair's Compass accessory, which allows you to collect Pirate Jetsam, a material needed to create and upgrade some of the game's strongest accessories.
- Pirate King’s Grotto gamma
- Fight Hueyacoatl
- Pirate’s Relic gamma
- Fight Hueyacoatl
- Pirate King’s Grotto delta
- Fight Sea Dragon
- Pirate’s Relic delta
- Fight Sea Dragon
- Pirate King’s Grotto beta
- Fight Brineborn Demon
- Pirate’s Relic beta
- Fight Brineborn Demon
- Pirate King’s Grotto alpha
- Fight Ogre Raider
- Pirate’s Relic alpha
- Fight Ogre Raider