
Final Fantasy III Walkthrough - Where to go, missable bestiary entries and chests, step-by-step guide
The Pixel Remaster release of Final Fantasy III marks the first time that the 2D version of the game is officially playable in English. If you are looking to 100% the game and get all achievements, we're here to help.
This walkthrough is a minimalist bullet point guide for those who don't want to dive into a dense lengthy walkthrough, but also for those who don't want to miss anything that will prevent you from getting 100% bestiary and chests. Unlike Final Fantasy II, the provided in-game map is all you need for dungeon exploration. Simply open it up to take a look where chests are, secret passage entries are readily apparent, and it'll let you know how many chests you've picked up.
This guide will not offer much in terms of boss strategies or party builds, but keep in mind that sometimes certain classes are designed to be effective against certain bosses. Don't get attached to a single team for too long, sometimes taking a moment to swap out a few classes and equipment will make things a lot easier. I will mention a few key tricks throughout, but otherwise experiment with the classes and see for yourself what you like. Check out our Final Fantasy III Jobs guide for some more tips.
What this walkthrough will do:
- Offer a minimalist walkthrough so you know what you need to do at any point in the game.
- Point out missable treasure chests and enemies so you can complete the game 100%.
What the walkthrough will not do:
- Offer strategies for bosses or party build. For that, check our stand-alone FF3 Bosses guide.
- Dungeon Walkthroughs. The dungeons in FF3 Pixel Remaster are very straightforward. Use the in-game map and you will absolutely not get lost.
I'm Adam, the writer of this walkthrough. If you have any suggestions for me, or points of clarification needed, the best way to reach me is to email me at adam[at]rpgsite[dot]net. If you have a comment that you think may help out others on this page, feel free to add it to the comments section below, but there's a chance I may miss it. Thanks!
Chapters
- The Onion Kids, Alter Cave, Ur, and Kazus
- Castle Sasune and the Sealed Cave
- Canaan, Dragon's Peak, and Tozus
- Viking Cove and Nepto Temple
- Tokkul, the Village of the Ancients, and Continent Exploration
- Gulgan Gulch and the Tower of Owen
- Gysahl, Dwarven Hollows, Subterranean Lake, and Molten Cave
- Hein Castle
- Argus Castle and Leaving the Floating Continent
- The Flooded World, the Wrecked Ship, and the Cave of Tides
- Amur and the Golder Manor
- Saronia and the Dragoons
- Doga's Manor and Optional Events
- Temple of Time, Unei's Shrine, and the Ancient Ruins
- Optional Events with the Invincible
- The Cave of Darkness and the Earth Crystal
- Doga's Manor Dungeon
- Final Dungeon Gauntlet - The Ancient Labyrinth, Crystal Tower, Eureka, and World of Darkness
1. The Onion Kids, Alter Cave, Ur, and Kazus
Final Fantasy III does not have many missable items or bestiary entries but it does have a few. This guide will make it clear throughout where to keep an eye out for these missables.
- The game opens up in Alter Cave. After some opening events, you'll be able to grab some chests and soon you will get your first classes. A Warrior, Monk, White Mage, and Black Mage is a classic starting class setup.
- Once the game takes you out of the cave, you can return to the cave for more chests, allowing you to pick up all from the area. You can check the in-game map to get your bearings and to make sure you've collected everything.
- The first town you'll run into is that of Ur. Talk to the NPCs in the SW building for some story. Buy equipment for your characters. Many town areas have both chests as well as invisible items, usually hidden in pots or grass. You can pick up all the items and chests in Ur your first time here - make sure you click the right torch in the rear house. It's also worth mentioning it's worthwhile to pick up items in any town before shopping, as you'll often simply find items instead of needing to buy them.
Most towns have both items and chests that can be found by the player. The in-game map doesn't point out where these are exactly, but it does track how many you have found in each town and how many are left to find. For the most part, this guide will not point out where exactly these items/chests are, unless they are especially tricky, because most can be found with relatively little trouble just by searching normally. Most items are invisible and can be found in grass, pots, and the like around town.
This guide will also note any item that is missable. There are no missable items in Ur.
- Go South to Kazus. Talk to the guy near the campfire and get the 5 items in town. This city has a secret path in the woods on West side where you can walk through the trees to another area of town - keep an eye out for these. Sometimes these hidden paths have some sort of indication of where they are, such as a crack in a wall. Talk to Cid in the Pub.
- Don't worry much about the Mythril Mines in the back of town just yet. Fight here if you want, but I'll address it in the next section.
- Get Airship in the nearby desert. Go to the NW Castle Sasune.
2. Castle Sasune and the Sealed Cave
- Talk to the King at Castle Sasune and he'll ask you to save Sara. Go into the left tower to fight some undead enemies and get chests. Search around the main building and right tower for chests, including secret passageways. You'll be able to grab all the chests, but you won’t be able to get the item for this location yet.
- Go to the Sealed Cave, north of the lake. Pick up all five chests, find Sara, defeat Jin. Most dungeons in the game are pretty straightforward like this one.
- You’ll Warp back to Castle Sasune and get the canoe (the last items for the area). Note you can now fight new enemies in the pond using the canoe.
- Go back to Kazus. Cid will join. You can now get the chests in the Mythril Mines here, just press the button. The enemies here are the same as the Sealed Cave and in the tower in Castle Sasune.
3. Canaan, Dragon's Peak, and Tozus
- You can now use the airship to break the boulder nearby town on the world map (you may need to talk to an NPC in town about the boulder first). Go south to Canaan. You can get all the chests and items in the town. Again, this guide won't point out where these chests and items are, just search around and you should be able to find them relatively readily. Give Cid’s wife an Elixir, which you should have found laying around.
- Go to Dragon’s Peak nearby. Get all the chests. Run away from Bahamut at the top, you can't win. Desch will join the party and also give you the Mini spell.
- You are in a new area of the map, but don't worry, you'll be able to return to the Ur/Sasune area fairly soon. Enter the Healing Copse for some heals from the ponds, but there's nothing else here.
- Use Mini on your party and enter the dwarven town of Tozus. You can grab all the chests and items here. You are going to have to do some fighting as Mini'd characters soon, so you will want to switch everyone to Black or White Mages for this part. Train a bit, buy magic, and heal at the Inn. Use an antidote on the Gnome in the NW building to enter Tozus Tunnel.
- Continue through Tozus Tunnel; there are no items here. Because you are Mini'd, your physical attacks are near worthless here, so stick to magic.
4. Viking Cove and Nepto Temple
- After leaving Tozus Tunnel, you can un-Mini and enter Viking Cove. (You will have to Mini again very soon, so keep your mage classes for now). Talk to the pirate captain and he’ll ask you to take out the Nepto Dragon. You can pick up six chests here.
The pirate captain warned you about Nepto, and you cannot hope to beat it in a straight fight. However, in order to add it to your bestiary, you need to encounter Nepto at least once. When you leave the Viking Cove, get on the Enterprise ship, and go up. You'll run into Nepto. Flee as soon as you can. This will add Nepto Dragon to your bestiary.
Also, in case you were curious, none of the other enemies you've encountered up until now are missable, so don't worry. If there's a creature you managed to not encounter, you can always get them later.
- Leave the Viking Cove from the North Side. Here, enter the Enterprise and travel North to encounter the Nepto Dragon once on the ship to add it to your bestiary. This is missable!
- Enter the Nepto Temple north of Viking Cove. Despite appearances, this is not a one-time-only area. You'll need to Mini yourself once again to get in, which is why I mentioned to keep your mage party for now. Beat the Giant Rat boss, then go back and put the Jewel in the statue eye. You'll be able to get the 3 chests and 2 items to complete the area collection.
- Now that Nepto is taken care of, you'll get the Enterprise boat. You can now travel the inner sea of the continent, and you can return to the Ur/Sasune area if you need to.
5. Tokkul, the Village of the Ancients, and Continent Exploration
- Go SW from the Viking cove to reach the city of Tokkul. You can get all 5 chests and 2 items here now - enter the fireplace in the Elder’s house for some of these.
- Go west across the desert to the to Living Woods. You can talk to the Fairies, but otherwise there's nothing here. The Item listed on the map for this location you'll get later as part of the story.
The Living Woods is technically a missable location as it will become inaccessible later in the game, so be sure to visit it in order to get the Wayfarer trophy later.
- Go to Chocobo Forest west of the desert. Nothing here but a chocobo you can ride.
- Go to Village of the Ancients further west. There is a Serpent Sword in a tree on the East side, but otherwise no chests. Go shopping, but note you can get the arrows in chests later. An NPC here will reward you with a Gnomish Bread if riding around the whole continent on a chocobo. With the Pixel Remaster's built-in map, Gnomish Bread is pretty worthless, but this only takes a moment.
- Now is a great time to wander the small continent, looking for new enemies in various places or collecting any chests you've missed. The only areas you cannot enter at the moment are a few in the outer sea areas.
- You can go to Argus Castle now, which is abandoned roughly in the center of the map, but you won't be able to get every chest yet. However, you can pick up several money chests if needed.
6. Gulgan Gulch and the Tower of Owen
- Go to Gulgan Gulch, west of Argus Castle. You’ll get Toad magic and can pick up all three chests here.
- The Tower of Owen is a dungeon near the north of the continent. In the first floor room, you'll need to Toad your party in order to go deeper into the tower, but unlike the Mini dungeons, you don't have to stay Toad'ed. Cast the spell on your party, dive, and then cast Toad on your party again to nullify the effect.
- Proceed through the dungeon and collect all nine chests. It's once again very straightforward like most dungeons in the game, just use your map.
- Once you beat Medusa in the Tower of Owen, the whirlpool preventing you from accessing the outer water section will disappear.
7. Gysahl, Dwarven Hollows, Subterranean Lake, and Molten Cave
- Head to Gysahl, which is on the East side of the outer ring of water. Get all items and grab the chest in the Key shop by using the secret passage left of the entrance door, just above it. This chest has a Shuriken. You can hold onto this for the game's final boss, or sell it for cash. Don't waste it otherwise.
- Buy a handful of magic keys, ten should be plenty. With two magic keys you can get all the chests in Argus Castle. You can’t get the two other Items yet, however.
- Go to Dwarven Hollows on the NW side of the outer sea. You can’t get the chests or item here yet. You’ll learn an Ice Horn was stolen, so go west into the Subterranean Lake. You can get all chests here. Defeat the boss.
- Back at Dwarven Hollows, talk to the center Dwarf. The other Ice Horn will be stolen. Go to the Molten Cave just north of the Hollows.
- You can get all chests in the Molten Cave too. Defeat the boss and get your second set of jobs.
- Back at the Dwarven Hollows - an NPC will warn you about enemies wanting to burn Tokkul, more on that in the next section. Talk to the lower right dwarf to unlock the treasury and get all the chests. Another dwarf will give you a Magic Key, which completes the item collection for the area.
8. Hein Castle
Note that before you enter Tokkul, you are about to enter a one-time-only dungeon area that you cannot revisit. This is the first such location in the game. Be on the lookout for Demon, Pharoah, Lemur, Dullahan, and Lamia.
Lamias seem more common on the upper floors closer to the boss room. Dullahans are somewhat rare, they can be found near the chest with the Royal Sword.
Finally, before you fight Hein, check your map to make sure you got all the chests. You won't be able to check it when you leave the dungeon.
- Go to Tokkul. You’ll be taken to Hein Castle, a one-time-only dungeon.
- Get the Mini spell from the NPC. Go through the secret wall in the West wall and fight the soldier. Cast Mini and go into the hole.
- As noted in the above warning, make sure you collect the chests and fight Demon, Pharoah, Lemur, Dullahan, and Lamia. Lamias seem more common on the upper floors closer to the boss room. Dullahans are somewhat rare, they can be found near the chest with the Royal Sword.
- You'll want a Black Mage and a Scholar before taking on Hein. Use the Scholar to determine his weakness, and then nuke him with the Black Mage.
- After some events, you’ll finally get the item for the Living Woods - the Fang of Wind.
9. Argus Castle and Leaving the Floating Continent
- Go back to Argus castle. Talk to the King to get a Wheel of Time. Talk to a White Mage in the NW tower to get some Elixirs. This will finish off the chest/item collection in Argus Castle.
- Return to Cid in Canaan and you'll turn the Enterprise into an airship. Now you can leave the Floating Continent and venture into the wider world of Final Fantasy III.
- Just as a note, if you've been diligent up to this point, you should have all chests and items in all locations on the world map so far. You also can have entries 1-74 in your bestiary, as well as 196-203.
10. The Flooded World, the Wrecked Ship, and the Cave of Tides
- You cannot do much in the Flooded World when you first get there. Head to the Wrecked Ship in the NE.
The two chests in the Wrecked Ship are sitting in plain sight, but are technically missable, so, get them.
- In the Wrecked Ship, the two Chests are in plain sight but technically missable. Collect these and then use an antidote on the girl in bed. Get Aria on your team.
- Go to the Temple of Water to the SE and get the Water Shard. No items here.
- Go to the Cave of Tides nearby. No chests here either (kinda weird huh). Defeat Kraken at the end and all the ocean water will go back to normal. The Wrecked Ship will disappear, so hopefully you got those two chests. You will also unlock new jobs.
11. Amur and the Golder Manor
- In Amur, pick up the hidden items and shop around. Note, it's worthwhile to have both a Thief and Black Belt in the party, and then can nearly carry you to the end of the game. Talk to the NPC in the upper right house, and then go through Amur Sewers dungeon which has a few chests in hidden rooms, but nothing missable.
- Head to Golder Manor south of Amur. No missable enemies or chests, but can collect them all. The Golden Swords you find are only worth selling.
- You'll find a key that ultimately unlocks the Enterprise so you can once again explore the world.
12. Saronia and the Dragoons
- If you are exploring the world, be on the lookout for a walled castle area with an apparent war going on. If you fly too close, you'll get shot down. This leads to the next story elements, so only do this if you are ready to move on.
The Enterprise is the only ship that can land in water, and once you get shot down over Saronia, you lose this ability forever.
First of all, in the inner sea on the floating continent, make sure you have Killer Fish, Hermit, Sea Elemental, Tangie, and Sahagin.
In other versions of Final Fantasy 3, the sea monsters found either in the outer sea of the floating continent or on the main world map are missable. These creatures are the Anet, Mermaid, Seahorse, Sea Serpent, and most crucially the rarer Sea Dragon. Make sure you have all these creatures before you lose the Enterprise. Note the Sea Dragon looks just like the Sea Serpent, but a different color.
Reportedly, in the Pixel Remaster, it seems you can also get these creatures from the canoe on rivers, which makes them non-missable in this version of the game. I cannot verify this, but to be safe, make sure to get these entries now, just in case.
- Head to towns of Duster and Replito for items magic. Duster is on a center island while Replito is in the North West.
- When done exploring the world in the Enterprise, fly close to Saronia and get shot down.
- There are four town sections of Saronia. NE has an Elixir hidden in a tree, but most shops are closed at the moment. Go to the SW section of Saronia. The SE house here has a hidden room with chests. Enter the pub for a quick fight, and Alus will join the party.
When Alus joins the party in SW Saronia, talk to two of the old men in the town to get some Dragoon equipment. This is only available when Alus is with you, which is not for very long. This is probably the most easily missed thing in Final Fantasy 3. You'll get some Dragoon equipment.
- When Alus joins you in SW Saronia, Talk to two of the old NPCs in SW Saronia. They will give you Dragoon equipment. You can only do this for a short period of time when Alus is with you, so this is missable!
- Head to the Dragon Spire in SE Dragonia to get some more chests. The game is giving you a bunch of Dragoon equipment, I wonder why...
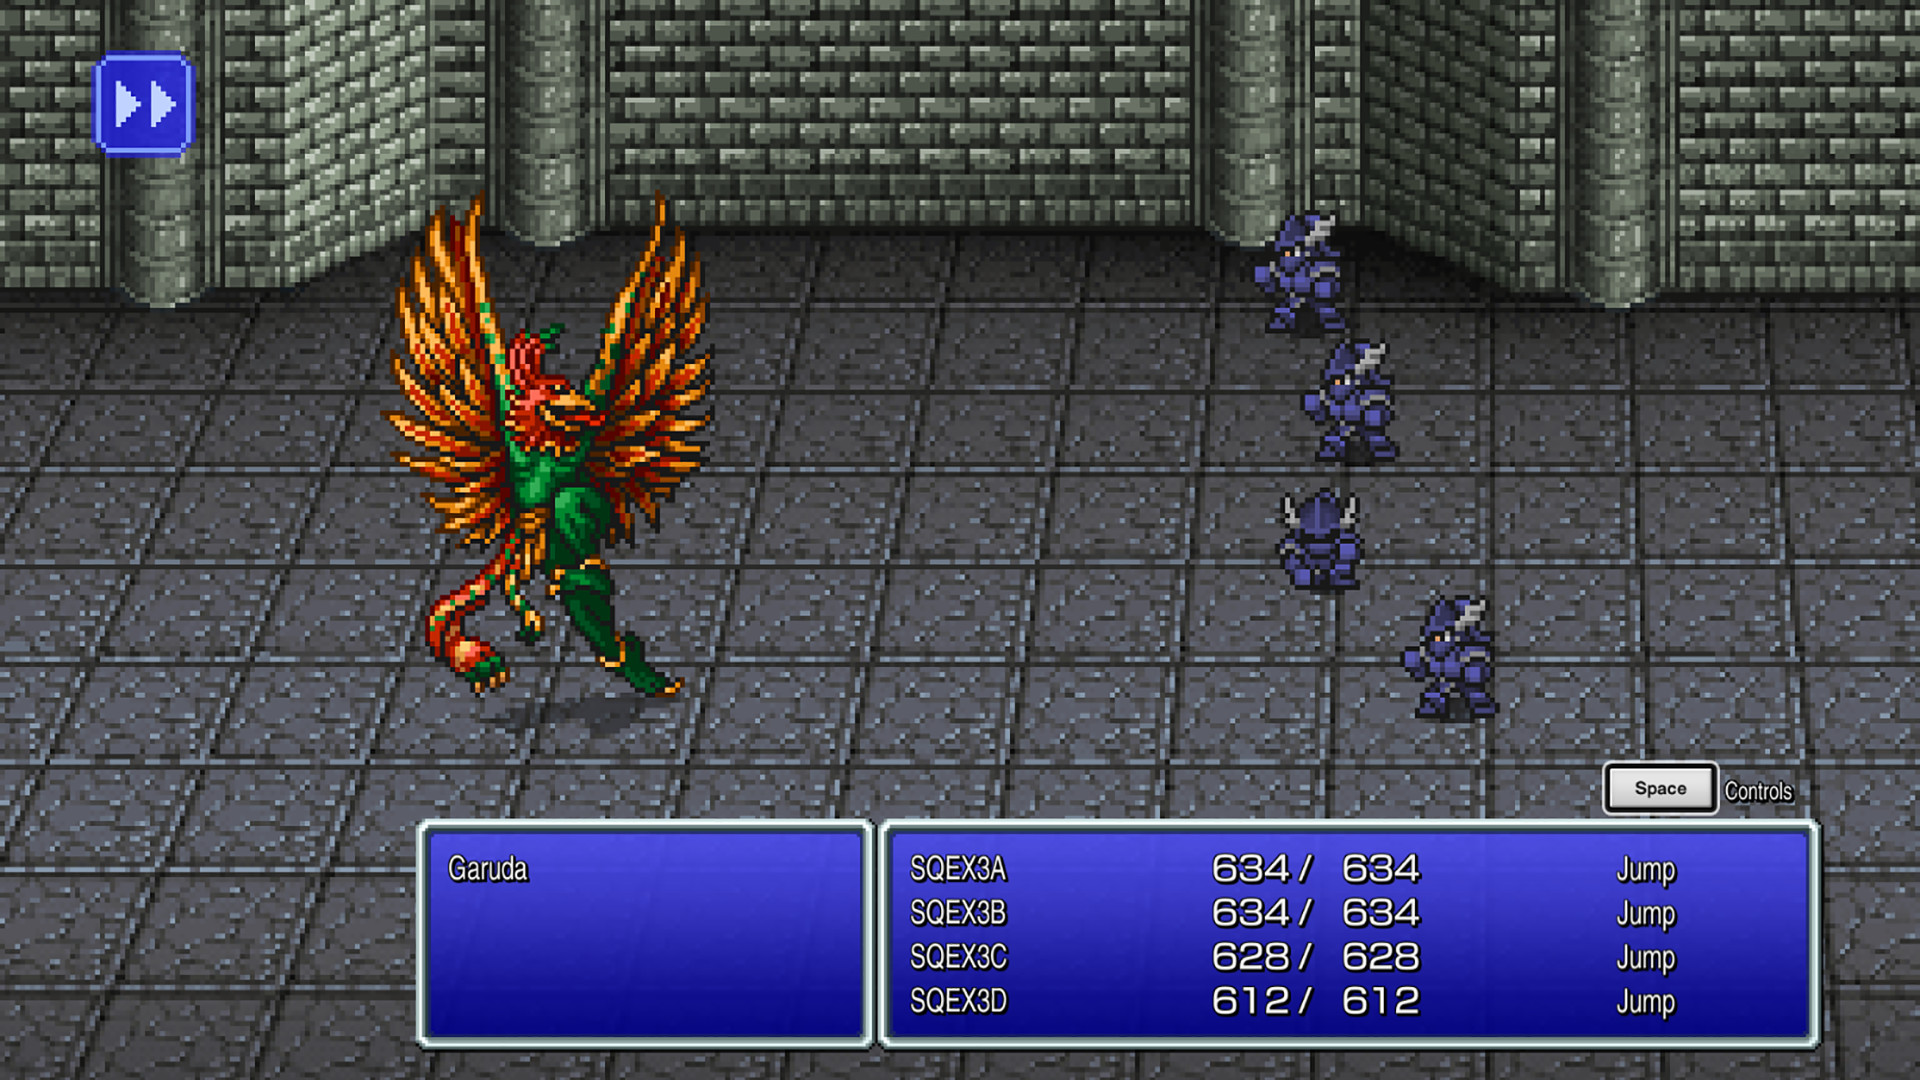
- Change your whole party into Dragoons (all four characters, yes, and equip them with spears, Wind Spears if you have them) and head to Saronia Castle. After some events, you’ll fight Garuda. Use Jump and you should win unless you are very unlucky.
- After the fight, head to the secret wall to the right to find a treasury with a bunch of chests. Afterward, leave the bedroom. The SW door has a Mage and a secret passage with a few chests. The SE room will give you the Nautilus airship.
- A bunch of shops open up in Saronia now.
13. Doga's Manor and Optional Events
- Fly Nautilus to Doga’s Manor in the South continent. You’ll have to go through Cave of the Circle as mini characters once again, though there are no chests here.
- Once you finish this dungeon, three optional events can be done. You do not have to do these right now.
- Optional Dungeon - Sunken Cave. Go to the bottom of the ocean near the East triangle island.
- Optional Dungeon - Saronia Catacombs. Go to the bottom of the ocean to the SE of Saronia. This optional dungeon leads to Odin.
- Optional City- Go to the ocean floor West of Goldor mansion. You can go through some underwater mountains to get to Doga’s Village. You can buy rank 7 magic here.
14. Temple of Time, Unei's Shrine, and the Ancient Ruins
- At the bottom tip of the western continent, go to the bottom of the ocean floor, you can go through the Temple of Time. This dungeon leads to Noah’s Lute. Note, the last waterfall room in the temple has a hidden path in the upper right.
- On the main overworld, slightly north of here is a cave entrance, which is Unei’s Shrine. Use Noah’s Lute to wake her up.
- Roughy in the center north of the big West continent are the Ancient Ruins. Go through here. Dark Knights help to prevent enemies from splitting. You’ll find a shop, and eventually the Invincible Airship.
- From here on out, you can toggle between the big Invincible or fast/submerging Nautilus airships, depending on where you need to go.
15. Optional Events with the Invincible
- Optional Dungeon - Lake Dohr. You can go back to the Floating Continent with the Invincible, and in the lake where you see the monster floating around, you can ‘jump’ the mountains with the airship. Find a thin patch of land and click the action button. While this dungeon is one-time-only in the NES version of FF3, it is not in the Pixel remaster, so no chest or enemy here is missable.
- Optional Dungeon - Bahamut’s Lair. You can use Invincible to jump a mountain SE of the Viking Cove on the floating continent. You then fight Bahamut.
- Optional - Falgabard. You can use Invincible to jump mountains in the South center of the West main continent. This is the city of Falagbard. Go behind the waterfall to fight a Shinobi to get a Kiku-Ichimonji. Then follow the water to 4 more hidden items. The Falgabard cave has even more chests..
- Other Note - Now is a good time to make sure you visit all the Chocobo Woods both on the Floating Continent and the main overworld, in order to get the Adventurous Wayfarer achievement. This page on the Final Fantasy Wiki should help.
16. The Cave of Darkness and the Earth Crystal
- North of Amur, near the desert, you can use the Invincible to 'hop' over the mountain maze in order to get to the Cave of Darkness dungeon. Once again, Dark Knights will help here to prevent the enemy from splitting.
- Now that you have all four Fang key items, you can break the statues on the North side of the East continent. Walk between them to do so, and use the Invincible to 'jump' the mountains to the final dungeon area of the game. You won't be doing these dungeons *quite yet*, but soon.
- You'll enter the Ancient Labyrinth. You can explore if you want, but you'll be coming back here later, so don't worry about it for now and go straight North to the Earth Crystal. Fight Titan and get three new jobs, including an upgrade for your White and Black Mages in the Devout and Magus.
17. Doga's Manor Dungeon
- You'll need to head back to Doga's Manor, which required the Nautilus instead of the Invincible. Note that the final one-time-only dungeon is coming up, so make sure you make a Save and are prepared.
When you enter Doga's Manor, he will take you to a one-time-only dungeon, meaning more missable chests and bestiary entries. As usual, before taking on the boss, make sure you check your map to check that you've collected all the chests.
As for enemies, you'll want to be sure to fell: Nemesis, Cyclops, Peryton, Humbaba, and Ogre.
- When you finish the dungeon, you'll get two key items - the Syrcus Key and Eureka Key
18. Final Dungeon Gauntlet - The Ancient Labyrinth, Crystal Tower, Eureka, and World of Darkness
- At this point in the game, you've gotten all the missable chests and bestiary entries before the final dungeon gauntlet.
- Now you can go through the Ancient Labyrinth for real and grab all the chests. Even though it is a near-final dungeon, it is still pretty straightforward. Just open your map to see where the chests are and how to continue.
- Afterwards, you are given a chance to save outside and enter the Crystal Tower. The Final Dungeon in Final Fantasy 3 is notoriously long - in fact it's nearly three final dungeons in one.
- On the first floor of the crystal tower, you can pick up a few chests and either enter Eureka (the bottom door) or continue up the tower (the top door). You use the Syrcus Key and Eureka Key respectively to open these doors.
- You want to enter Eureka first, which holds many powerful weapons for your characters. Even still, proceeding through this dungeon is relatively straightforward, just continue to check your map. Each of the floating orbs or weapons you'll meet have boss encounters you'll need to take down, so be aware.
- At the end of Eureka, there are some of the final shops in the game, plus a chance to heal up. You can Teleport from here to return to the entrance and save.
- Now you can do the rest of Crystal Tower, which despite its length, it still relatively straightforward. By now you've probably gotten adept at checking your map and determining where secret passages are.
- For those looking to fill the Bestiary, the Yellow, Green, and Red Dragons are rare encounters on the 5th, 6th, and 7th floor respectively. These encounters are effectively bosses, so be prepared.
- At the top of the Crystal Tower, you'll see a room with five dragon statues. THIS IS YOUR POINT OF NO RETURN. Make sure you have done everything you want to before heading onward. You should have a healthy supply of elixirs by this point.
- The World of Darkness is the game's final dungeon. You'll head to the NW, SW, NE, and SE corners of the map to find a boss-guarded Ribbon and a boss-guarded crystal.
- The Cloud of Darkness is a tough yet predictable Final Boss, doing an AOE damage attack every round. Have a Ninja throwing Shurikens, another heavy hitter, and probably two dedicated healers. Now's the time to use your elixirs! You'll get them back in the clear save anyway, so don't skimp on them now!
- Note, once you beat the game, you'll be prompted to make a clear save, which will bring you out of the dungeon as if you've completed everything up until the Final Boss encounter itself. Use this opportunity to collect anything you might have missed at this point.
Cloud of Darkness is no more, and your class-driven story is over. Next up? Well, pick a game, and hit up the next in our Minimalist Final Fantasy Walkthrough series: