
Live A Live Bad End walkthrough: How to complete the Evil Final Scenario
If you're of a more evil disposition, or a completionist, you might want to aim to trigger the Bad End of Live A Live - but doing so requires you to take a different route through the game's final chapter and experience a different final chapter to the norm.
Consider this guide a companion to our main walkthrough to Live A Live's final chapter. That page covers the normal, standard-issue route to the 'good' endings of the game - while this walkthrough details the alternative route that leads to the ending where the bad guys win.
None of this can be accessed or impacted in any way until you've unlocked the final chapter selection by completing all eight main stories. If you haven't yet done that, hop back to our Live A Live walkthrough guide hub, and then to the chapter you're currently on.
Live A Live Bad Ending Walkthrough: The Evil Final Chapter
Upon completing The Middle Ages chapter you’ll unlock the final scenario, The Dominion of Hate. At the onset of this chapter, you'll be asked to choose one of the eight characters from the previous chapters. For story reasons that are obvious once you've played all eight chapters, if you choose seven of the cast, you'll be on the path for the Good Endign, as described in our standard final chapter walkthrough. But if you choose Oersted... things are different.
Oersted doesn't spend his final chapter fighting with the other characters, and recruiting them to make one big super team - he spends his finale wiping them out, in the name of evil and the end of everything.
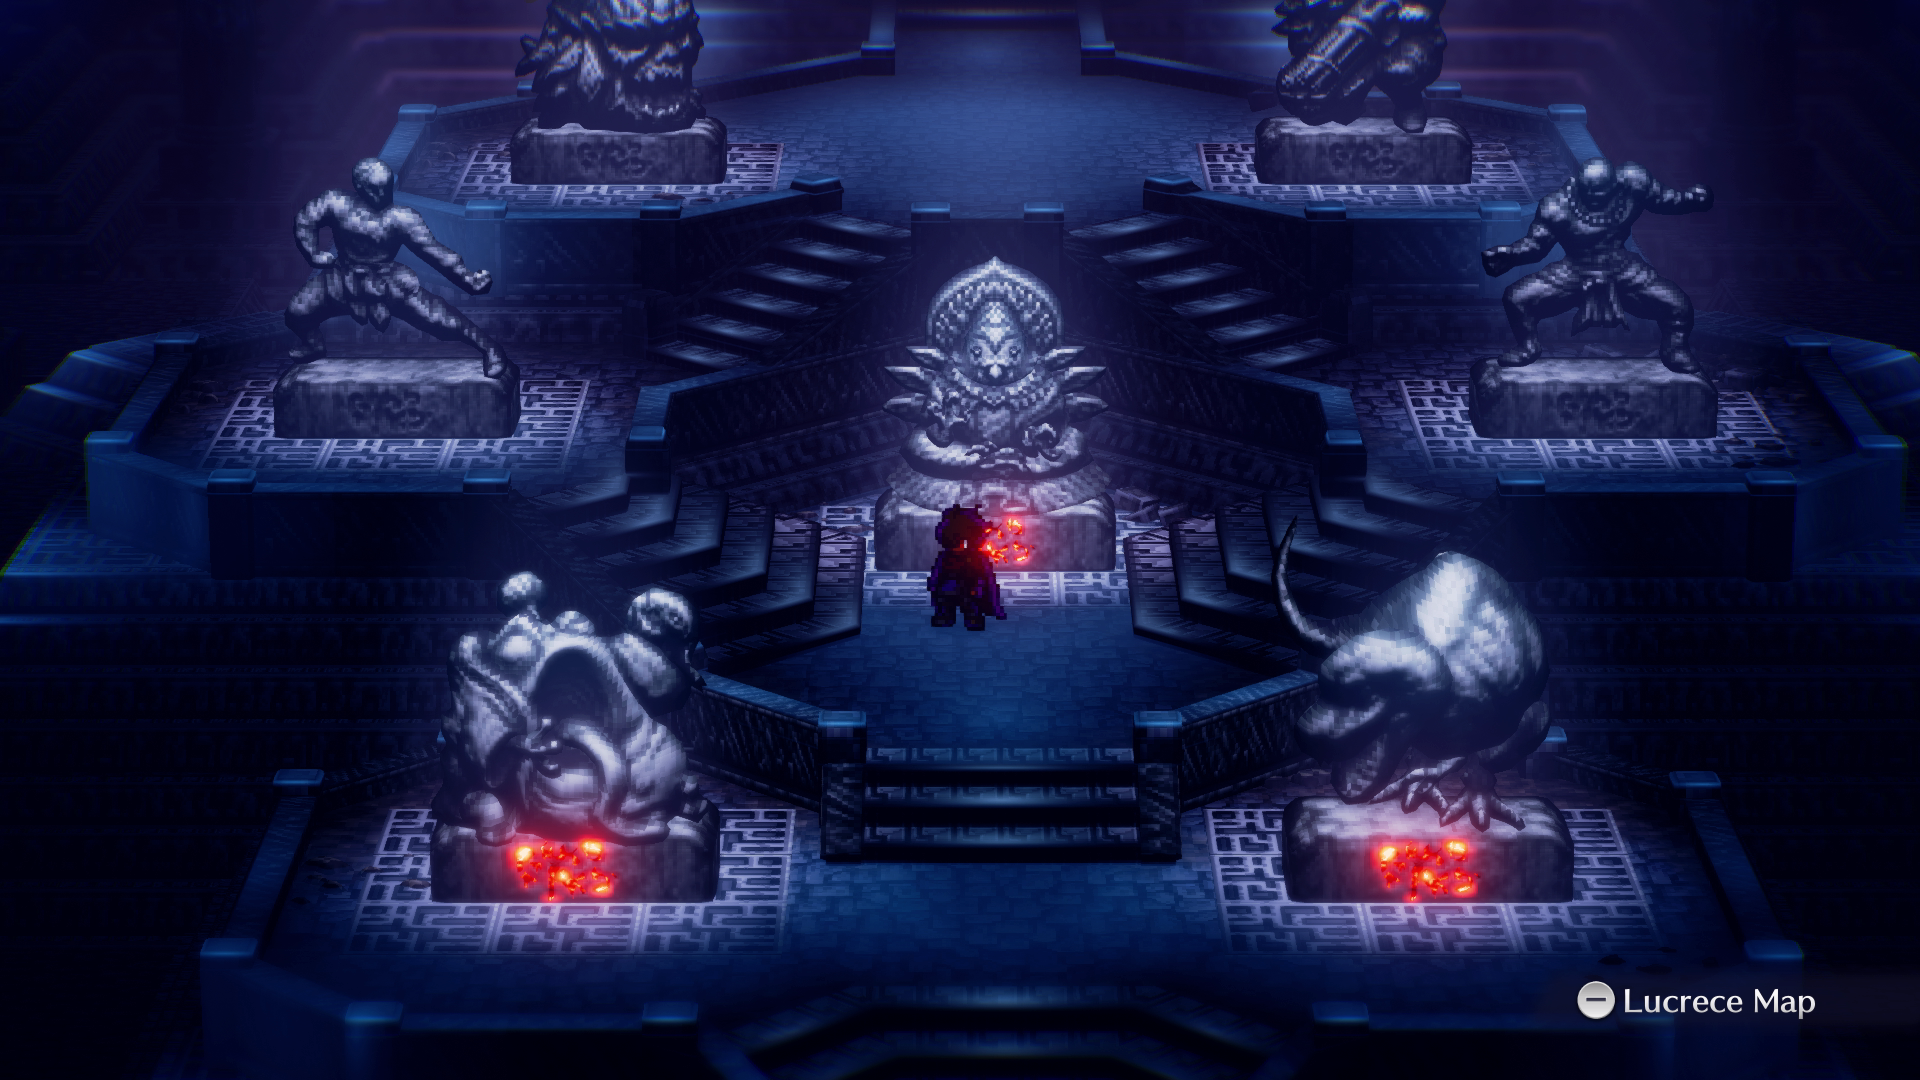
To get started towards the bad end, choose Oersted. When the chapter starts, simply walk down from the Archon’s Roost into the Seat of the Betrayers whereupon Odio (formerly Oersted) will use his powers to ensure victory for those who were cheated out of their rightful path.
In this scenario you’ll be playing as the final bosses from each other chapter - this time working to win each fight. You can tackle this in any order but be sure to save between successes.
There's one hidden extra ending here - if you struggle in any fight, an ultimate move unlocks - replacing the battle command. Triggering that launch causes a game over, but also provides an alternate sort of finale.
Boss Fight: Gamahebi vs Oboromaru
Player Abilities:
- Revolting Croak (Wind), Deals damage and applies defense down
- Venomous Scourge (Blunt), Damages target and applies poison tiles over a large area, you absorb poison damage.
- Bloodsucker (Void): Drains HP
- Stomp (Thrusting): Damages target
Boss Fight: Odo vs Pogo
Player Abilities:
- Chew (Slashing) Deals damage.
- Rend (Slashing) Deals damage.
- Swoop (Thrusting) Deals damage, one of the stronger attacks.
- Trample (Blunt) Deals damage and pushes the enemy away, also a strong attack.
Once she’s down, Zaki will appear on the field. Use trample to interrupt Pogo’s attacks, and watch out for poison tiles as that’ll be where you take the most damage.
Boss Fight: The Great Inko VS Steel Titan
Player Abilities: :
- Odeodeo Kick (Agile) Deals damage and pushes the enemy.
- Binding Unity (Water) Multihit, inflicts restraint.
- Odeodeo Showa (Wind) Deals damage and inflicts snare, applies defense and attack down.
- Divine Glory (Demonic) Counterattack, also applies defense and aim down.
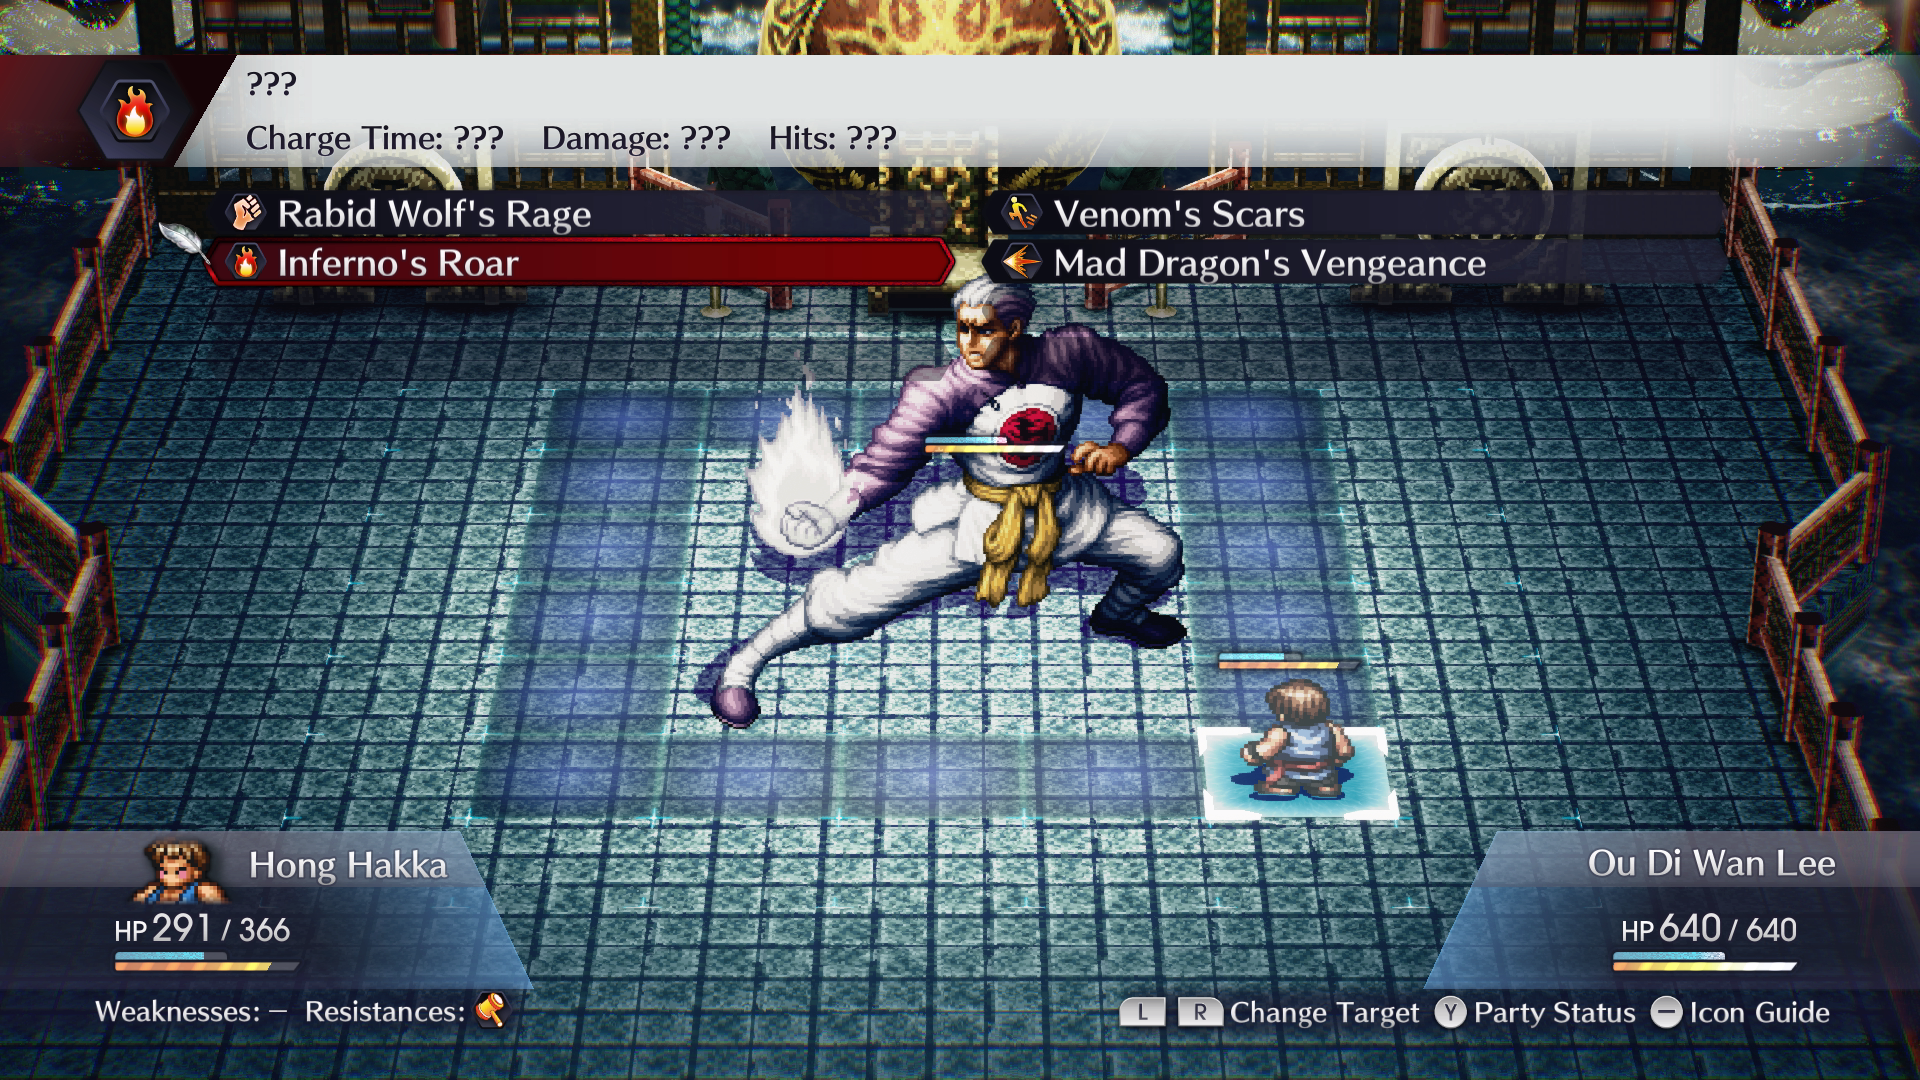
Boss Fighter: Ou Di Wan Lee vs Master Shifu
Player Abilities:
- Rabid Wolf’s Rage (Martial) Multihit and also a counterattack, pushes back the enemy.
- Venom’s Scars (Projectile) Deals damage.
- Inferno’s Roar (Fire) Deals damage.
- Mad Dragon’s Vengeance (Thrusting) Multihit attack, pushes back the enemy.
Boss Fight: Odie O’Bright vs Masaru
Player Abilities:
- Diving DDO (Projectile) Deals damage but debuffs you with lowered attack, aim and speed.
- Malevolent Shout (Spirit) Heals your HP and gives increased attack, aim and speed buffs.
- Reaper’s Scythe (Agile) Multihit attack, pushes back the enemy.
- Bonebreaker (Martial) Deals damage.
Boss Fight: O. Dio vs The Sundown Kid
Player Abilities:
- Gatling Barrage (Projectile) Multihit very strong attack, requires a charge.
- Wolfsbane (Spirit) Deals damage and pushes back the enemy.
- Flaming Cocktail (Fire) Deals damage.
- Bugle Charge (Wind) Recovers HP and adds buffs.
Charging up Gatling Barrage is your best bet, as you may be able to knock out the Sundown Kid that easily, and then clean up Mad Dog afterwards. Make sure to use Bugle Charge to heal if needed.
Boss Fight: MUR-TH-UR Matrix vs Cube
Player Abilities:
- System Restore (Wind): Recover HP
- Intrusion Protection (Wind): Deals damage
- Threat Assessment (Demonic): Deals damage and applies a debuff.
- Reformat Sector (Void): Deals damage and applies lightning tiles to the area.
Congratulations! You ruined everything. I hope you're very happy with yourself.
Naturally, this isn't really the intended end of Live A Live... so go play the final chapter as the heroes if you haven’t already, or check out our endings guide for information on more ending permutations.
Live A Live Walkthrough Hub / Chapter Walkthroughs: