
Twilight of Edo Japan walkthrough for both Pacifist and 100-kill runs | Live A Live guide
The most complicated of the story chapters in Live A Live is undoubtedly that of the Twilight of Edo Japan - mainly thanks to the fact that the way the chapter is set up means you can play it in a few different ways. In the chapter, you play as Oboromaru, a humble ninja who has a powerful choice in front of him...
Because this chapter can play out in one of two very different ways, it's more complicated than the others. It can be short or long in length depending on approach - and the difficulty varies too. This walkthrough guide to the Twilight of Edo Japan chapter covers both ways you can play this unique chapter of Live A Live, with step-by-step instructions to make the most of it. We've got the same for every other chapter in the game - just visit our walkthrough hub.
It is an age of strife and bloodshed which threatens to consume an entire nation. In the shadows cast by the fires of chaos, a shinobi is given mission of paramount importance. Into a castle filled with deadly traps and wary enemies he must venture, that he might free a prisoner of singular talents. Yet will the shinobi carry out his task with a merciful heart, or will he put his every enemy to the sword?
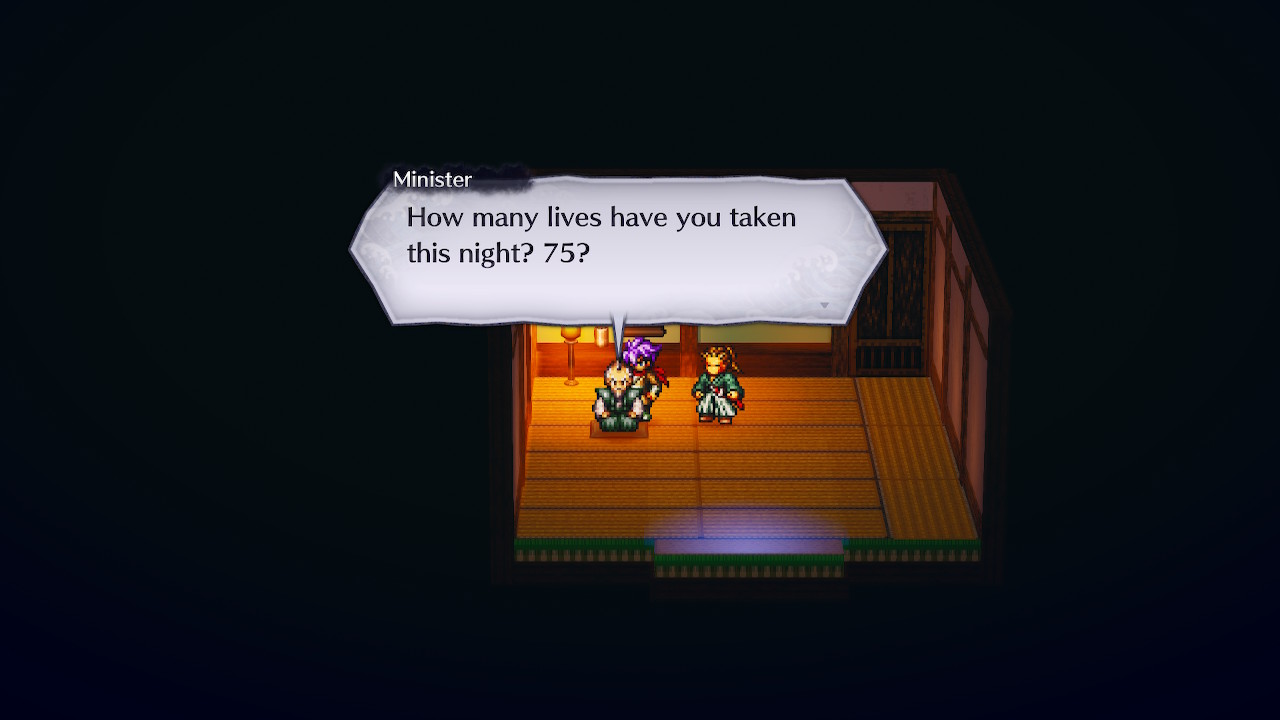
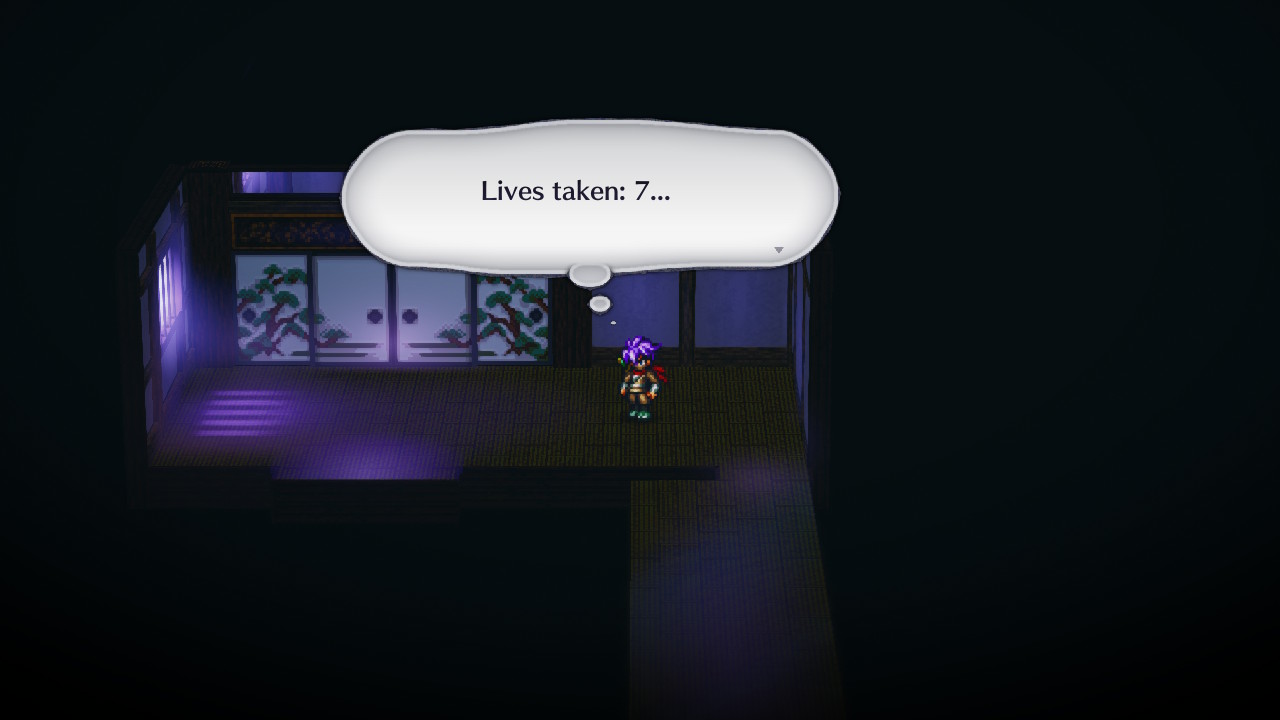
Live A Live Edo Japan Walkthrough: Lives Taken Counter Explained
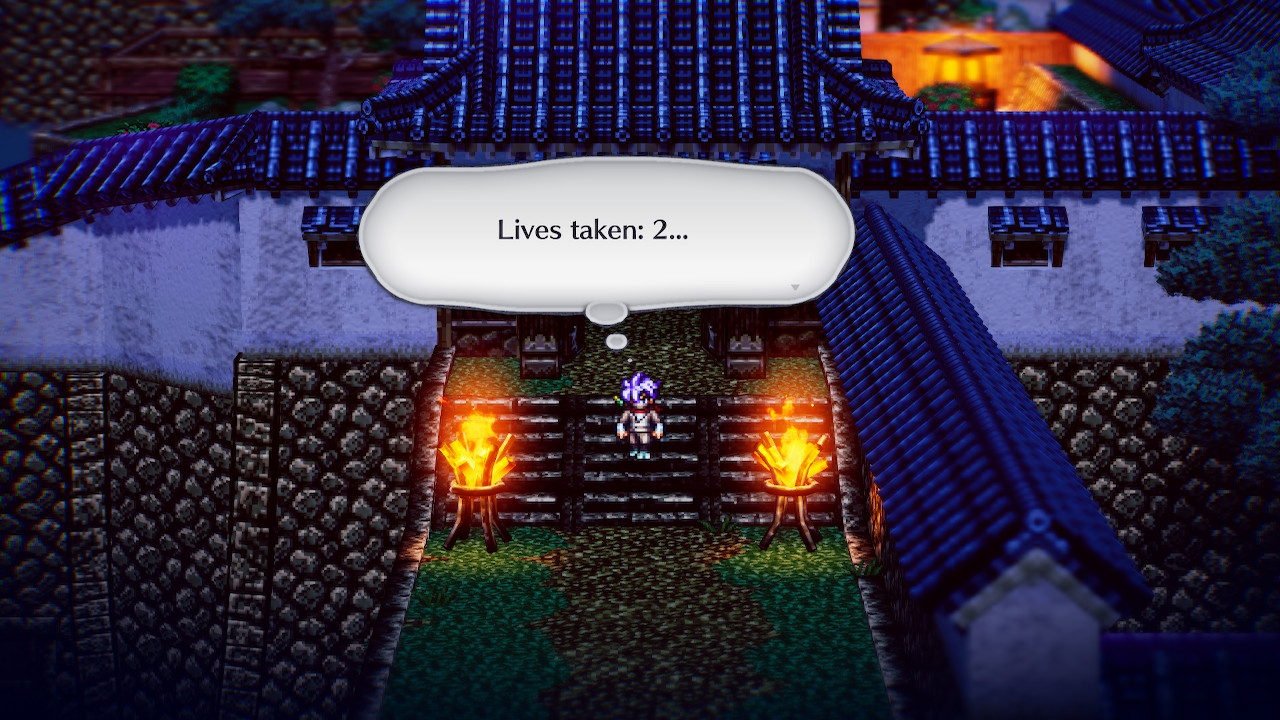
So, what is it that makes the Twilight of Edo Japan chapter so different and so unique? Well, it's all down to one simple fact: you have a choice between completing the scenario in a bloody, brutal way, or by going for a no-kill run - which is far more complicated.
Kills count as the murder of any human - so that means you can battle ghosts, demons, and other monsters without raising your kill count. Completing the mission without any bloodshed carries a unique, powerful reward - a strong weapon that will prove very useful later on.
To help you understand how you're doing on the mission, there's a Lives Taken Counter which tracks your kills - and you shoud pay attention to this carefully if you're going for a particular outcome. This walkthrough guides you through both extremes - a pacifist no-kill run, and a murderous 100-kill spree.
Ultimately, there's pros and cons for aiming for both extreme challenges, and you might actually want to replay this particular scenario twice in order to experience both. The mission is the same regardless of approach - it's just how you execute it, and if you execute people. Here's the pros and cons of each:
No Kill Run Pros & Cons
Pros
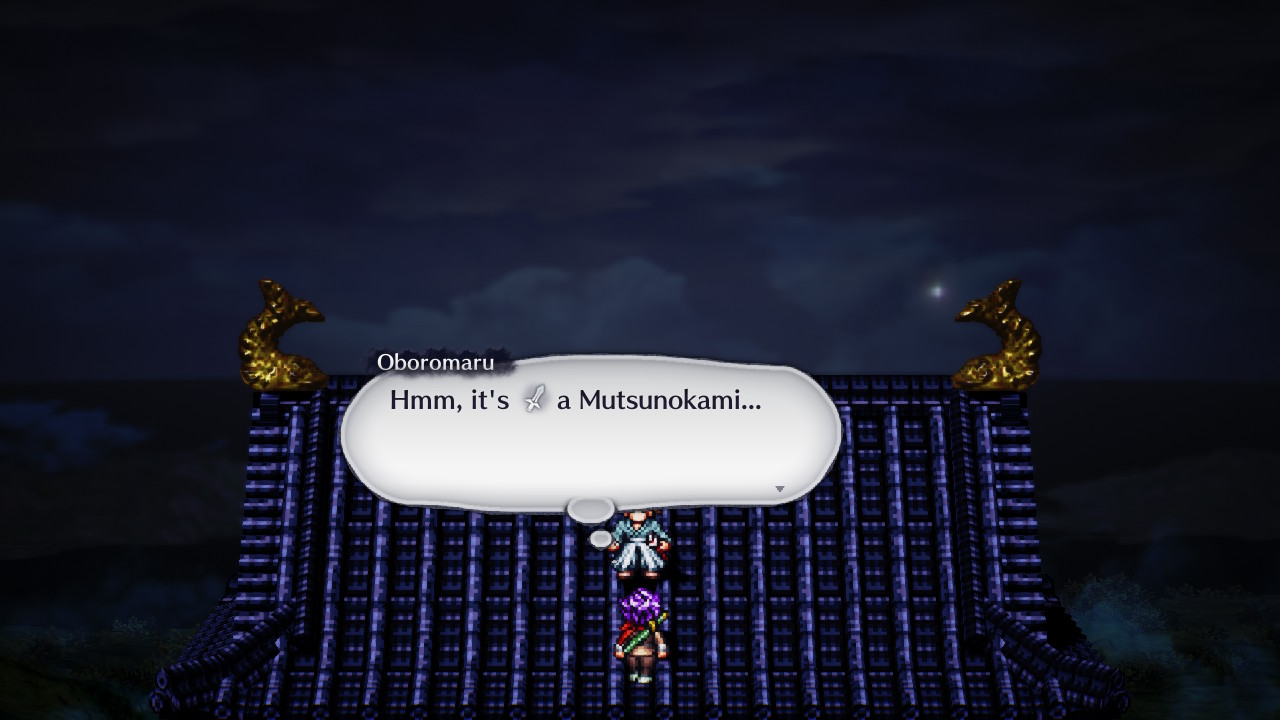
- Receive Mutsunokami (Attack +40) at the end.
- Get the best possible ending.
- Don't have to deal with combat encounters.
- Can get Goemon to respawn items including the Muramasa if you free him.
- You can get every Steam/PlayStation trophy in this run without doing a 100-kill run.
Cons
- Requires memorizing the password to avoid fights.
- Lack of EXP making you underleveled, only have a few location to grind. Making mandatory battles way harder than they should be.
- Some enemy encounters prevents you from fleeing and requires certain event triggers to avoid.
- Mutsunokami isn't usable until the final scenario. A stronger weapon can also be found in the final scenario.
- The Prisoner cannot be saved early to avoid the enemy encounter at the end.
100 Kill Run Pros & Cons
Pros
- Get a ton of EXP due to large amount of enemy encounter.
- Does not require to remember the changing password
- Can recruit the prisoner early.
- Can get a variety of items from killing enemies.
Cons
- Must kill everyone in the castle, even the innocent people.
- Lacks a completion reward. Perhaps an achievement when a PC Port exists?
- Must kill Goemon - this will prevent him from respawning treasures.
- Some enemies are annoying to get through, and the battles are mandatory.
- Miss out on Mutsunokami, but a sword with similar stats can be obtained by defeating a powerful optional boss.
- Can easily fail 100 Kill run if you can't find all the enemies.
- No Steam/PlayStation trophies specifically in this run.
Start the intro and name the protagonist. After the event scene, you will be at the entrance. You can leave the entrance to trigger a bad ending route. Anyways pick the best approach for you, the guide is going to split into two sections:
Edo Japan 0 Kill Pacifist Walkthrough
For the stealth run, remember that you can press the left face button to go into stealth mode. This run will also omit fighting the super bosses - which I'd highly recommend doing only in a standard or 100-kill run. Some first housekeeping:
- If you do encounter enemies, make sure you use the flee command in battle.
- Do not talk to anyone unless this guide mentions it and tells you to. Talking to people can lead to a battle and some of them you cannot escape.
- Due to how easy it is to mess up these runs, I would highly recommend that you save often.
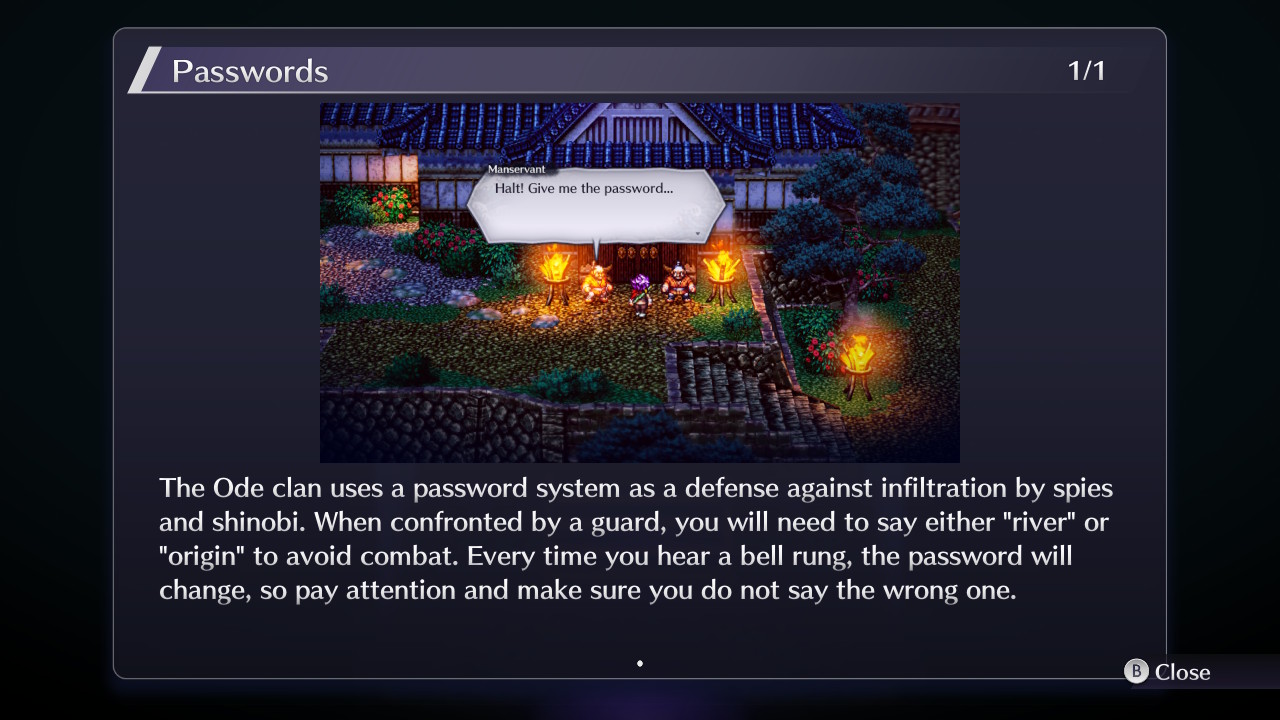
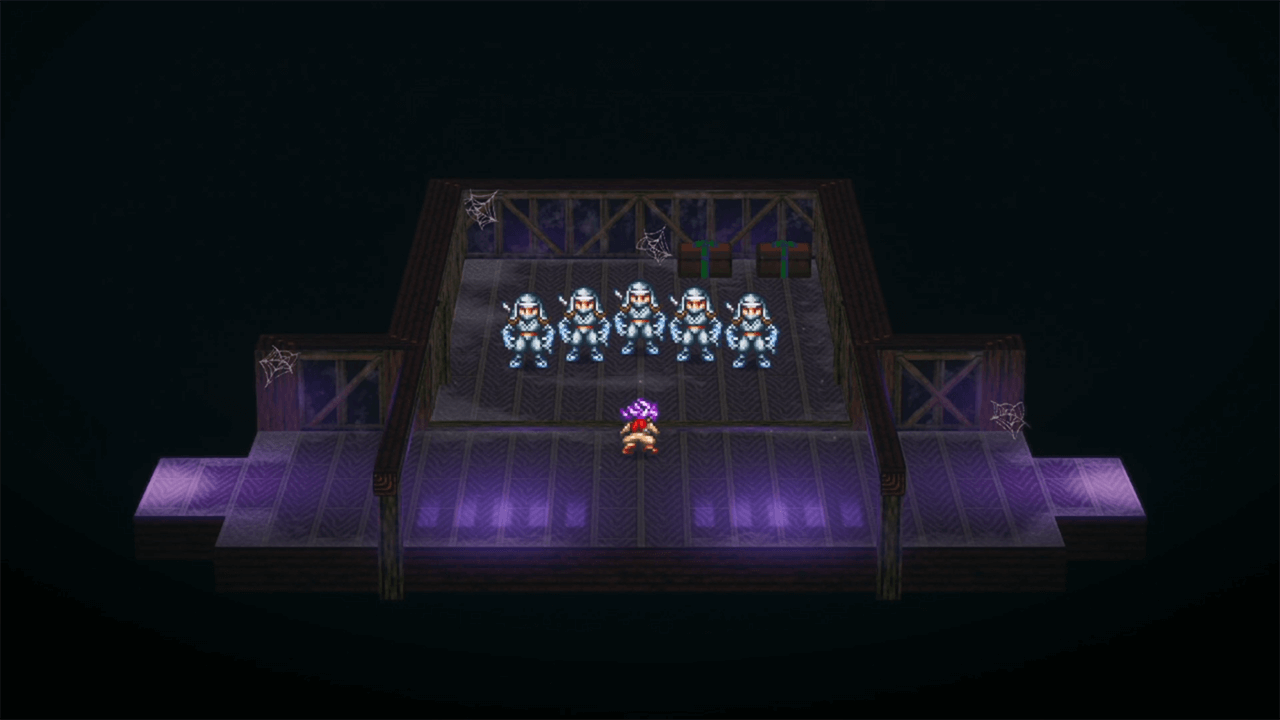
Sprint inside the castle to get pass the guards - use the Shadowed Self technique if you need to get the guards off your tail. If you engage in combat, make sure you flee. Enter the castle. Eavesdrop behind the wall and you will hear the secret password, which can be river or origin. The password will change based on when the bell is rung, which happens periodically - you need to pay attention and keep track to avoid being caught out.
After that head to the right and enter the door at the end of the hallway. Here, avoid the guard and pick up the item (Chain Mail), and then immediately leave. Now take the hallway west to the door left of the torch, and avoid the samurai, and take the north exit to the courtyard.
Head all the way southwest until you find another castle blocked by two guards (avoid the samurais on the way). Talk to them and enter the secret password (River). The guards will let you in. You will end up in Residential Palace 2.
When you're inside, enter the room on the far right side of the hallway. Then go behind the secret door in the upper-left corner of this room. Talk to Ninja nearby and say the secret password (River). The ninja will leave. Climb up the ladder.
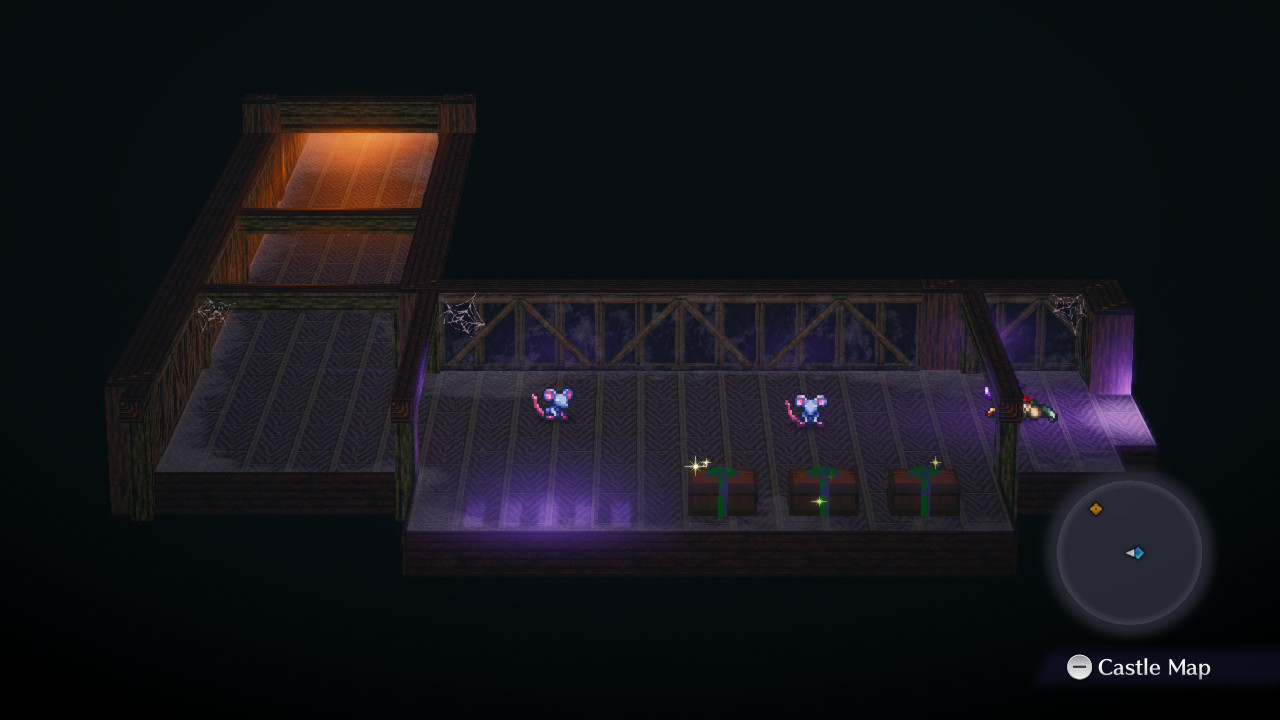
Watch the event by the thieves, then go south and pick up the chests (Koban, the other two are empty). Then go pick up the chest directly to the left side (Castella Cake). Then go up to find the exit. Open the chest (Suijin Tabi), then take the ladder to go down.

Leave the room at the bottom of the ladder, and talk to the samurai nearby and given him the password (should still be River). Return immediately to where you came from up the ladder. Go and examine the two mice a few times to make some noise, and then take the northwest exit here in the attic. You will see a shinobi show up. Initiate a battle with him, but immediately flee from battle, and take the left exit.
This will bring you back outside by the roof tiles. Follow the passage of the roof tiles to the SW. You'll walk quite a ways and into a small attic. Avoid the center portion of this small attic (remember this for later) and leave through the east side out. Eventually, the path will lead to a building in the upper middle part of the map. You'll be in an attic with some mice and chests.
The password should have switched by now. From now on, the password will be should be Origin from the bell ring. Inside the attic, open the treasure chests (Castella Cake, Storehouse Key) and leave from the east entrance that you came from. Don't go NW yet.
Follow the roofs back to the small attic from before, and go to the center portion you avoided before. The attic will collapse bringing you back to the starting area.
Run back to Residential Palace 2 (through the castle north of you, and then to the SW) where the secret password was first required. When you're inside, go through the leftmost-door, then straight north through another door, then into a hallway with three exits.
Take the southeast one. You will see two shoguns nearby. Grab the chests (Castella Cake x2), then leave the room, then take the north exit out. You will see two guards guarding the gate nearby. Go north and follow the path to the right and use the Storehouse Key.
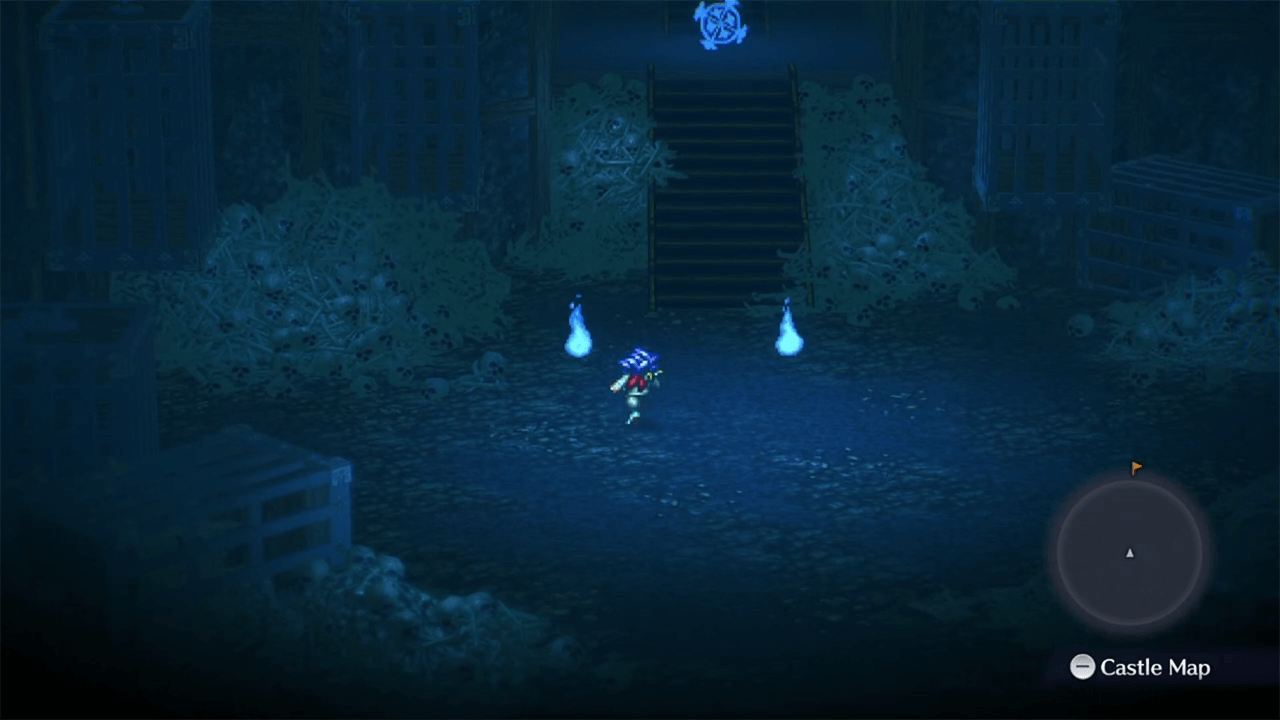
You will see a bunch of ghosts in this room. Good news - you can kill the ghosts, as those that are already dead don't add to your kill count. I suggest you fight them for some EXP, they are weak to Waterspout, which Oboromaru learns at level 3. Whatever you do, do not talk to the girl - this enemy is crazy strong compared to the ghosts. Grab all if the loot in the area (Shrimp Rice Ball x2, Ode Shuriken, Genji Tabi, Izanagi Scroll, Topknot, Koban).
Now, if you want to level up for this route in order to help with the mandatory boss fights, this is where you can do it - leave and return to make the ghosts respawn to level up. I would highly recommend that you level Oboromaru to level 7 or higher before proceeding further.
When you're ready to move on, return to the entrance of Residential Palace 2 (The place with the two guards that require the password, its to the south). Just to their left, there is a lantern. Just right below there is a door, use the Storehouse Key to get in.
A ninja will pop in. Avoid fighting him and pick up the chest to get the Dungeon Key. Leave and re-enter Residential Palace 2 . Take the left path and take middle exit this time. Use the secret door on the right to go to the attic from a while back. From here take the north-west exit to the rooftop again. Run all the way to the end of the roof until you reach the building to the north center part of the map once again.
Inside the attic, go to the left side. You will find a room full of clock gears, and you'll see a small scene with a mouce and the conveyors. Move left, to the middle and flip the switch. There are four more switches you will need to press:
- Go all the way to the left end. Then head north ride the gear to go to the north part. Then go on the escalator belt to go right. Then look for the another belt to the right to get to the second switch.
- Flip the switch then ride the gears to go up. Go all the way to the right to go south and return to the starting area. Then move all the way left to the first switch. Go ride the gears above to grab the chest, you will get the Hook and Rope Set. Go back down and move all the way to the left. Ride the escalator belt in the northeast part of this corner section of the map. When you're at a 4-way fork, go down and press the third switch.
- The next switch is found in the very northwest corner. Just ride the gears north until you reach there. Press the switch and grab the chest (Hook and Rope Set). Go back down two gears, then right over a conveyor belt, then down a gear, then left and find the last switch in the bottom left corner. Press the switch, then go up and you will see a ladder, there is a chest (Fujin Scroll) just behind the ladder, if you grab it, you will need to backtrack to where the ladder is.
Take the ladder down and go to the stairs to your left. Keep moving until you reach a ladder to another attic. Go to the middle to find a pole. Use the rope set so that you can get over the other side. (If you accidently fall down, use the Dungeon Key to get out). Take the ladder to the bottom right to go down. Take the stairs to the left. There is a secret door to the left. Keep going until you find a man sitting there.
Talk to the man - he's safe - and he will give you a bunch of gifts if you haven't yet killed anyone. Then take the south exit. Go to the next room over to the right, open the chests (Fujin Scroll, Enma Charm). Go upstairs, through the left door, and then there will be a secret door on the very left side.
Keep going until you reach the attic. Inside the attic there will be spirits. Just like ghosts, defeating them does not add towards the kill count. Enemy encounters here usually come packed with a lot of enemies, you simply just need to defeat the leader to instantly win the battle.
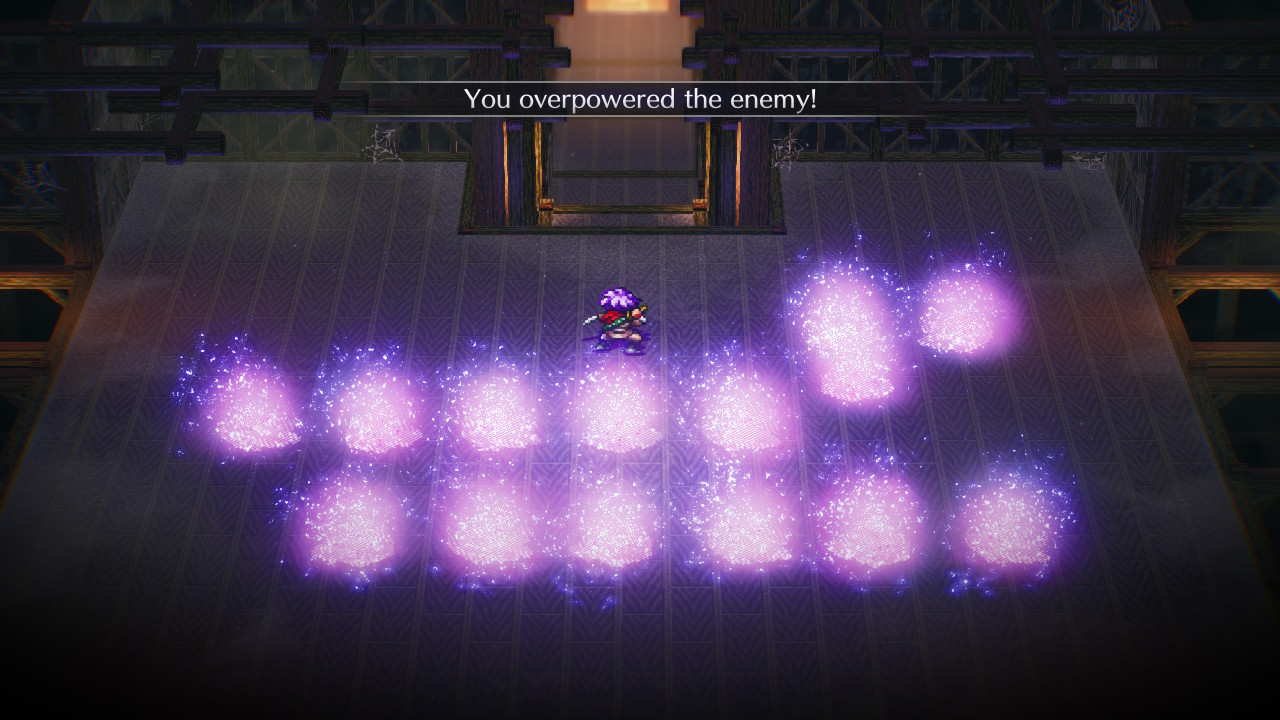
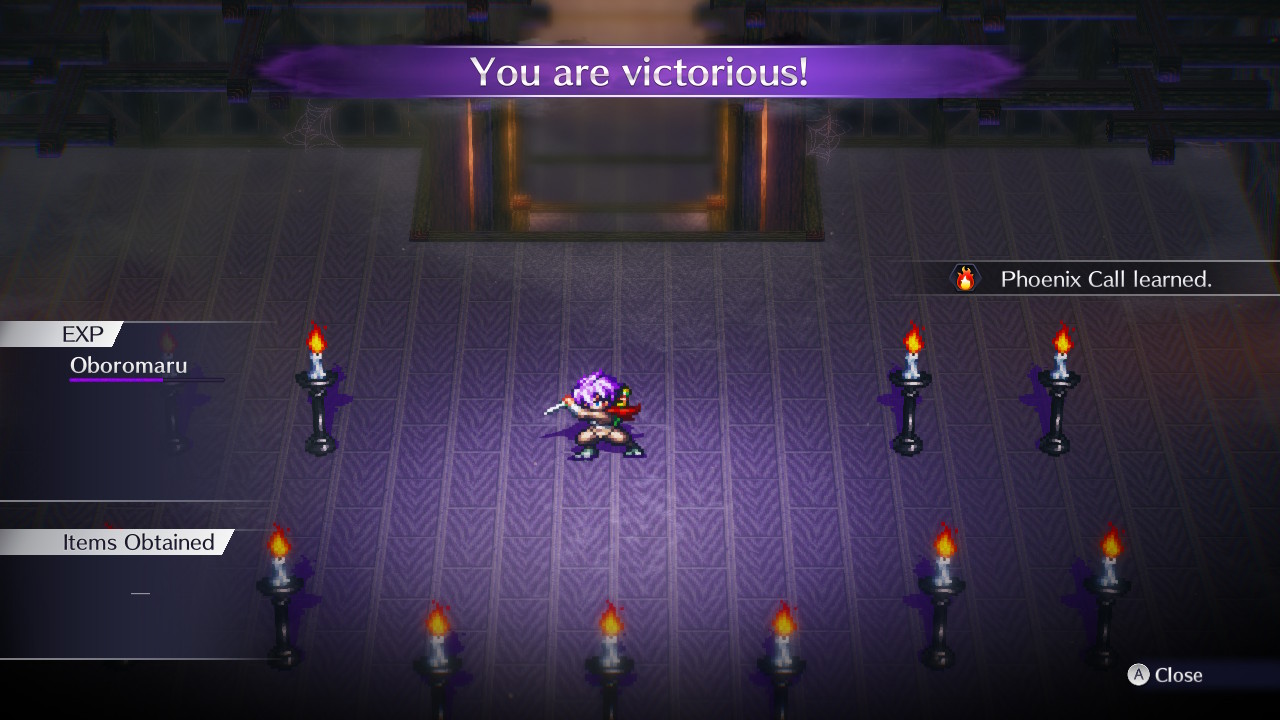
Anyways, follow the path to the right until you encounter the statues. You can learn new abilities from them if you get hit by their skill. From The Icon of War you can learn the Bloodlust ability, and you can then learn Phoenix Call from the Icon of Fire. The statues are weak against physical attacks, Oboro has a skill that can instantly sweep them - Cross Flare.
After the statutes are cleared, go to the bottom left corner, and grab the treasure (Genji Armor).Then take the ladder on the bottom right to go down. Then go north and pass through the shoji (door). Then examine the secret door multiple times. Then pick the first choice ("Not one bit!"). The first boss encounter will show up here; and yes, you can kill the boss.
Boss Fight: Puppet Master Gennai, Electrode
After killing the boss, return to the ladder in the south end. You will end up in the attic again. Then take the ladder to the northwest side. It will lead you back down. Then take the stairs to left and go to the ladder beside it.
You will end up in the other side of the attic. Grab the chest to your right (Hook and Rope Set) and the one in the bottom left corner (Genji Helm). Then take the ladder in the bottom right side to go down. Go downstairs and take the ladder to your right. Grab the treasure chest directly in front of you (Fuma Shuriken), and the one in the north corner (Enma Charm).
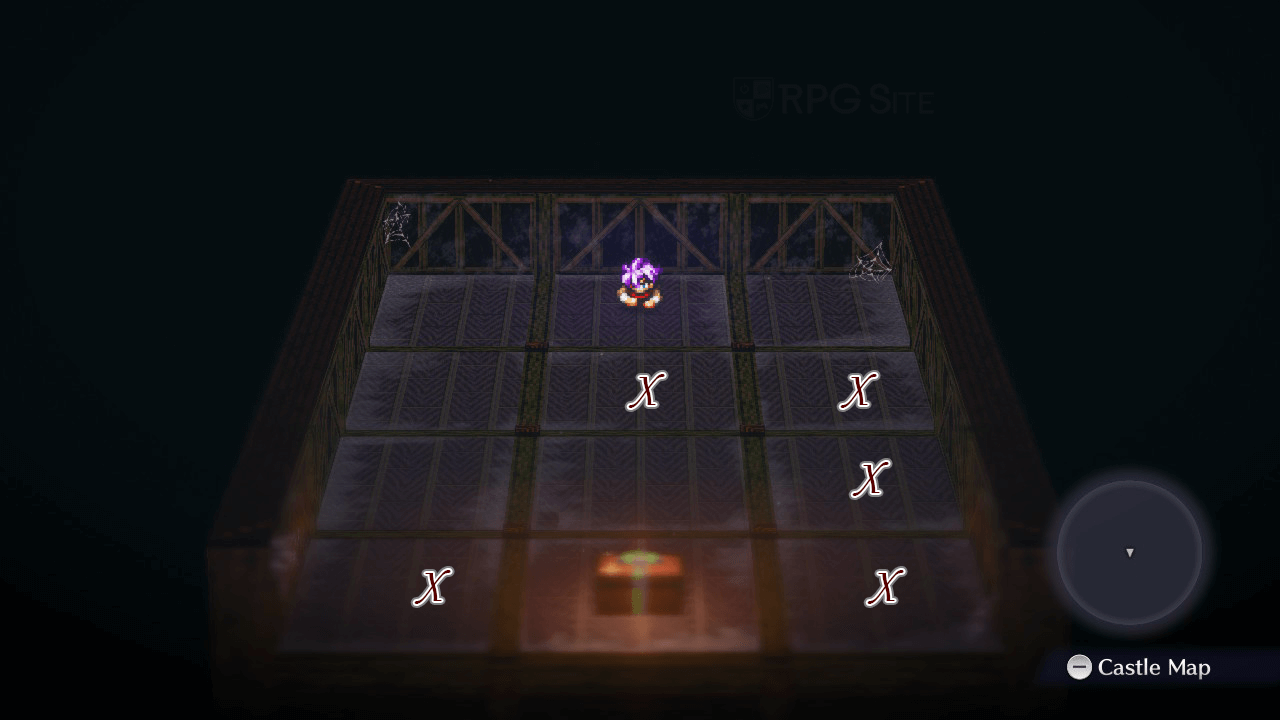
Go all the way to bottom left side of the map. You will find a chest (Shinobi Wristguard). Open it and then fall down on the hole just directly above the chest. This will bring you to a secret chest. Be careful when navigating through this part, there are many invisible holes here. Use the picture below as a reference. Grab the chest (Geta-load-of-these-geta) and then go to middle hole to fall - but deliberately.
You will end up in the jail, use the Dungeon Key to get out. Then open the secret door to the east exit to go downstairs. Head to the very left side and open the chest (Koban). Then examine the cell in the middle. Use the Dungeon Key to unlock it.
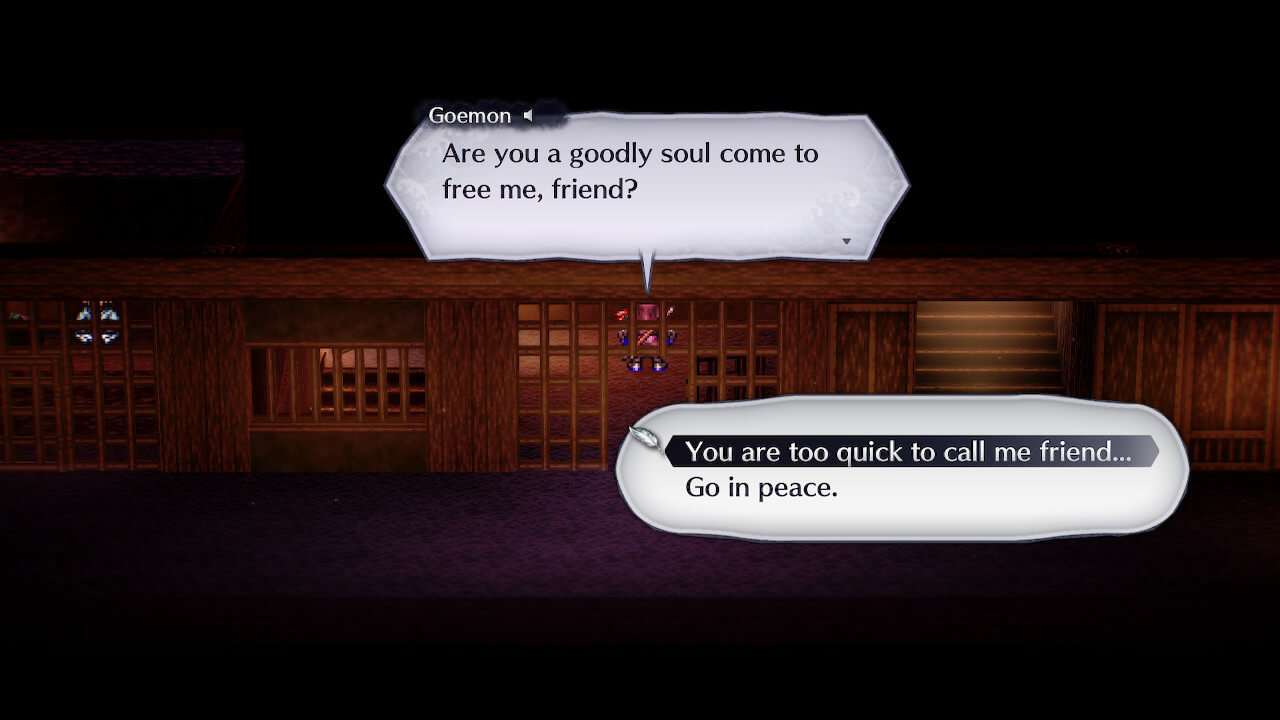
Talk to the ninja Goemon and pick the second choice, Go in Peace. Return upstairs. Then go back down, examine the treasure to the left again. You will get another Koban, and a note from Goemon. Since you've rescued Goemon, there will be some chest that are replaced or respawned by Goemon. This even includes respawning the Muramasa from killing the secret boss.
With that done, there is an optional super boss you can fight. However this is totally optional and you should only fight it when you get another party member and have the best stuff you can find. If you decide to fight it, take the secret door to the right. It will lead you outside by the waterway. There will be a big shadow underground, touching it will start the boss fight. Defeating the super boss will drop the Sujin Scale. This is accessory that lets you absorb damage from water tiles.
To progress the main story, go to your cell you fell into moments ago and then go to the very left side of the map. Go through a set of stairs, and then you will come across a chest right beside the man. Grab it (Kotetsu) and take the south exit. In this room there is secret exit to the bottom right. Go there and open the chest to get Izanagi Scroll. Then leave back through the secret door and take the south exit.
From here go all the way to very far east exit. There's a lot of samurai in the way, but of course we want to avoid fighting them. When you get near the two samurais near the end, go up (not down the staris). Here, there's three different shoji (door). Go to the one to the right. You will see something running away. Chase it and it will lead you upstairs. Then enter the room to the bottom right. Grab all the spoils near the woman, this includes the sword on the wall (Kanesada, Ode Shuriken, Koban, Shrimp Rice Ball). Then leave the room and go south.
Go all the way south .Then go east, in the first door; there are some treasures there. Grab the treasures (Fuma Shuriken x2, Kiku-ichimonji (Castle Gate Key for SFC)). Then head to the right and answer the password correctly to get through. Follow the path north and eventually to a set of stairs.
Go upstairs and keep moving until you reach a room with a chest and a samurai. Open the chest to get a Hook and Rope Set. Now we need to backtrack a bit. Leave by the north exit, go downstairs and go to the east end. Keep following the path until you are going up through several shoji doors. Here, there is a secret door to the left. Use the image below as a reference.
Although you have been to this area before, there is now something you need to do here. When you're up the attic, take the southeast ladder. Then take the stairs and then the ladder. The chest to the left should have respawned by Goemon. Open it to get a Genji Helm.
Take the upper left ladder to go back down. Then take the stairs to your left and it will lead you to a ladder to another attic that you've been in before. Again, open the chest in the very southwest corner to get another set of Genji Armor. Go back down out the attic by taking the ladder to the right. Go north pass the shoji. Then examine the wall to the very upper right - where you can see a little slit. Here, you'll want to offer Koban by giving it a coin 3 times.
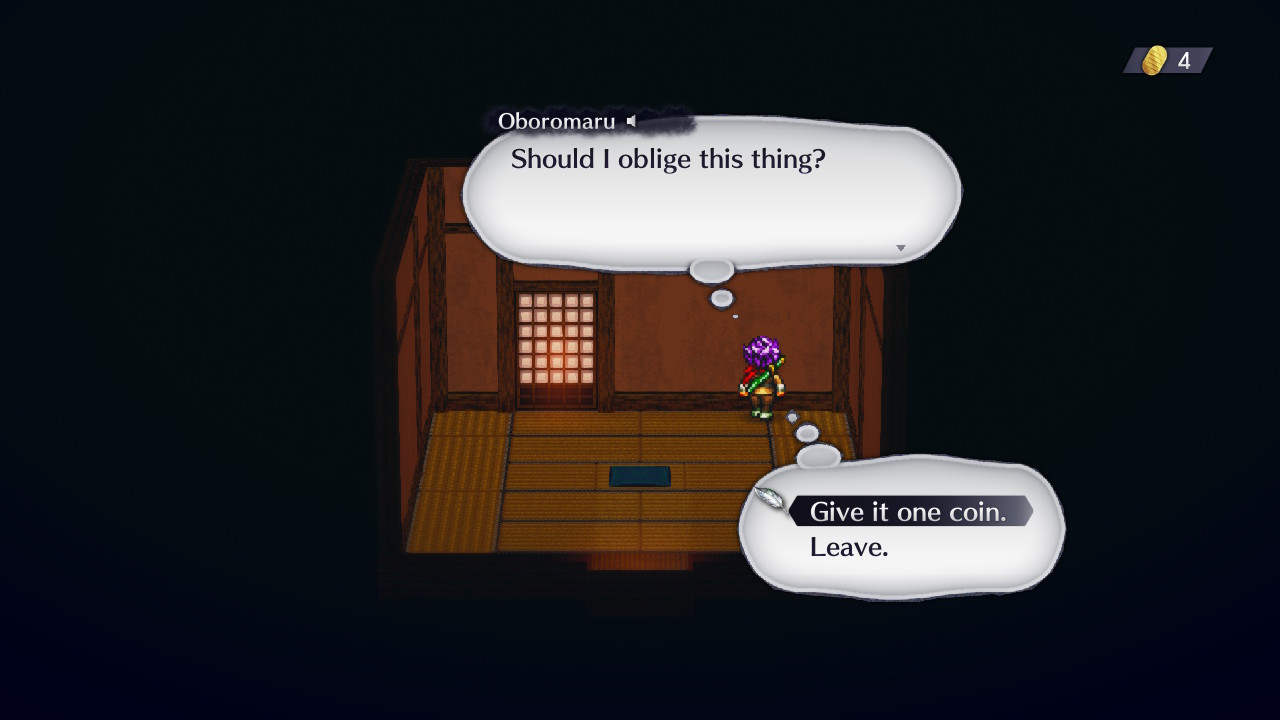
You will hear a sound when this is done successfully. Then take the south exit. The passage has been changed and you will see a mysterious doll. Offer the a doll a Mainspring and a boss fight will trigger. Again, this is a kill-friendly zone that won't impact your kill count.

Boss Fight: Mimic Mammet
Afterwards the boss will join your party. Be careful when navigating, there are holes in the center of each room in the area, and if you fall down your buddy will die and you'll end up in the dungeon cell again. The Puppet is required to get rid of the enemies at the rooftop without adding to the kill count. If you decide to bring the puppet to fight the super bosses, the robot is unreliable and will break from events such as stepping into the water. When you're set, return to the previous area and examine the hole and insert all the Koban. Then leave through door above and take the left exit out.
Go upstairs - up here the mouse will scare the your buddy away, which then lets you enter into the last room without adding any kills. Go inside and another friend will join you in battle. Encounter the ghost to start a boss fight:
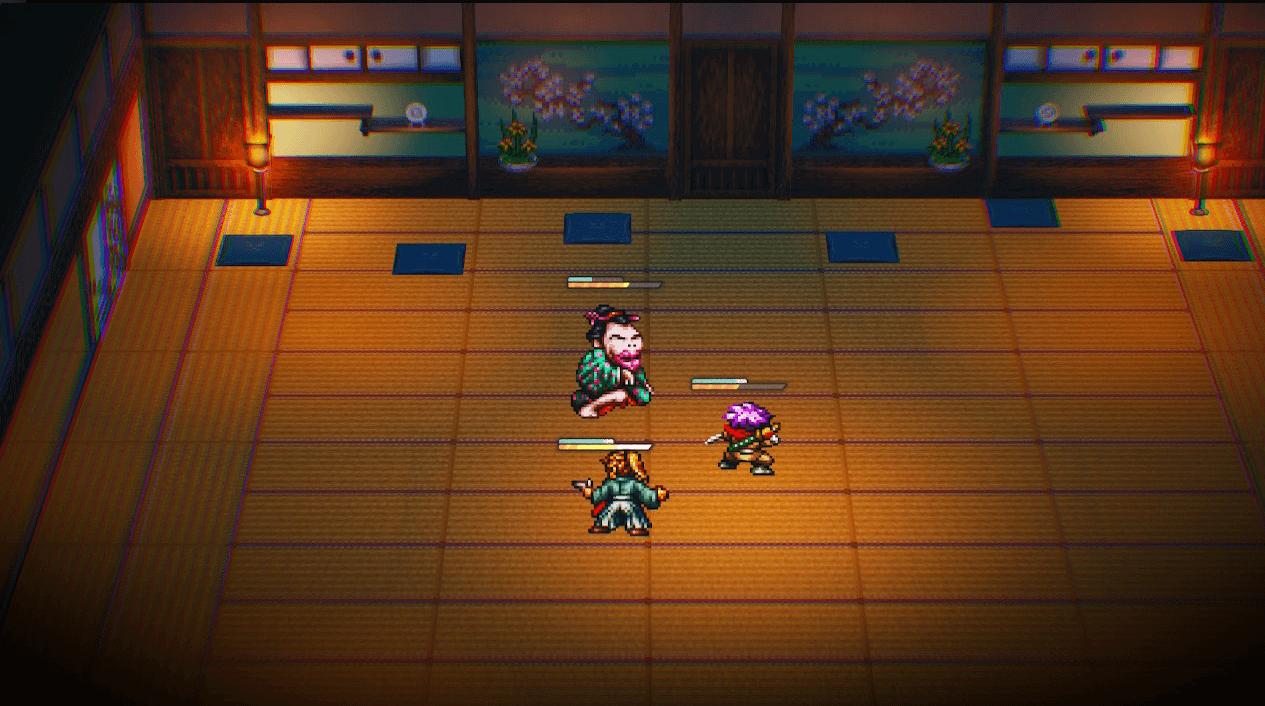
Boss Fight: Miyamoto Musashi
If you friend ends up getting downed, make sure Oboro stays as far away as he can. This way it will keep the boss constantly moving without using its most powerful strikes. Distance is key here, as this boss can easily K.O. any of your party members in two strikes.
After defeating the boss, examine the scroll to the upper right. It will lead you to a secret passage. Go down and you will fight another boss.
Boss Fight: Yodogimi
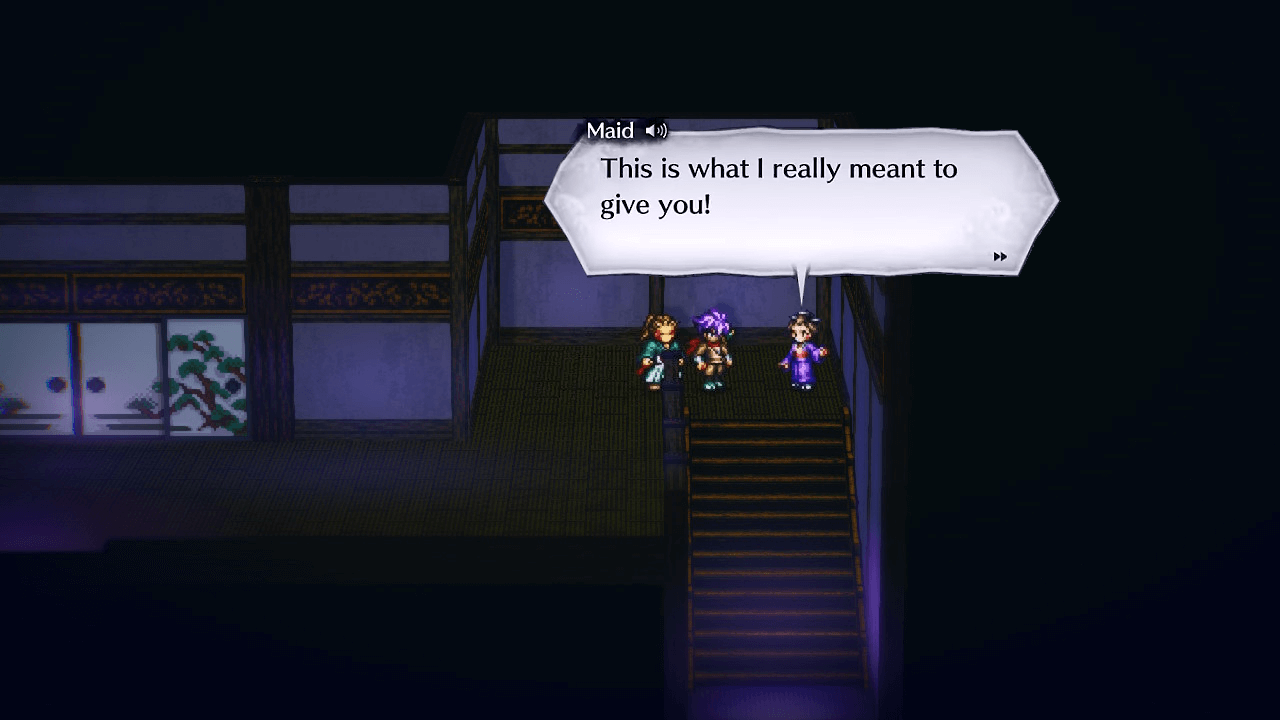
Go upstairs and a woman will offer you a gift. Accept it. You will get the Maid's Sash. But hold on there is another gift from this lady. You will need to stand in this room for about 15 seconds and wait until she returns. Then you talk to her again and you will get the Lacquer Medicine Box from her (Special Attack +30 and can be used as a healing item). This is the reward for sparing all the women in the Twilight of Edo Japan playthrough.
At this point, I suggest you make a save file and prepare your soul. When you go inside the room to the north, the final boss battle of this scenario will start.
Boss Fight: Ode Iou
After defeating the boss, head outside you will face his true form.
Boss Fight: Gamahebi
The best thing to spam is Oboro's fire ability to change the tiles into fire. If you prefer something with better range, then use Phantom Butterflies.
Be aware that the boss attack can instantly switch the entire field into a tile of poison. If the boss stays on this poison it will heal itself. If that happens, use Oboro's fire ability to switch the ground back to a fire tile. One of the things you can do is have the prisoner use Warning Shot - this can interrupt the boss's charge bar. In the worst case scenario, use your attack items like Fuma Shuriken, they can do a ton of damage because of its large amount of hits.
If you successfully reach the end without killing anyone, an event scene will play out and the prisoner will give you the Mutsunokami.
During the ending scene, there is a choice prompt, however gameplay wise it makes no difference. Once you're finished, save the clear data.
Edo Japan 100 Kill walkthrough
You might think that the stealthy route is the more difficult route, and that just going for bloodshed would be easier - but Live A Live doesn't make things so simple. In this run, one of the harder challenges is making sure that you find everybody and don't miss everyone to rack up the full 100 kills, innocents included.
When playing the 100 Kill run, it is highly recommended that you save often. This run is easy to mess up. If you totally mess up, you can still clear it as normally, as there isn't anything special for getting the 100 kill ending - its mostly an extreme challenge for players that want to kill everyone in the castle. You also want to avoid killing the women until much later.
As you arrive the gate entrance, kill the first two guards, then move forward and kill the next two guards. Then enter the building to Residential Palace 1.
- Kill Count: 4
Eavesdrop behind the wall, you will hear the secret password. Which can be river or origin. The password will change based on when the bell is rung. Then go to the room on the right side of the building. Grab the chest to find a Chain Mail. Then kill the guard near it. Leave and go to the room next to it and kill the samurai sitting there. Then go to the left hallway and then kill the samurai. Leave the palace through the northwest exit to the courtyard.
- Kill Count: 7
As you're outside, kill the two samurai on your way to the second palace. Then go to the two guards, answer with the wrong password so that you can fight them. Kill the guards and then go to the left side of the building - there is a merchant hiding there. Kill him and then enter Residential Palace 2.

- Kill Count: 12
When you enter, kill the samurai directly in front of you. Then go to the room to the right and go through the secret door. Talk to ninja by the ladder and answer with the wrong password to engage in combat. Leave and kill the man in the previous room. Move to the room to the left and kill the two people there.
Then go the left hallway, it will split to three rooms. Go to the center one first, go to the secret door, you will find a ladder to the attic. Climb up and open the chest (Suijin Tabi).
Examine the hole to the left to peek the room below. Then head back down, and go to the room to the right. Follow to the end and take the bottom right exit. Open the two chest (Castella Cake x2). Then kill the two shogun that are talking.
Leave the room and return to where you were before. Head left and talk to the samurai, answer with the wrong password and kill him.
Head inside and Kill the old man, but spare the lady. These two will only spawn if you peek from the attic from earlier. Then go to the room to the right, and talk the man. You will engage in combat with two ninjas first. Kill them first, and then kill the man. Then climb up to the attic, and go south and pick up the chest (Castella Cake). Afterwards, go to the upper-left exit, you will engage in combat with a ninja. Kill him and go outside on the left.
- Kill Count: 25
You will end up in the roof tile, go down until you reach the first rooftop. You can climb up and go inside. When you approach the nearby chest. five ninjas will come out of nowhere to fight you. For this fight, if you figure out which one is the enemy leader and kill him, it will instantly end the battle. This is only count as a single kill, since the rest of the ninjas were all an illusion. Then open the chests (Koban, Genji Glove). Then leave the building.
- Kill Count: 26
Leave and traverse east through the rooftop, when you go in the middle rooftop, you will see an event with mouse, avoid going to the center or else you will fall off. Keep moving until you reach the northeast corner. When you come across a tree, examine it to go down. Then examine the latern to the right, it will open up a secret passage.
Since all the optional super bosses can be found in the next area, the guide will talk about them in the next step. Because of all the super bosses being ridiculously strong, you will most likely fight them when deciding to backtrack to them through the empty castle at the end of this scenario. If you want to resume the main story, skip down to the Resuming the Mission section.
About Majin Ryunosuke
Majin Ryunosuke is a super boss that can be found in this secret passage. Defeating this boss will give you a weapon that is just as strong as beating this scenario in a no kill run.
To find this boss you need to move in a specific way within the hallway. You need to move exactly 16 steps down from the door, and then go back to the previous room - you'll then find a different room with a sword hanging. On the SNES, with grid-based movement, this is more clear. In the Remake, it feels more fiddly.
Grab the sword to trigger the super boss. It is possible to kill this boss in the remake at a very low level since you can read the boss's ATB bar. But doing this method is extremely tedious and time consuming - I would highly recommend that you are at least level 14 or higher if you want to engage this boss without too much issue.

If you're fighting him with Oboro alone, there is a way to exploit this boss without letting him do anything. This is by reading his ATB charge bar. You simply have to go near his side when the Majin's bar is at 75% and then move out of his line sight right before it's fully charged up. Since Majin is close range fighter, he cannot use any of his ability and will lose his turn.
This is only possible in the remake because you can see the charge bar UI, compared to the original when it was invisible. It is possible to kill the boss at an extremely low level exploiting this, but since you do next to no damage, it would be a really time consuming process - so really, so you should come back when you're higher level and have taken some of the good items from the castle.
If you're still struggling to kill this guy, level Oboro to Level 14 so that he can use Deepest Dark. This ability has a chance of landing instant K.O. Just keep retrying until this skill lands on the boss for an easy win.
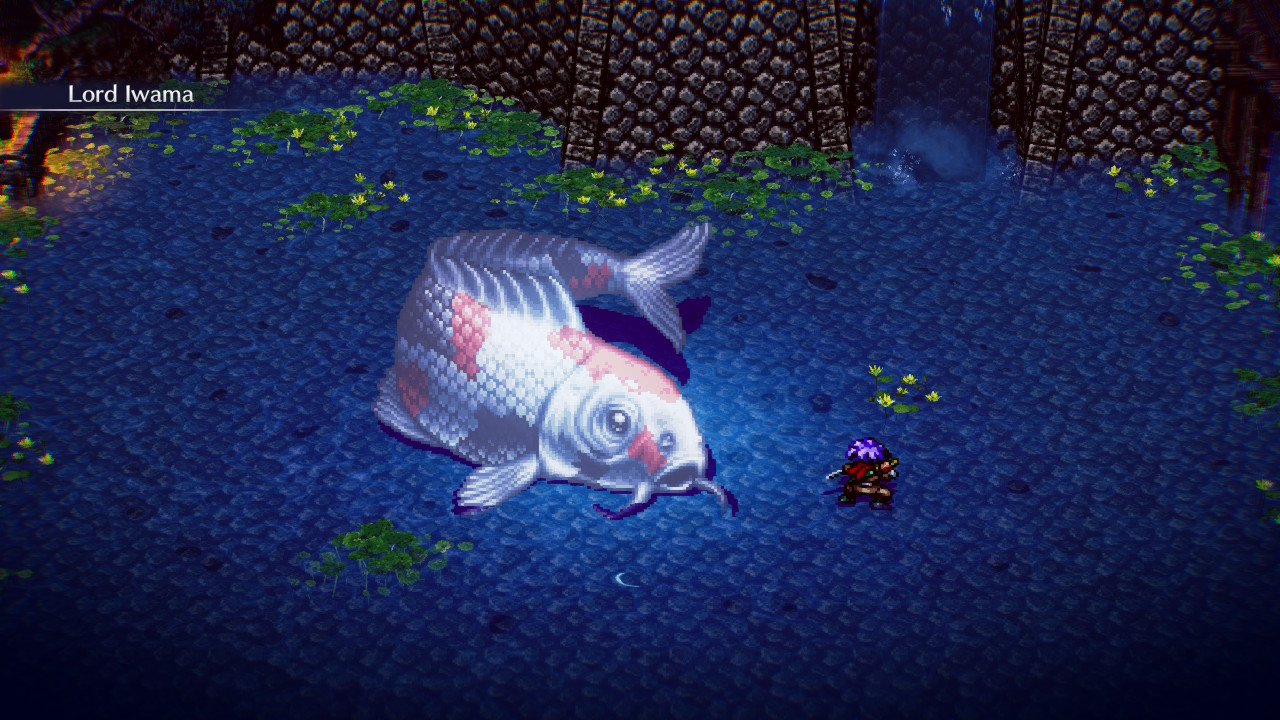
About Lord Iwama
Lord Iwama is found through the water passage. If you spot a big shadow on the very left side of the map, touching it will lead to an encounter with Lord Iwama.
If you decide to come here at level 14, however, this boss will be a cinch. You can use Oboro's Deepest Dark - an ability that shockingly has a chance of landing instant kill on the boss. You can cheese your way through victory by spamming this skill on the boss.
If you come here at a really low level, there is a way to kill it by exploiting the tiles. Make sure Oboro is equipped with the Suijin Tabi, this way you will recover HP when staying in a water tile. Start the fight by going to the bottom middle of the map. Then wait till Iwama goes to the center, change the bottom three rows into a tile of fire, and then change 2x3 squares of water tiles to the left of the fire tile, so that you can stay in the water tile to recover HP.
Due to how large Lord Iwama is, there should be a fire tile on the top that will constantly damage the boss. Just keep moving and make sure the boss's face is not directly lined up to Oboro, so that every time it gets close, you move over to the next water tile. The boss does not have any attacks that can hit you causing it to move back and forth hoping to use one of its attacks.
Resuming the Mission
Through the secret passage and it will lead down to the waterway. There are three ninjas snorkeling underwater. Kill them all and leave from the secret passage of where you came from.
- Kill Count: 29
Climb up the tree and get to the attic in the center left. Open the chests to get (Castella Cake, Storehouse Key). Then leave through the left side. You will come across a room full of gears. Instead of touching the switches, find the first gear that goes up on the left and use it to fall off. You will end up in the jail cell with a guard mocking you. To get out of jail, simply hold Y to hide, and when the guard notices that you're missing he'll break open the door to search for you. Escape, but don't kill him yet.
Now leave through the left side of the map. You will see a shogun sitting there by himself with a chest next to him. Open the chest to get the Kotetsu. Equip you new weapon and then talk to the shogun, he will alert the guards and he'll bring two ninjas to fight you. Kill them and then the shogun after. Then return to the cell area, kill the guard that mock you earlier. Killing this guard, he will drop the Dungeon Key. Use the dungeon key to unlock all the cells and kill everyone there. Then leave through the right side of the map.
- Kill Count: 37
Keep going downstairs until you find the cell room. Kill the samurai in front, then unlock the cell to the furthest left. When you try to approach the prisoner, the floor will collapse.
Defeat all the ghosts in the area and then try to leave; you will then encounter the first mandatory boss of 100 Kill playthrough.
Boss Fight: Shiro Amakusa
After defeating the boss, the prisoner will fall down to find you. Talk to him and just pick the first choice and he will join you. Then go back upstairs, open the cell in the middle. The ninja will introduce himself as Goemon. Select the first choice twice to fight him. Goemon is one of the stronger enemies you can encounter - just have the prisoner to get close to him and Oboro spam Phantom Butterflies and he should go down.
Go upstairs, in the starting cell room, head to the left exit. Keep going until you're in the room where you killed the shogun earlier. Then take the south exit, the hallway has a secret door to the southeast. Go through the secret door. You will see a woman and a treasure. Open the treasure to get the Izanagi Scroll. Then leave the room and take the south exit. Then go through this hallway and kill all the samurai in the way. Then take the east exit to the top door.
- Kill Count: 43
Keep going until you reach the hallway with three shojis (Japanese doors). Enter the center one, talk the shogun inside and kill him. Leave and talk to the samurai to the left, answer with the wrong password and kill him. Grab the chest, you will get a Koban and a Shinobi Sublime.
Leave and enter the shoji to the far right. Go inside, you might spot a someone running away. Chase after it, it will bring you upstairs to the left. Then go in the secret door to the right. You will see a room with a lot of loot. Grab everything including the sword in the wall (Kanesada, Ode Shuriken, Koban, Shrimp Rice Ball). Then leave through the south exit. Then to the next room, the one full of shojis, go to the second one, you will find a secret passage to the left.
- Kill Count: 45
Go through the secret door and then downstairs. Wait exactly 1 minute - a hidden ninja will appear hanging on the wall to the right. Talk to him and then kill him. Leave and go back to the location of where all the shojis were.

- Kill Count: 46
Head down to the south exit. In the hallway, kill the samurai, and then enter the next room. Talk to the woman to engage in combat. Since this woman is a demon it does not add towards the kill count. After killing the demon, leave and then talk to the samurai at the end of the hallway. Answer with the wrong password and kill him. Then go up to the next room. Go through all the shojis and you will see a samurai at the end. Engage in combat and kill him. Then go upstairs.
- Kill Count: 49
Head to the room to the left and kill the samurai there. After this, make a backup save file. The next part requires really precise timing.
Leave through the south exit, and you will see a woman and she will alert the guards. During this event, 4 guards will pop in along with a Masked Samurai. The Masked Samurai will kill each of the guards surrounding him if you don't kill the guards first. For a 100 kill playthrough, you must kill the guards before the Masked Samurai can. When you have killed all 4 of the guards, talk to the Masked Samurai and kill him. If you mess up this part, reload the backup save file.
- Kill Count: 55
With that done, enter the room in front of you, talk to the monk and he will summon a tiger. Kill them both. Then head to the next room to the right and kill the old man. Leave and then go to the next room. Open the treasure chests (Fujin Scroll, Enma Charm).
Head upstairs to the right side of the map. There is a secret door to the left right beside the center door. Through that passage you will get to a room with a sleeping samurai. Talk to him more than 10 times to wake him up and then kill him. Return to the previous room. There will be a secret door to the right of that center door.
- Kill Count: 58
Go through the door, and talk to the samurai standing there. Answer with the wrong password and kill him. Then head downstairs. Kill the ninja. Then make a back up save file. Enter the next room, and then kill all the ninjas surrounding the woman. After saving the woman, try to leave. The woman will prevent you from leaving. Answer with the second choice and kill her. Then go take the north exit.
- Kill Count: 65
Head up one floor. Then take the south exit. Then go down one room. Then check the door behind you. Talk to the person behind the door a few times and then answer with the first choice to start a boss fight.
Boss Fight: Puppet Master Gennai, Electrode
With the boss dead, leave thorugh the south exit, then climb the ladder to the attic. Open the treasure (Genji Armor) to the left corner of the map. Then take the ladder in the upper north to go down. Go downstairs and go to the next room.
Climb the ladder to your right. Then open the chest to the right side of the map. You will find a Hook and Rope Set. Then in the chest (Genji Helm) in the very bottom left corner. Then backtrack to where you killed the Puppet Master. Equip your newfound equipment, then leave through the north exit.
Take the stairs to the left. This will bring you to the top floor of the castle. Defeat the three guards that are blocking the gate. Then enter the next room and kill all the guards protecting Ode Iou. Ode will summon a spirit, engage the spirit to trigger a boss fight.
- Kill Count: 76
Boss Fight: Miyamoto Musashi
If you friend ends up incapacitated or even killed, just ensure you keep Oboromaru as far away as possible. The boss will keep moving towards you, but if you keep a distance, you can keep the boss moving rather than attacking - which is important when the boss can easily K.O. any of your party members in two strikes.
After defeating the boss, examine the scroll to the upper right. It will lead you to a secret passage. Go down and reach the end to fight another boss.
Boss Fight: Yodogimi
After the battle, since Oboromaru finds out that Yodogimi is a demon, it will subtract his kill count. Head upstairs - a woman will come if you haven't killed any of the girls in the castle. Do not accept her gift - kill her instead. This is why we saved the other women; to get this woman to spawn.

From now on it's time to backtrack and kill all the women in the castle if you want to complete the 100 kill run. If you do not want to do that, the last boss of this scenario is just upstairs. Backtrack to the Puppetmaster room, this is by going downstairs and taking the south exit. Once you're in that room, take the south exit and climb the ladder to the attic. Then take the upper left ladder to go down.
- Kill Count: 76
Go downstairs and take the ladder to the right. In the attic look for the ladder on the bottom right side of the map. Then go downstairs and take the ladder to the right. Open the treasure chest on the north part of the map. You will find a Fuma Shuriken. Then there is another chest (Enma Charm) just directly north of it.
Then grab the chest (Shinobi Wristguard) in the southwest corner. Then go to the hole above it to fall down. Be careful when navigating through this part, there are many holes invisible holes here. Use the picture below as a reference. Grab the chest (Geta-load-of-these-geta) and then go to middle to fall even further.
You will end up in the underground dungeon. Then take the west exit and then upstairs. Go through the south hallway at the end of it there is a secret door to the southeast. Go through the secret door. Examine the treasure chest to find a note. Go into stealth mode by holding Y. Wait about a minute and a woman will come out of hiding. Kill her and leave.
- Kill Count: 77
Take the south exit. Go through the hallway, the enter the room to the right side of the hallway. Talk to the woman sleeping in the bed. You will find out that it's actually a monster - but kill it anyway. This will also spawn a bunch of copies of the fake demons in the map - but keep in mind that killing them does not add to the kill count, and they will also respawn as you leave.
Leave the room and enter the door above. Go down the steps and enter the door to the north. Enter the first door to the left, then go through another set of doors, and take the passage to the left, which leads upstairs. Go through the bottom left door and continue down through five doors until you're in the next room. Go to the right, past the walkway where you fought the demon lady, and enter the door at the top of the steps to find some treasure (Fuma Shuriken x2, Kiku-ichimonji (Castle Gate Key SFC Version)). Once you have picked up the loot, leave and return to where you are at the beginning of this paragraph.
Exit out of the door to the right. Then exit out of the right side, and leave by the center. You will see two guards standing there. Kill them. Climb over the tree to the right and use the Storehouse Key on the door .Then enter the storehouse to find some loot. (Shrimp Rice Ball x2, Ode Shuriken, Genji Tabi, Izanagi Scroll, Topknot, Koban) and kill everything around here if you need EXP. Leave and go downstairs and kill the samurai to the left. Leave and jump back down from the tree, then head south and kill the ronin here. Cross the bridge to the left and go down into a door (Residential Palace 2).
- Kill Count: 80
Go down into the first door on the left and kill the six women as you continue through the bottom doors. Then exit through out of the room through the south exit. Move all the way to the very left side of the map to find the woman that was previously spunned around by the warlord. Kill her, this puts a total of 7 kill within this area. Then leave by going outside towards the south side. Go to the left side and unlock the bottom door with the Storehouse Key.

- Kill Count: 87
When you're inside the Storehouse, open the treasure chest, a ninja will come and ambush you. Kill him and then more ninja will show up. When you have killed them all, you will find the Dungeon Key. Exit out of the storehouse.
- Kill Count: 94
Then move to the building to the right in Residential Palace 1. Enter the first room directly south and kill the people there. With this done, leave and head back to Residential Palace 2.
- Kill Count: 96
Then take the north exit outside and go back to the castle. Use the Castle Gate Key for the Super Famicom version to get in, The key is not required for the Switch version. Then go through the secret door on the very right side of the map. Then in the next room, enter through the shoji on the center. Kill the two women here. Leave and open the shoji to the right, and take the passage northwest to go upstairs.
- Kill Count: 98
Then head inside the room to the right. Kill the woman here. Then open the jar (Koban) that was beside her. Leave and go south and through the passage of shojis to the next room.
- Kill Count: 99
In this room go to the door on the very far right of the map. Pass through all the doors to the next room. Encounter the woman demon in this room. Kill her. If you eradicate this demon, Oboro will mention that he has reach a 100 kills. If not, leave and wait for the demon to respawn and kill it again. Repeat this until the demon is gone for good to get the 100 kills. (It usually takes around 13 total kills for her to disappear.)
- Kill Count: 100
With this all done, all there is left to do is to fight the last boss of this scenario. If you still haven't kill the optional super bosses, this is also the best opportunity to do so since your characters are at their strongest. To reach to the last boss from this location. Go upstairs, and then another set of stairs, and look for the stairs to the southeast.
Take the secret door to the right and then downstairs, go through the bedroom and take the stairs to the north. Then go upstairs and go to the room to the left. Examine the scroll to get through. Then go to the rooftop to engage in the final battle.
Boss Fight: Ode Iou
After defeating the boss, head outside you will face his true form.
Boss Fight: Gamahebi
The best thing to spam is Oboro's fire ability to change the tiles into fire. If you prefer something with better range, then use Phantom Butterfiles.
Be aware that the boss attack can instantly switch the entire field into a tile of poison. If the boss stays on this poison it will heal itself. If that happens, use Oboro's fire ability to switch the ground back to a fire tile. One of the things you can do is have the prisoner use Warning Shot - this can interrupt the boss's charge bar. In the worst case scenario, use your attack items like Fuma Shuriken, they can do a ton of damage because of its large amount of hits.
During the ending scene, there is a choice prompt, however gameplay wise it makes no difference. Once you're finished, save the clear data.
Live A Live Walkthrough Hub / Chapter Walkthroughs:
Note: Revised some parts of the guide with Nomad's paragraph and suggestion. Thanks for the help (Sept 1st)