
Middle Ages walkthrough and Boss Strategies | Live A Live guide
The Middle Ages is a special chapter in Live A Live, primarily because this is the missing piece of the overarching story puzzle that you'll have likely been gradually piecing together as you've played the other seven core scenarios. This extra story only unlocks once you've completed all seven of the other stories in the game - at which point, you can hop into the missing era, a classic RPG setting.
In this chapter you take on the role of Oersted, a knight in a land that was once plagued by darkness... that is about to be blighted by the forces of evil once again. This is an average length scenario in Live A Live, and despite its placement at the end of the core progression, it's also average in terms of difficulty.
It's also one of the most traditional RPGs, both in setting and in its inclusion of full-on random encounters. This walkthrough will help you to complete this chapter in full, without missing anything, step-by-step. If you're not yet at this chapter, head back to our Live A Live walkthrough guide hub to get to the next page you need.
Long ago, in the Kingdom of Lucrece, a hero appeared and slew the Lord of Dark. Though that hero has long since vanished, the dread archon has risen once more. Thus must a new champion take up arms to cast down the fiend and deliver the princess from evil...
Live A Live Middle Ages Walkthrough: Starting Out
Live A Live's Middle Age scenario requires you to have completed all seven of the original scenarios in Live a Live for it to appear. One thing to note is that clearing this chapter will lock in whatever previously cleared characters stats and such for the final scenario that gets unlocked after this - so if you want to replay any other chapter to get more stuff, grind, or be a completionist, do so before undertaking Oersted's journey in this chapter. If you're ready, however, proceed with this story.
Since you've already beaten the previous scenarios, you should be fairly adjusted to Live A Live's combat system by now. The Middle Ages is a scenario that is heavily inspired by Final Fantasy, to the point that the unique gimmick of this scenario is that there are random battle encounters, just like the original Final Fantasy games.
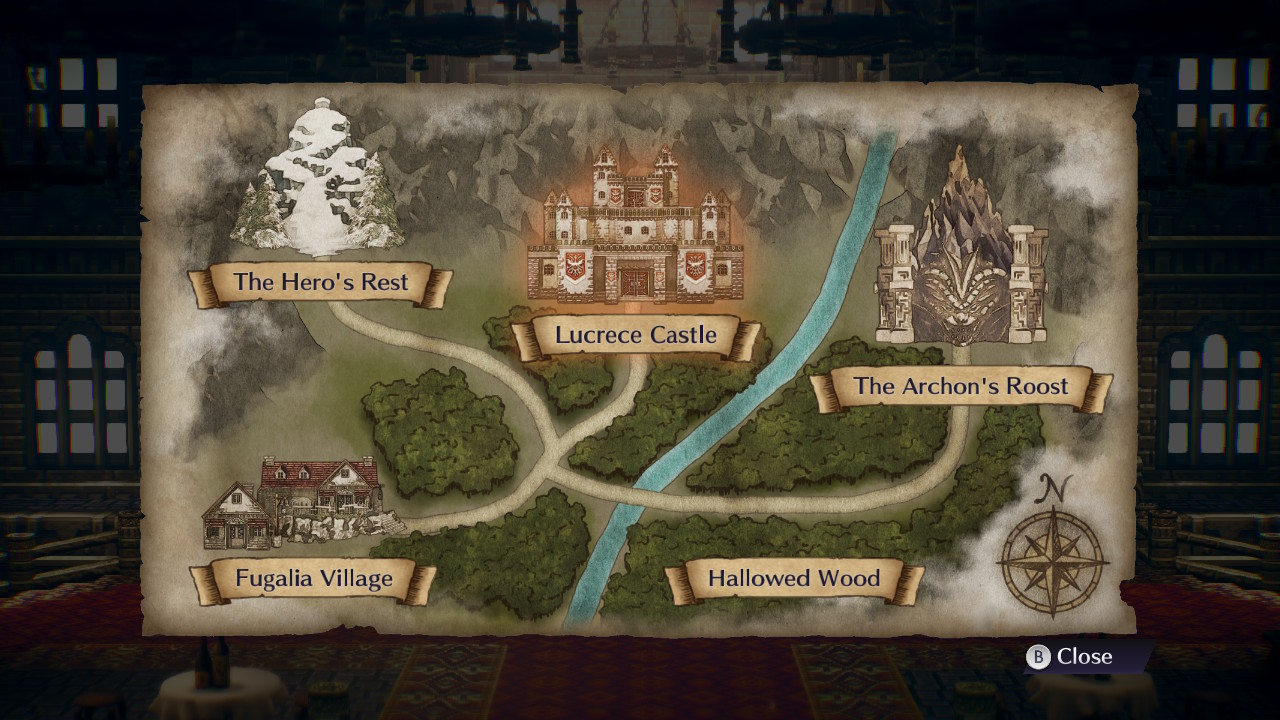
Start the intro and you will enage in combat. There is a total of three battles to go through. After winning the battles, the king will give you a map for the Kingdom of Lucrece. You can view it by pressing the Minus- (or equivalent) button.
With full control of Oersted. When you wander, you will notice that there are a lot of items you can loot, but do not do this. If you avoid picking up the items in the castle, they will be upgraded in the Final Scenario, which works out better for you.
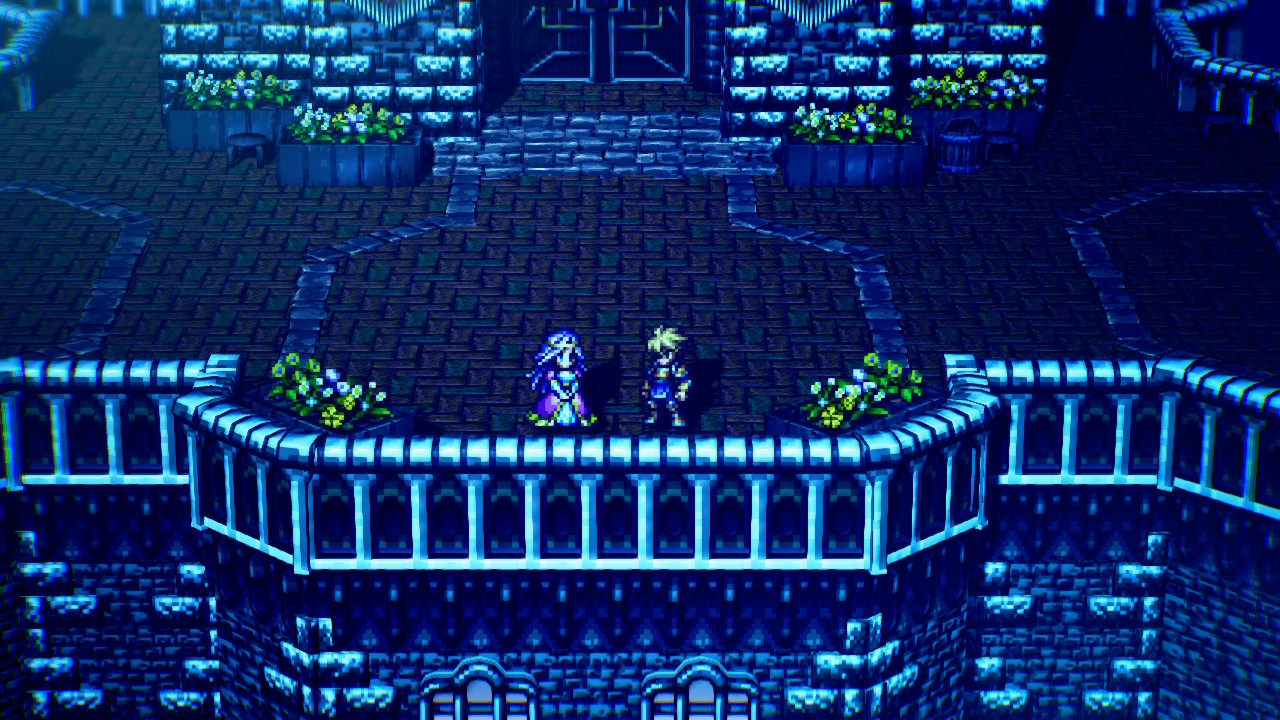
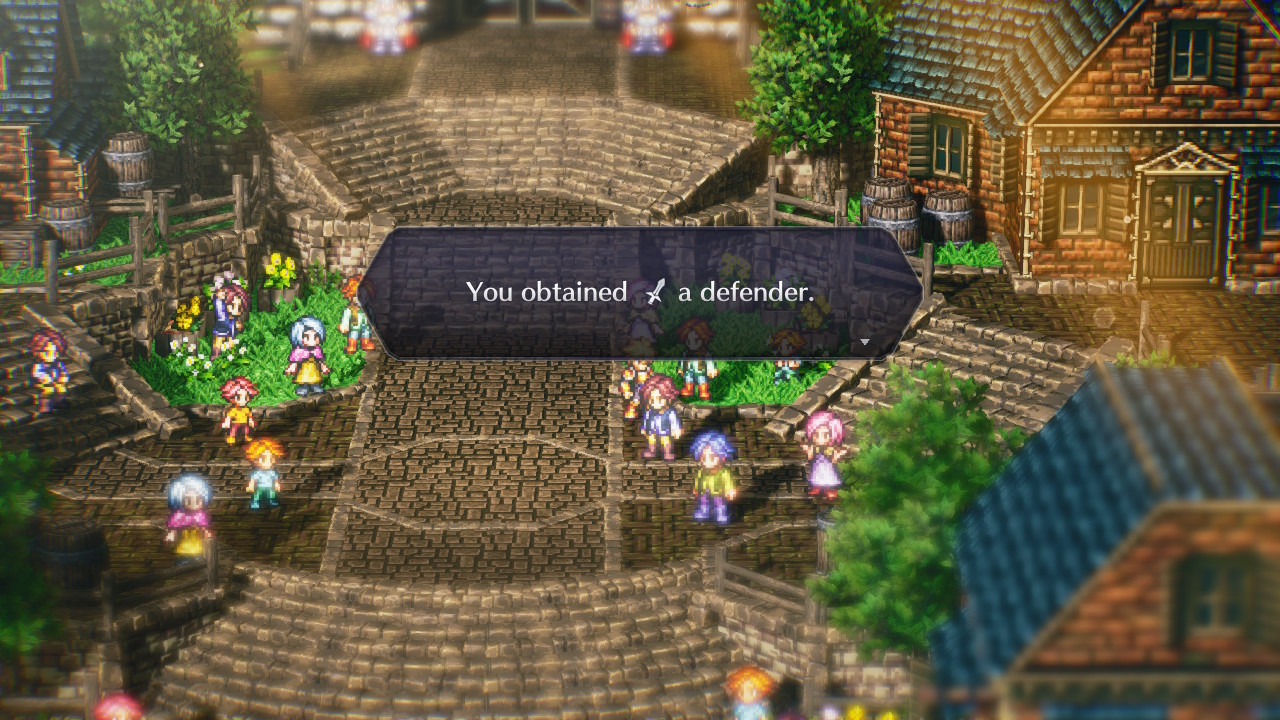
Leave the castle until you reach the town square. Talk to all the civilians they will shower Oersted with gifts.
When you're outside, Streibough will join your party. From here on, you will trigger random battles as you roam through the fields, so always be prepared for a fight. Head west until you reach Fugalia Village.
Fugalia Village
While navigating through the village, go to the left side where all the flowers are. Examine them to get some Balmgrass. These are a source of healing items in Oersted playthrough, since he doesn't have a reliable way to heal.
Go inside the house to the left by the old man. Examine the shield that's hanging on the wall, then leave and talk to the old man. After this, leave the village to trigger an event scene. Now head to the next destination to Hero's Rest. It is located northwest and should be marked on the radar.
Hero's Rest
Item List
- Balmgrass (By the ledge near the entrance)
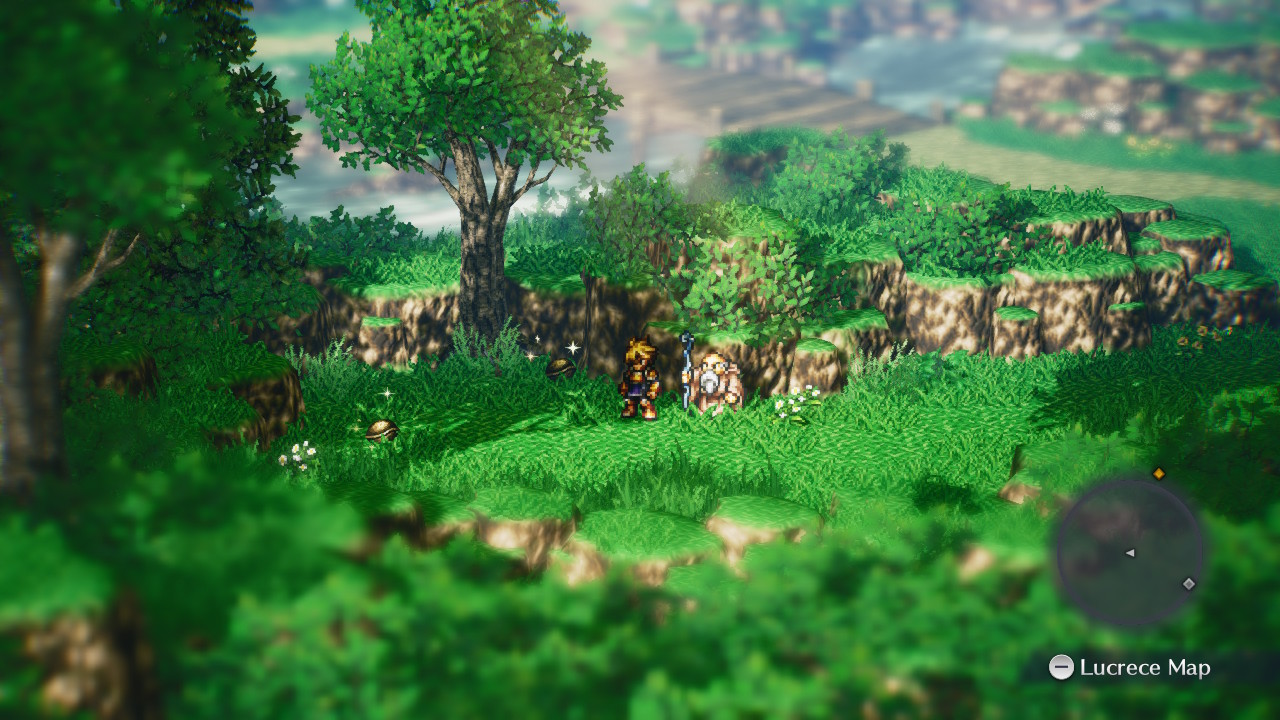
Navigate through the mountains. The enemies here can sometimes drop equipment that you can use. A noteworthy item is the Axion Sword and the Ice Helm (dropped by Frostbulbs). The path here split into two ways, both of them lead you to the top. Reach the top to the next map. Navigate through the mountains, you can find a hut in the northwest side of the map. Talk to the man outside, then go inside the hut and examine the shield on the wall. Leave the hut for an event.
Leave the mountains and go to Fugalia Village. Move to the left side of the village and enter the on the very left side. Examine the shield on the wall. The third party member will join your party. After this event, you can take the shield from the wall. Then return back to Hero's Rest.
Head back to the hut on the top of the mountains. After the event scene, the final party member will join your party. You can get another set of the Hero's Shield by examining the shield on the wall. Now before you do anything else, a good suggestion is to take Hasshe's equipment and put it on Oersted. Leave the hut and go north of the mountains to find the summit. Examine the tomb. Then equip the Brion on Hasshe. Now with all preparations complete, head down the mountain and travel southeast to the Archon's Roost.
The Archon's Roost
Item List
- Joshua Tree Seed x2 (Southwest path right below the bridge of Fugalia Village)
In the southeast path from Fugalia Village will lead towards the Archon's Roost. There is a little shortcut to the southwest, you can find some Joshua Tree Seeds.
Pick up the seeds and continue east until you reach the entrance of the demon king's lair, there will be an event scene. Just like Lucrece Castle, there are loot inside the Archon's Roost that can be taken in the final scenario instead of right now. If you wait till the final scenario to pick up loot, they will be upgraded into better items.
Start the area by navigating through the west side, find the door that will lead you to the next area. Follow the passage until it divides up. Then continue all the way east to find another door. This area will look completely different than the previous area. Keep moving west until you find the door on the very west side of the map. This will take you to the next floor. Then look for the door in the east end, this will take you the center of the lair. Head a bit further to reach the end, and a boss encounter.
Boss Fight: The Lord of Dark
Have all the DPS users attack the boss from the side and spread out if possible. This way when the boss uses Molten Breath, it can only hurt one person at a time. When everyone is hurt they should go near Uranus so that he can heal them, he should stay in the back. Avoid using this healing items - you will need them for much later. Hasshe can use Archon's Mark for a significant chunk of damage, but the boss will likely counter with Retribution and Hasshe will be debuffed after using the ability.
The Road Home
After the event scene, there will be only be Oersted and Uranus left. Enemy encounters will be temporary disabled, so just head straight back. If you don't care about the items being upgraded, this is the best time to loot the place as there is no enemy encounters right now, but we still advise holding off to allow items to upgrade for the final scenario.
You will also get to use Hasshe's weapon, so be sure to equip it on Oersted. Head back to Lucrece Castle and then talk to the King for an event scene. Afterwards, find your room to the left side of the castle and rest. During night time, leave your room and engage in combat with the only object there. Oersted will easily beat it in one strike. After this event, you will be left completely alone.
Leave the castle and head southwest to towards Fugalia Village. Talk to the people inside the first house to the right side of the village. After you have spoken to them, leave and return to the castle.
Talk to Uranus and then leave the dungeon. There are some battles between the guards as you leave. Once you've escaped from the castle, its time to return to Archon's Roost.
Return to the Demon's Lair
Oersted will be all by himself from now on. Make sure he's well equipped, as this isn't temporary - Oerstead is going to final stretch of the game completely by himself. Although Oersted is one of the strongest playable characters you can use in Live A Live as long as you leveled him normally, he does lack good healing abilitles, so make sure you use the healing items in your inventory sparingly. When you're set, travel southeast until you reach the Archon's Roost.
Navigating through the demon's lair this time is going to much tougher since you only got Oersted. There will be bosses in each of the floor and they all have a chance of dropping a rare item. If you want any of those items, make sure you keep a backup save file in case if you want to redo the fight again. Travel to the west exit to encounter the first boss of the dungeon.
Boss Fight: Claustrophobia
Attacking from range should be ideal as the boss's range attack are relatively harmless. If you are struggling, level up Oersted until he learns Heavenly Strike, and use that.
There is a low chance of the boss dropping Earthen Fist when you defeat her. This glove gives Defense +6, Physical Attack +10 and nullify petrify.
After defeating the first boss, continue to the second floor. Go northeast until the pathway split up and then look for the east exit to the next room. Examine the door to trigger the second boss.
Boss Fight: Scotophobia
One of the deadliest attacks from the boss is its Abyssal Drain ability. This will do 100 damage and restoring the boss's life. If you get to level 10, you can spam Shardfall from a very long distance without getting punished. This boss has a low chance of dropping an attack item called Shroud of Demons.
Look for the door to the very west side of the map. In the next room, when you examine the door another boss will occur.
Boss Fight: Acrophobia, Acrothrall

This boss is the leader and killing it will instantly end the boss fight. Winning against this boss has low chance of it dropping the Flame Armor and the healing item, Alice Biscuit.
Continue to the next floor, then go to the door to the east side. This will take you to the center of the lair. Examine the door to trigger another boss.
Boss Fight: Hygrophobia
The best thing to do is go directly to the boss and spam Crushing Blow. This attack is fast and has a chance of interrupting the boss, which can give you a respite. If you stay too far away, the boss will do Sweet Nothing and that can hit over 200 damage if you're unlucky. Defeating this boss has a chance of it dropping the healing item, Alice Biscuit.
Continue to the next room and examine the pedestal of where the previous demon lord used to be. It will reveal a secret passage to the basement. Watch the event and engage in the boss fight.
Final Boss
Land your hardest attacks on the boss, and use whatever healing items in your inventory if you get hurt. If you're above level 13 and have Heavenly Strike to your ability list, then this boss fight is pathetically easy. You can spam Heavenly Strike and be in perfect position without letting the boss use any of his abilities.
After the event, watch the ending. The game will ask you to make a clear data. This clear data will lock in your data to be used for the final scenario. After the credits, you will see a new scenario tiled as ??? - this is the real ending of your Live A Live adventure.
From here, you will have a major choice - if you want to continue playing as Oersted with everything you know, or if you want to instead pick one of the seven other protagonists for this final chapter. Your choice will set you on the path to one of several different endings in Live A Live. When ready, examine the new scenario to play it - and pick your character.
Live A Live Walkthrough Hub / Chapter Walkthroughs: